 Quinn
Quinn-
1Step 1
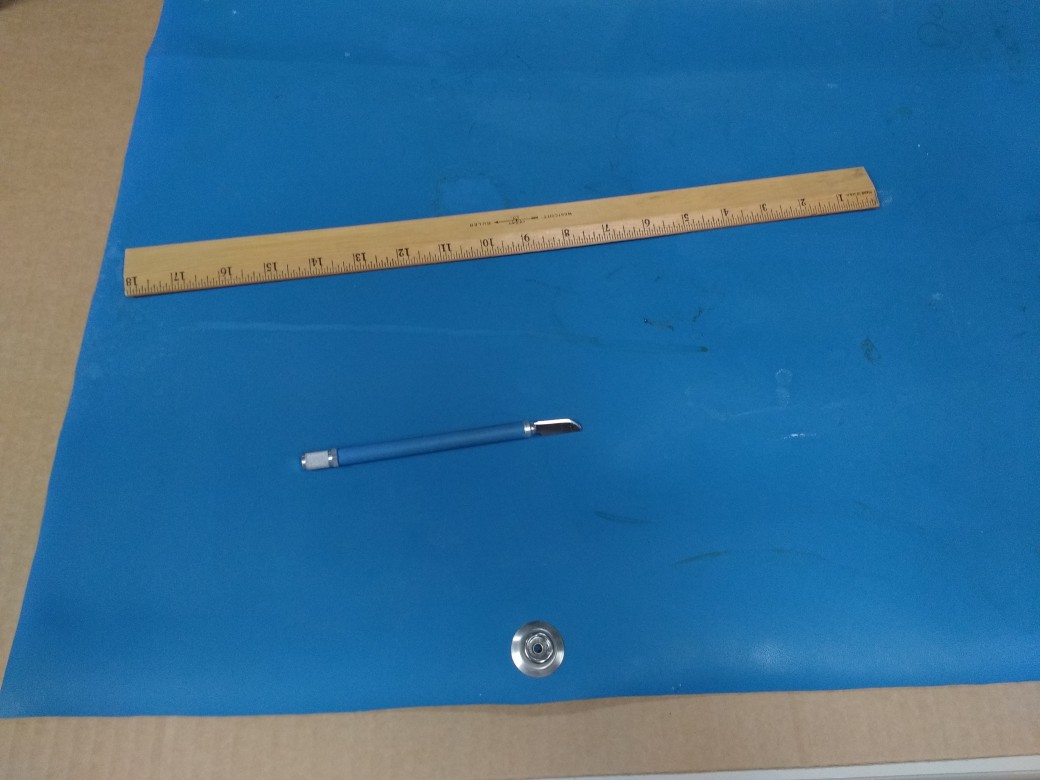
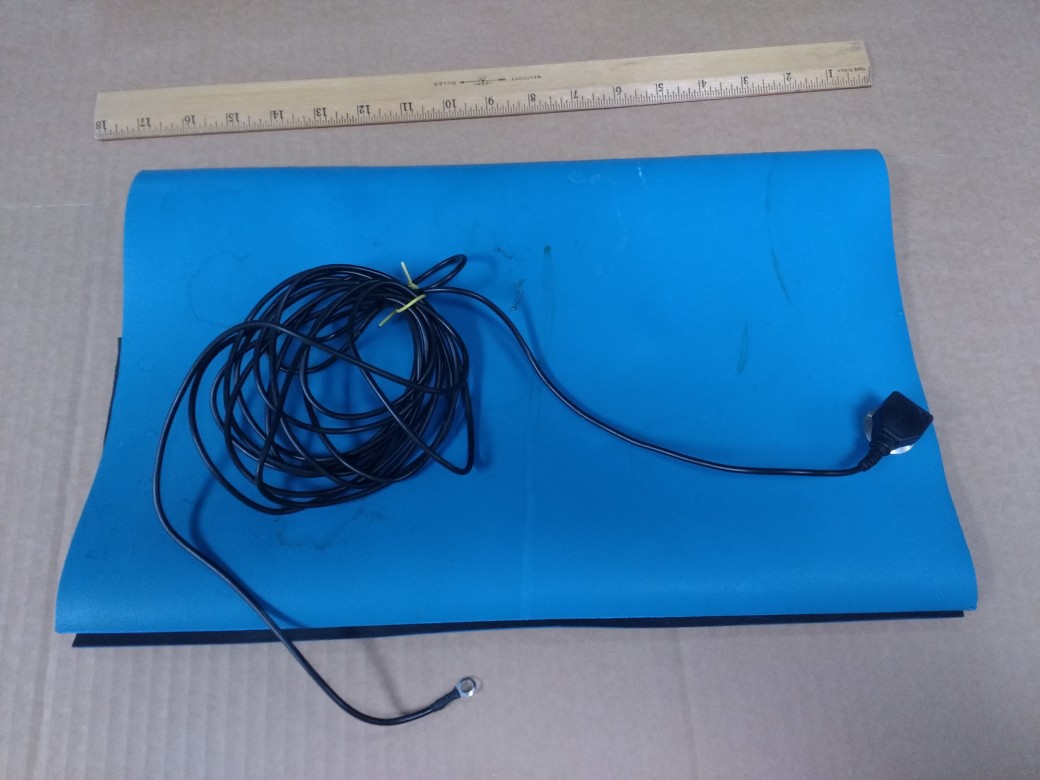
Supplies: Start with a rubber ESD mat, either the final size you want, or larger to cut from it. You will also need the associated grounding cable, and appropriate snap.
Tools: Ruler and straight edge, and a knife. I used a curved blade for an x-acto type knife to make it easier and smoother to get the correct depth. You will also need a cutting surface if you are reducing the size of your mat, such as scrap cardboard or a cutting mat.
![]()
-
2Step 2
Size your mat: If your mat is already the final size, you can skip this step. Place your mat on a cutting surface, and measure out the final size you want. Using the straight edge, score and cut through the mat with the knife. The rubber ESD mat will offer resistance to cutting, but will cut cleanly. Optionally use this step to practice cutting part way through the mat, getting a consistent depth.
-
3Step 3
Figure out your folding points: To fit my tool case, I made my mat 16 inches deep, and I used the width of the original mat section that was still good, 28 inches. My goal was to have it fold to 16 inches by 10 inches. If you have a single fold, you can use whatever size you wish. If you have two or more folds like I do, plan out the measurements so that the layers do not cause a problem in folding due to the thickness of the mat. For instance, I would not want to make it three 10 inch segments because the second fold would not fold flat due to the thickness of the first. You can prevent this issue by making the first section shorter. In my case, my sections were 10, 10 and 8, with the 8 end folding first/inside.
Important: Your scoring must be done on the dissipative(top) side of the mat, and not on the conductive(bottom) side of the mat. If you were to cut into the conductive part, you would no longer have a good connection between your sections, and it would not provide good ESD protection.
-
4Step 4
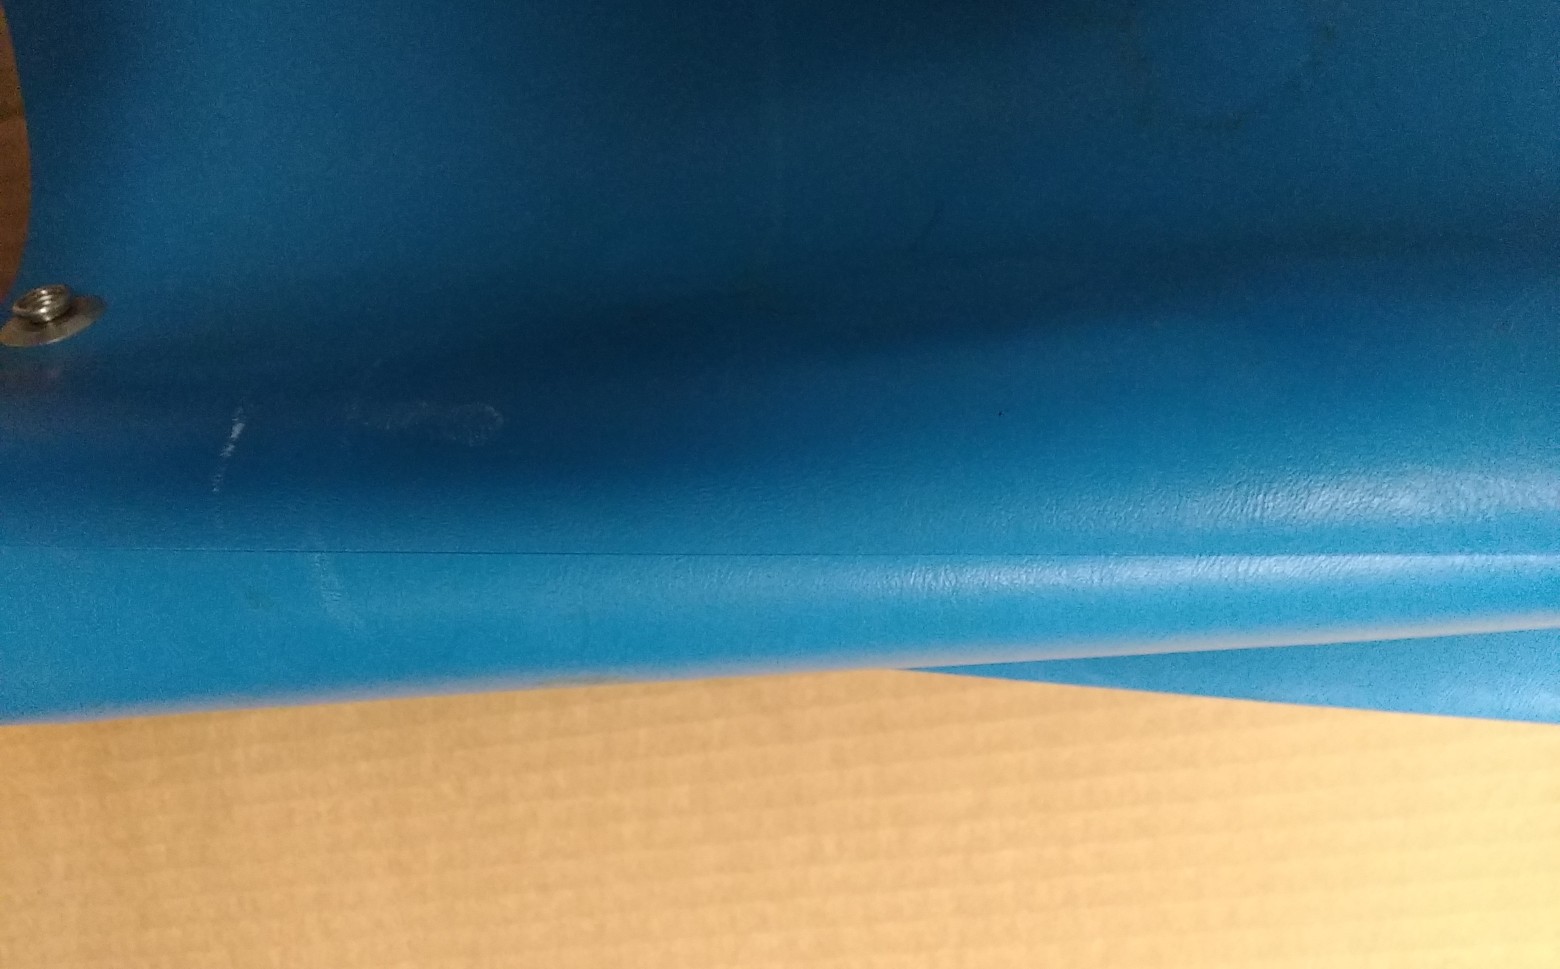
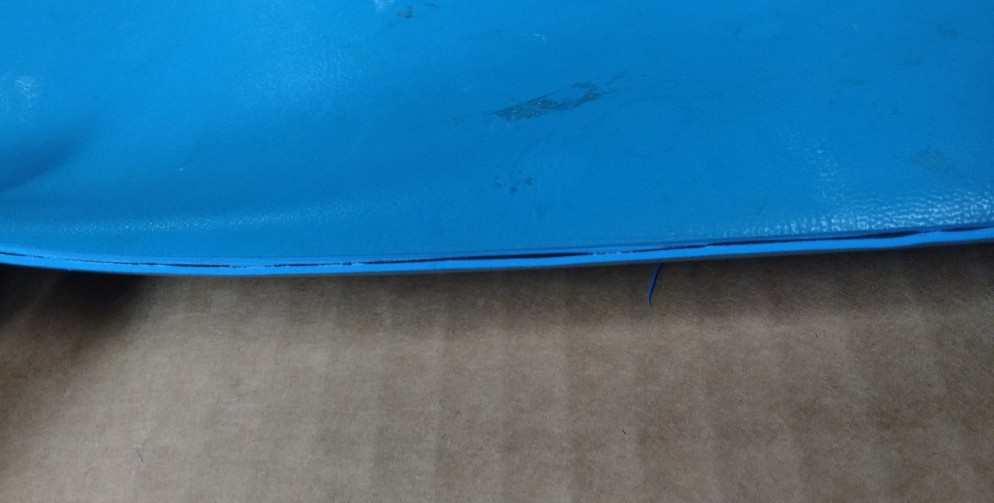
Score the folds: Again using your straight edge, score the mat along this line, being careful not to cut too deeply. You will want to underestimate the depth. After the initial score, curl under the mat so that the score line is exposed, and starts to open up. The line can be just be seen in the below image.
![]()
Curling lie this will start to open up your score. With it curled like this, use the knife to score deeper.
![]()
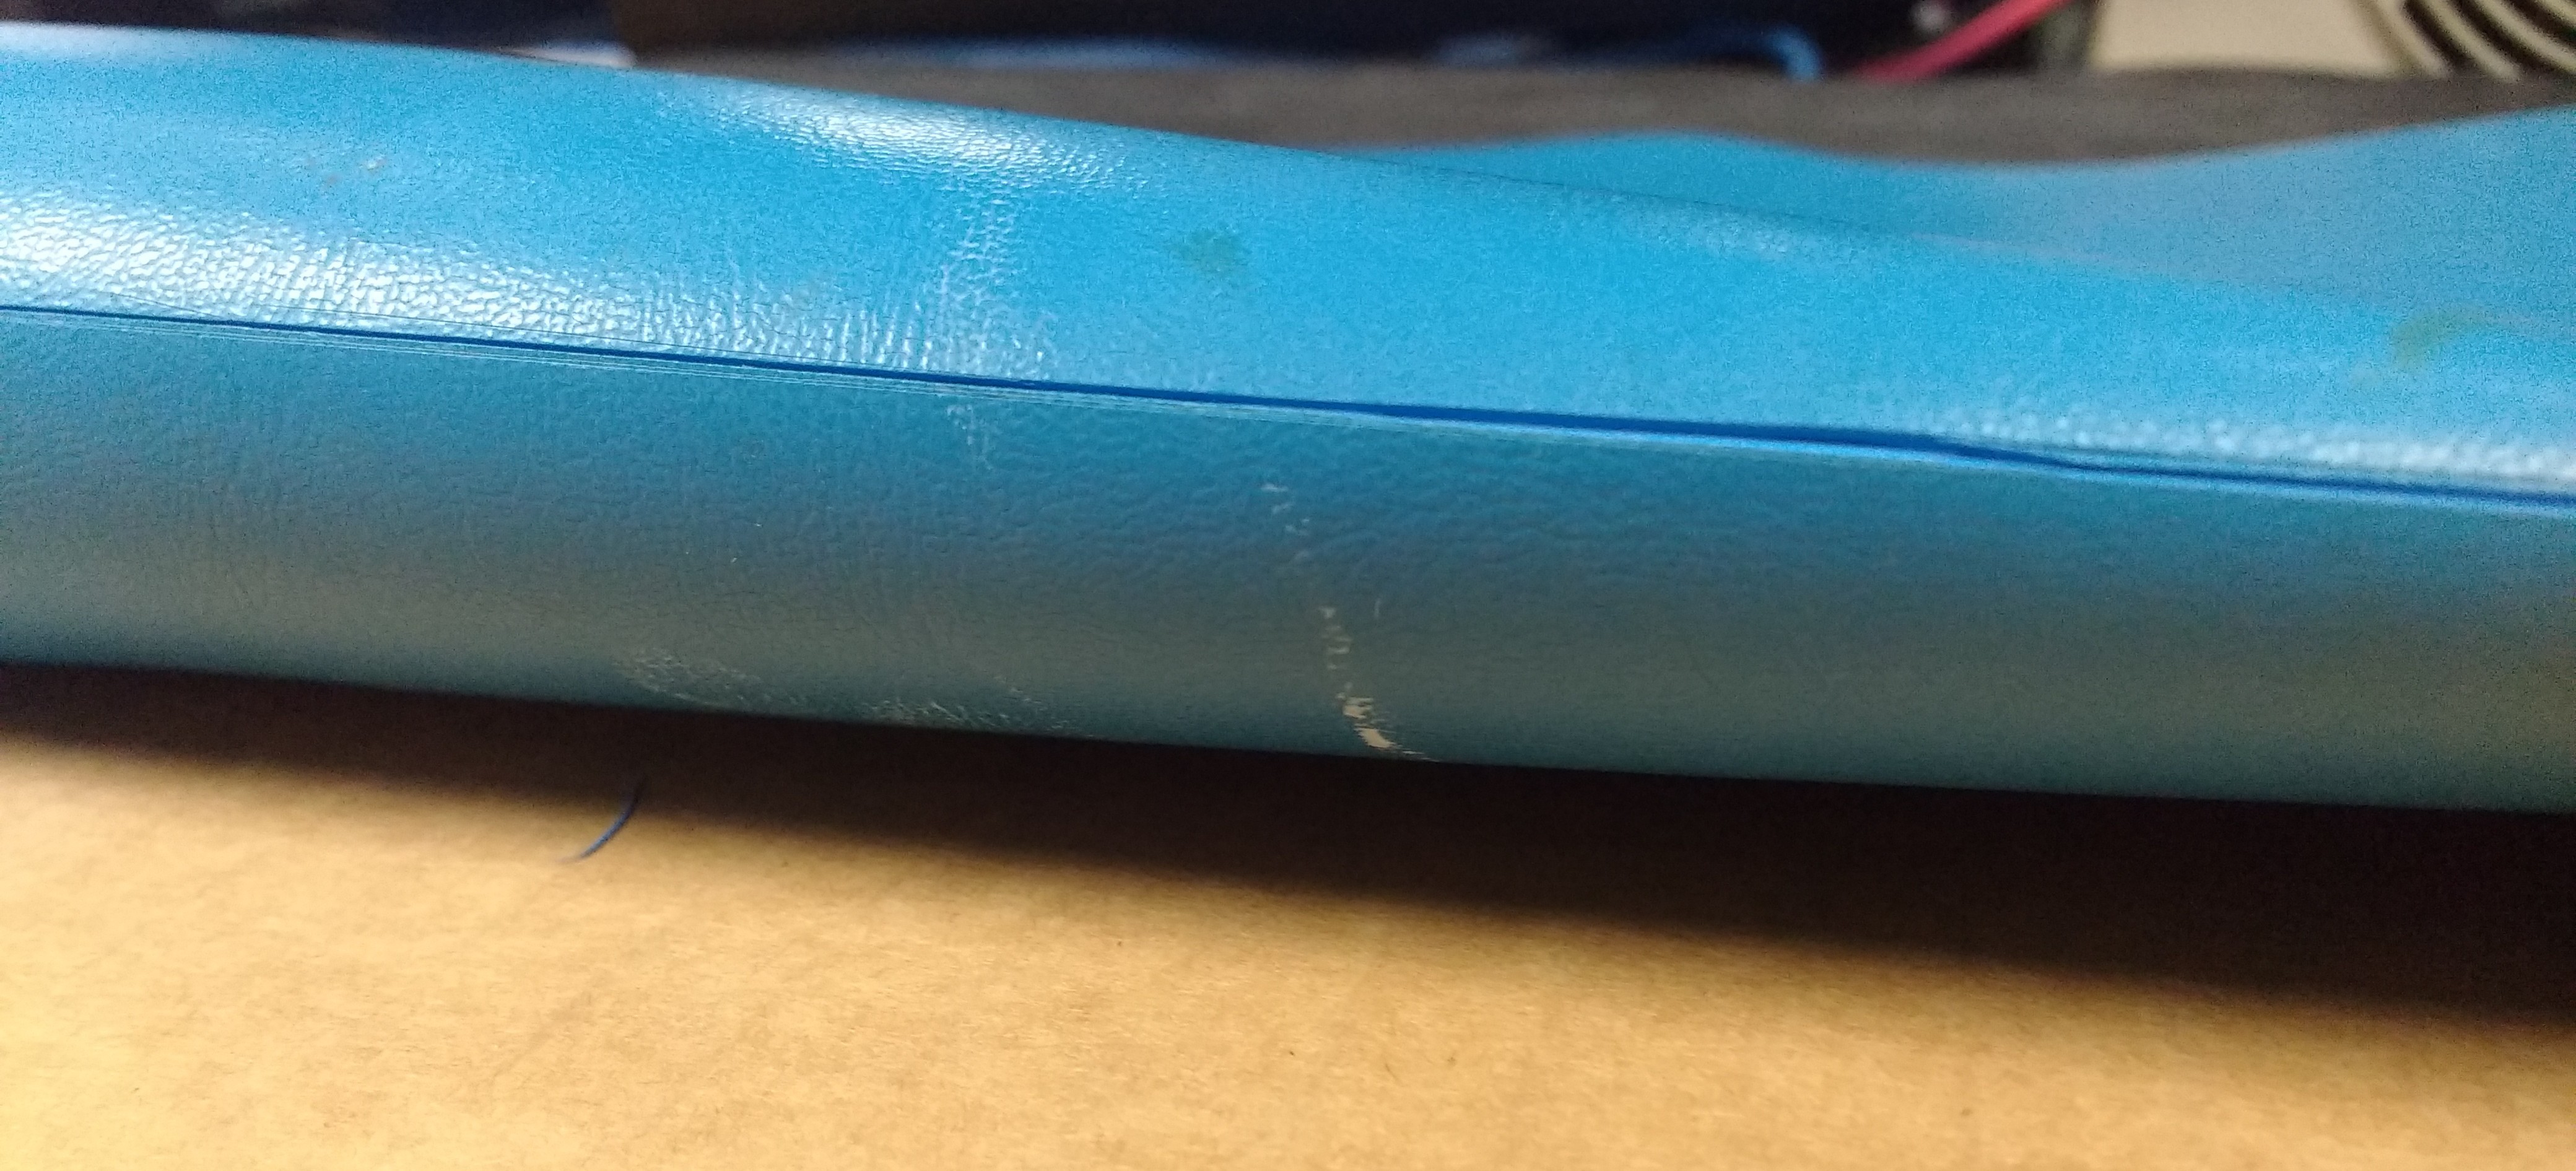
Each time, the gap will open up more and more. Applying pressure to force it open as you go will make it easier to follow. If you have a laminated mat with black bottom and colored top, it will also make it much easier to check your depth.
![]()
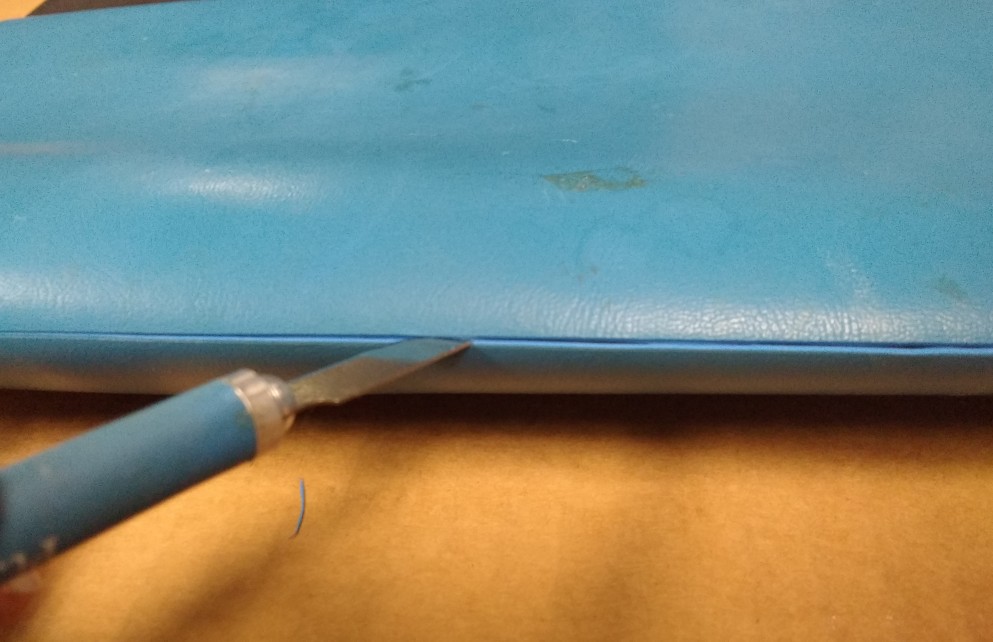
Continue this process until you can see the second layer in the gap. Ideally the gap would just show a little of the black second layer, and it would be consistent all the way along.
![]()
When you have it cut half way through, you are done with that fold.
-
5Step 5
Continue with folds: Repeat the previous step for each fold you have.
-
6Step 6
Grounding: Attach the snap and grounding cable if it is not already attached or if you cut it off in the first step. Your mat should be completed.
Folded:
![]()
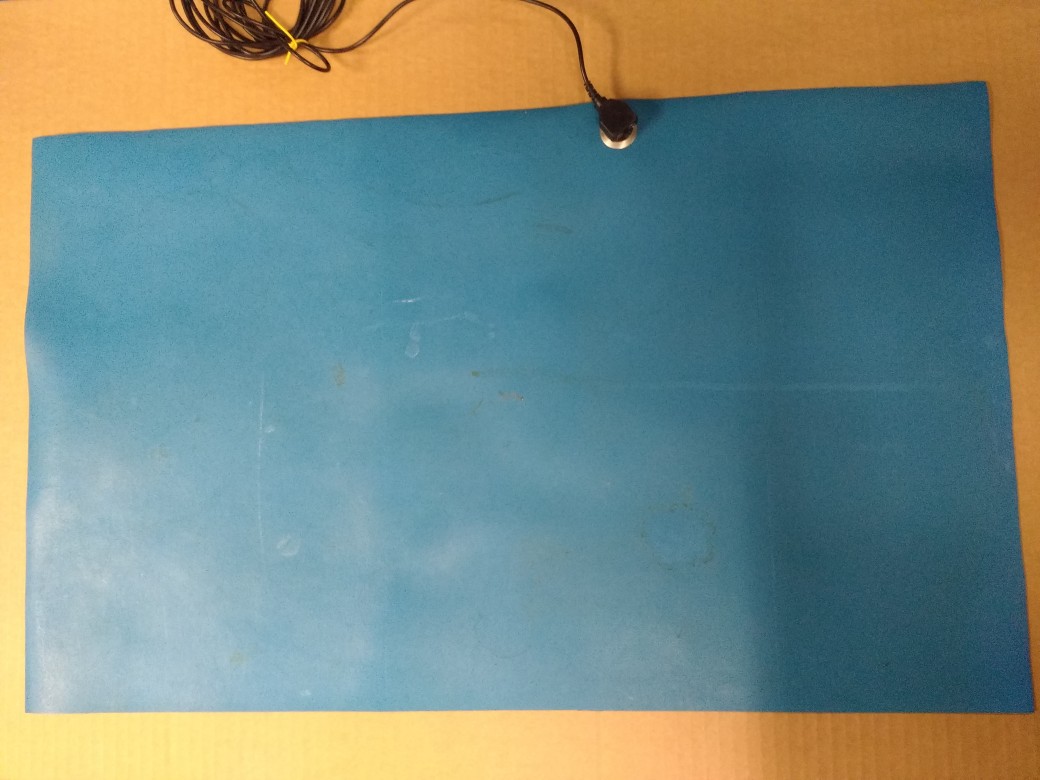
Open:
![]()
Discussions
Become a Hackaday.io Member
Create an account to leave a comment. Already have an account? Log In.