From the start I knew that a standard, motion-activated light fixture just wouldn't cut it for me. I wanted granular control over how and when the light illuminated the hallway. Since I primarily need the light when entering or exiting my apartment, I wanted the ability to turn it on or off from within. Additionally, I desired the light to activate immediately upon opening the door, rather than waiting for motion detection to kick in. And of course, seamless monitoring and control via Home Assistant was a must-have.
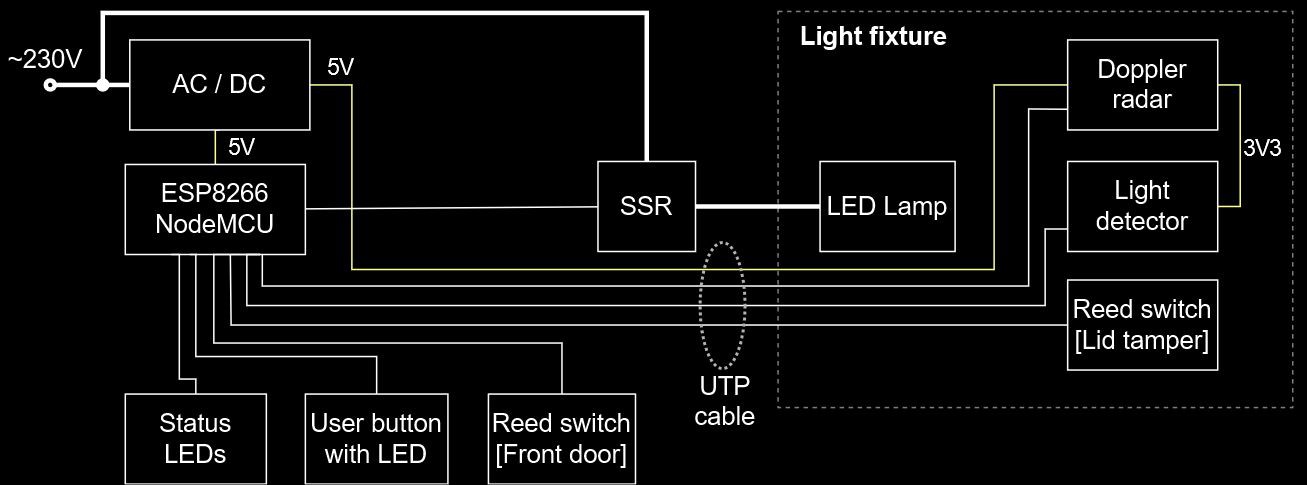
After careful planning and a dive into my spare parts bin, I devised a design (refer to the block diagram above) centered around a NodeMCU ESP8266 board. Here's a breakdown of key features I implemented:
Hardware Inputs:
- Microwave radar motion detector;
- Light sensor (LDR module);
- Lamp cover tamper detection reed switch;
- Door open reed switch;
- User button (work mode selection);
Hardware Outputs:
- SSR control;
- User button LED (work mode indicator);
- Motion detected and SSR is ON status LED's.
Work Modes (user selectable):
- Motion: Briefly turns on the lamp upon detecting motion.
- Always On: Maintains continuous lamp illumination.
- Always Off: Disables the lamp entirely.
Special Modes:
- Door Open: Activates the lamp permanently and deactivates it 10 seconds after the door closes.
- Lamp Lid Tamper: Briefly turns on the lamp and reverts to "Motion" mode.
Fail-Safe Measures: Each work mode incorporates fail-safe timer to ensure safe operation. Light detector (LDR module) output also is taken into consideration when chosing when to turn the lamp on.

For this project I chose a Philips LED ceiling light fixture, which I equipped with additional sensors:
- An RCWL-0516 microwave radar motion detector.
- An LDR light sensor module to detect when ambient light is to low.
- A reed switch for lamp cover tamper detection (being paranoid 😅).
These sensors are all connect to a central controller using a UTP cable for easier installation. Additionally to make installation faster, I used a Stewart Connector/Bel Punch Down Ethernet connector (SS-51000-003) found on Mouser.

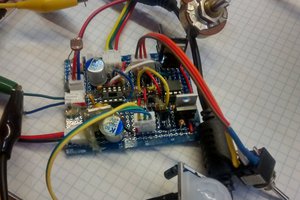
Main controller is based around a NodeMCU board with ESP8266, running ESPHome. The ESP8266 and all external sensors are powered by an old disassembled phone charger. The LED lamp is controlled with a solid-state relay (SSR). Because the project was a one-off and the circuit was extremely simple, everything is mounted on perfboard with one-to-one wiring. All of those connectors, especially the quickly detachable screw terminal one, were a bit of overkill, but made debugging and installation extremely easy.
Full schematic and ESPHome configuration file are available on my GitHub.
Schematics also can be views directly online with the help of KiCanvas.
 |
 |
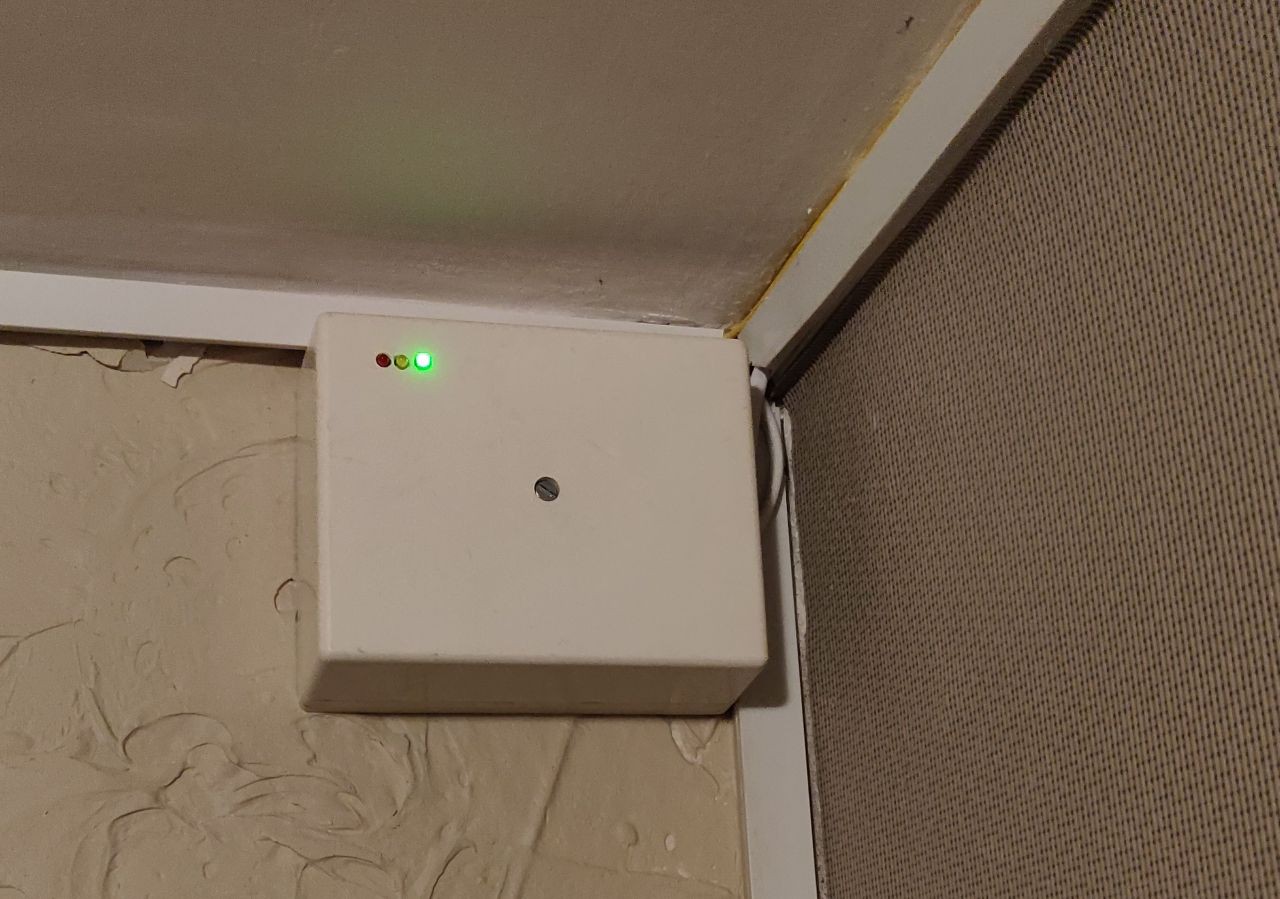
Controller is mounted inside of old telephone junction box, I had on hand. For the physical user interface I used a metallic push button with integrated LED. This button is mounted in a separate, conveniently located box near the front door for easy access. The button controls the controller's work mode as follows:
- Single push enables/disables Motion detection mode (LED is on/off accordingly)
- Long press enables Always On mode (LED is blinking at 2 Hz rate)
The button LED also serves as a tamper alert. If the lamp cover tamper switch is triggered, the button LED will blink continuously at a rapid 5 Hz rate, indicating a potential security breach.

Home Assistant integration allows not only for remote control of the lamp's work mode, but also for monitoring and recording all sensor data. This provides interesting insights and statistics on activity behind the apartment door. Additionally, HASS integration allows the lamp controller to act as a miniature security system, which monitors the front door status and triggers events accordingly.
 pauliusbau
 Brian Ramirez
 Chris Slothouber

 Everett Bradford