Download the Raspberry Pi Imager for your operating system (Windows, macOS, or Ubuntu).
Open the downloaded file and follow the on-screen instructions to install the Raspberry Pi Imager.
2
Grab your sd card and flash em!
Prepare Your SD Card
Insert your SD card into the card reader of your computer. Make sure to back up any existing data on your SD card, as this process will erase
all data.
Open the Raspberry Pi Imager application on your computer.
Choose the correct device for your setup
Click on "CHOOSE OS."
Scroll down and select "Raspberry Pi OS (other)."
From the submenu, choose "Raspberry Pi OS Lite (32-bit)."
Click on "CHOOSE SD CARD."
Select the SD card you've inserted. Be very careful to select the correct drive, as selecting the wrong one will erase its contents.
Enable remote access via SSH
Navigate to Advanced Options in Raspberry Pi Imager.
Click the checkbox next to Enable SSH.
Set up a username and password.*
Select Configure wireless LAN, and fill in the details.
Click Save, and write Here is a nice video on how to do this step by step -
3
Powering up!
After the writing process is complete, safely eject the SD card from your computer
Insert the flashed SD card into your Raspberry Pi.
Connect your Raspberry Pi to a power source. If this is the first boot, it will take a bit longer as the system expands the file system and does
initial setup tasks
Find Your Raspberry Pi's IP Address :
You can find your Raspberry Pi's IP address from your router's DHCP client list. The exact steps vary depending on the router, but you typically log in to your router's web interface and look for a section labeled something like "DHCP Clients," "Attached Devices," or "LAN Clients." NOTE: You can also use a LAN scanner app from the phone to look for the Raspberry Pi on your network!
4
Accessing Raspberry pi remotely!
On Windows, you can use an SSH client like PuTTY.
On macOS or Linux, open the Terminal.
Then type this command to access it :
sshpi@<IP_ADDRESS>
Replace <IP_ADDRESS> with the actual IP address of your Raspberry Pi.
The first time you connect, you'll likely see a security warning asking if you want to continue connecting. Type yes and press Enter.
When prompted, enter the default password (raspberry) for the pi user. You won't see characters as you type the password; this is normal for security reasons. Else, the one you have set up!
After successfully entering the password, you should be connected to your Raspberry Pi via SSH. You're now ready to execute commands remotely.
For security reasons, it's a good idea to change the default password. You can do this by typing passwd after logging in and following the prompts.
Troubleshooting
If You Cannot Connect:
Ensure the Raspberry Pi is correctly connected to your network and powered on.
Verify the IP address is correct and that your Raspberry Pi is reachable from your computer (try pinging the Raspberry Pi's IP address).
Check that the firewall or security settings on your computer or network aren't blocking the SSH connection.
5
Conjure Up Docker Magic on Your Raspberry Pi: A Beginner's Guide
From Docker Enchantment to ESPHome Summoning: A Complete Wizard's Guide
Welcome, intrepid techno-magician, to a saga where you'll weave Docker's might with ESPHome's wisdom, bringing harmony to your realm of IoT devices.
🐋 Unveiling Docker Magic
Imagine Docker as a mystical toolbox, each container working flawlessly anywhere. Docker-Compose, our spellbook, orchestrates these containers in perfect harmony.
🔧 Docker Installation Rites
Update the Pi: Refresh with sudo apt-get update and sudo apt-get upgrade -y.
Install Docker: Summon with curl -fsSL https://get.docker.com -o get-docker.sh and sudo sh get-docker.sh.
Add Permission: Empower yourself with sudo usermod -aG docker pi.
Test the Magic: Conjure your first container with docker run hello-world.
📜 Enchanting with Docker-Compose
Install Docker-Compose with sudo apt-get install -y python3-pip and sudo pip3 install docker-compose.
Verify the installation with docker-compose --version.
🌿 Integrating ESPHome with Docker
Set out on your quest to integrate ESPHome into your collection of smart devices by utilizing the tools Docker and Docker Compose offer. This integration is pivotal for managing and deploying firmware effortlessly.
📁 Step 1: Crafting the ESPHome Directory
Create a directory named esphome on your machine. This will serve as the central hub for your device configurations and scripts, akin to a workshop where all your tools are within arm's reach. Why this step? Just as a craftsman requires an organized workshop, you need a dedicated directory for your ESPHome configurations. It keeps your projects orderly and easily accessible, simplifying management and maintenance.
🔍 Preliminary Step: Checking the Device Connection
Before delving into Docker Compose, it's essential to confirm that your ESP8266 is connected to the Raspberry Pi and is recognizable by the system, ensuring it's prepared to receive firmware.
Enter the command ls /dev/tty* to list all serial devices.
Identify your device from the list. ESP8266 typically shows up as /dev/ttyUSB0 or /dev/ttyAMA0. If you're unsure, disconnect your device, run the command again and note which entry disappears from the list, then reconnect it and identify the new entry.
Why this step? Direct communication with the ESP8266 is required for firmware flashing. This step confirms the device path so that Docker can grant ESPHome access to the ESP8266.
📜 Step 2: Inscribing the Docker Compose Scroll
In the esphome directory, create a docker-compose.yml scroll with the following incantation:
With the scroll prepared, venture forth to the terminal within the esphome sanctum and invoke the ancient rite: docker-compose up -d.
🌐 Step 4: Crossing the Threshold
ESPHome now whispers through the ether, awaiting your beckon. Approach the gateway at http://<em>RaspberryPiLocalIP</em>:6052 to greet the ESPHome dashboard, where your journey of automation and enchantment truly begins.
🎉 Eureka! The ethers have responded, ESPHome stands ready at your command. Venture forth, bold mage, for the realm of IoT is now your oyster, ripe for the taking with spells of automation and control.
Remember, should you encounter any monsters (aka challenges), the sacred texts from Docker's site and Docker's documentation may hold the answers you seek.
6
The Art of Flashing ESP8266: A Step-by-Step ESPHome Guide on Raspberry Pi
🚪 Step 1: Enter the ESPHome Portal
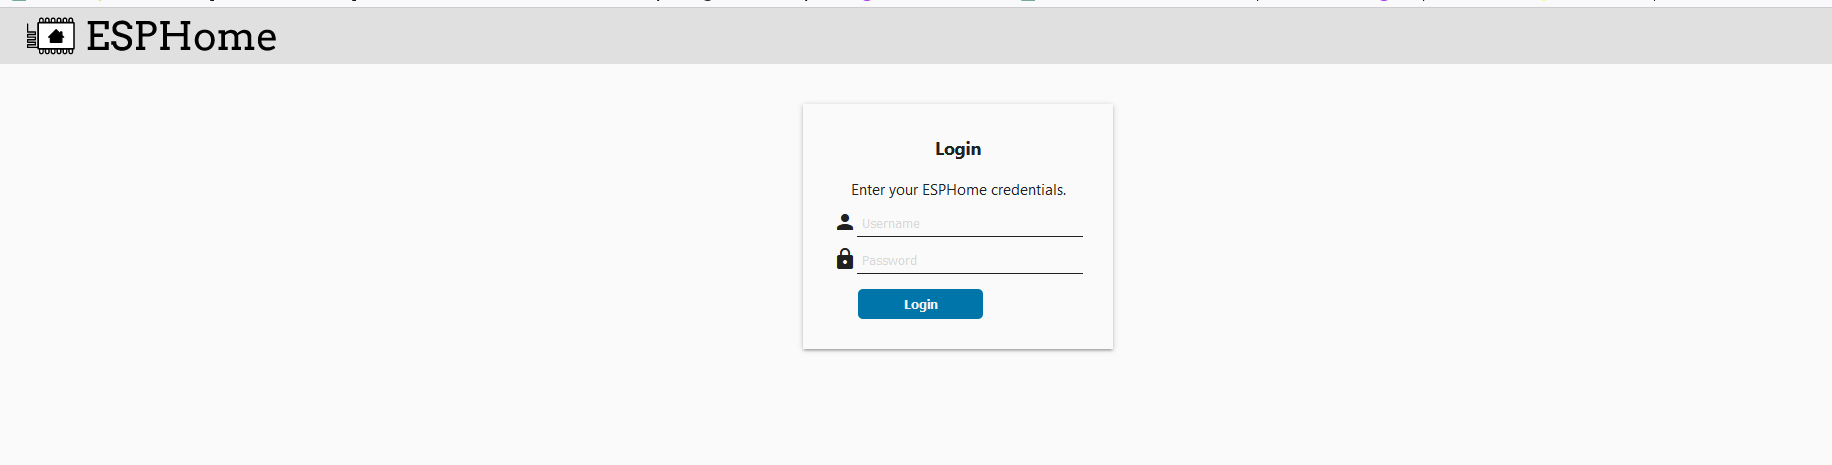
Open your browser and glide over to http://<Raspberry_Pi_IP>:6052🌐. Replace <Raspberry_Pi_IP> with your Raspberry Pi's IP address.
A login prompt will appear, requesting your secret scrolls 📜 (the username and password). These are the ones you set in your 'docker-compose' spell. Enter them to unlock the door to the ESPHome kingdom!
🛠️ Step 2: Engaging the ESP8266 with ESPHome
To enlist your ESP8266 into the ESPHome's service:
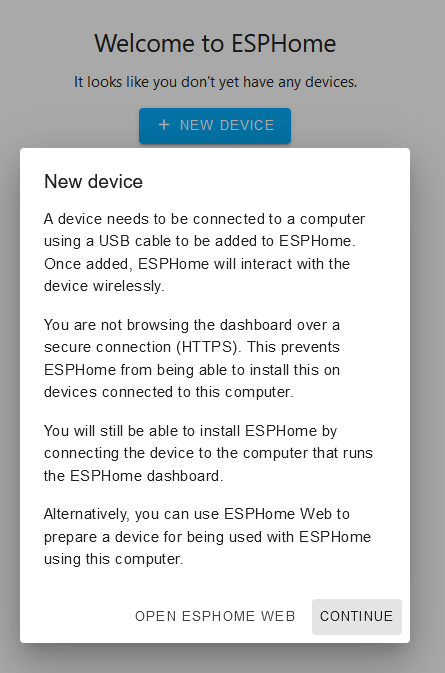
Approach the ESPHome dashboard, and with a deft click, beckon forth the "+ NEW DEVICE" incantation.
Grant your device a moniker that shall echo through your halls of automation, making it known to all who dwell within.
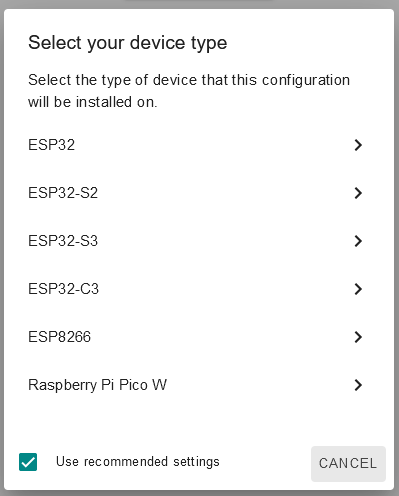
3. From the scroll of devices that appear, choose the ESP8266, for it is the vessel you wish to imbue with intelligence.
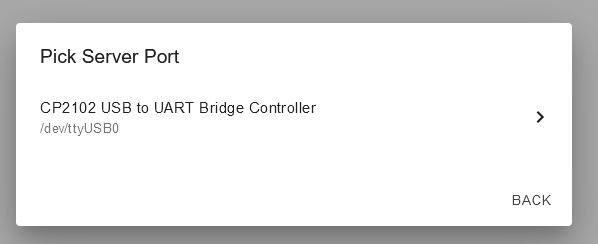
4. Opt for the ritual "Plug into the computer running ESPHome Dashboard," whereupon your ESP8266 should be listed, a sign that the digital spirits have acknowledged its presence.
Why this ceremony? This rite of passage is crucial, for it is how your ESP8266 shall be recognized and bestowed with its new powers. Naming your device lays the cornerstone of its identity, while selecting its type instructs ESPHome on the correct spells to cast. Connecting the ESP8266 to your Raspberry Pi ensures that ESPHome has a direct line to the very essence of the device.
Upon selection, the ESPHome will commence the gathering of libraries and begin forging the firmware. Patience is your ally, as the crafting of such arcane knowledge takes time. Once complete, your ESP8266 will emerge reborn, ready to heed your every command within the connected realm.
🎉 Step 3: Witnessing the Awakening of ESP8266
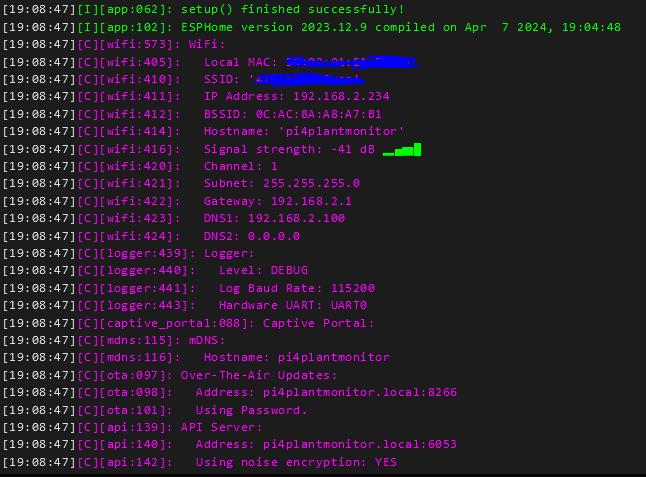
As the incantations conclude and the library scrolls have been absorbed, the ESP8266 is now suffused with the knowledge of ESPHome. Behold the signs of a successful awakening:
The logs from ESPHome reveal a tale of triumph: your device, once mundane, now pulsates with digital life. It has an identity within your network, known henceforth as 'pi4plantmonitor', and it can whisper to other devices through the airwaves on its assigned channel, connecting to your Wi-Fi realm with a vigor marked by signal strength.
🌐 Step 4: Gazing into the ESPHome Realm
Once you have woven your configurations, return to the ESPHome dashboard. There, like a beacon in the night, the name of your device — chosen by you, and you alone — should shine. When marked "ONLINE," it is a sign of success; your device is now part of a greater network, its heartbeat in sync with the pulse of ESPHome.
Alongside your device's name is a sacred script, a .yaml file. This file is the lifeblood of your device's functionality within ESPHome, written in the YAML language — clear and comprehensible to both human and machine. It contains the rules and roles that your device will assume and perform with unwavering loyalty.
📚 Step 5: Unearthing Wisdom from the ESPHome Archives
For those who wish to delve deeper into the arcane workings of ESPHome, or perhaps untangle an unexpected conundrum, the grand archive at esphome.io stands ready. It is brimming with documents and guides, covering a wide array of topics from the foundational spells of device creation to the high arts of intricate automation.
Whether you are a fledgling practitioner of the smart home arts or a grand mage of IoT, this compendium is a treasure trove of knowledge. So, should your path grow tangled, seek out this repository of enlightenment for guidance and inspiration on your journey through the connected realms.
 PKvirus
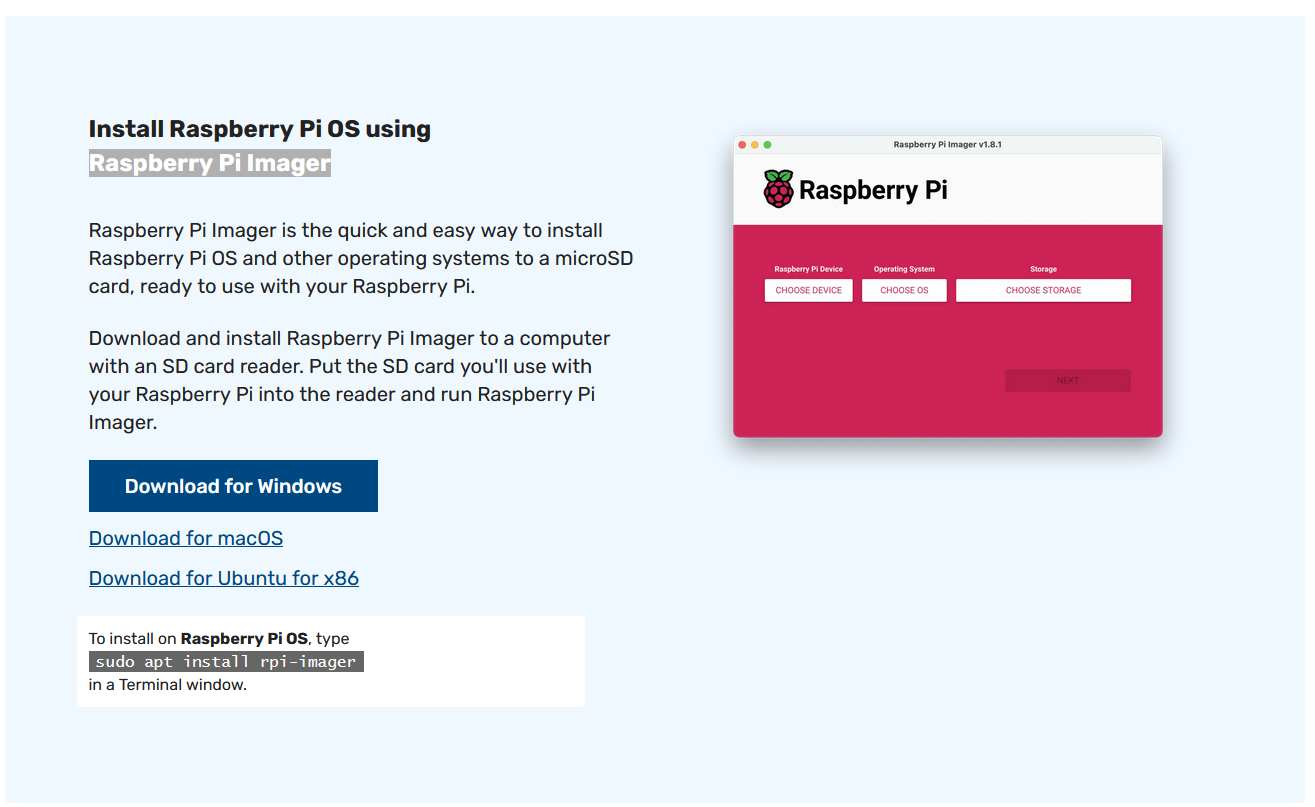


Discussions
Become a Hackaday.io Member
Create an account to leave a comment. Already have an account? Log In.