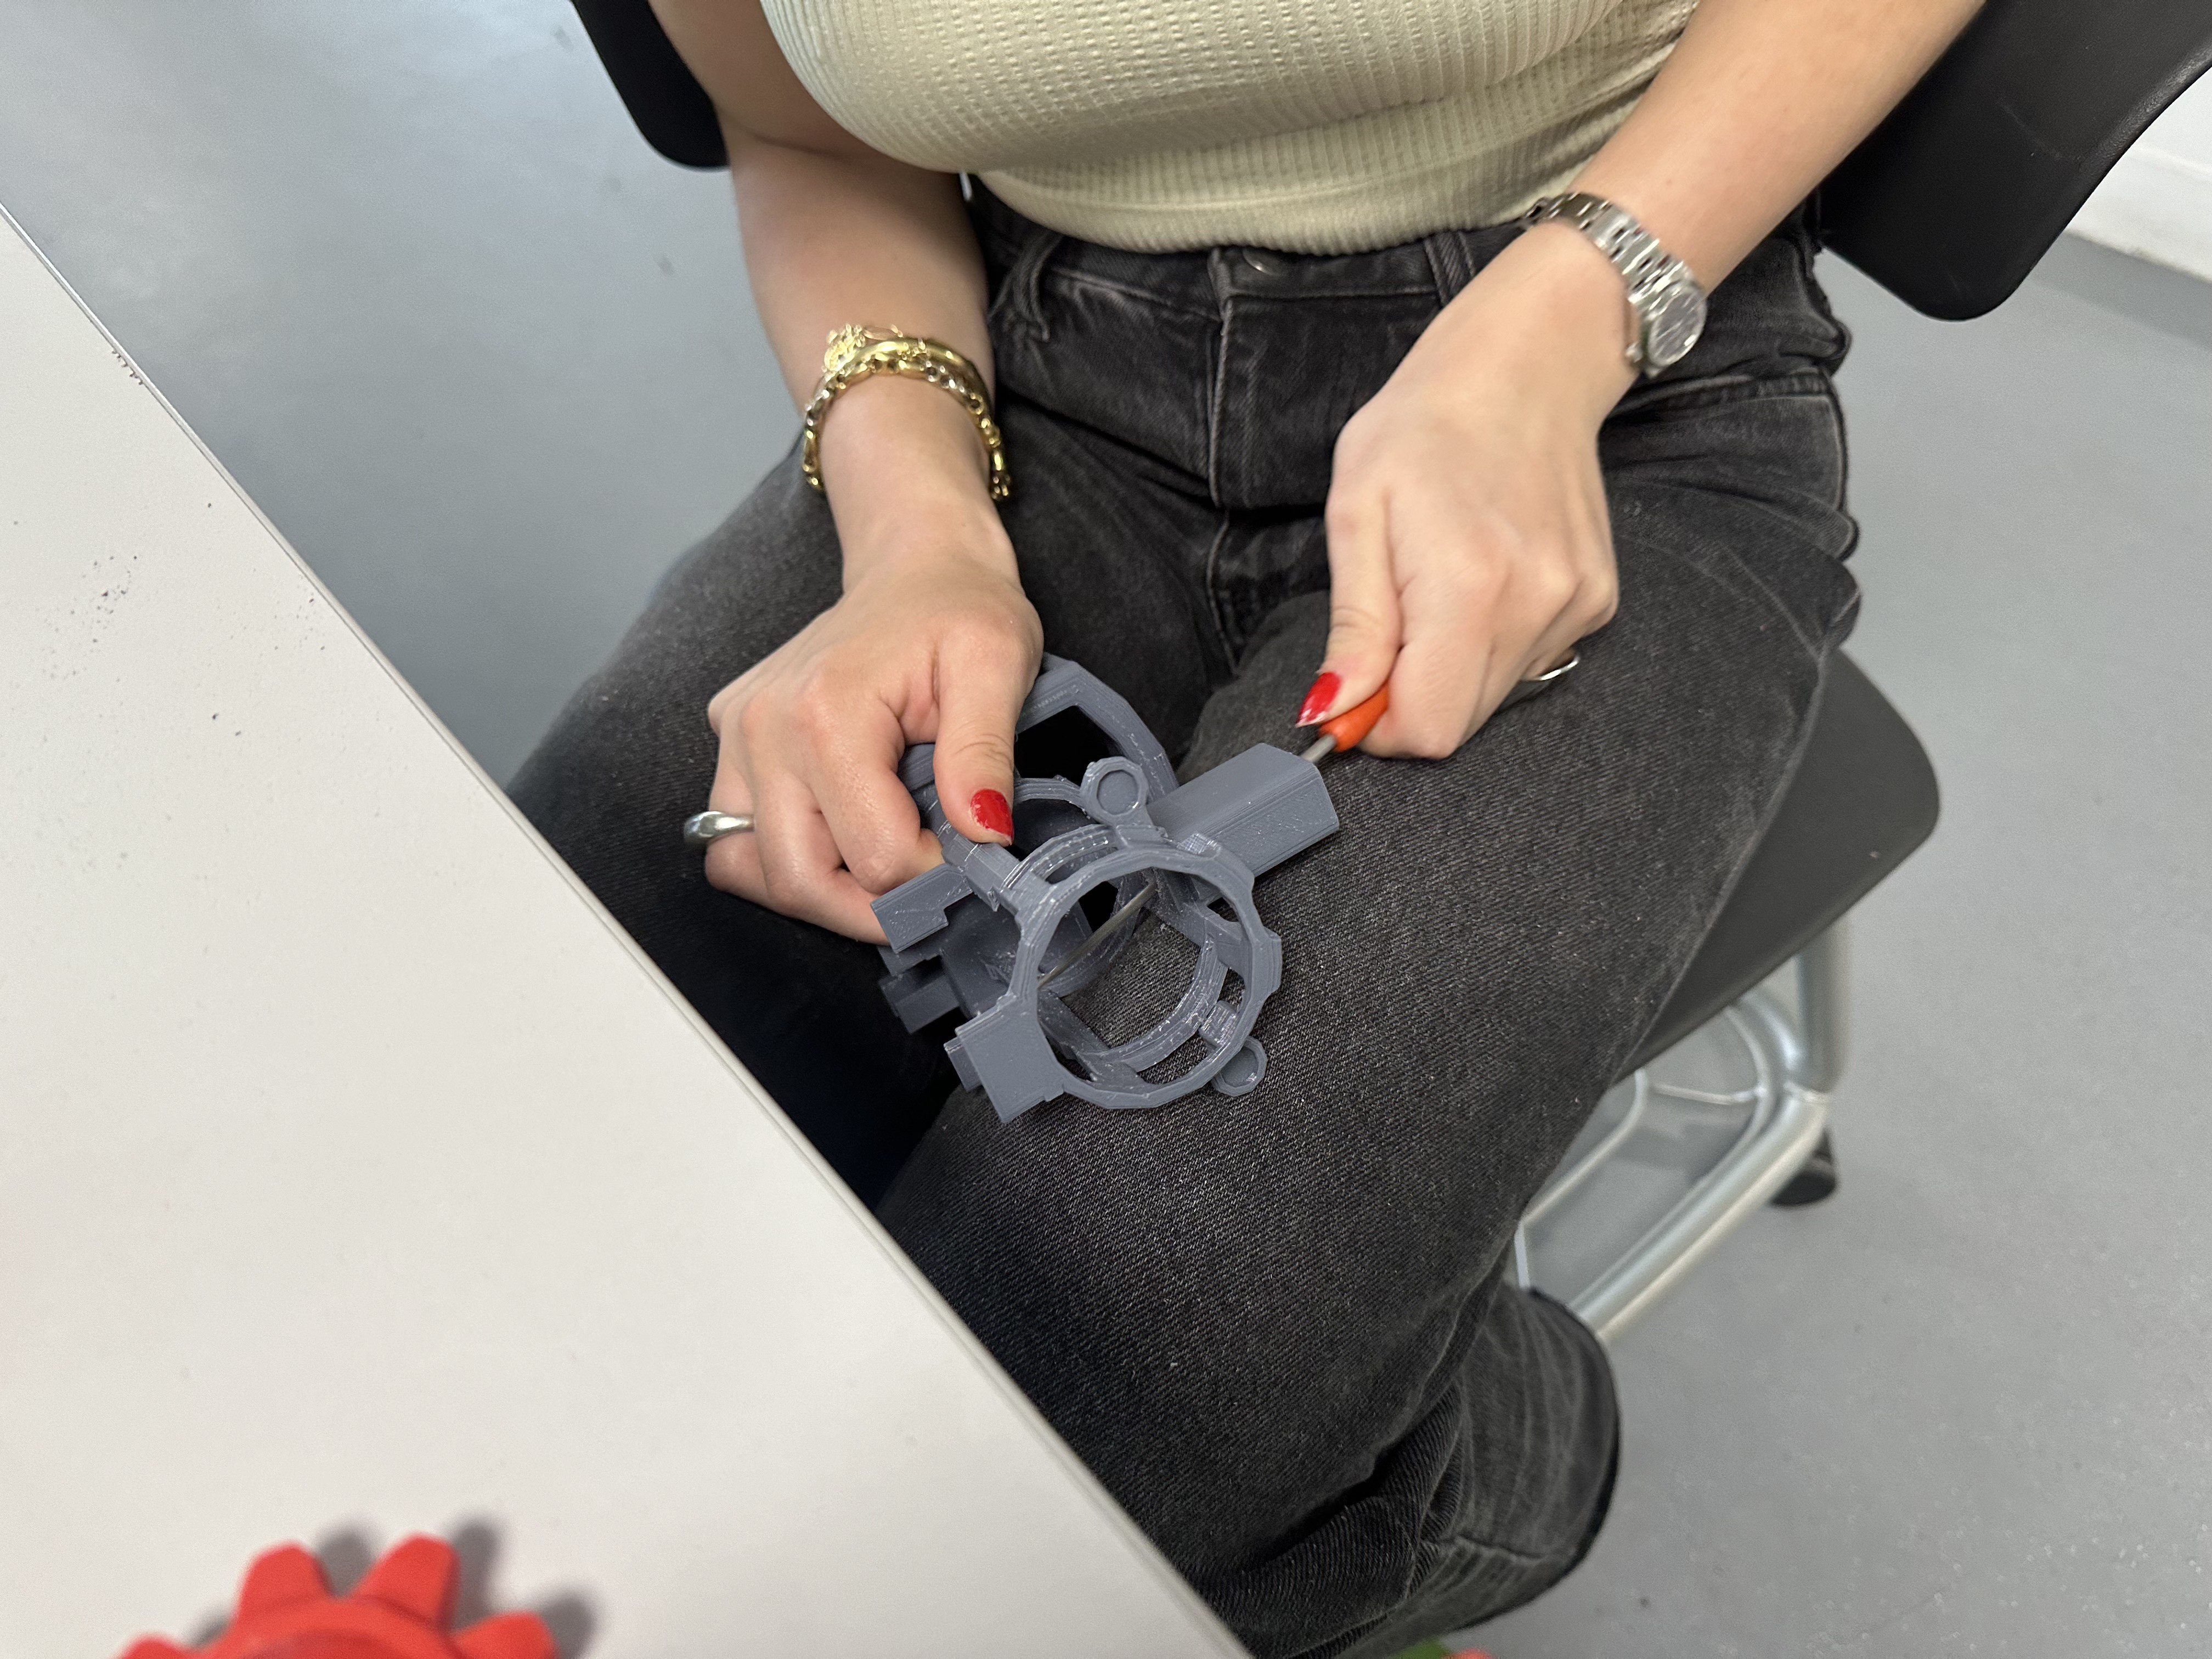
In today's class, we received the 3D reprinted parts, enumerated them, and verified that were all present. Some pieces were missing, so we made a list and sent it for printing. Additionally, we removed the support (excess plastic) from some of the pieces and sanded them to ensure they were perfect.

Sanding process
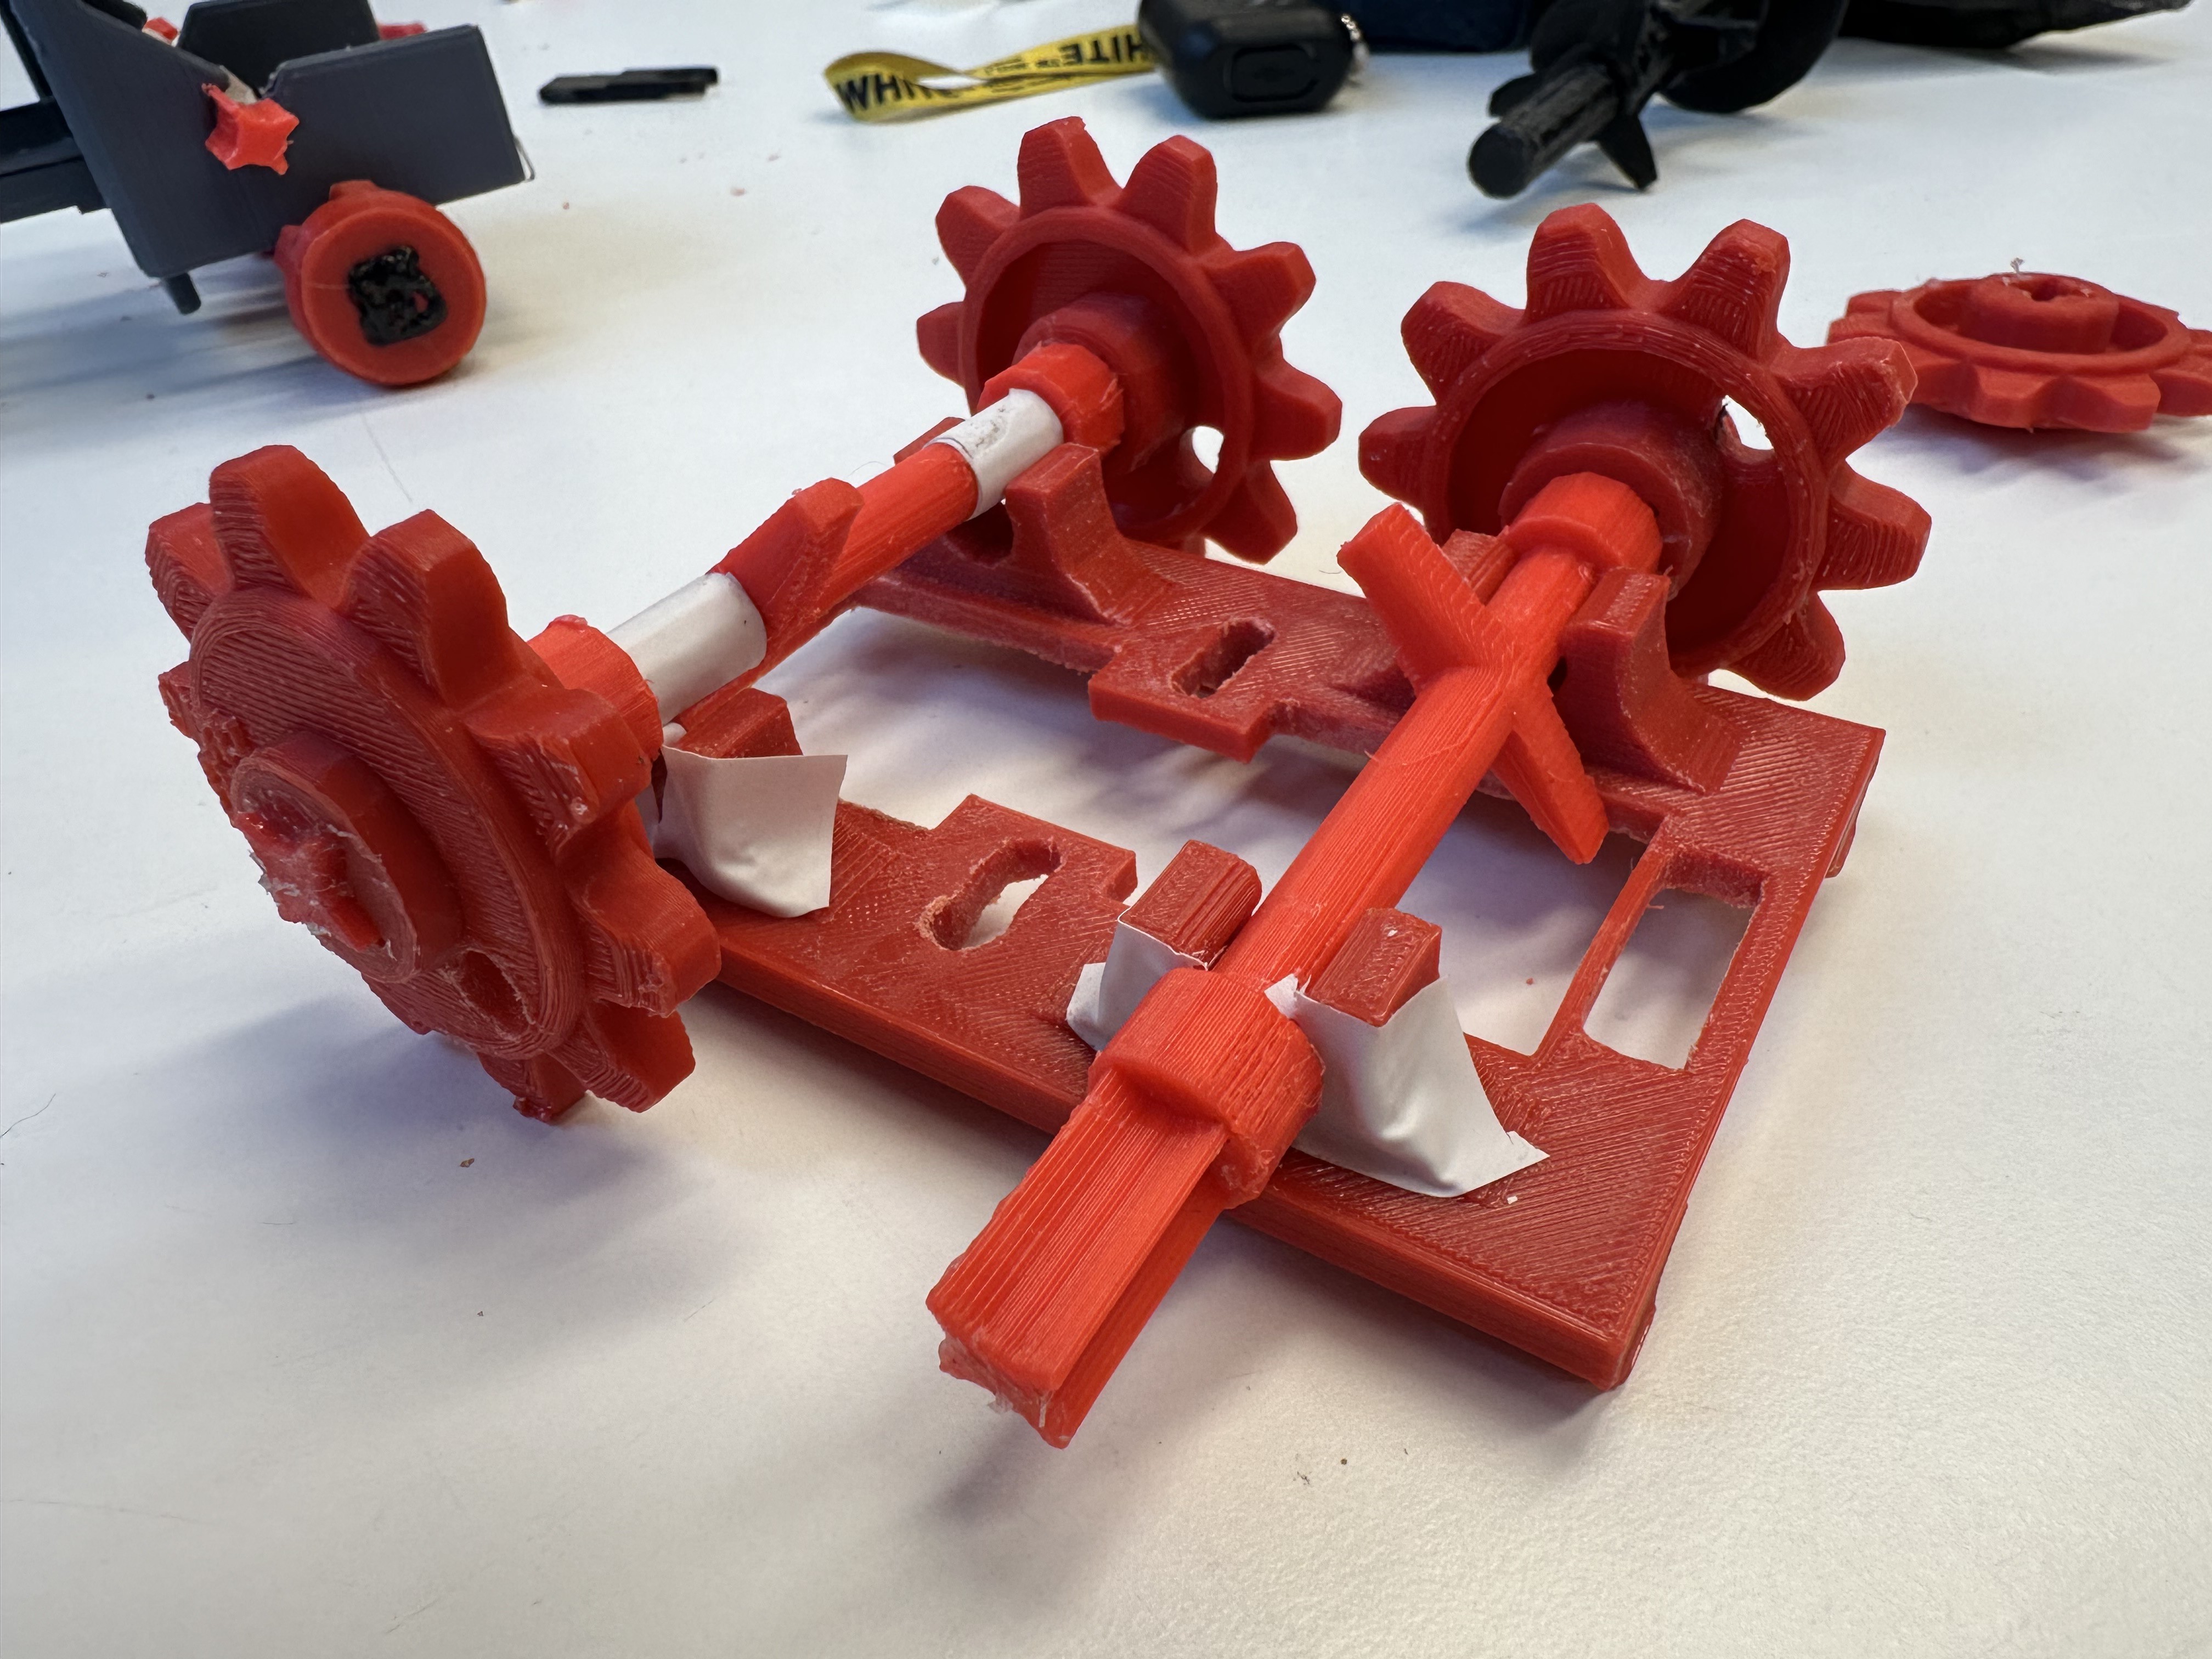
We observed that the axis were thinner than required, resulting in excessive play in their movement. To address this, we applied duct tape to increase the thickness, providing more friction for a better rotation.

Duct tape in the axis to increase the thickness
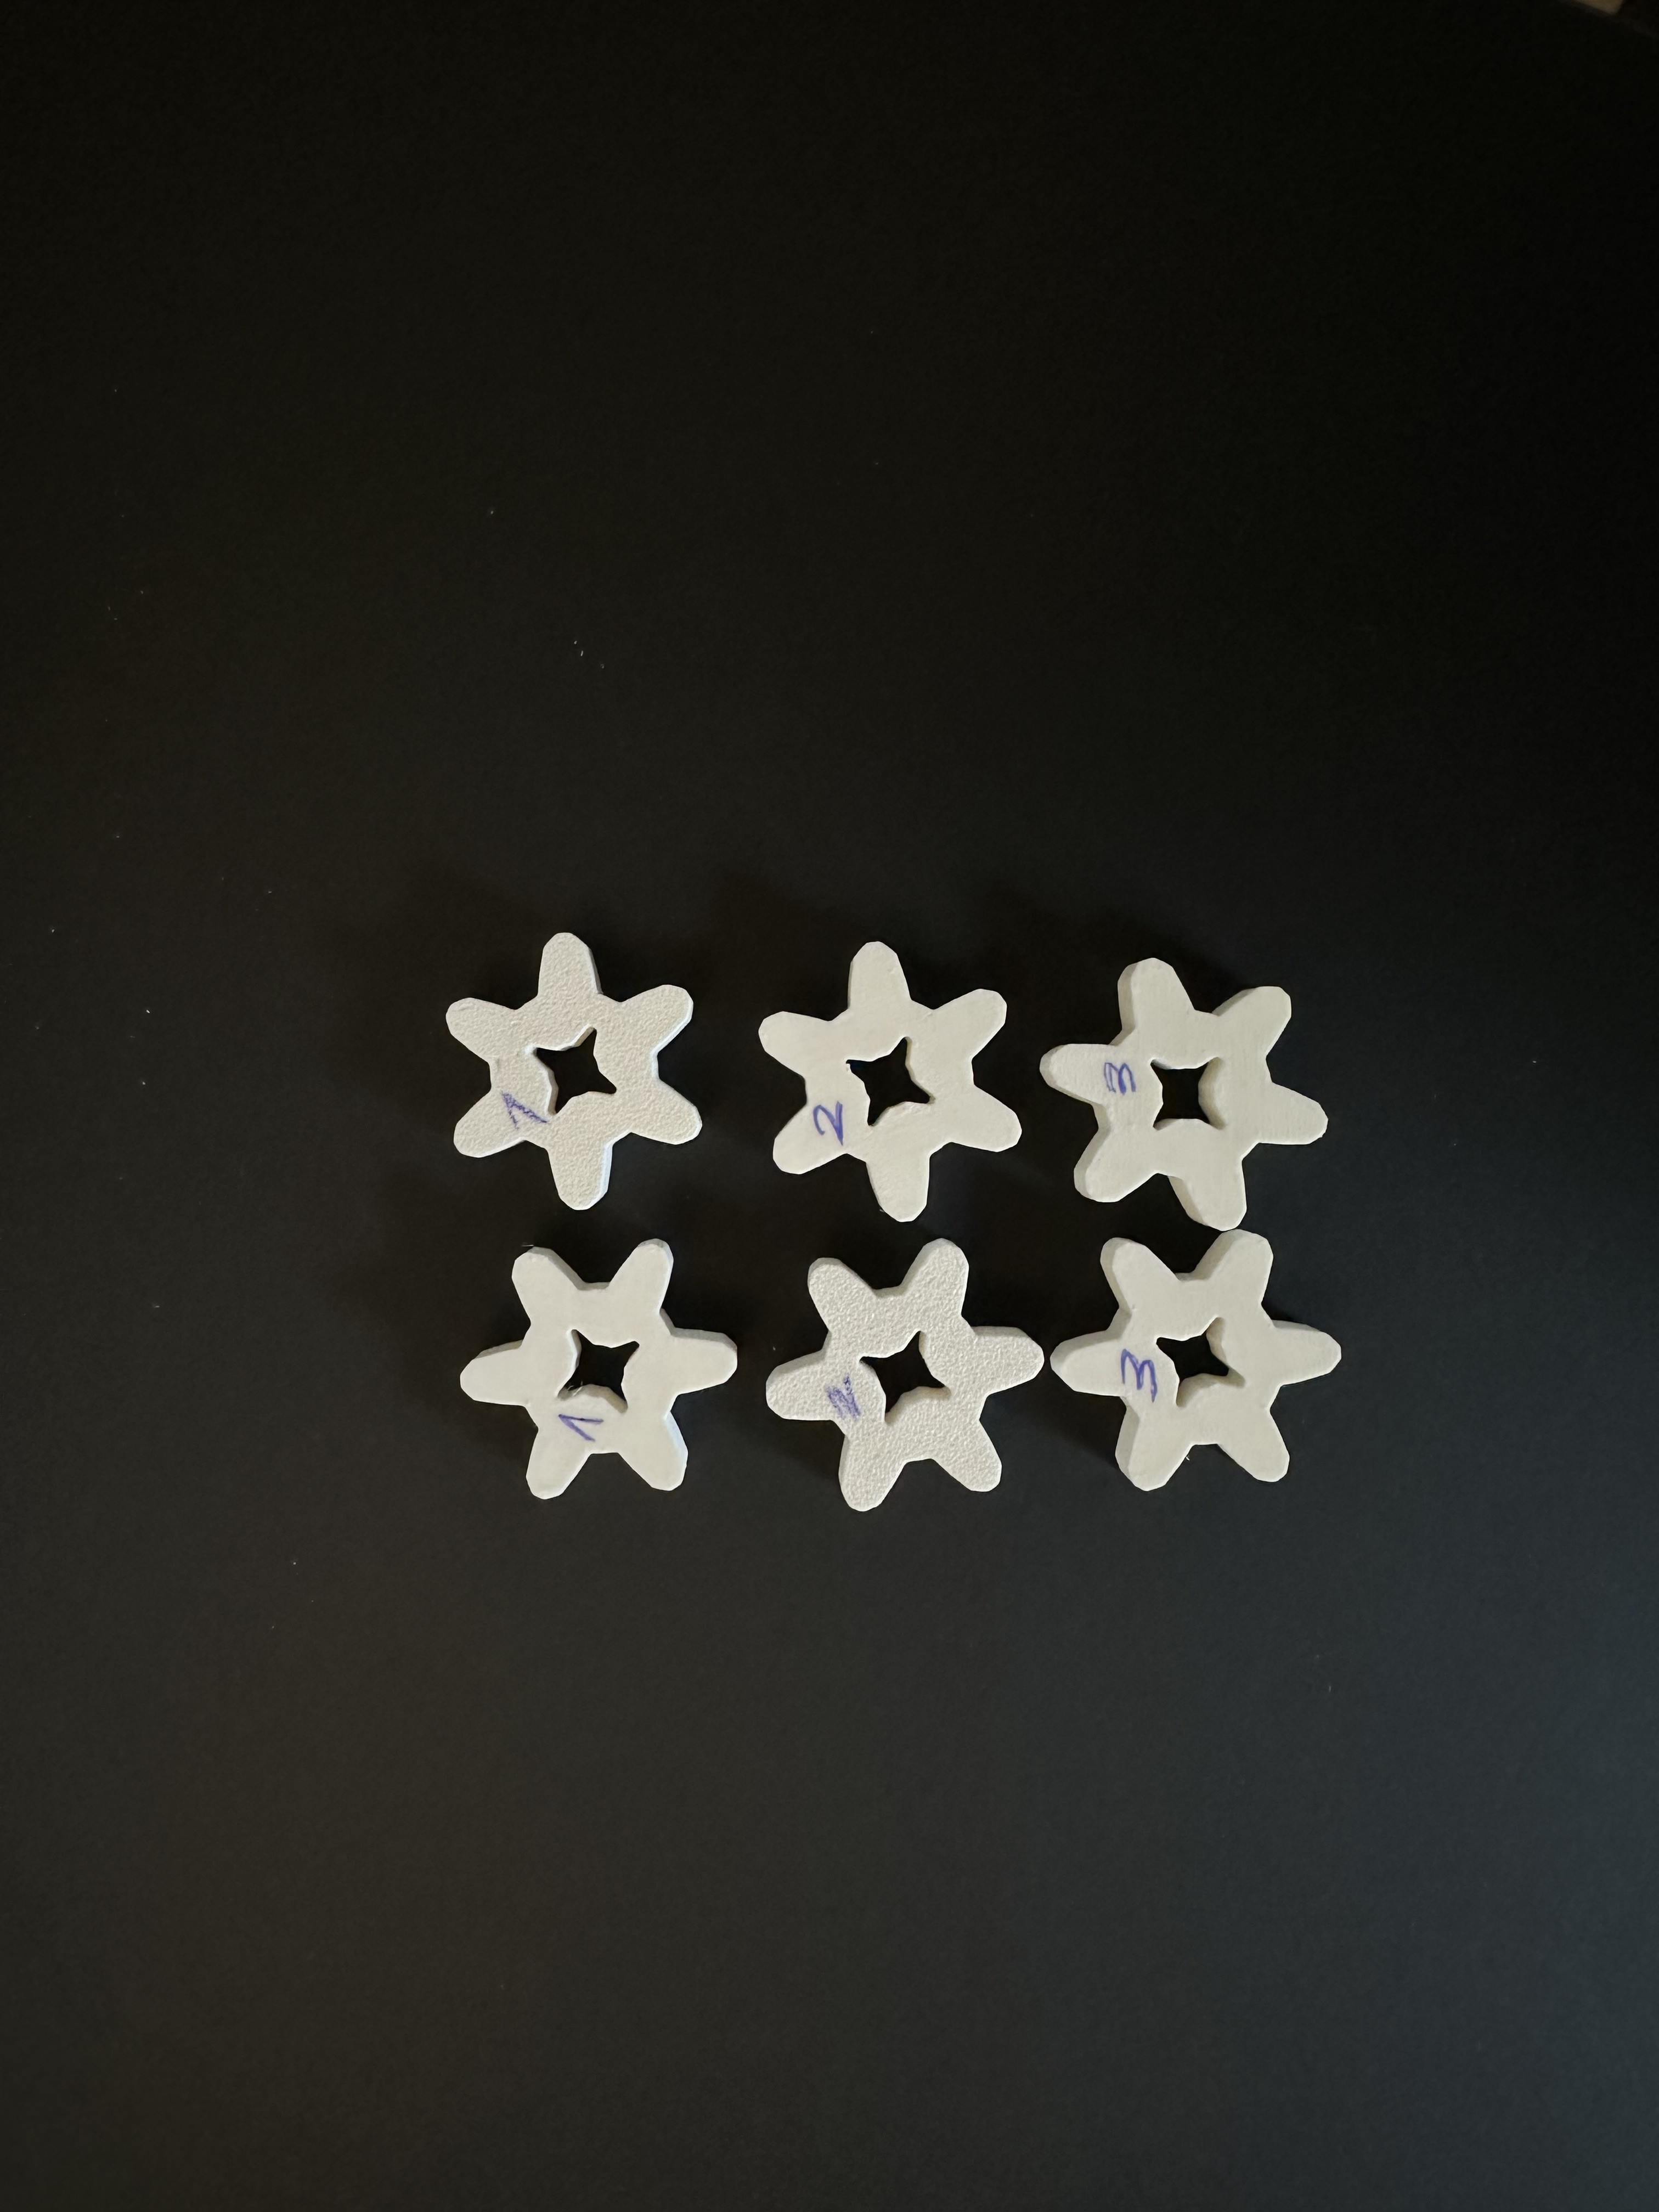
As for the gears that drive the entire mechanism, we found that their dimensions were incorrect and did not fit with the other gears. Consequently, we redesigned them with different measurements and reprinted them to determine which size works best.

Redesign of the driving gears with 3 different sizes
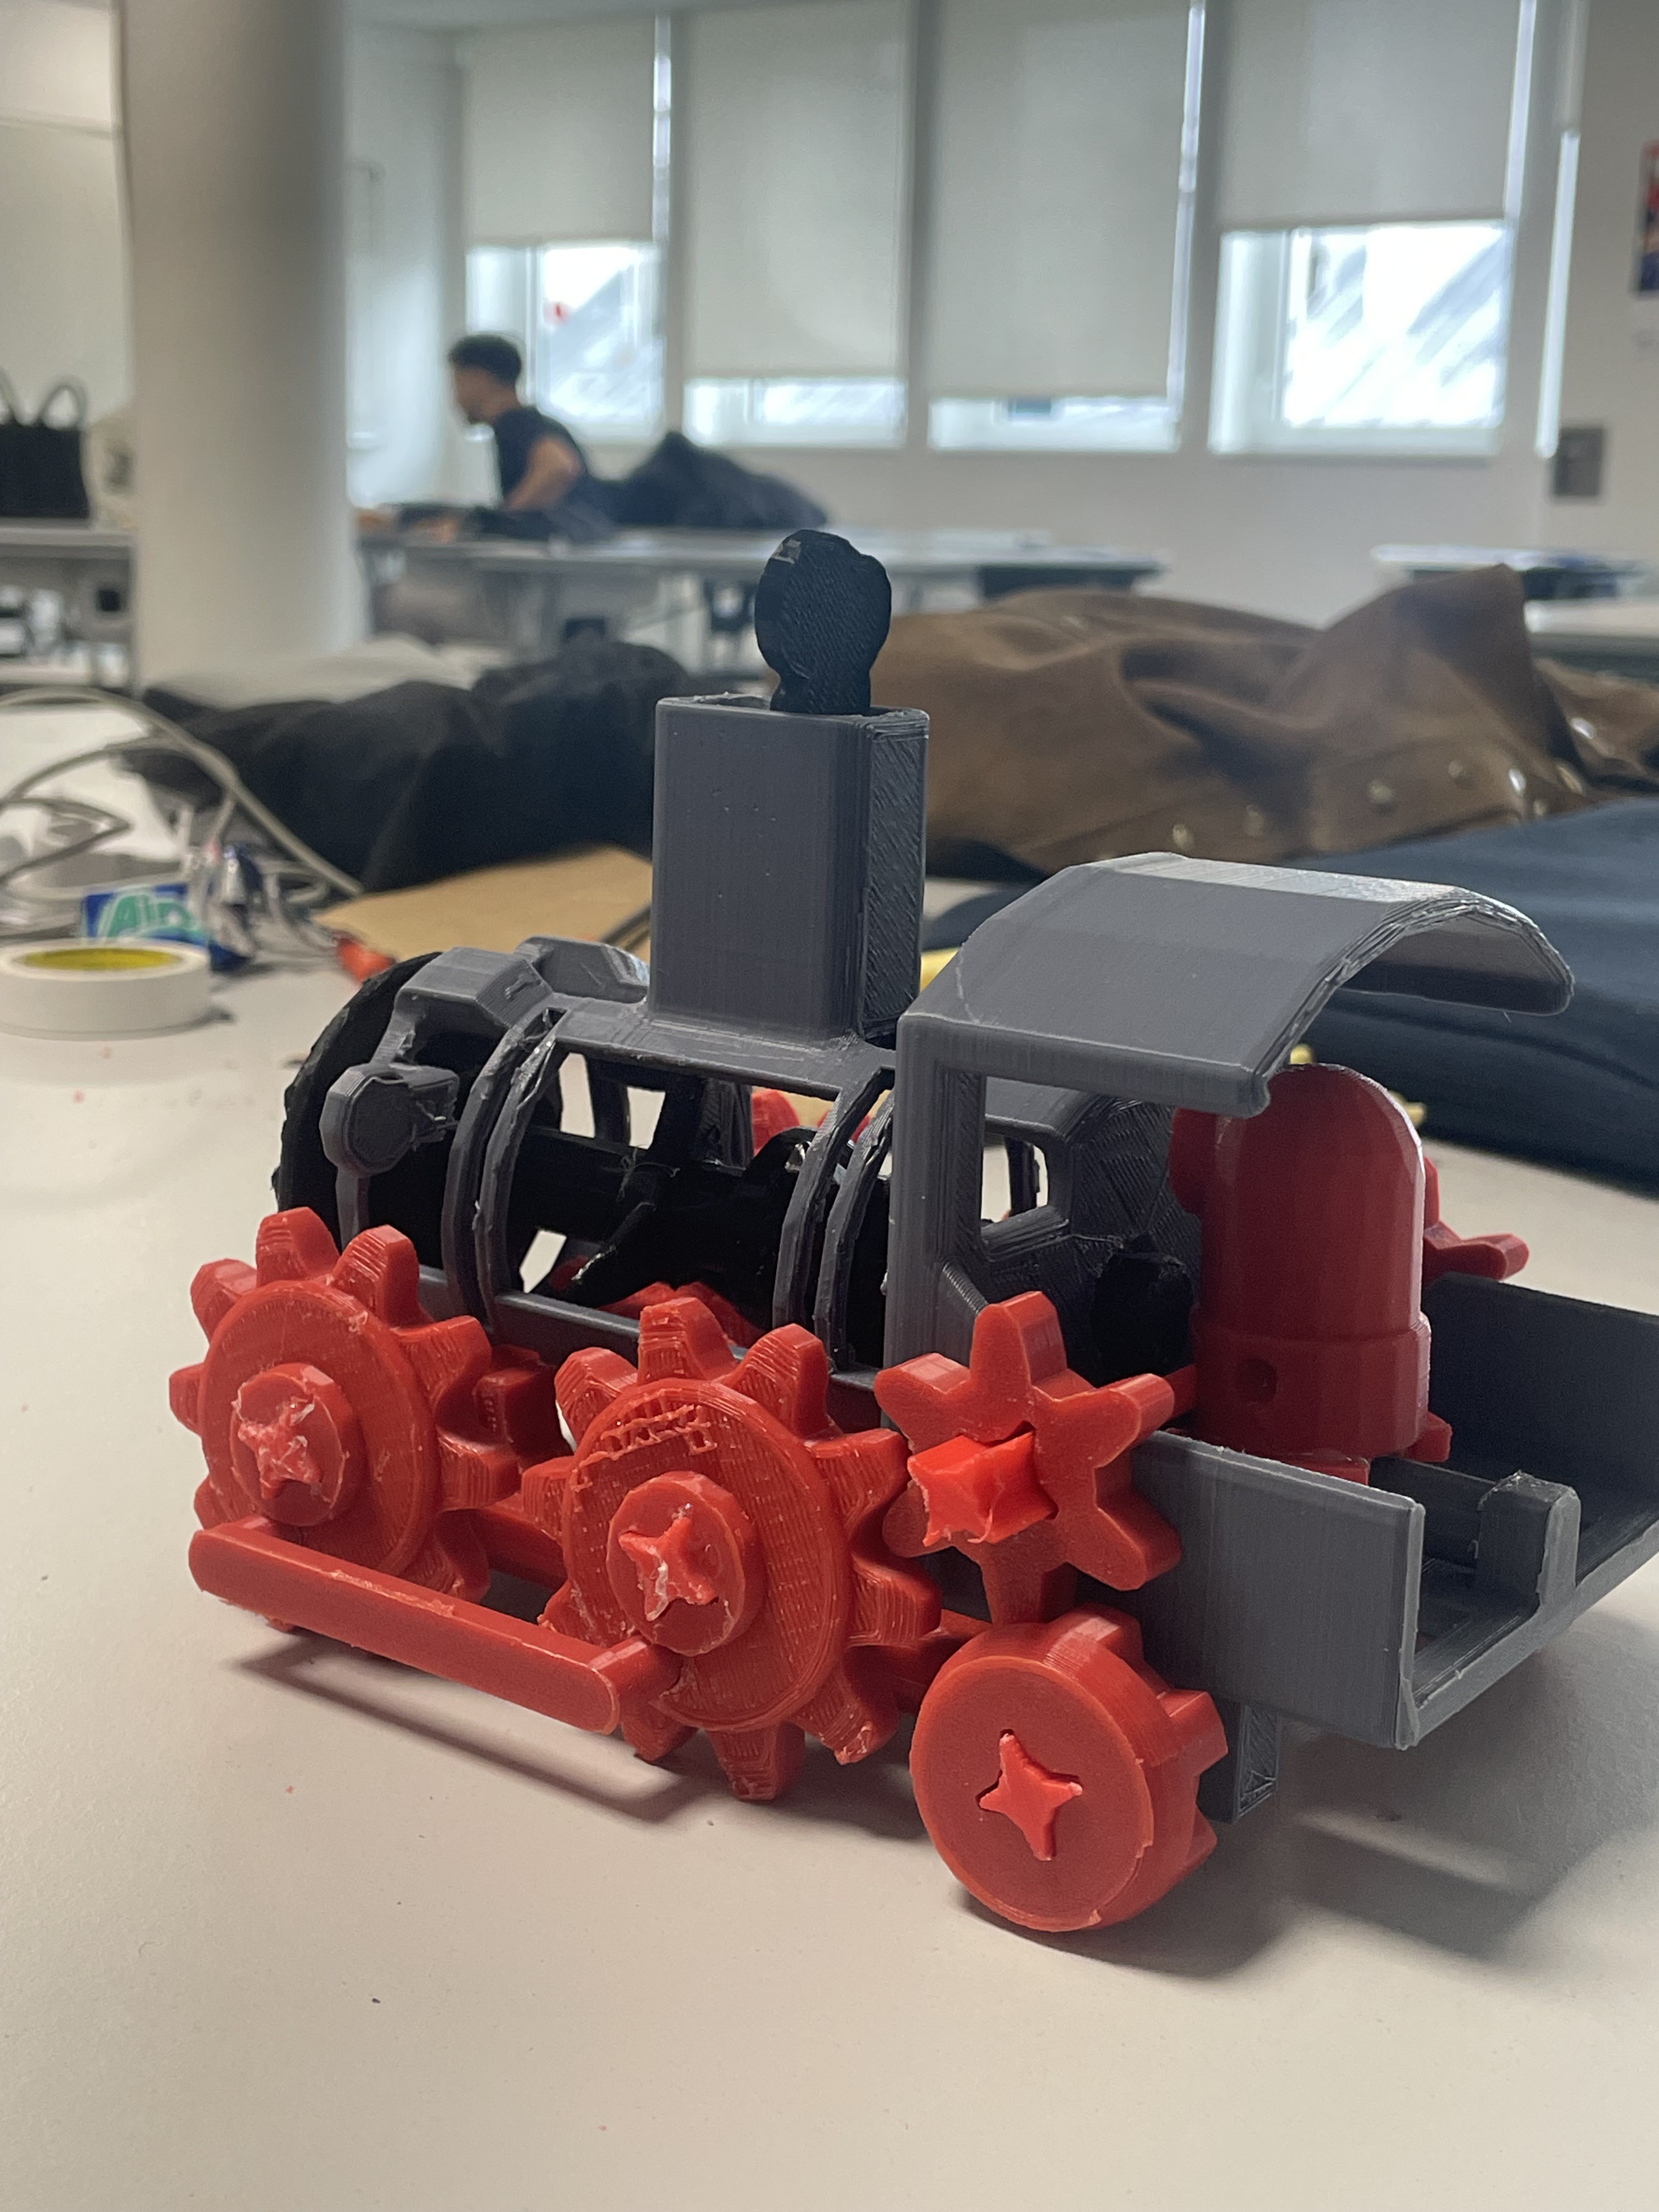
After testing the entire mechanism, we concluded that to improve the train in the future, we should choose a different material for the axis, as the plastic ones do not rotate perfectly. Moreover, since we didn't plan where to put the motor at first, we are going to design a support for the motor and battery, which will be placed at the back of the train. Since the back is the only room we have where to place the electronics and in order to have a good balance of the train whenever it is actioned, this means we will have to remove the minion behind in order to leave this room available in the train for the electronics. For future projects, we would suggest not doing inverse engineering (as we did now) but to plan every detail first before printing.

Quick look at the assembled train
Discussions
Become a Hackaday.io Member
Create an account to leave a comment. Already have an account? Log In.