Design Goals
Based on my experiences with Pixel Board 1.0, I knew I wanted to do things differently. My old design used bayonet style WS2811 pixels and 5V. This created both quite a deep board, and created issues in making pixels white due to current limitations. I also discovered that under-current conditions can wear out pixels faster, and my failure rate for 1.0 was quite high.
Also - the original design was printed in PLA. This suffered warping issues when hung on the wall for such a long time; and in fact at one point I needed to patch the bracket to stop the frame falling from the wall.
So this led me to some key design goals for the new design:
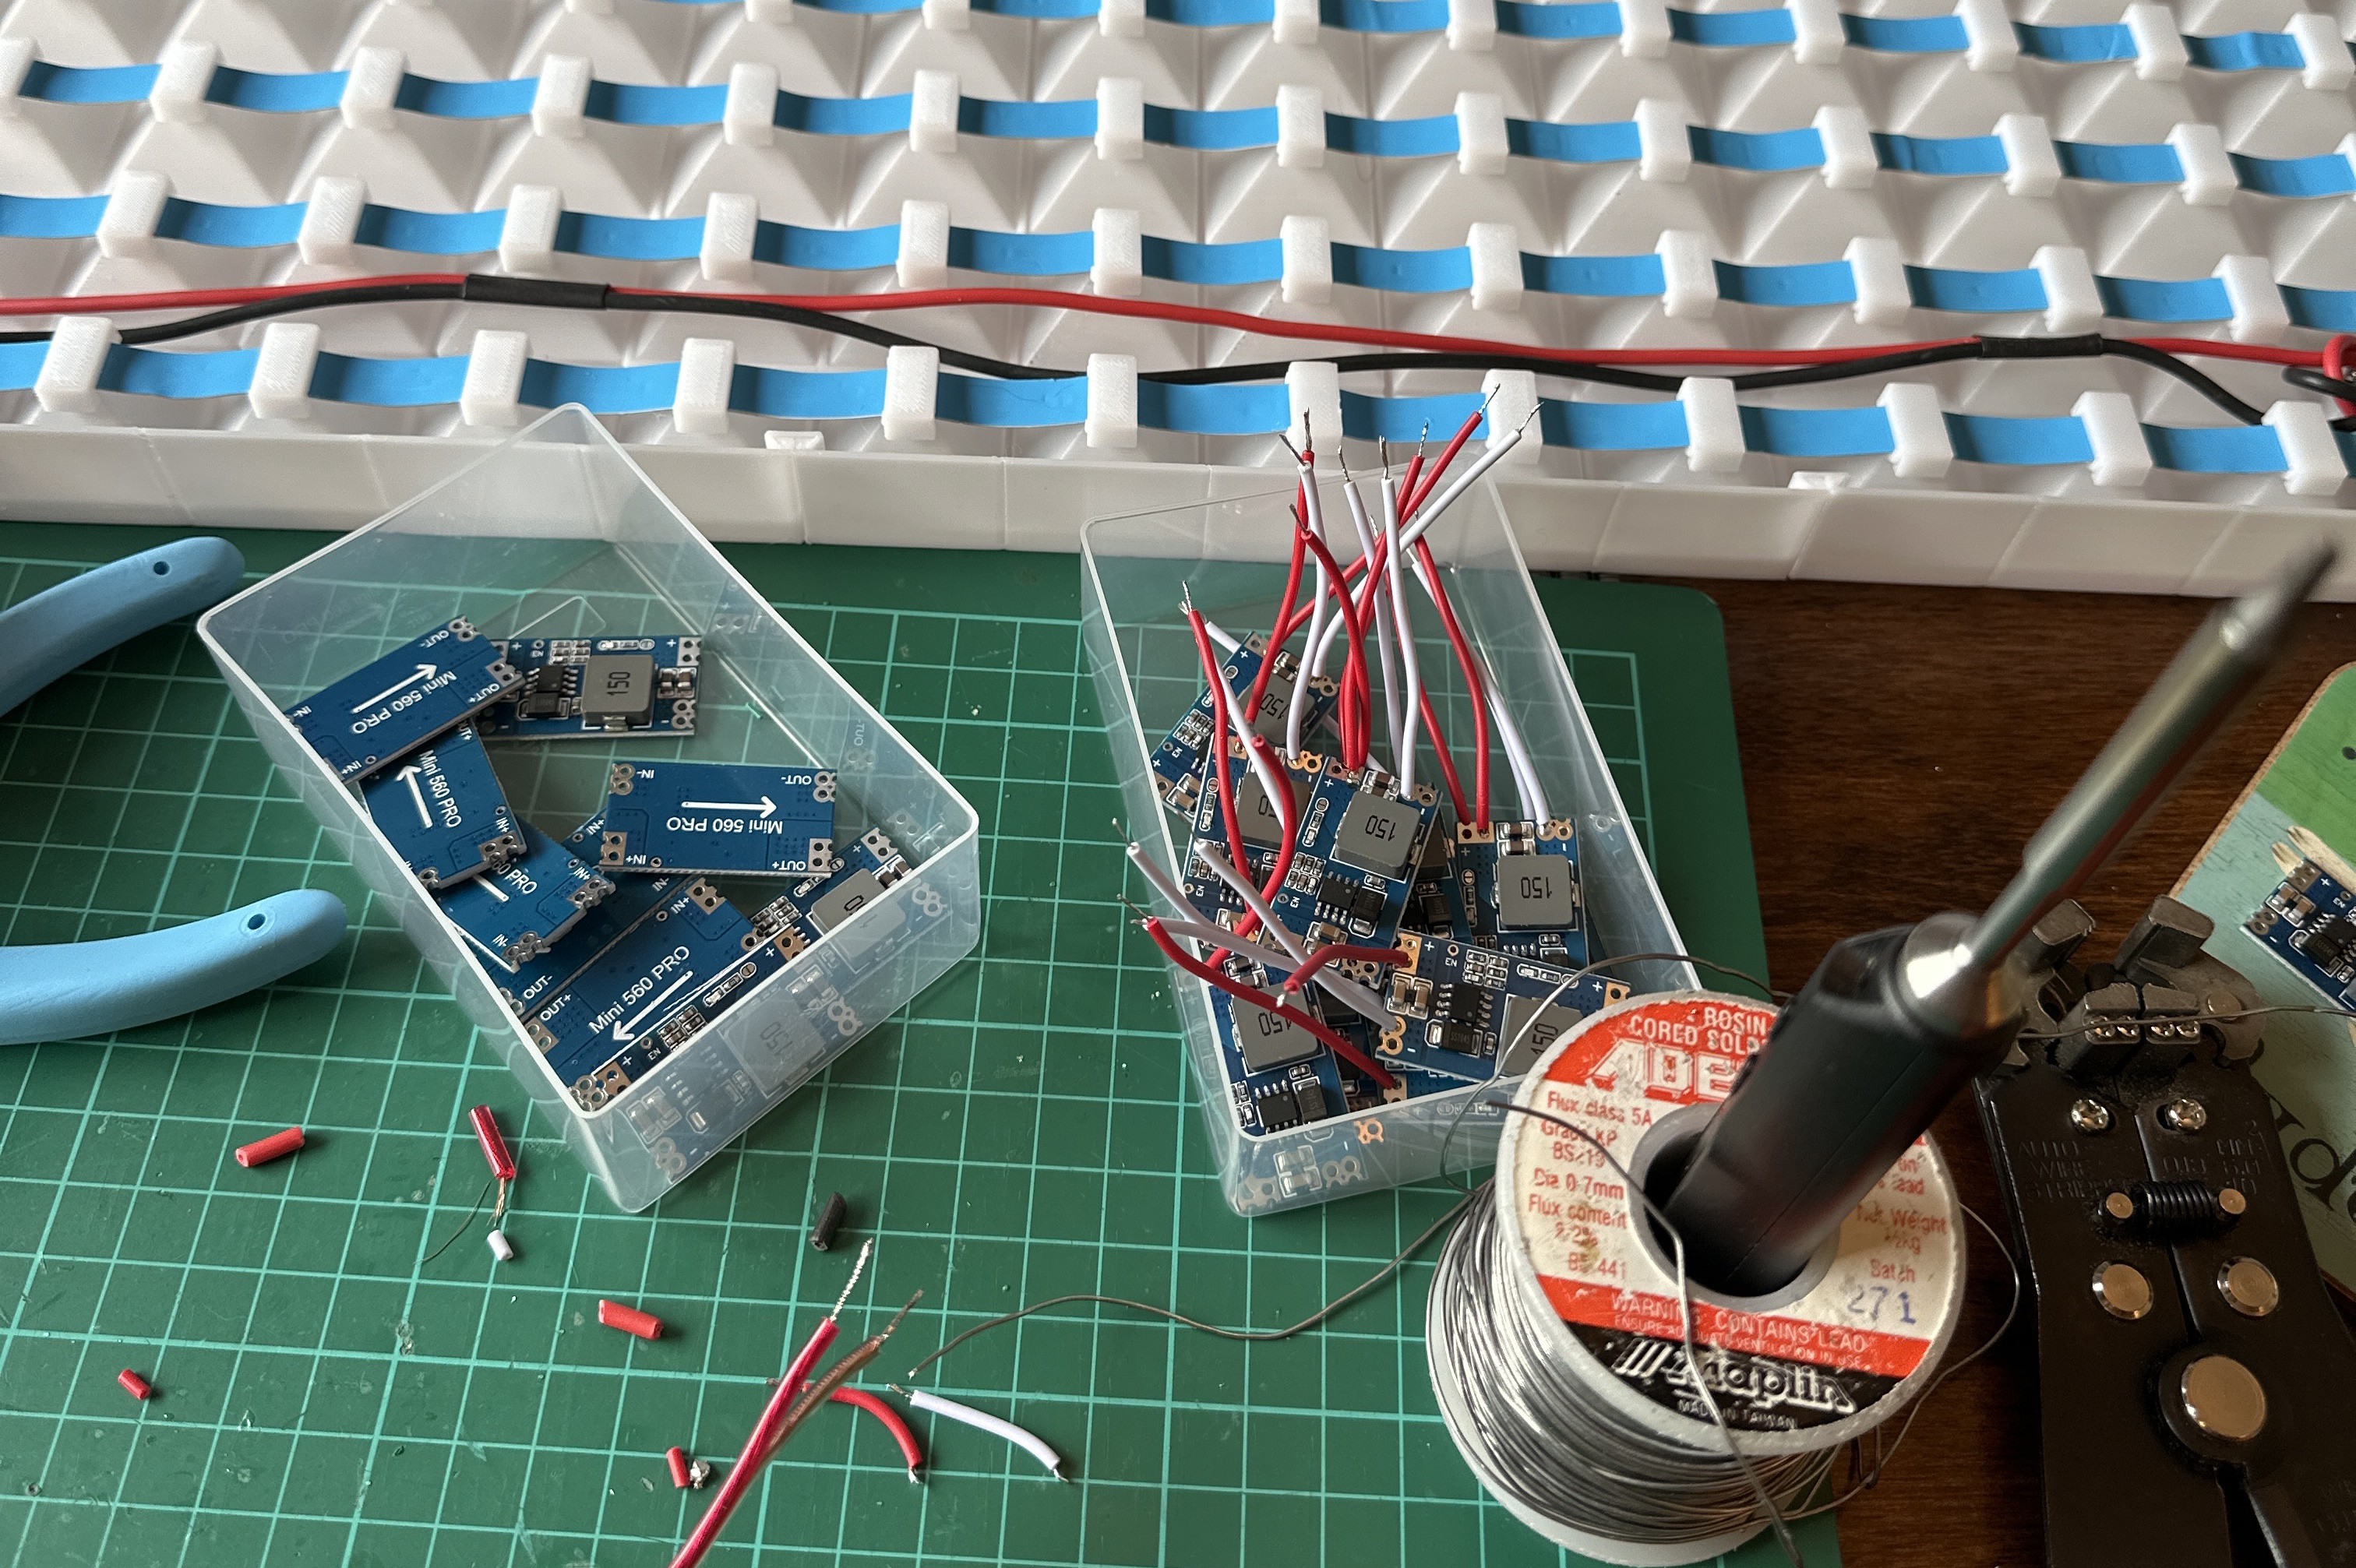
- 24V architecture. Switch down to 5V from 24V using localized buck converters.
- Use sparse spaced WS2812b ribbon LEDs to simplify assembly.
- Increase the pixel count, but reduce the LED spacing.
- Print the light-guides in PETG for strength.
- Print less parts for easier assembly.
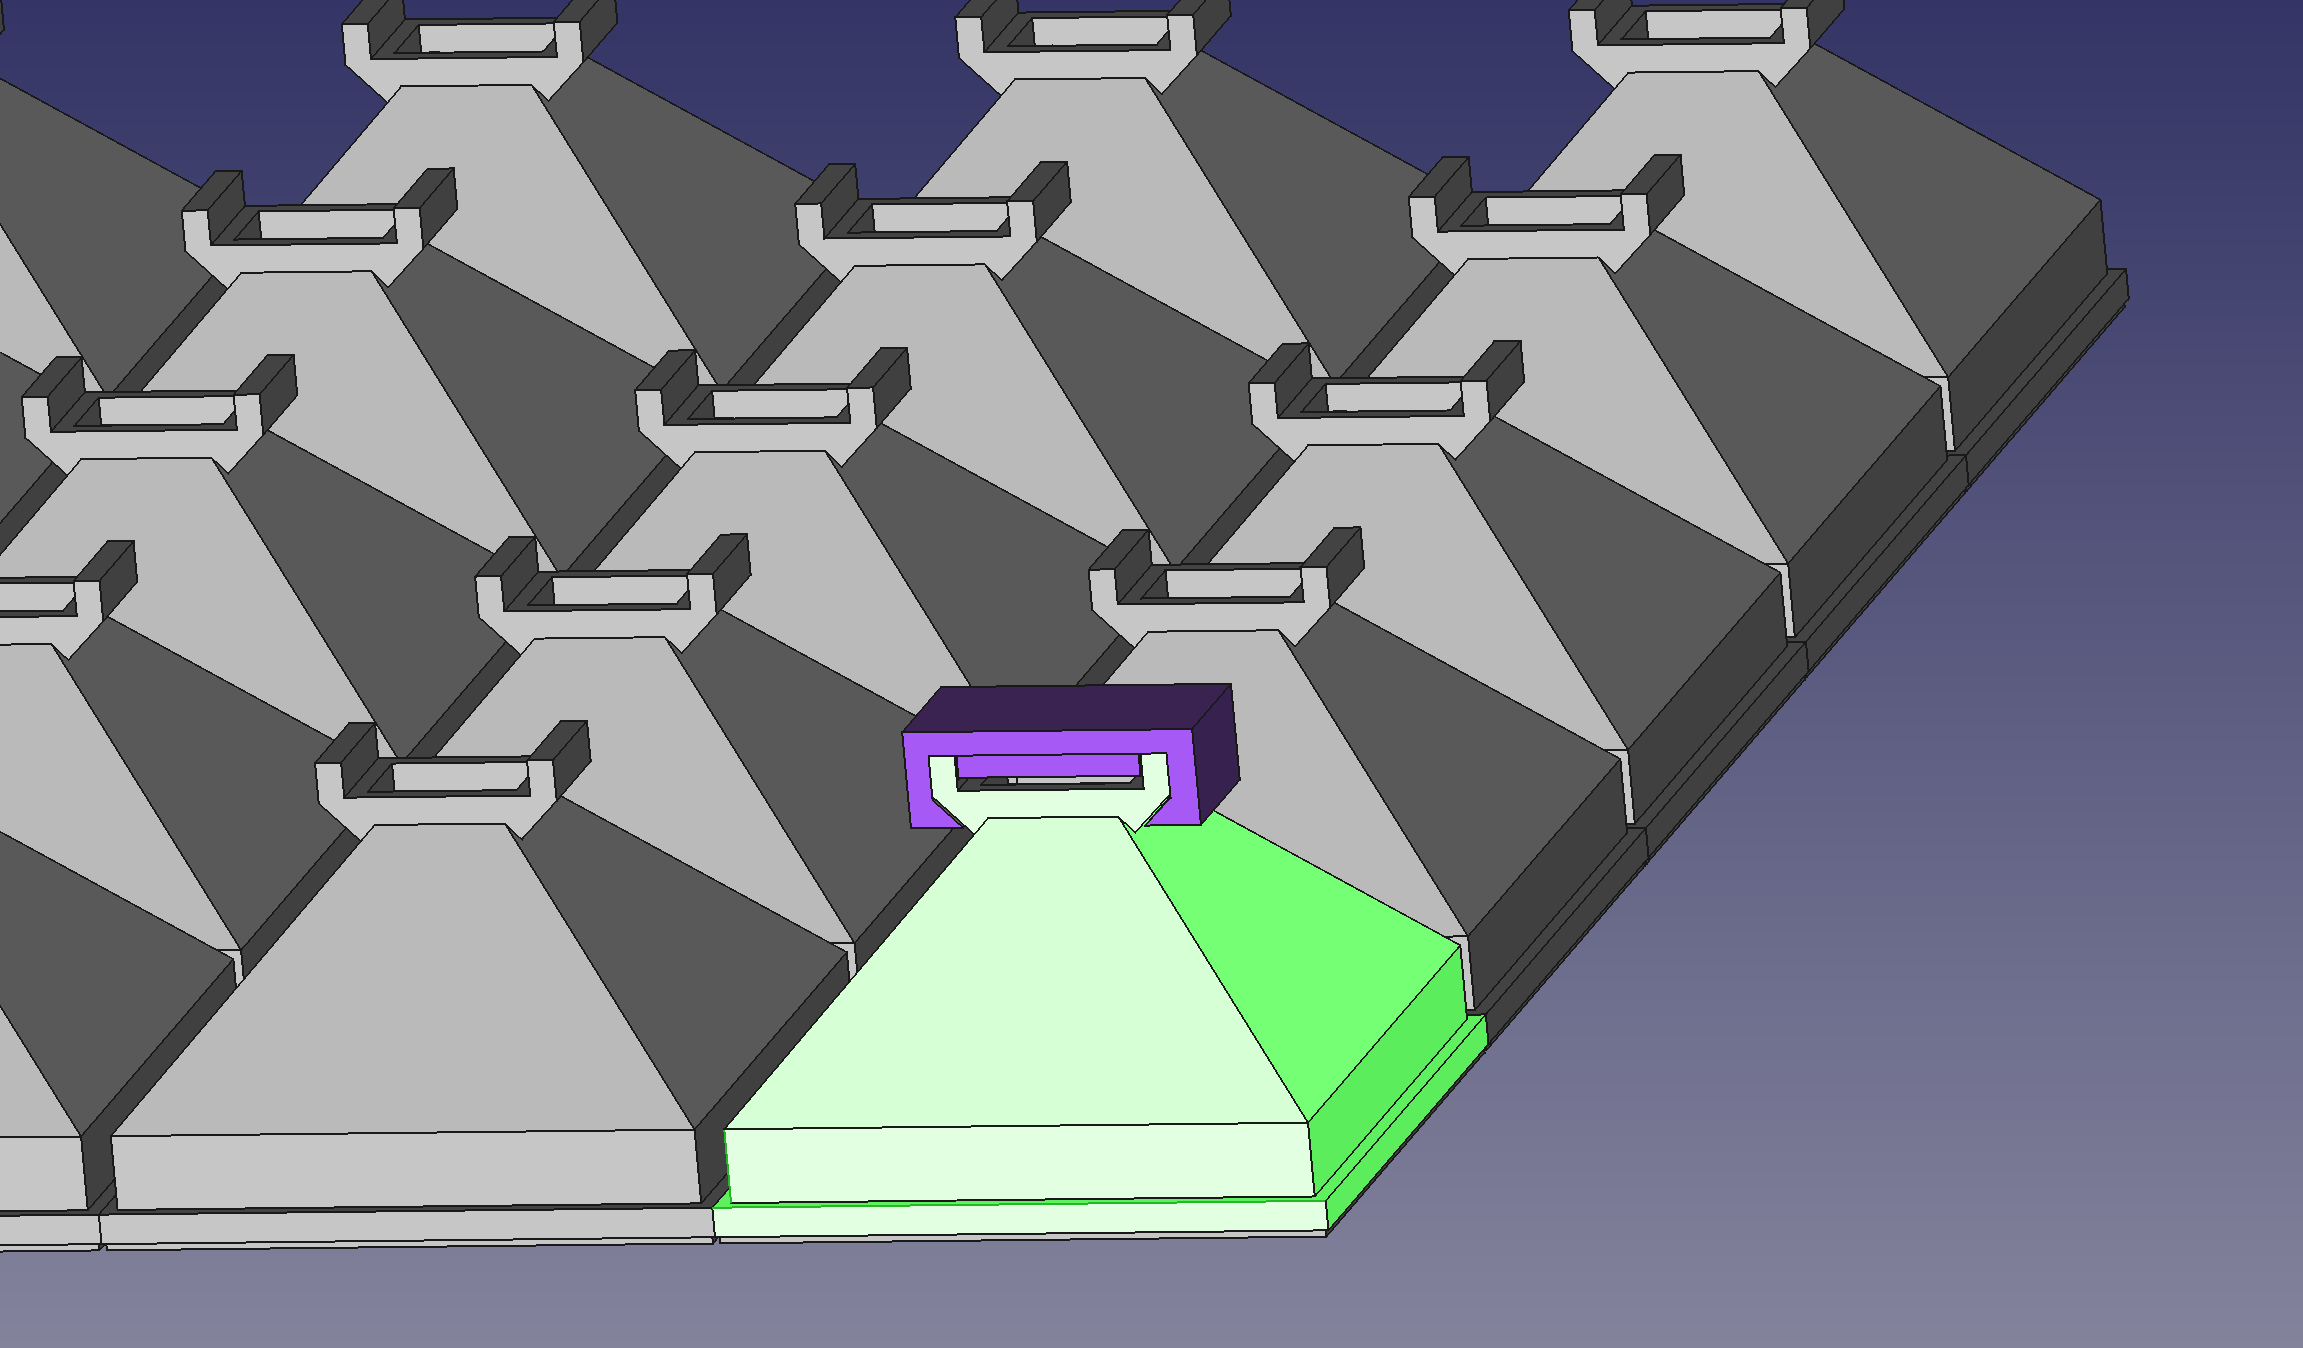
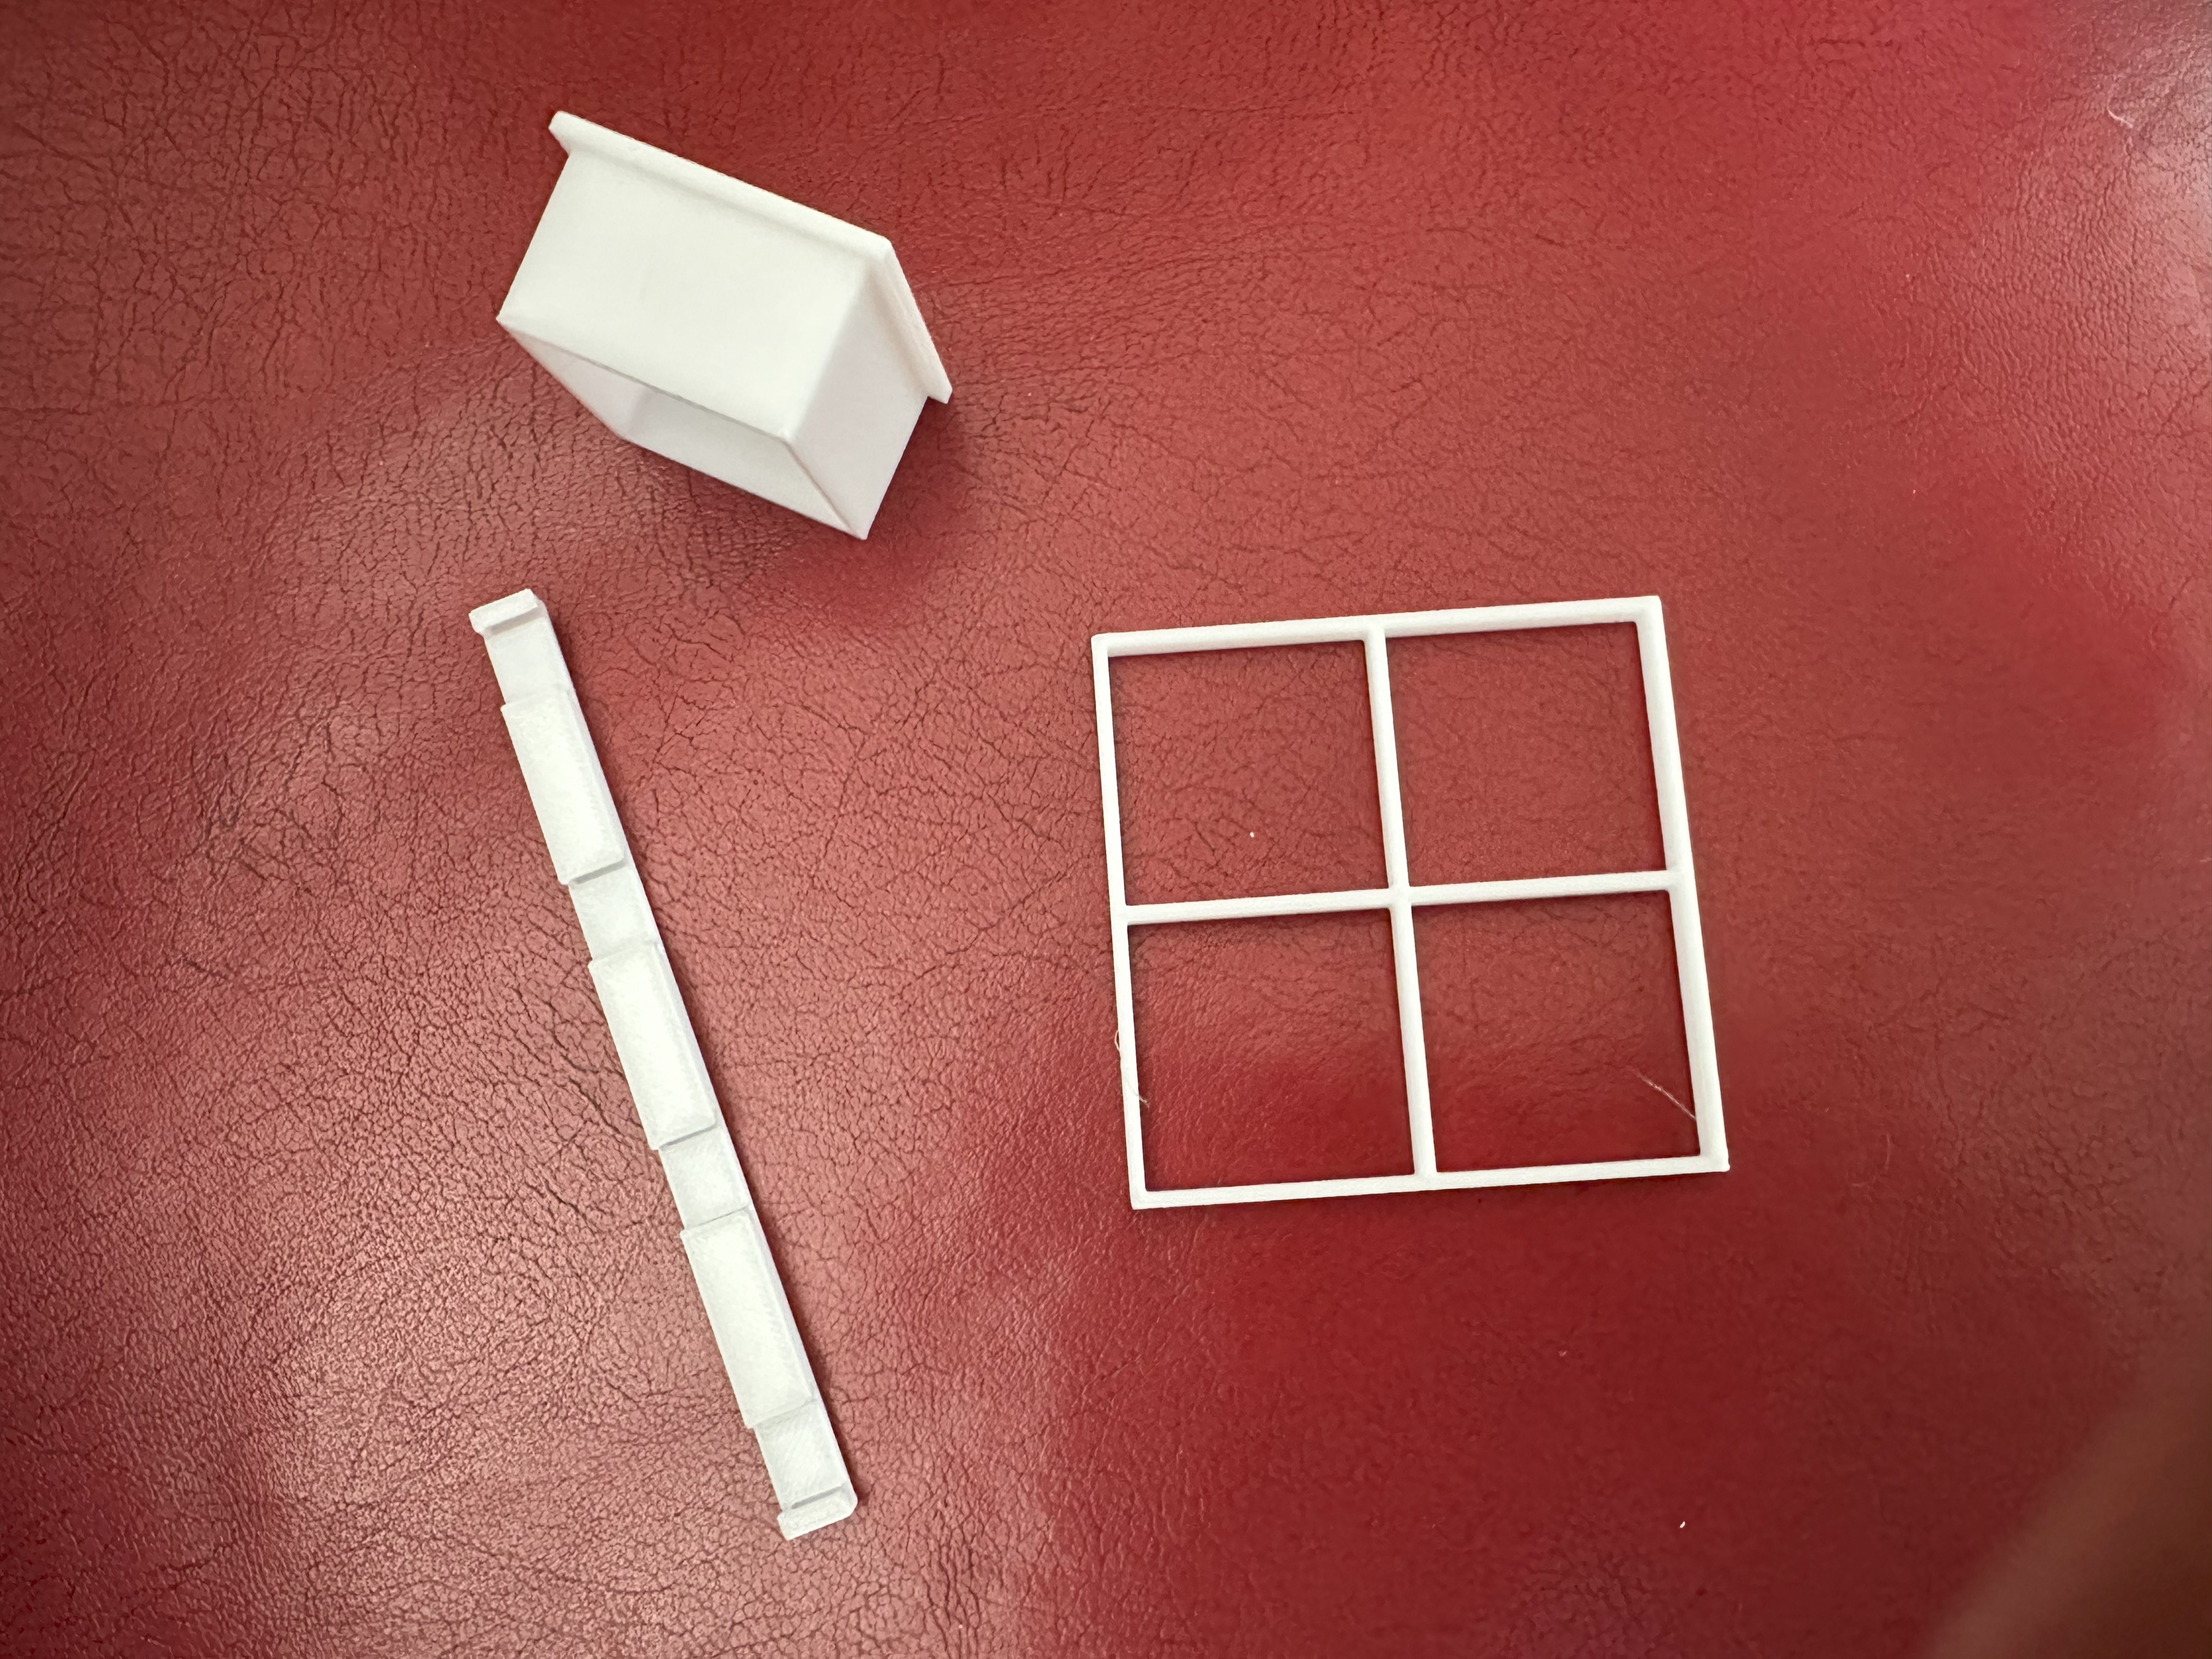
As such, each panel is printed as a 5x5 pixel block. Edges are interconnected using link pieces, and panels are joined using a combination of 2x2 and 2x1 grid fixings and fitted using a custom printed tool. The LEDs themselves drop into each light-guide as a square and have a cap that slides on to hold them in place.
 The Virtual Traveller
 Greg Zumwalt
 Markus Loeffler
 Arnov Sharma