Arnov Sharma
3D Design
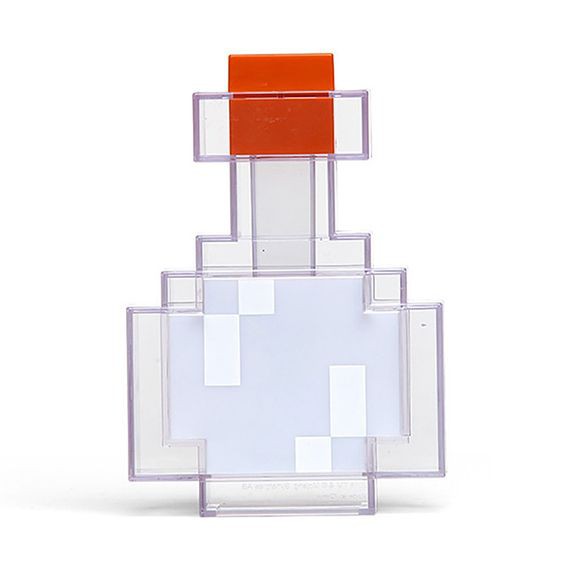
The first step in the design process was getting a clear picture of the Minecart Potion Bottle so that we could create a rough sketch of it using our CAD software.
Once the perfect image was found, we imported it into Fusion360 and calibrated the settings such that the entire bottle length—including the cap—would be 190mm.
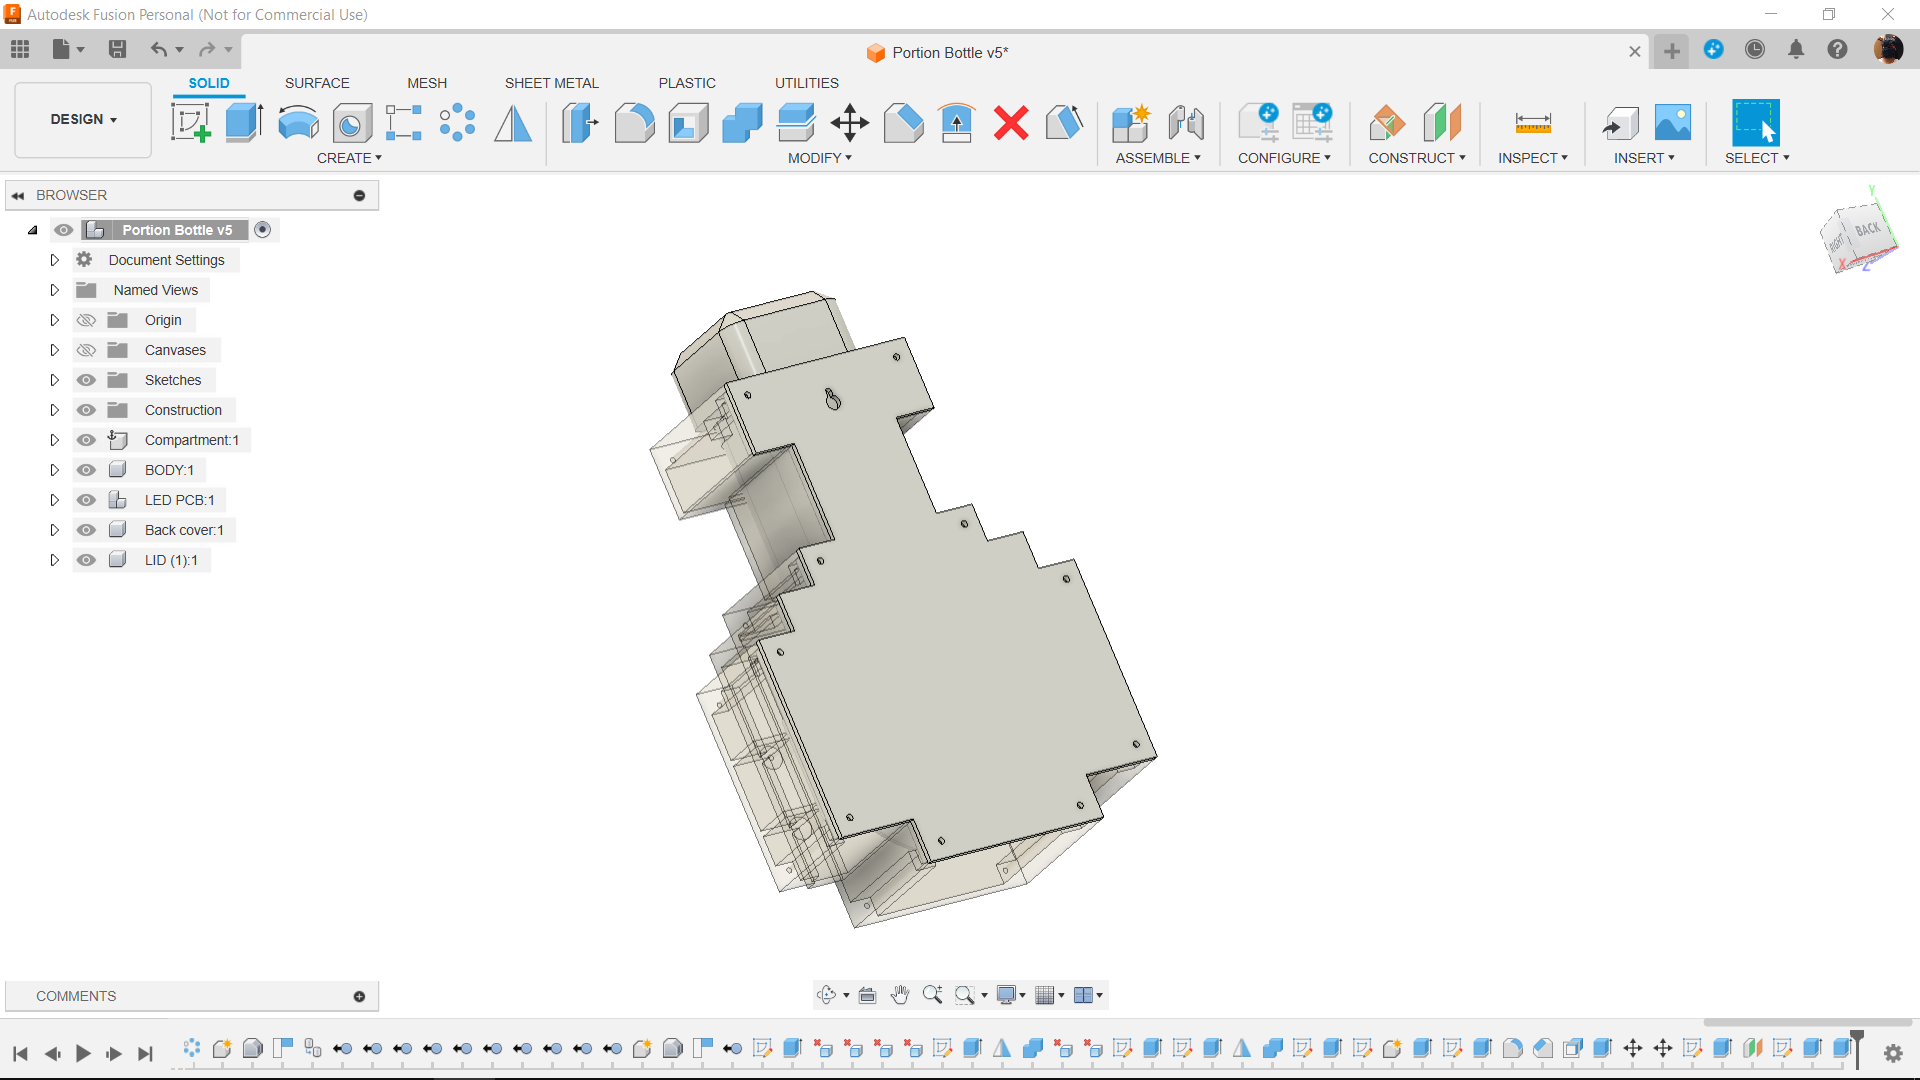
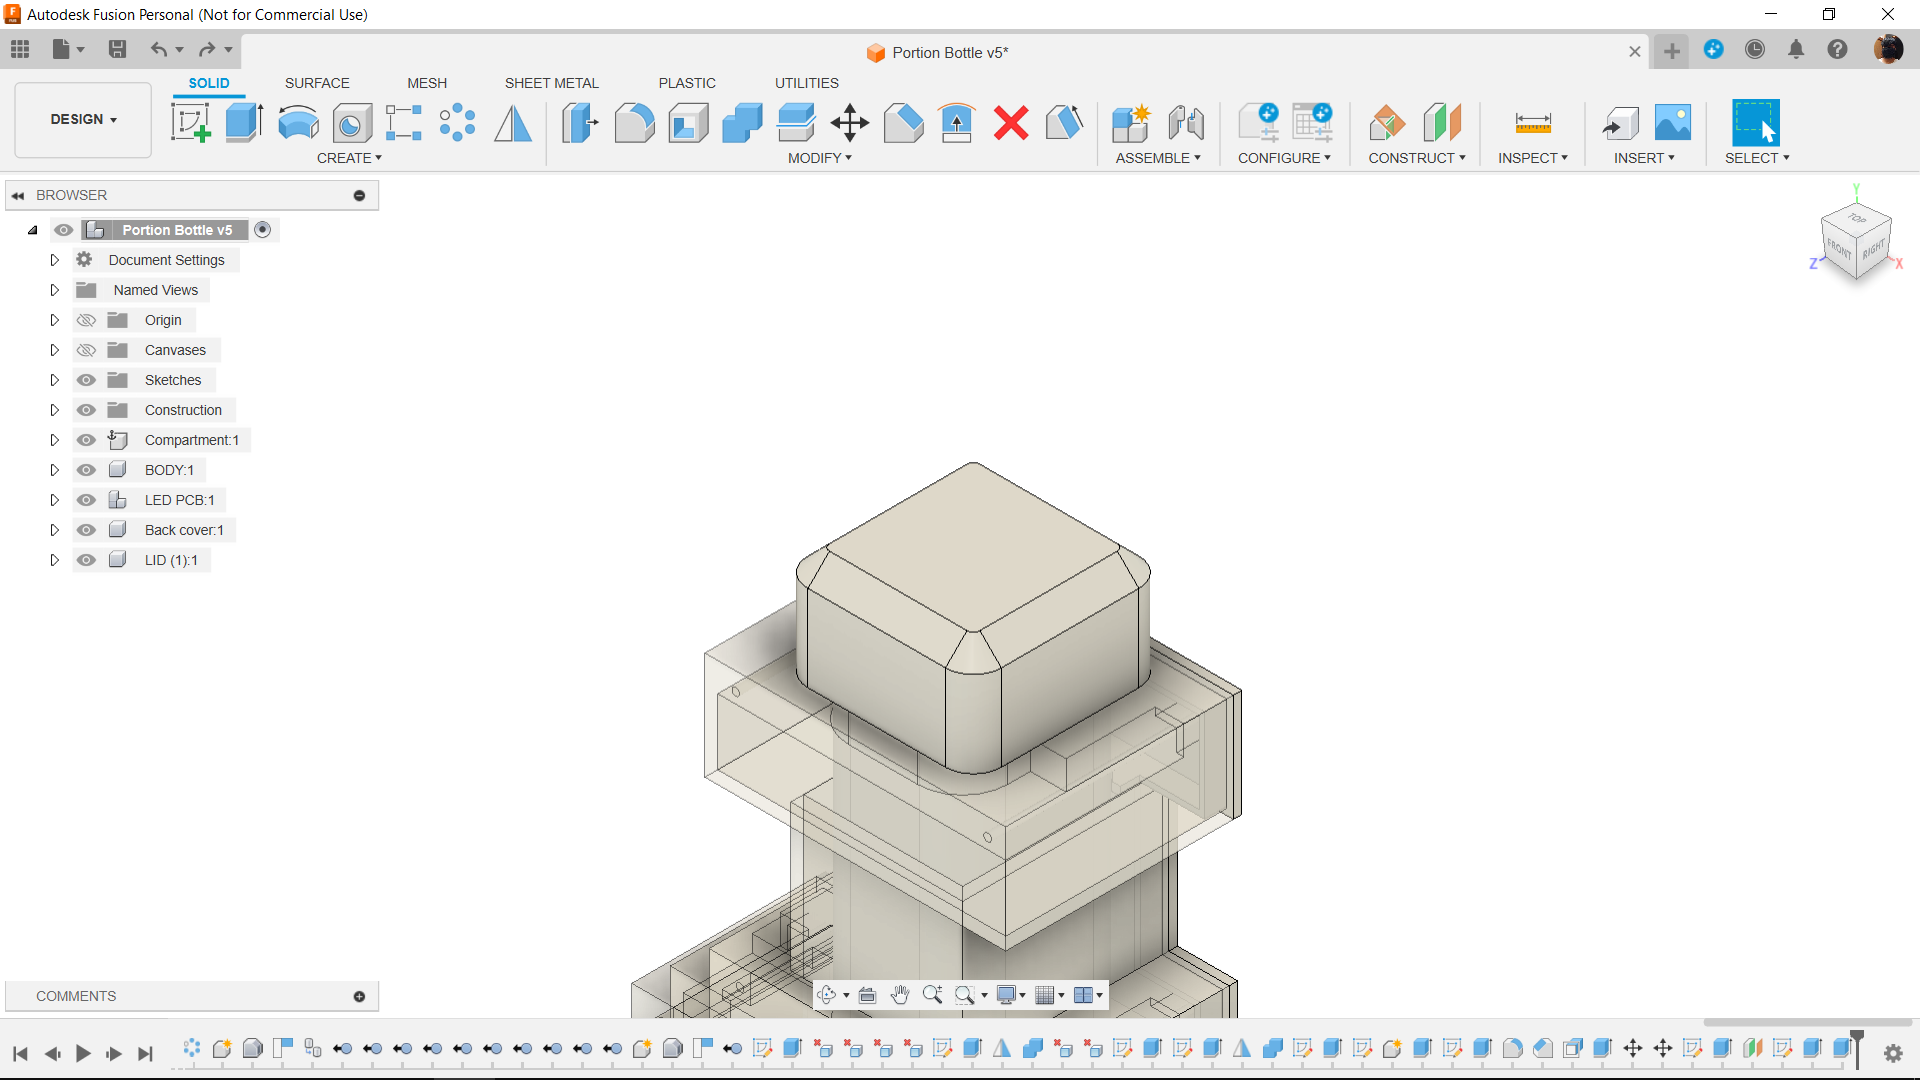
After sketching out its general design, we hollowed it out and turned it into a boxy body that resembled a bottle.
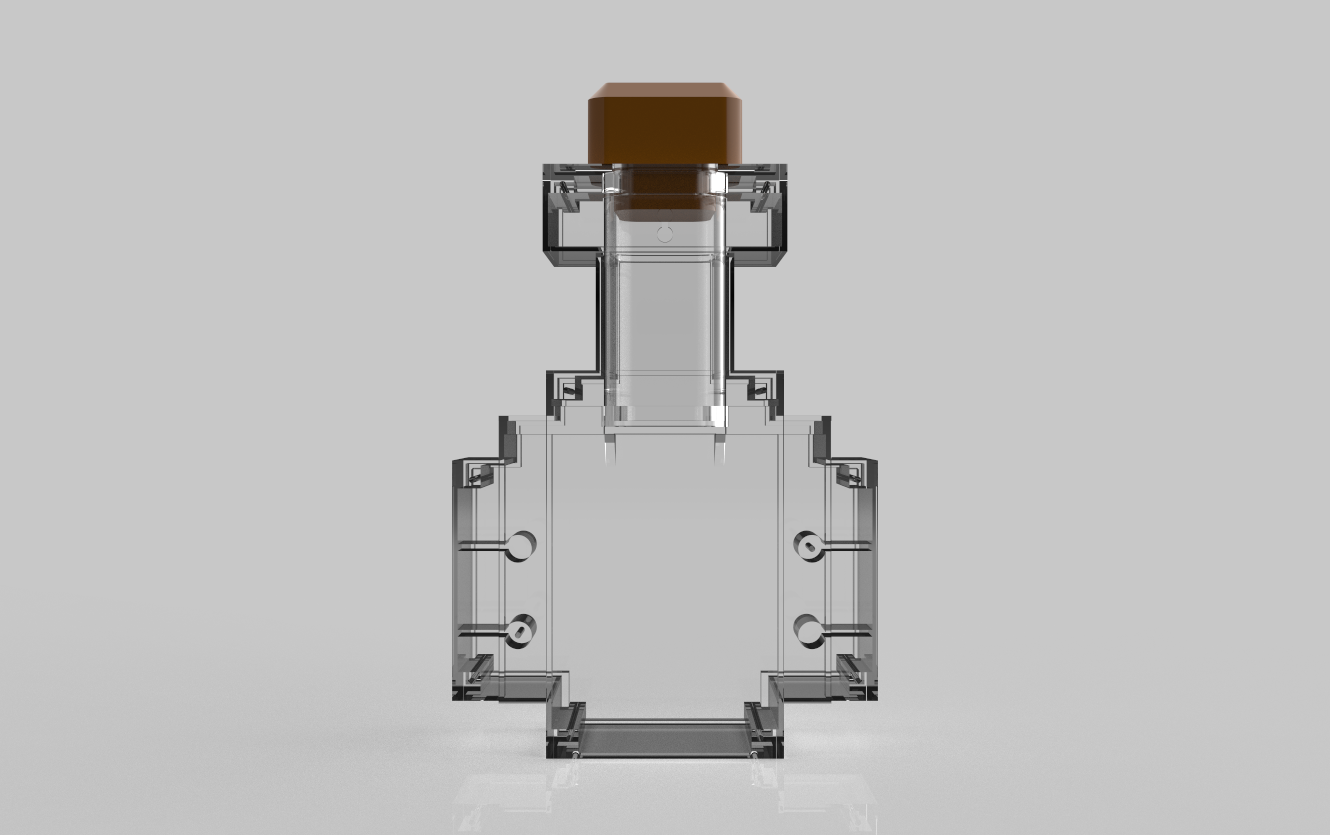
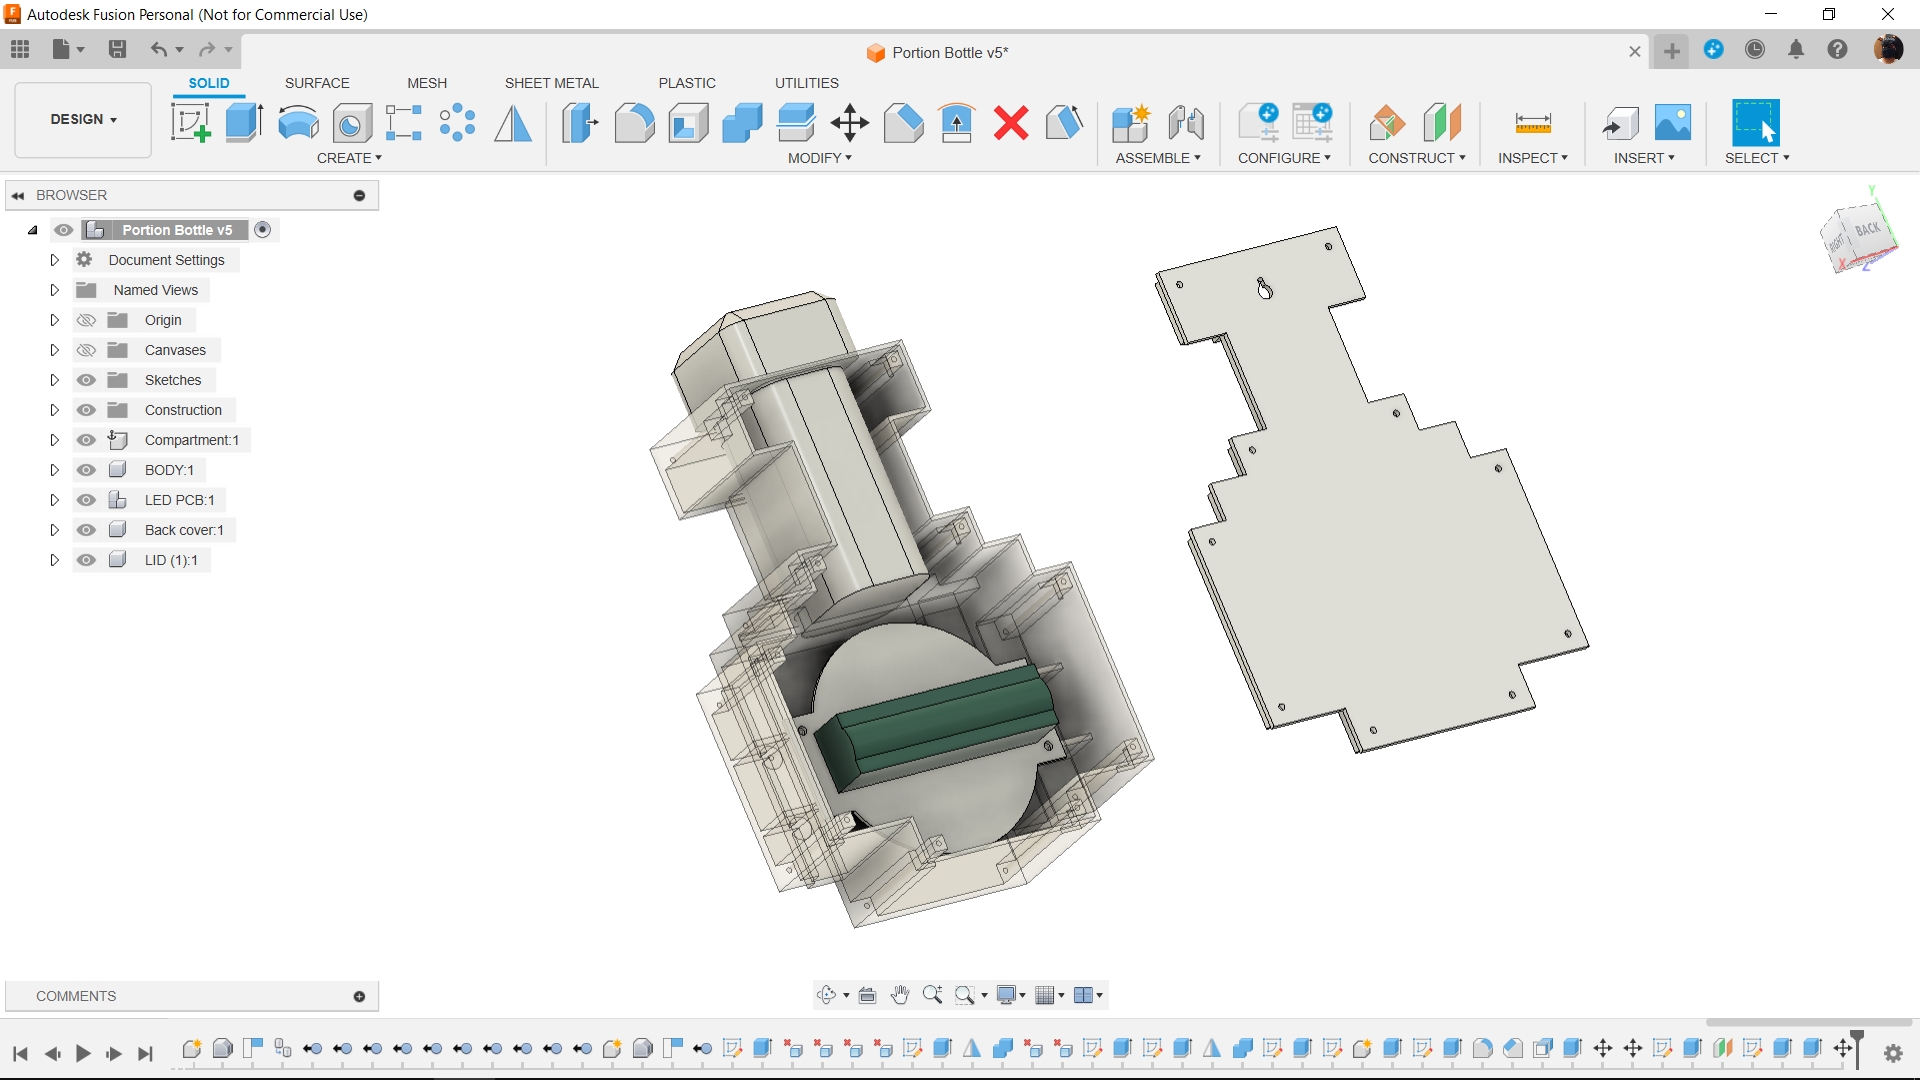
The front portion of the bottle and the back lid were separated. Everything will be placed in the front section, including the cap, the part-holding tray, and the LED circuit.
We also drilled a keyhole in the rear of the lid, which will enable us to hang the bottle on a wall using a nail.
We modeled a tray that will be used to store tiny items in the bottle neck area. We modeled the bottle's cap, which slides into its proper position from the top face, to cover the tray.
Following design completion, transparent PLA was used to print the front portion of the bottle, the back lid, and the tray using a 0.8mm nozzle, 20% infill, and 0.3mm layer height.
The cap part was printed using the same parameters but with wood PLA.
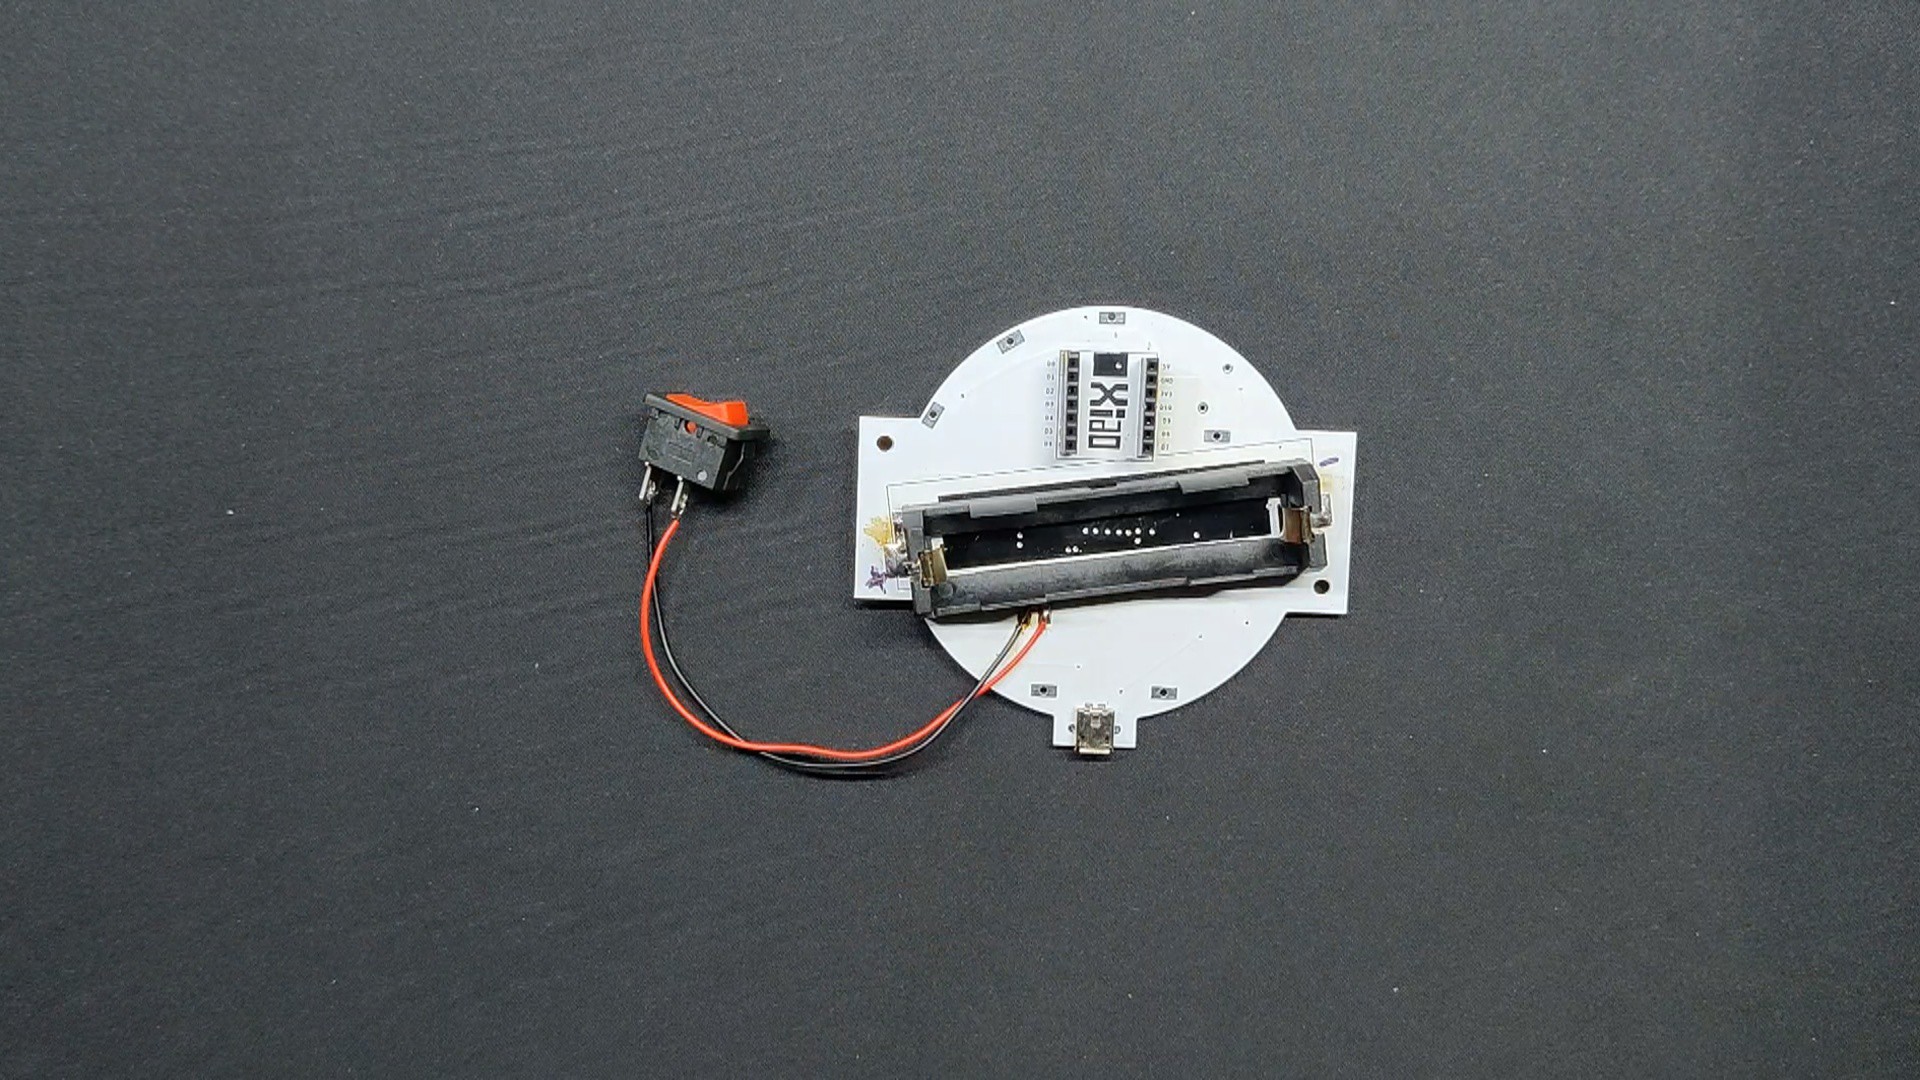
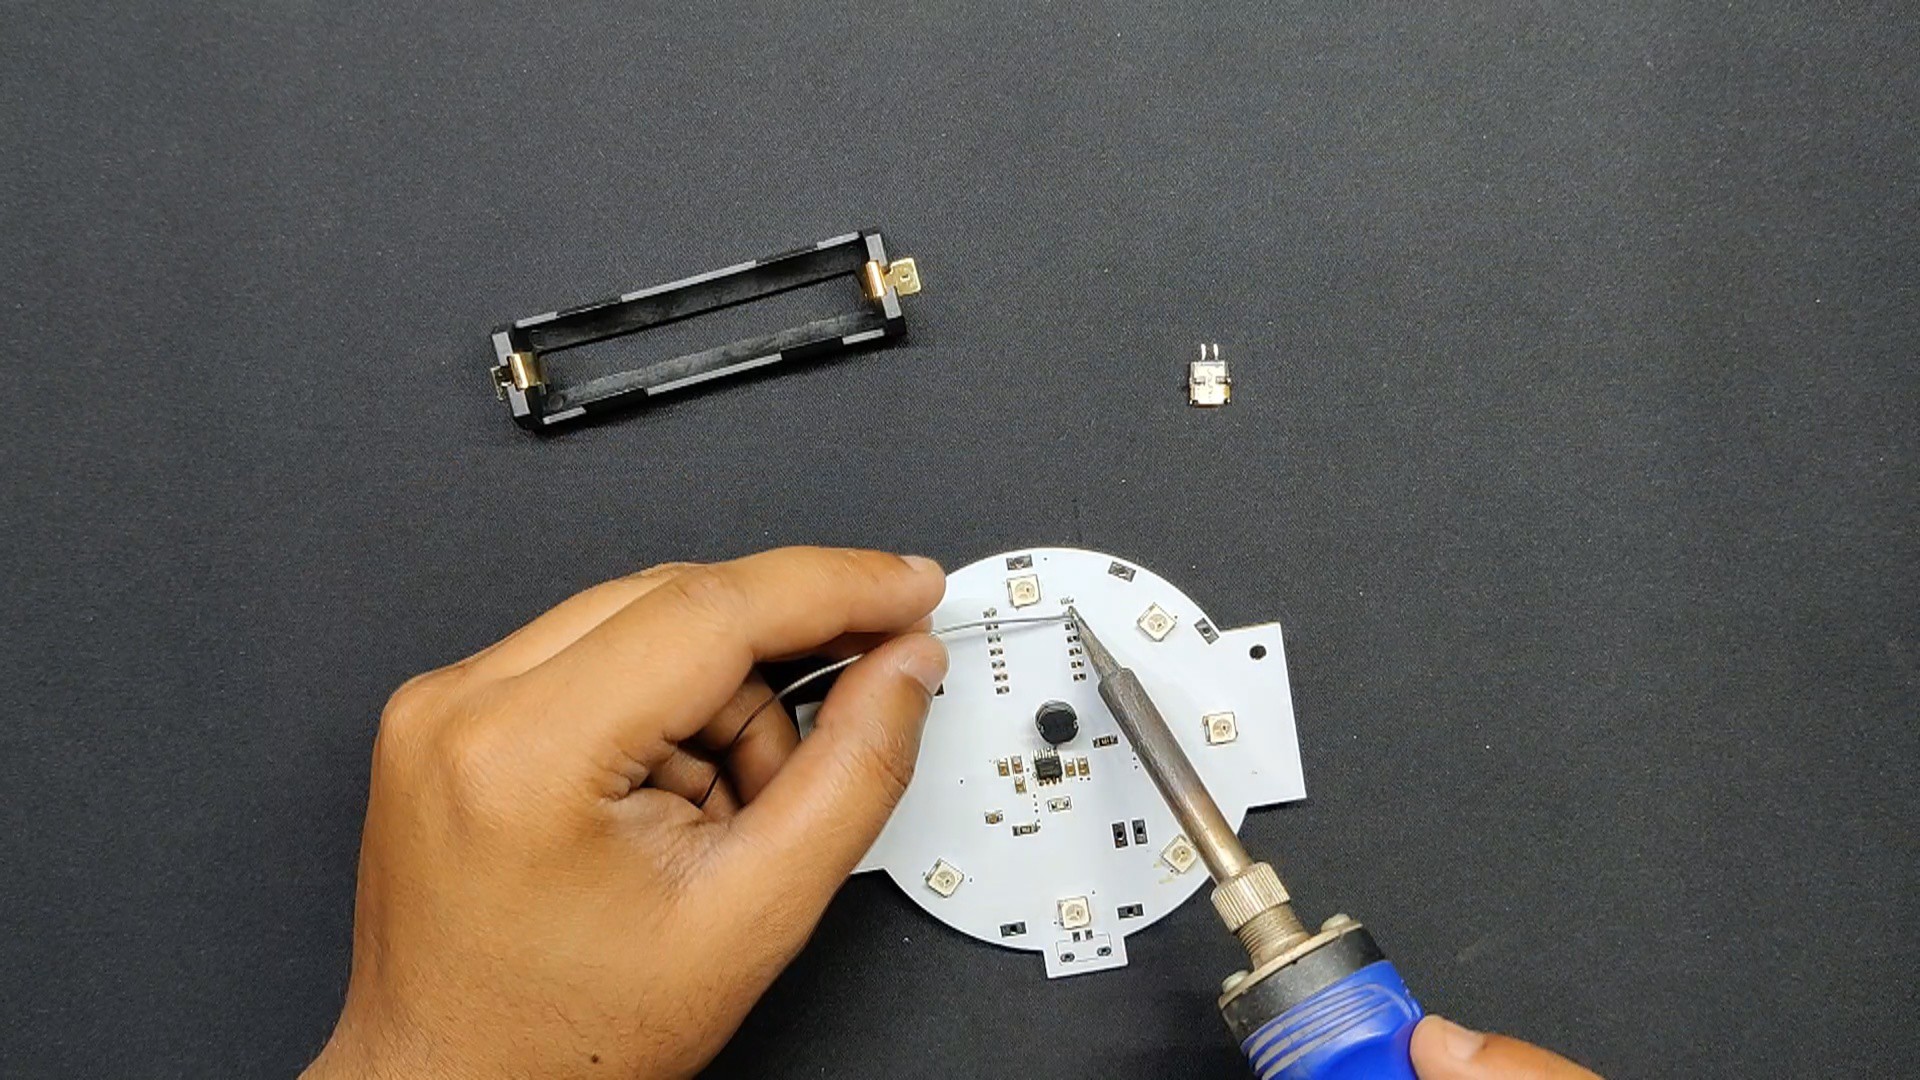
Circuit
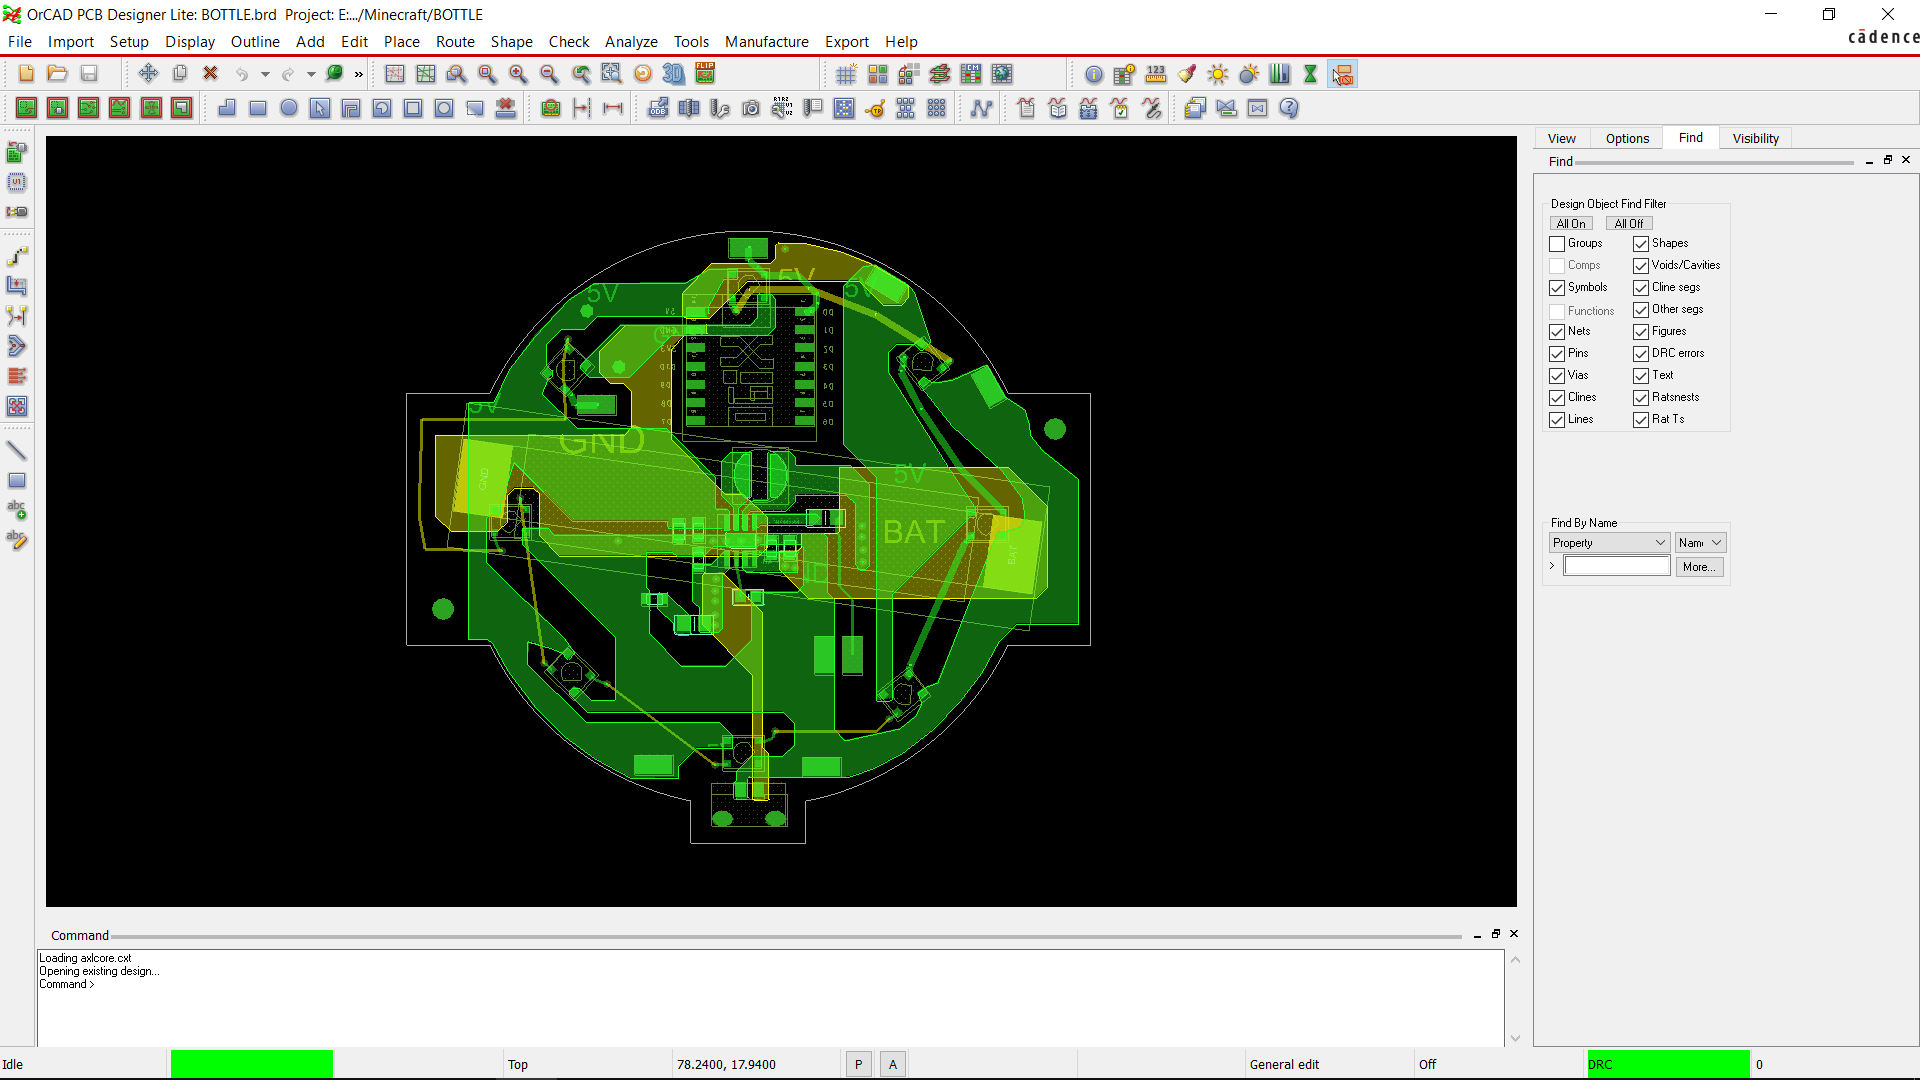
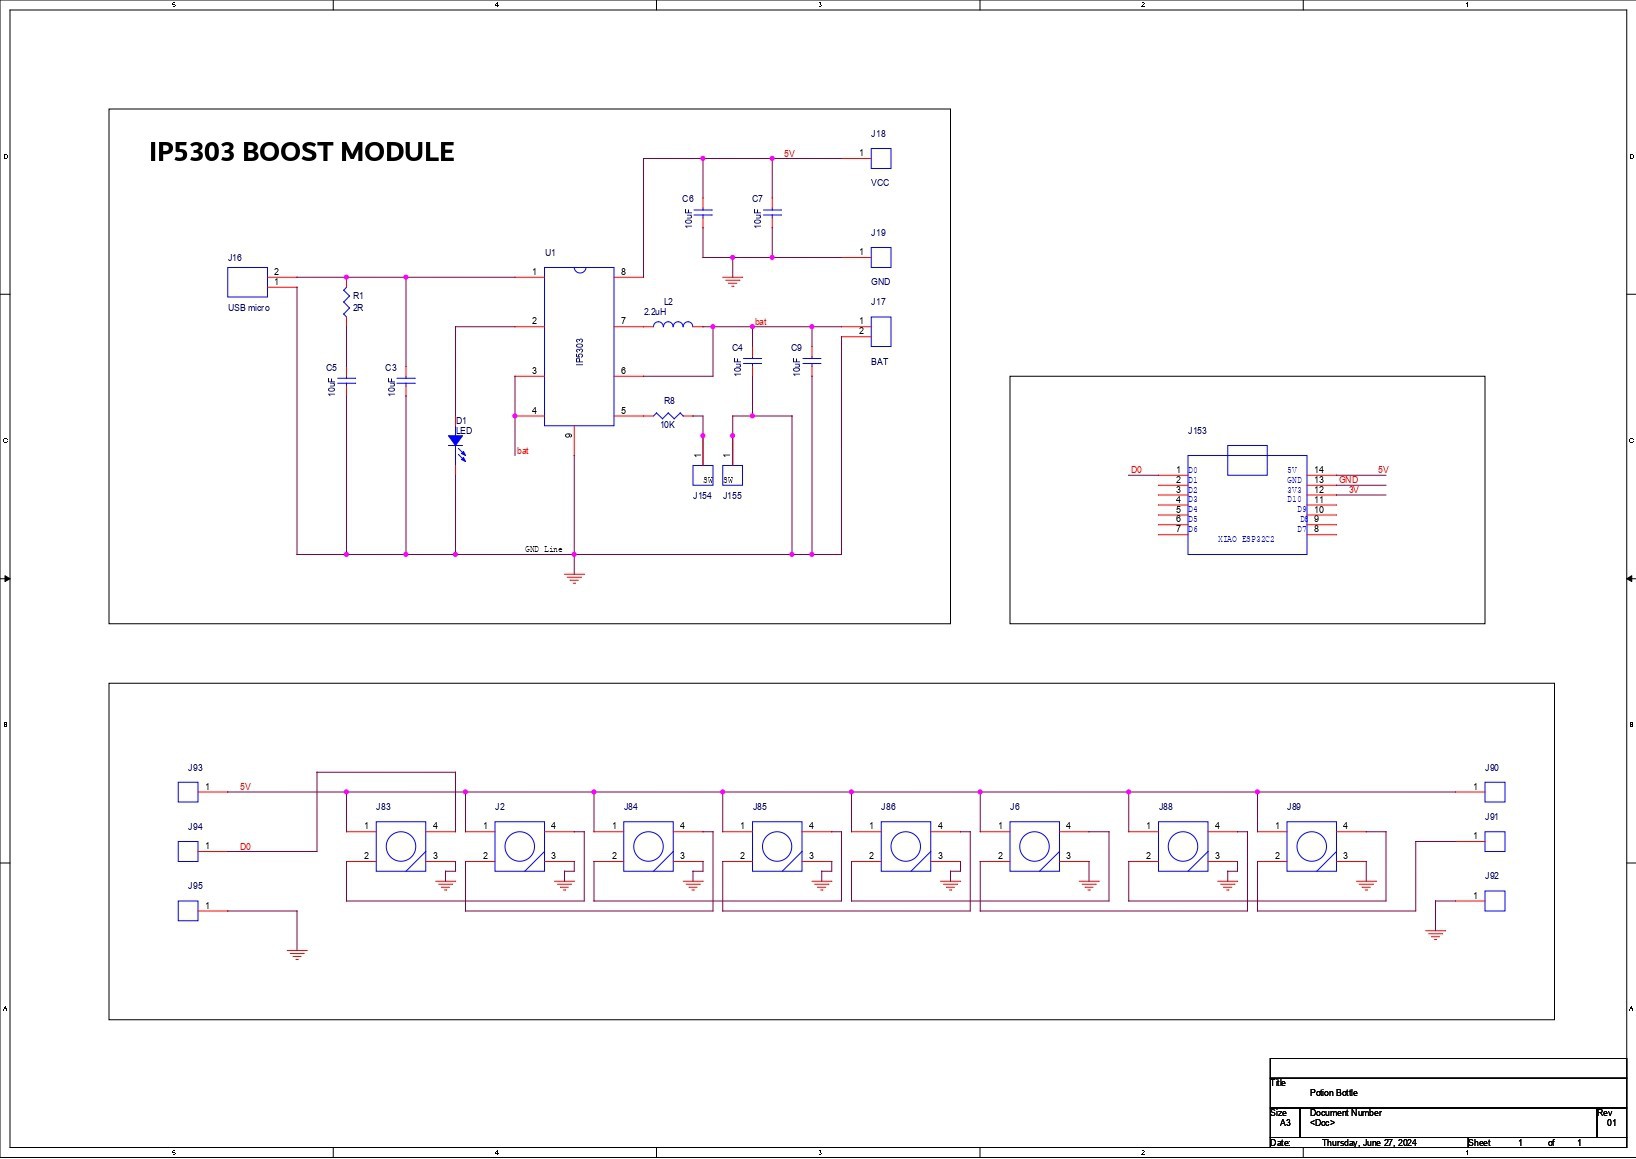
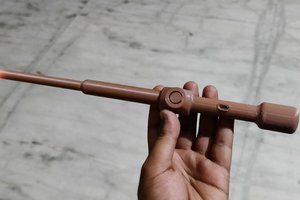
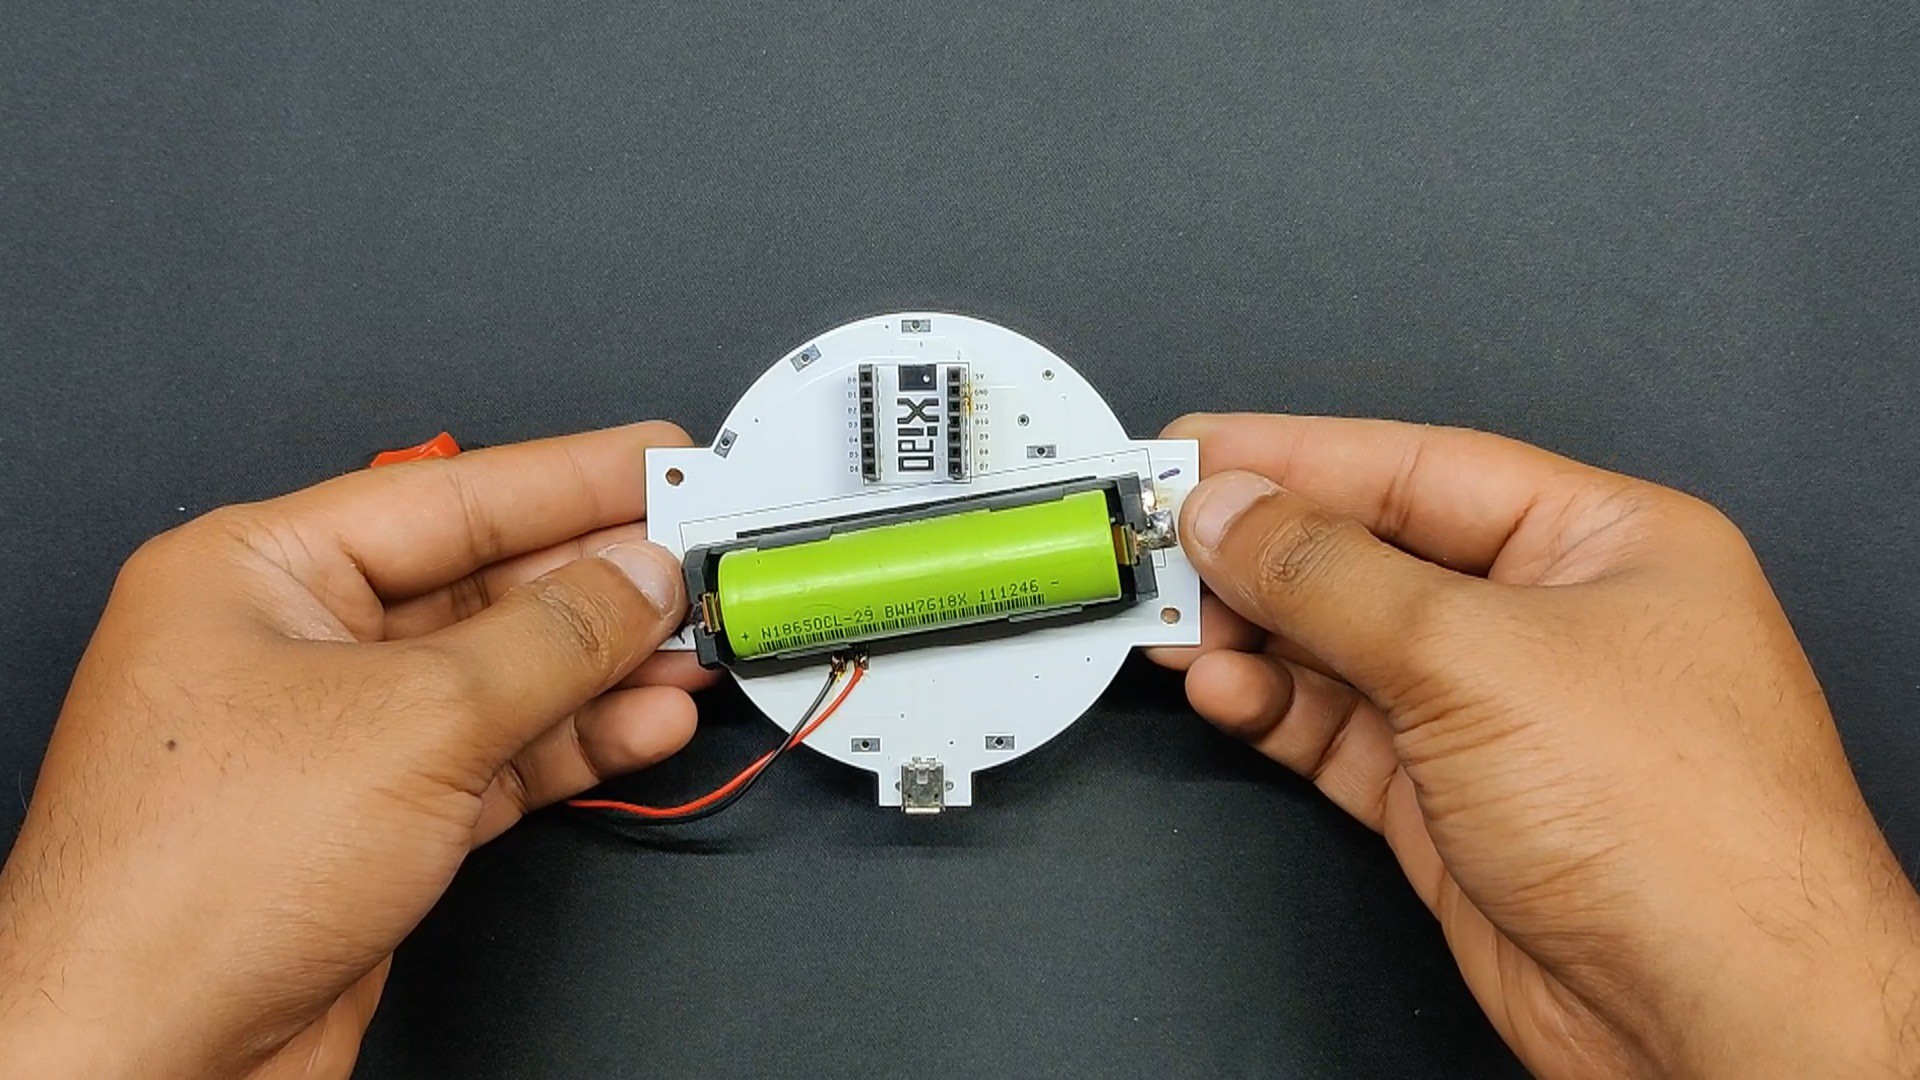
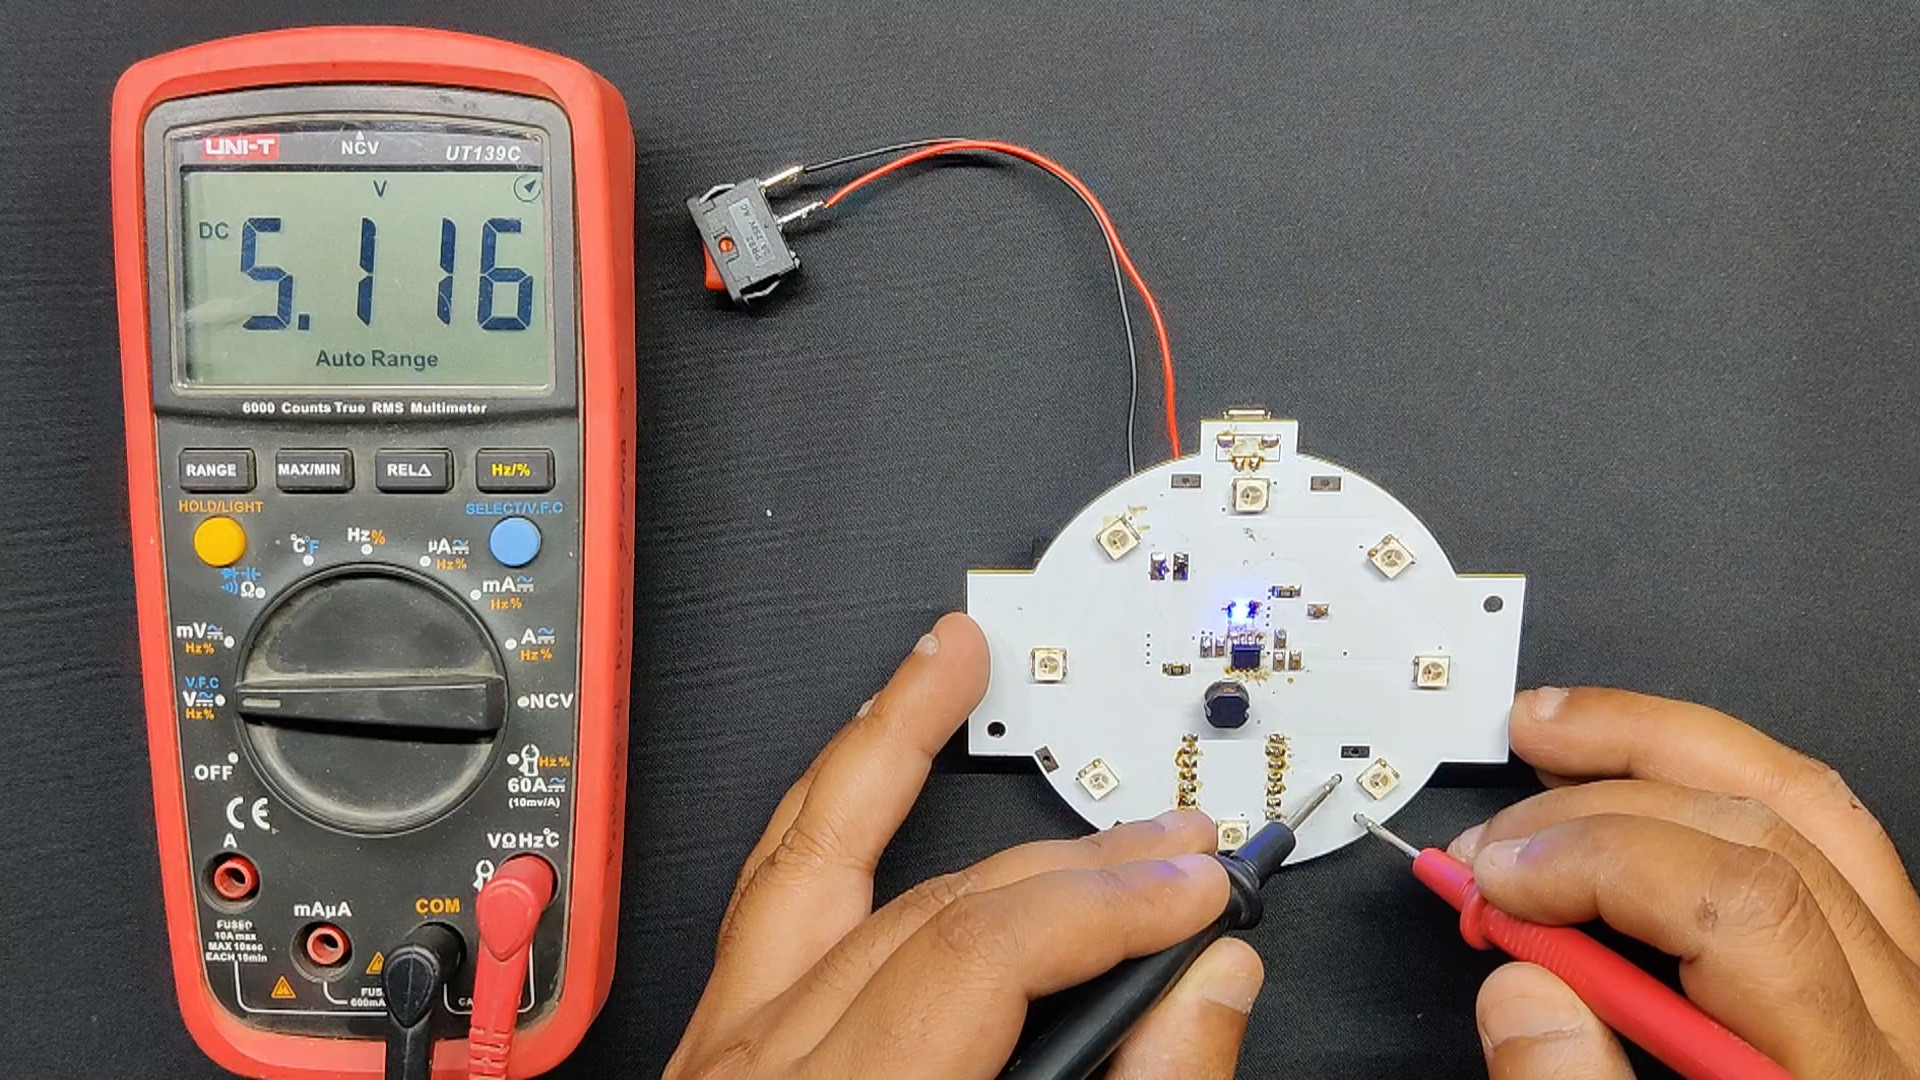
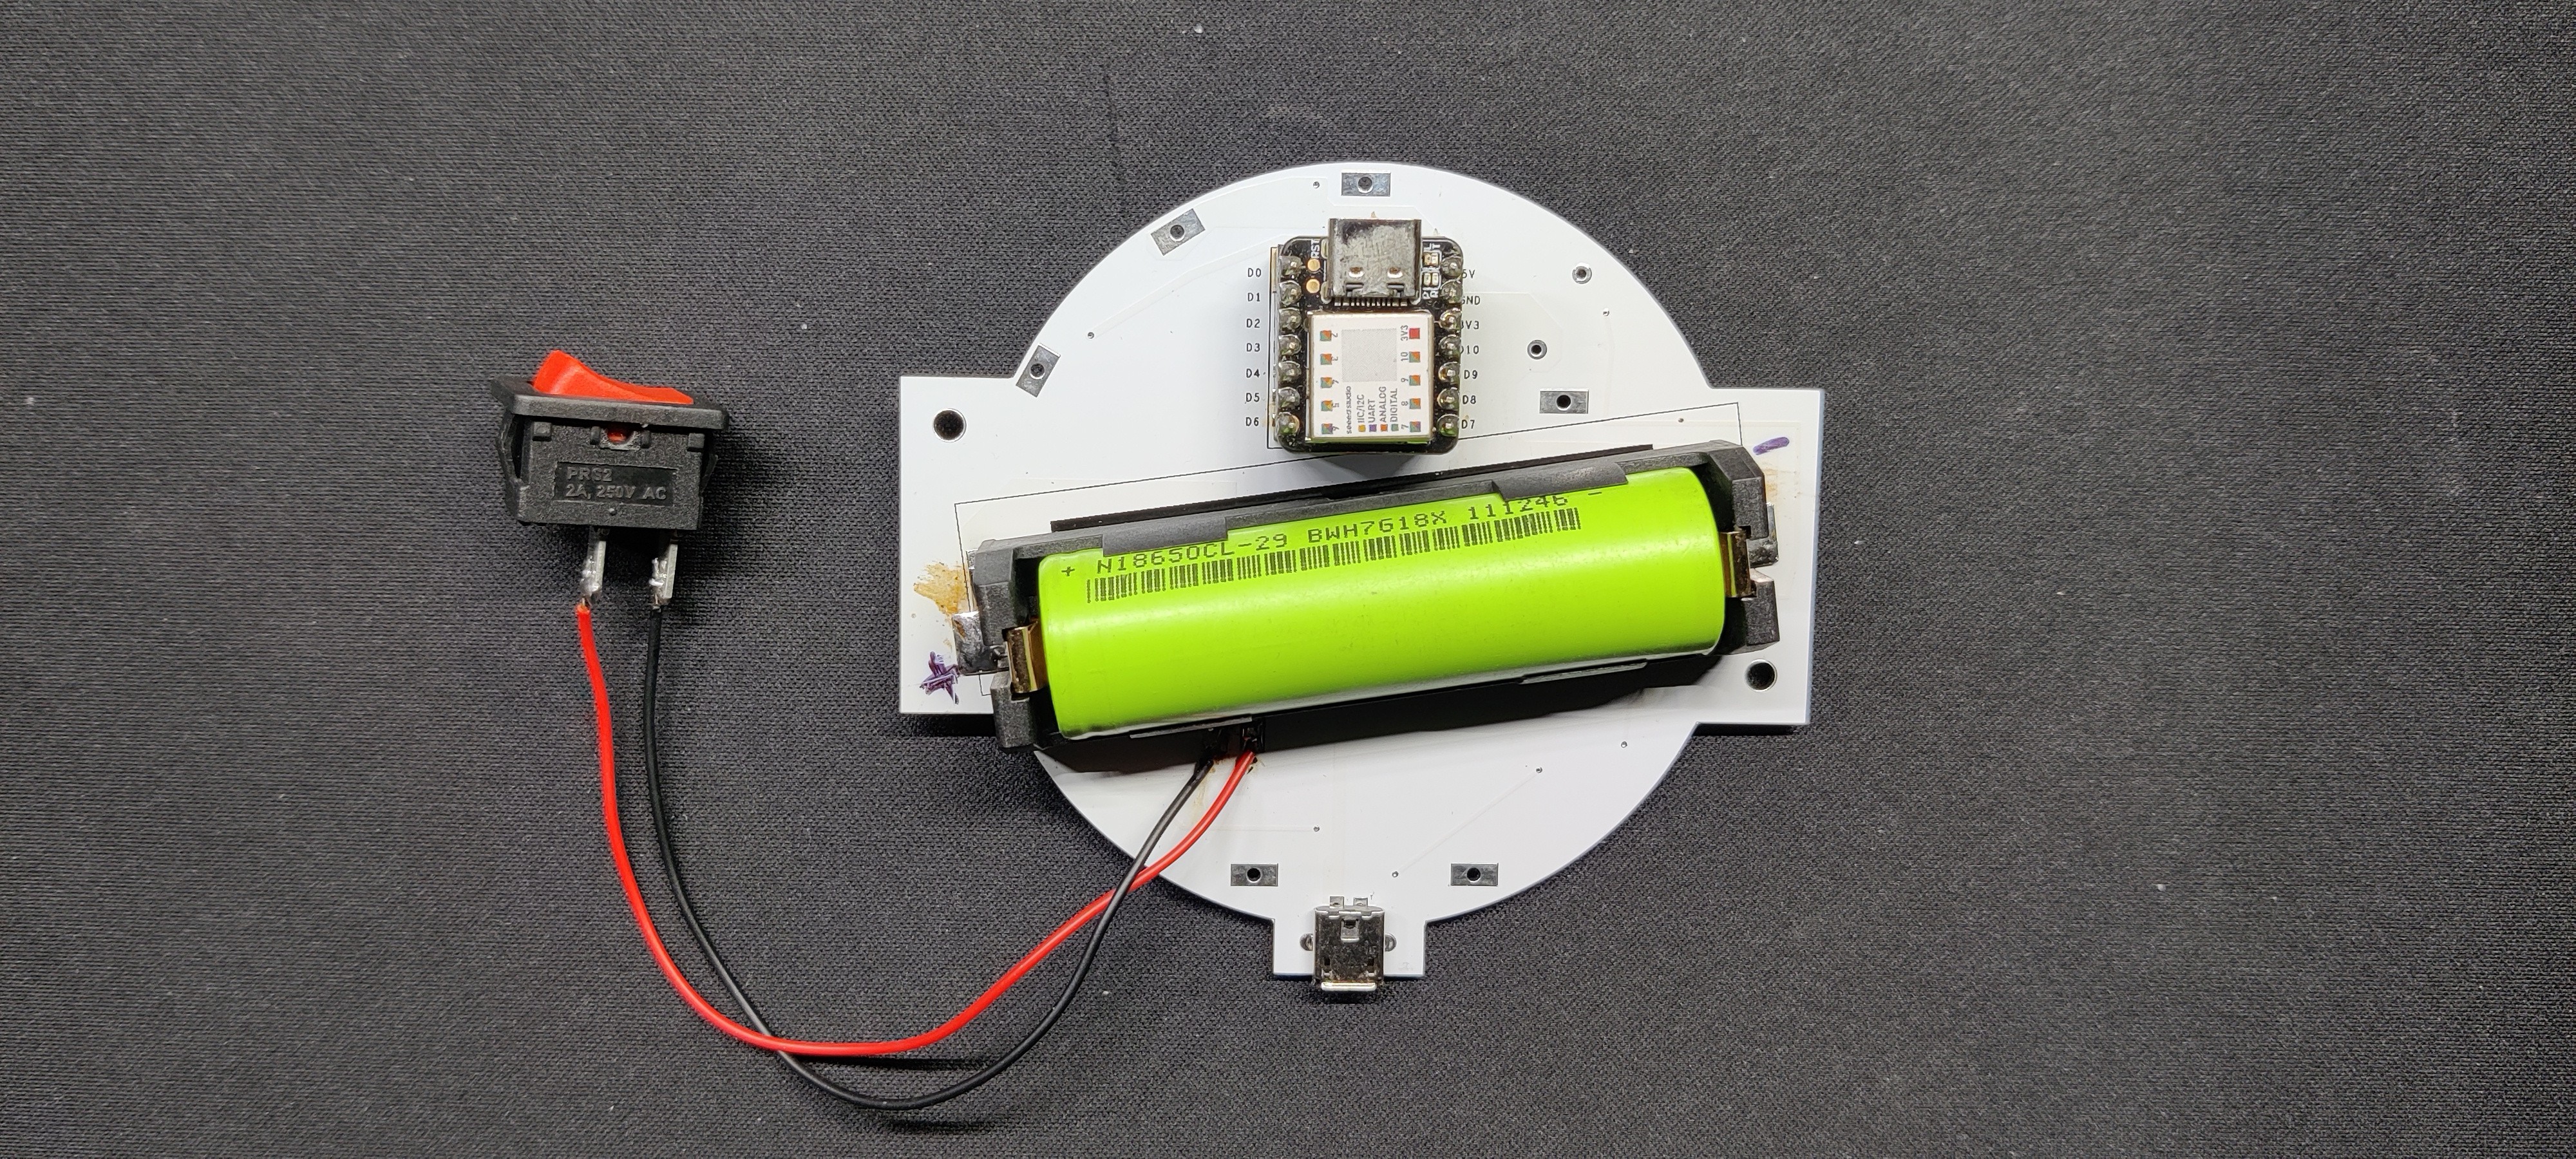
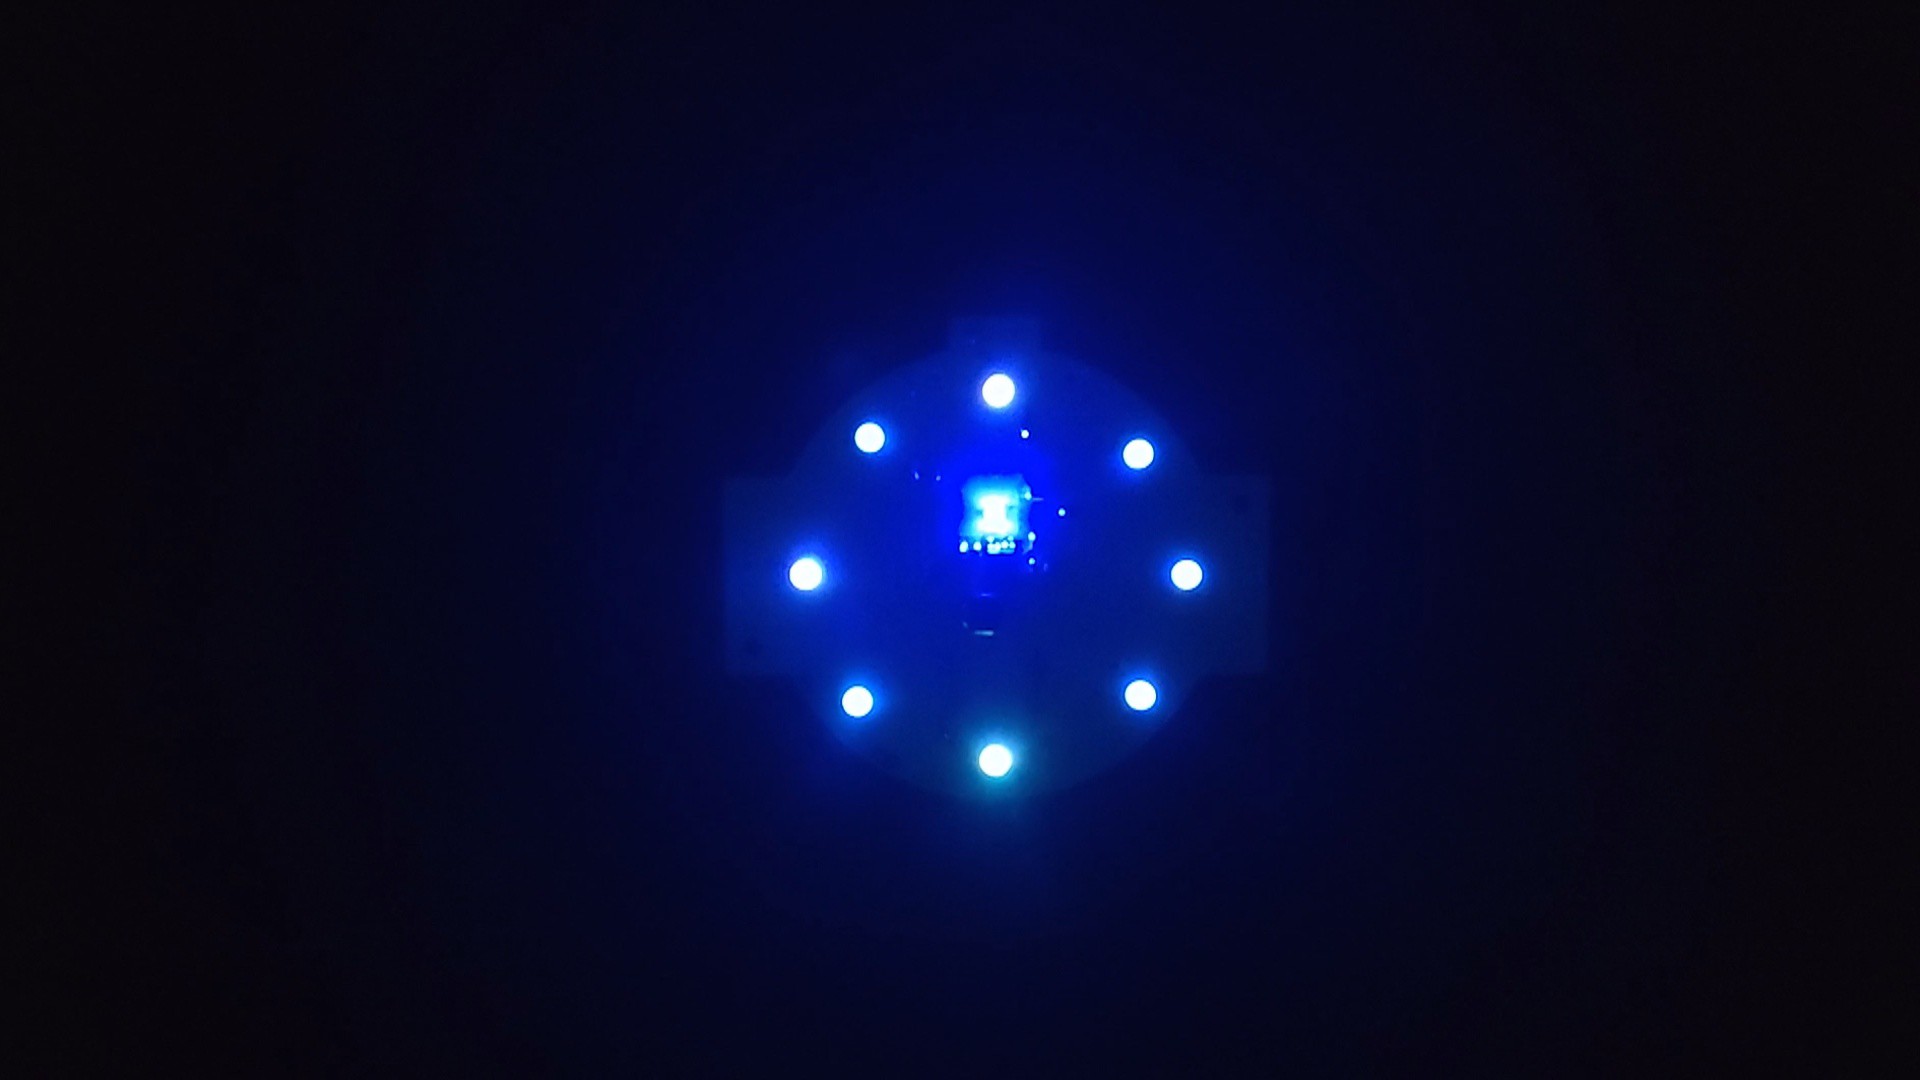
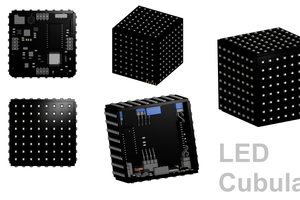
The LED circuit is then developed. It consists of an XIAO SAMD21 board connected to eight WS2812B LEDs connected in parallel. The first LED's Dout is connected to the second LED's Din, the second LED's Dout is connected to the third LED's Din, and so on up to the eighth LED.
We used the IP5306 IC Setup, a power management IC that can provide stable 5V 2.4A with a 3.7V Li-ion Cell, to power the XIAO and the LEDs. Furthermore, this IC offers charging functions, such as a battery fuel indicator and charging cutoff (low- and high-cut).
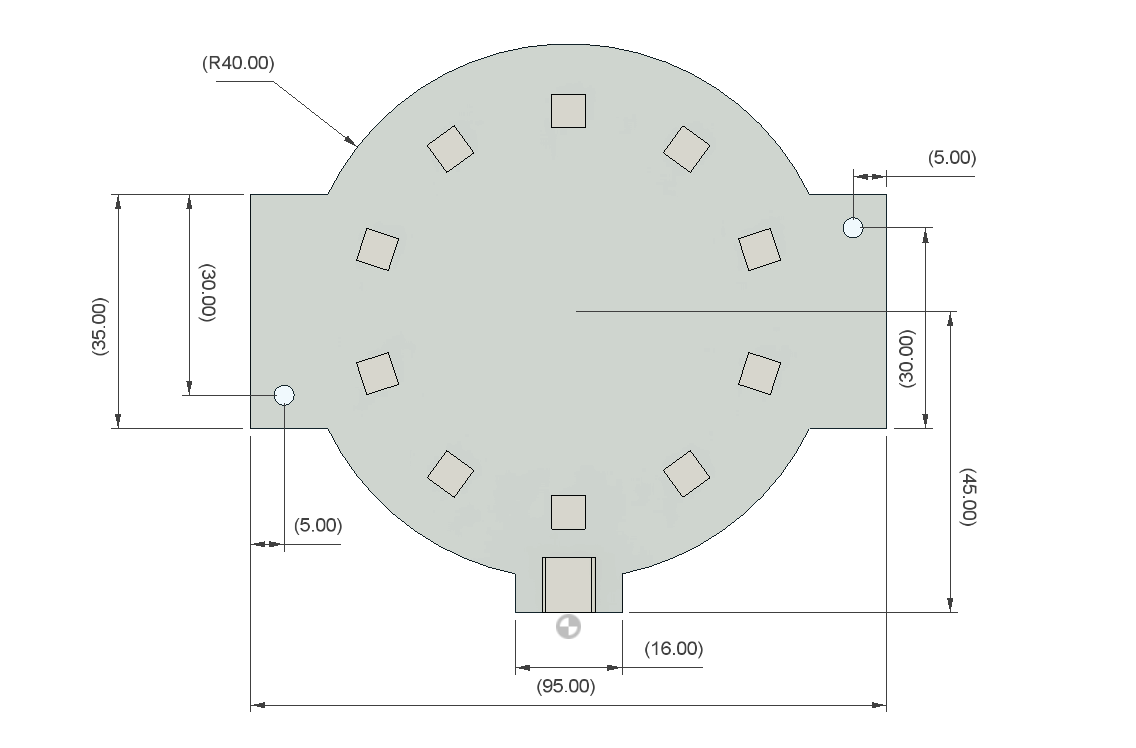
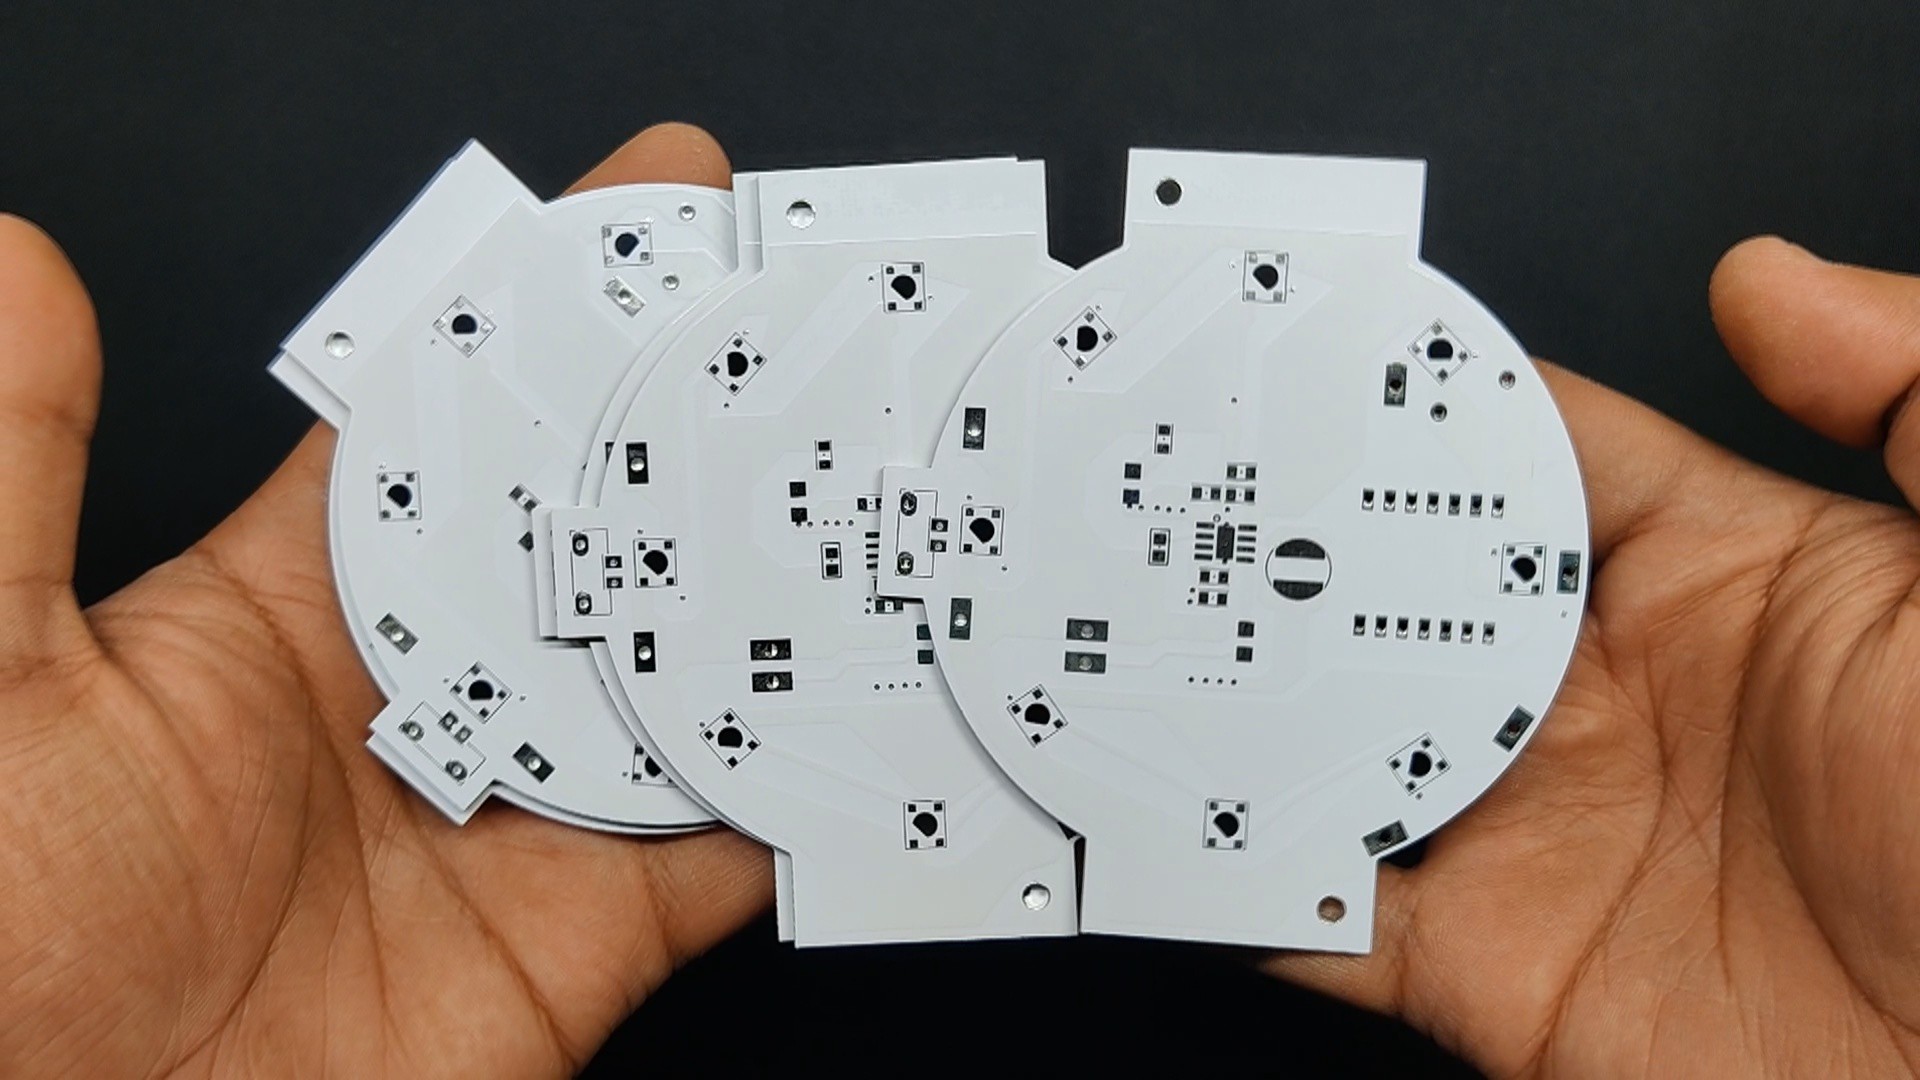
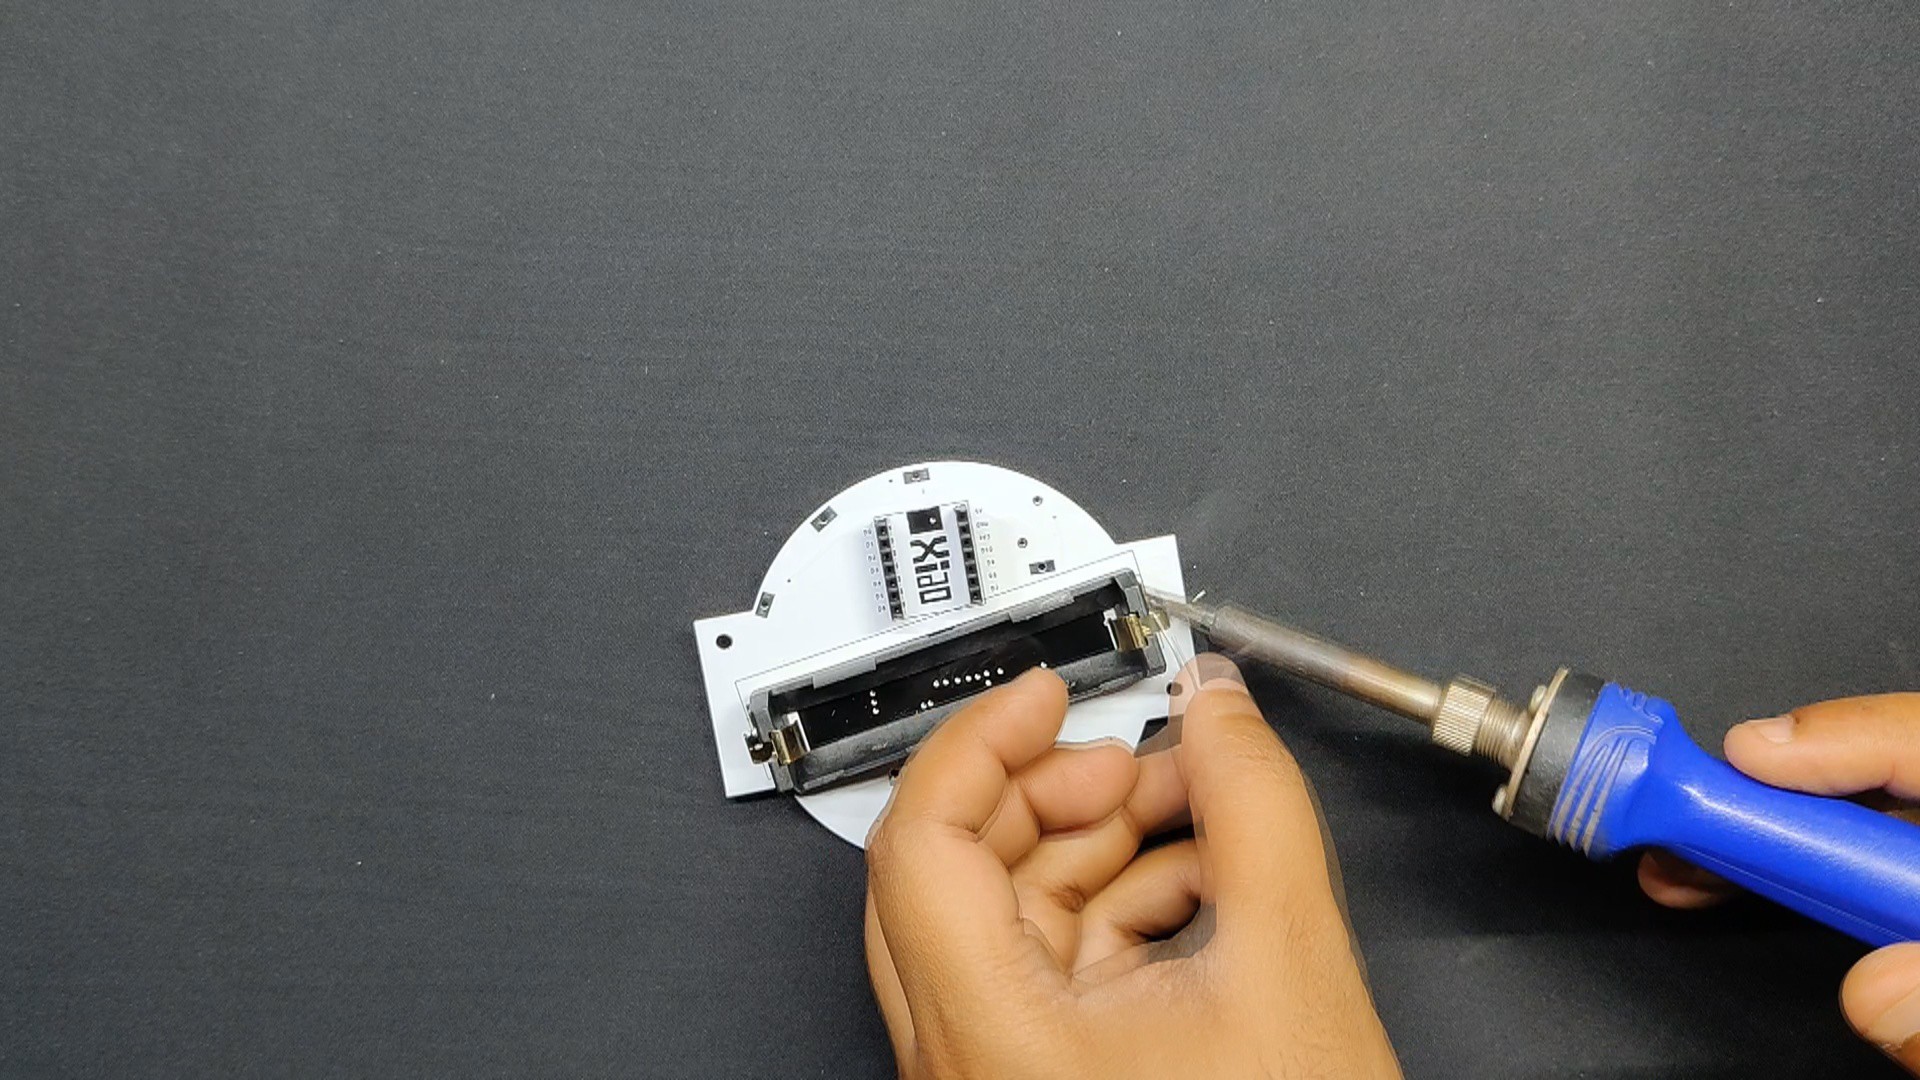
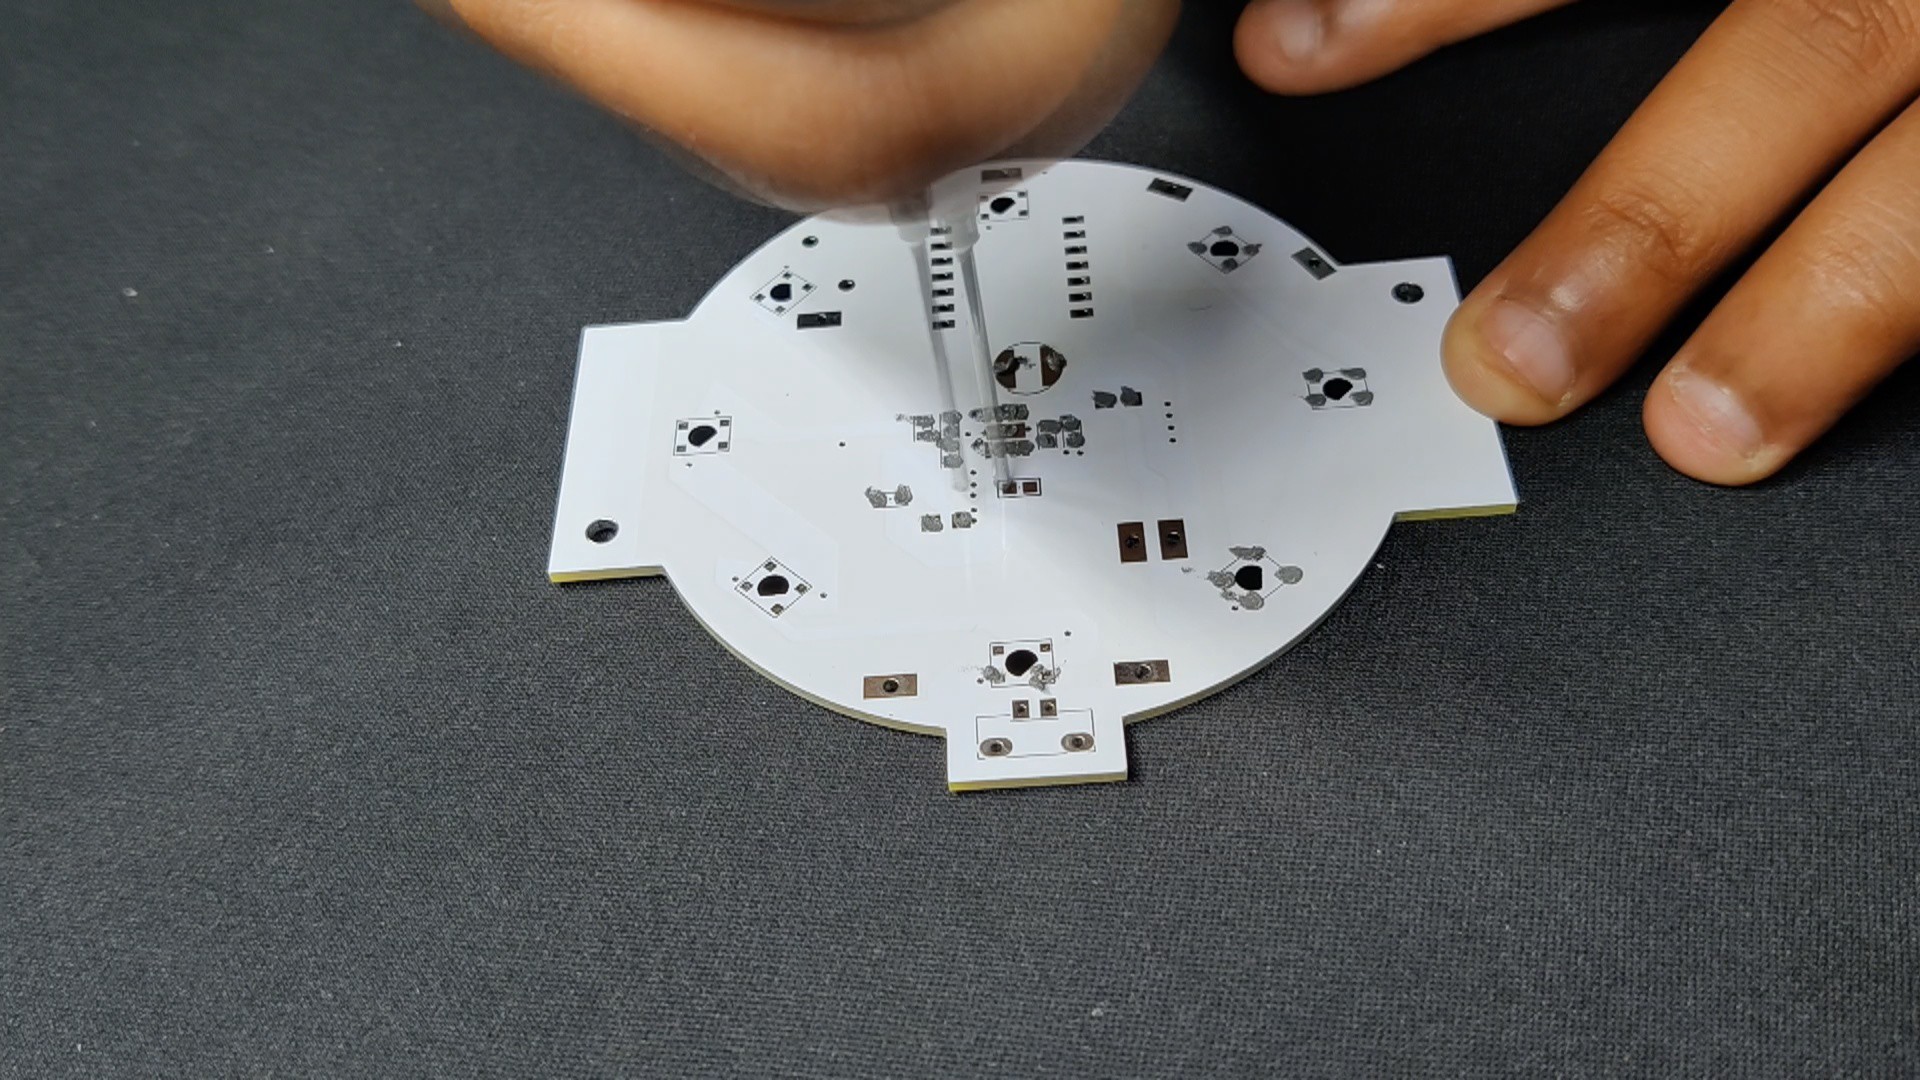
Regarding the board design, we took the layout from the cad design and used it to create the outline, the mechanical holes, and even the placement of the components.
After completion of the PCB design, a Gerber file was generated and then sent to Seeed Studio Fusion for samples.
Seeed Studio Fusion
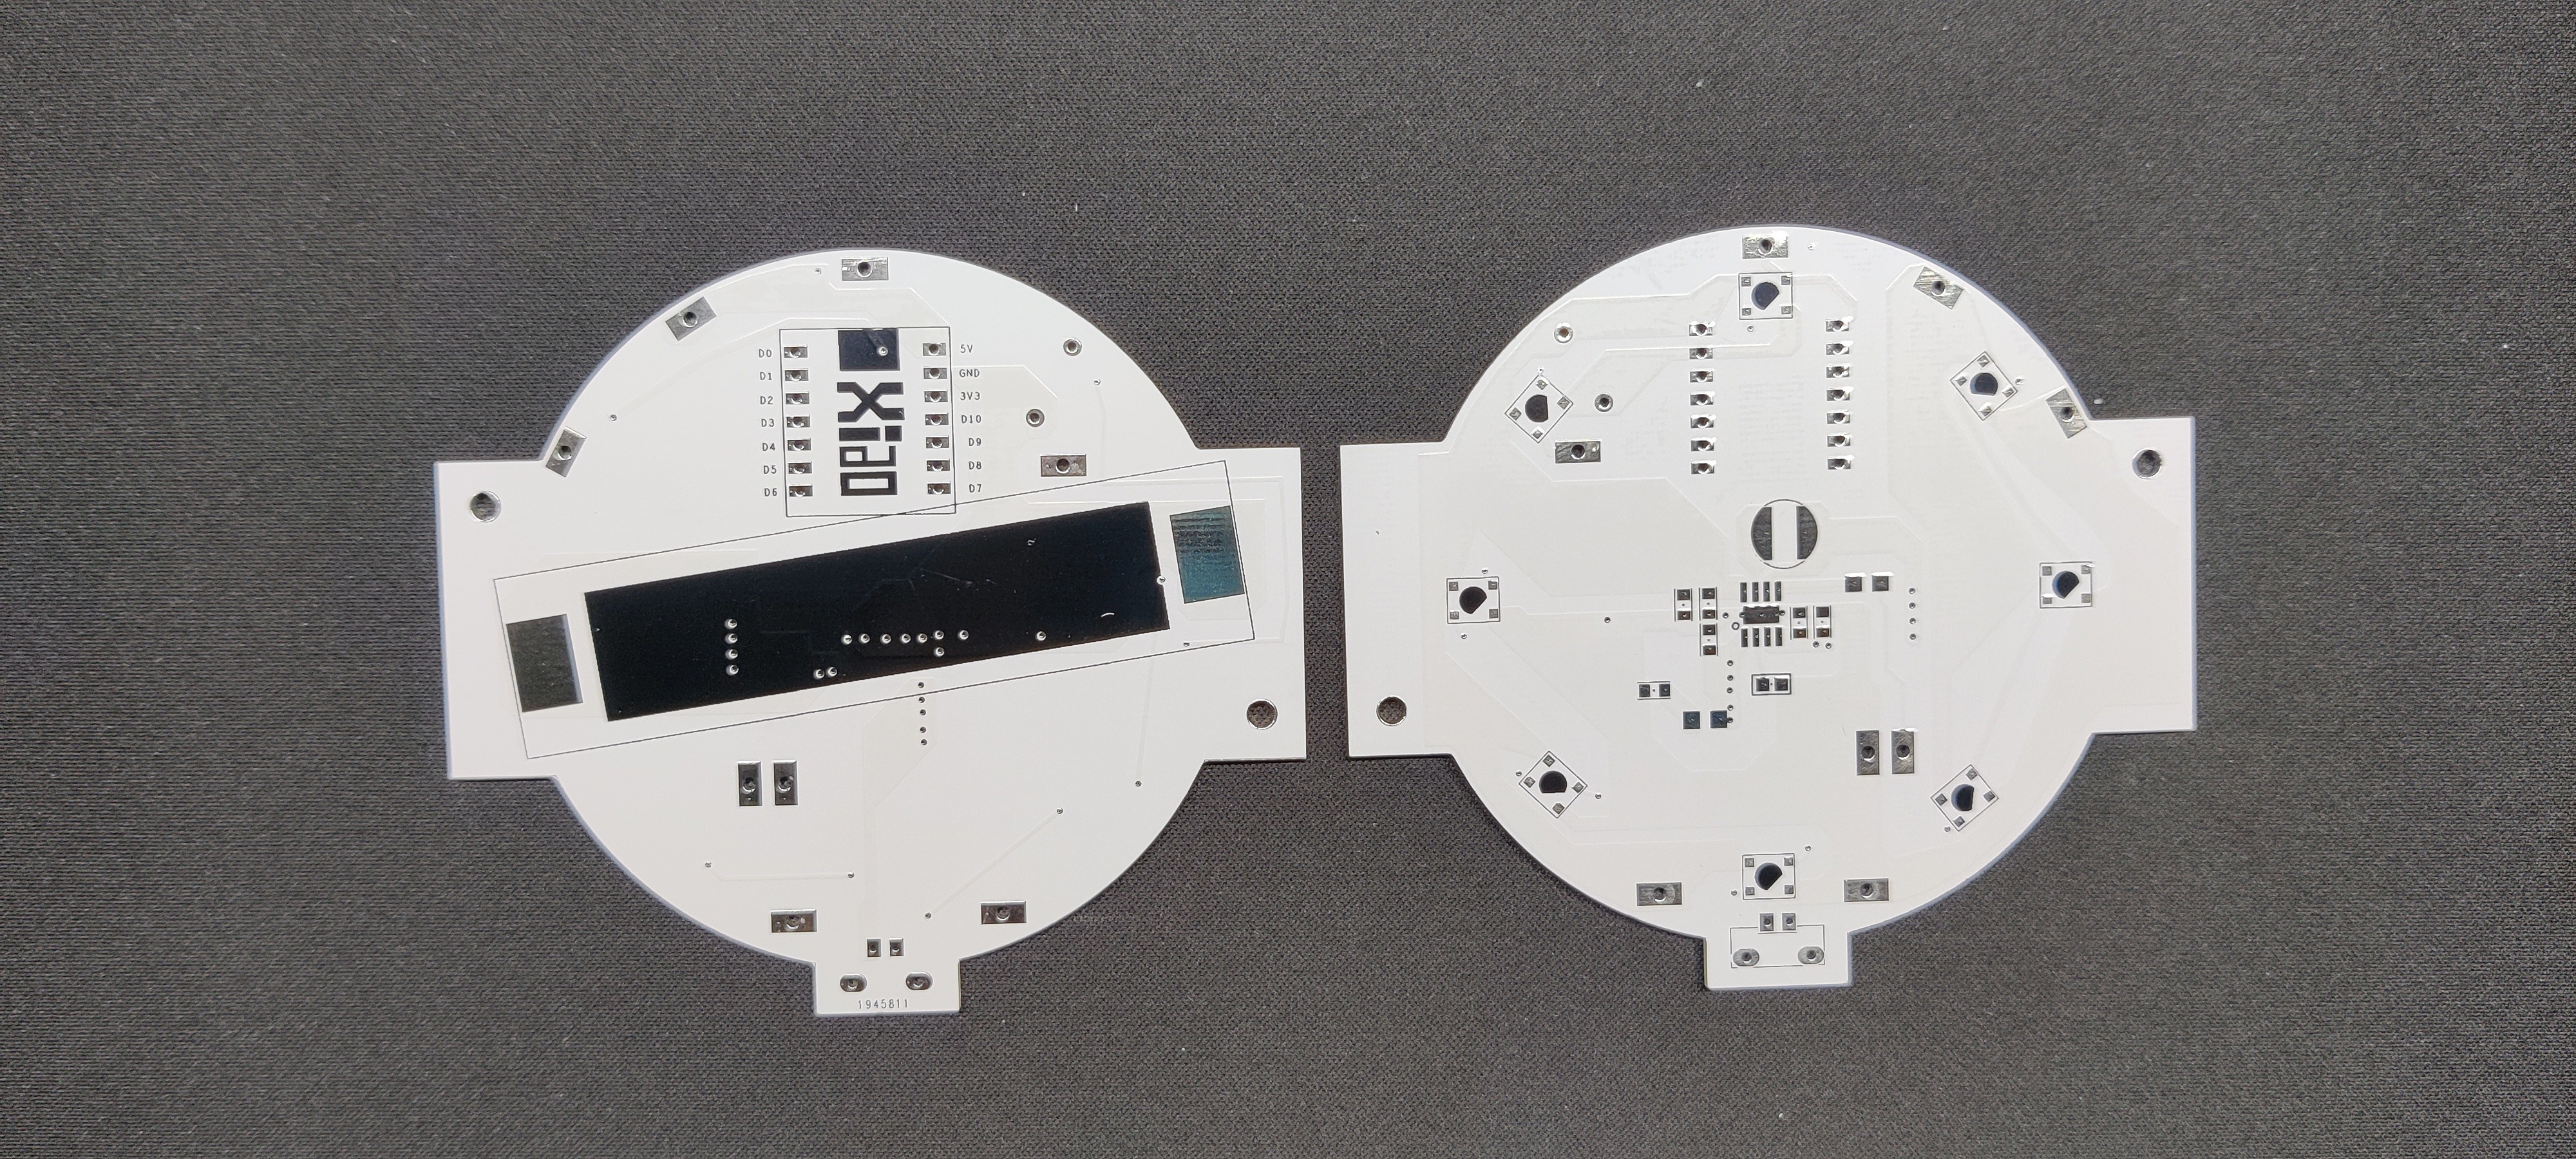
An order was placed for a white solder mask with black silkscreen.
The quality was super good considering the rate, which was also pretty low.
Seeed Fusion offers one-stop prototyping for PCB manufacture and PCB assembly, and as a result, they produce superior-quality PCBs and fast-turnkey PCBA within 7 working days.
Seeed Studio Fusion PCB Assembly Service takes care of the entire fabrication process, from PCB manufacturing to parts sourcing, assembly, and testing services, so you can be sure that they are getting a quality product.
After gauging market interest and verifying a working prototype, Seeed Propagate Service can help you bring the product to market with professional guidance and a strong network of connections.

 DIY GUY Chris
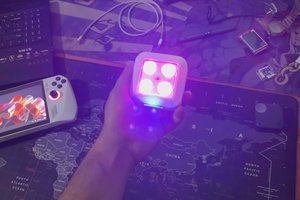
 Jack Flynn