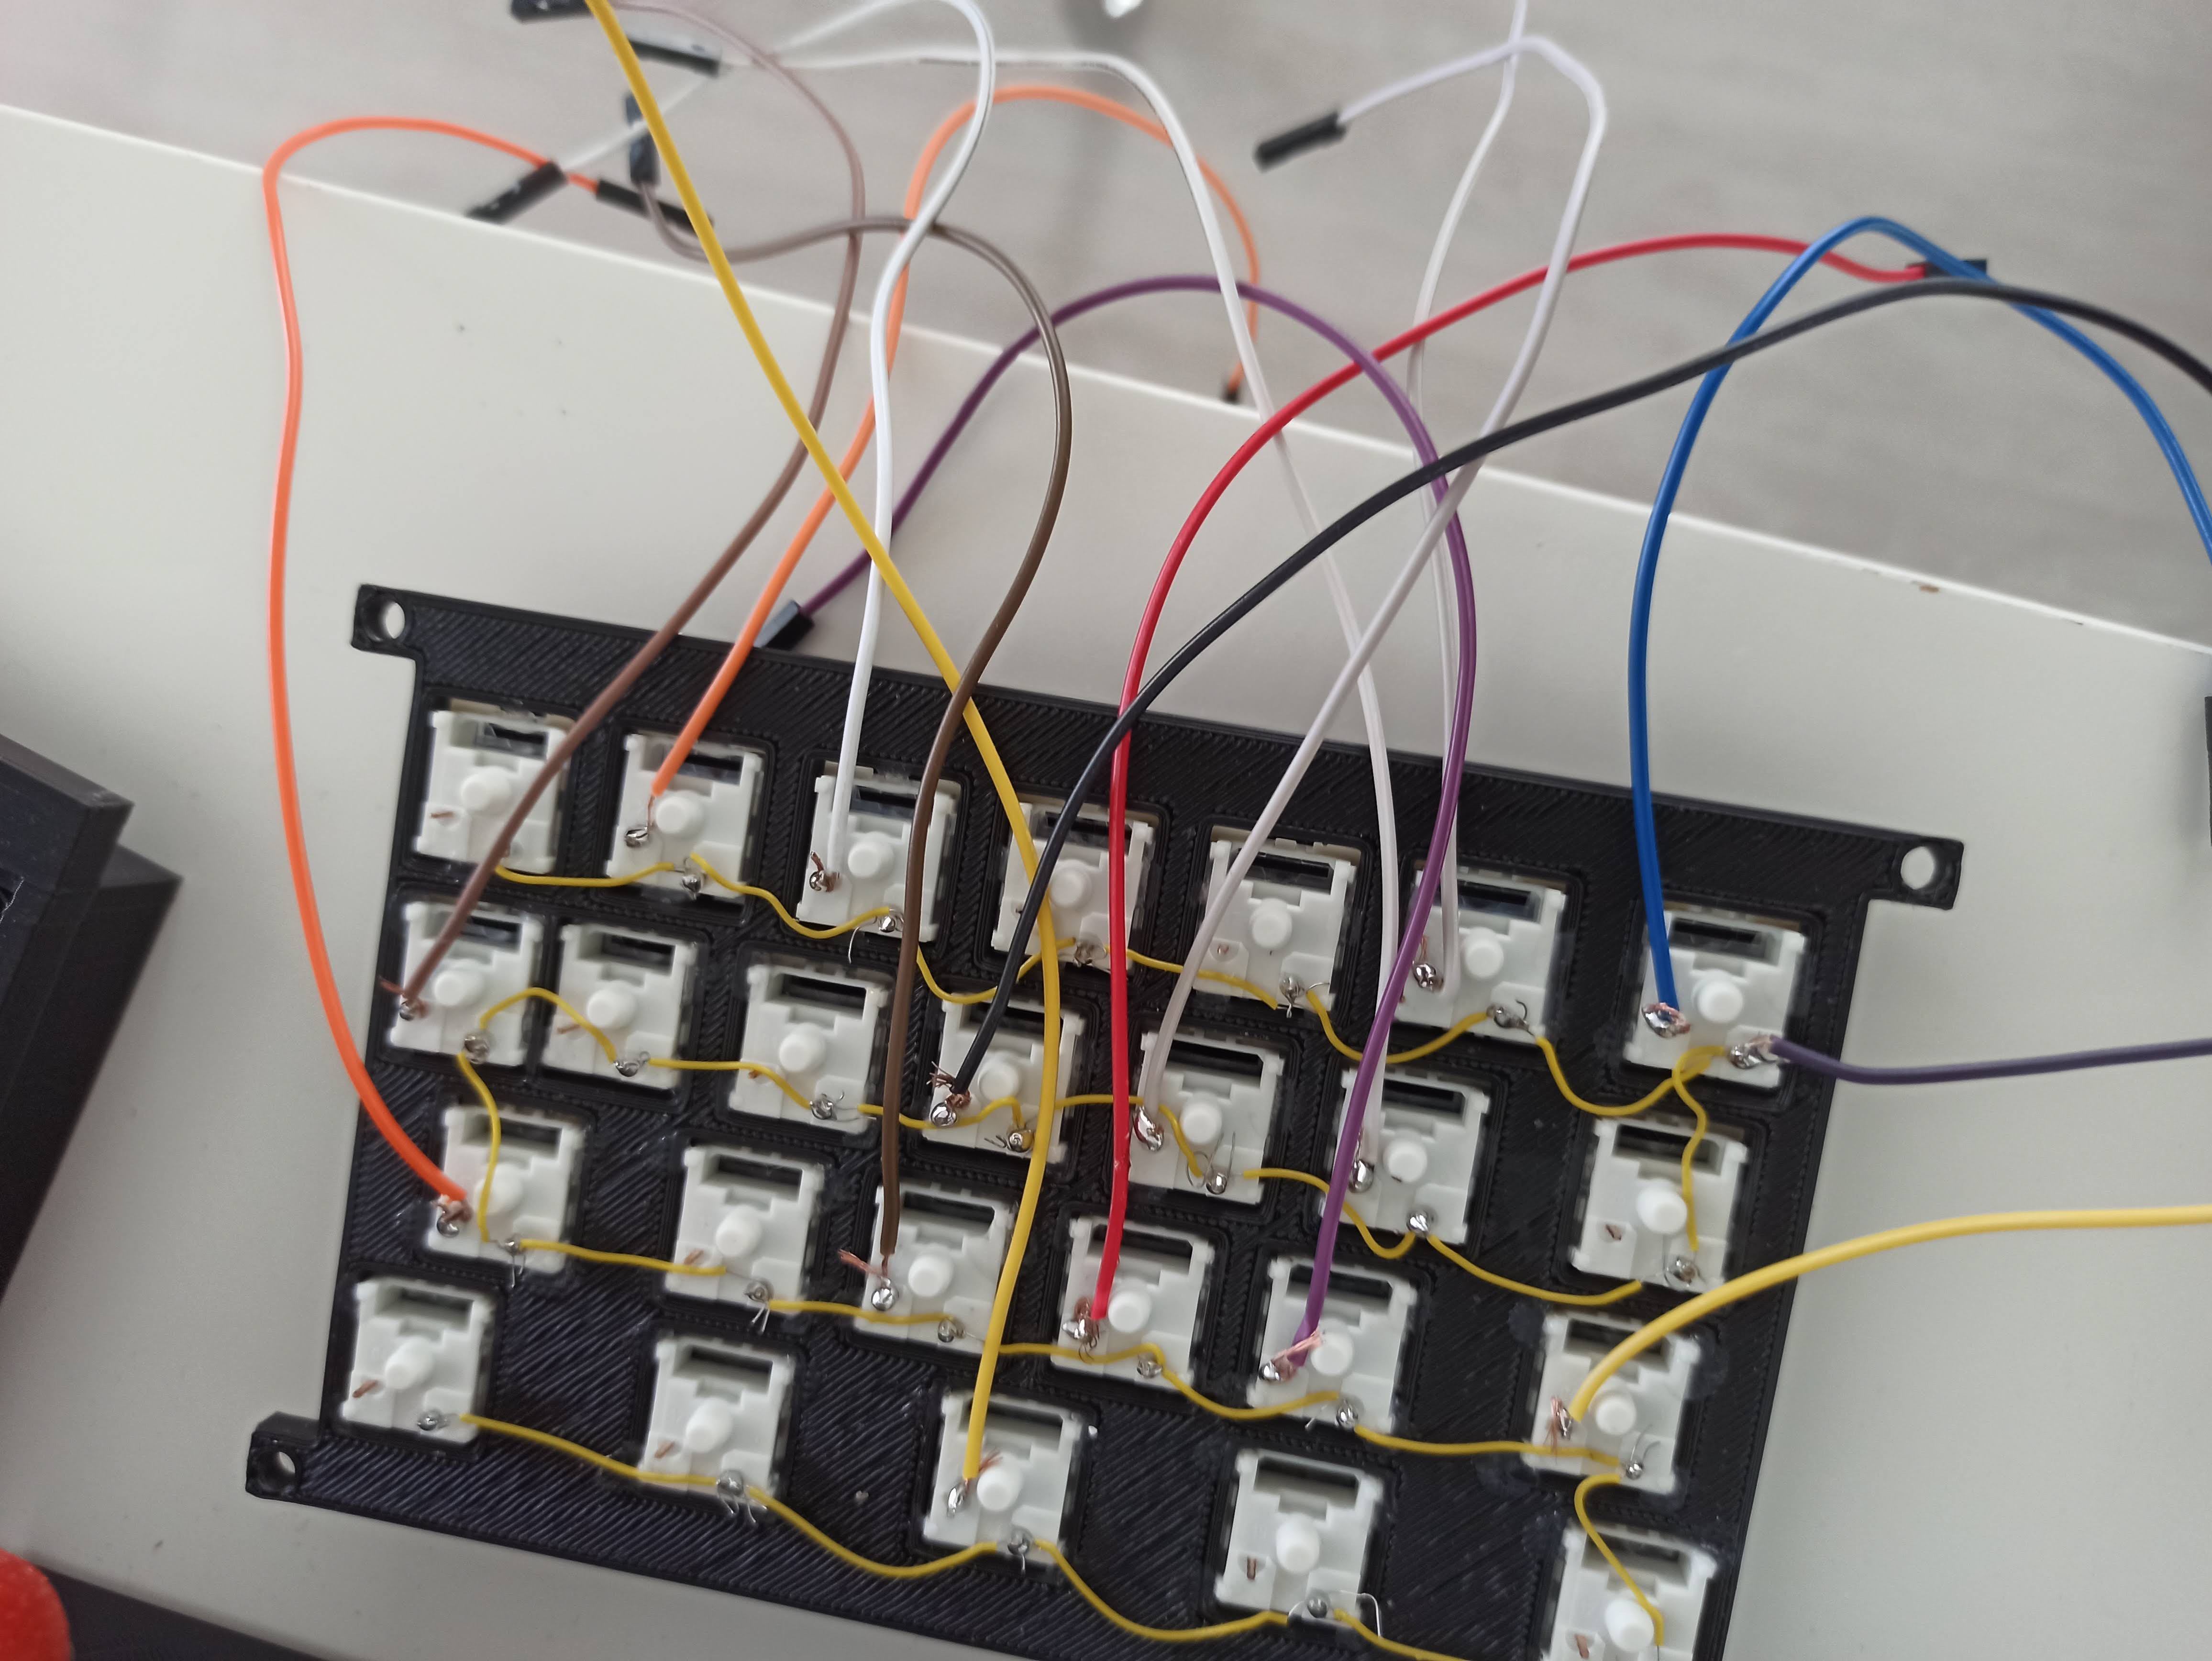
Weld detail

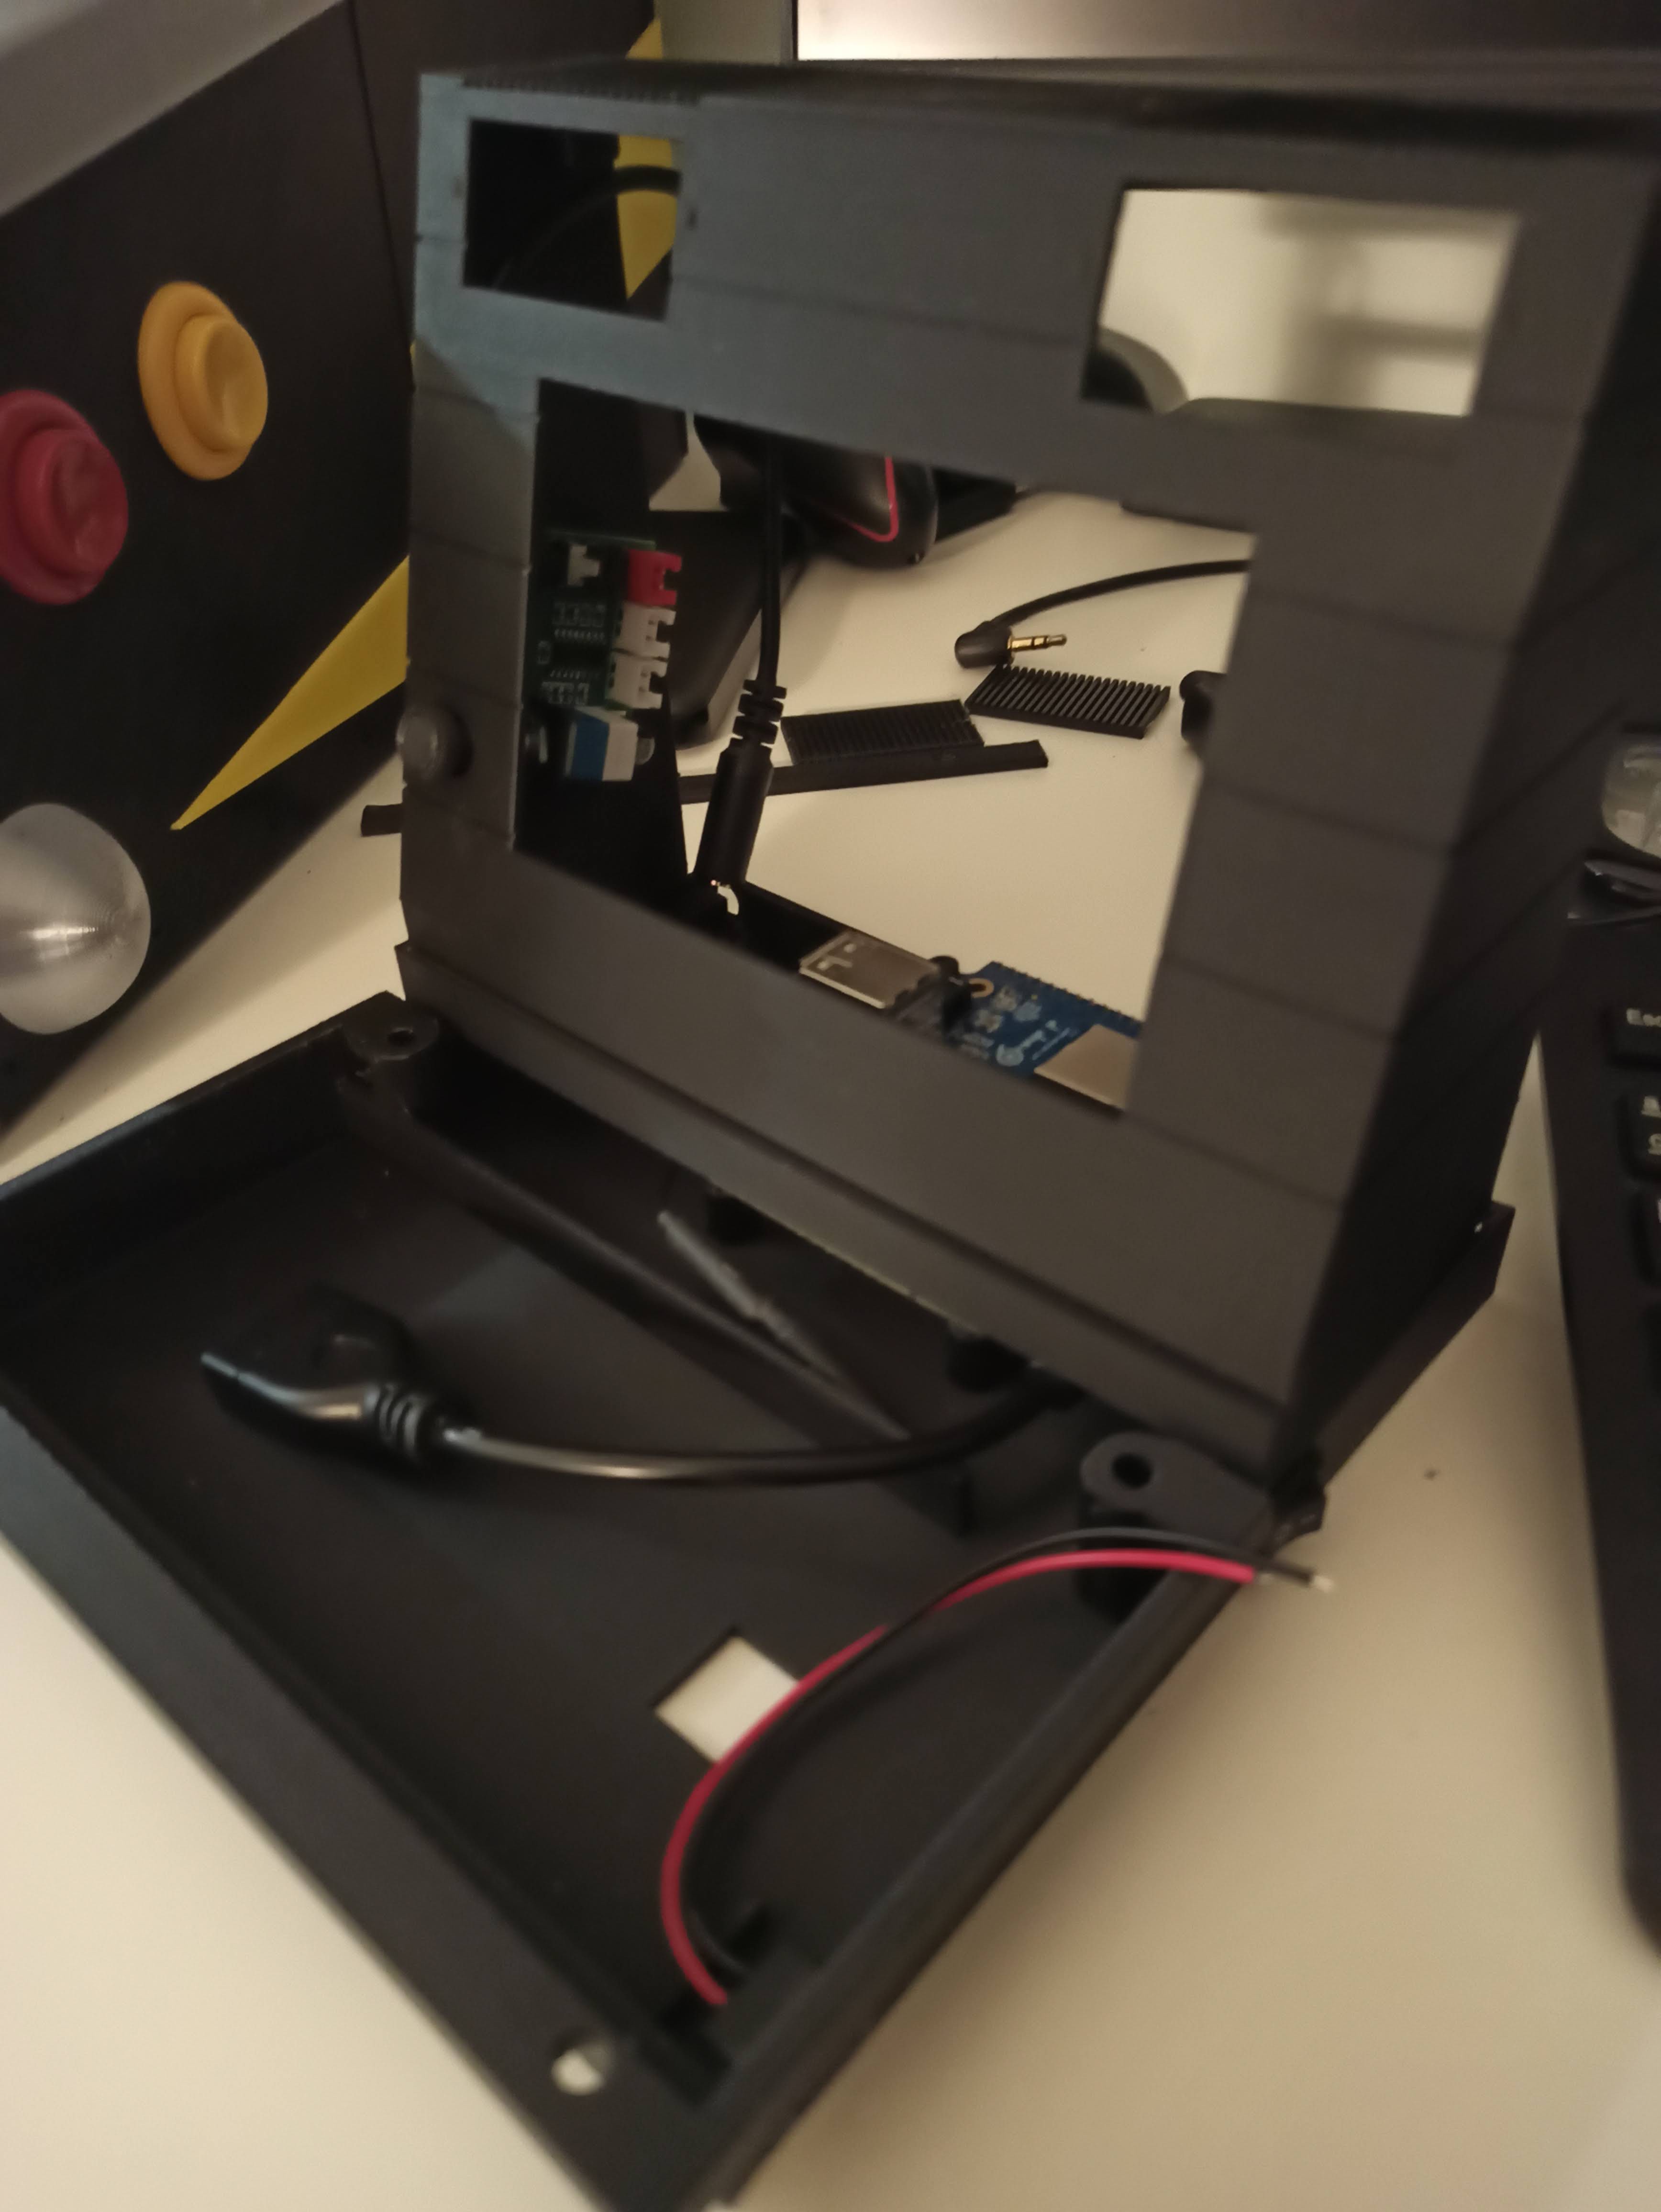
Battery case

Printed casing

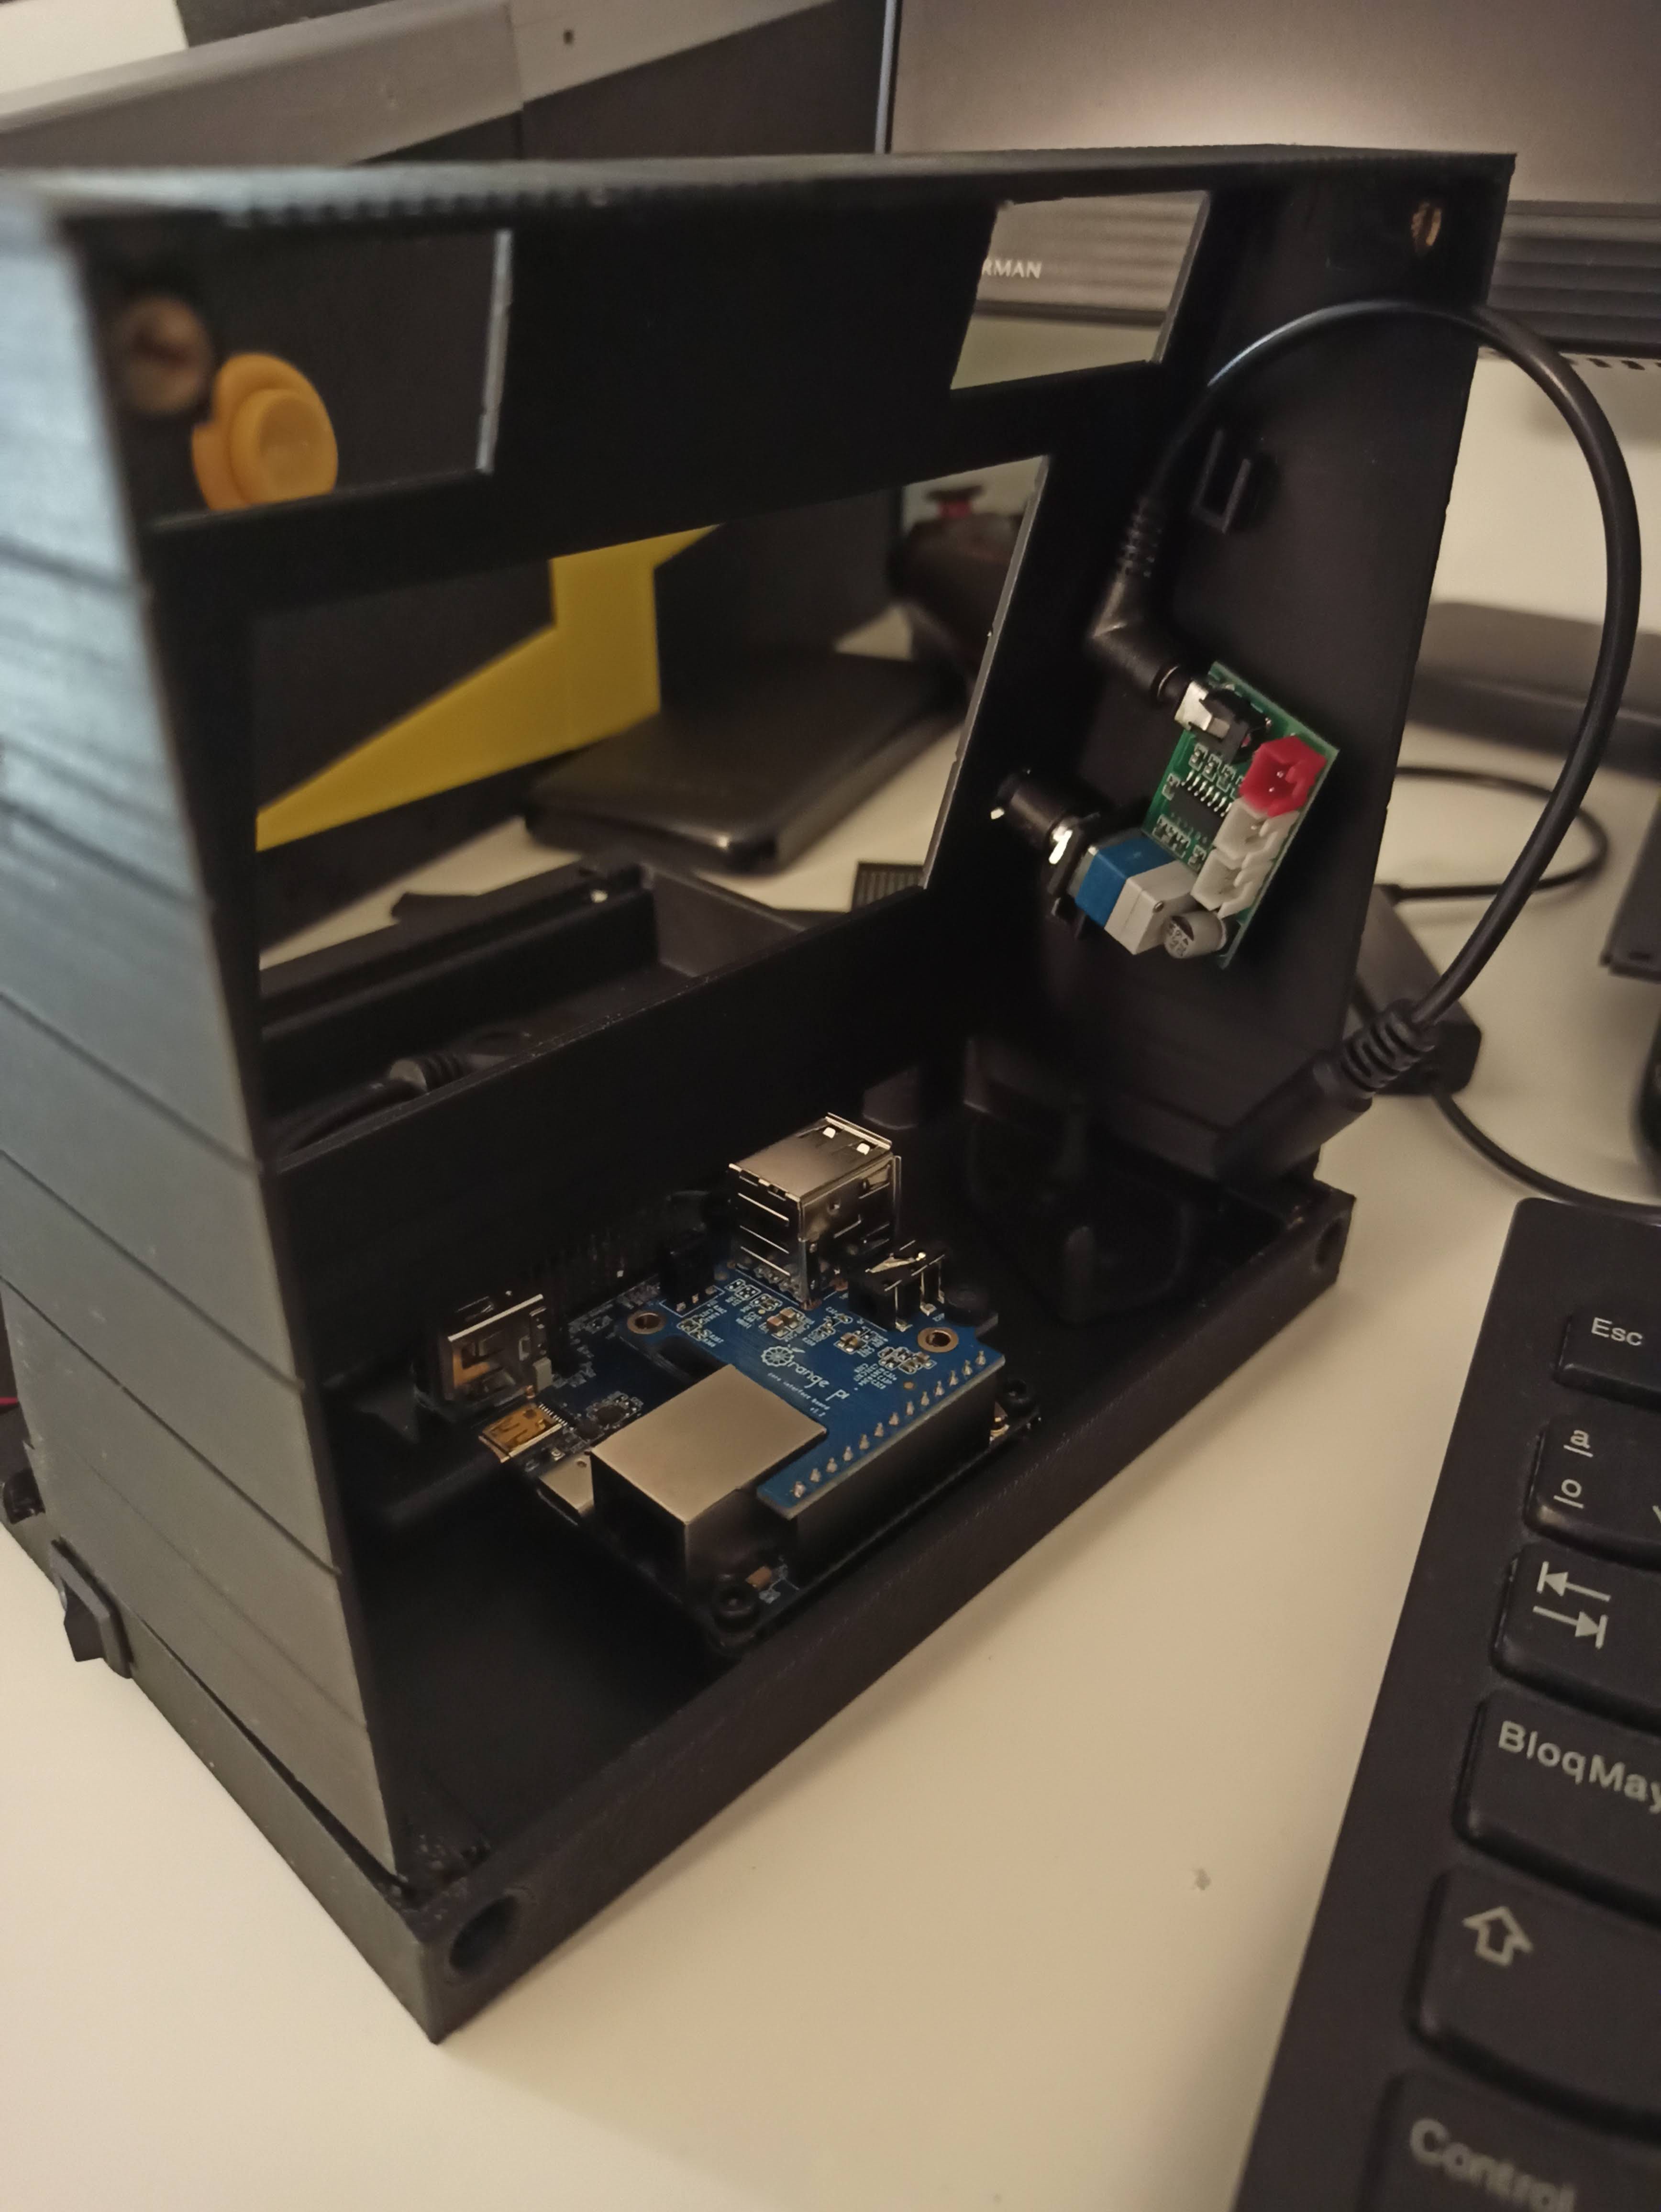
Element composition
Design and creation of a Spectrum + micro. Designed for 3D printing, based on an orange pi zero2. 5" screen, mechanical keyboard, 3w ampli.
To make the experience fit your profile, pick a username and tell us what interests you.
We found and based on your interests.
Weld detail
Battery case
Printed casing
Element composition
8-bit-classic-arcade-game-116832.mp3MPEG Video - 4.90 MB - 04/16/2024 at 16:54 |
|
|
44933_Scalesmann_my_bleep_is_inside.mp3MPEG Video - 4.09 MB - 04/16/2024 at 16:54 |
|
|
fuzzy-logic-classic-arcade-game-116848.mp3MPEG Video - 4.90 MB - 04/16/2024 at 16:54 |
|
|
77674_Rayden_ETHN2.mp3MPEG Video - 8.00 MB - 04/16/2024 at 16:54 |
|
|
dial-up-blues-classic-arcade-game-116844.mp3MPEG Video - 4.90 MB - 04/16/2024 at 16:54 |
|
Print all parts. I have printed them all oriented towards z and with organic supports. With 0.4 nozzle, 0.2 layers and 30% filling. Except on the keys and small elements I have isated layer of 0.12
Insert the M4 and M3 nuts with a fine wire soldering iron. There are 4 of M4 on the base to fix the keyboard and another 4 between the structure and the back cover. And finally 4 of M3 on the base to fix the orange pi zero2 card
Assemble all the keys and fix them in the matrix to later solder joining all the negatives. Next, solder a male dunpot wire to each key. When we do the assembly, the terminals will end up in the inputs of the Arduino pro micro
Create an account to leave a comment. Already have an account? Log In.
Become a member to follow this project and never miss any updates