 SrRubio
-
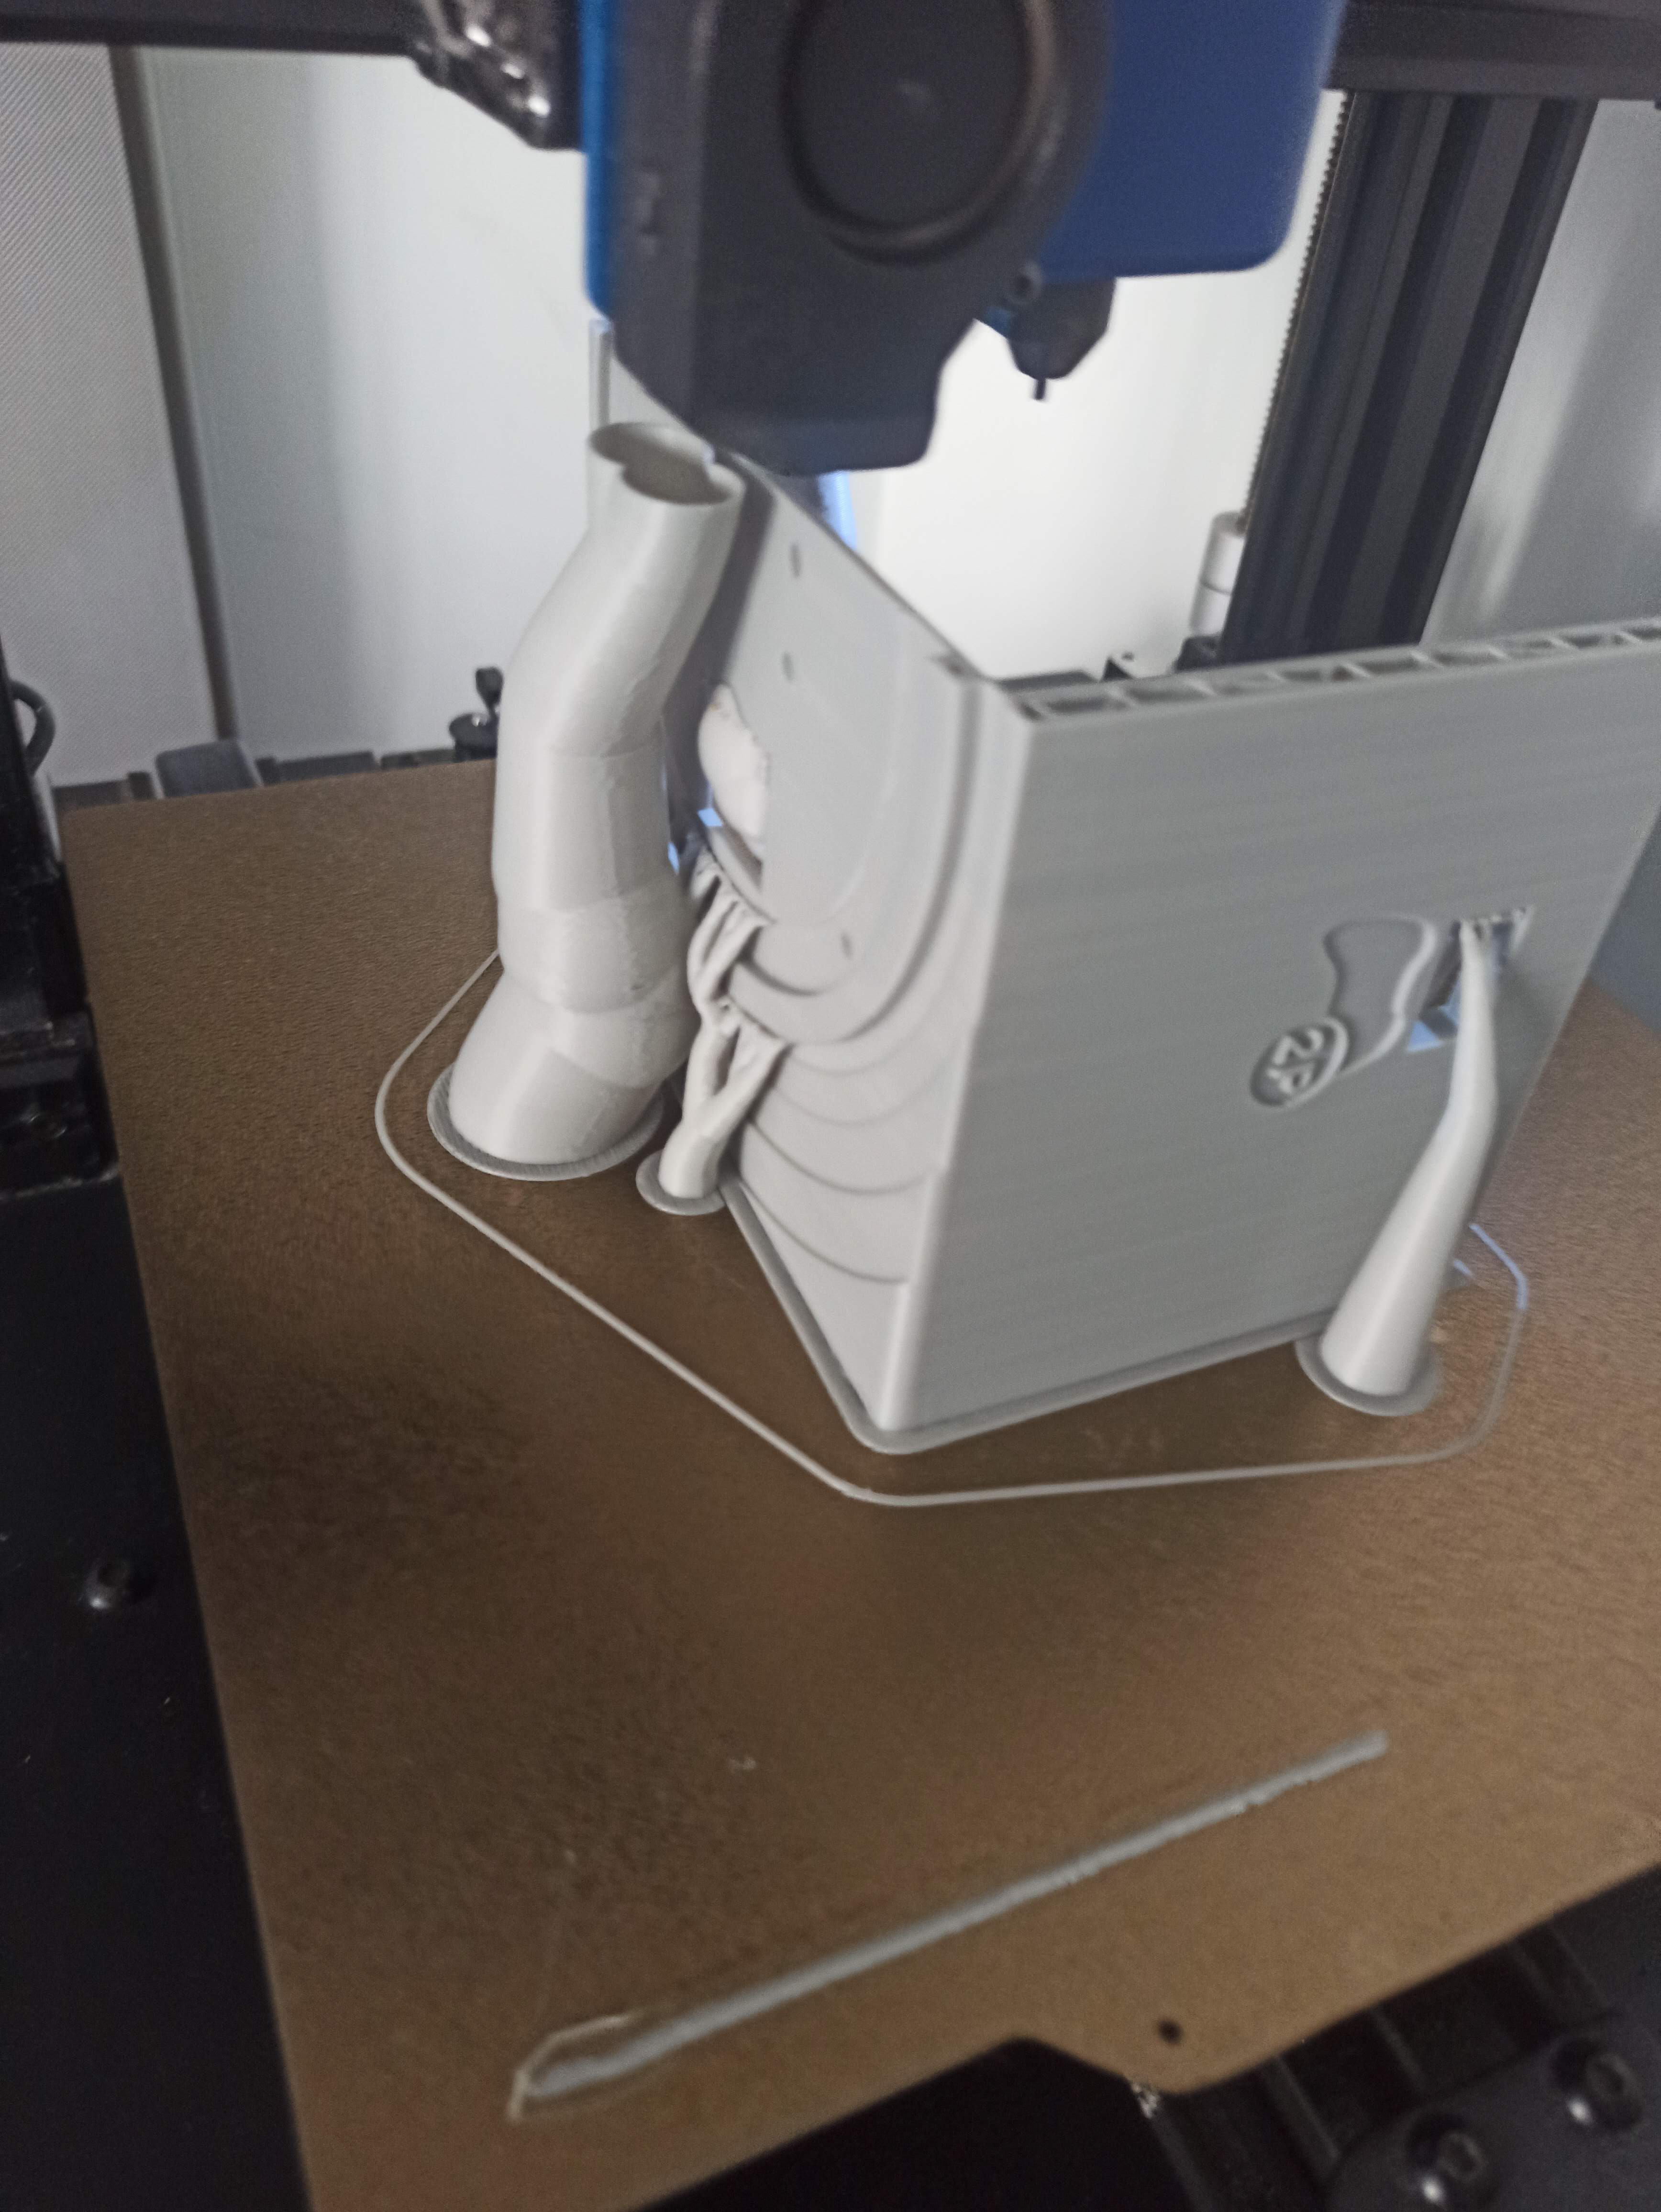
1Download the STL files & Print
-
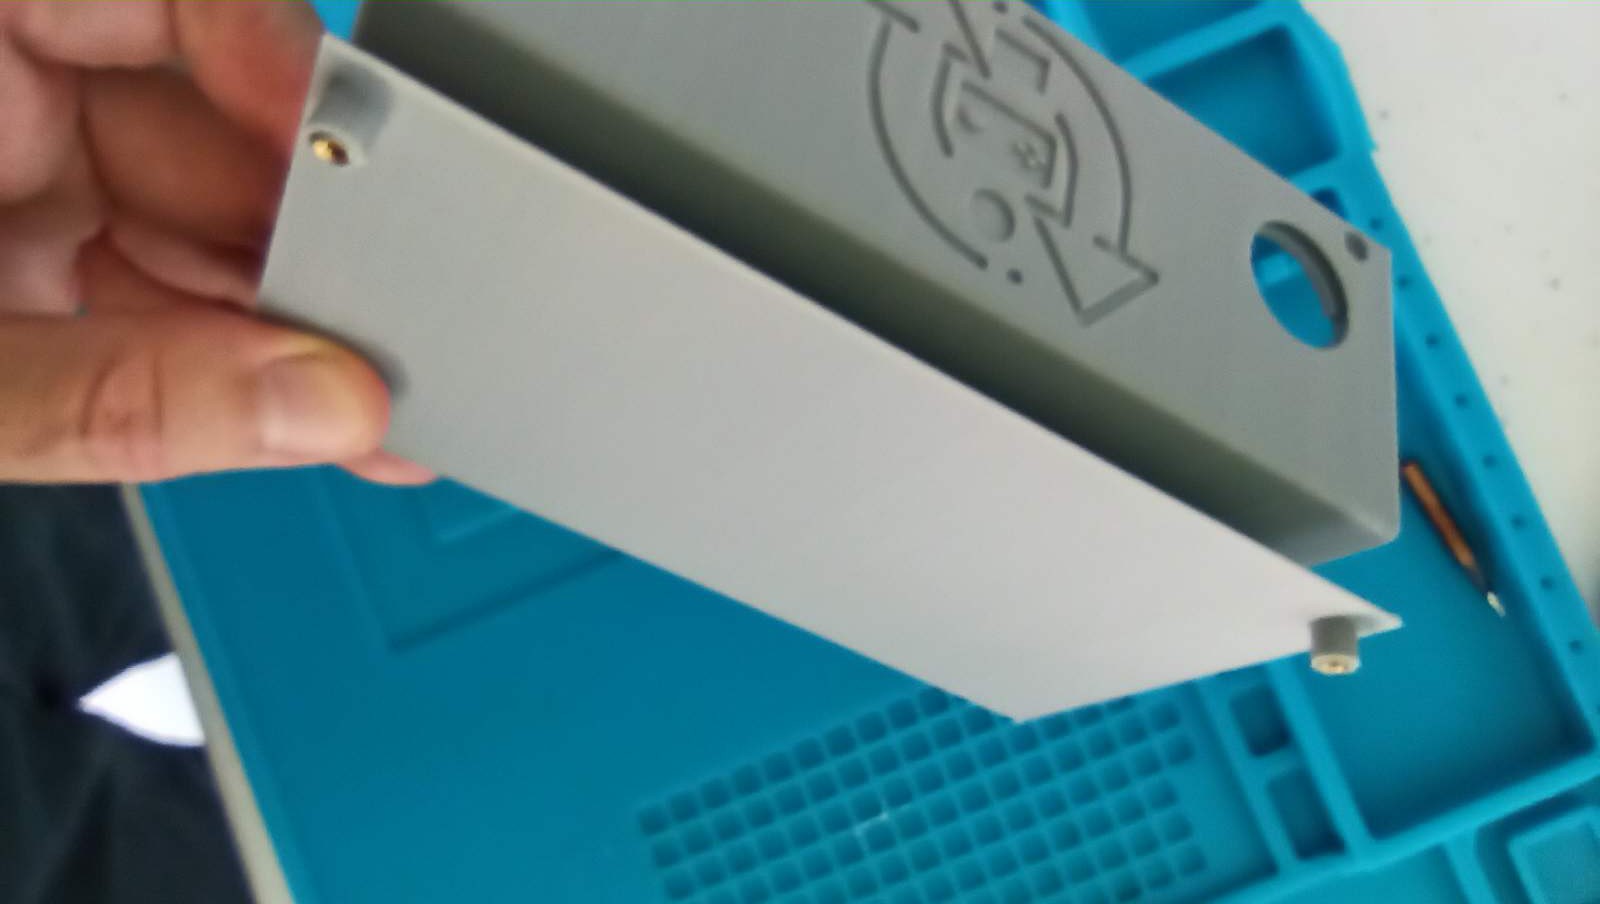
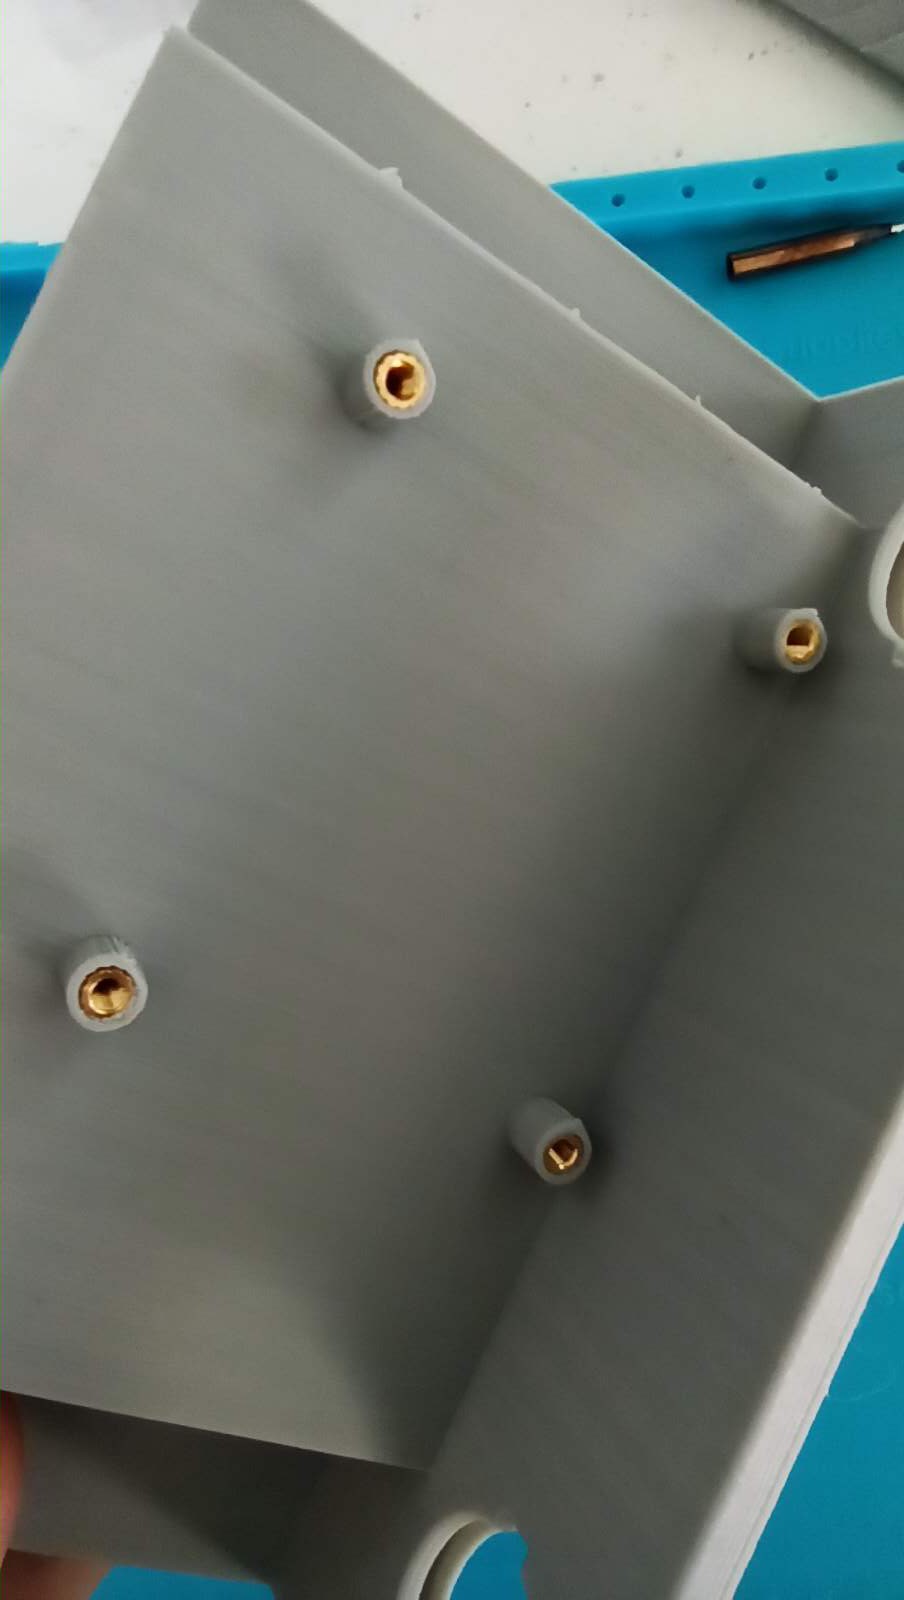
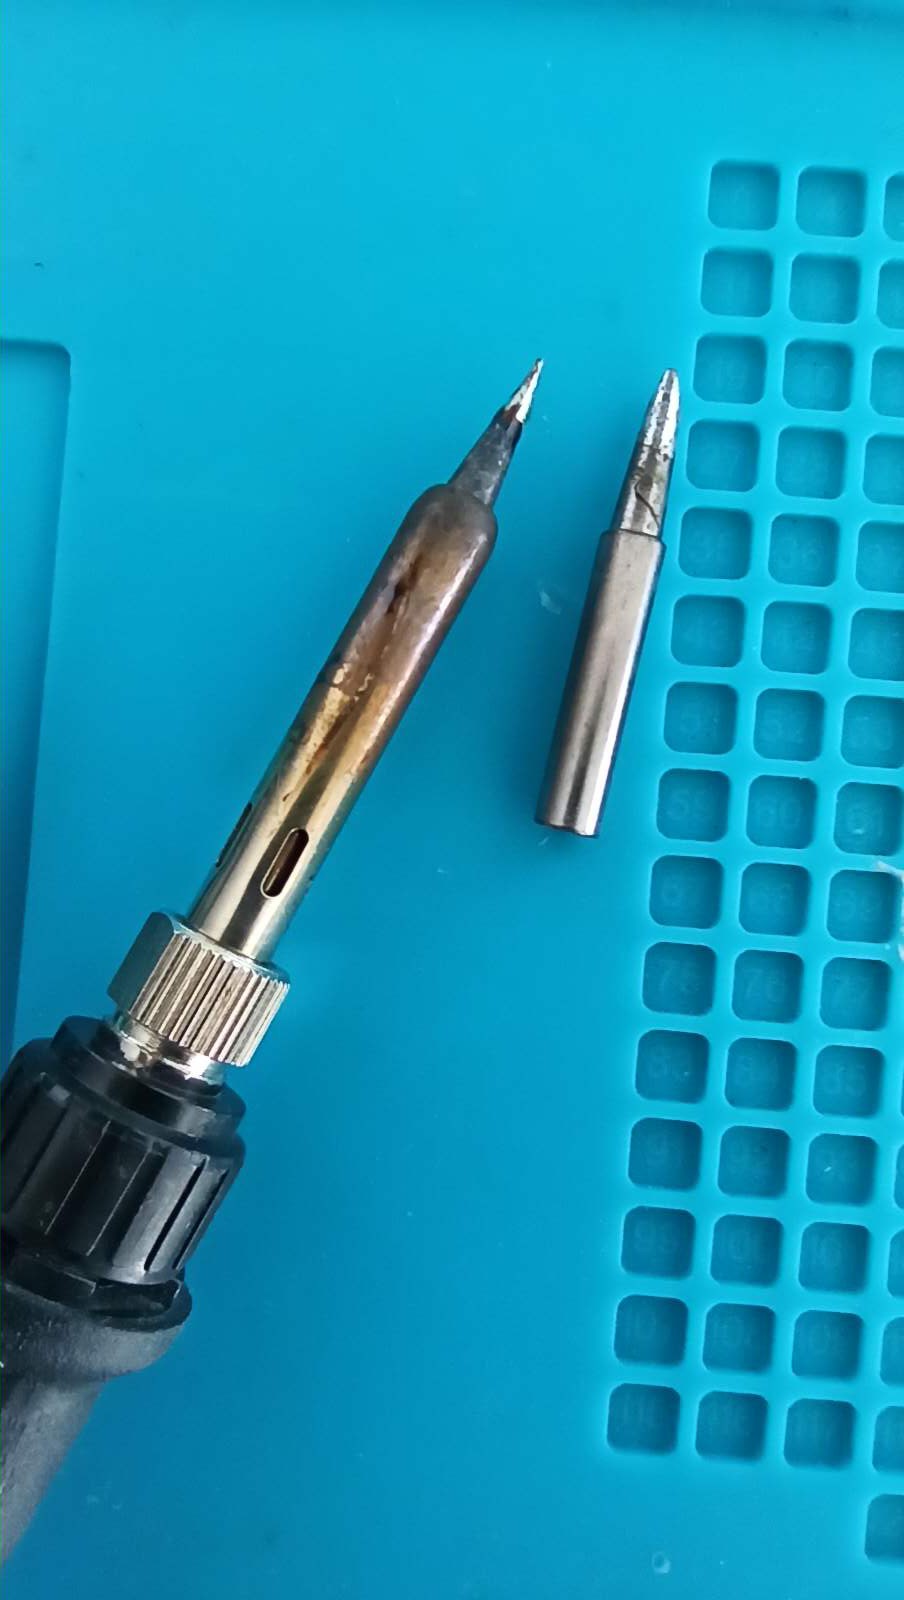
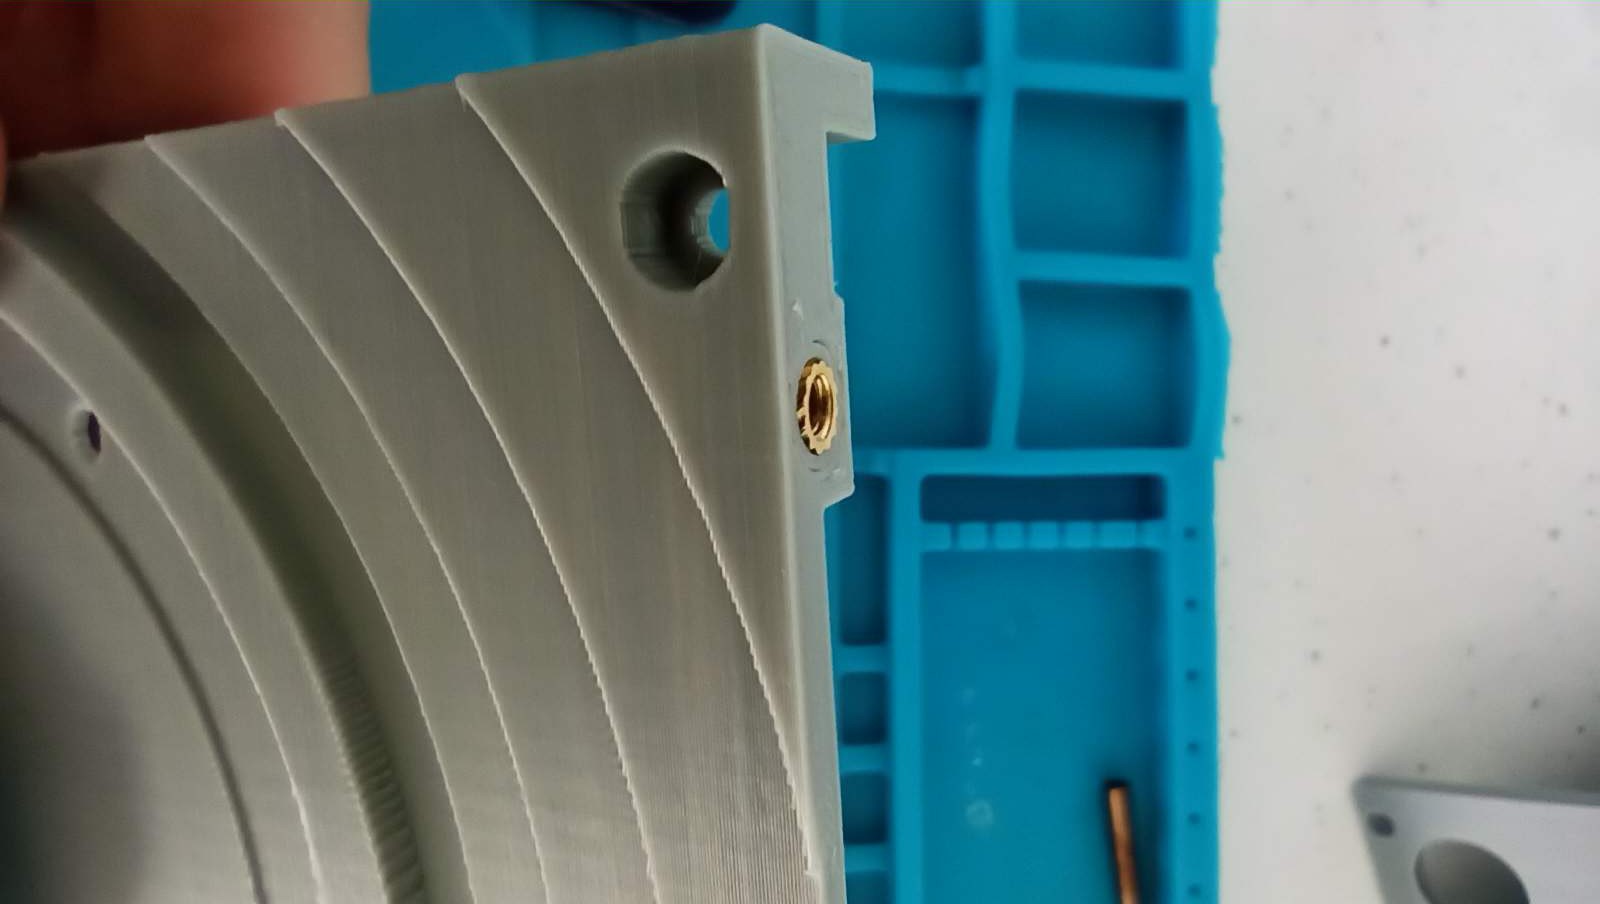
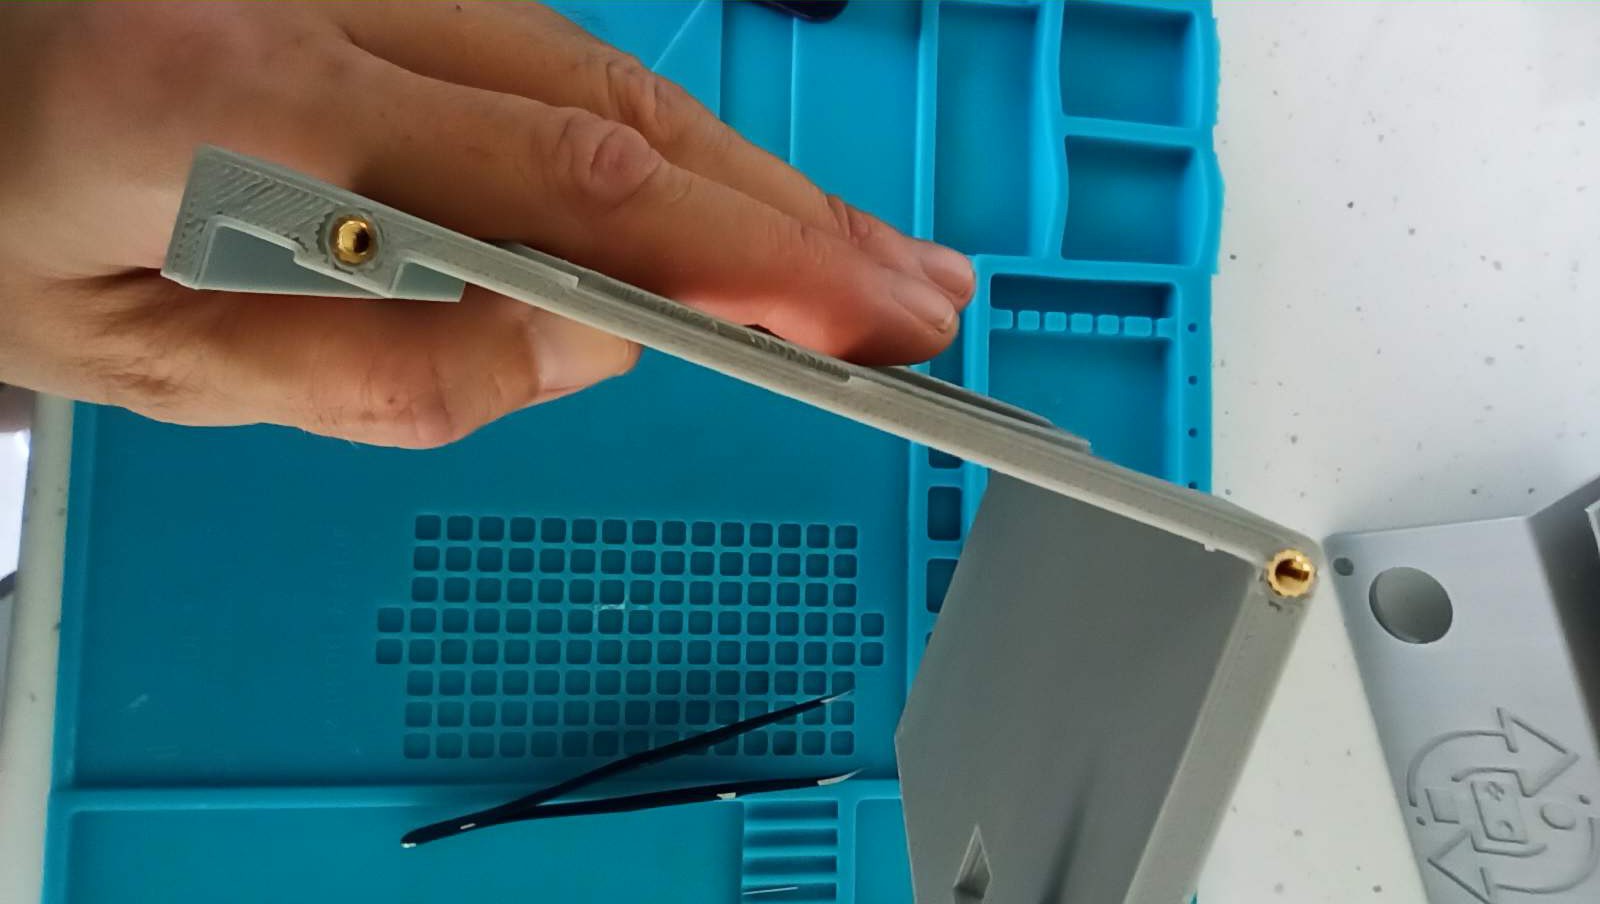
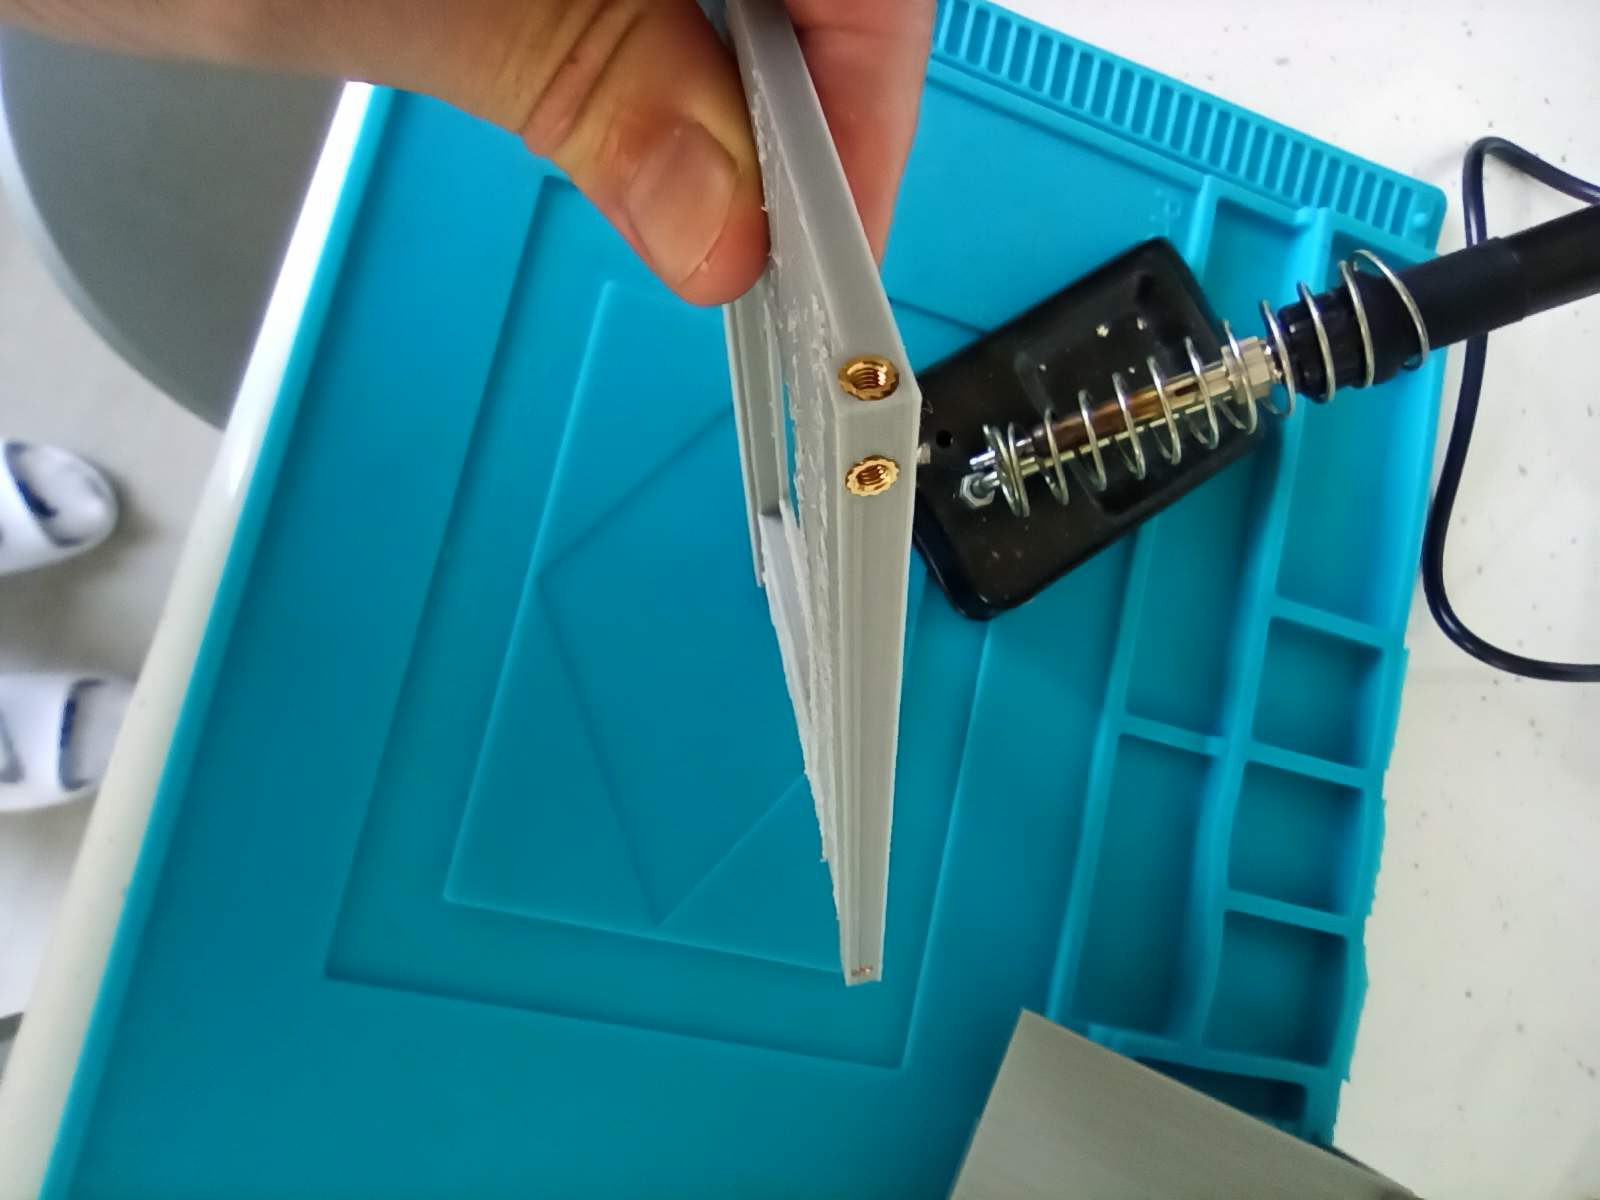
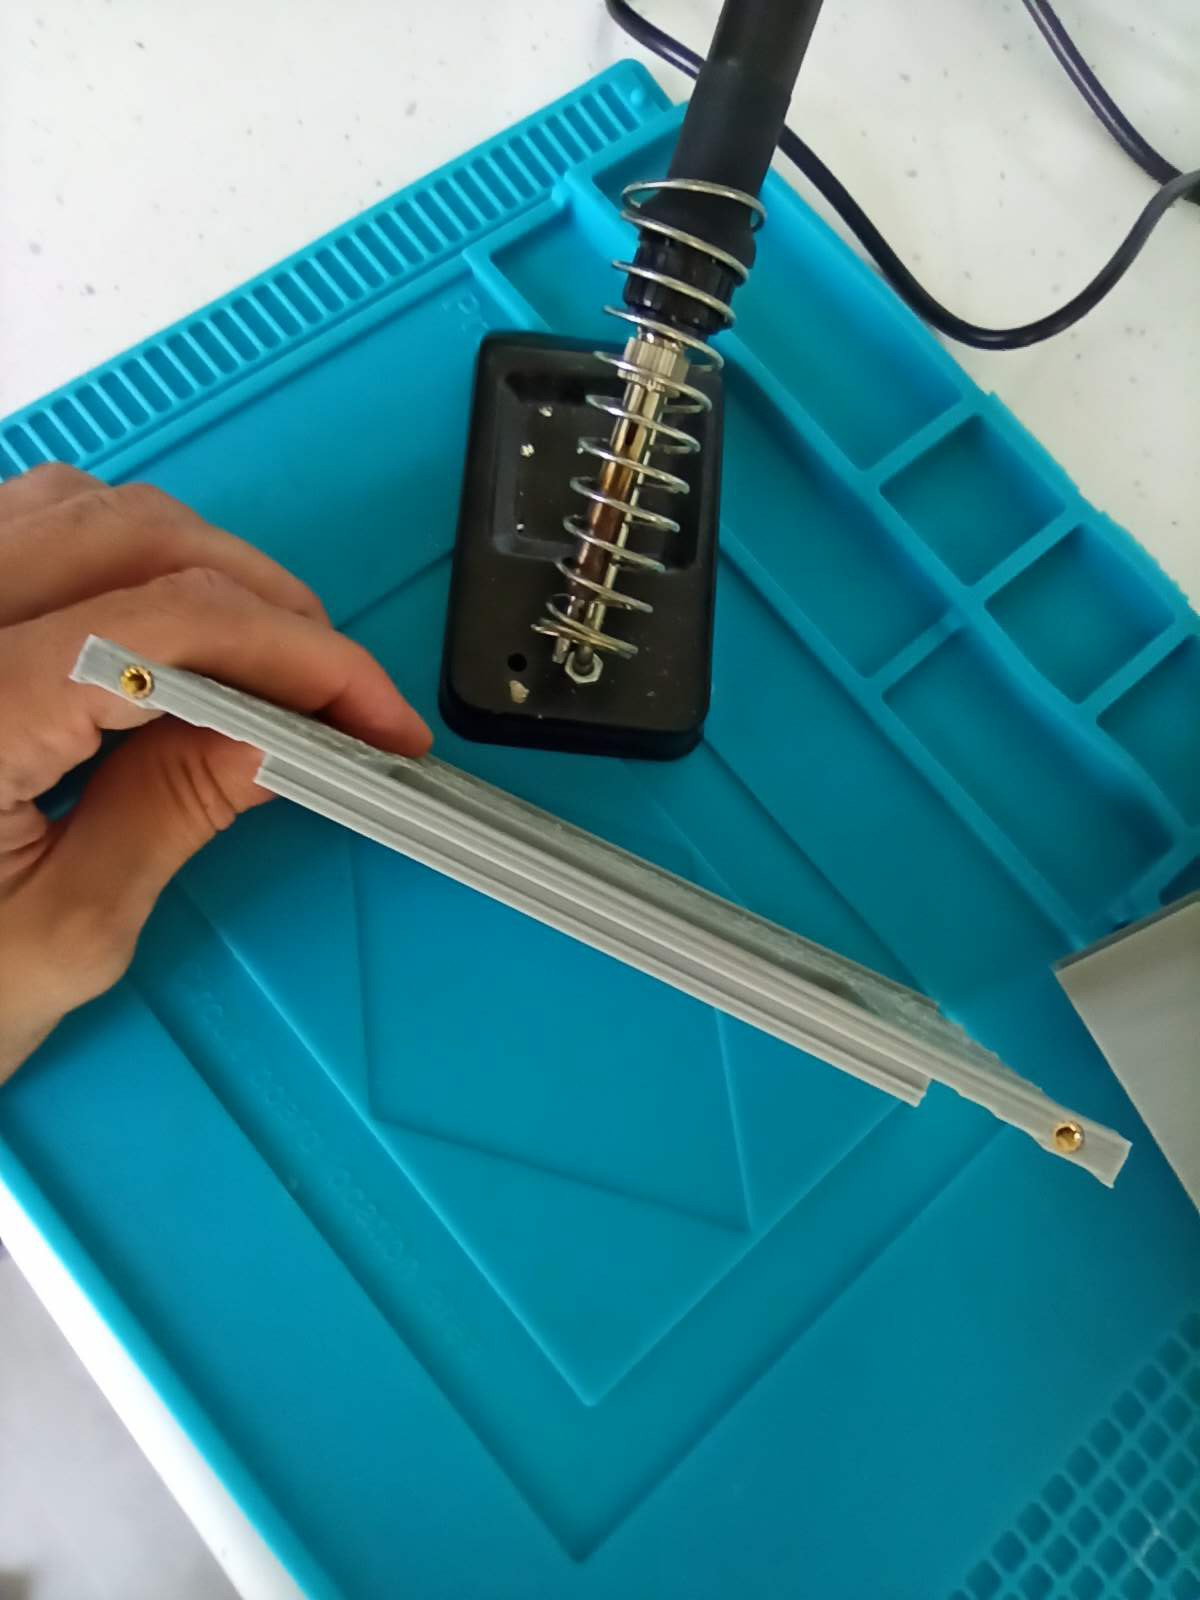
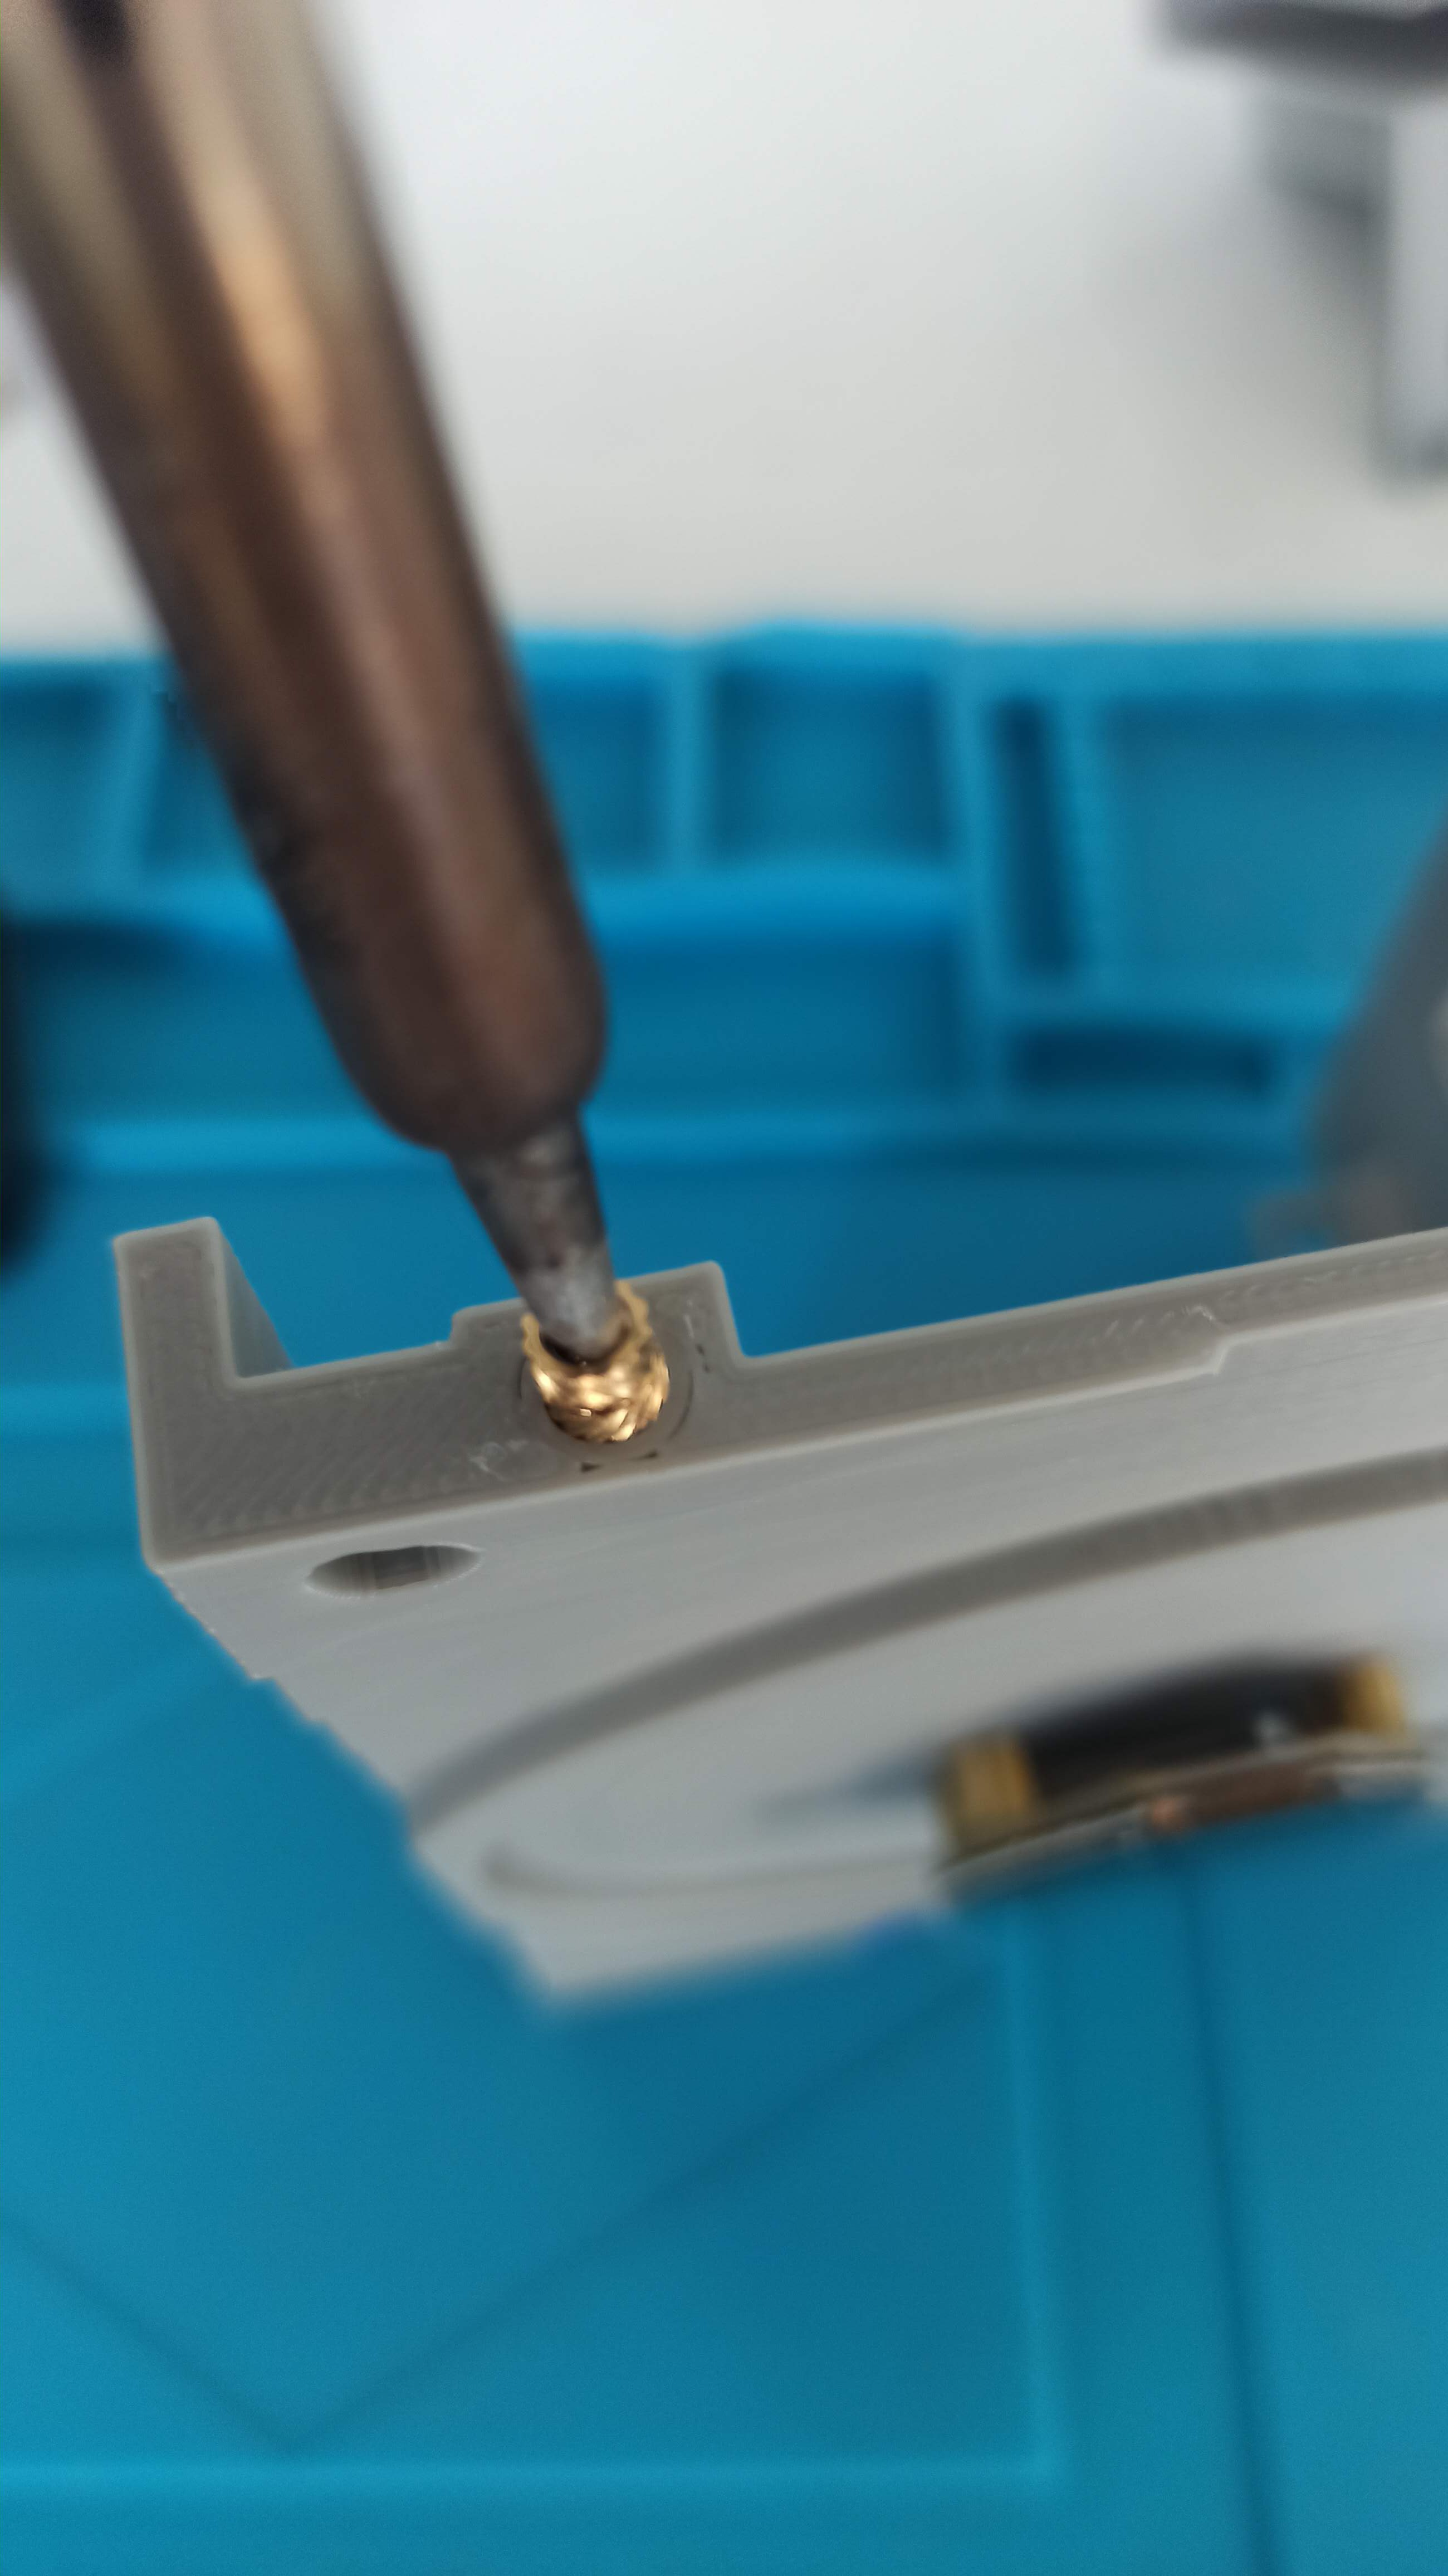
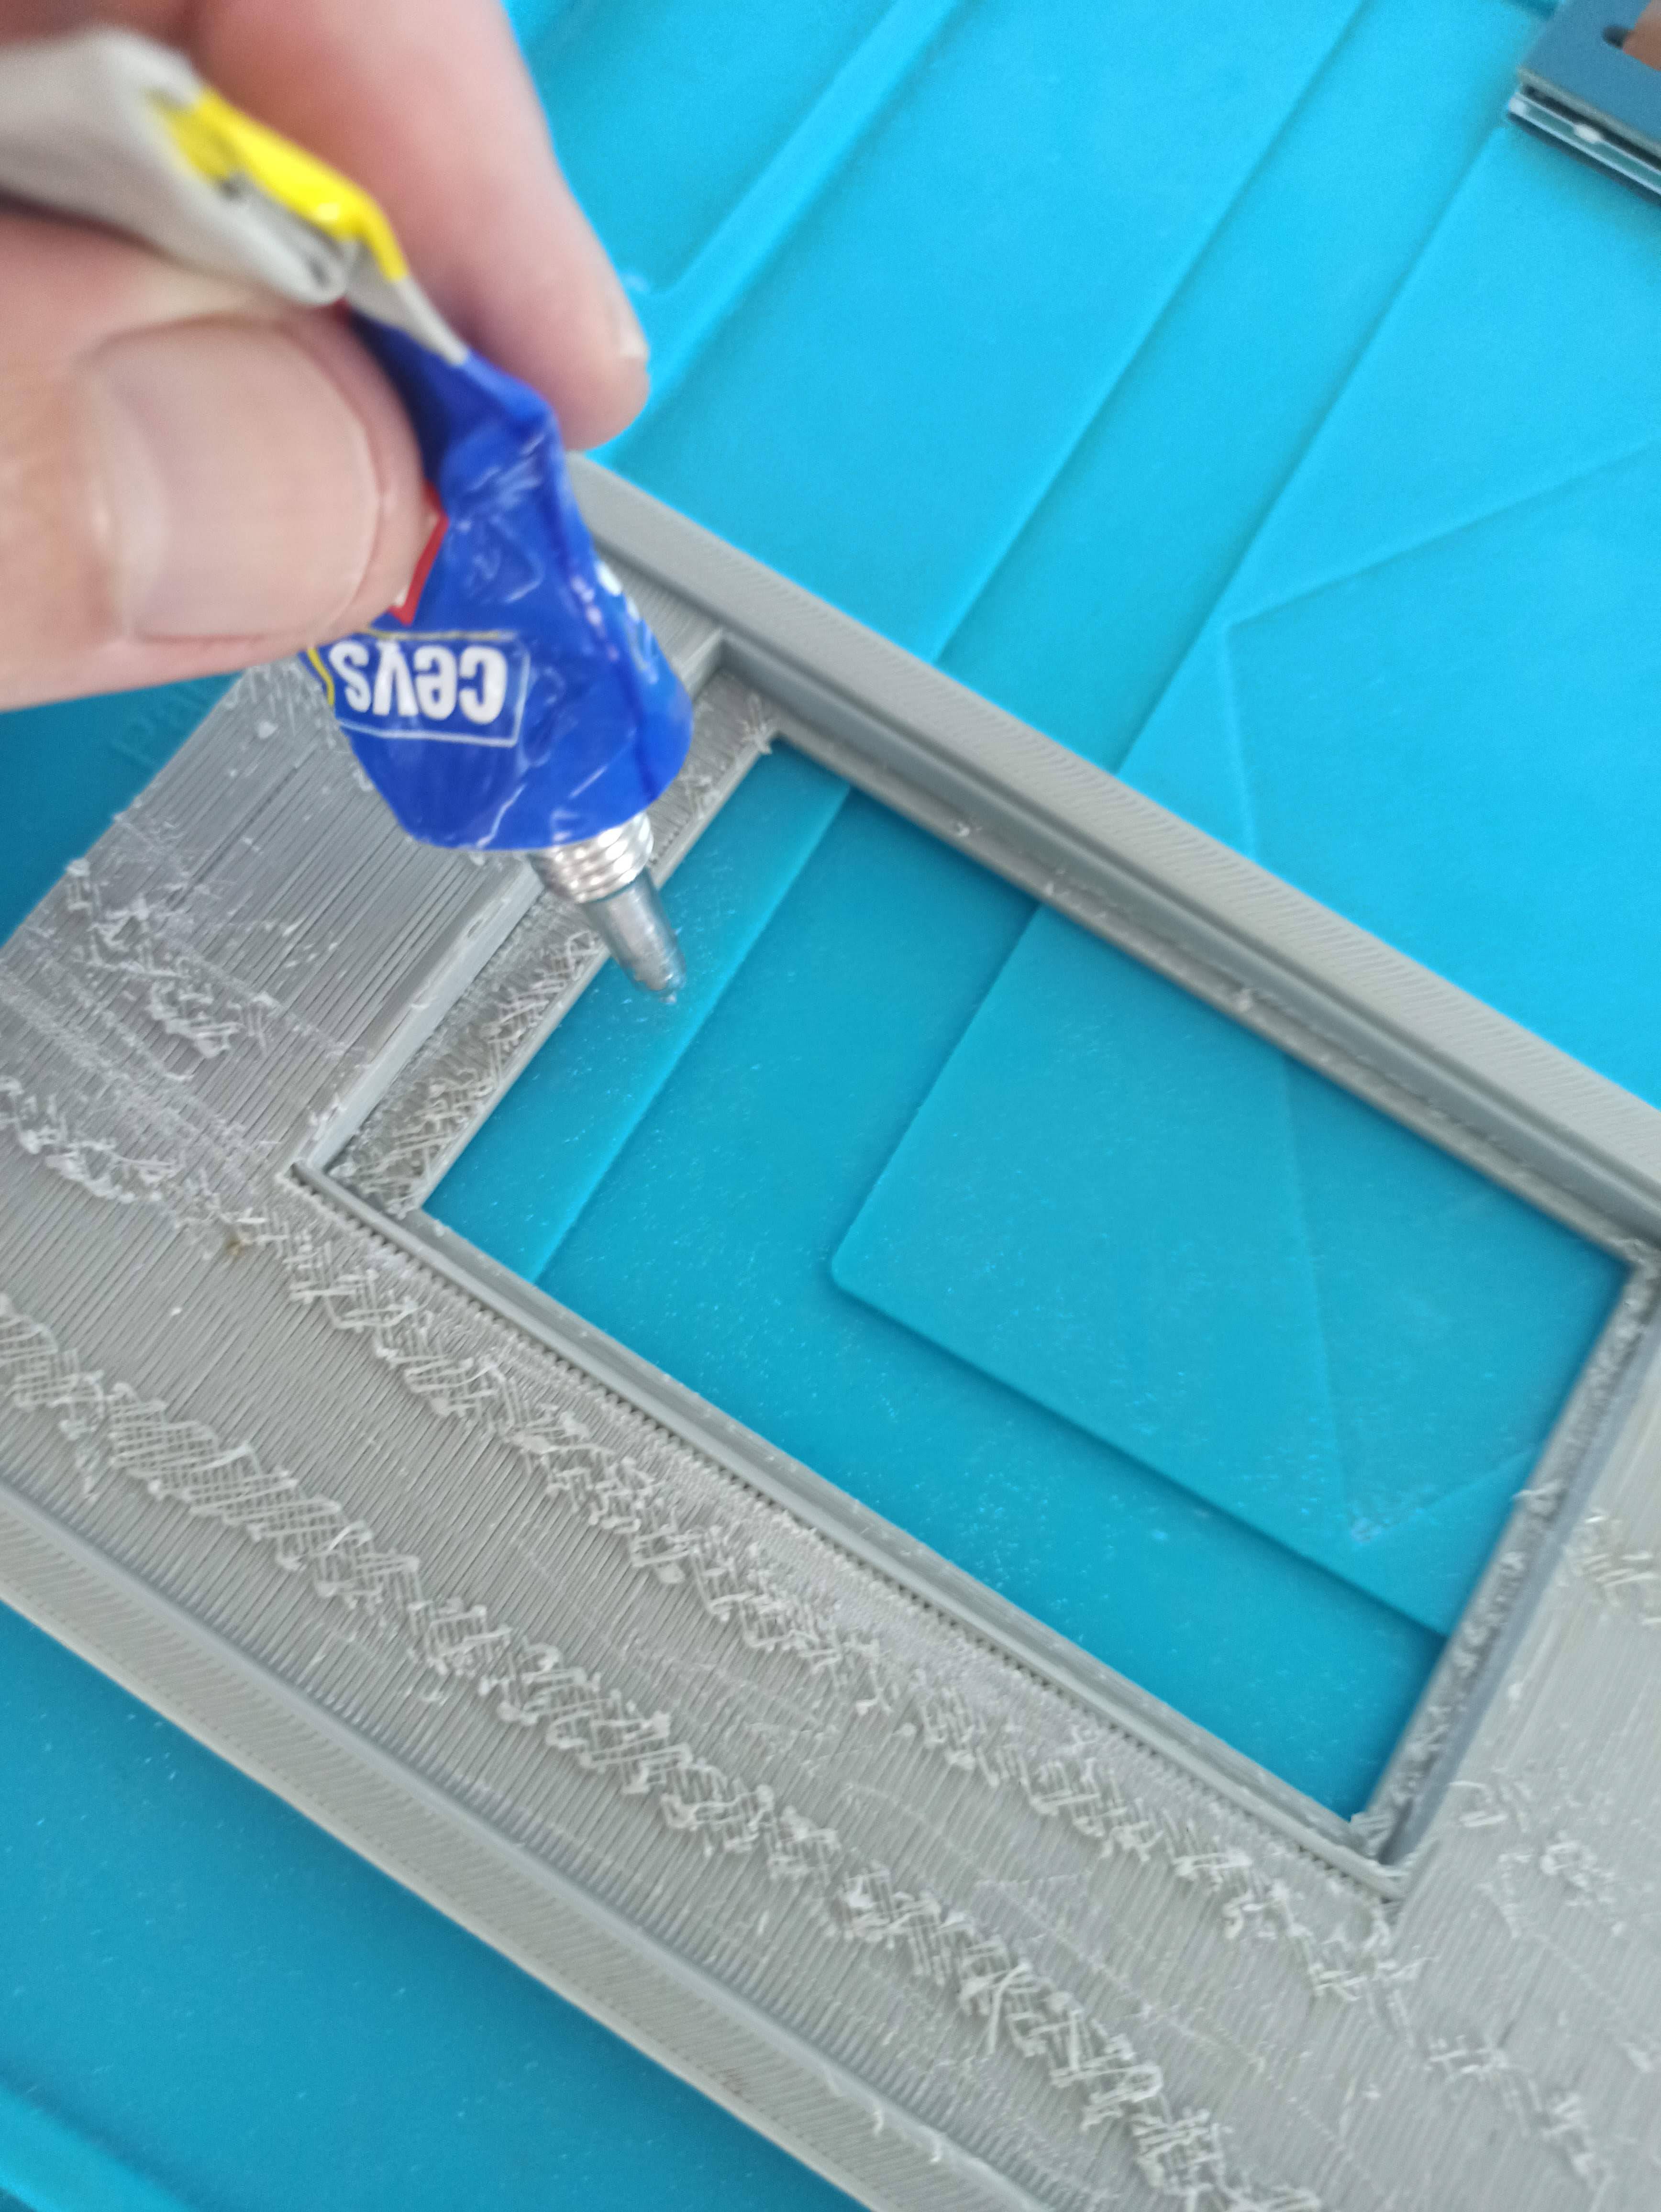
2Adding weld nuts
![]()
![]()
![]()
![]()
![]()
![]()
![]()
![]()
![]()
-
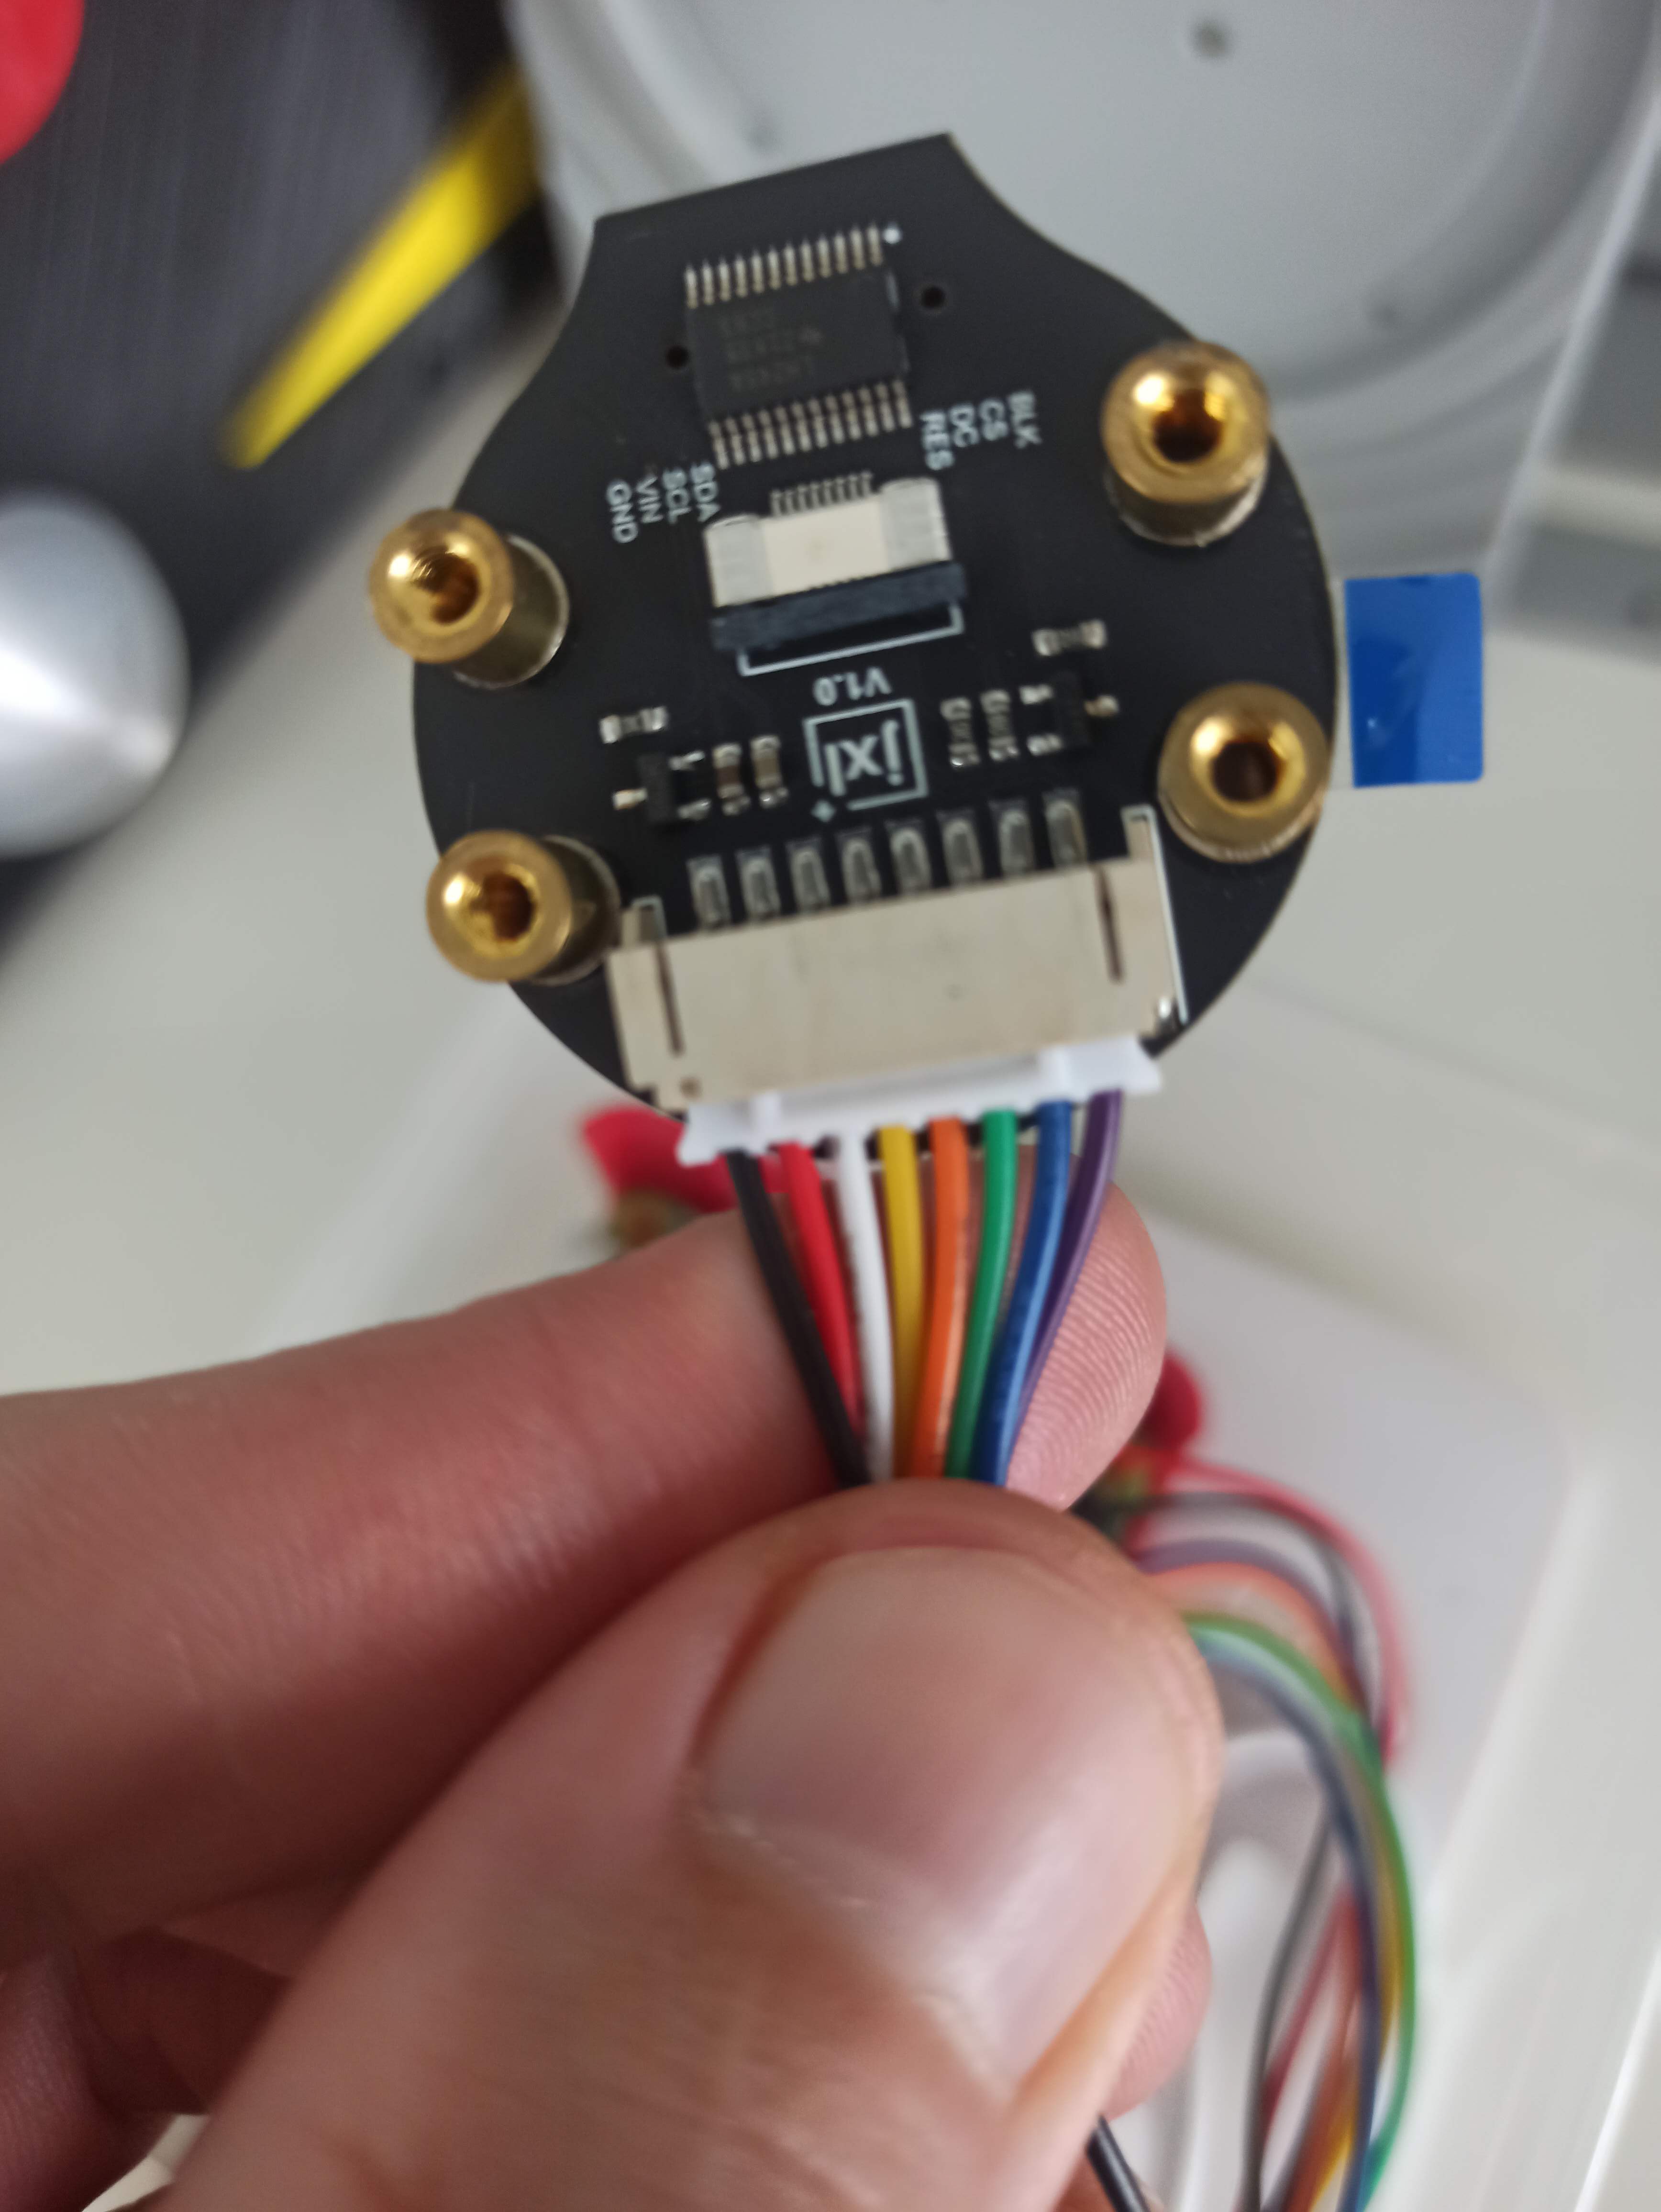
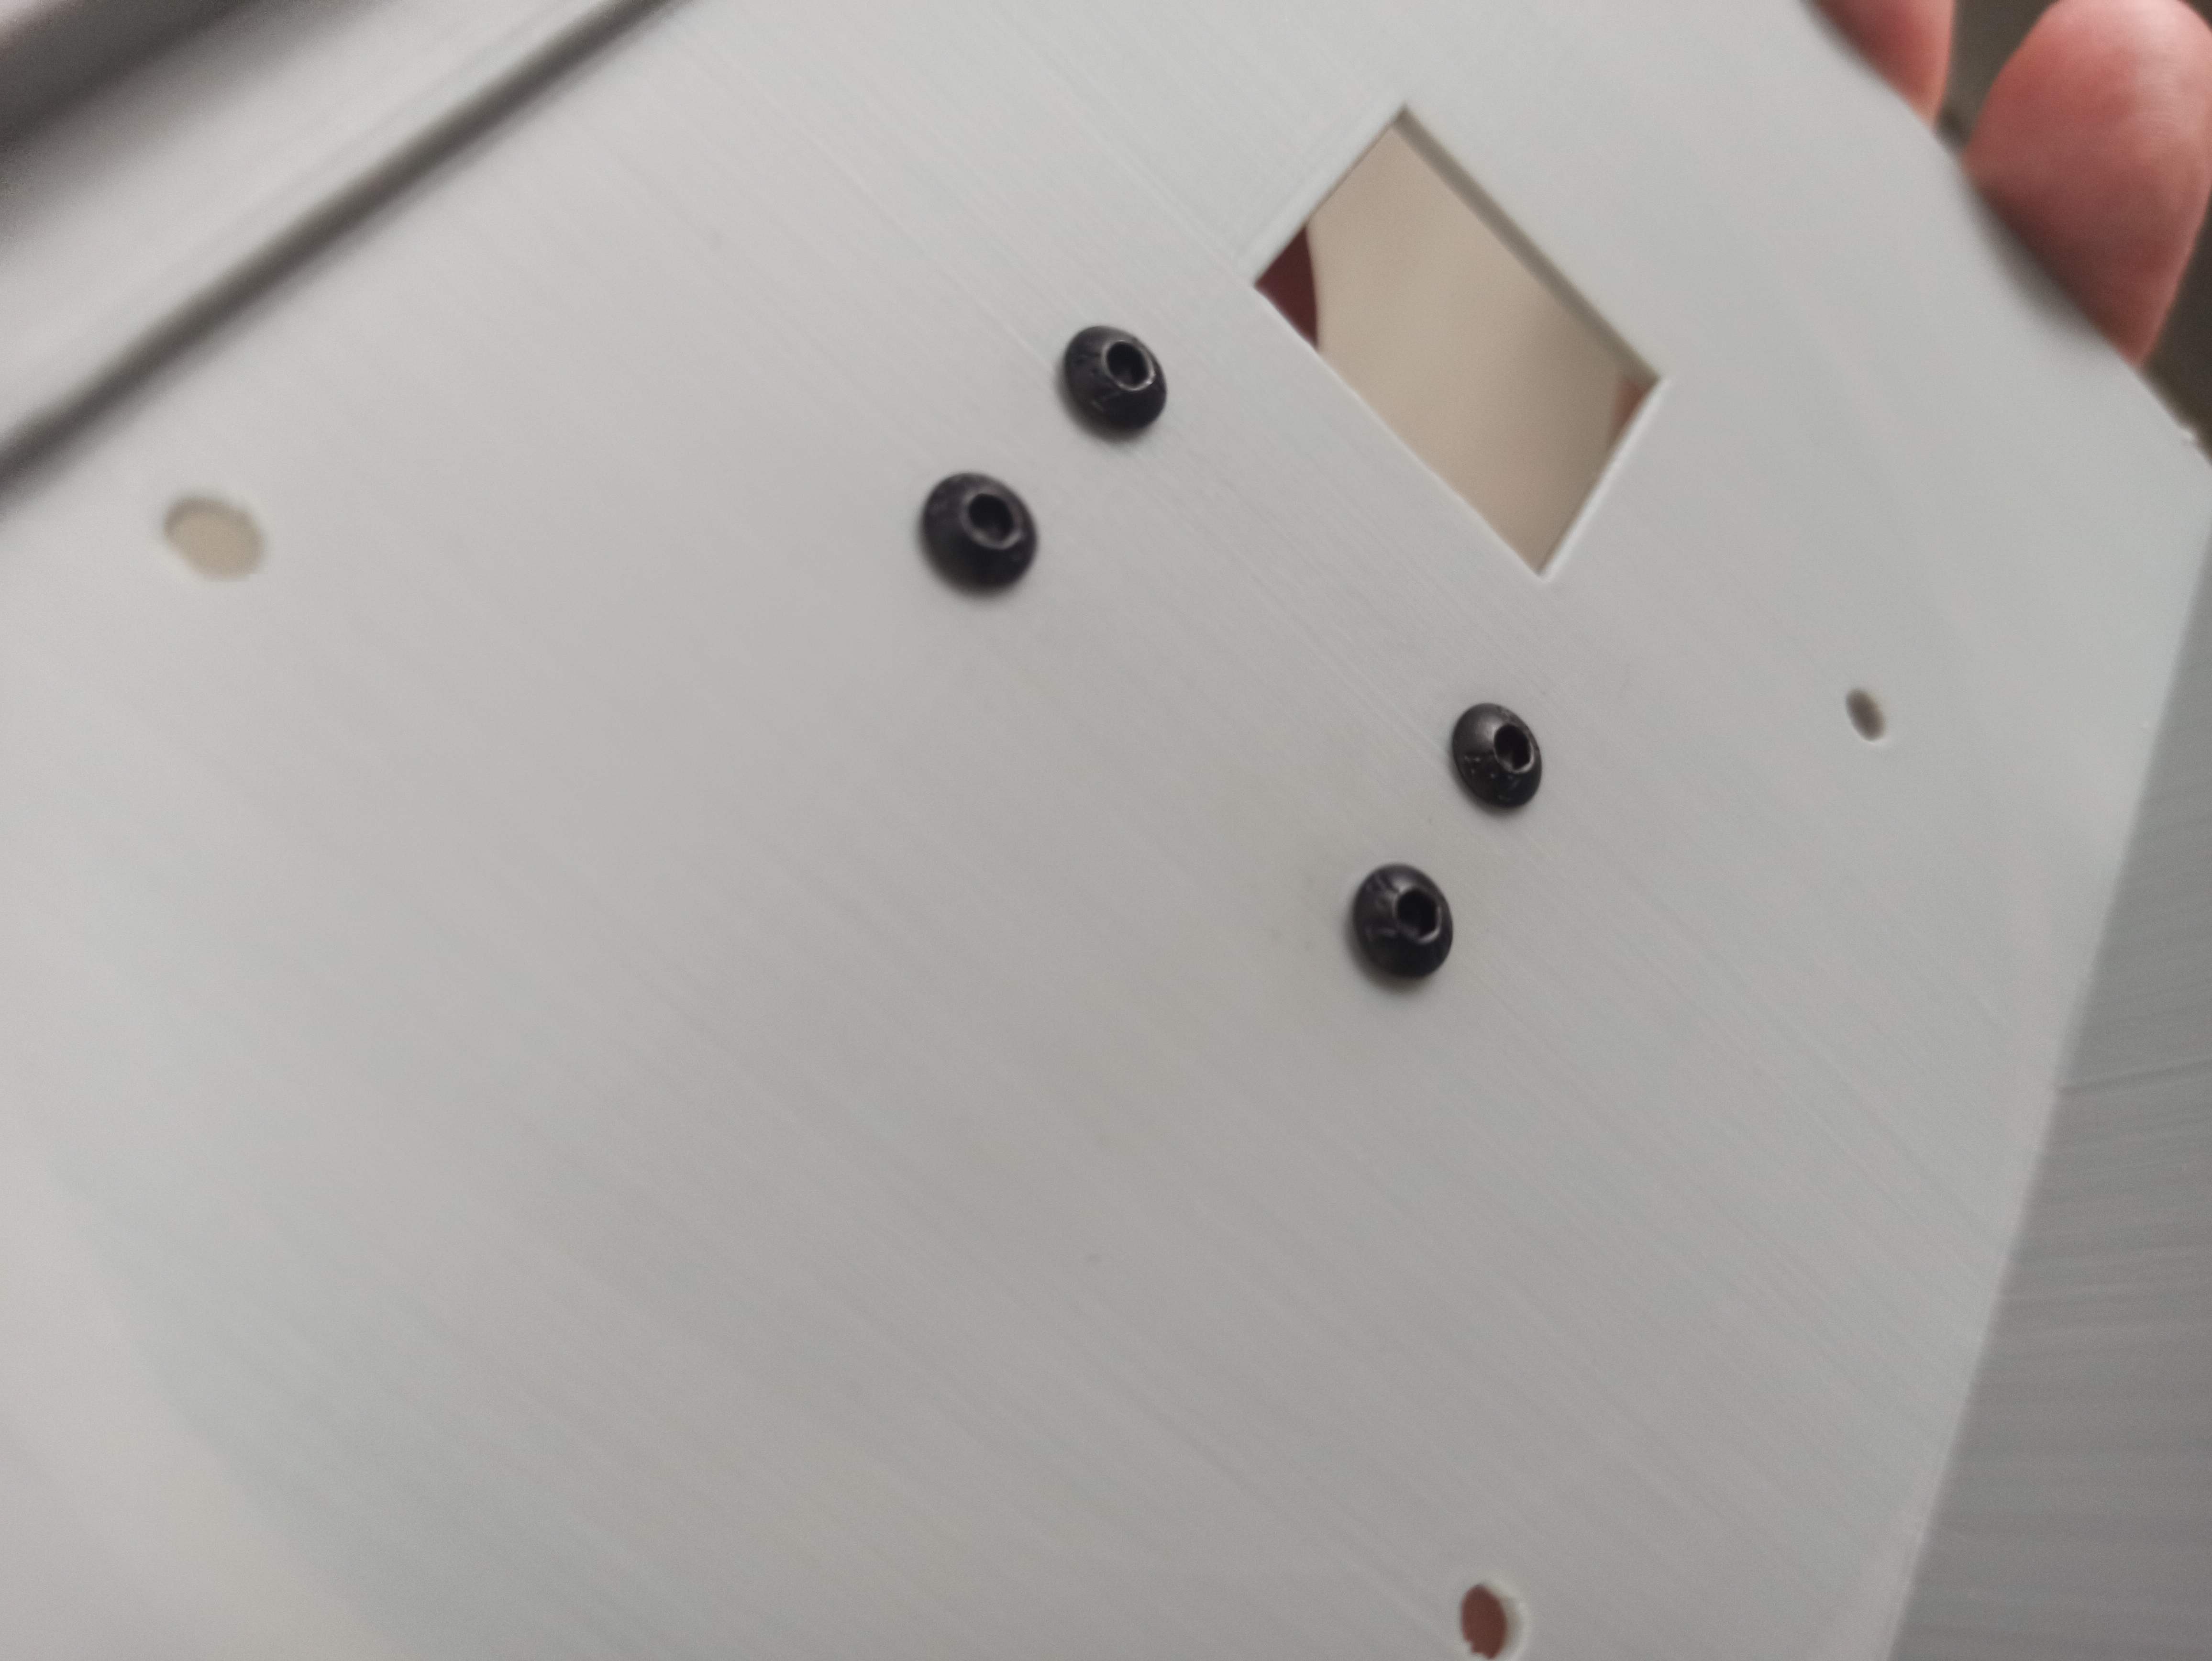
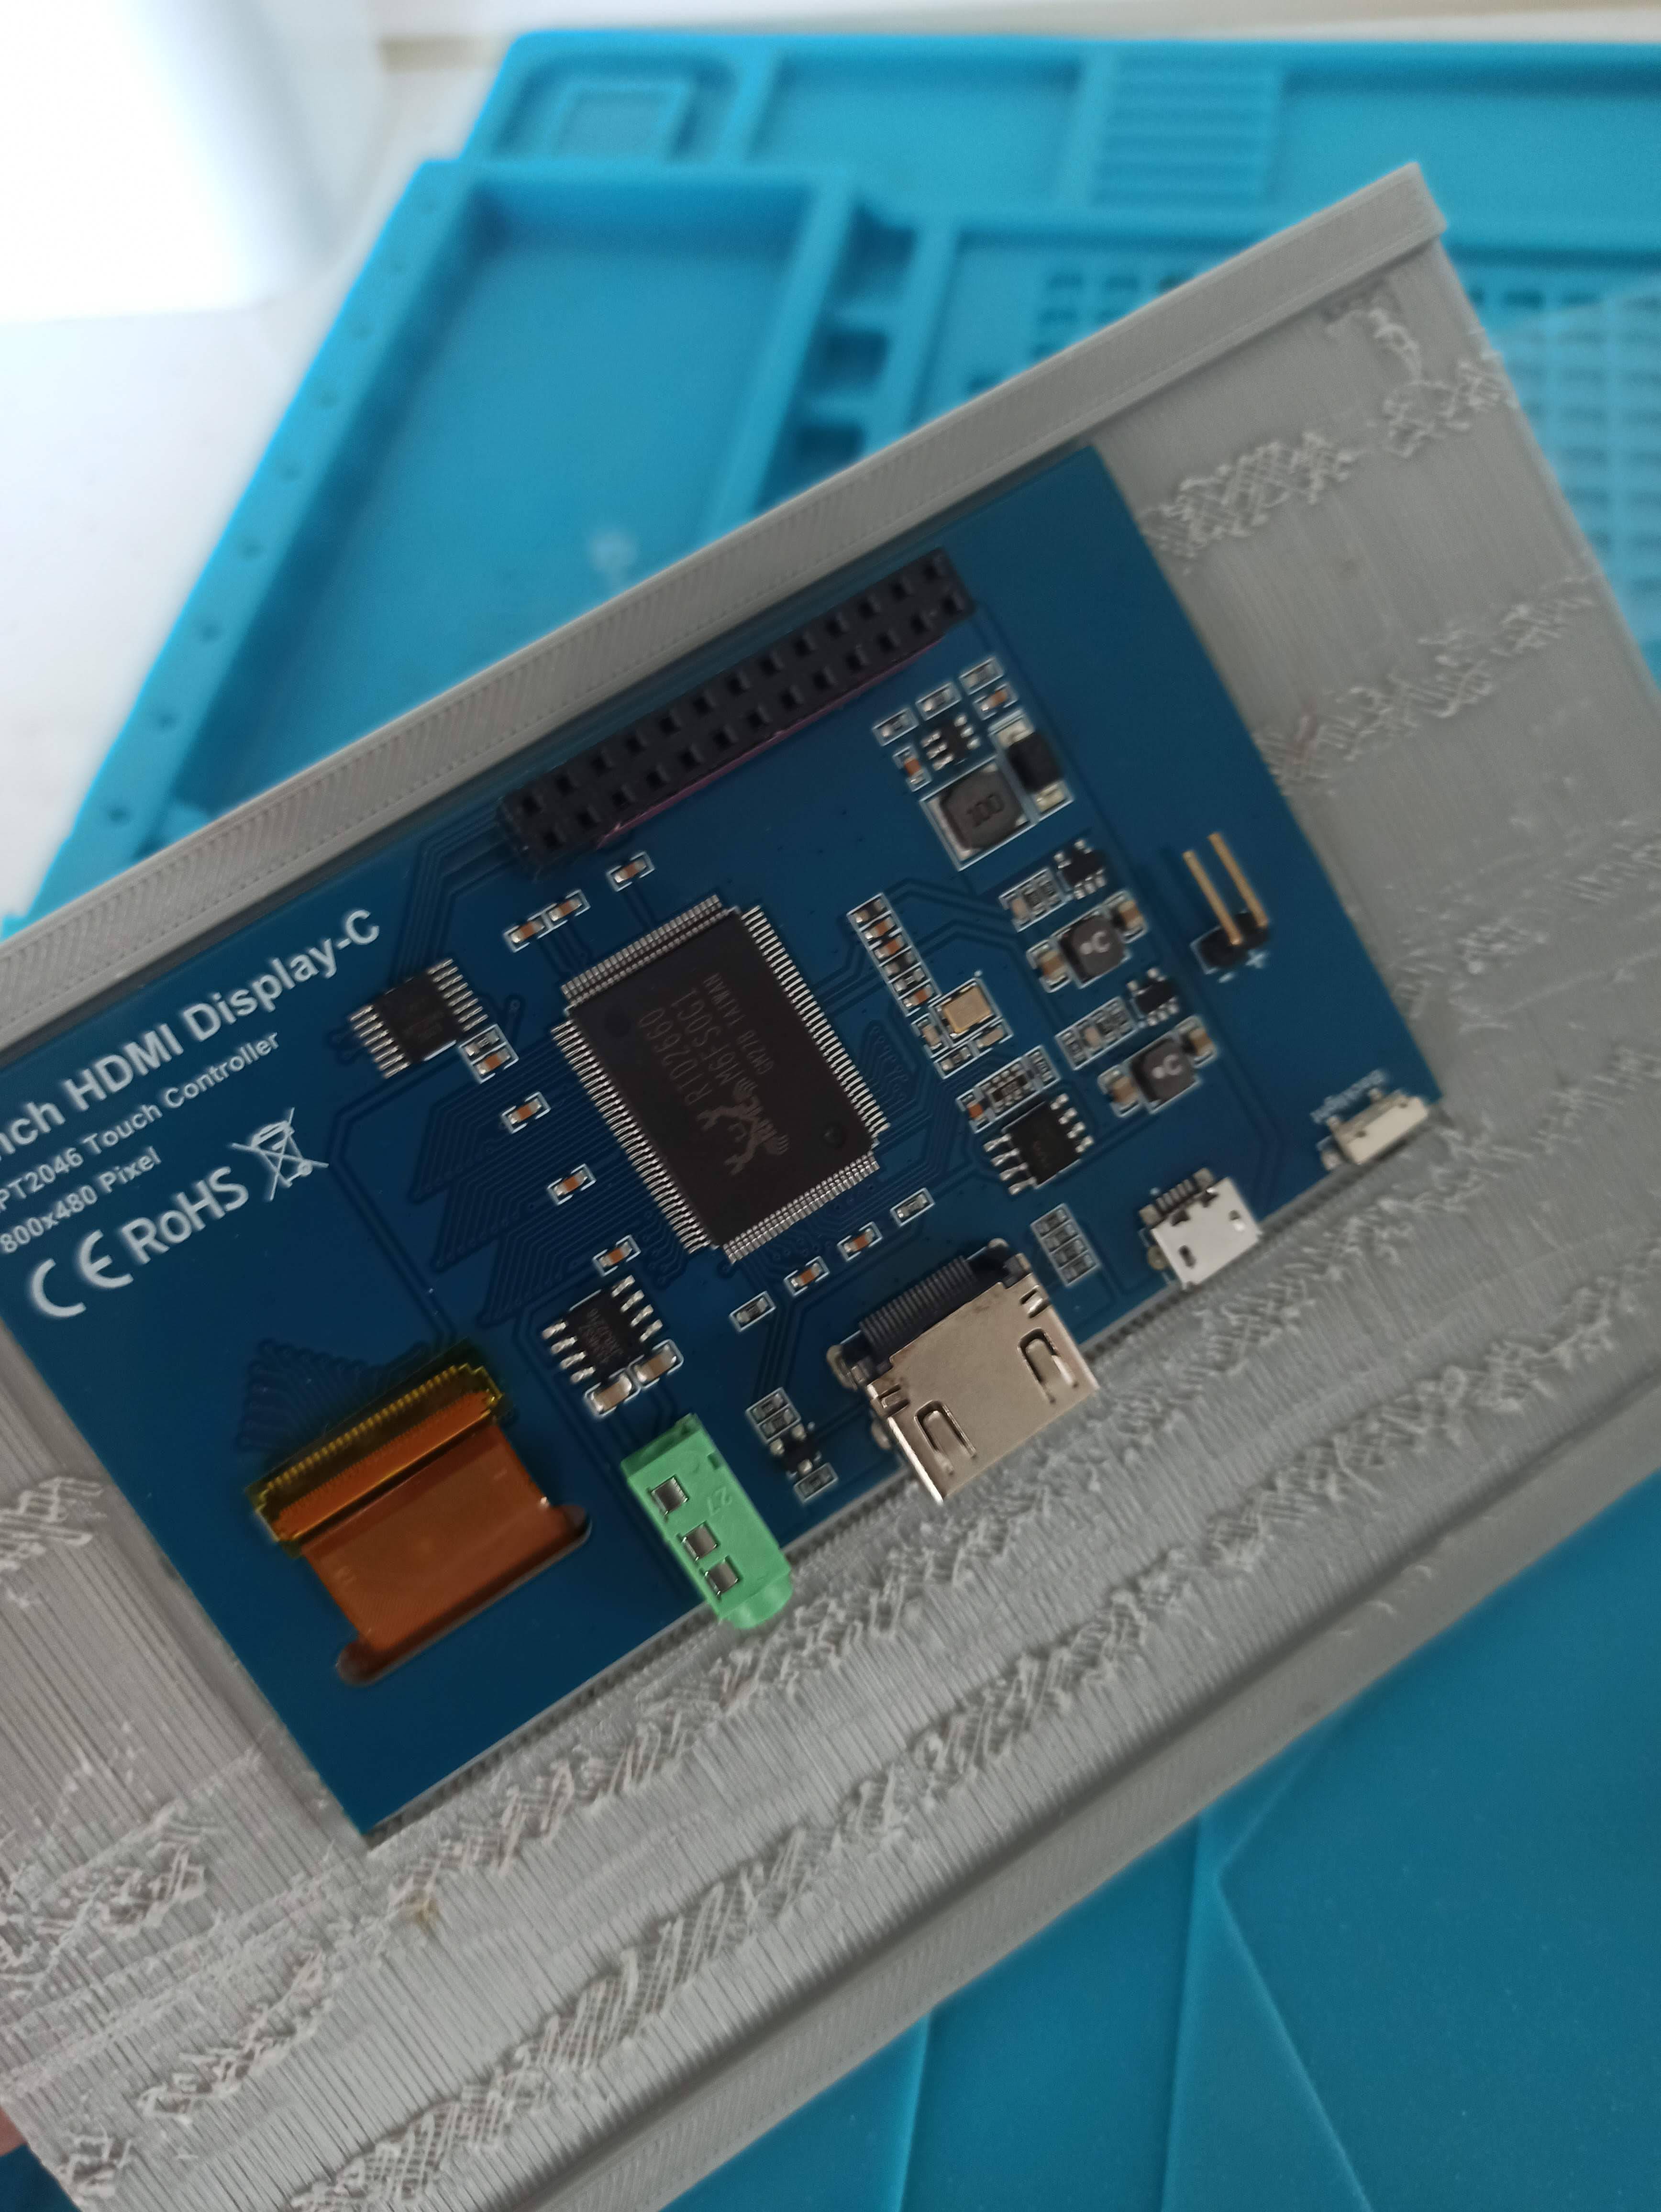
3Assembly the circle display with M3 screws
![]()
![]()
![]()
![]()
-
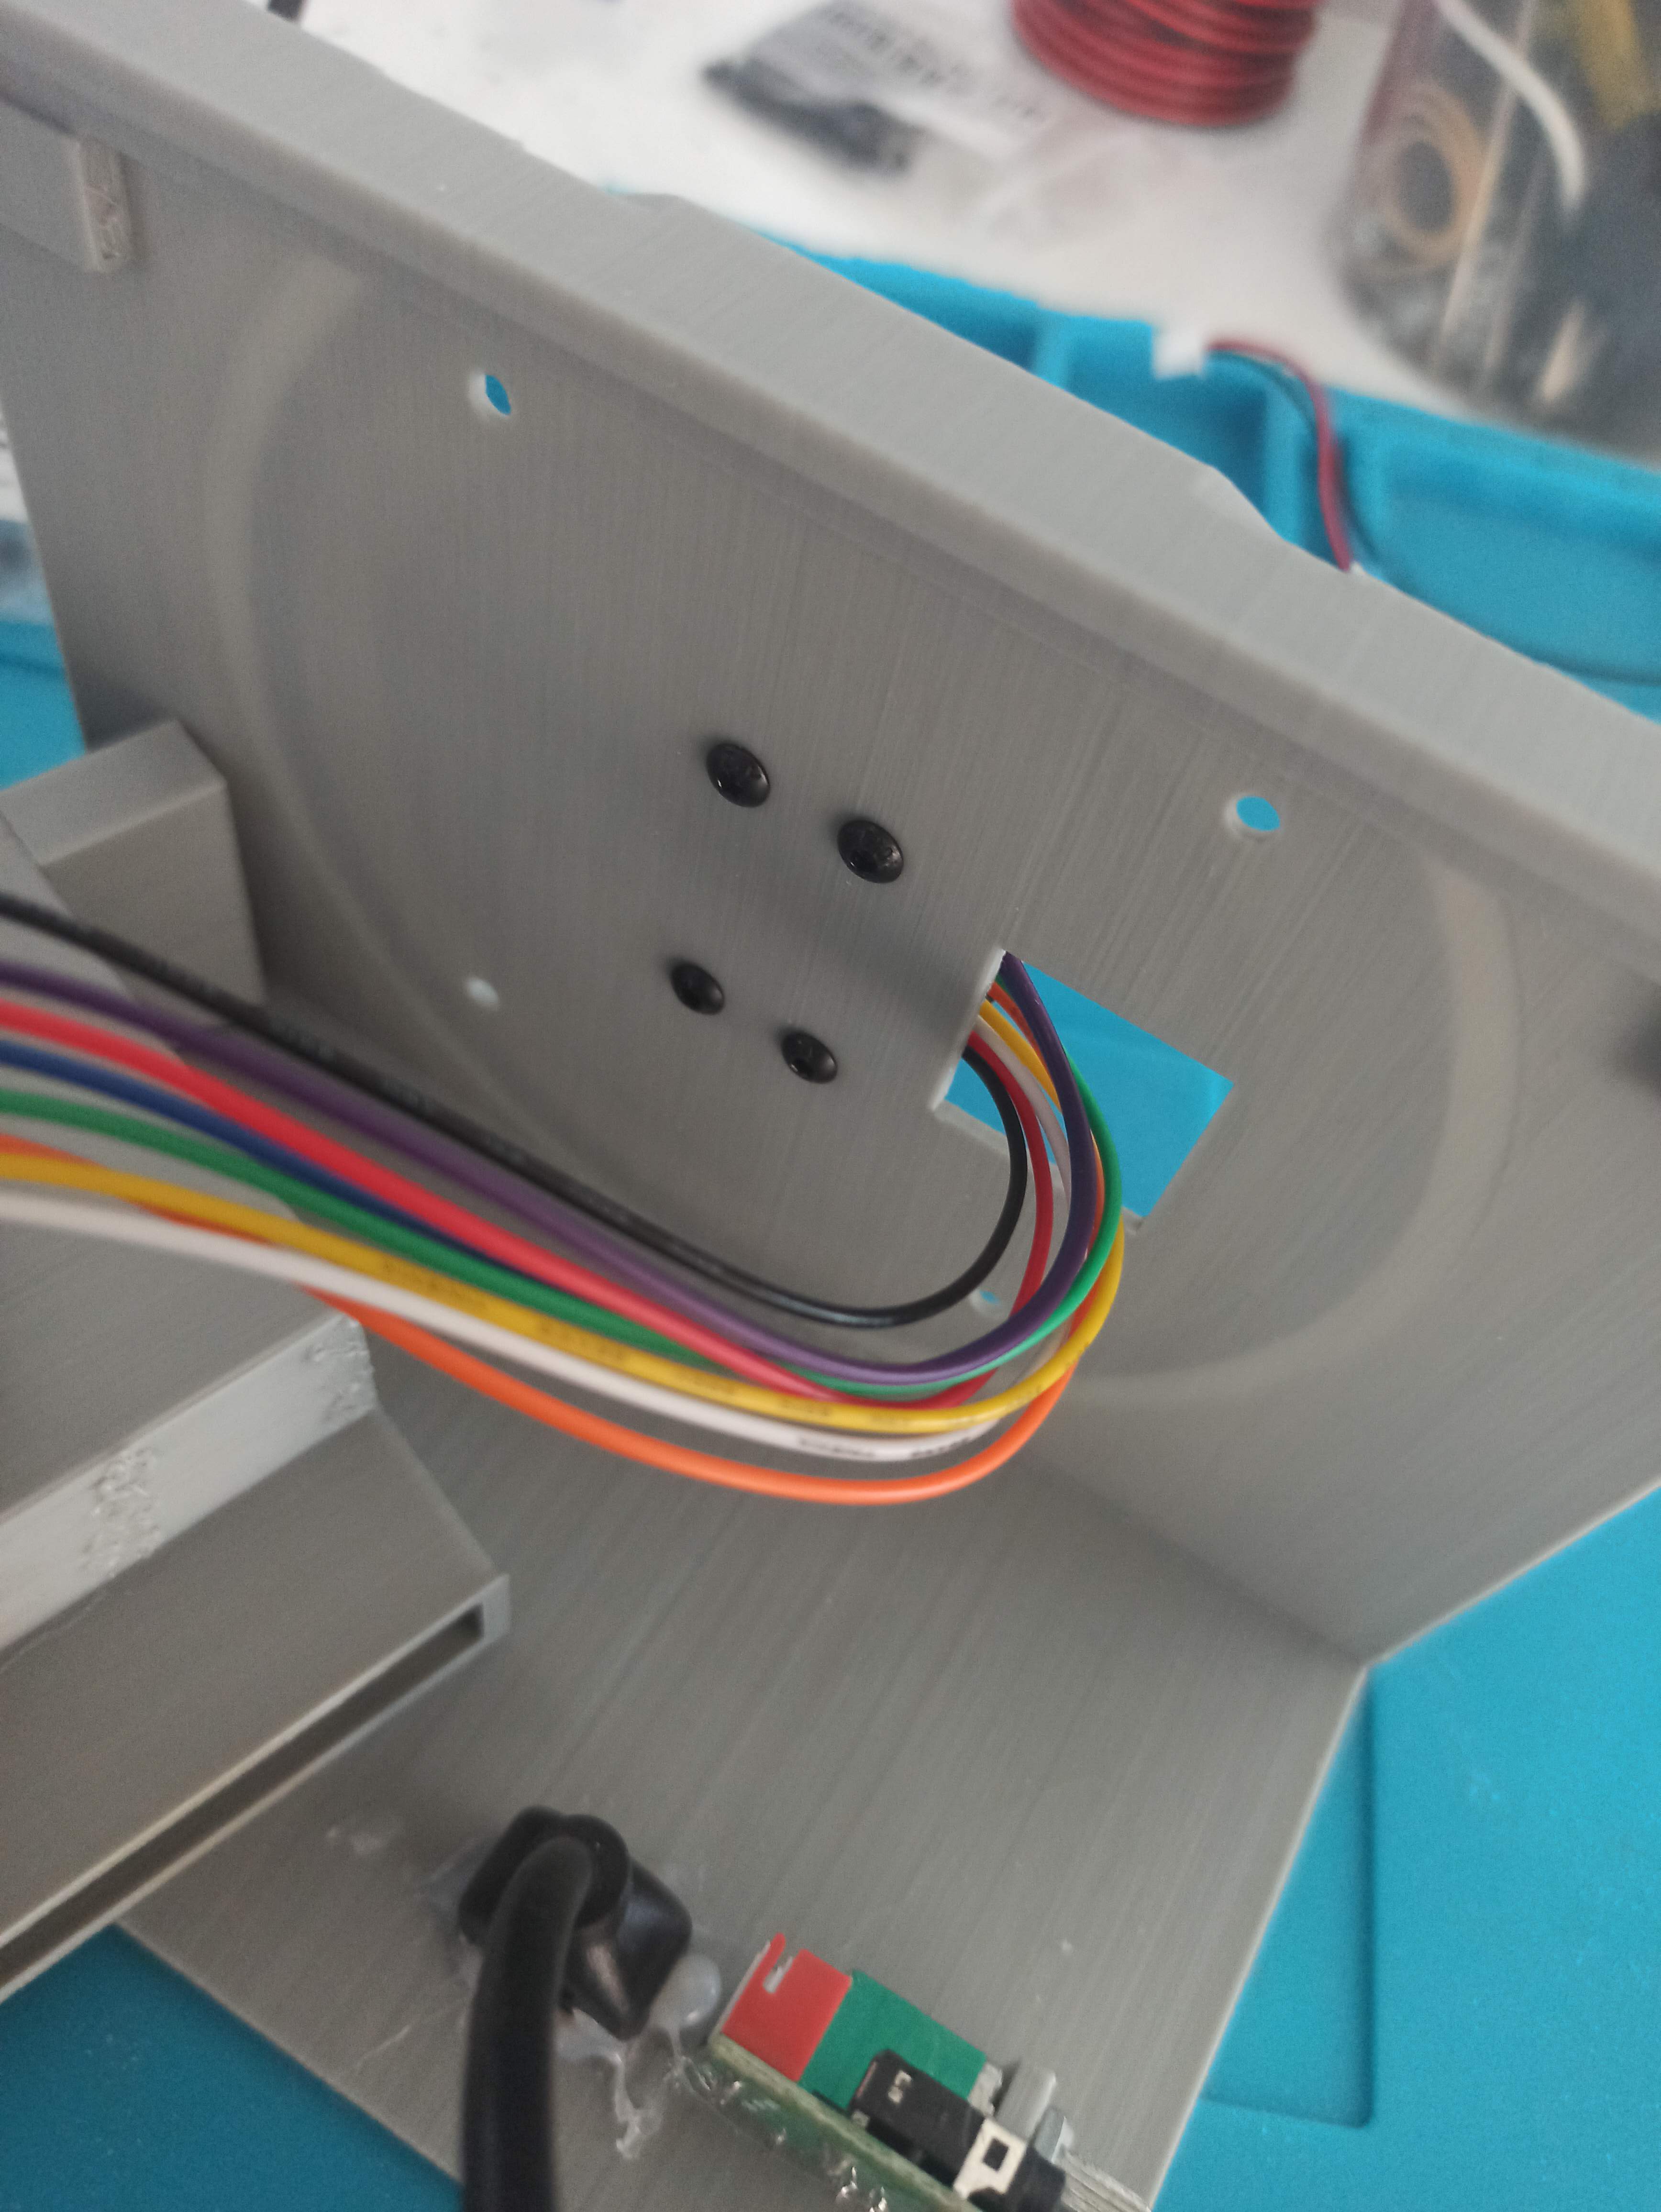
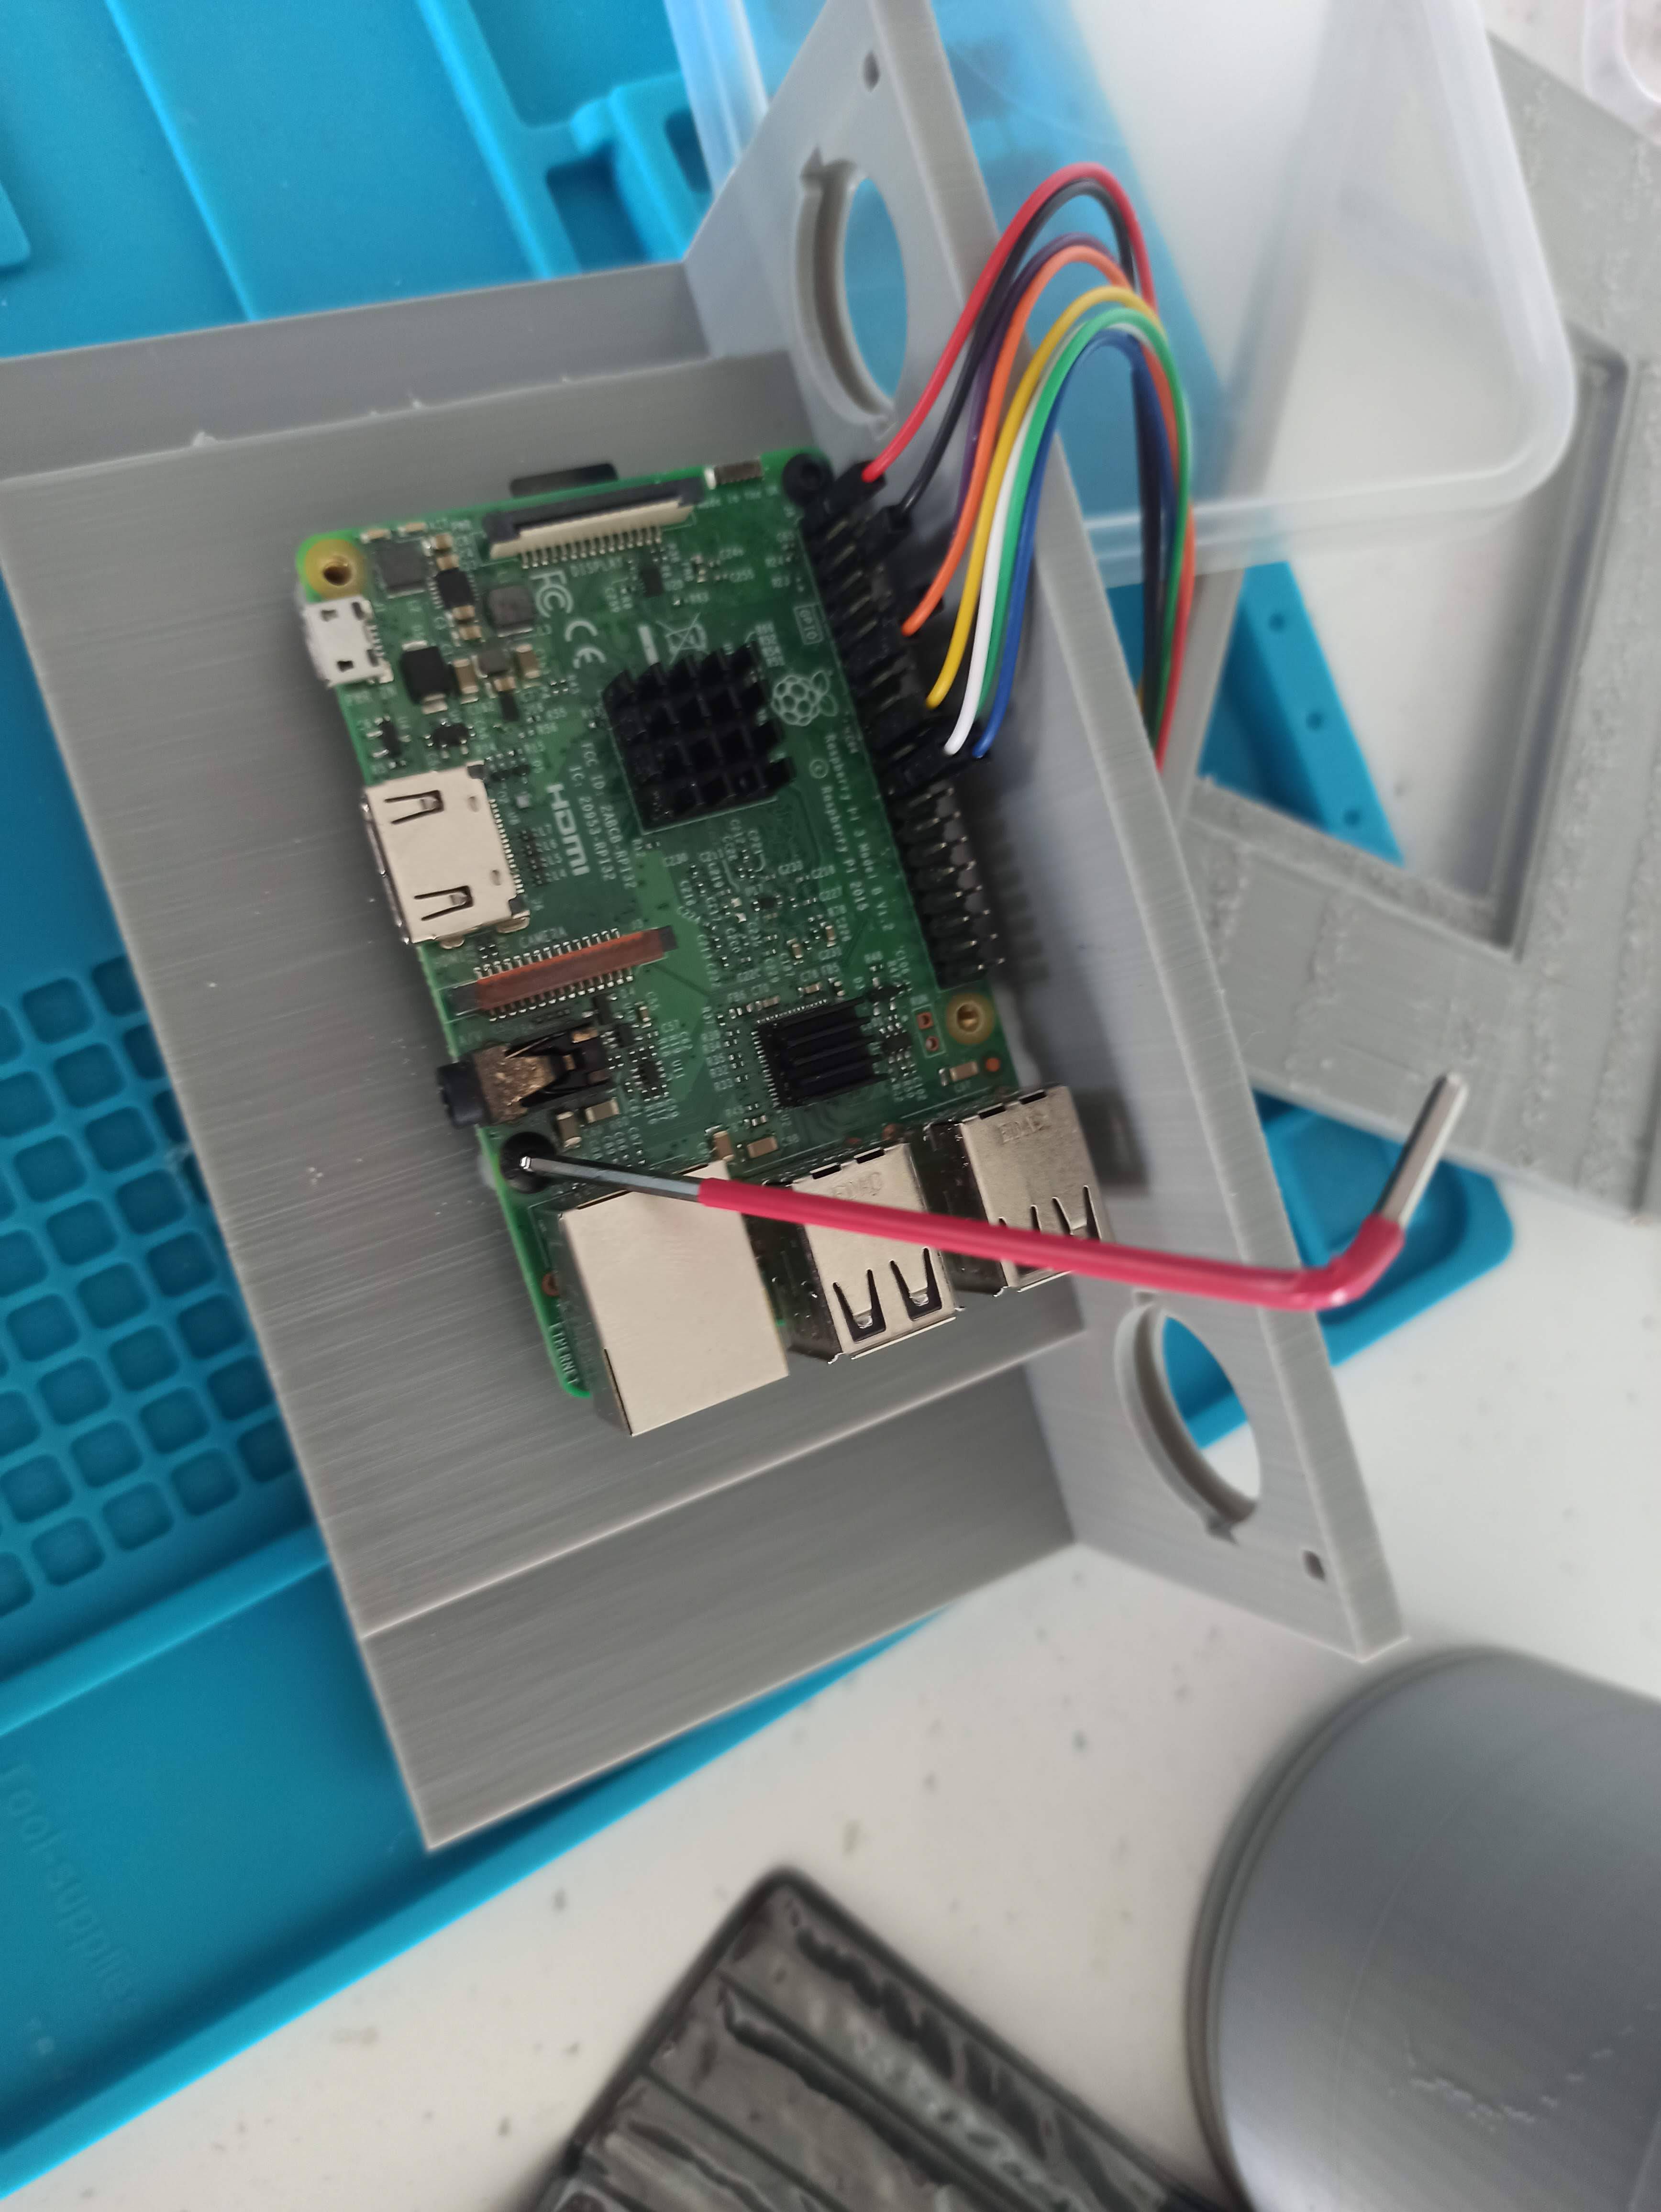
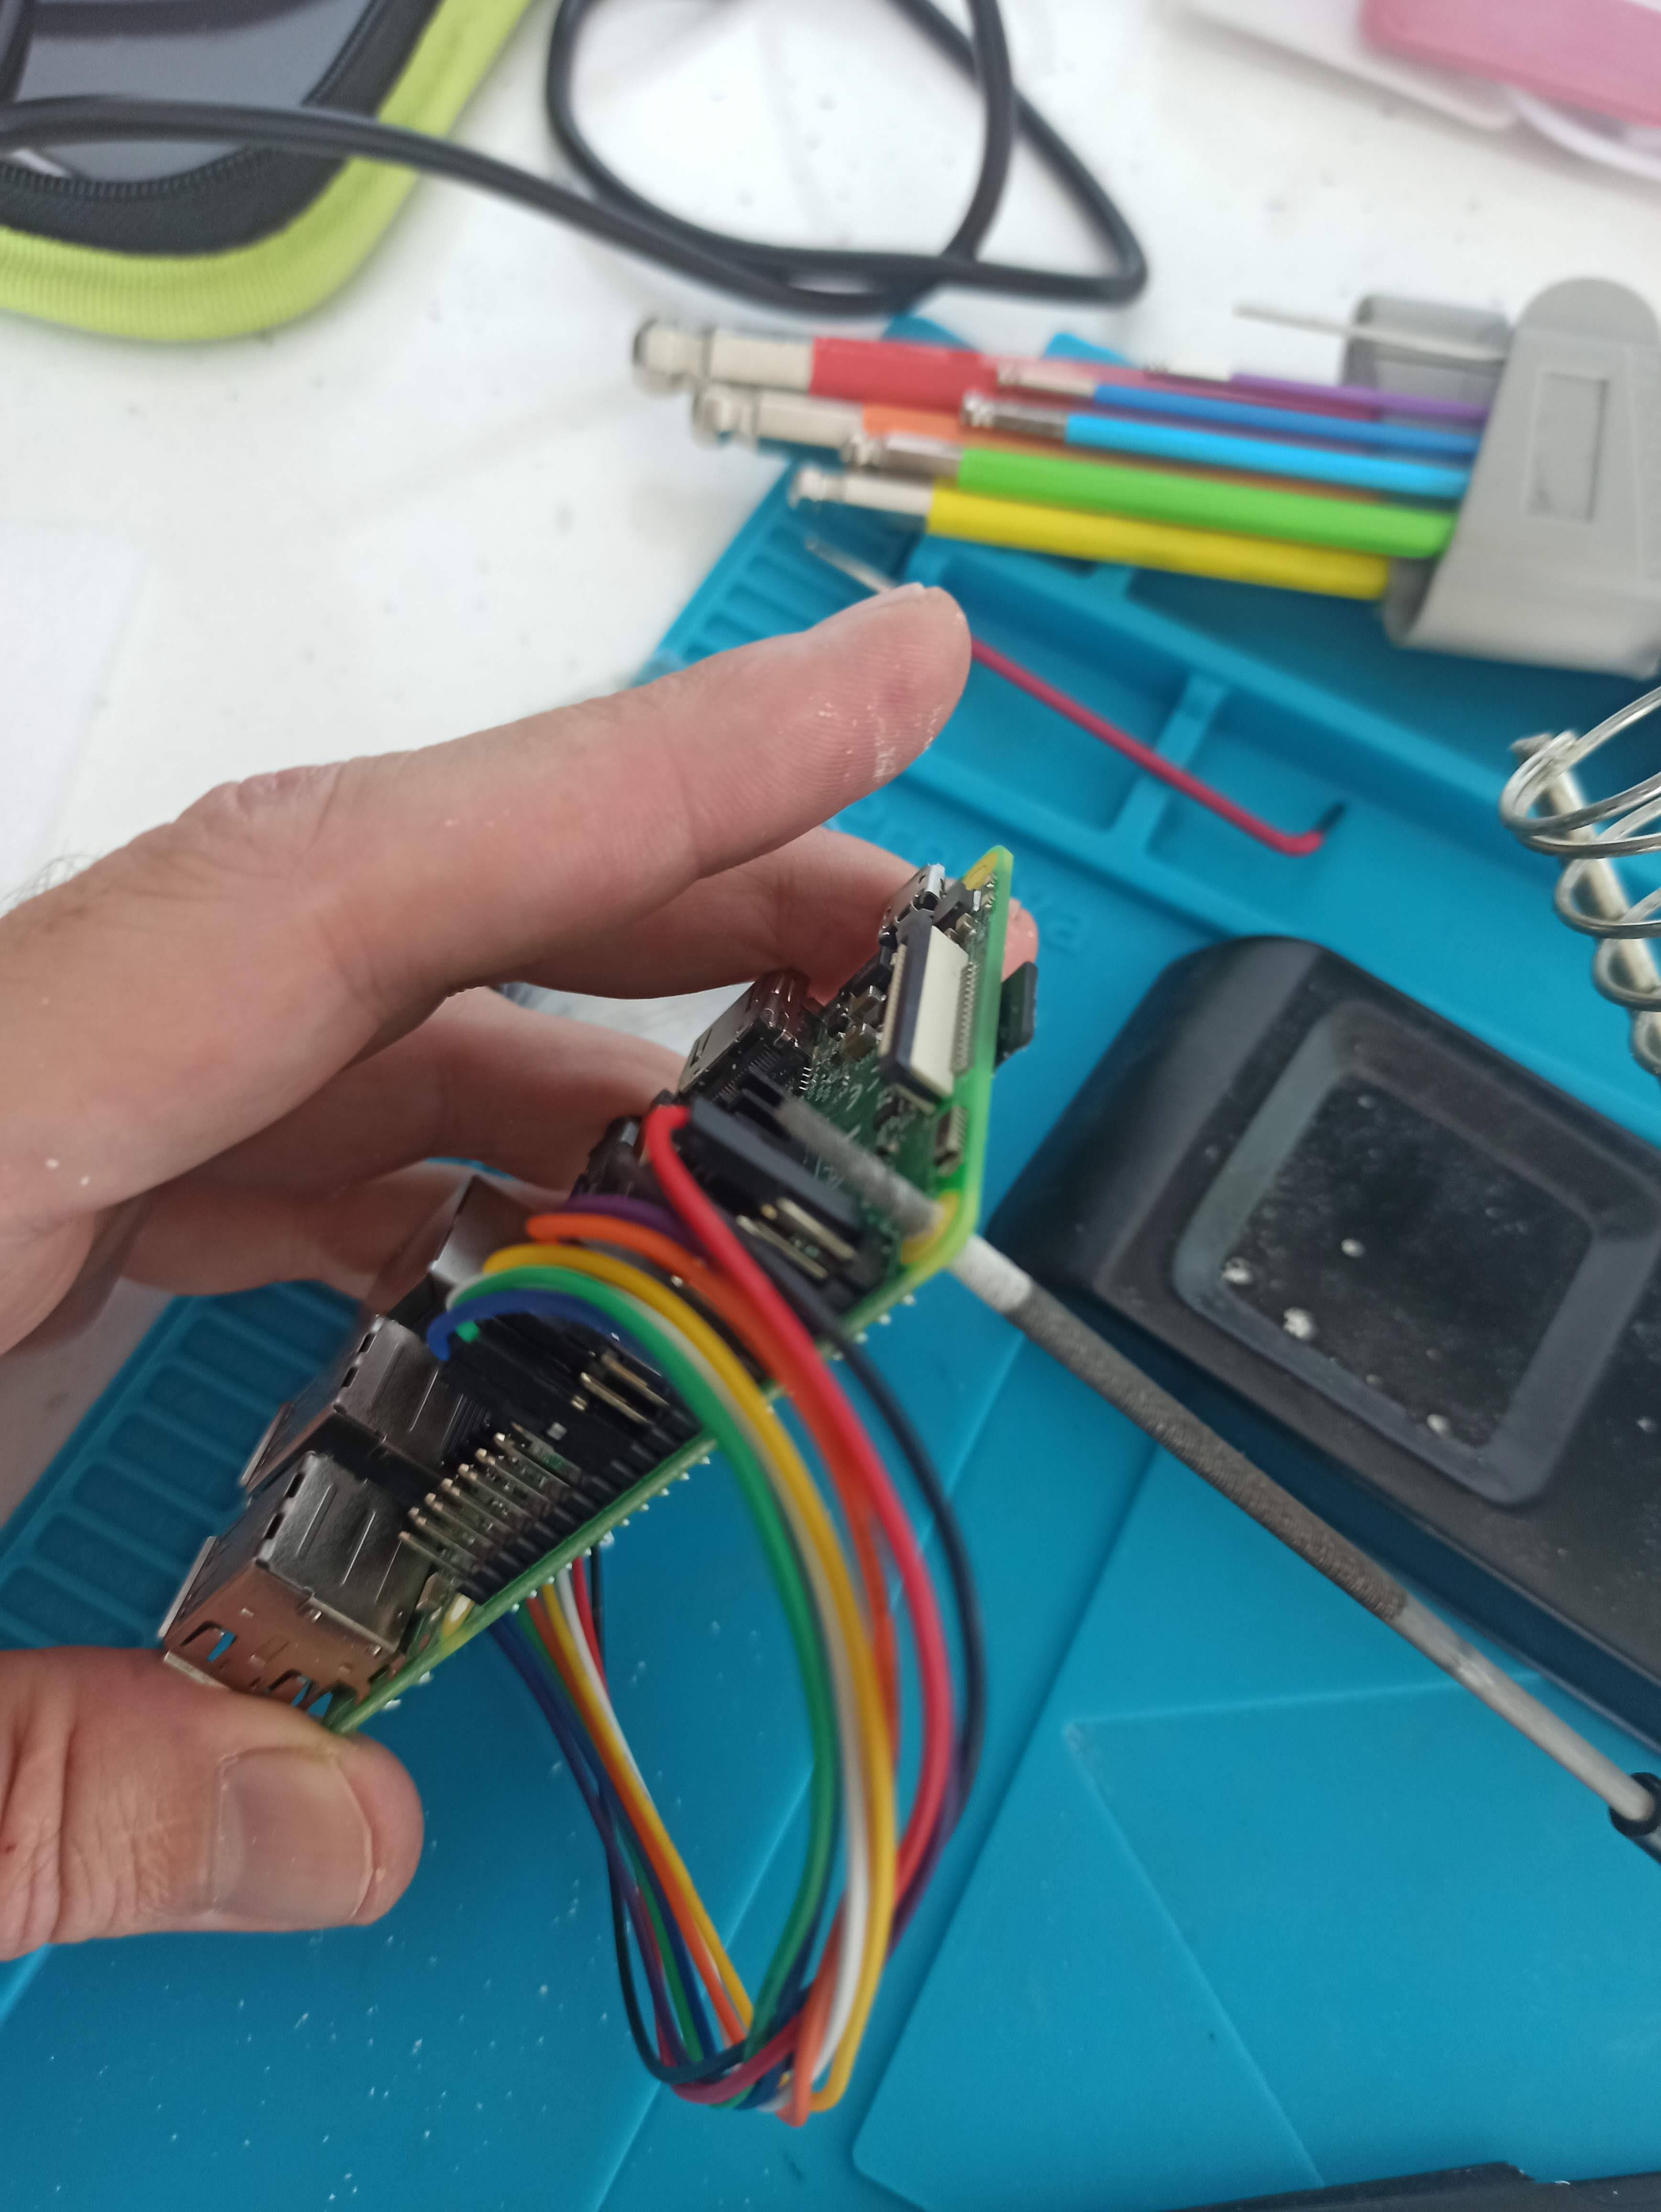
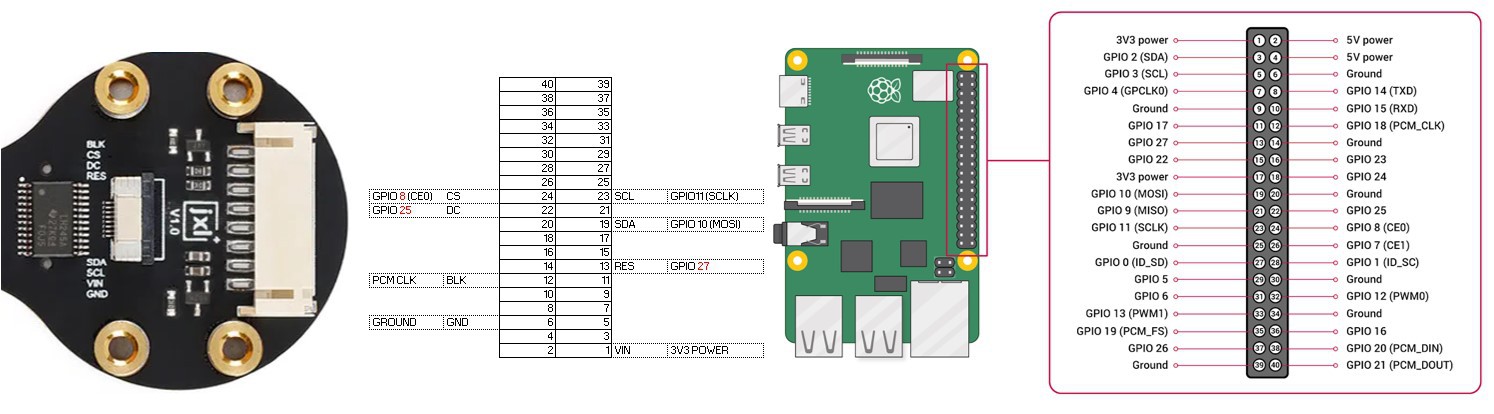
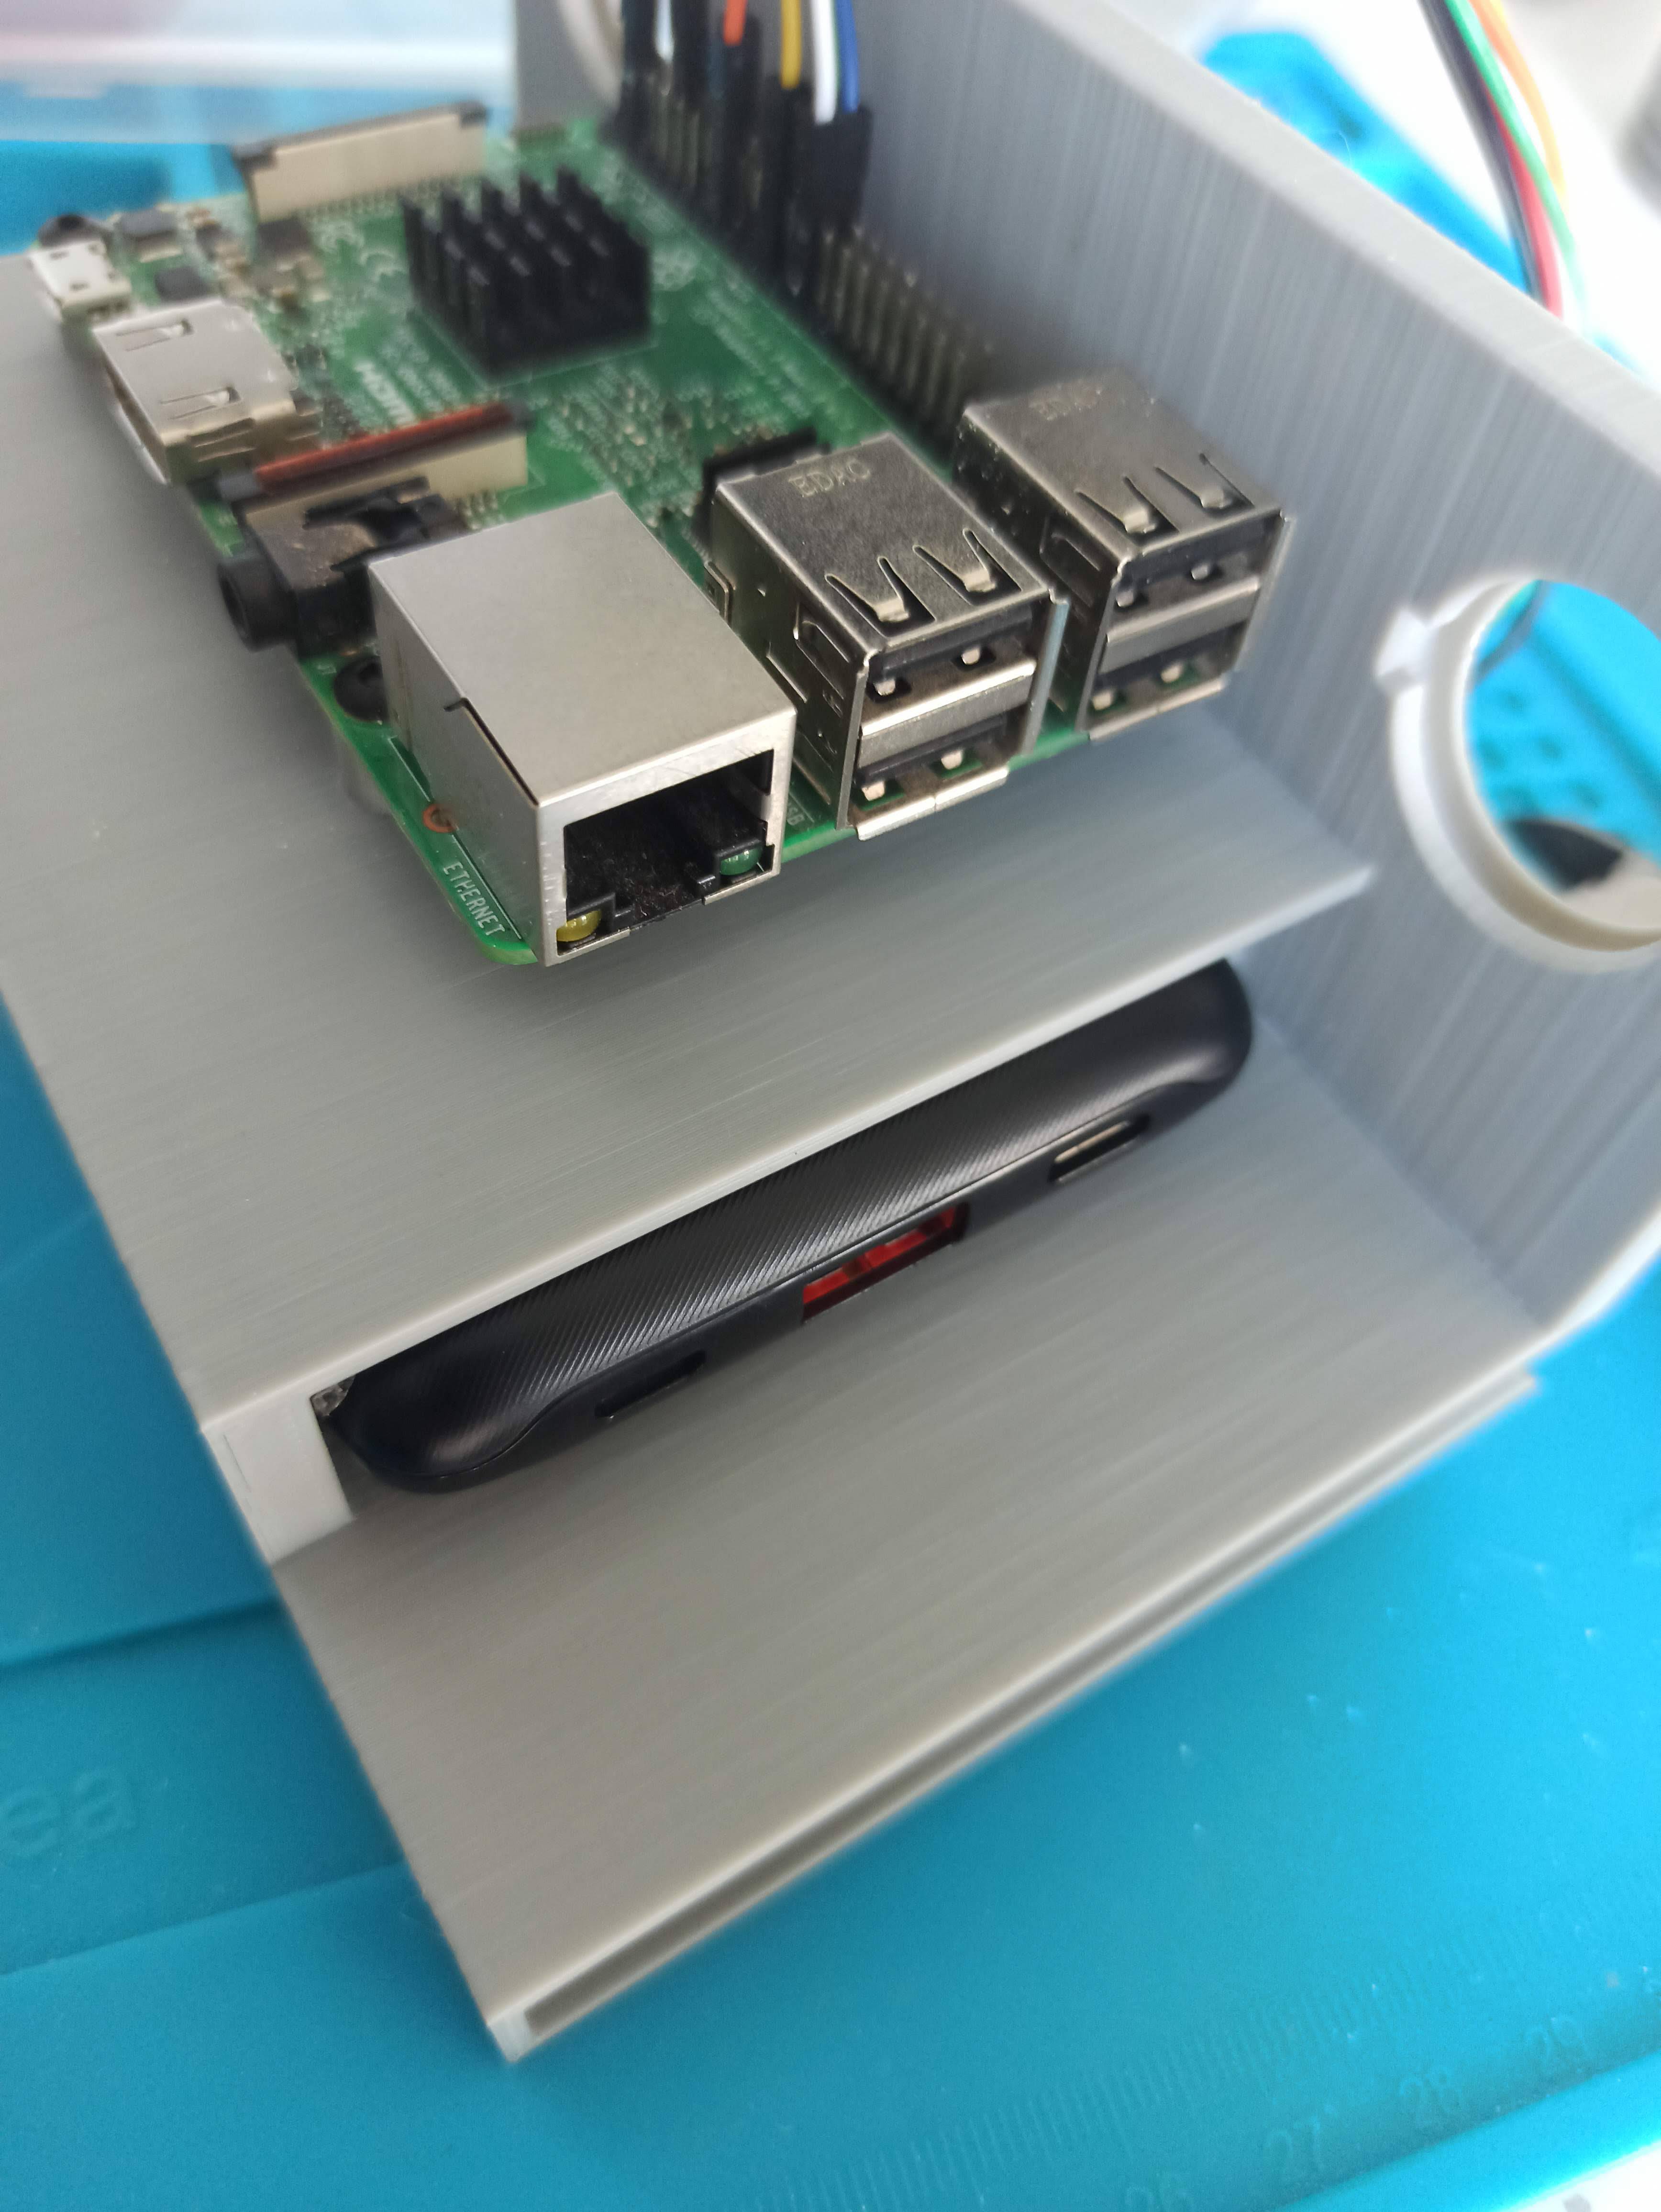
4Set & assembly the PI3
![]()
![]()
![]()
-
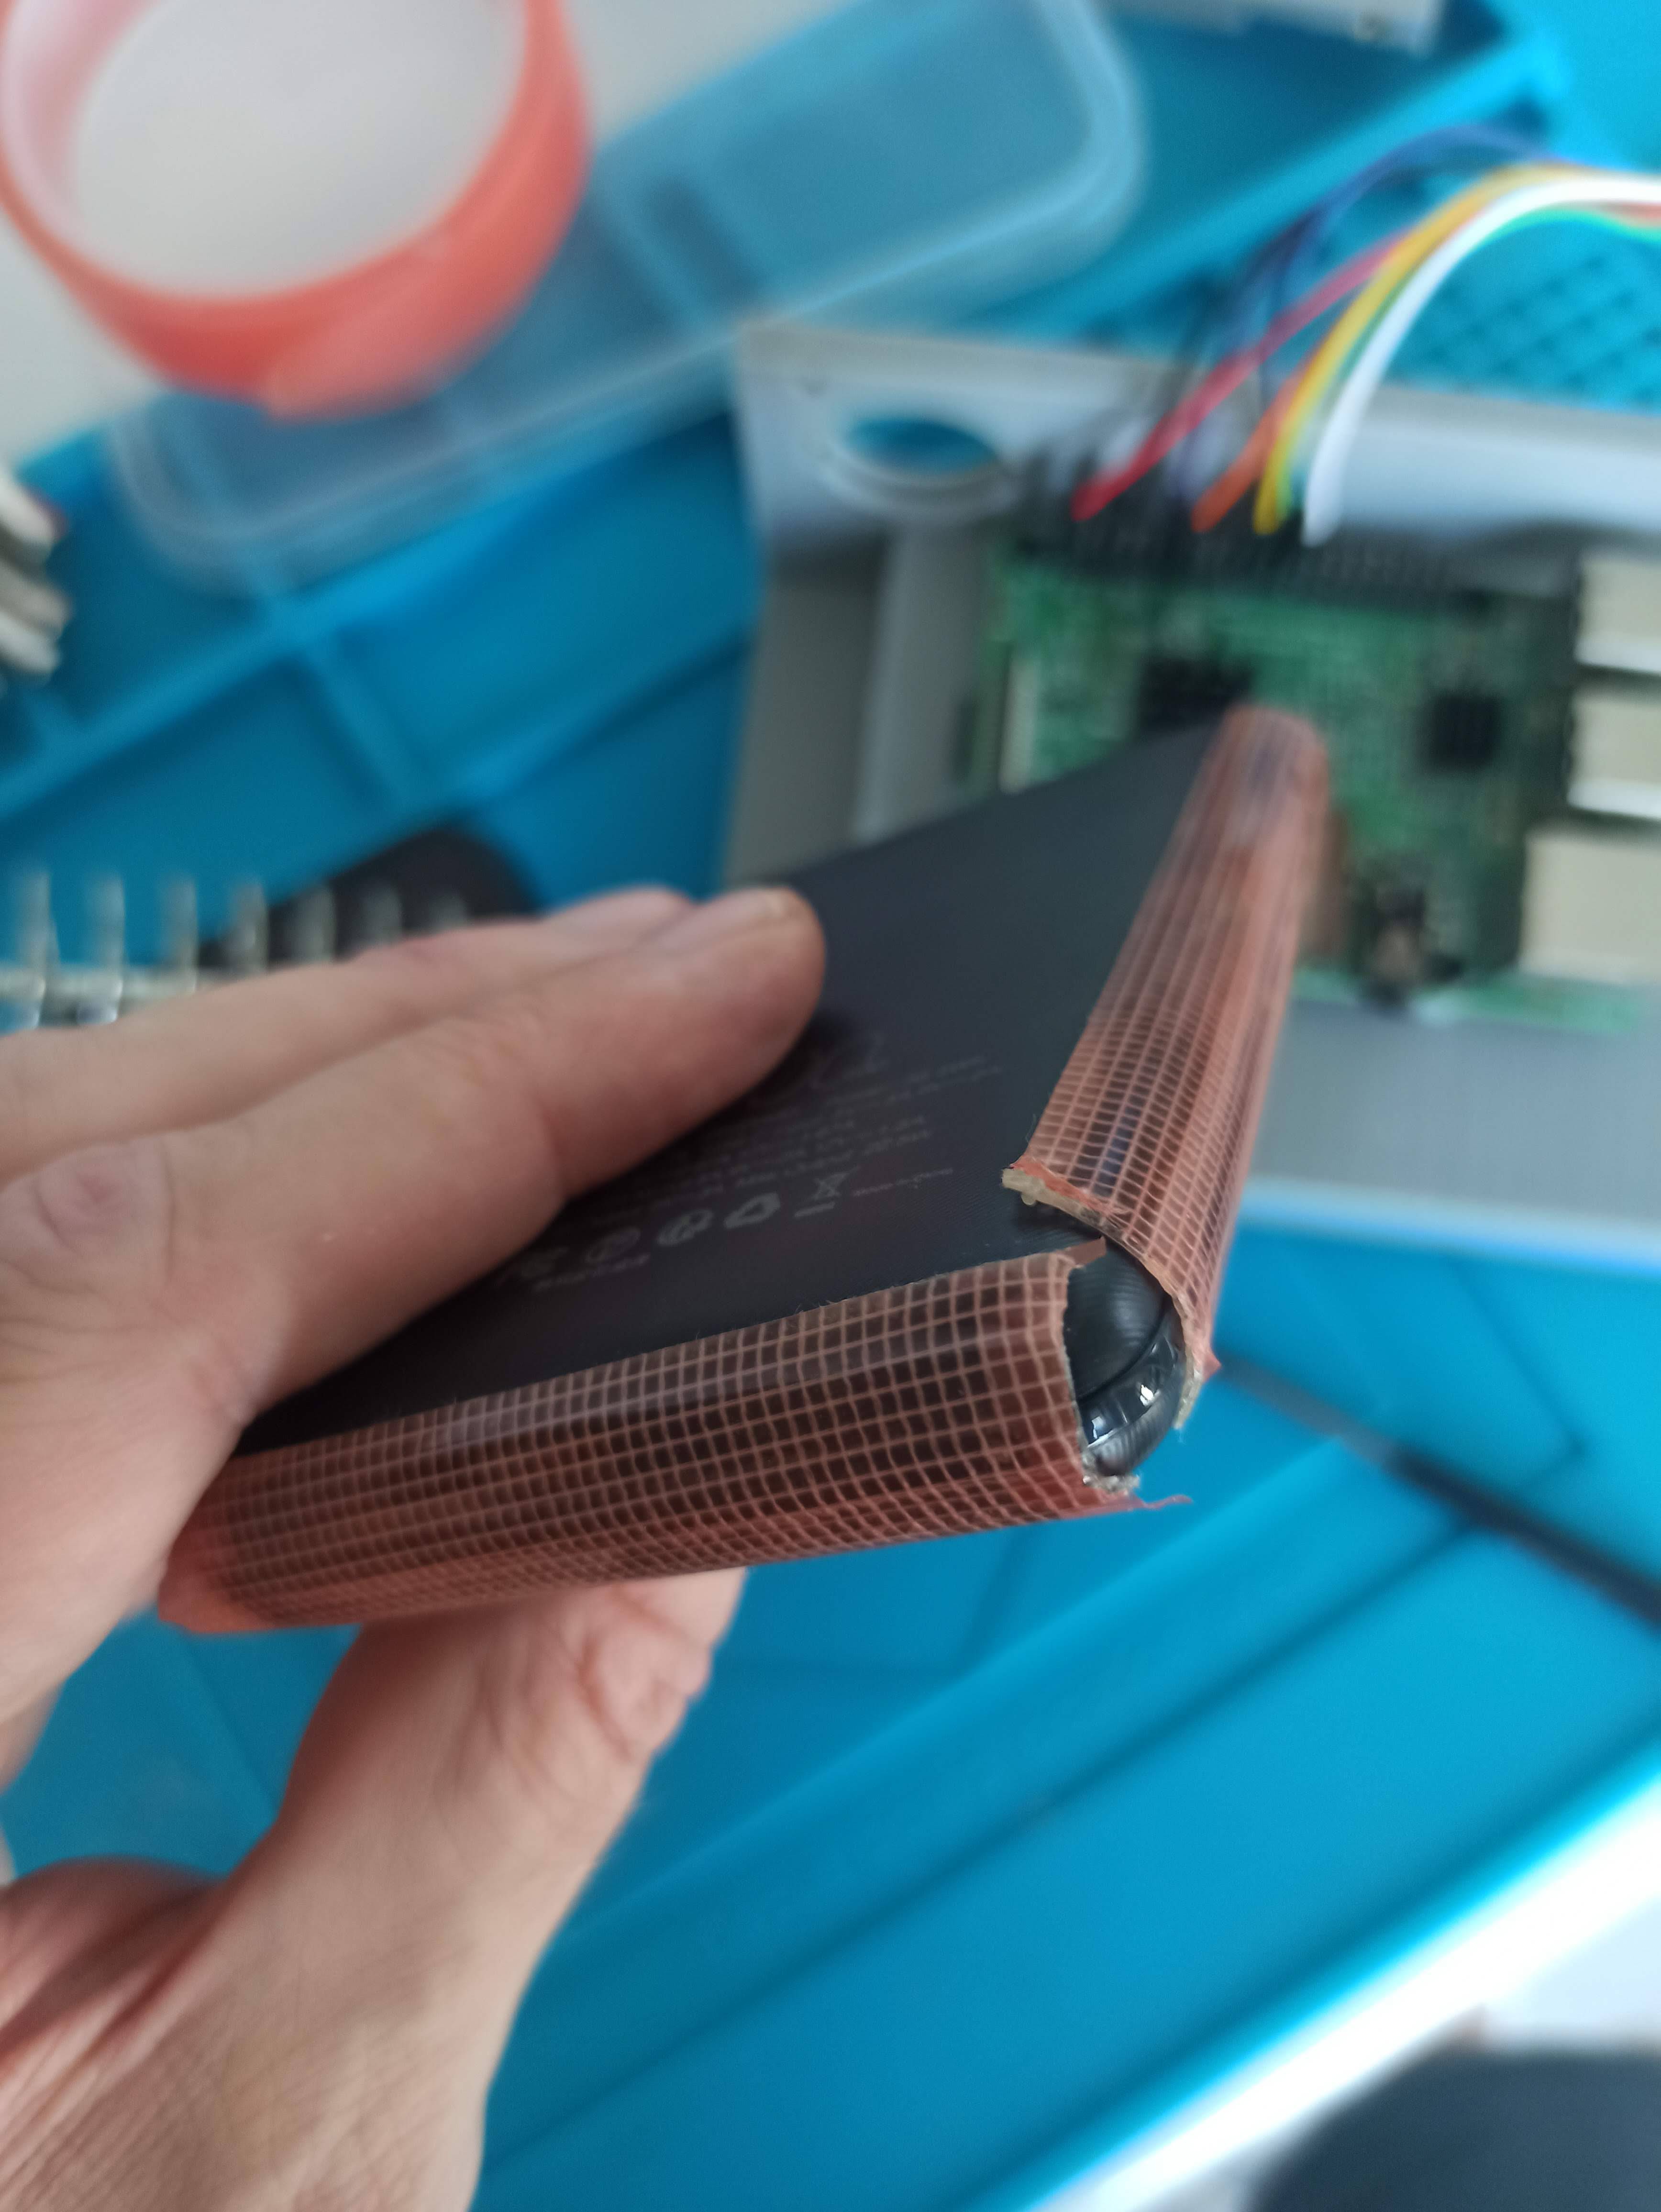
5Input the battery
Use double-sided tape to keep it from moving in the gap
![]()
![]()
-
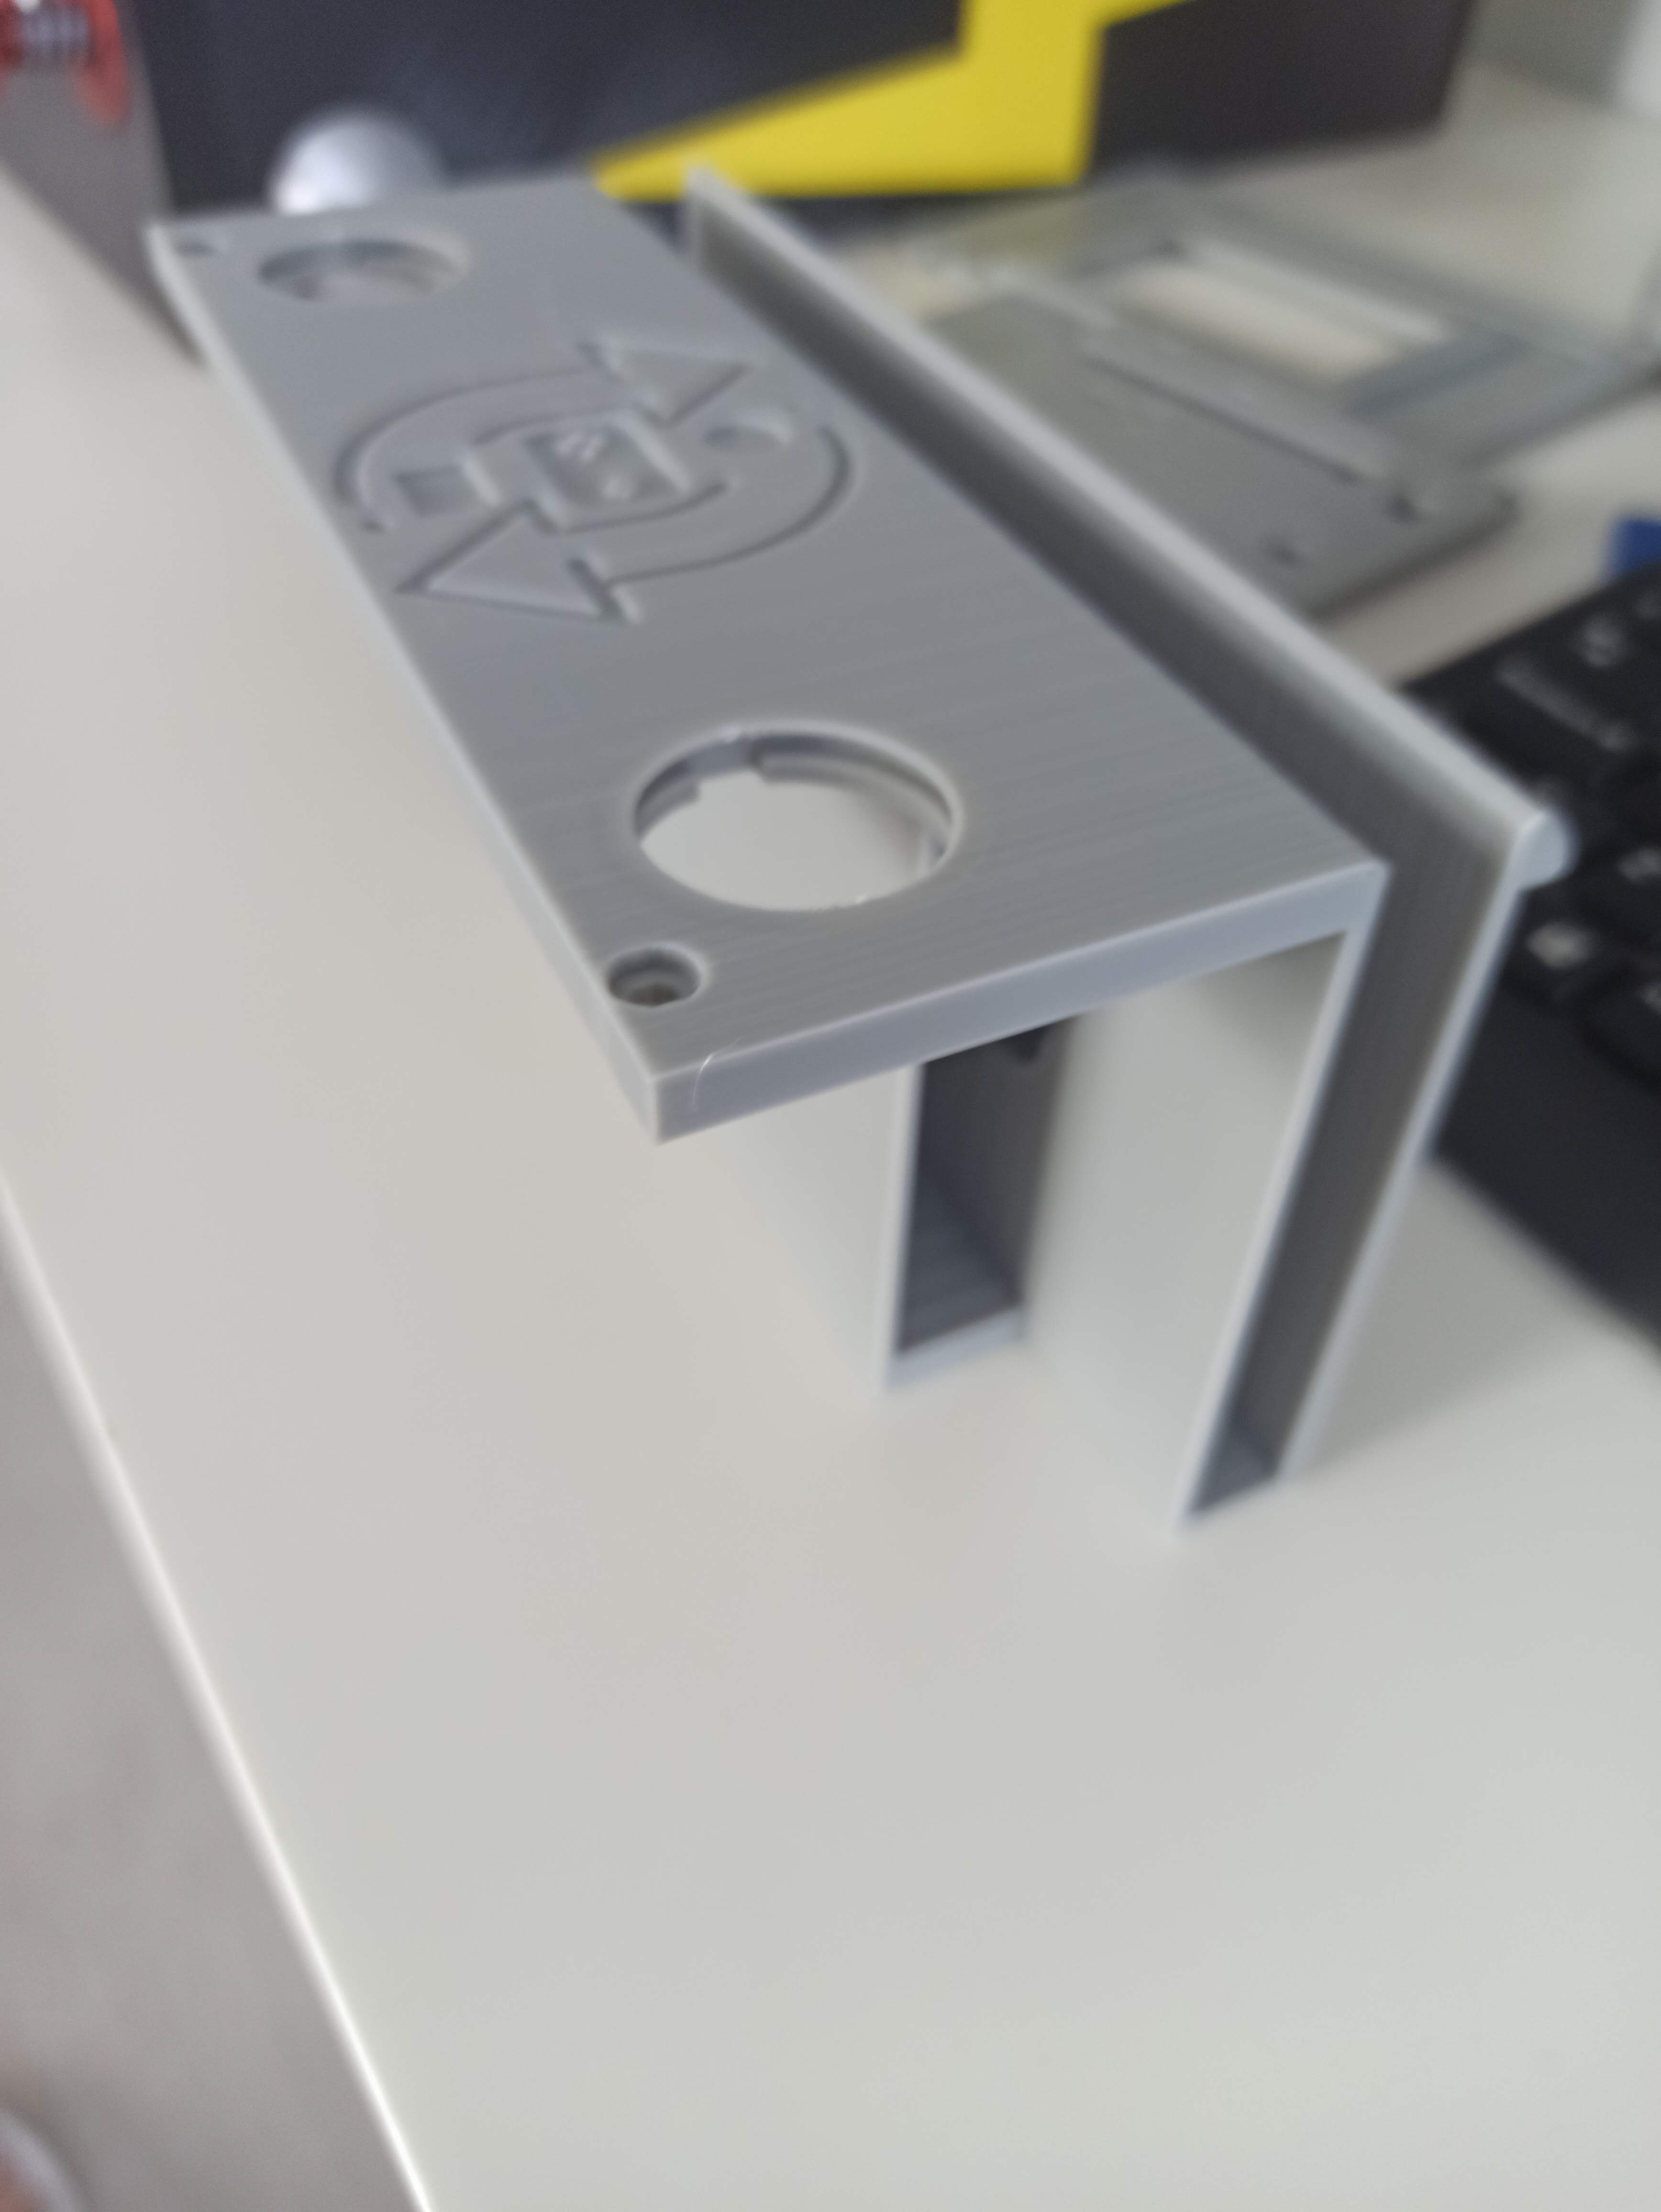
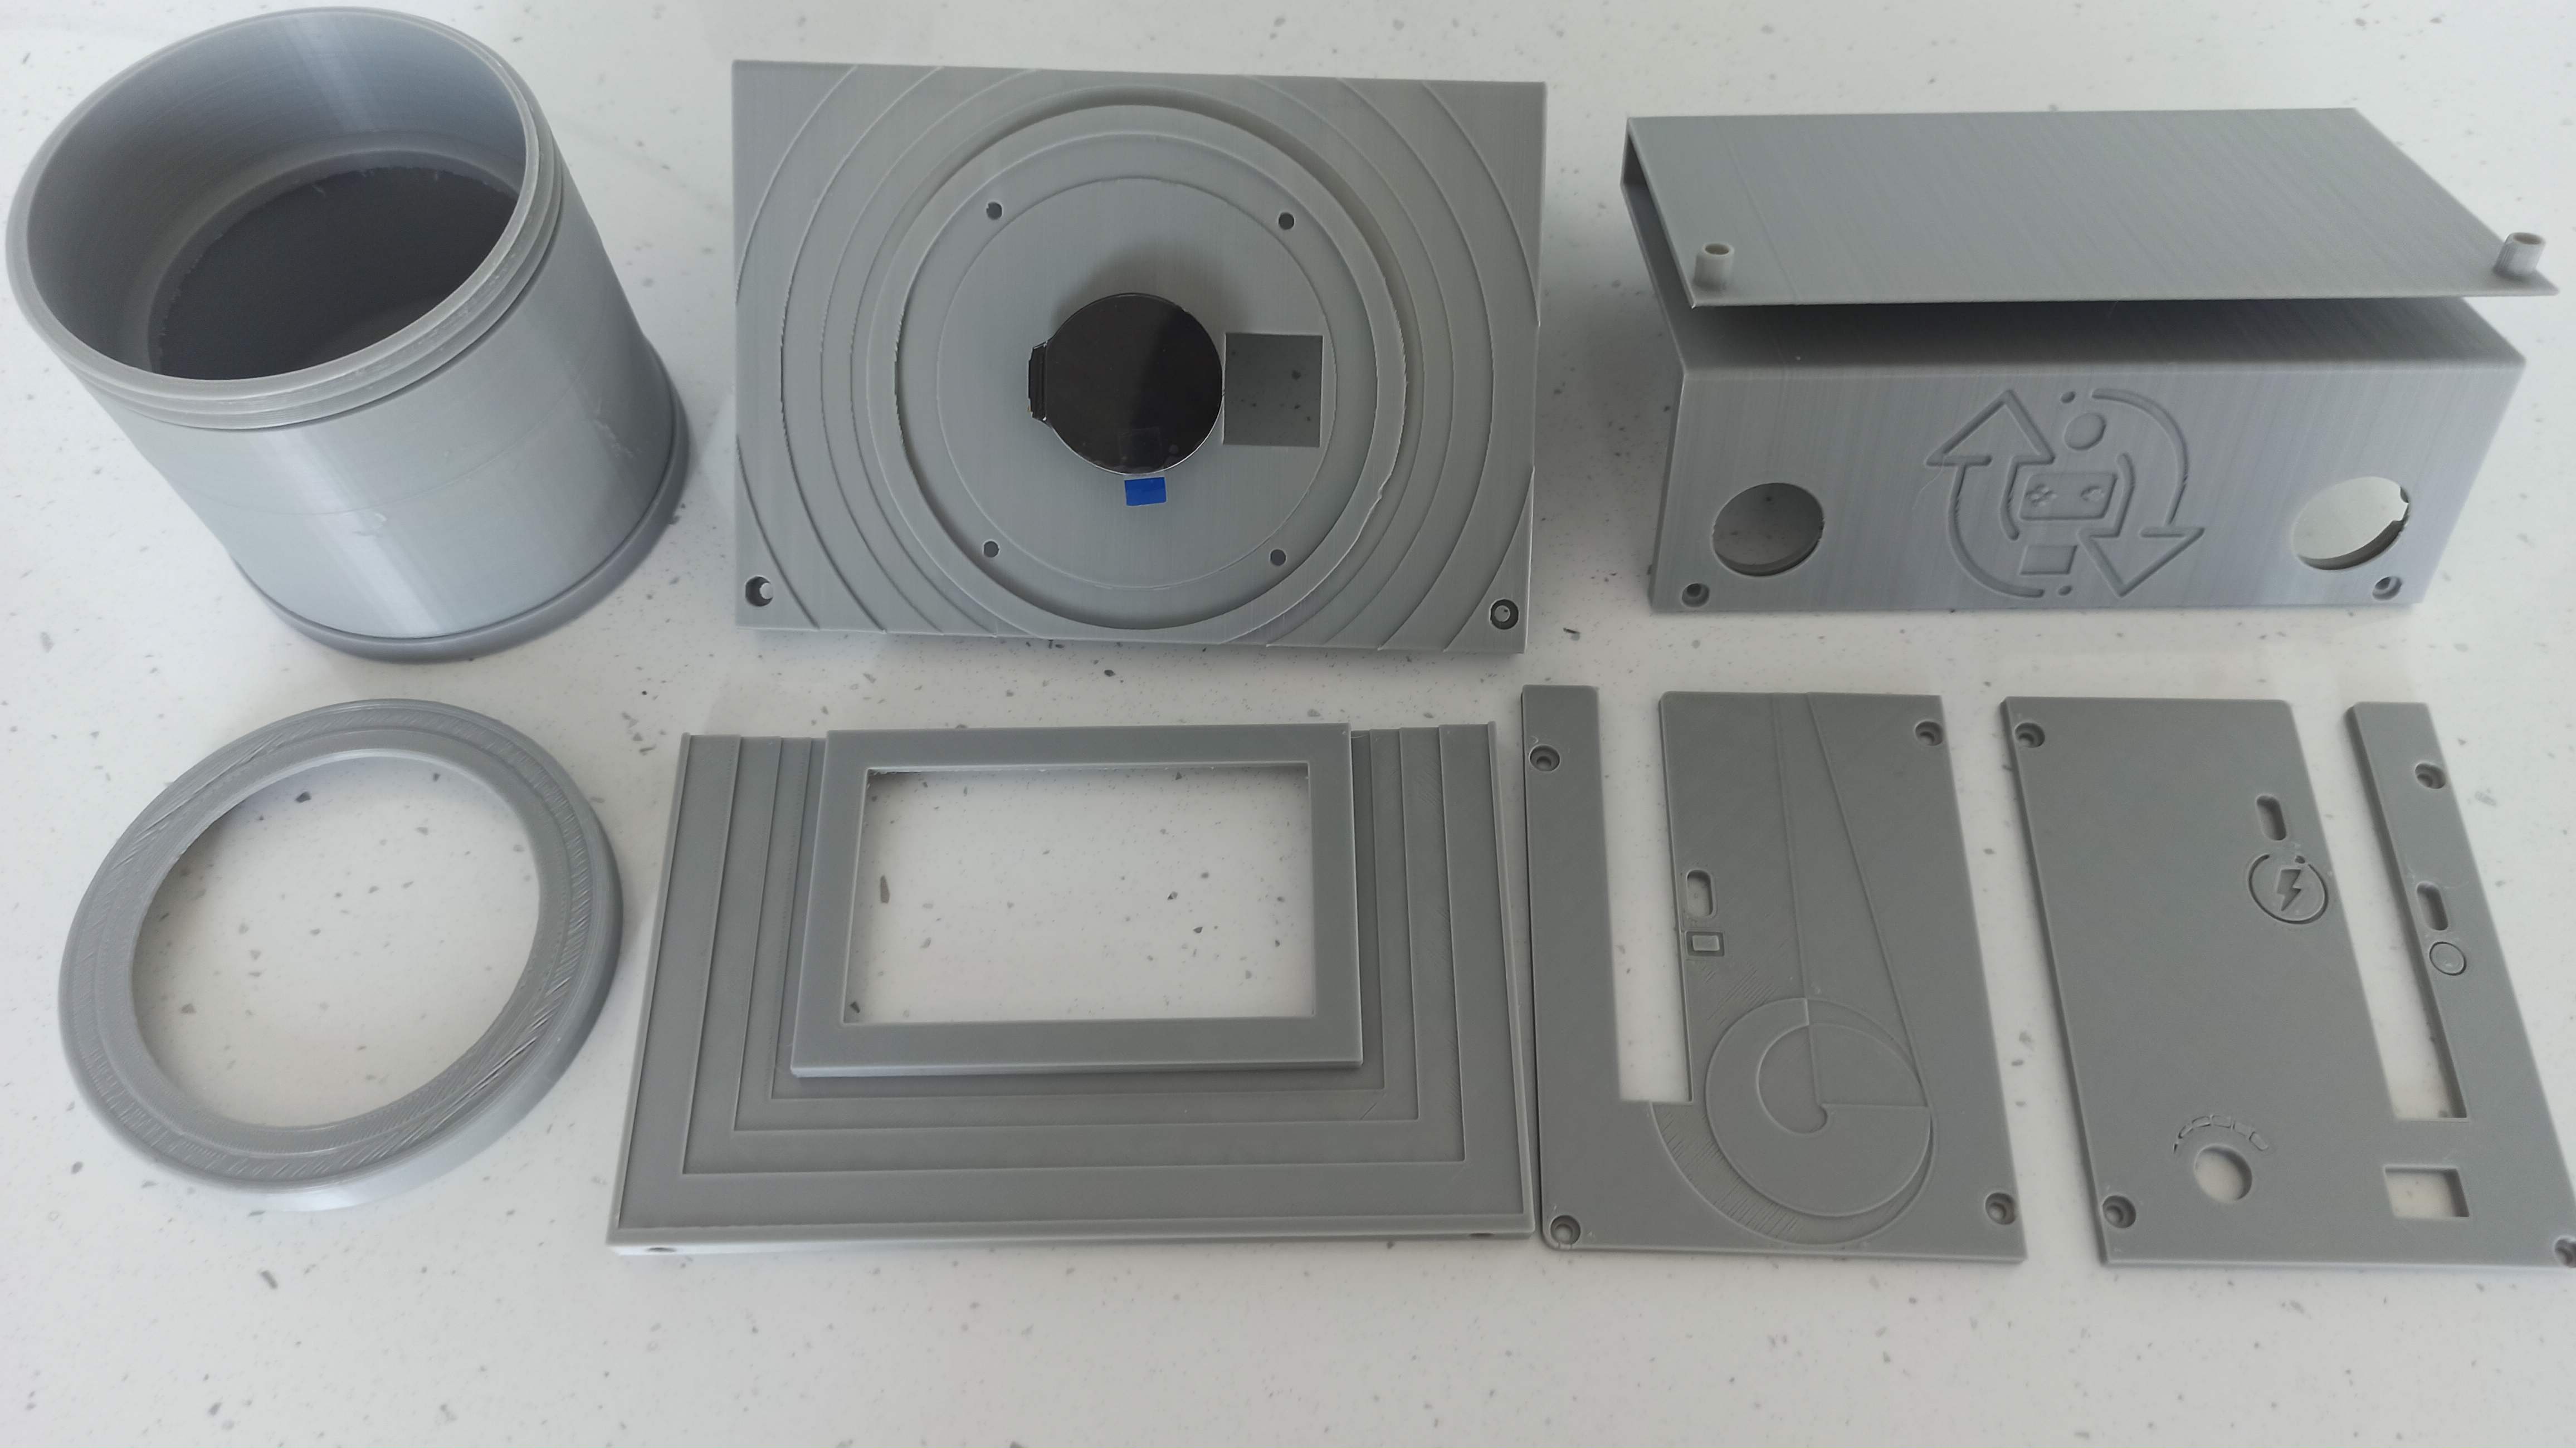
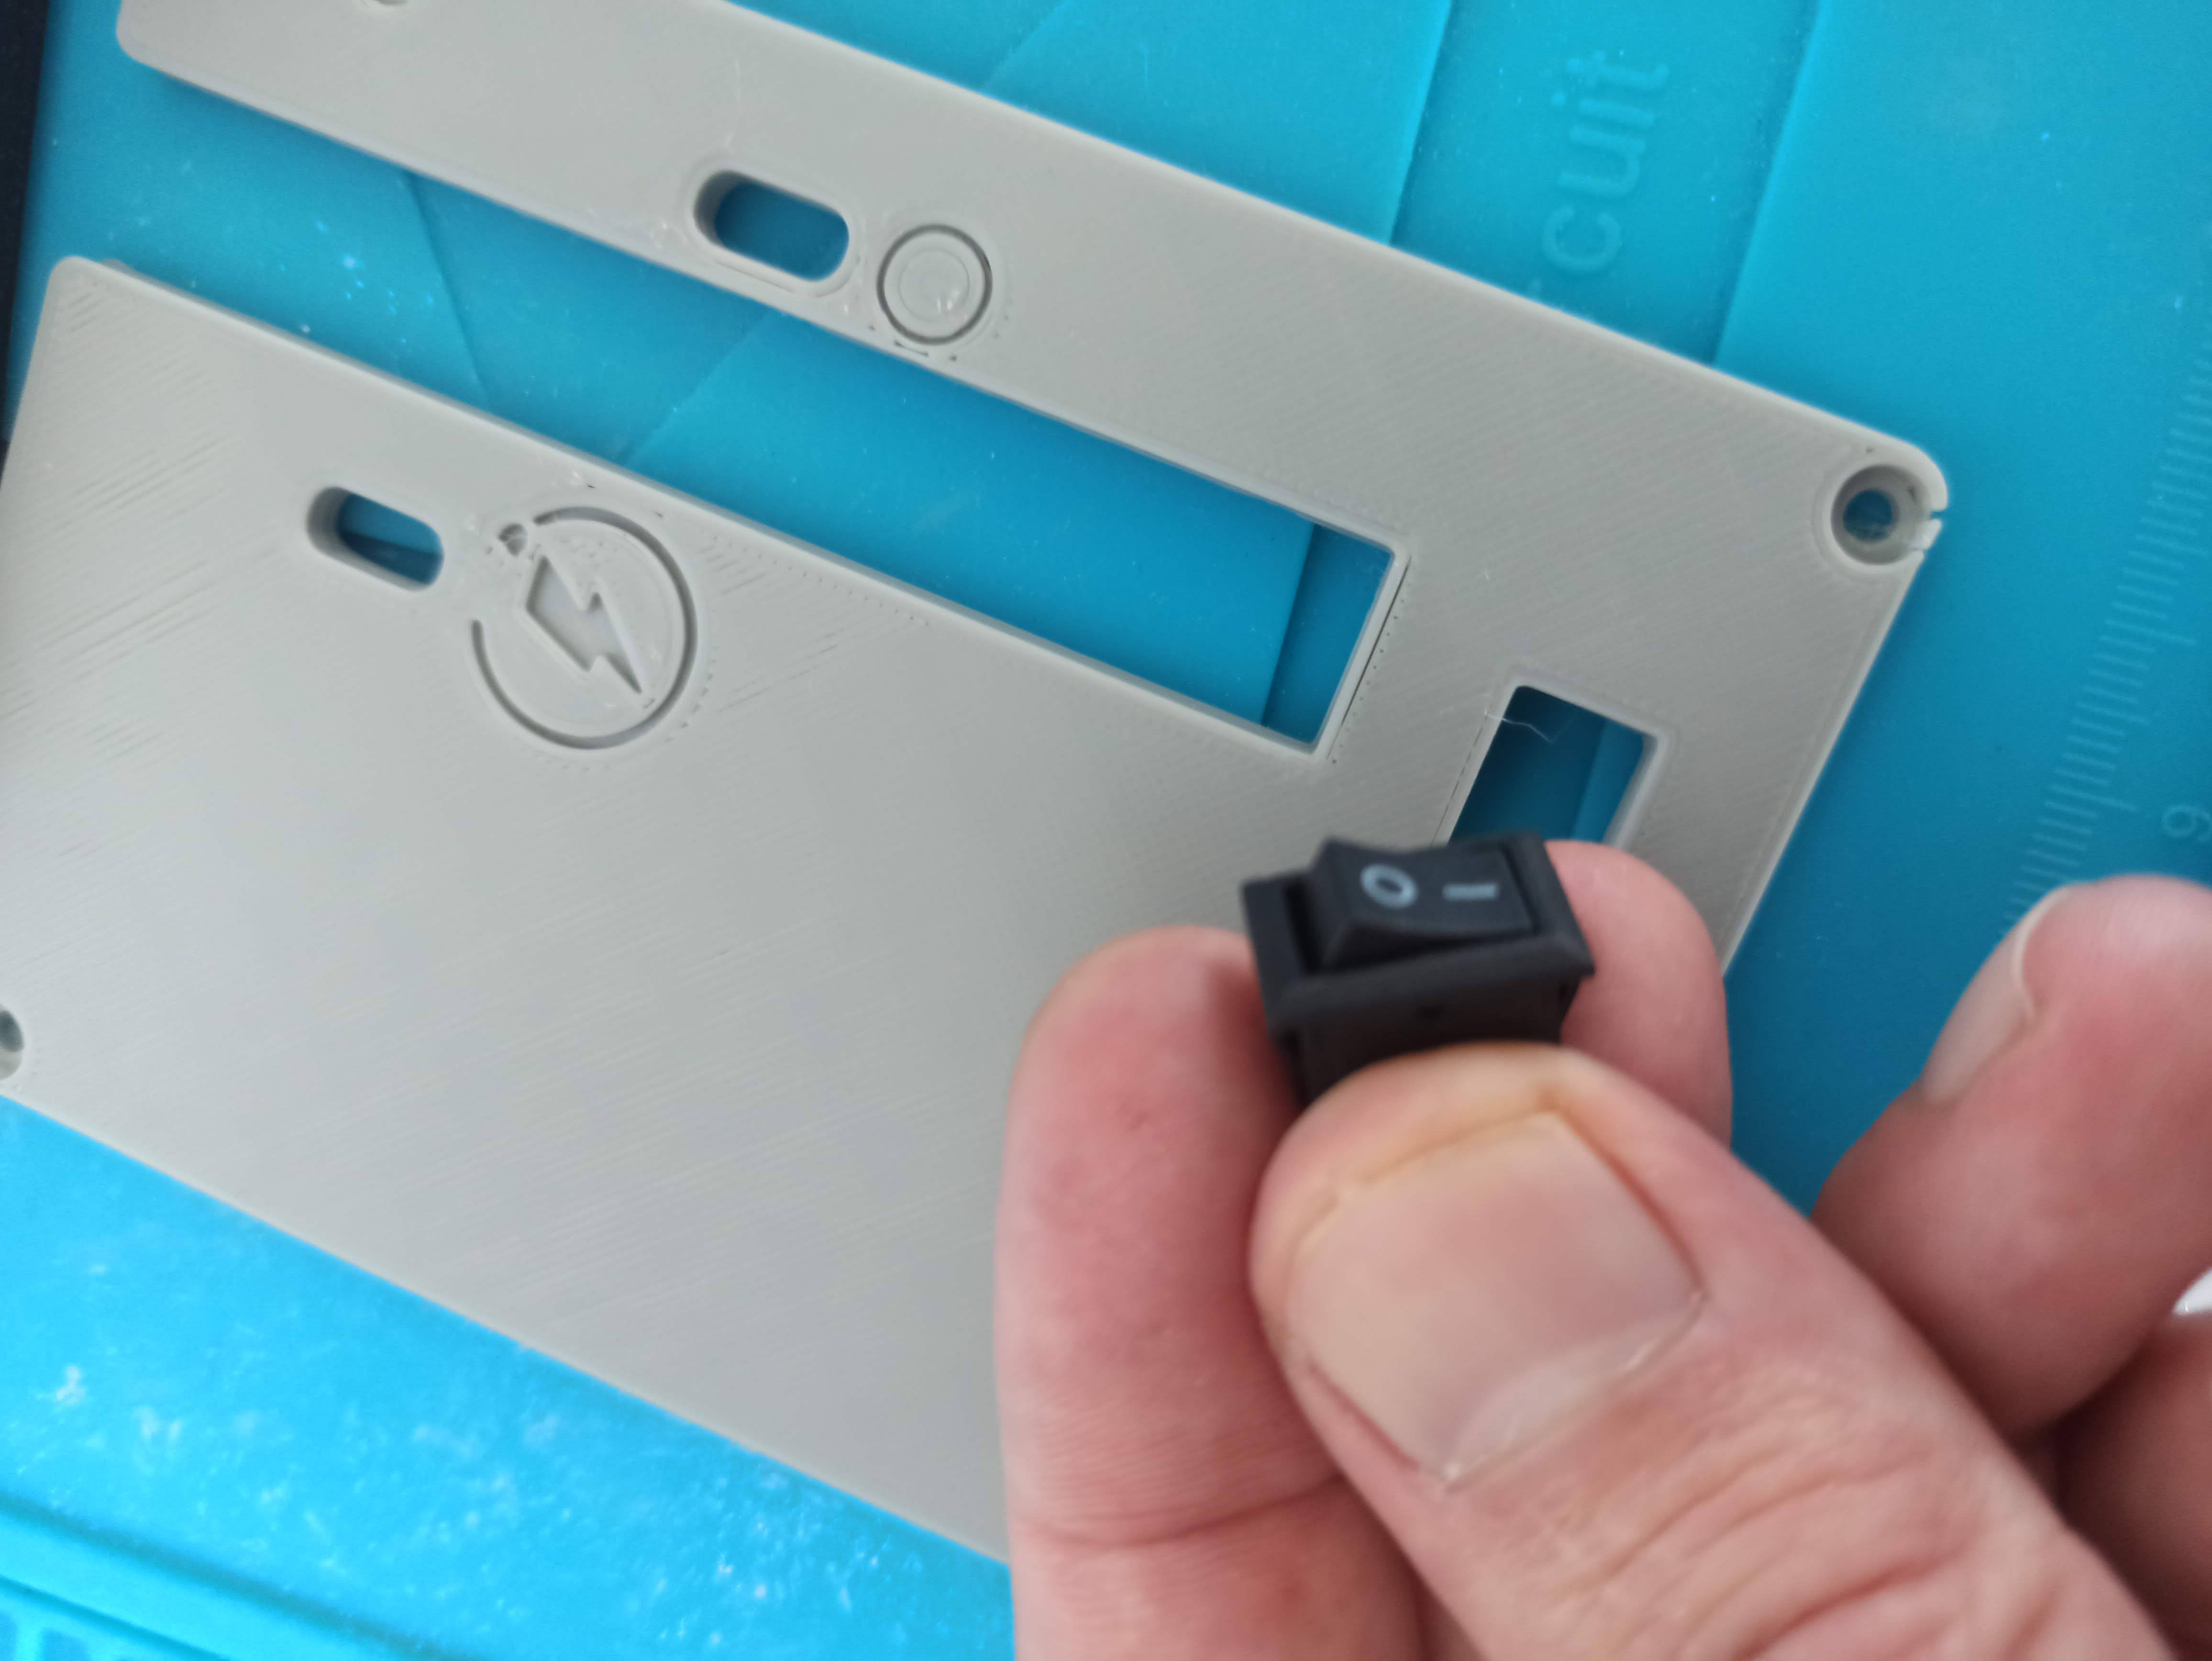
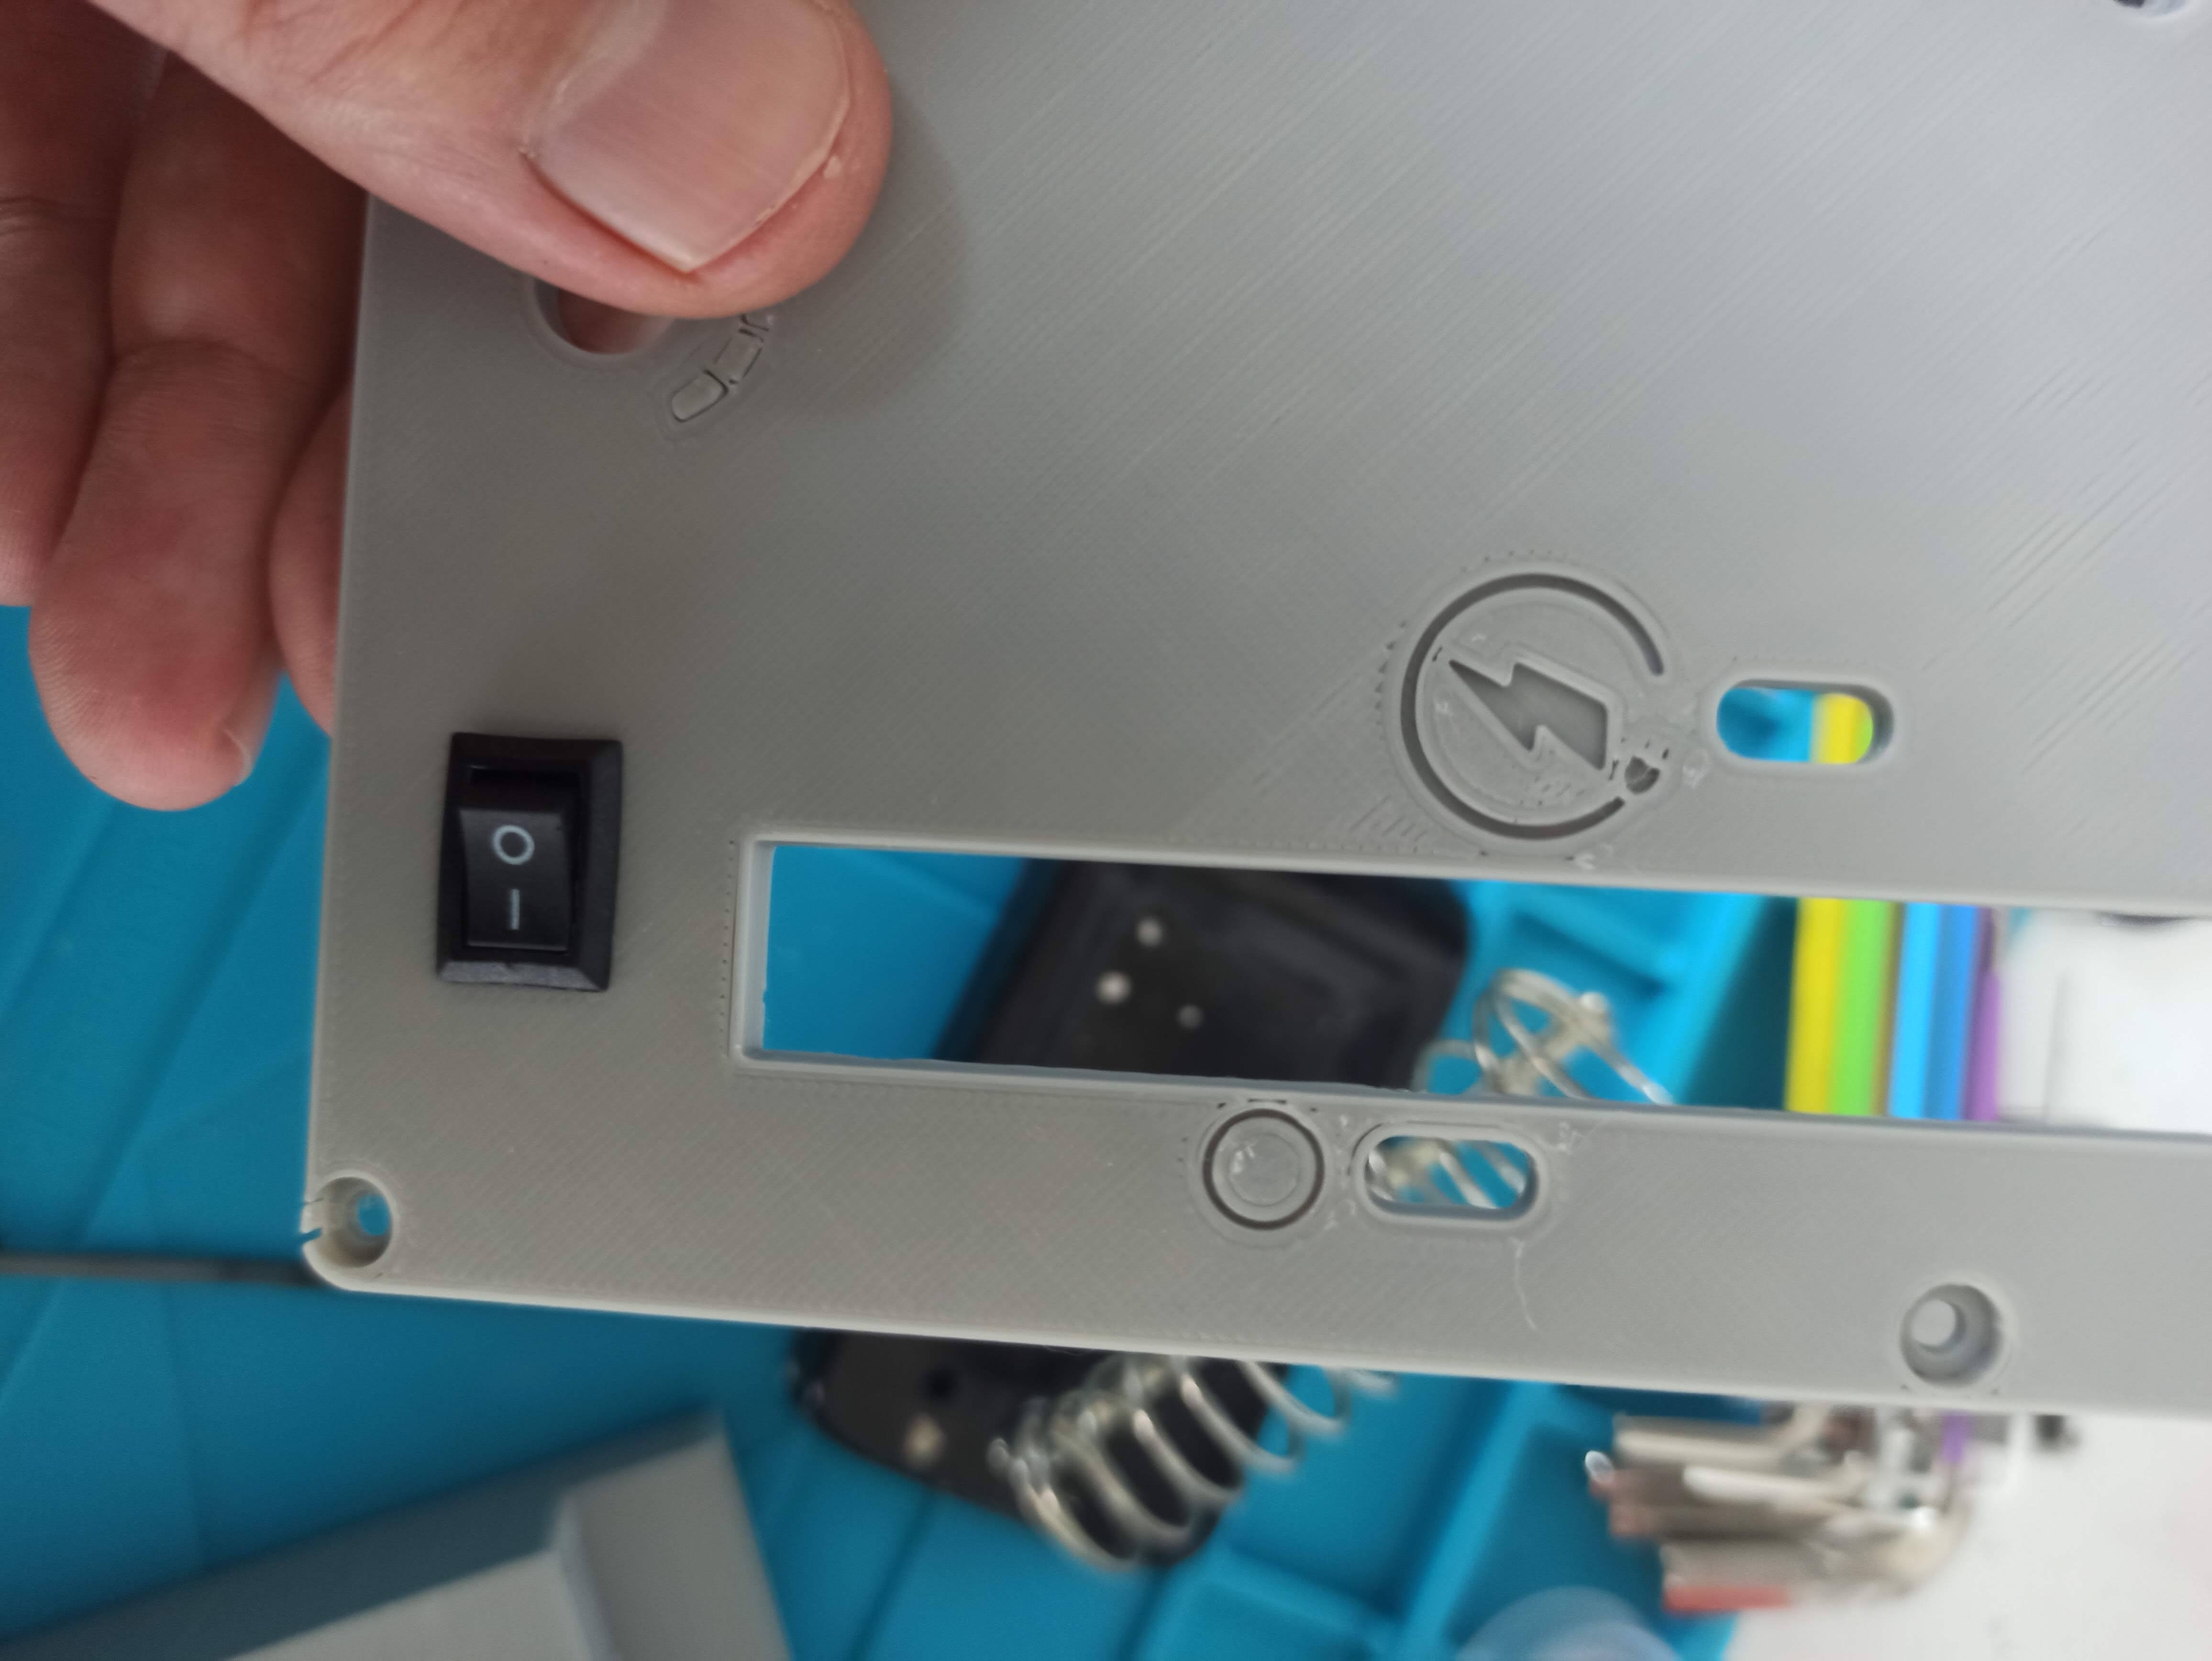
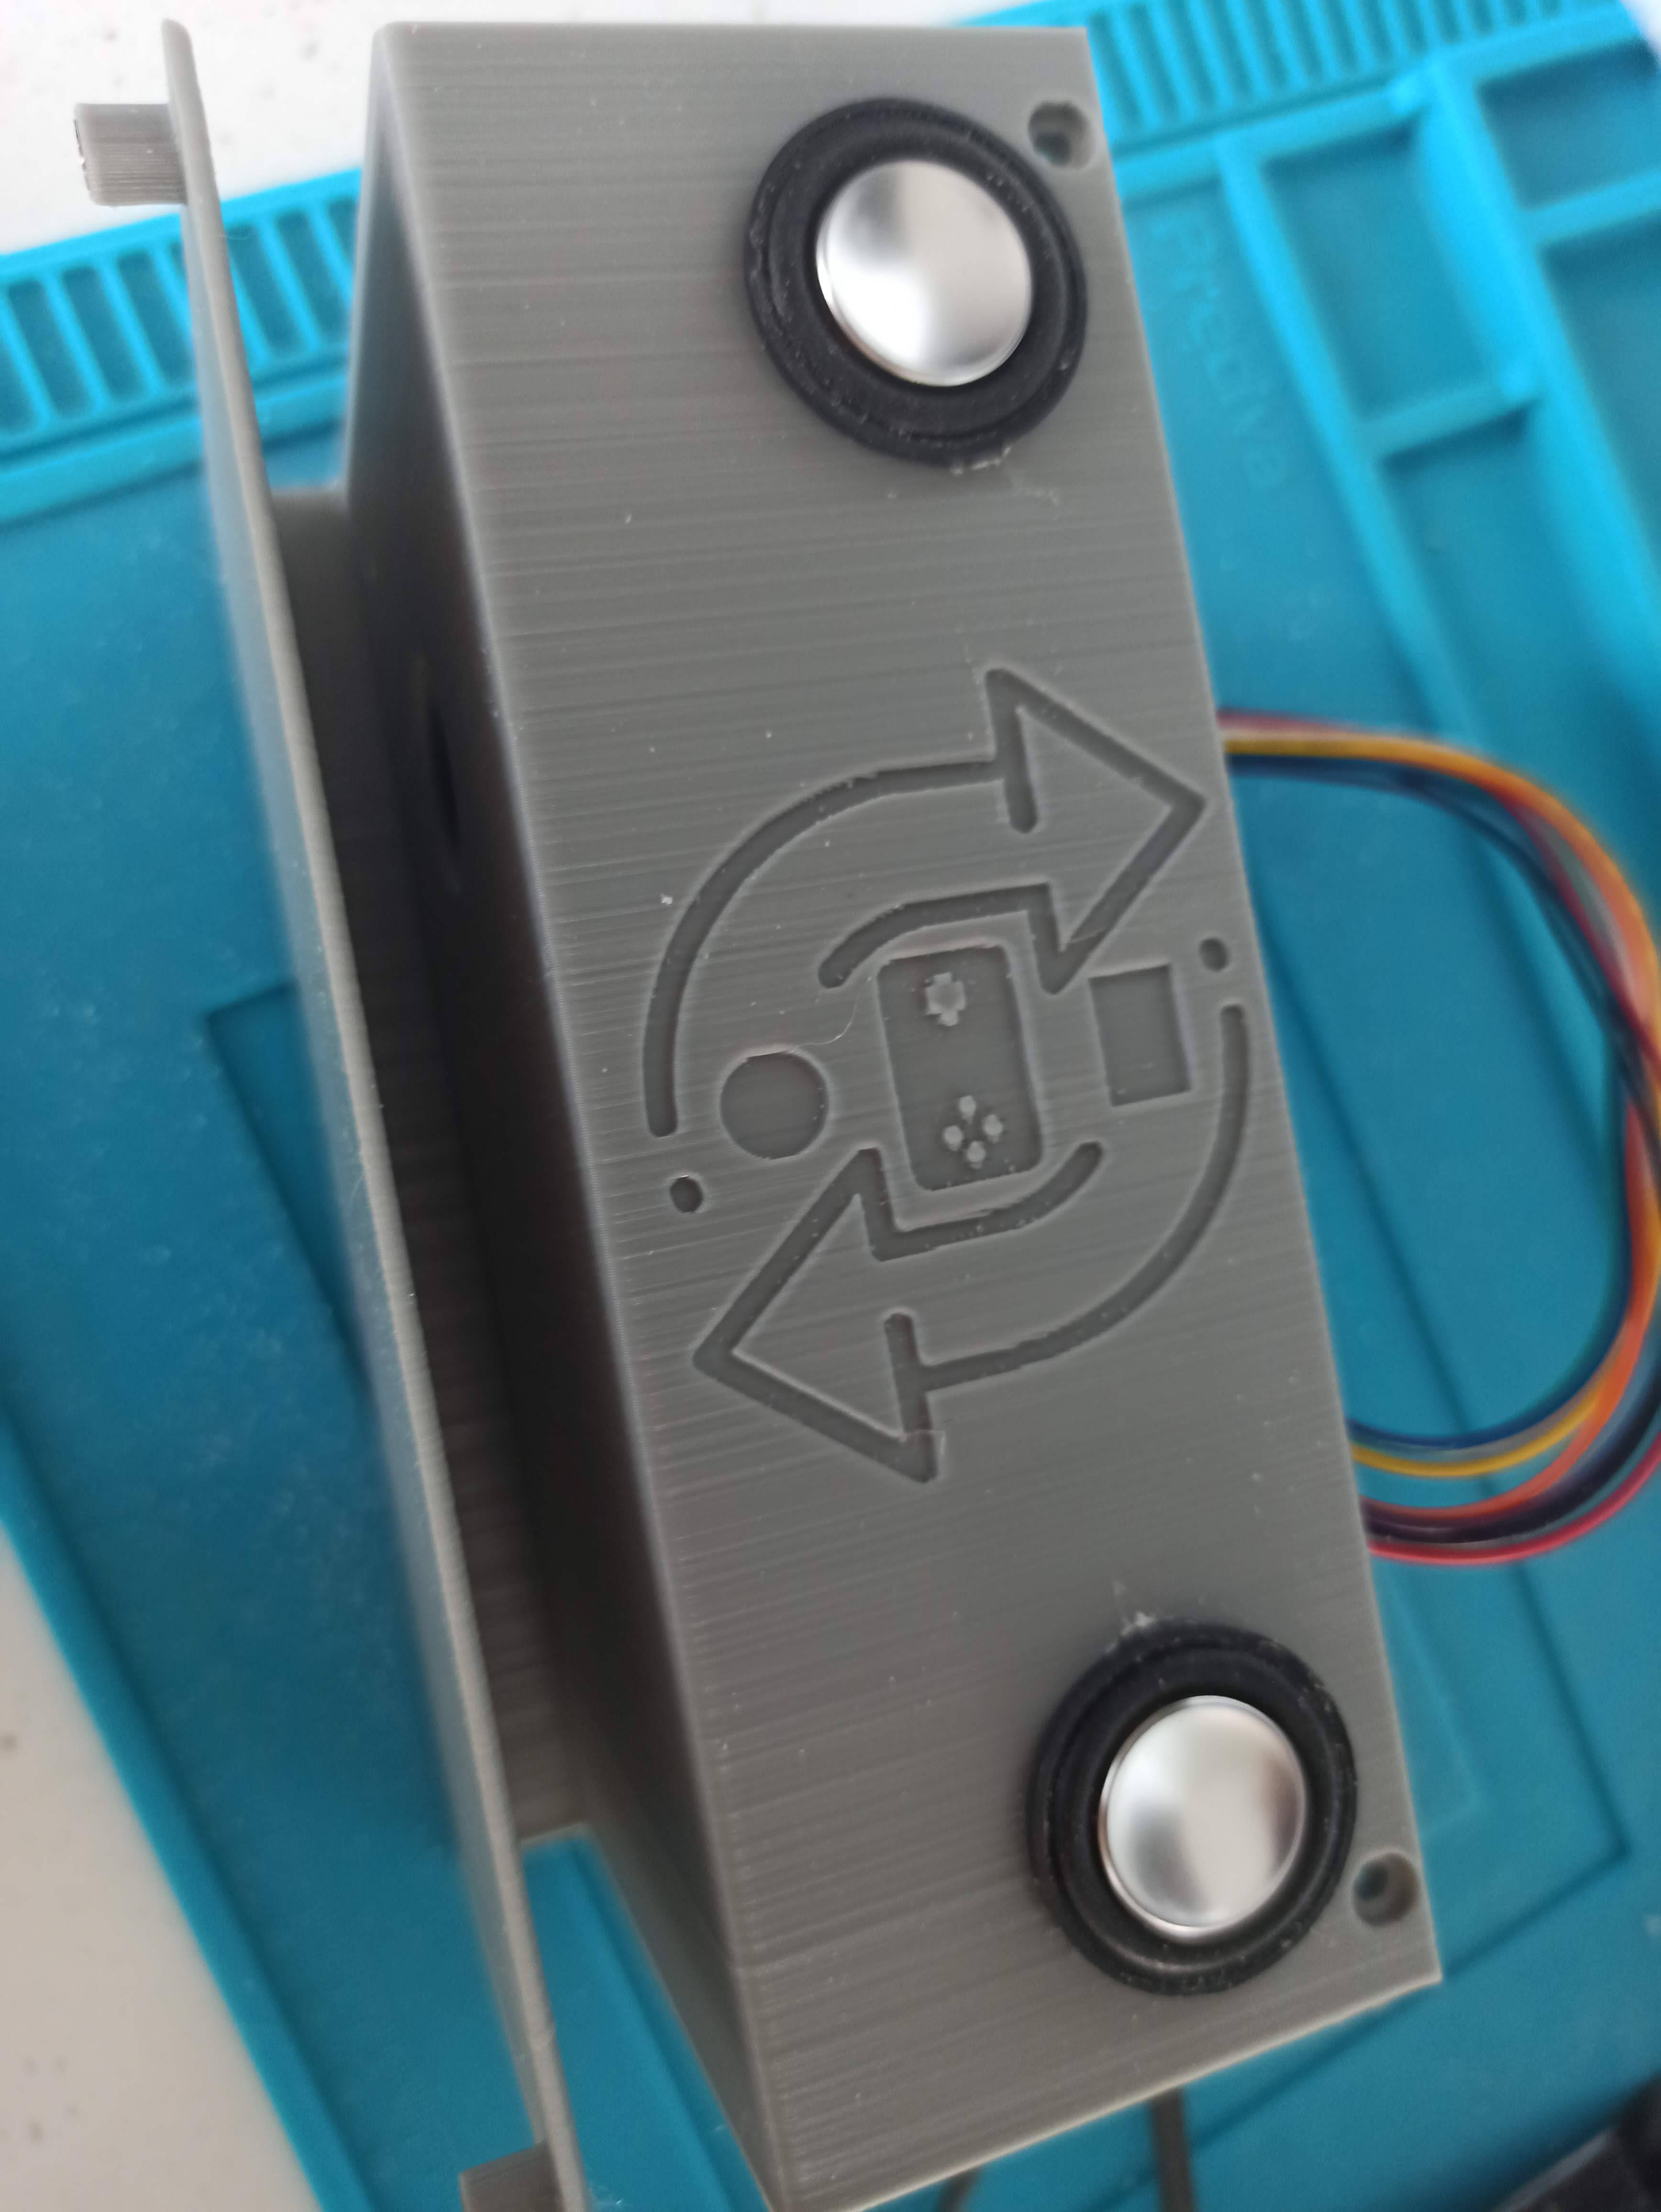
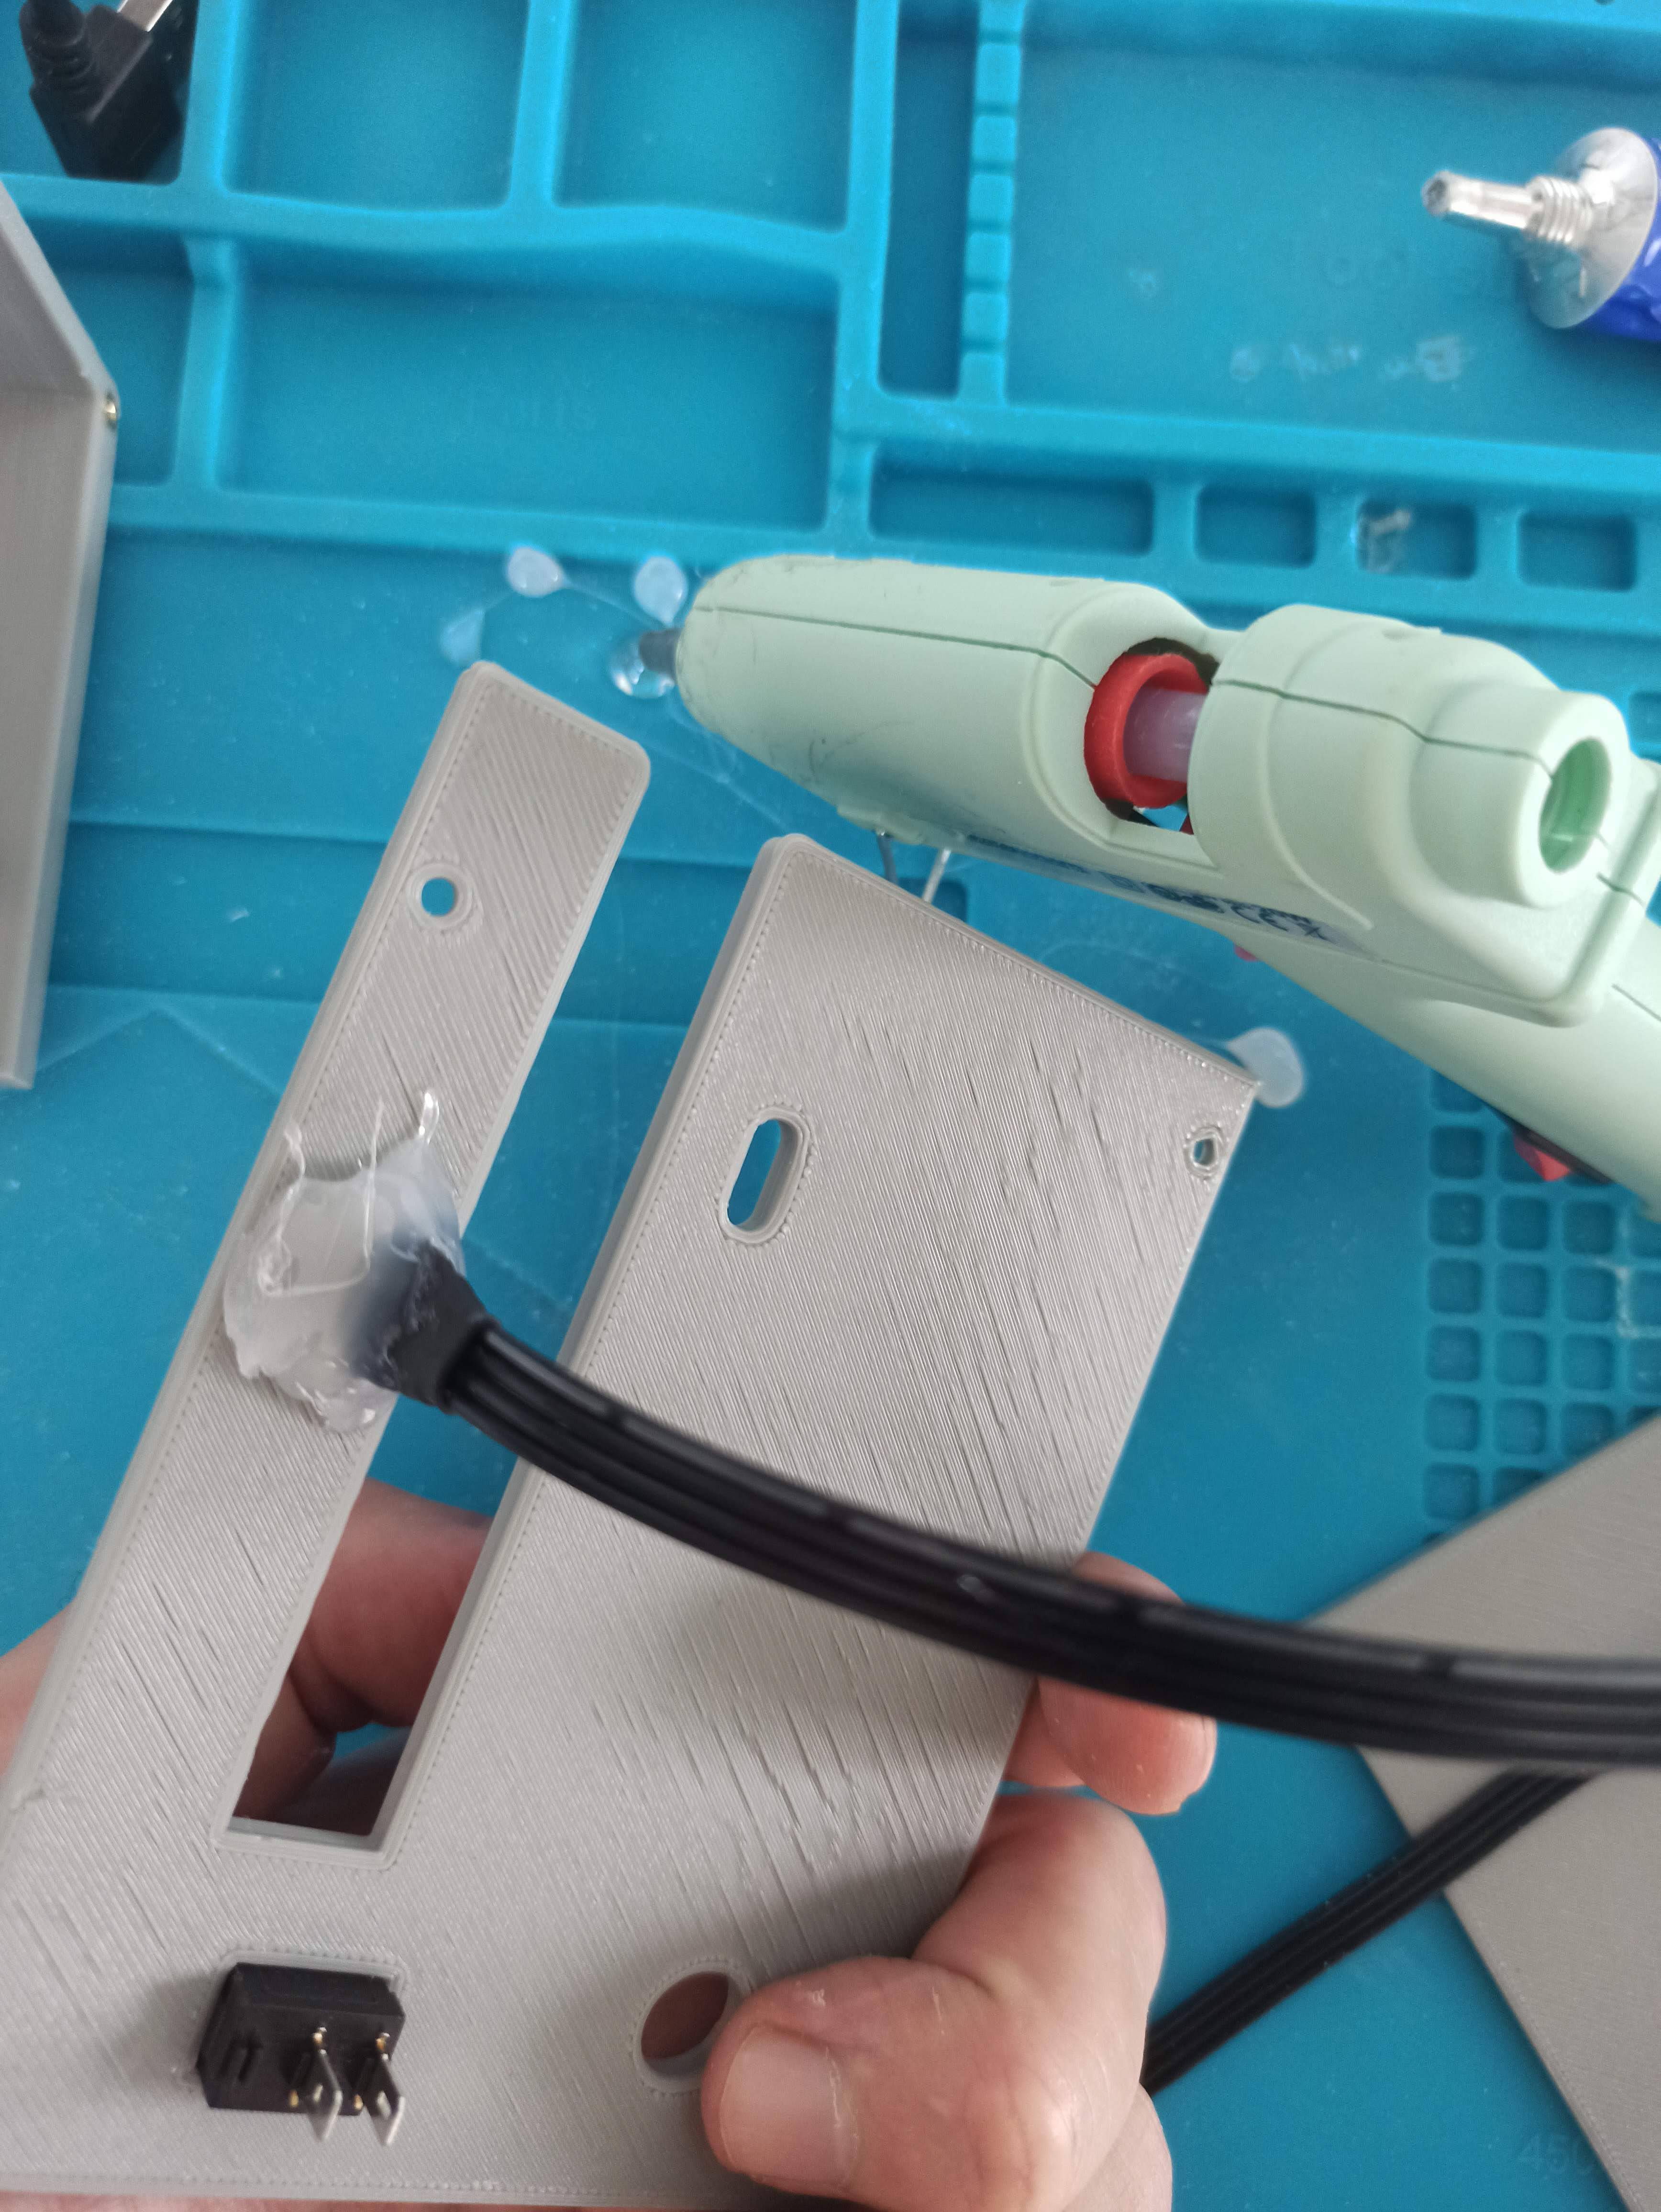
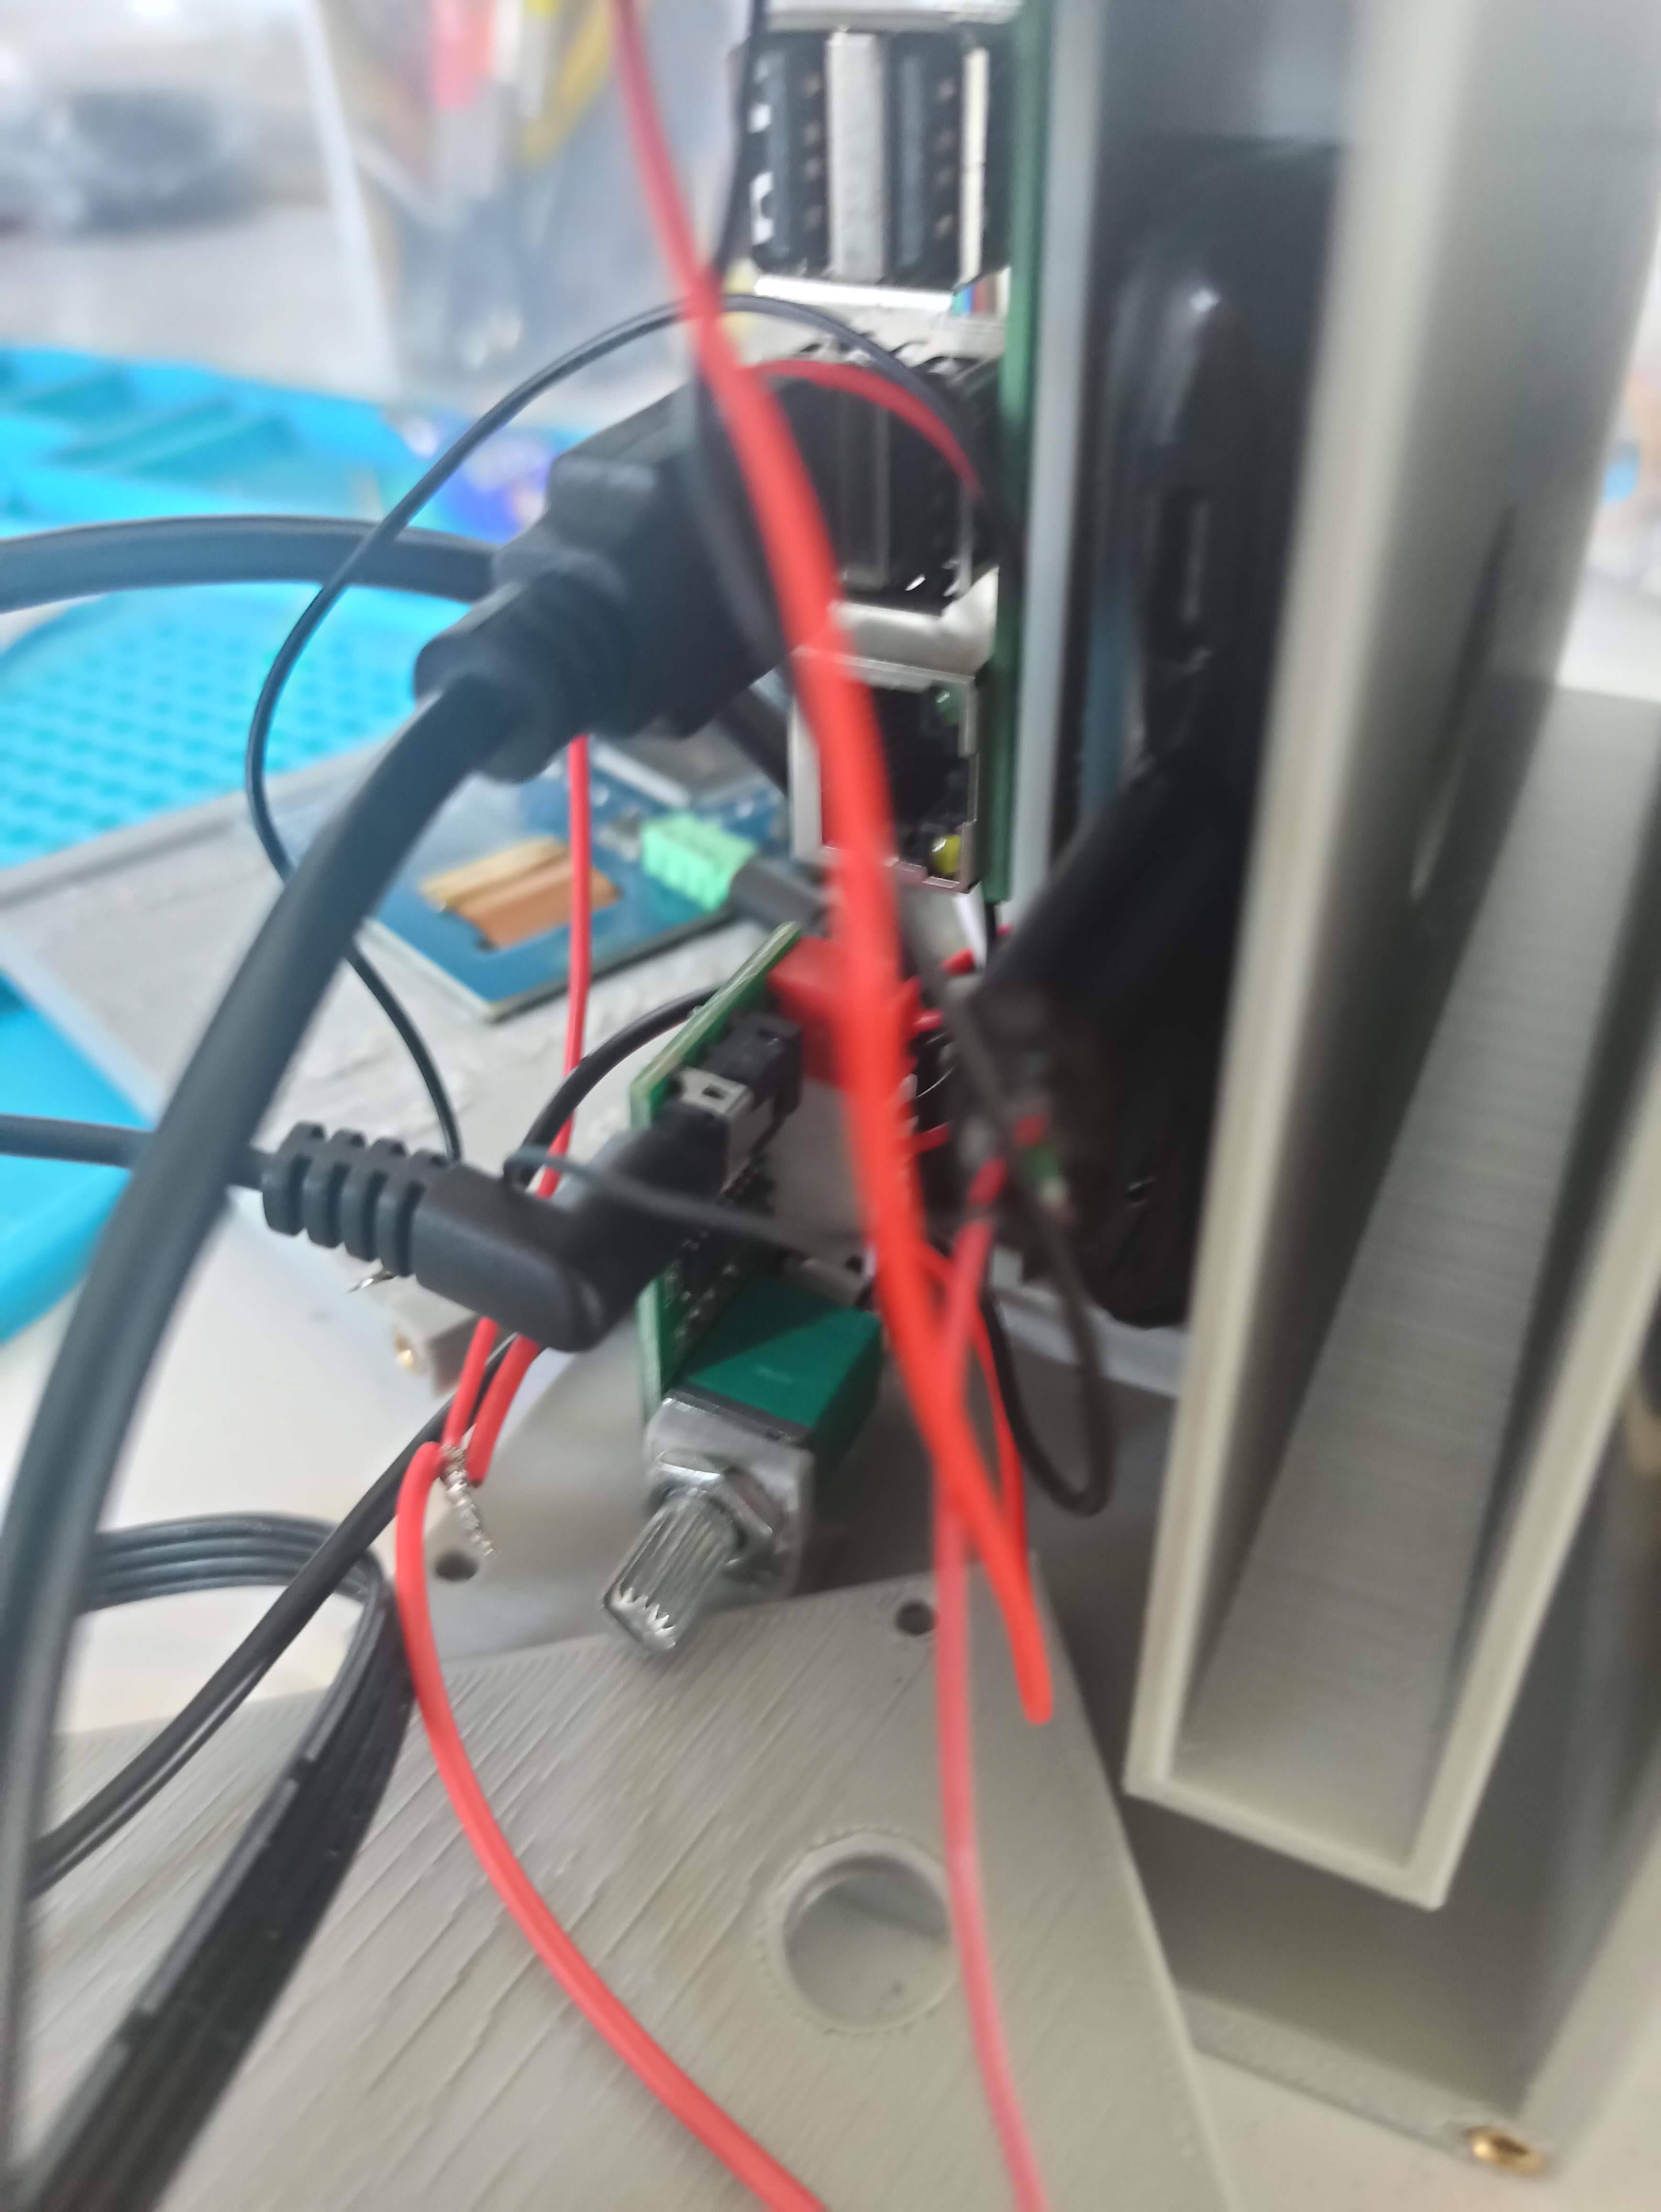
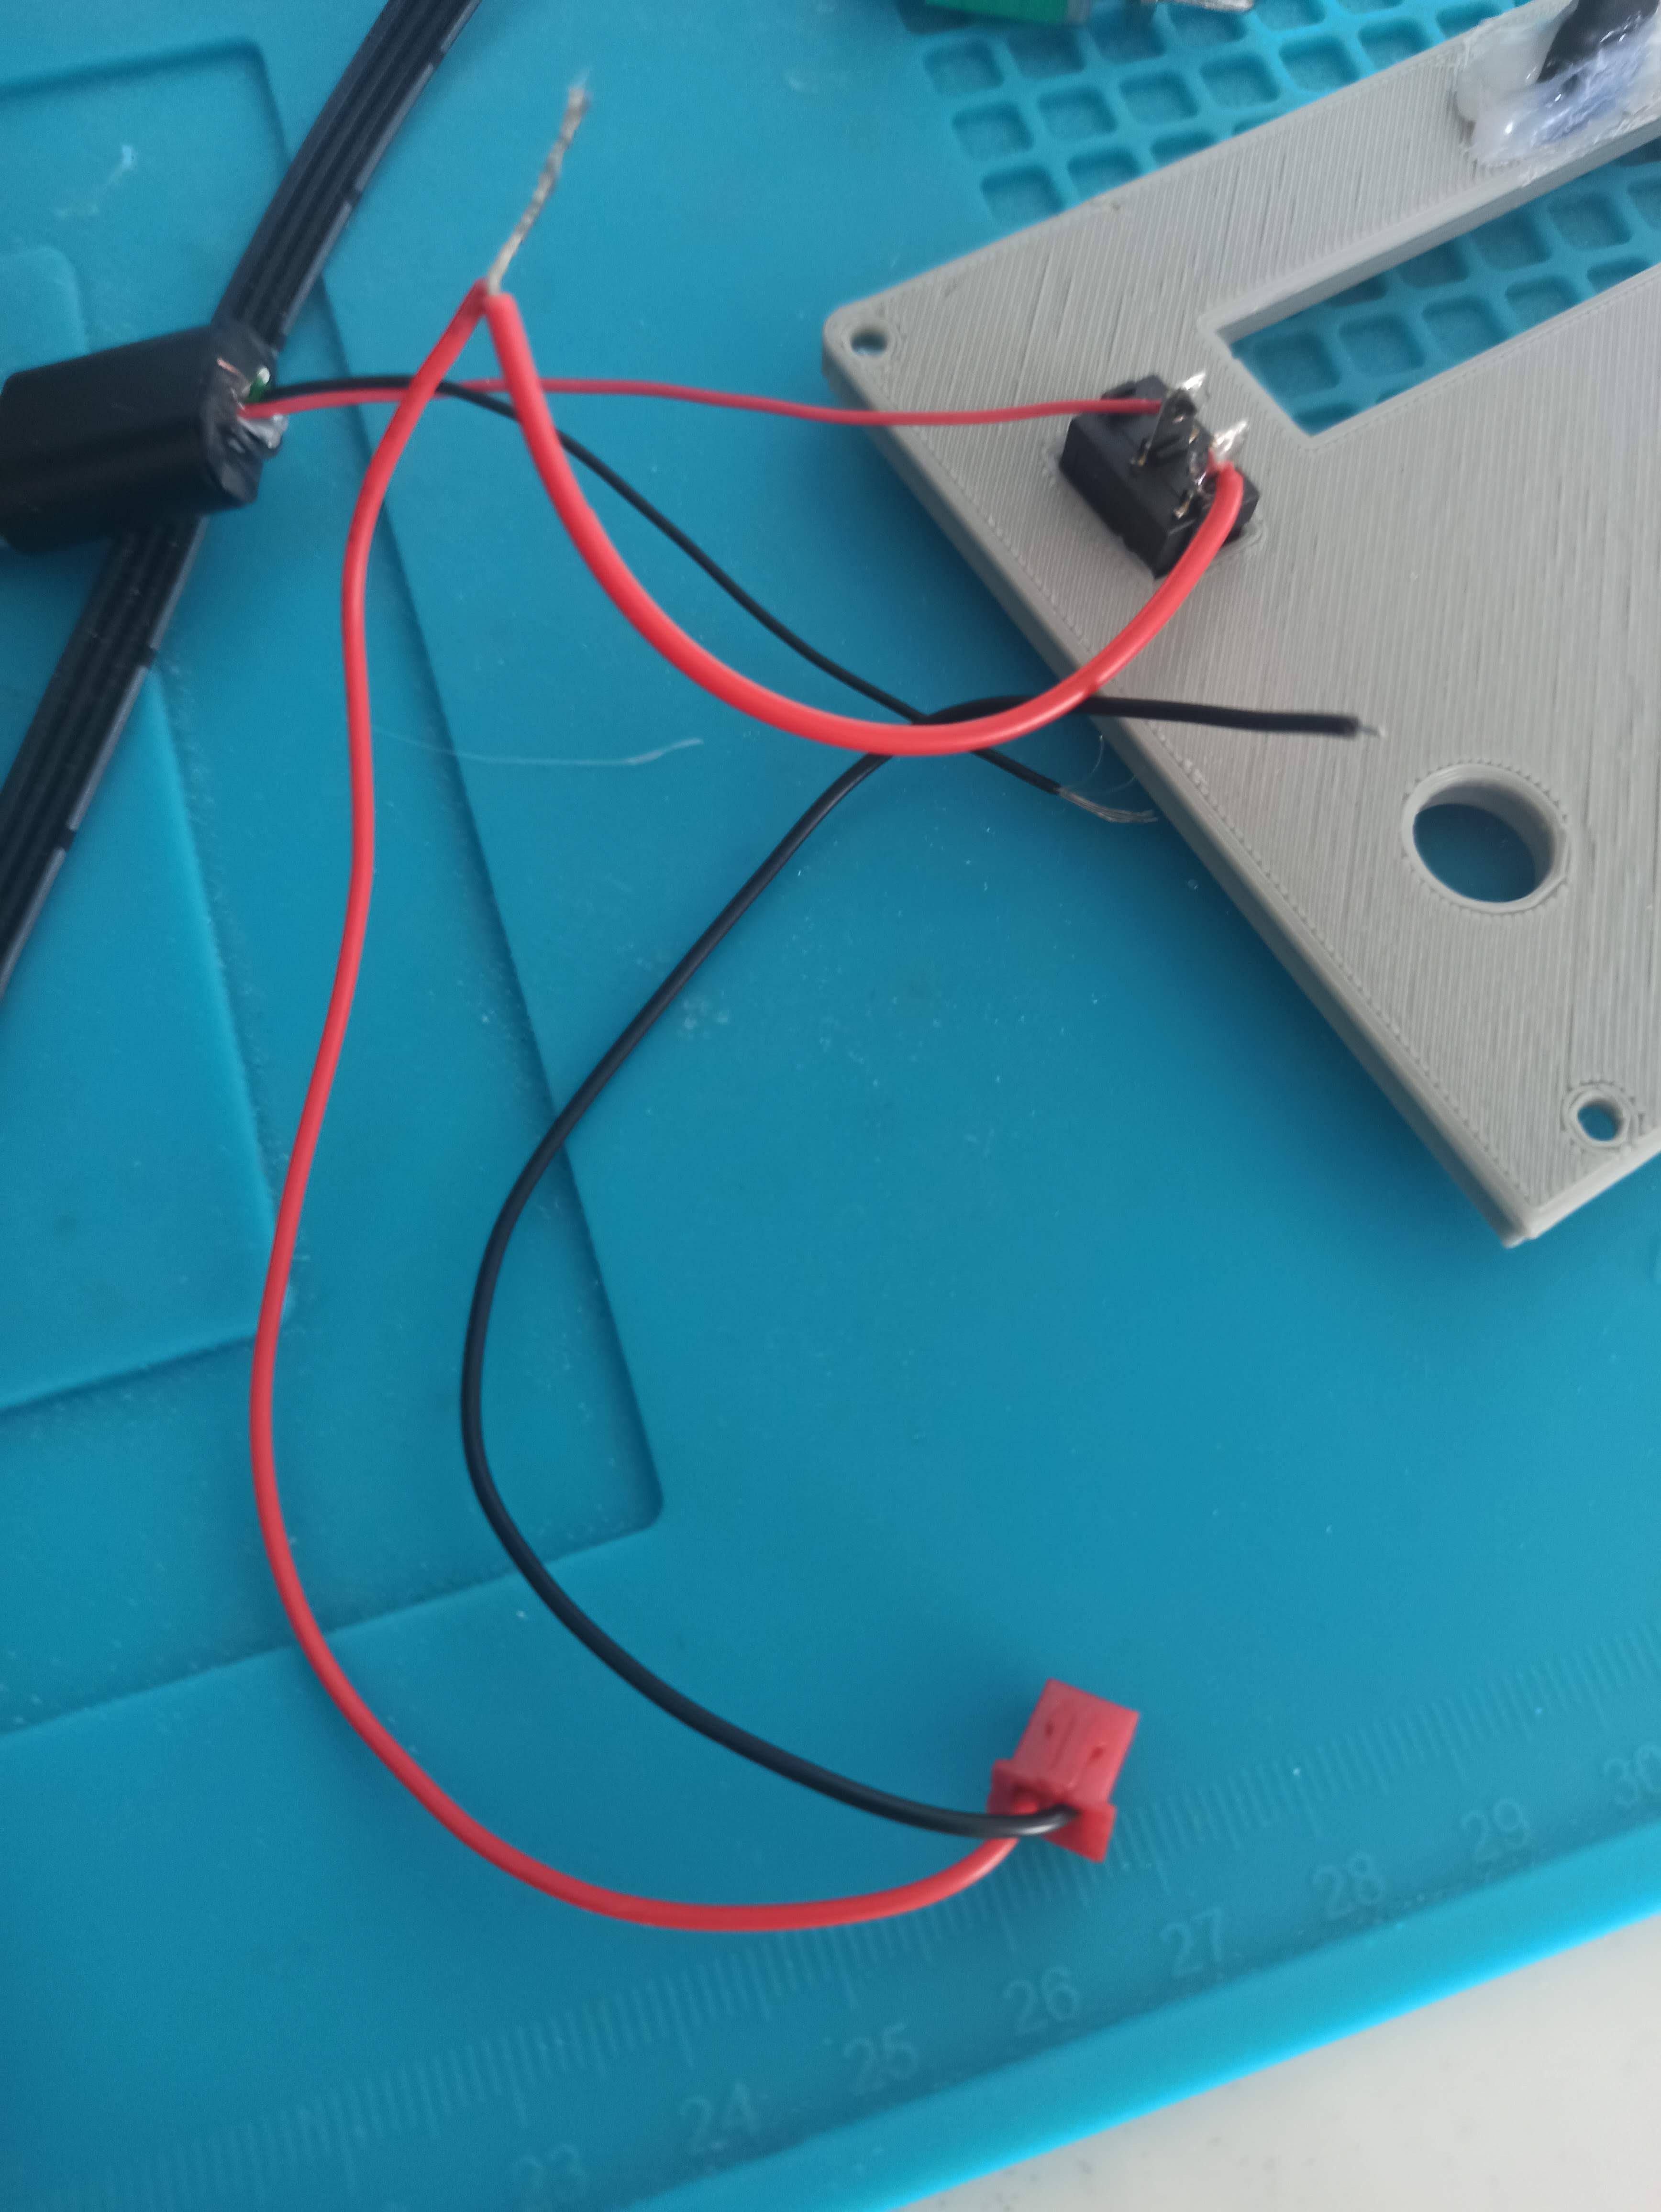
6Carry out all pre-assembly of the elements.
![]()
![]()
![]()
![]()
![]()
![]()
![]()
![]()
![]()
![]()
![]()
![]()
![]()
-
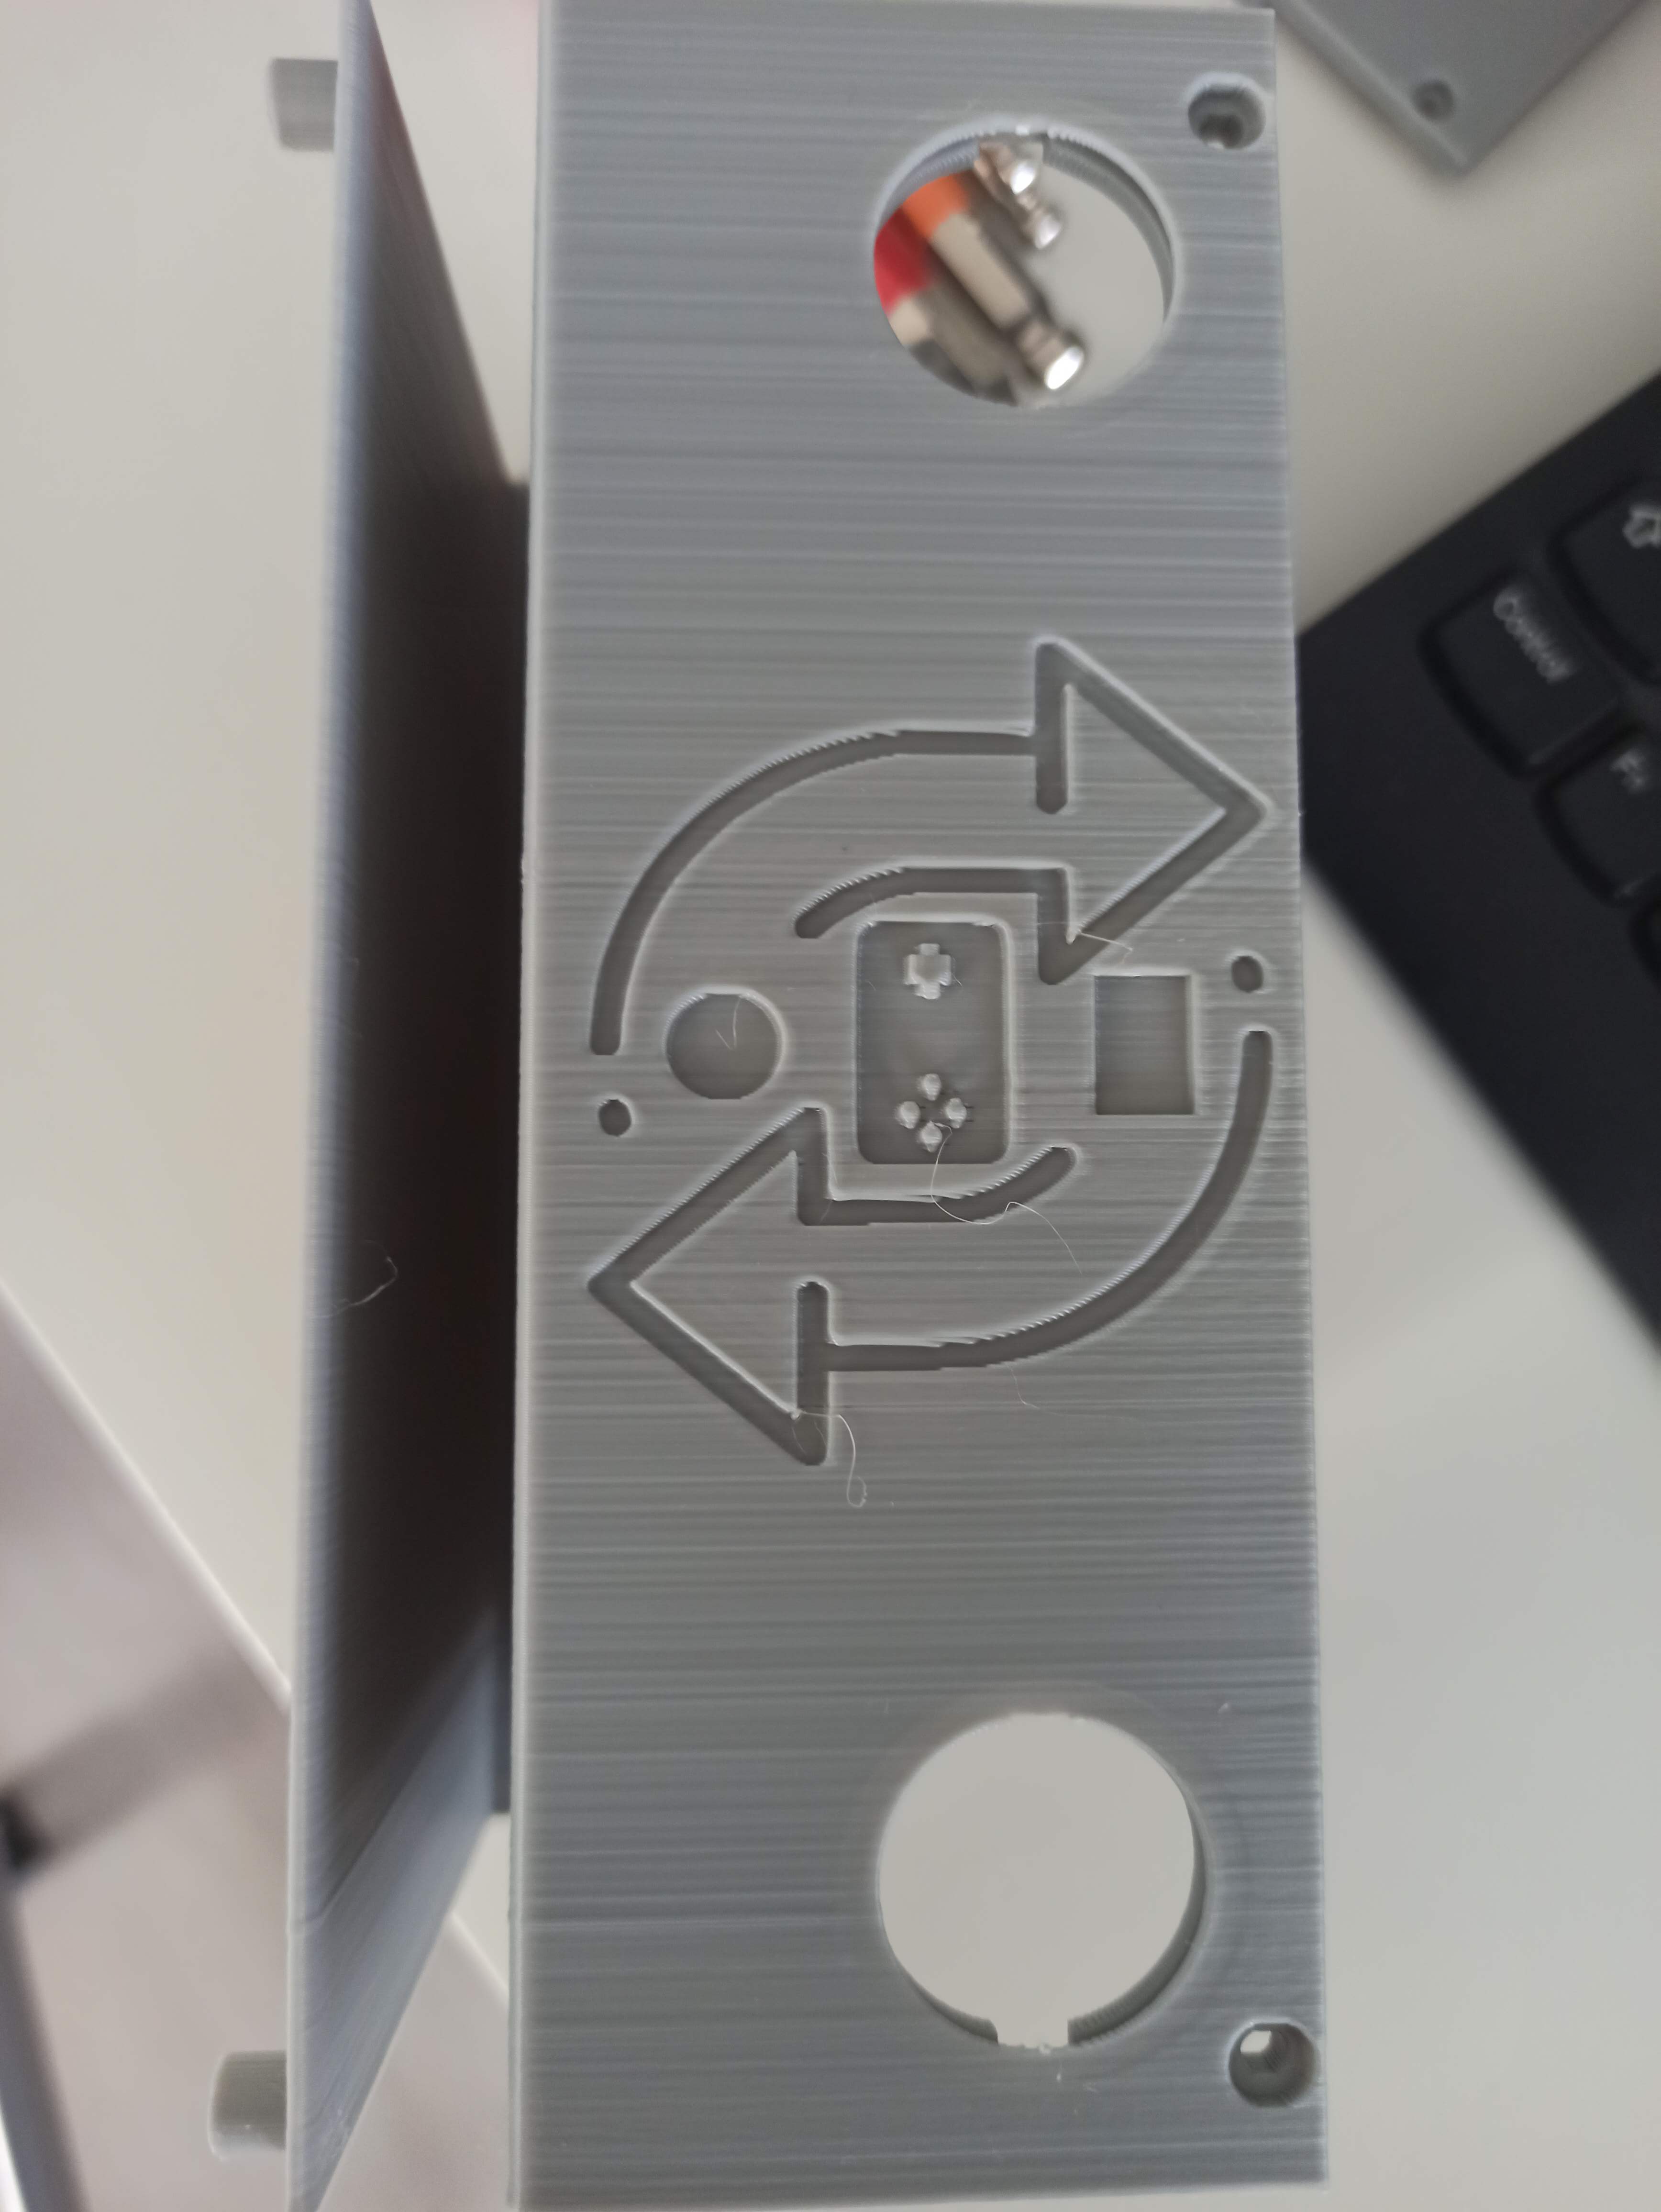
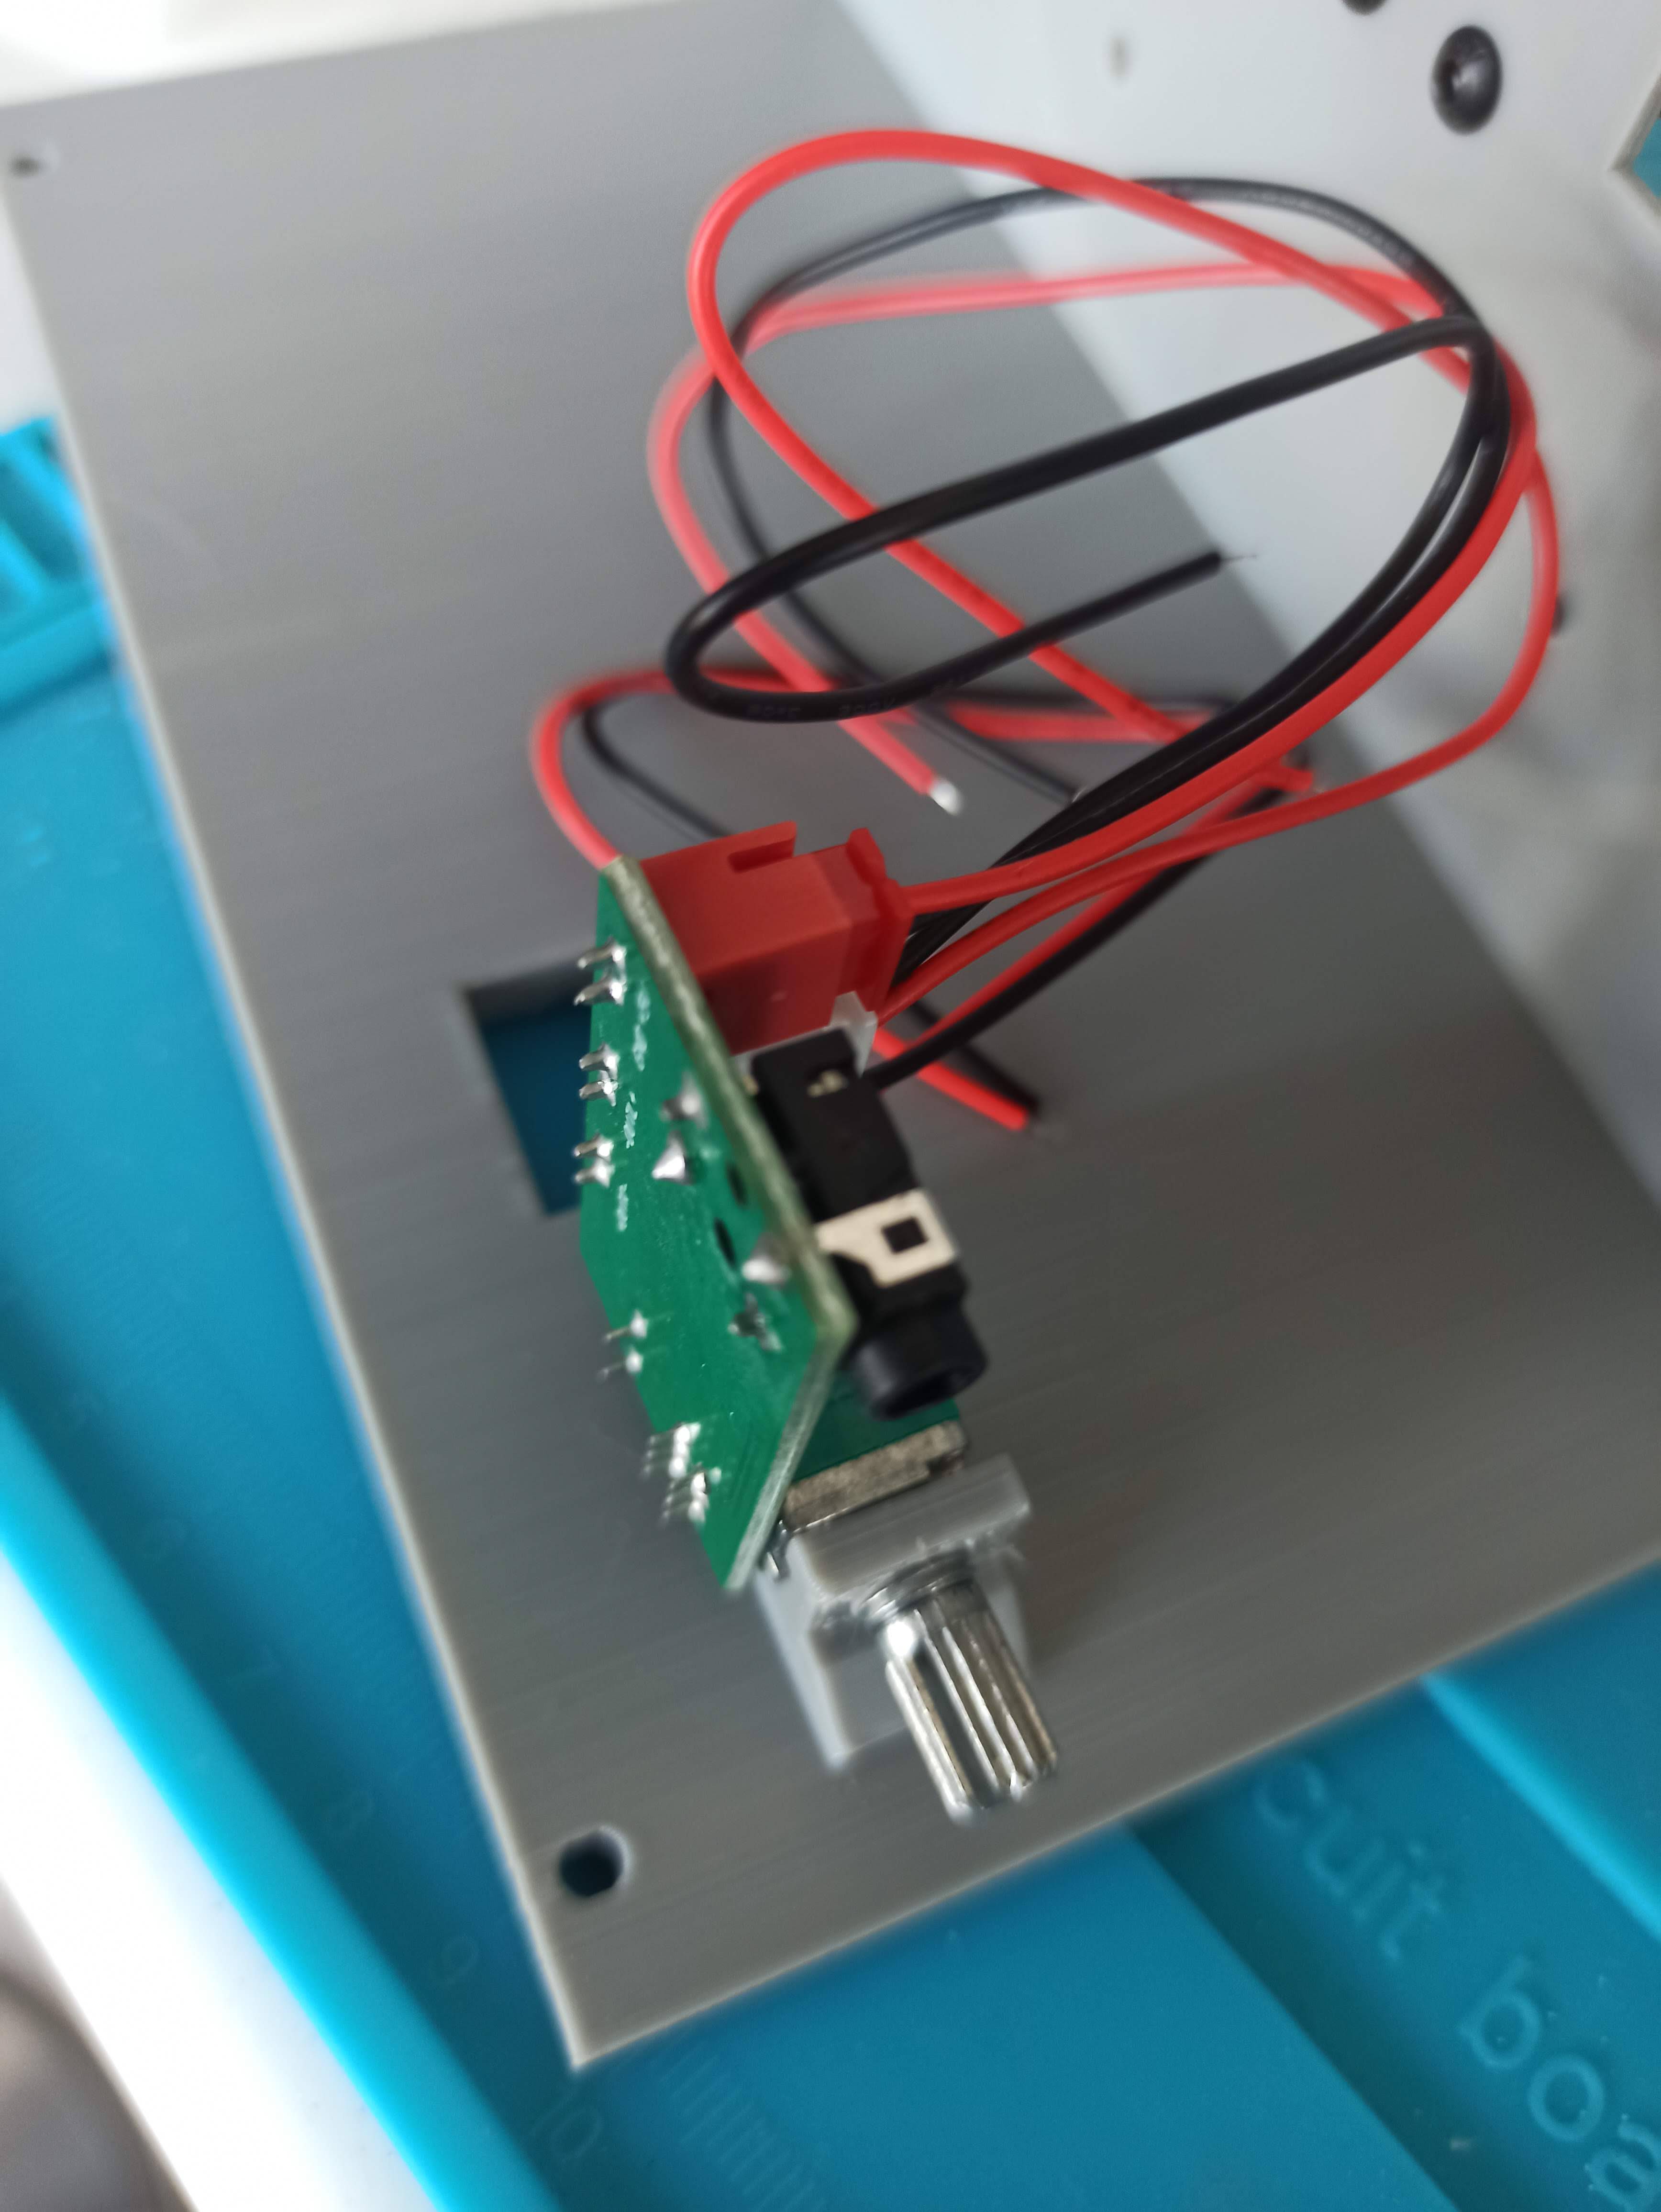
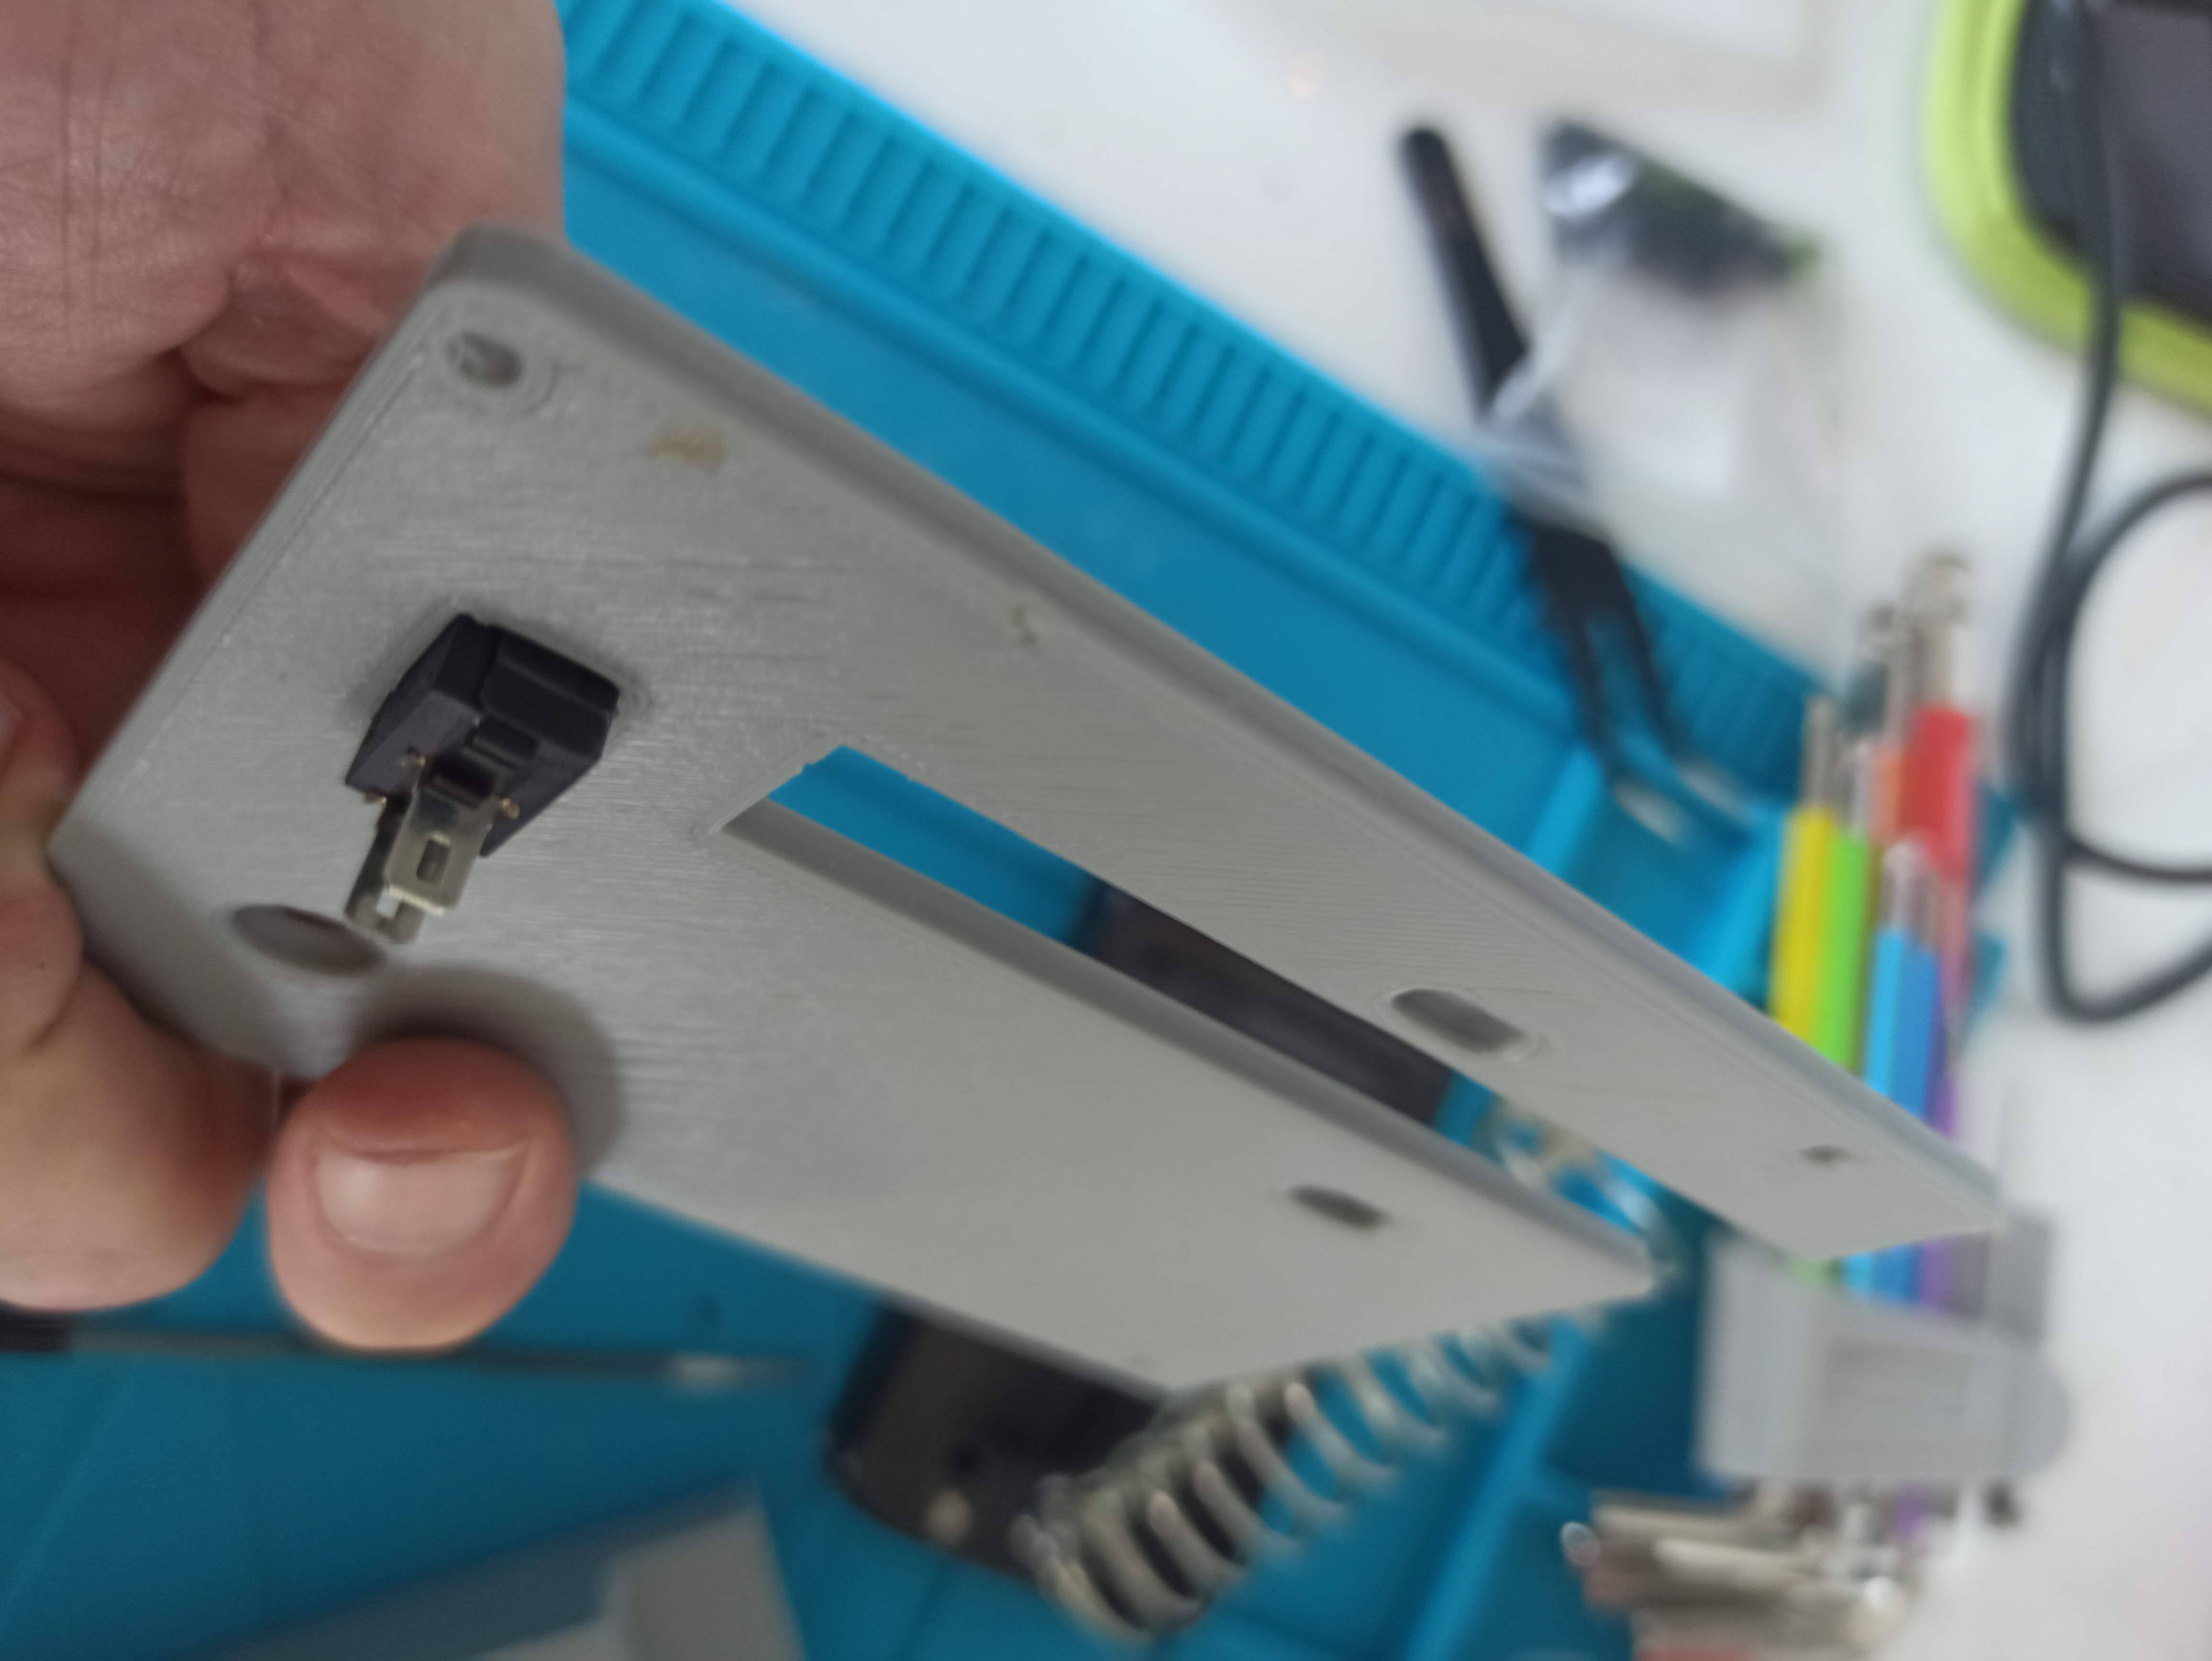
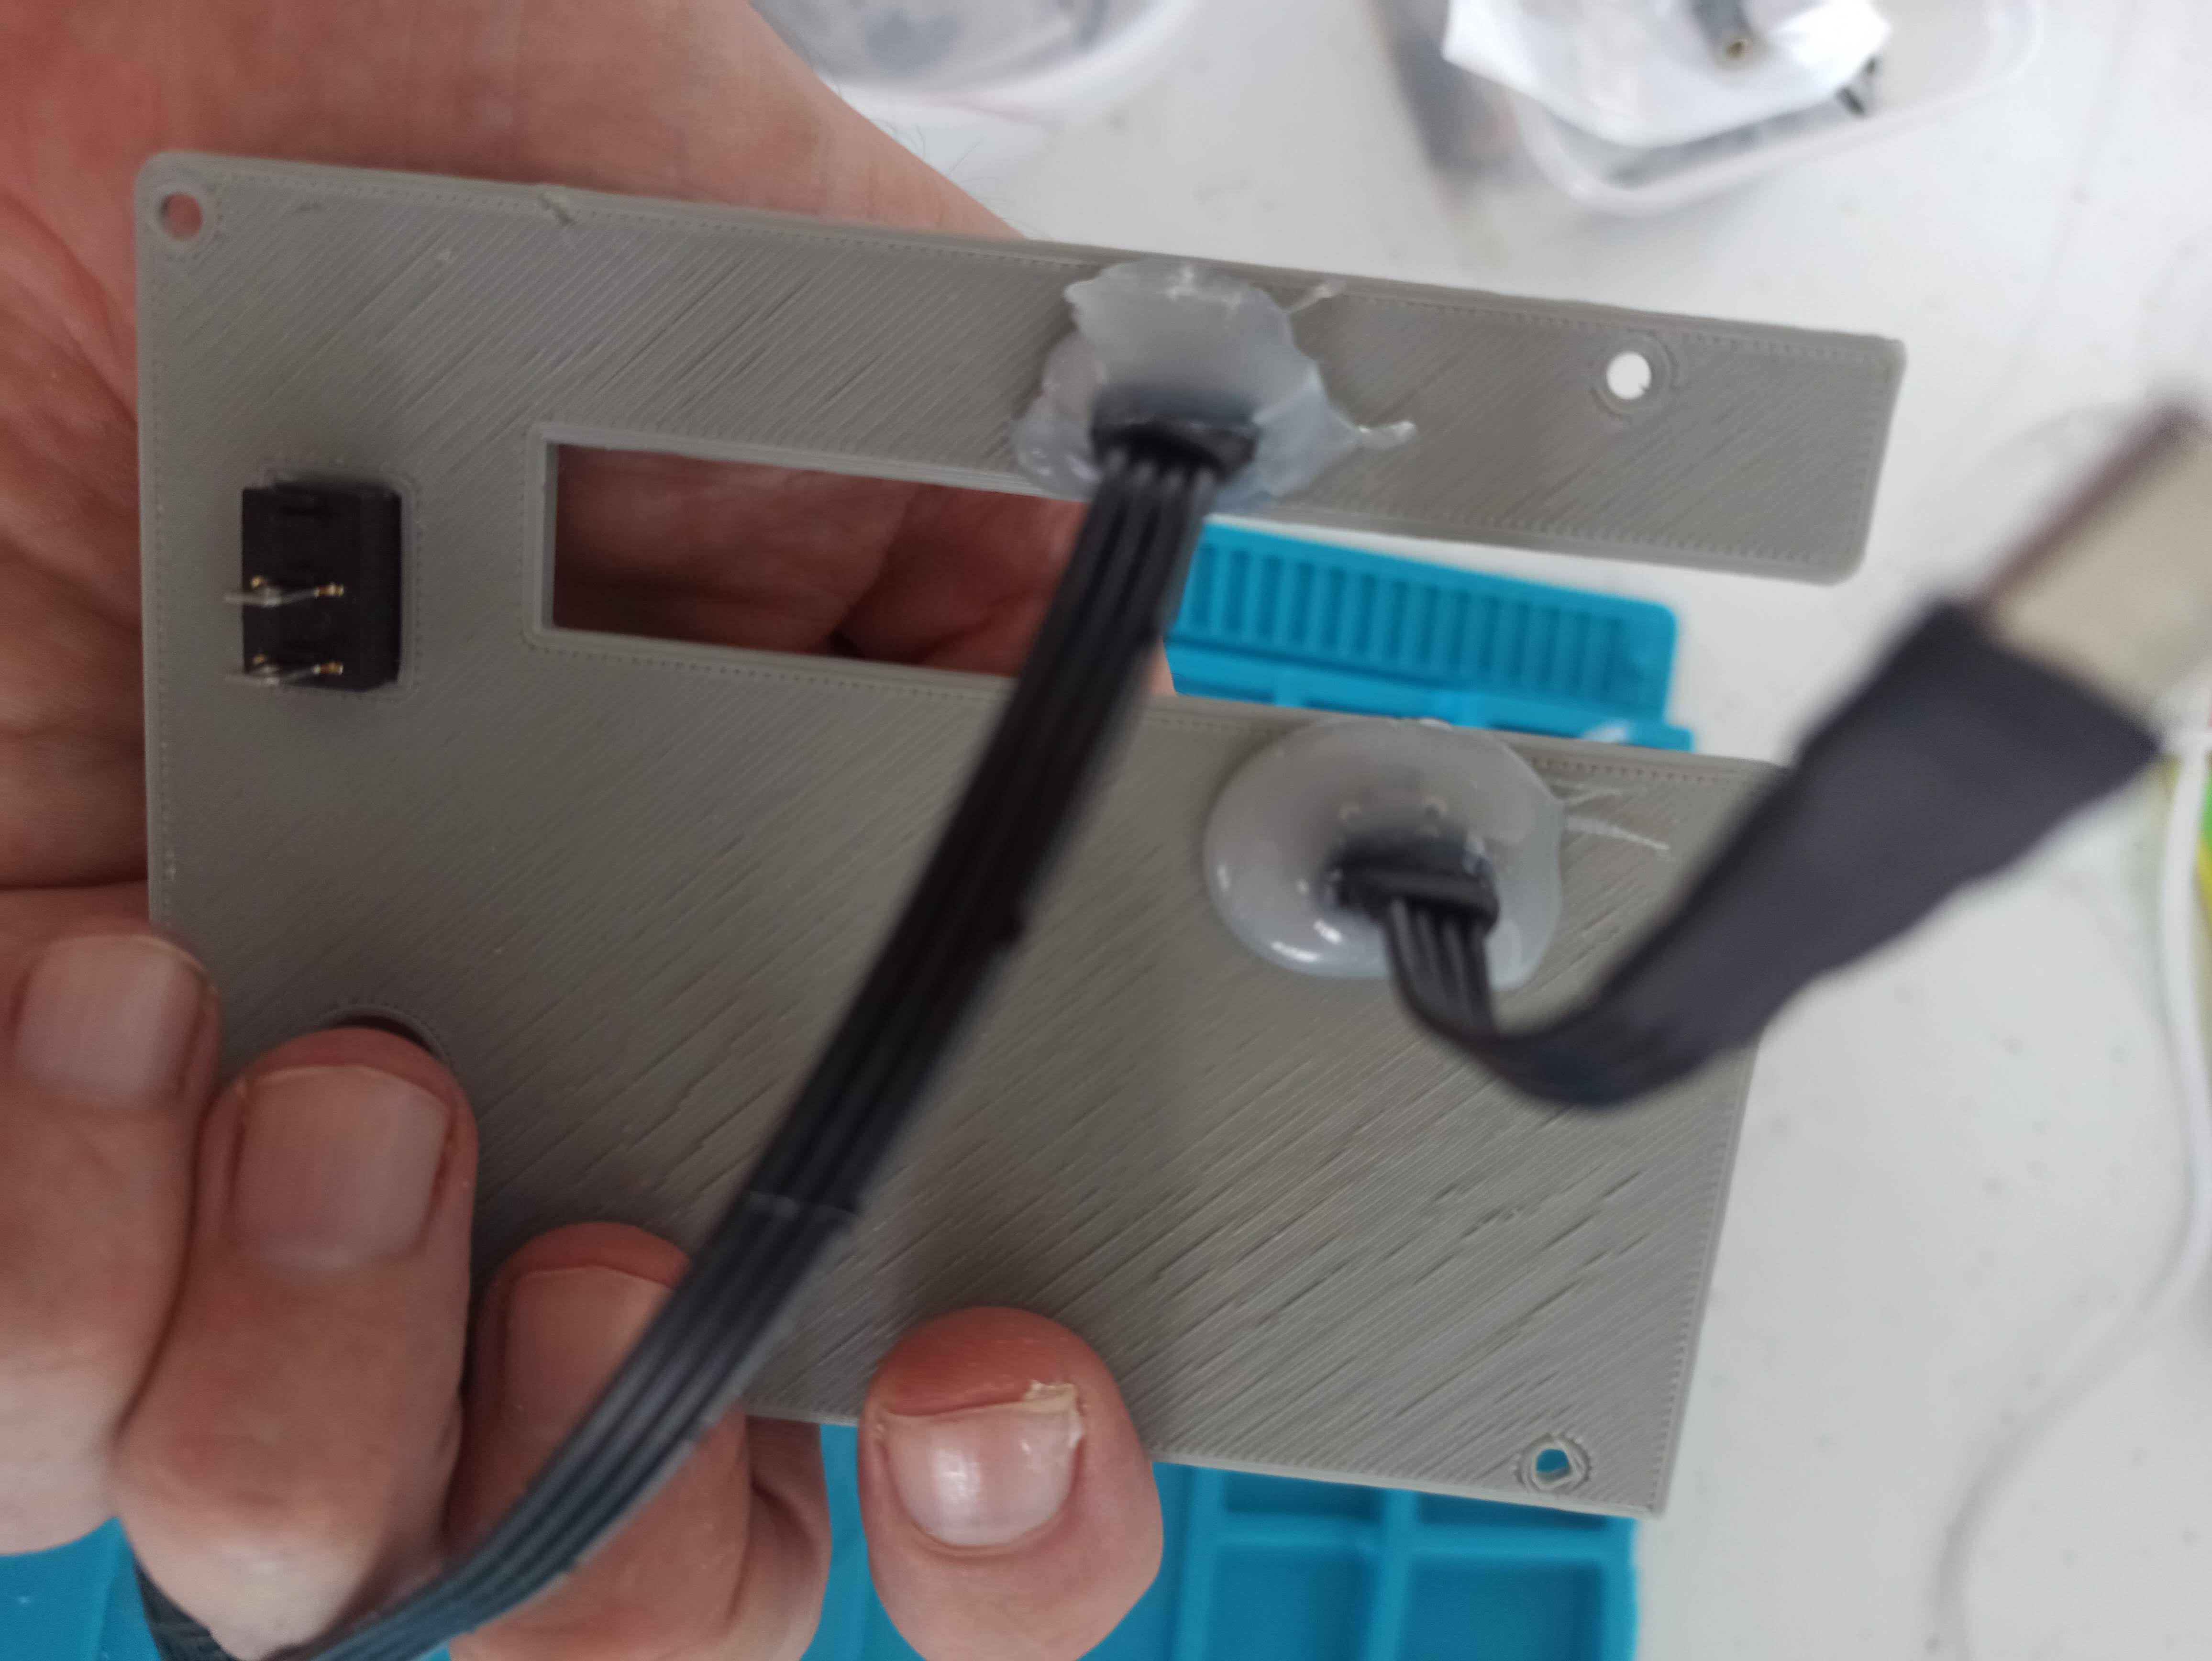
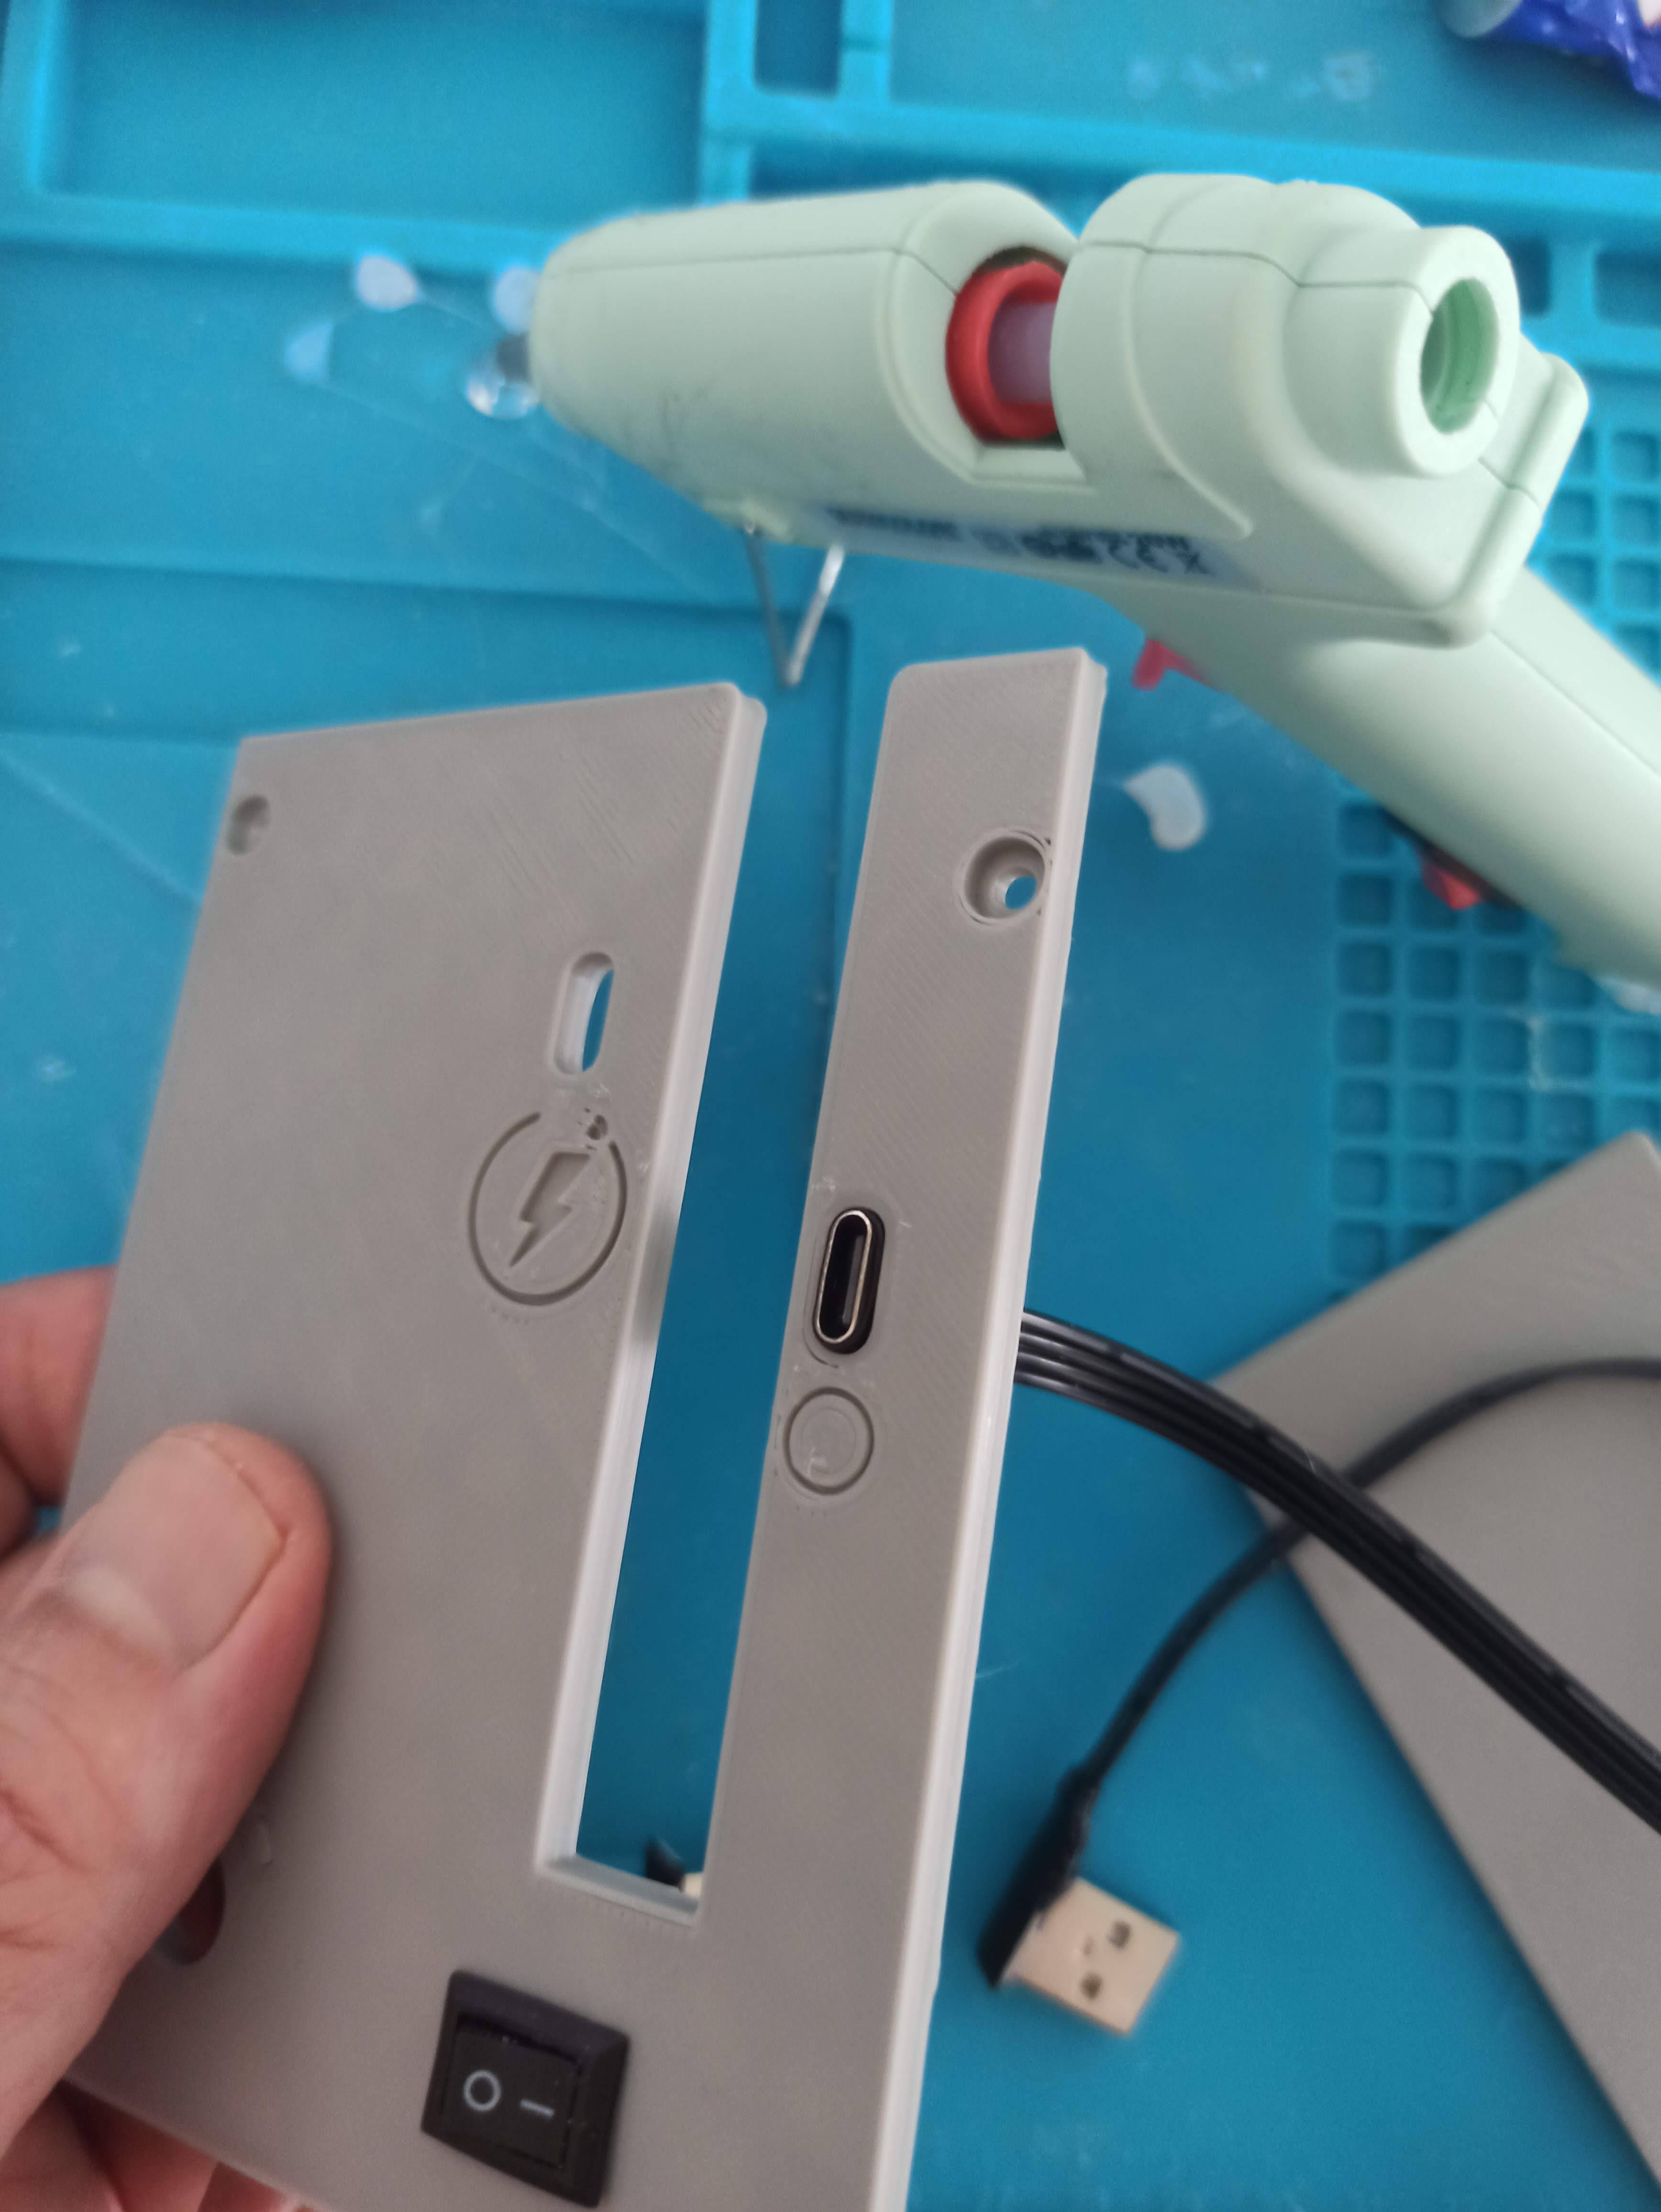
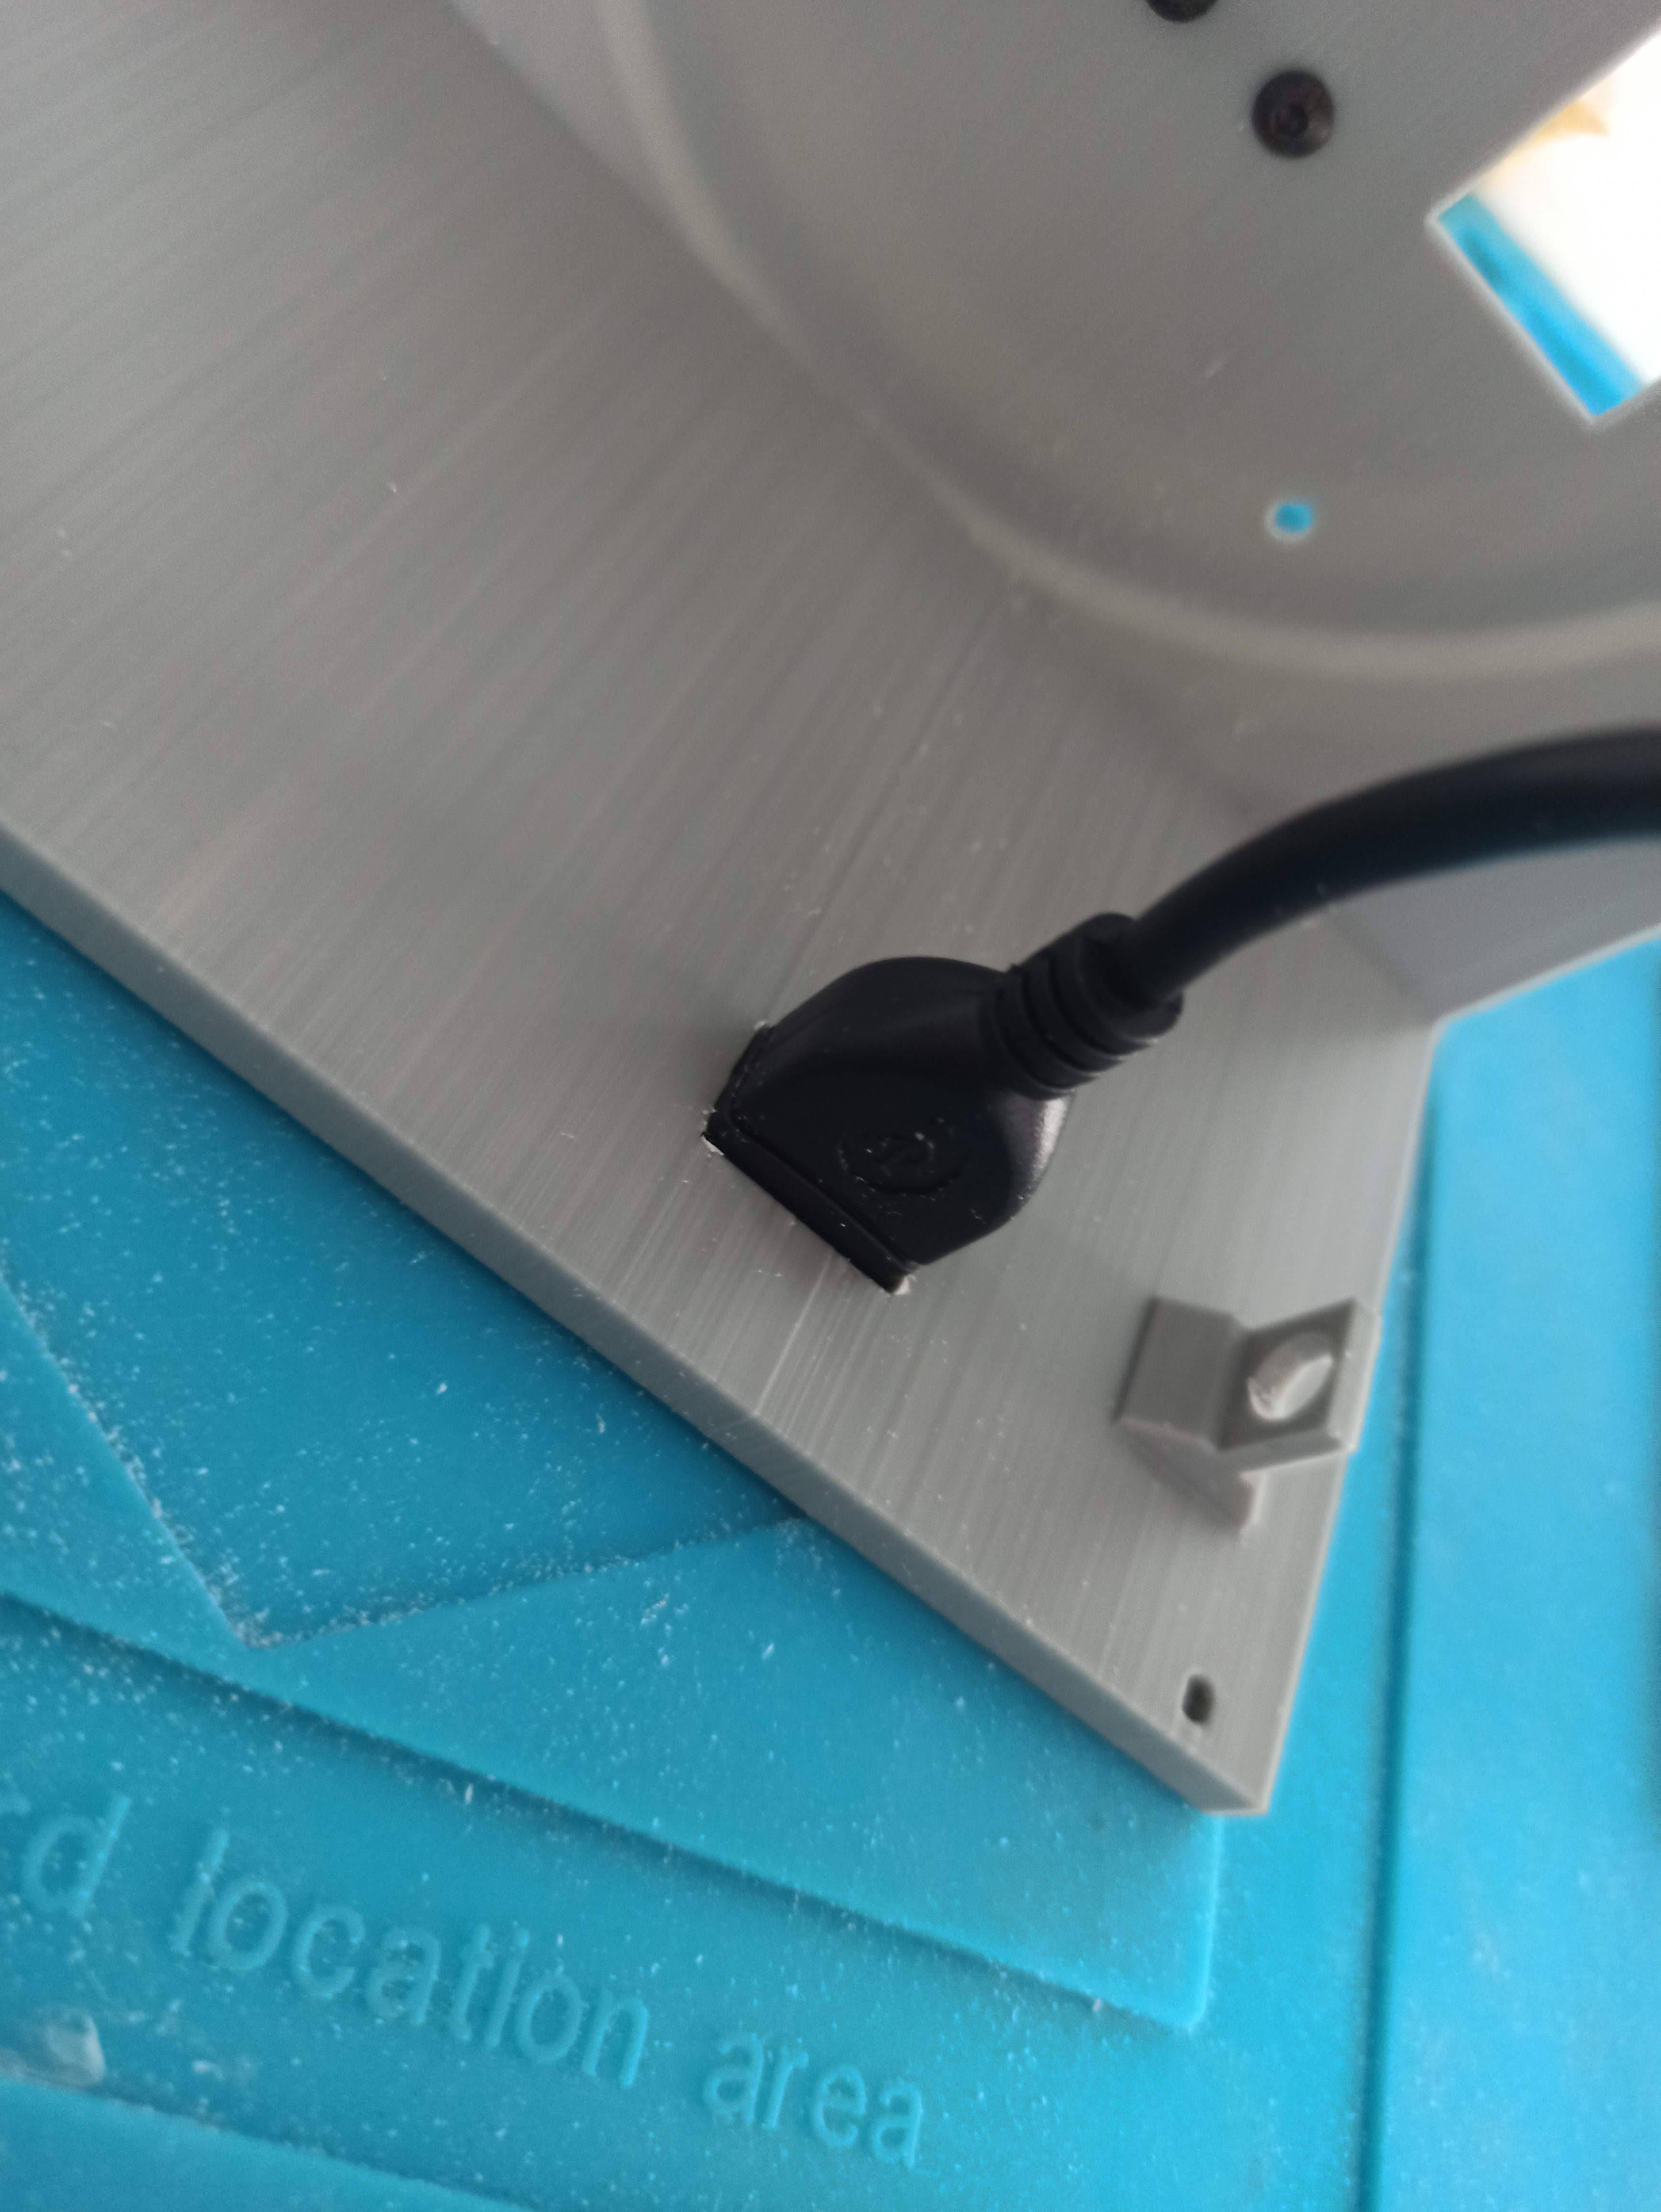
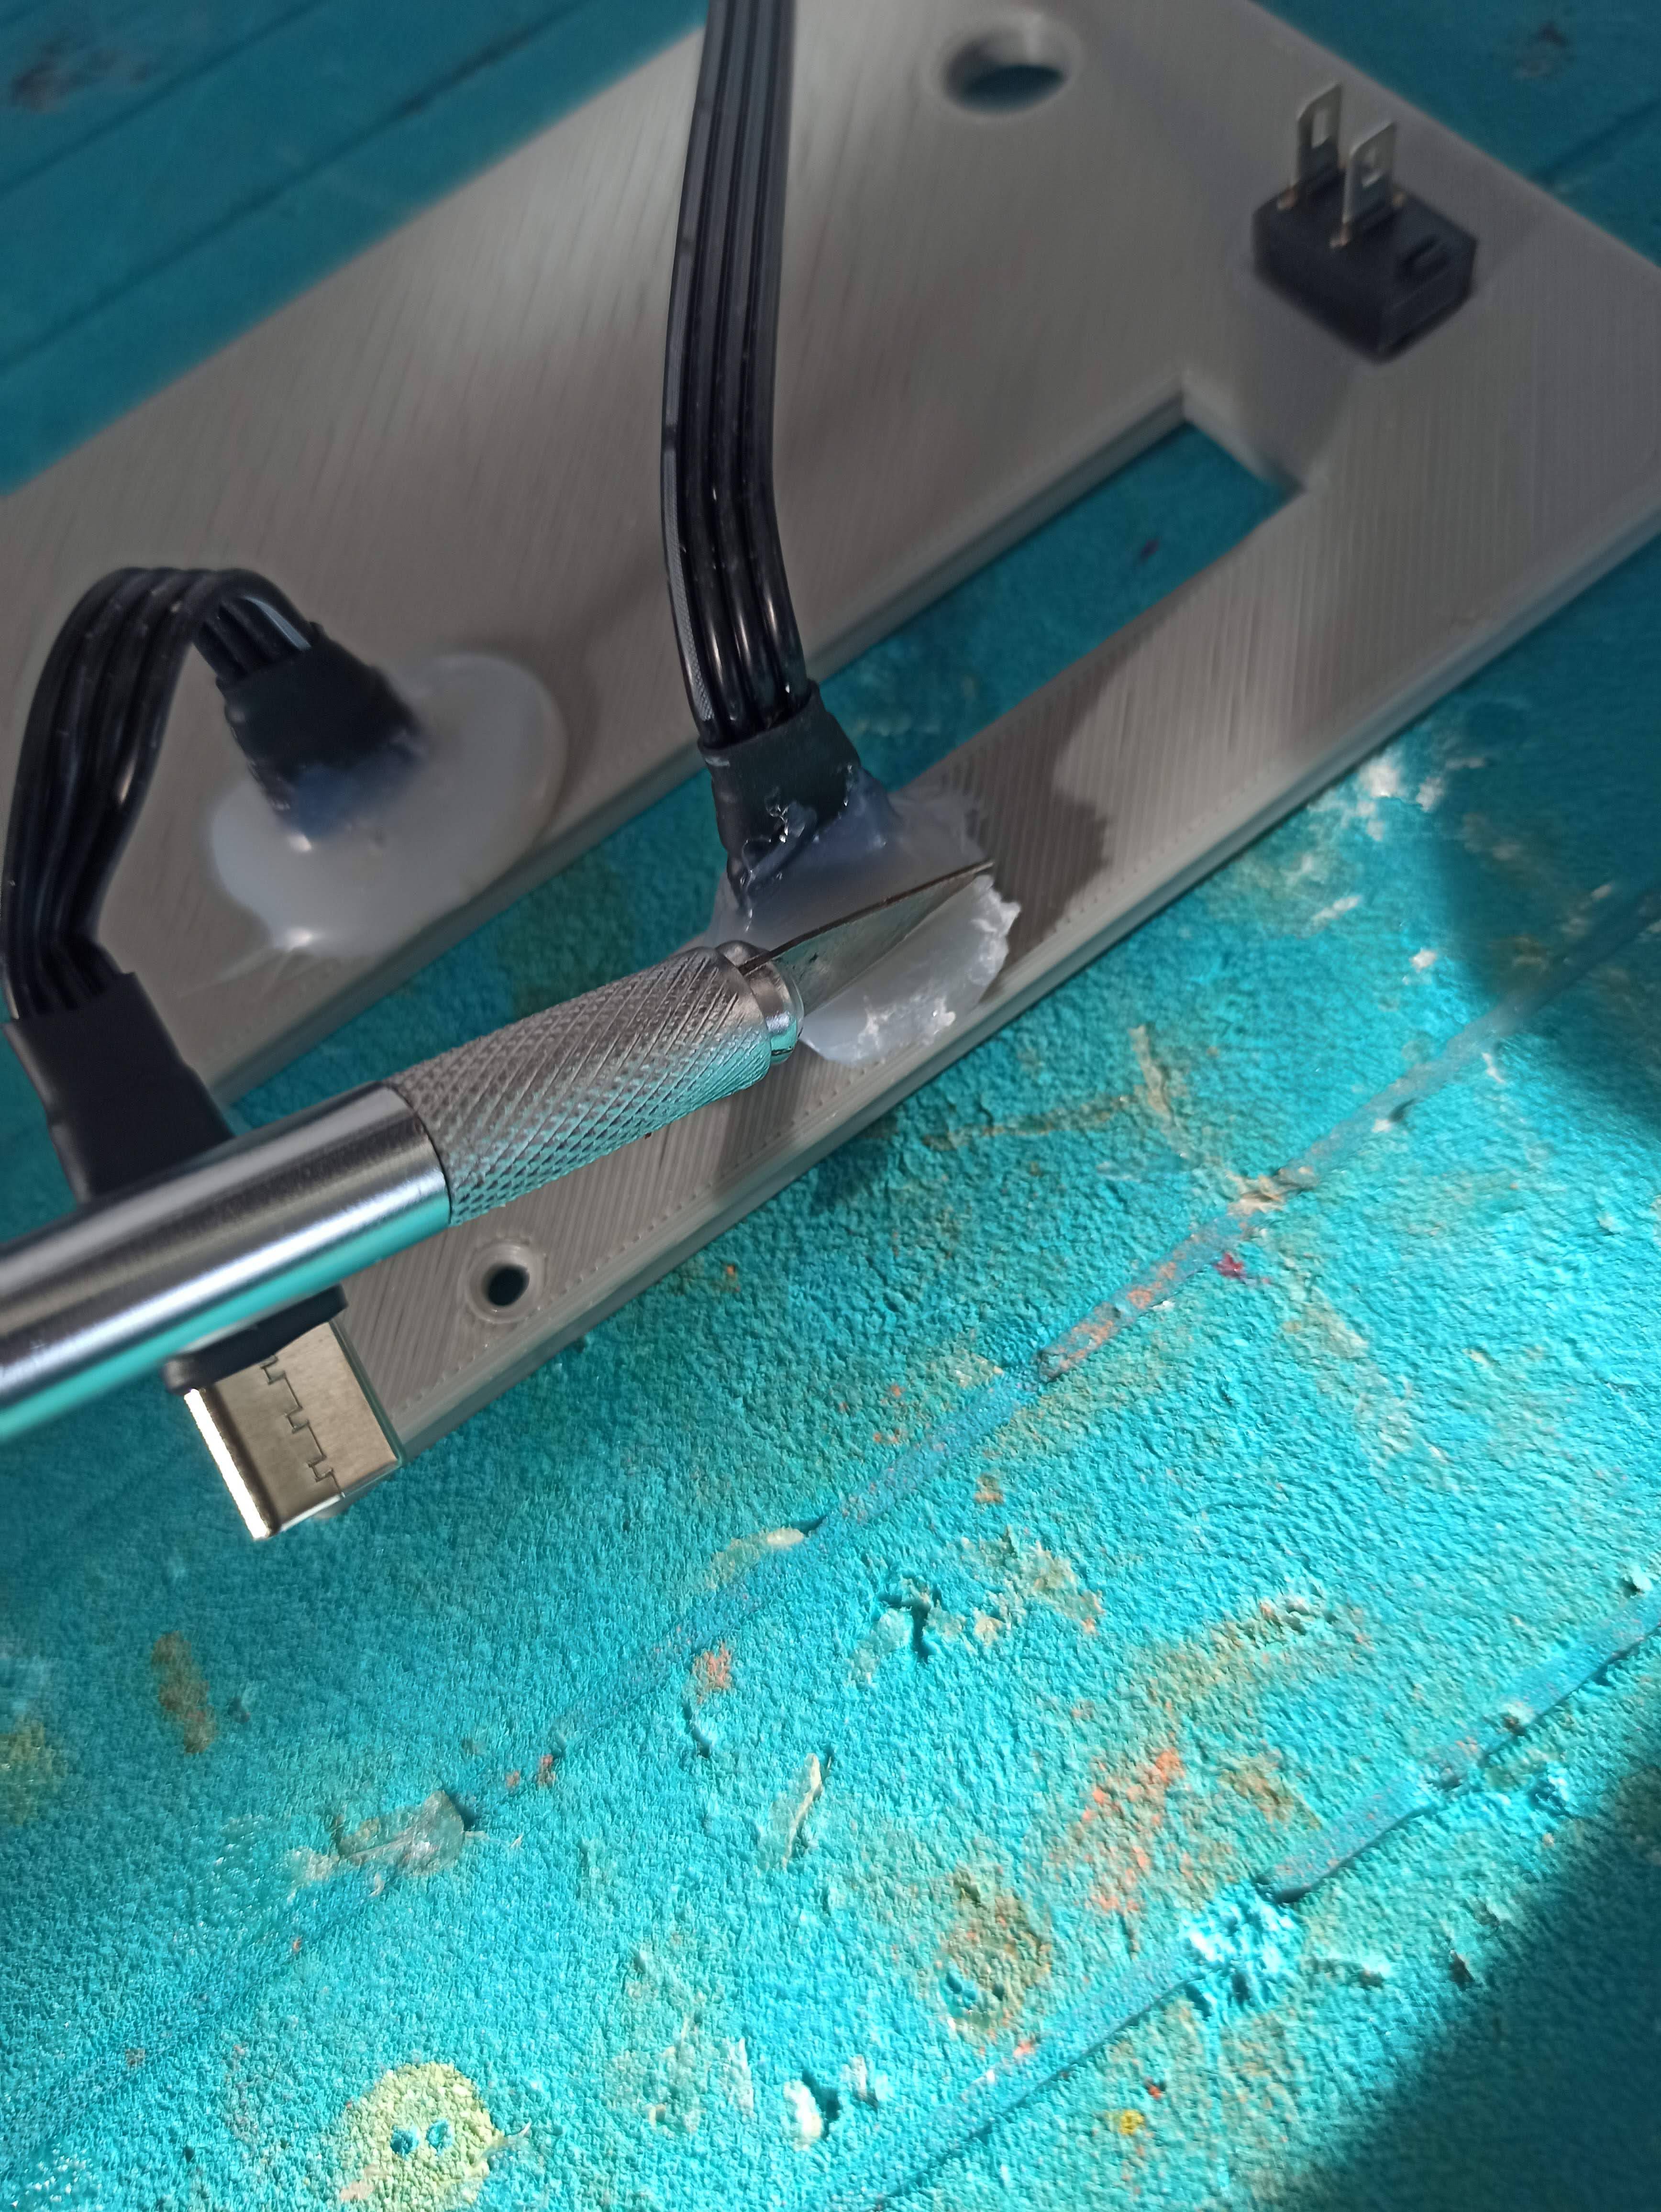
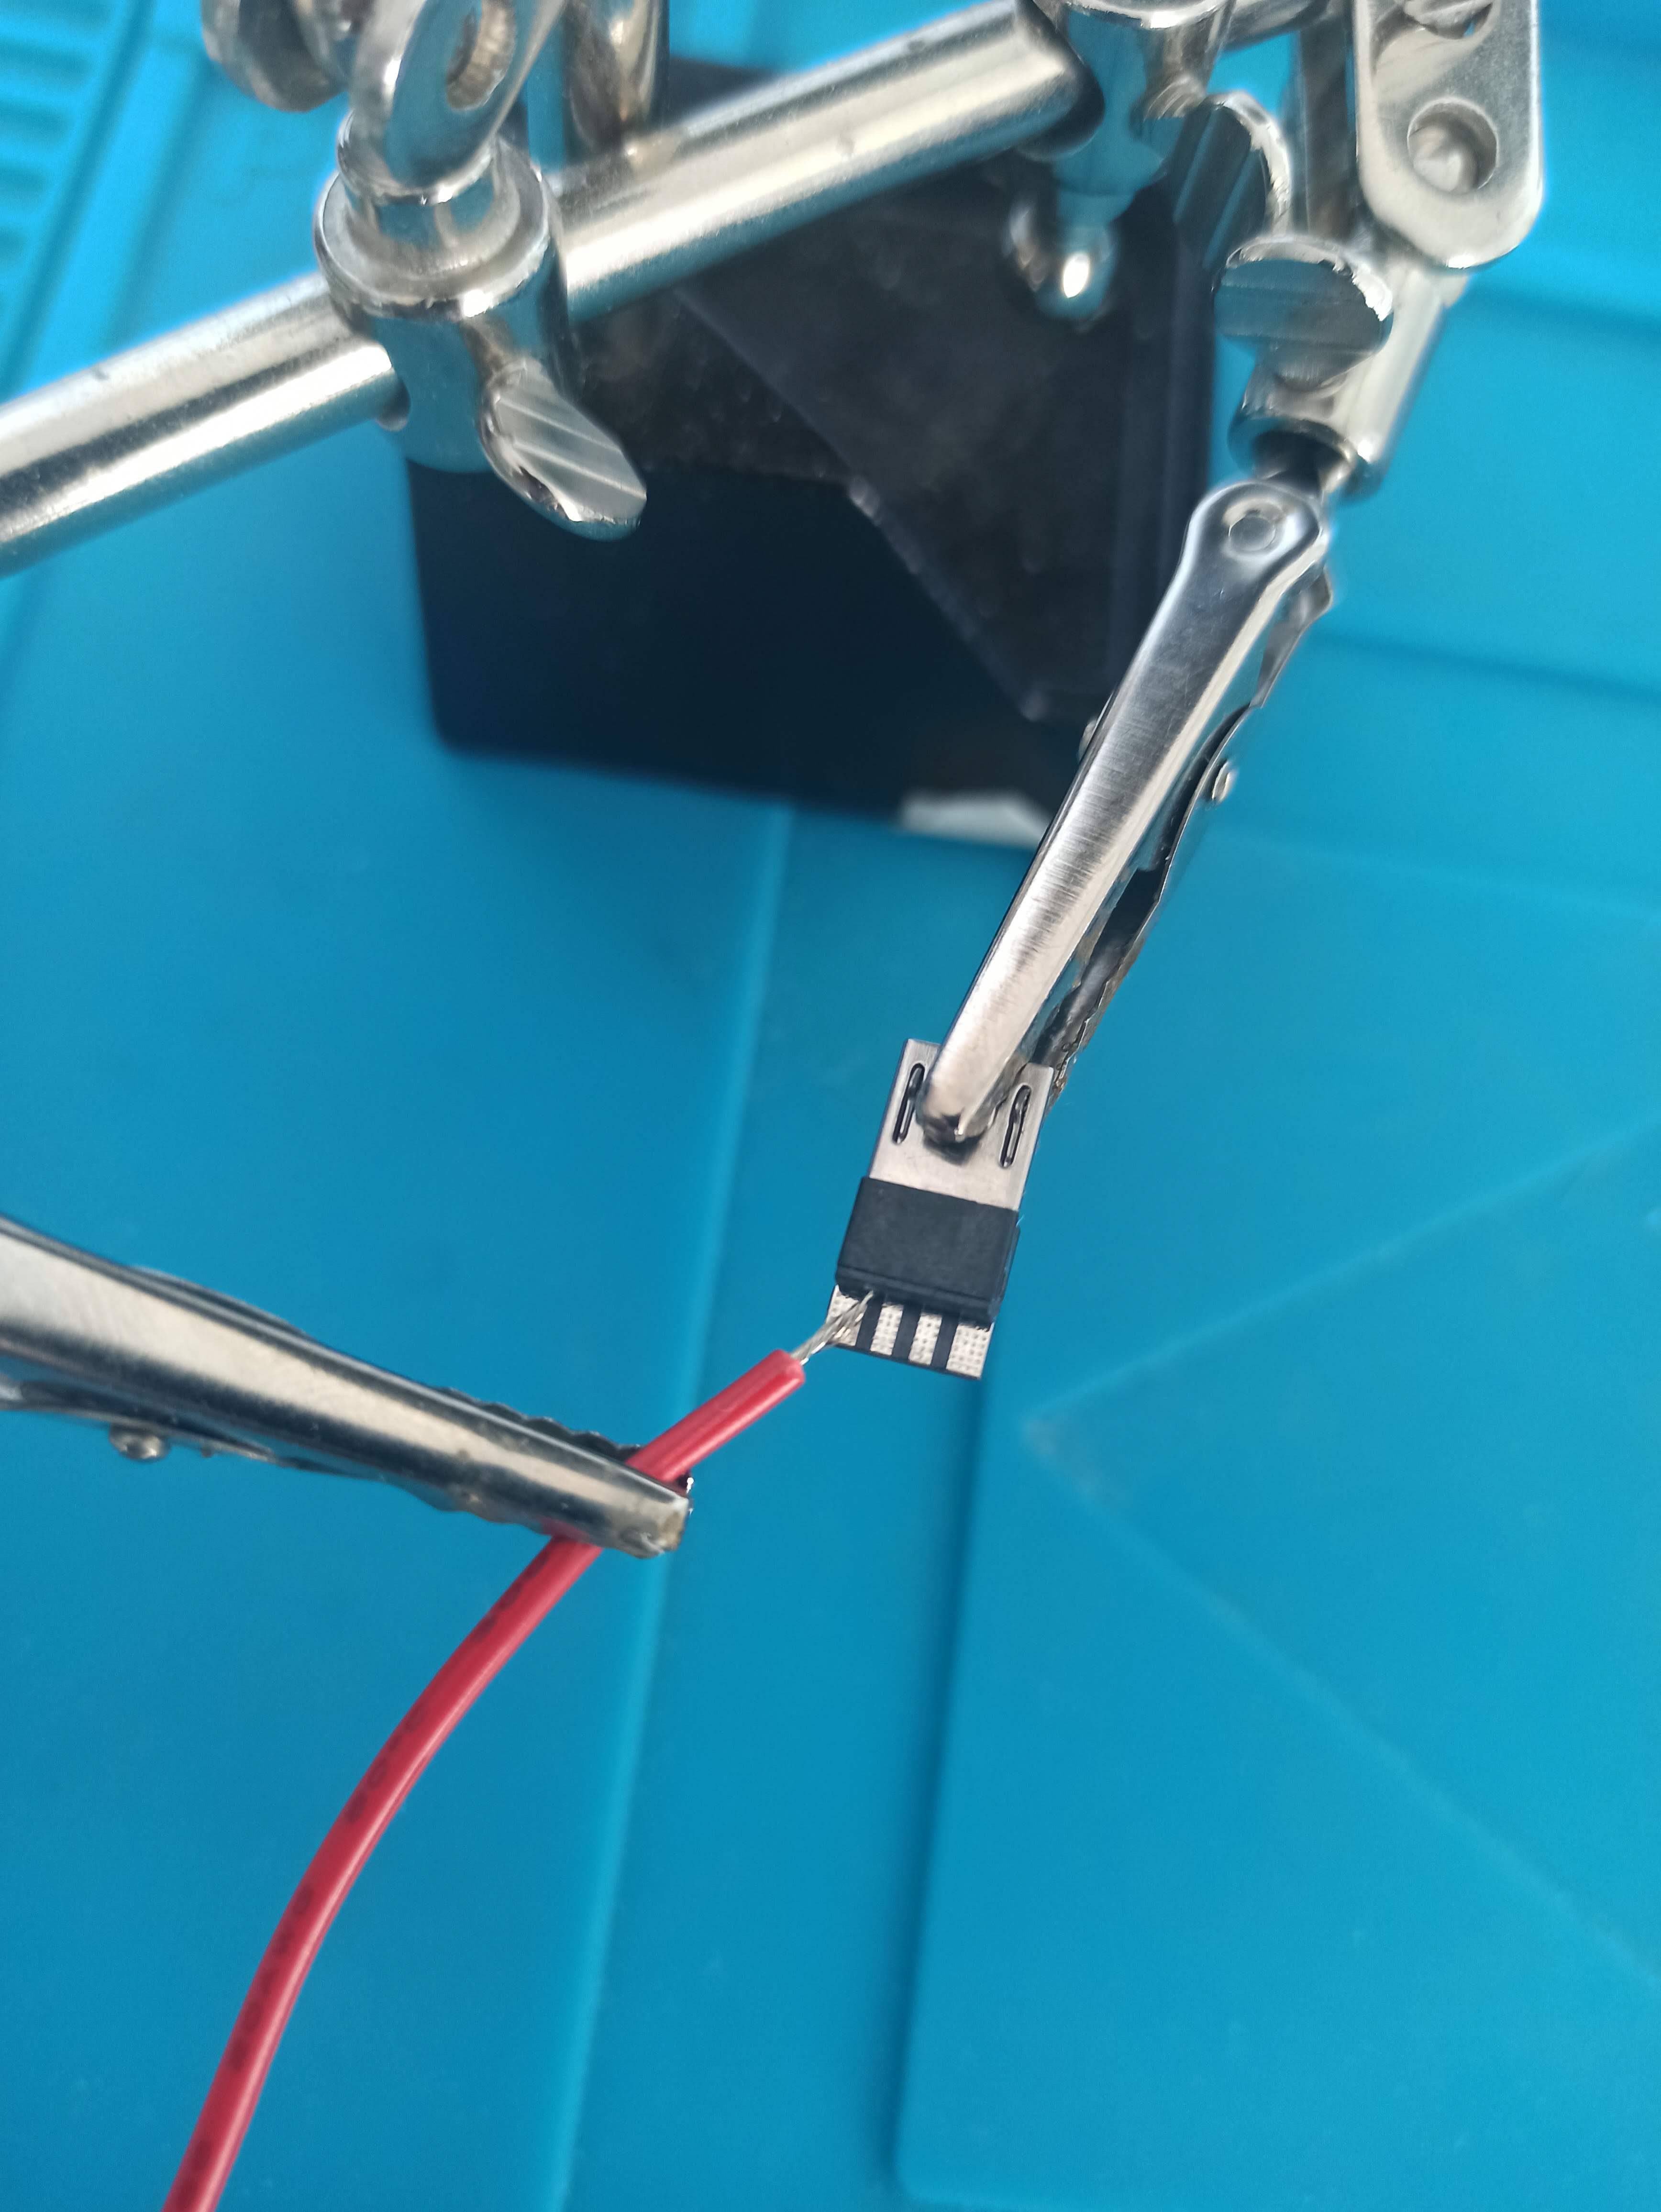
7Prepare the entire power supply section with a soldering iron and connect the speaker and HDMI cables.
![]()
![]()
![]()
![]()
![]()
![]()
-
8Clone the MicroSD of 32Gb and input in PI3
Unzip with 7z and clone with Balena for example
https://www.7-zip.org/download.html
Telegram group with the image SWAP ARCADE
-
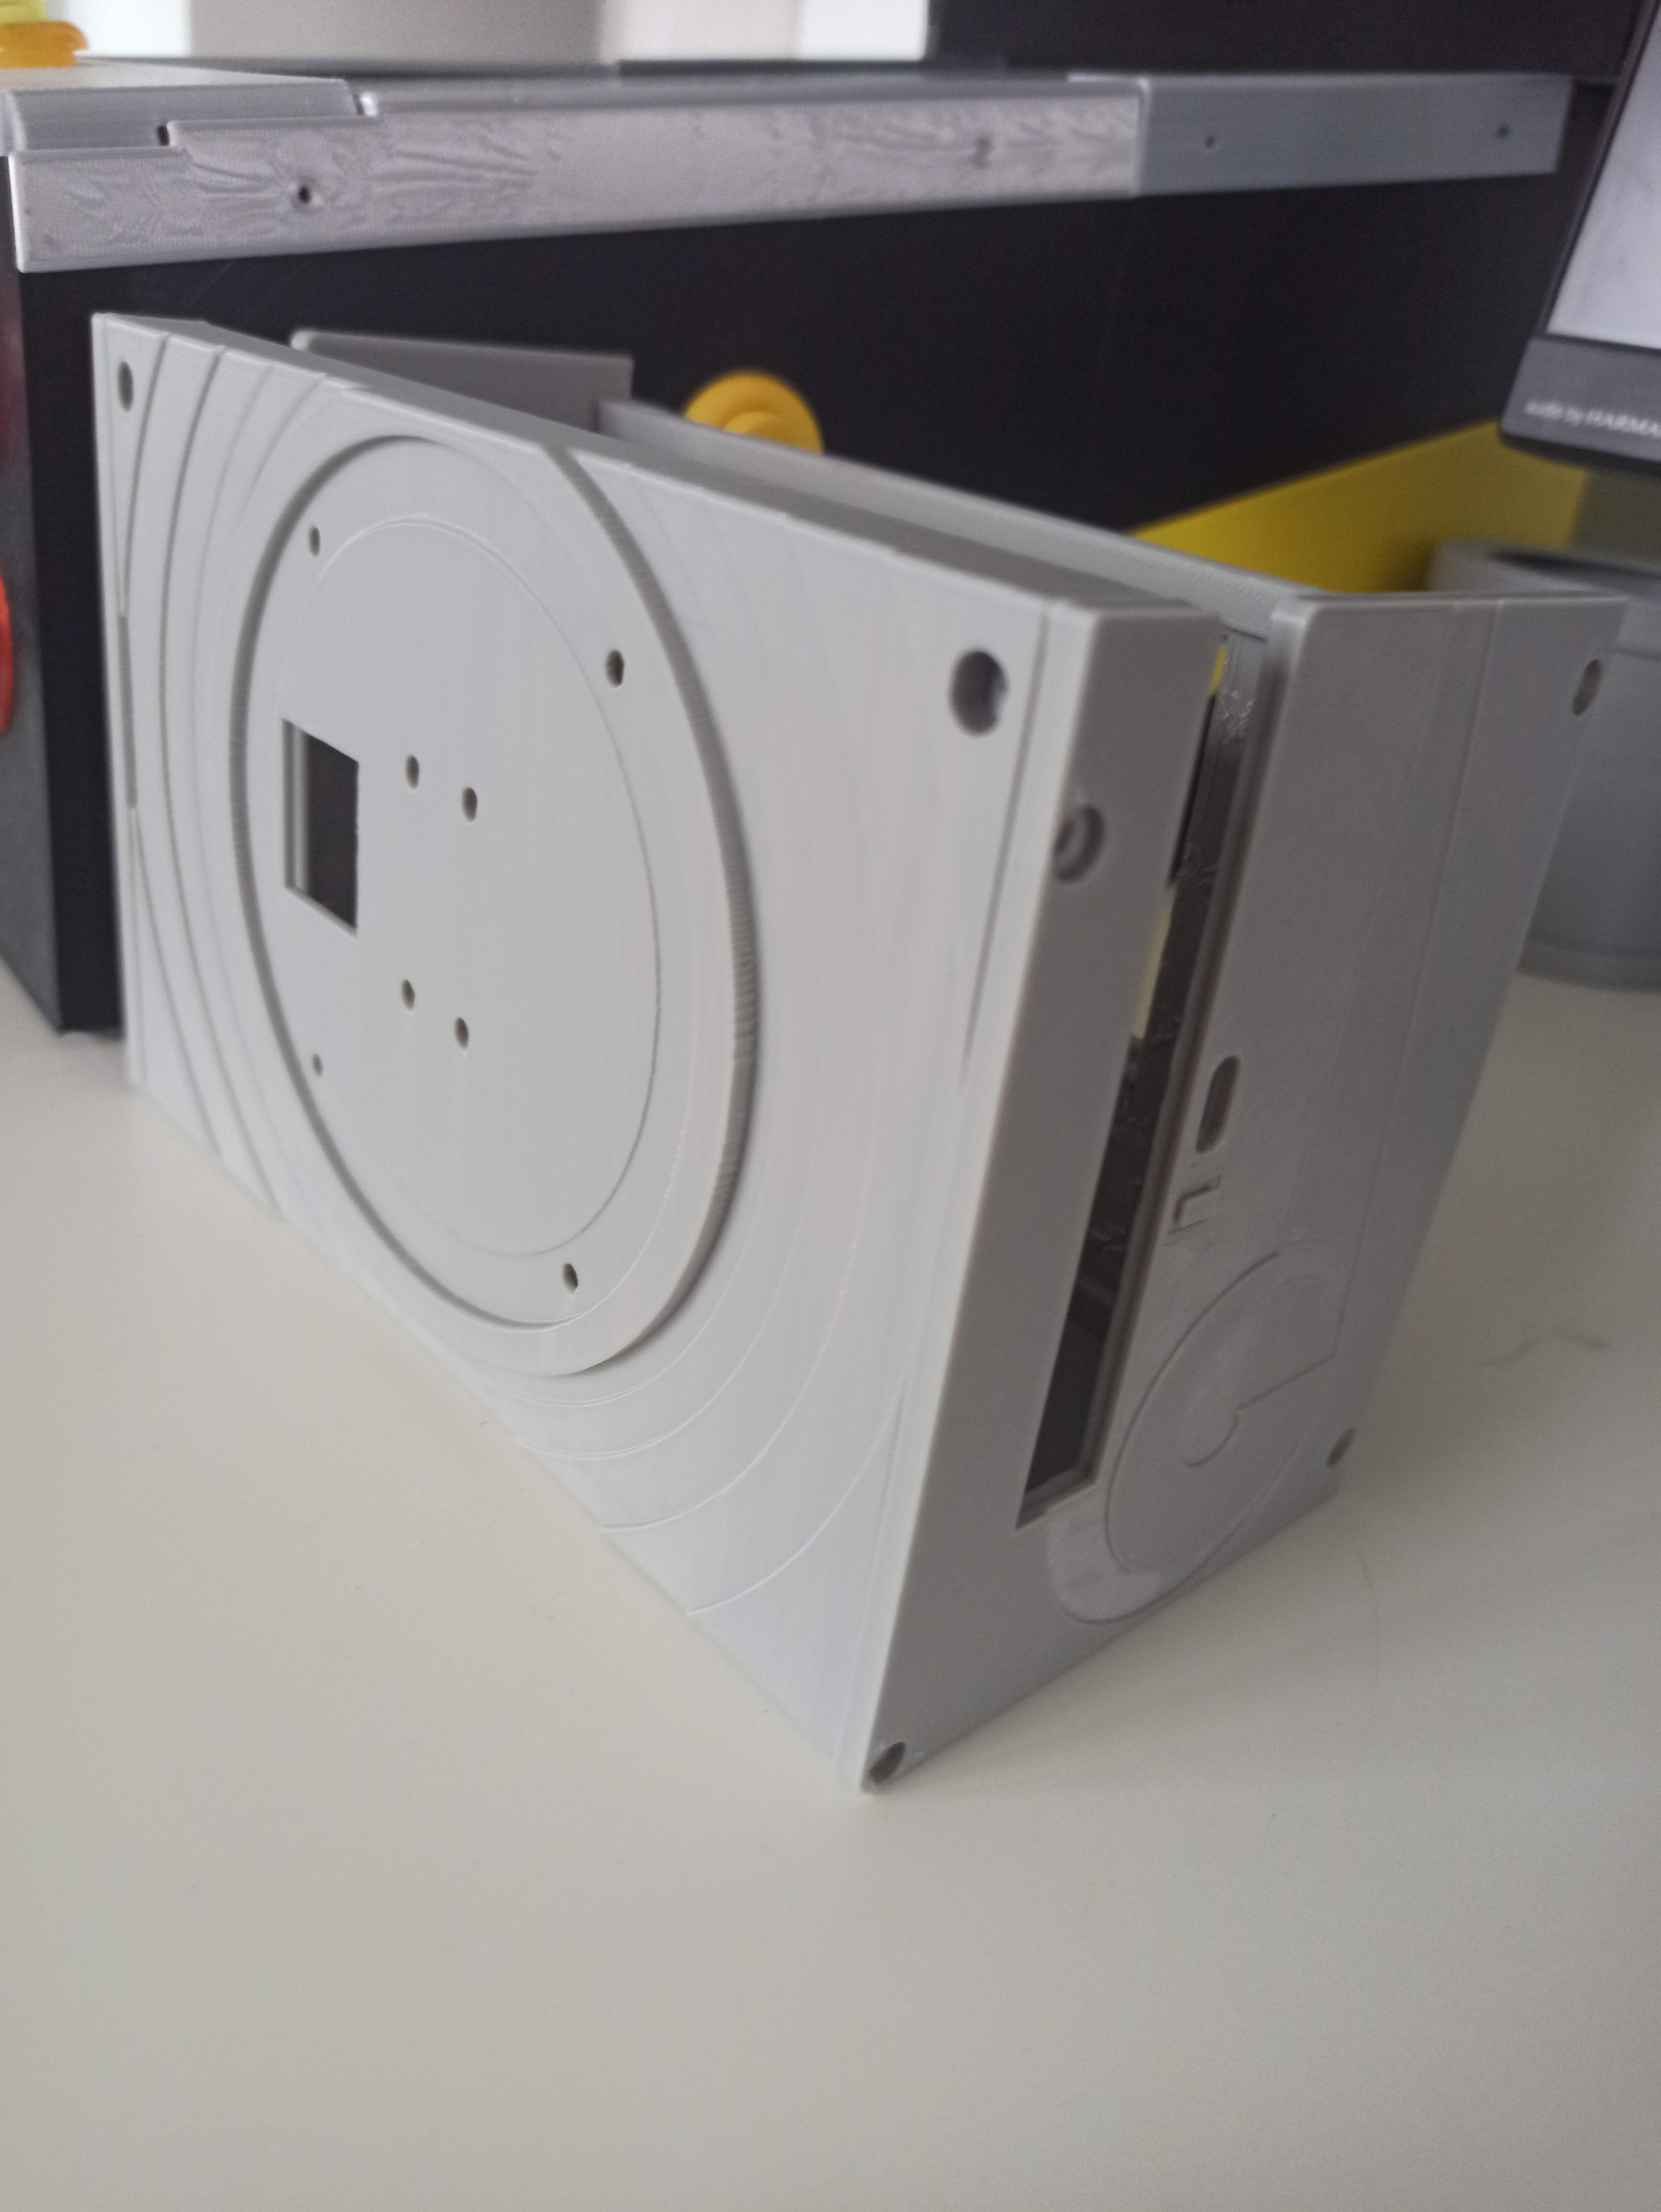
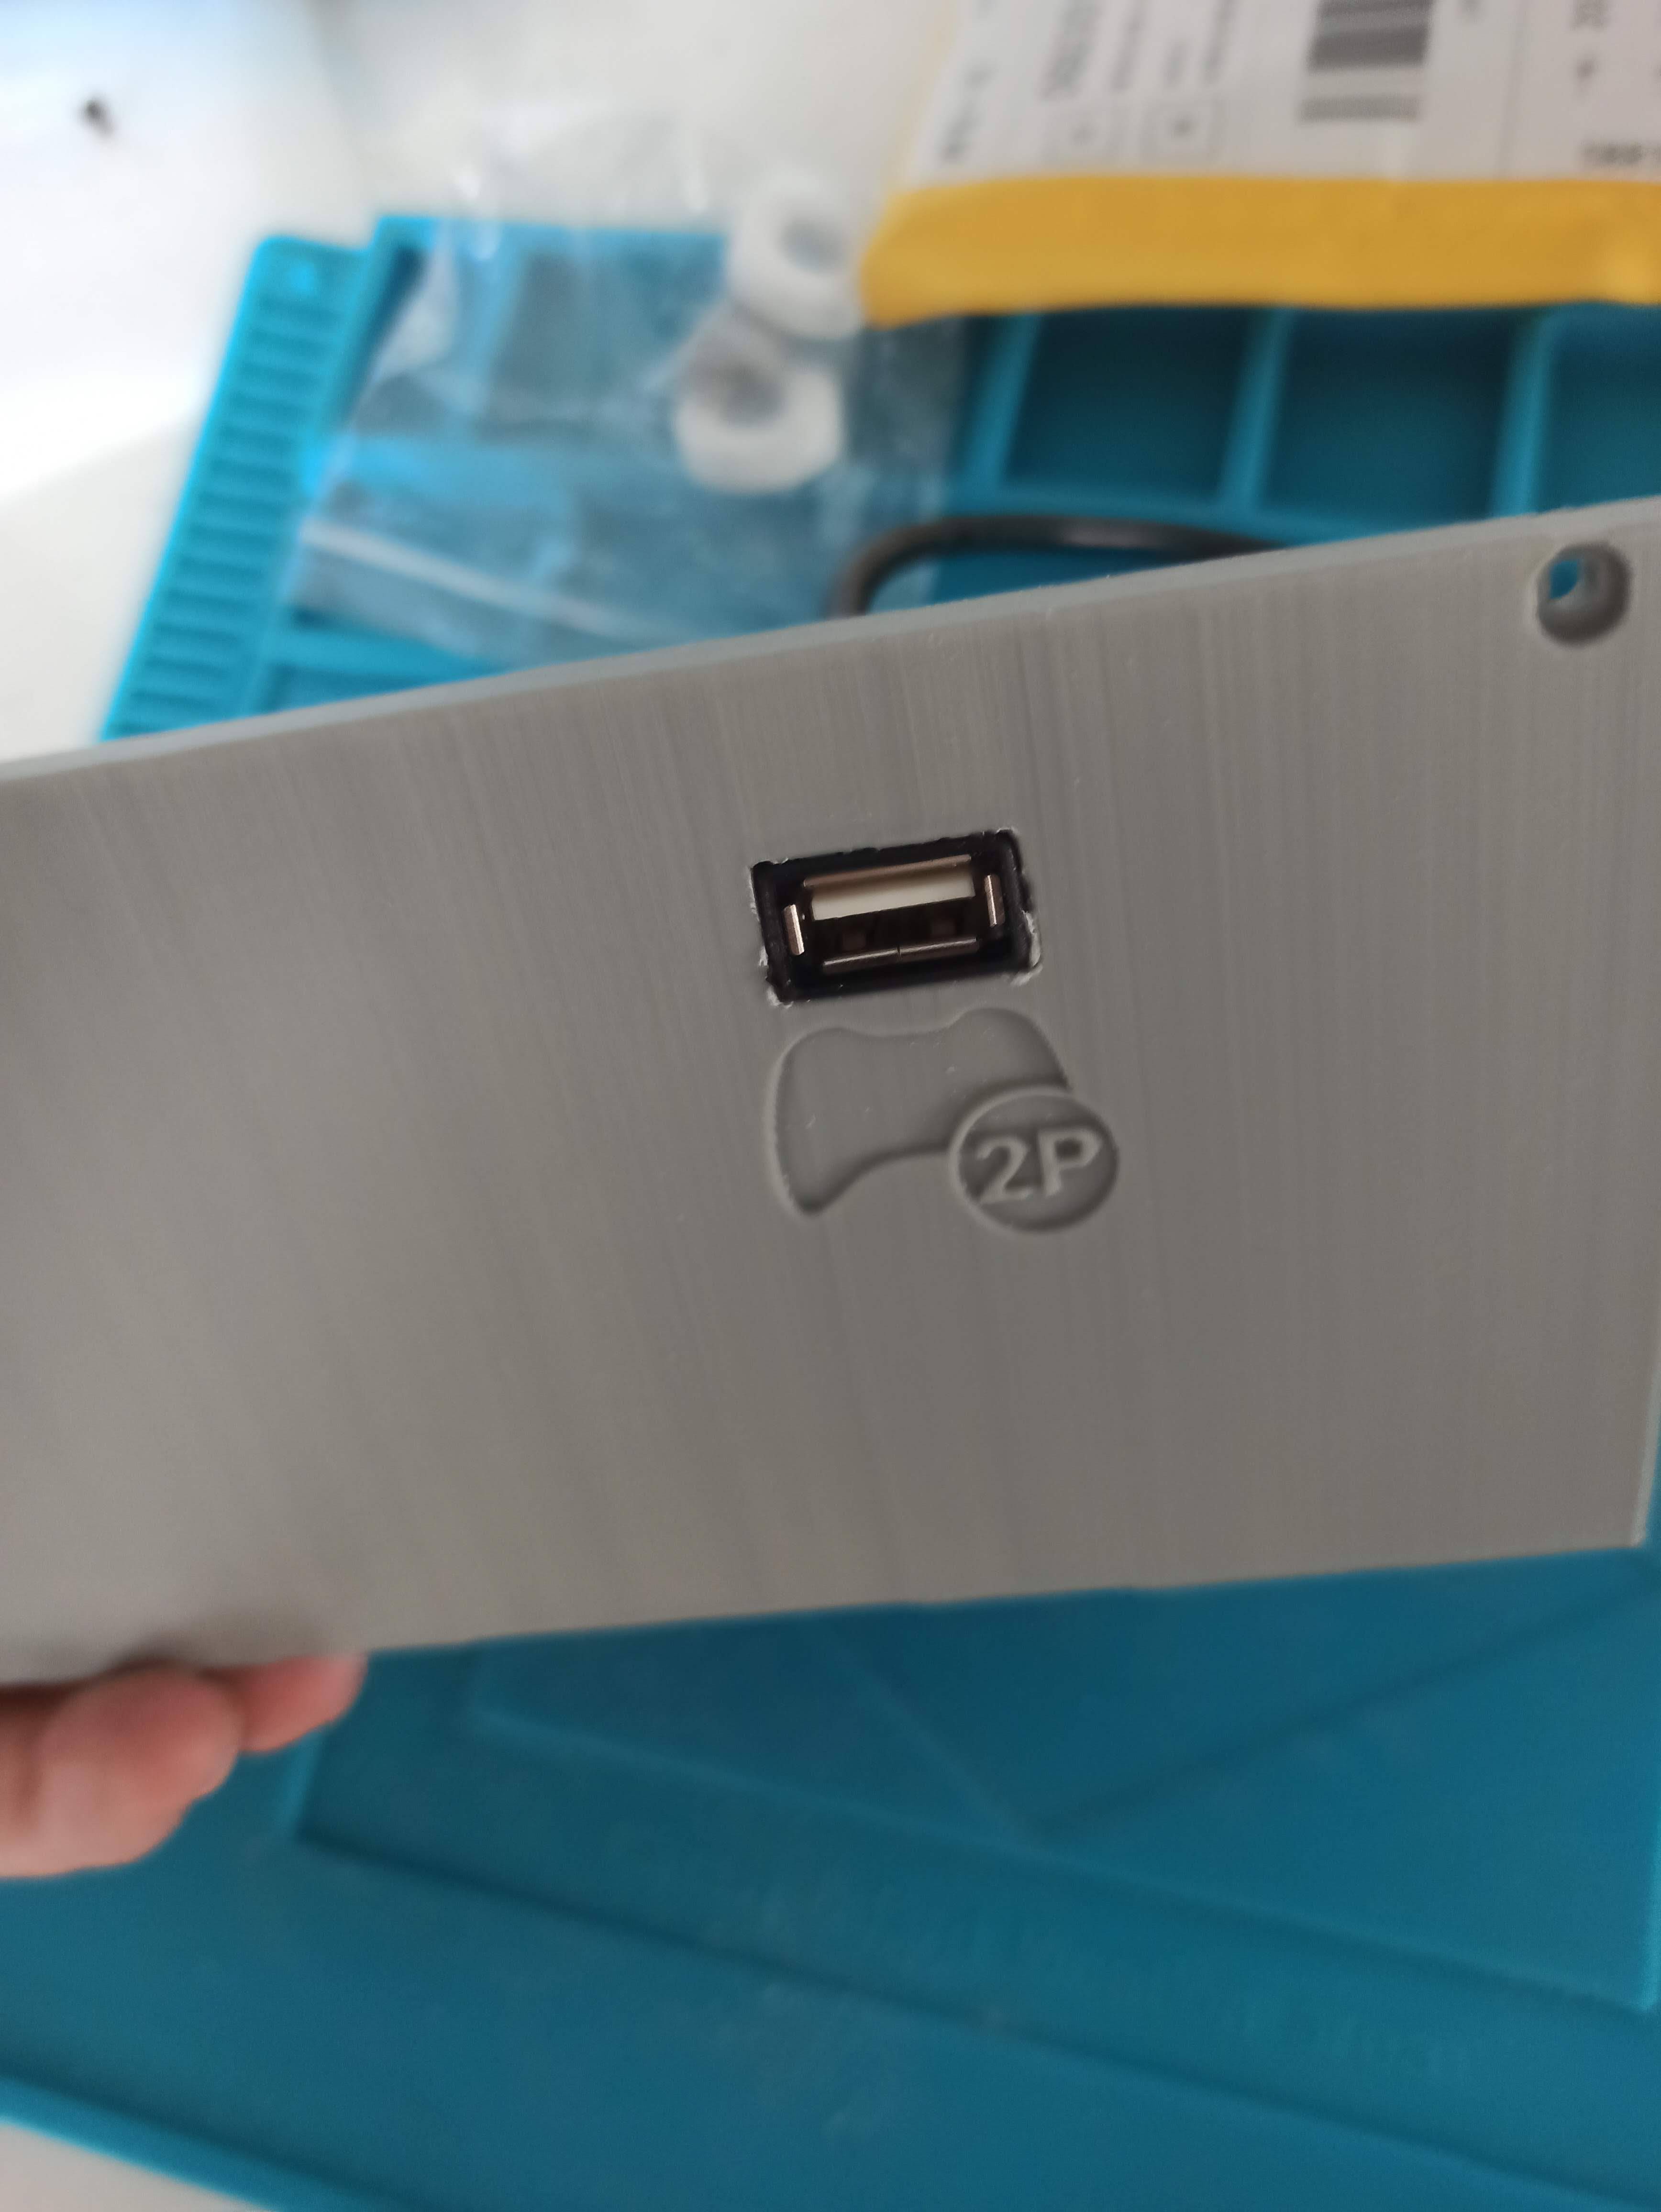
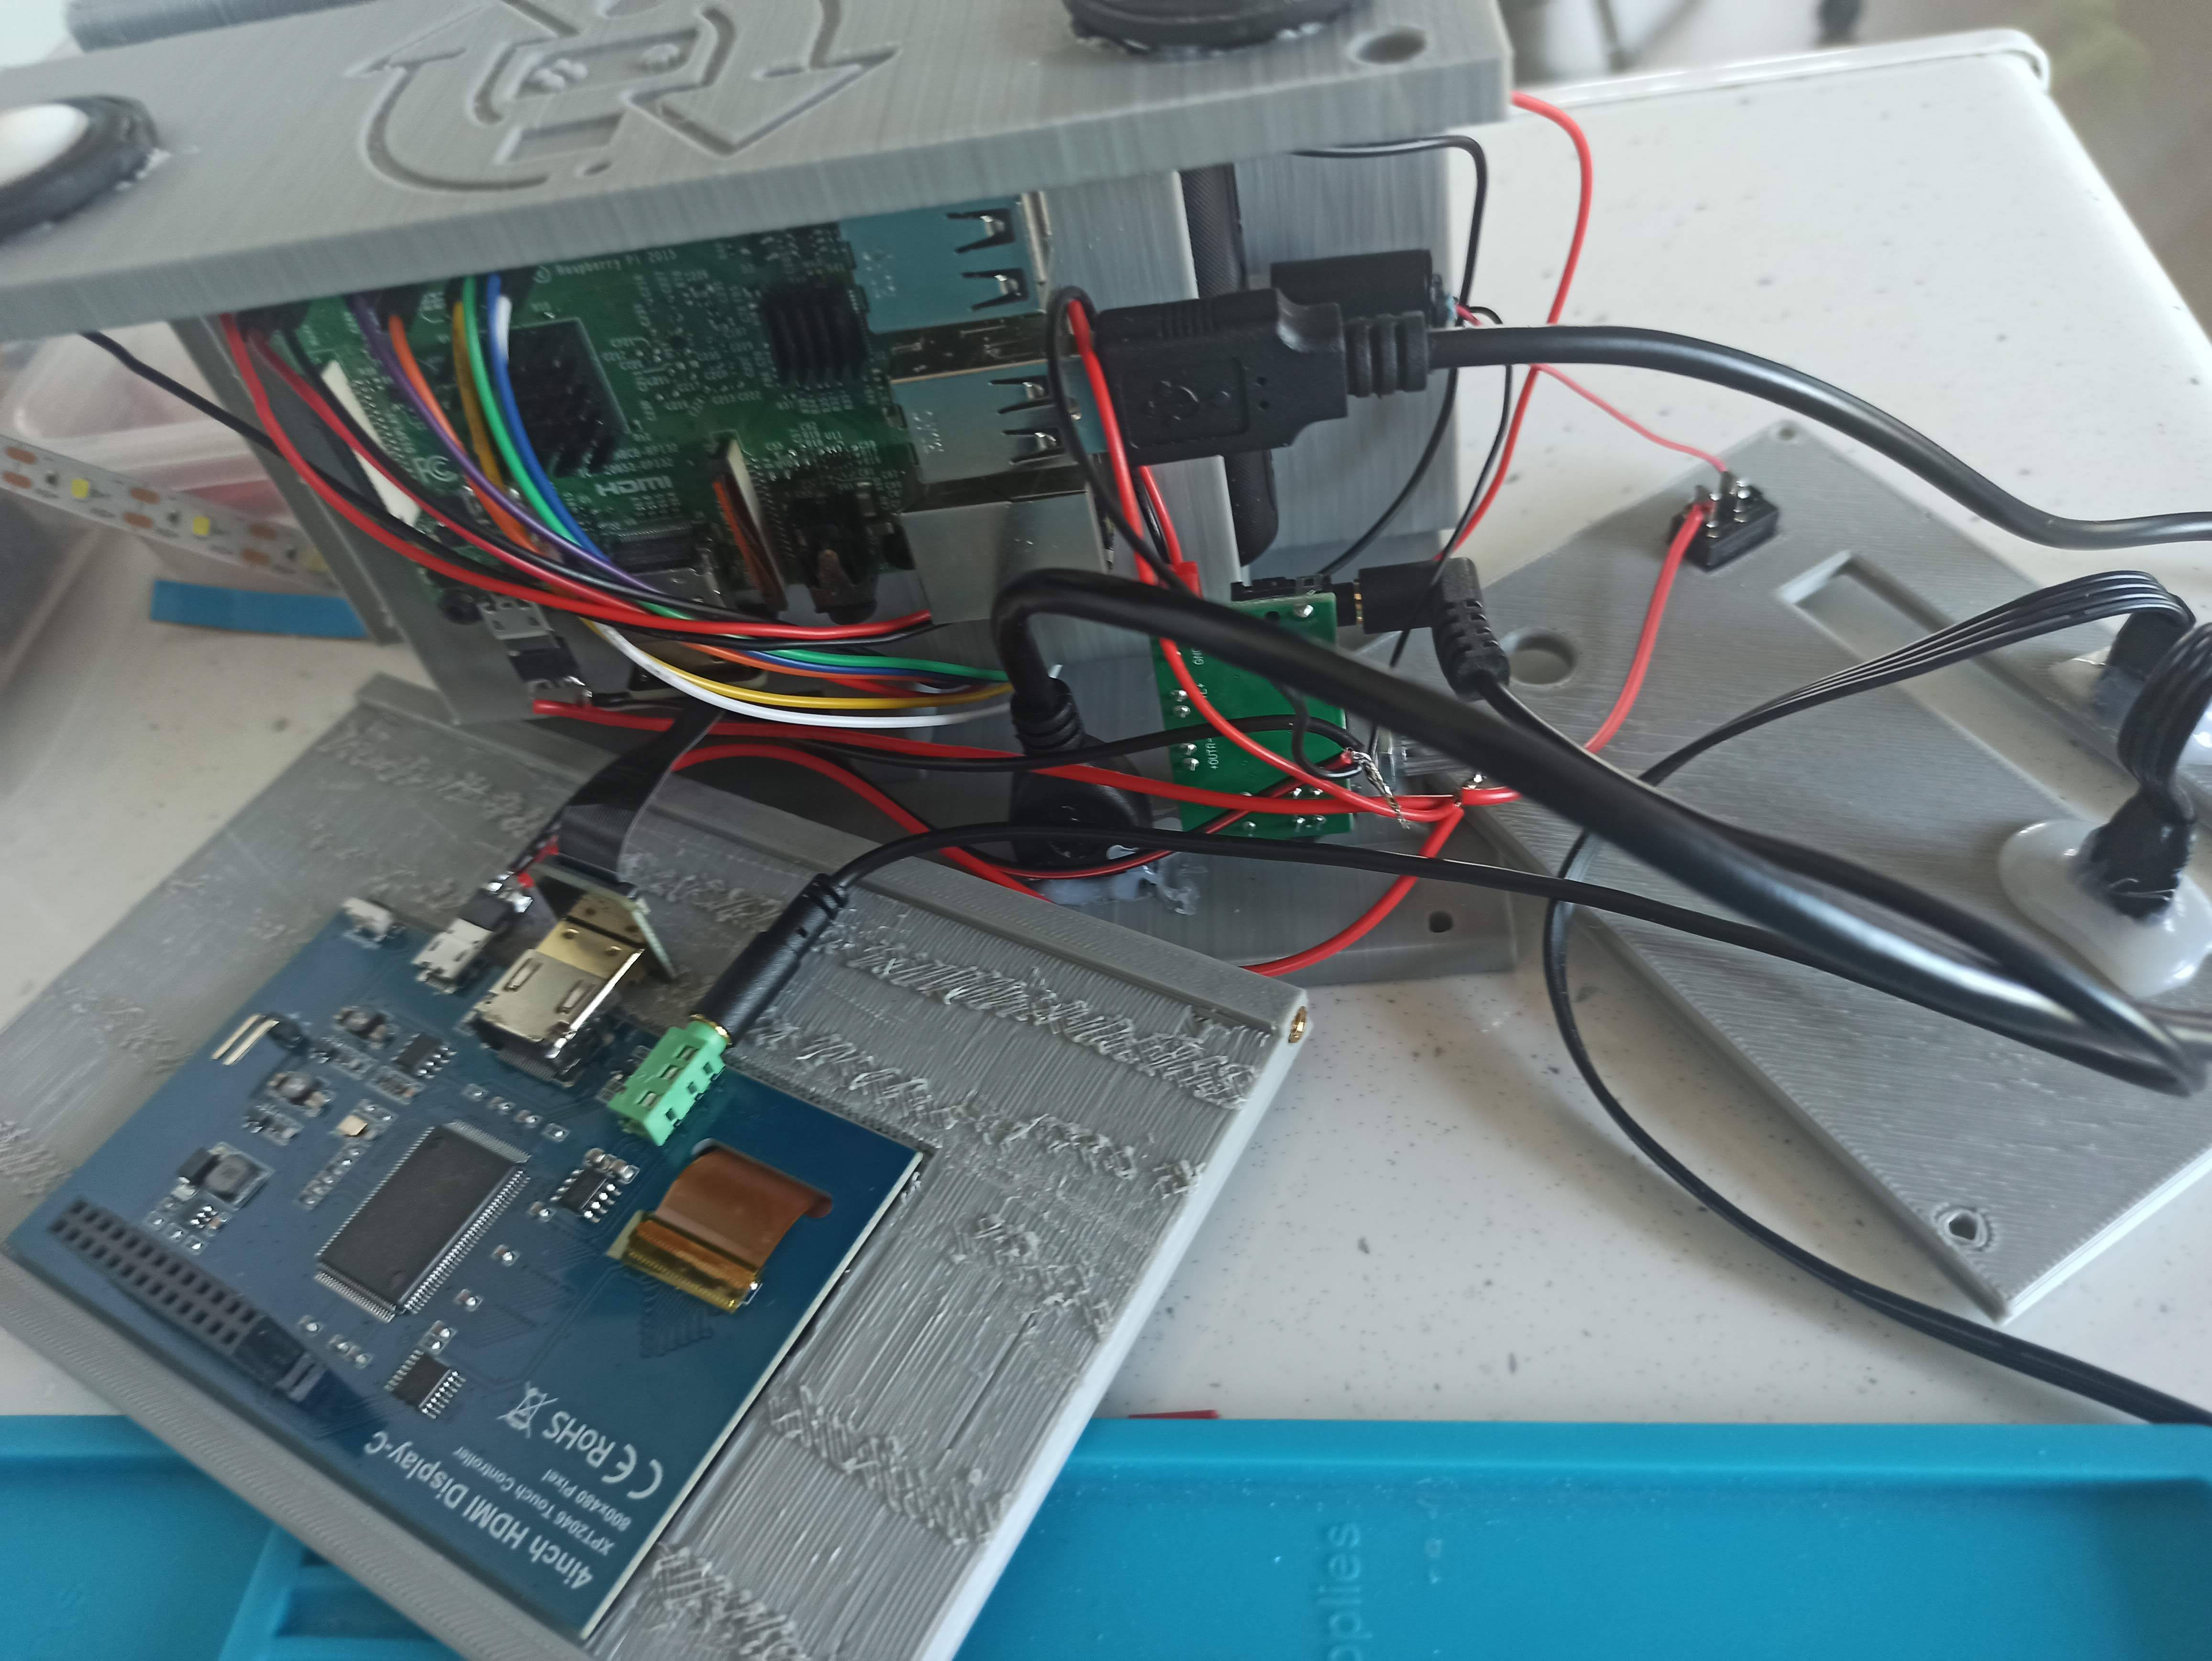
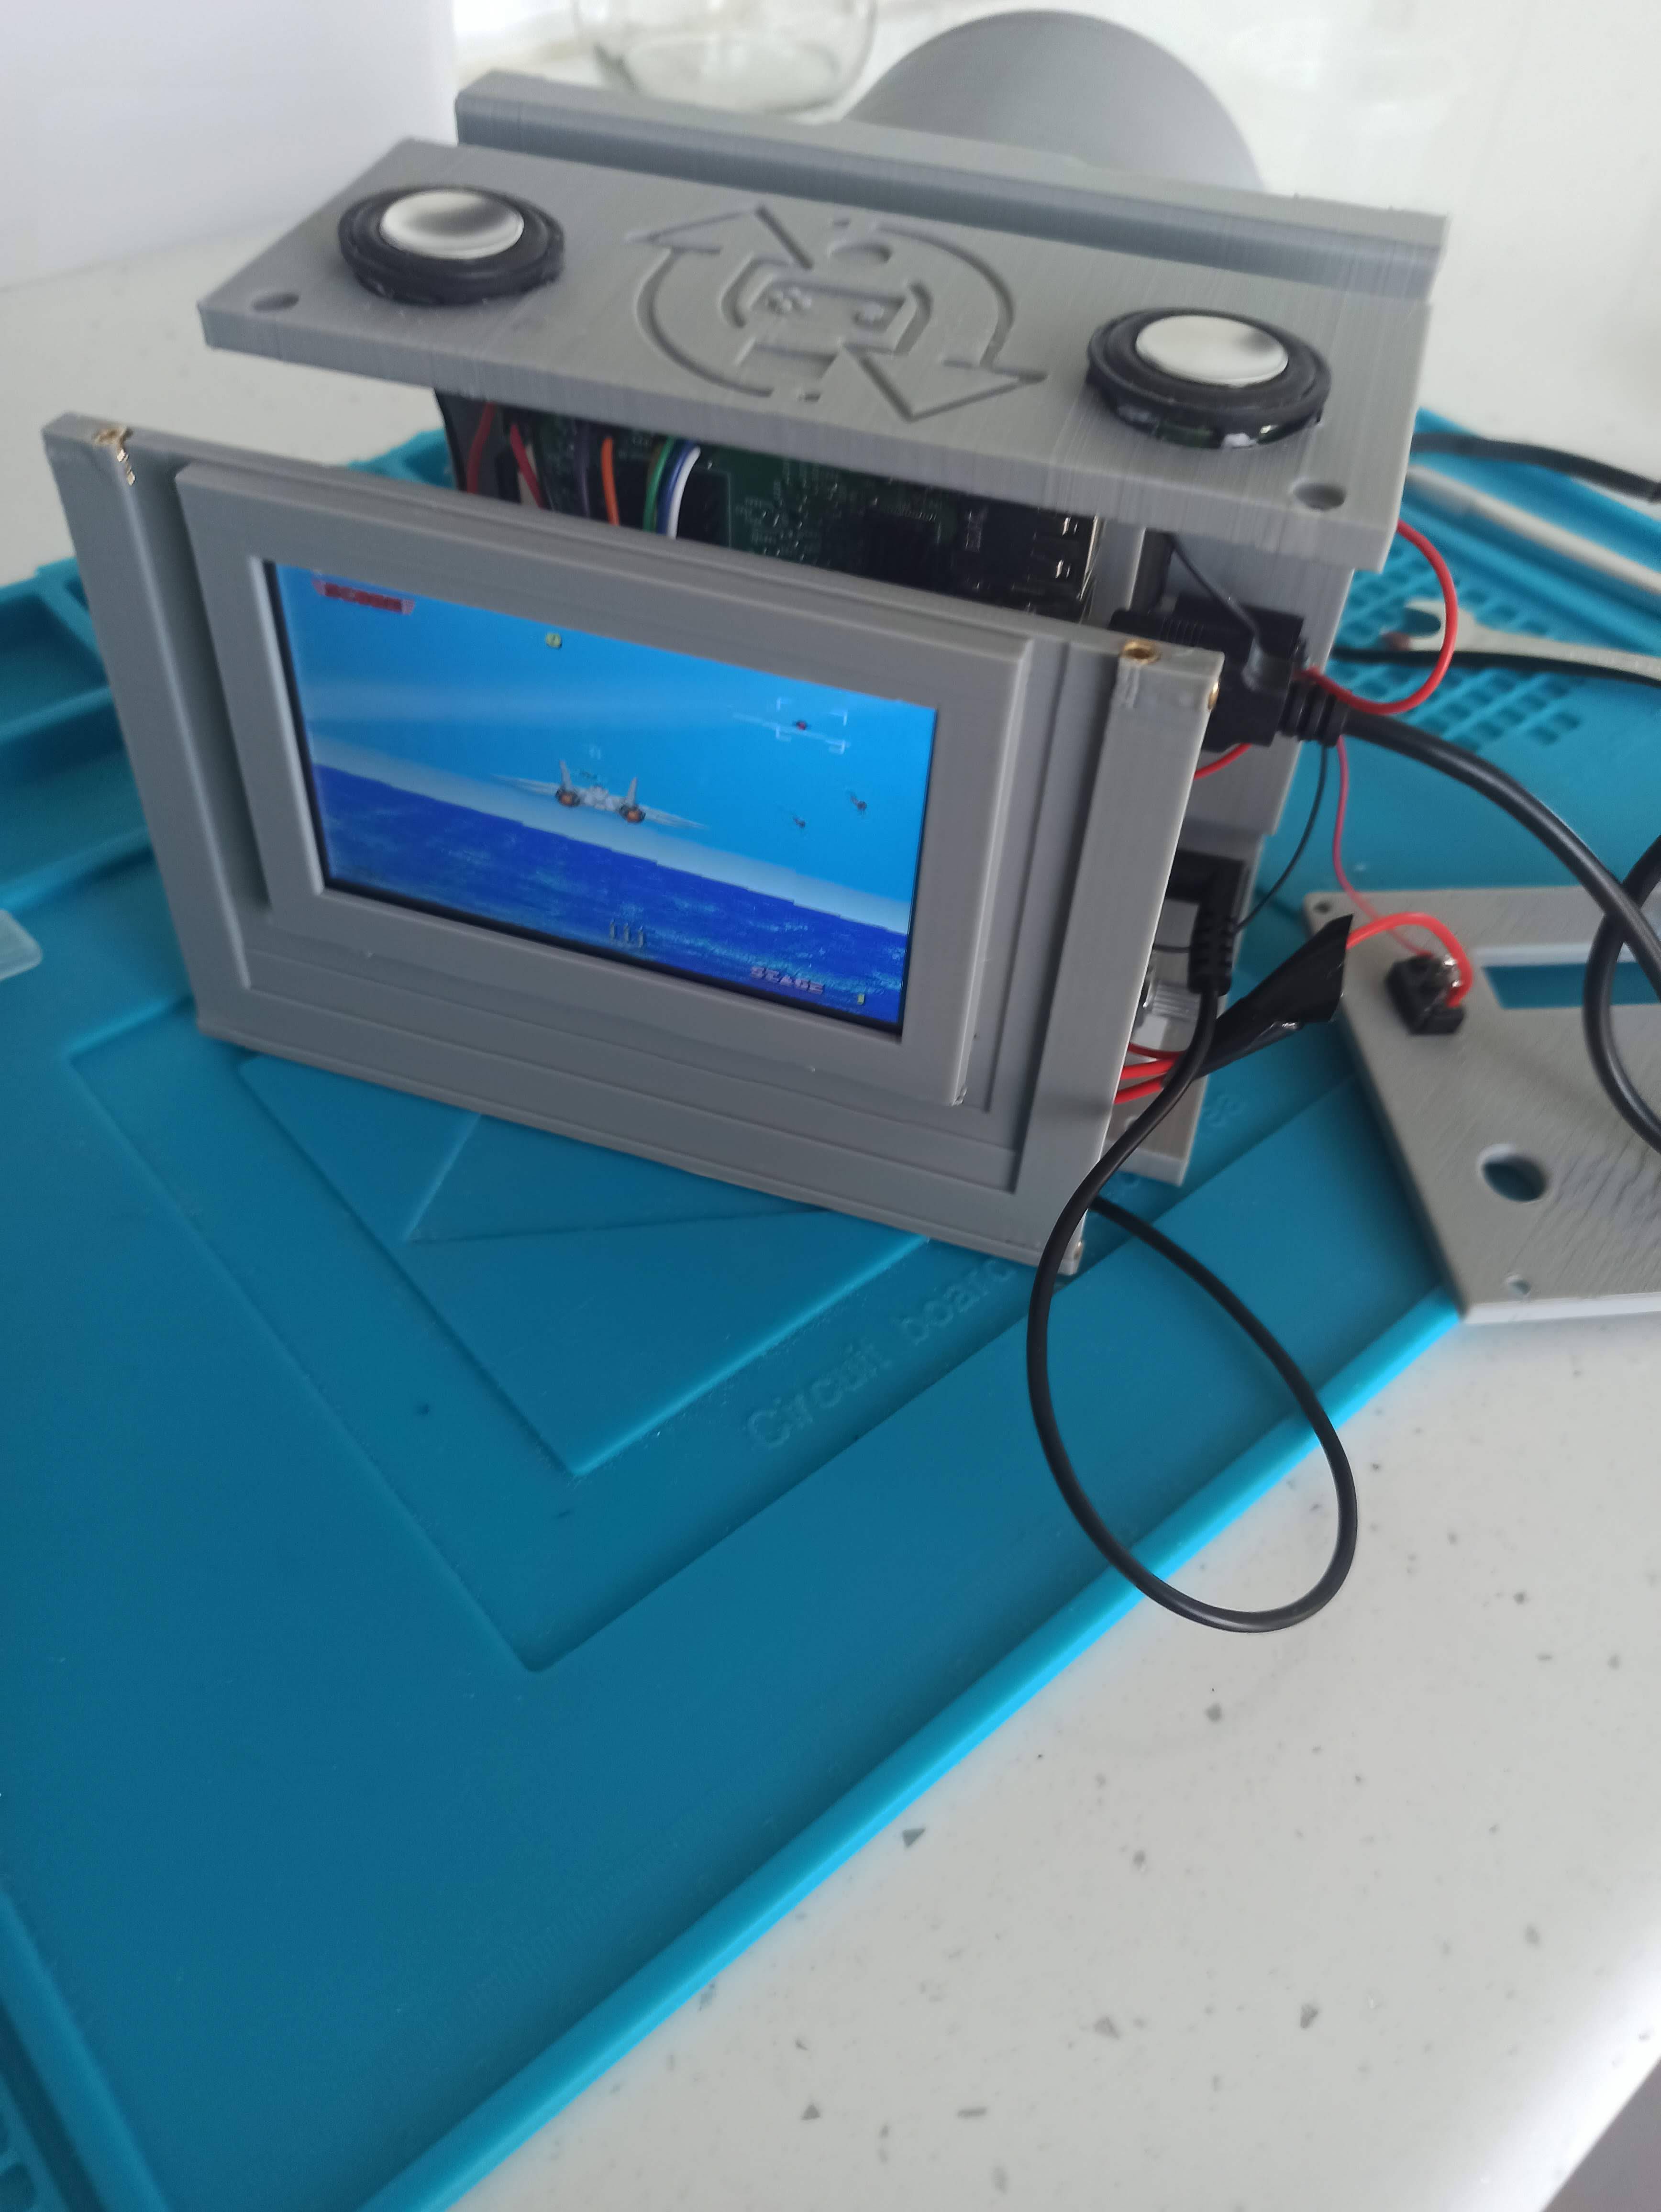
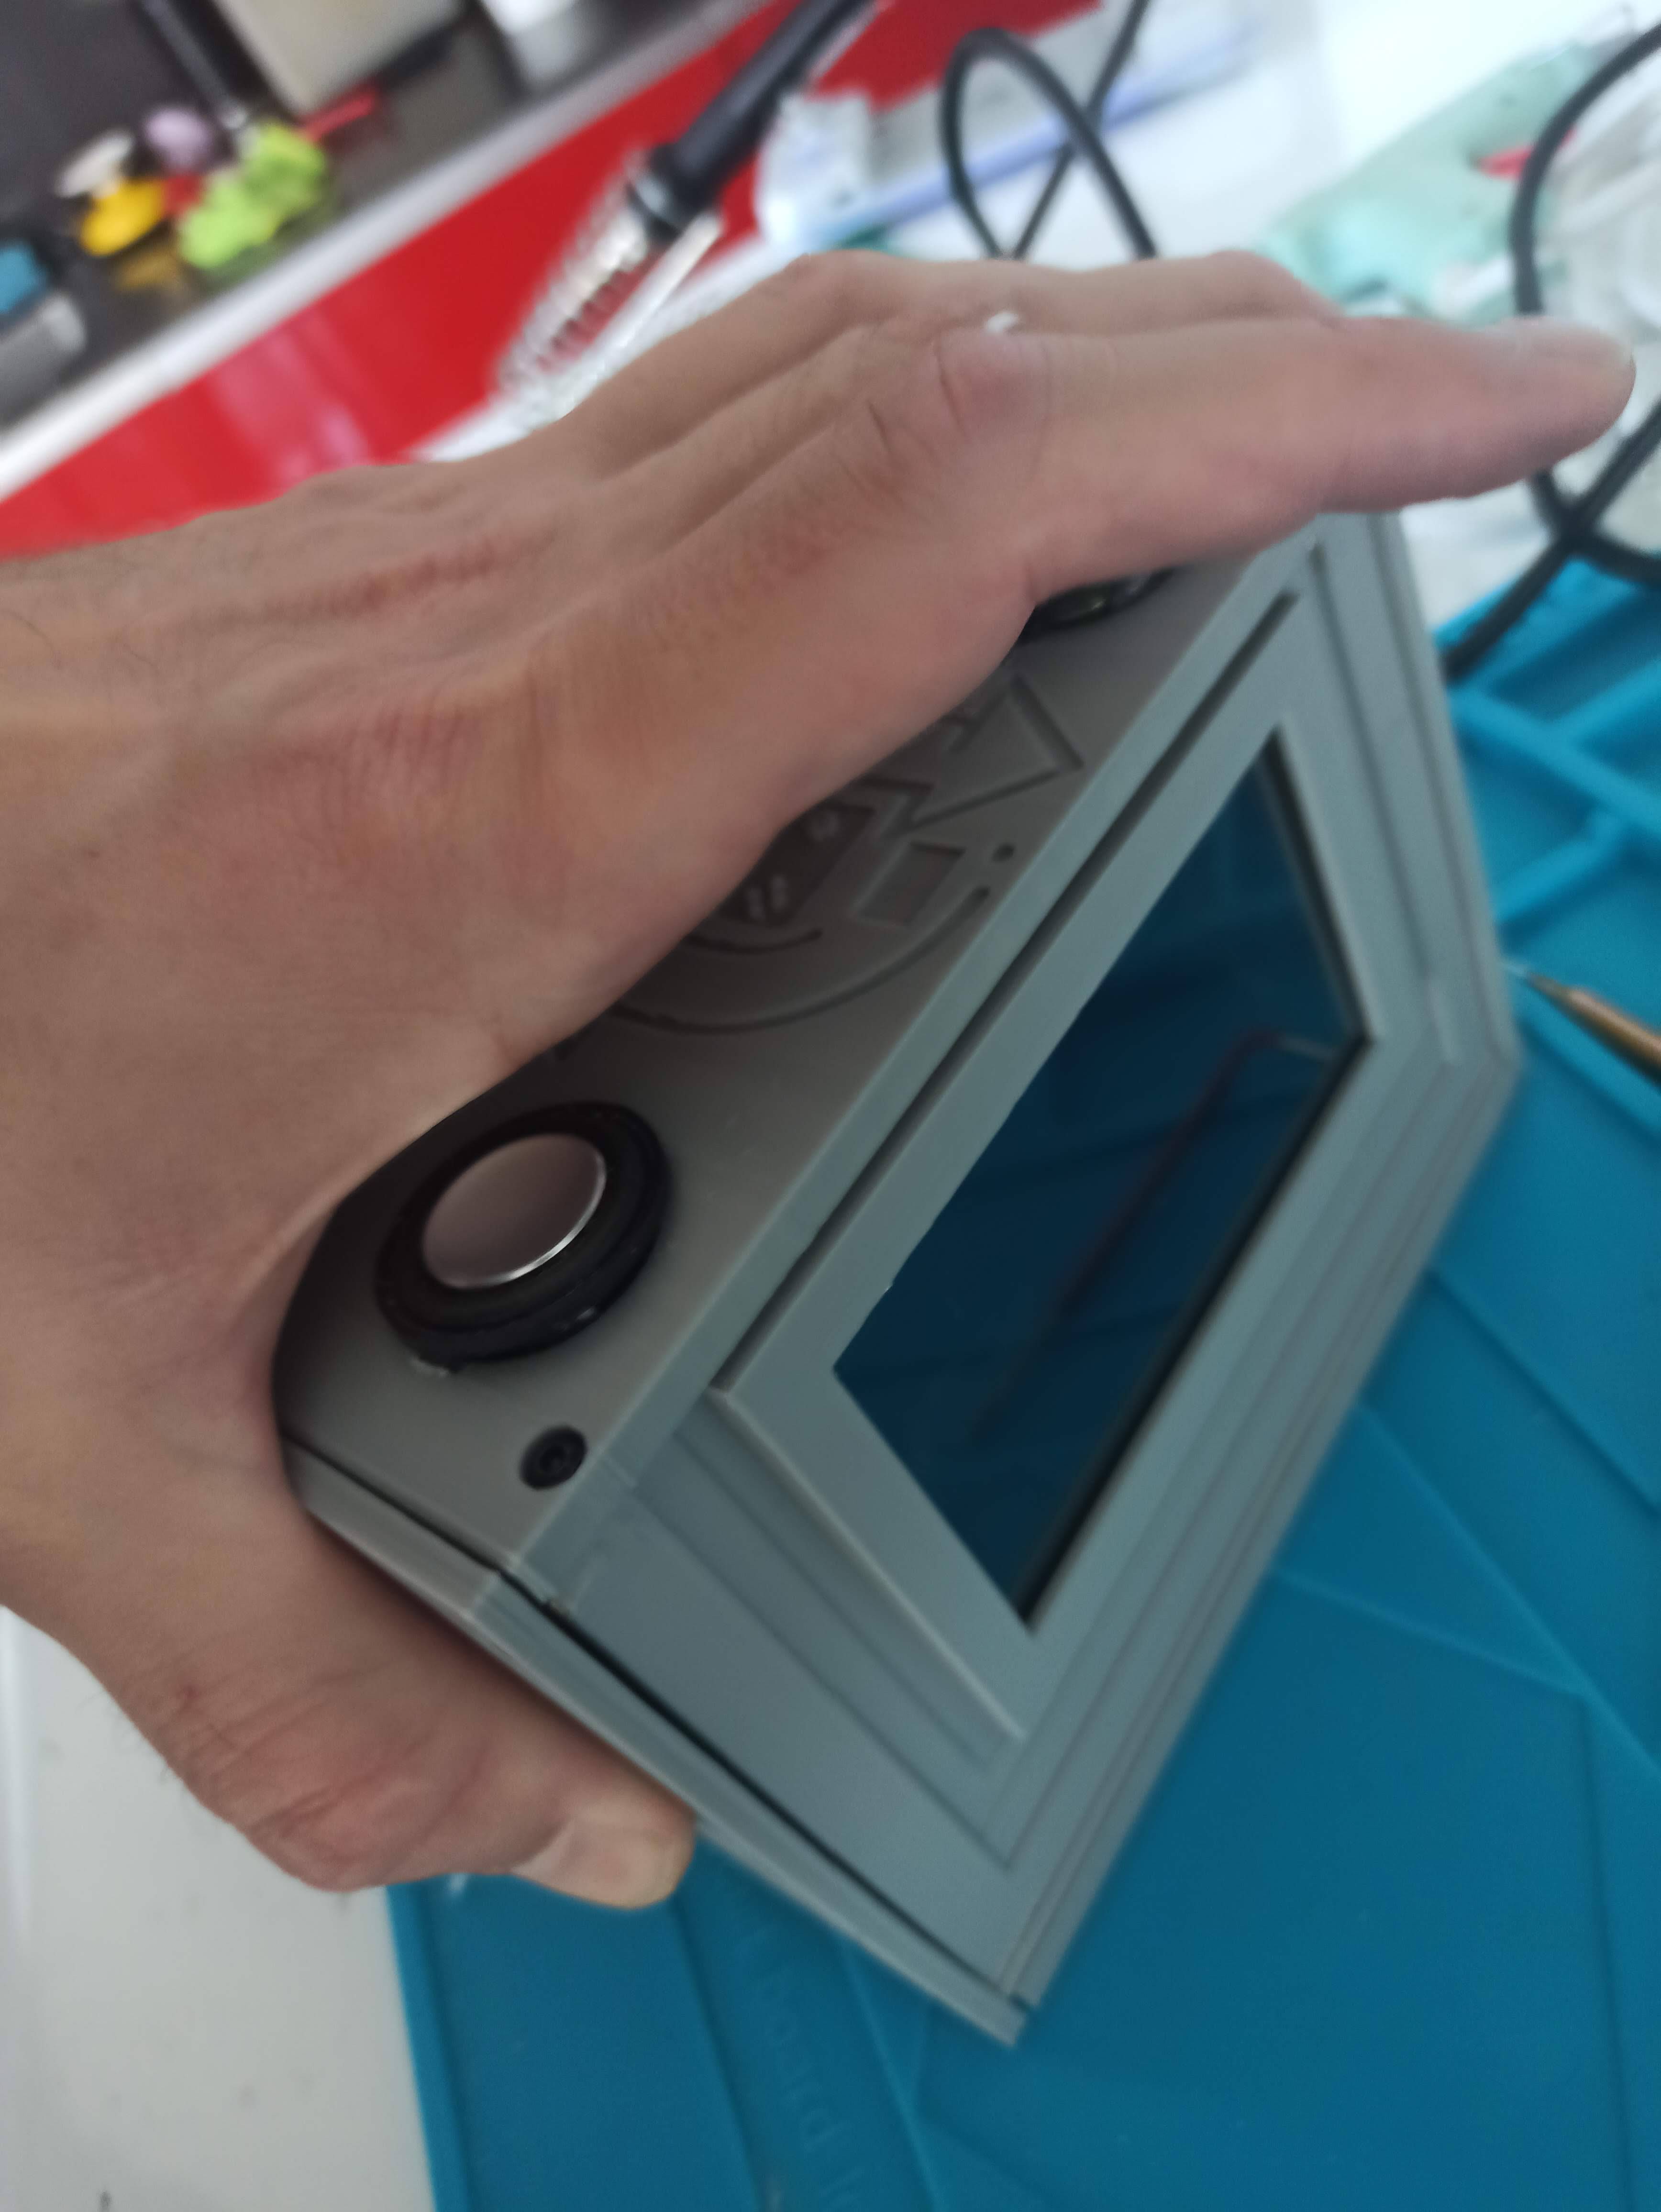
9Assembly and screw all the parts together once their operation has been tested.
![]()
![]()
![]()
![]()
-
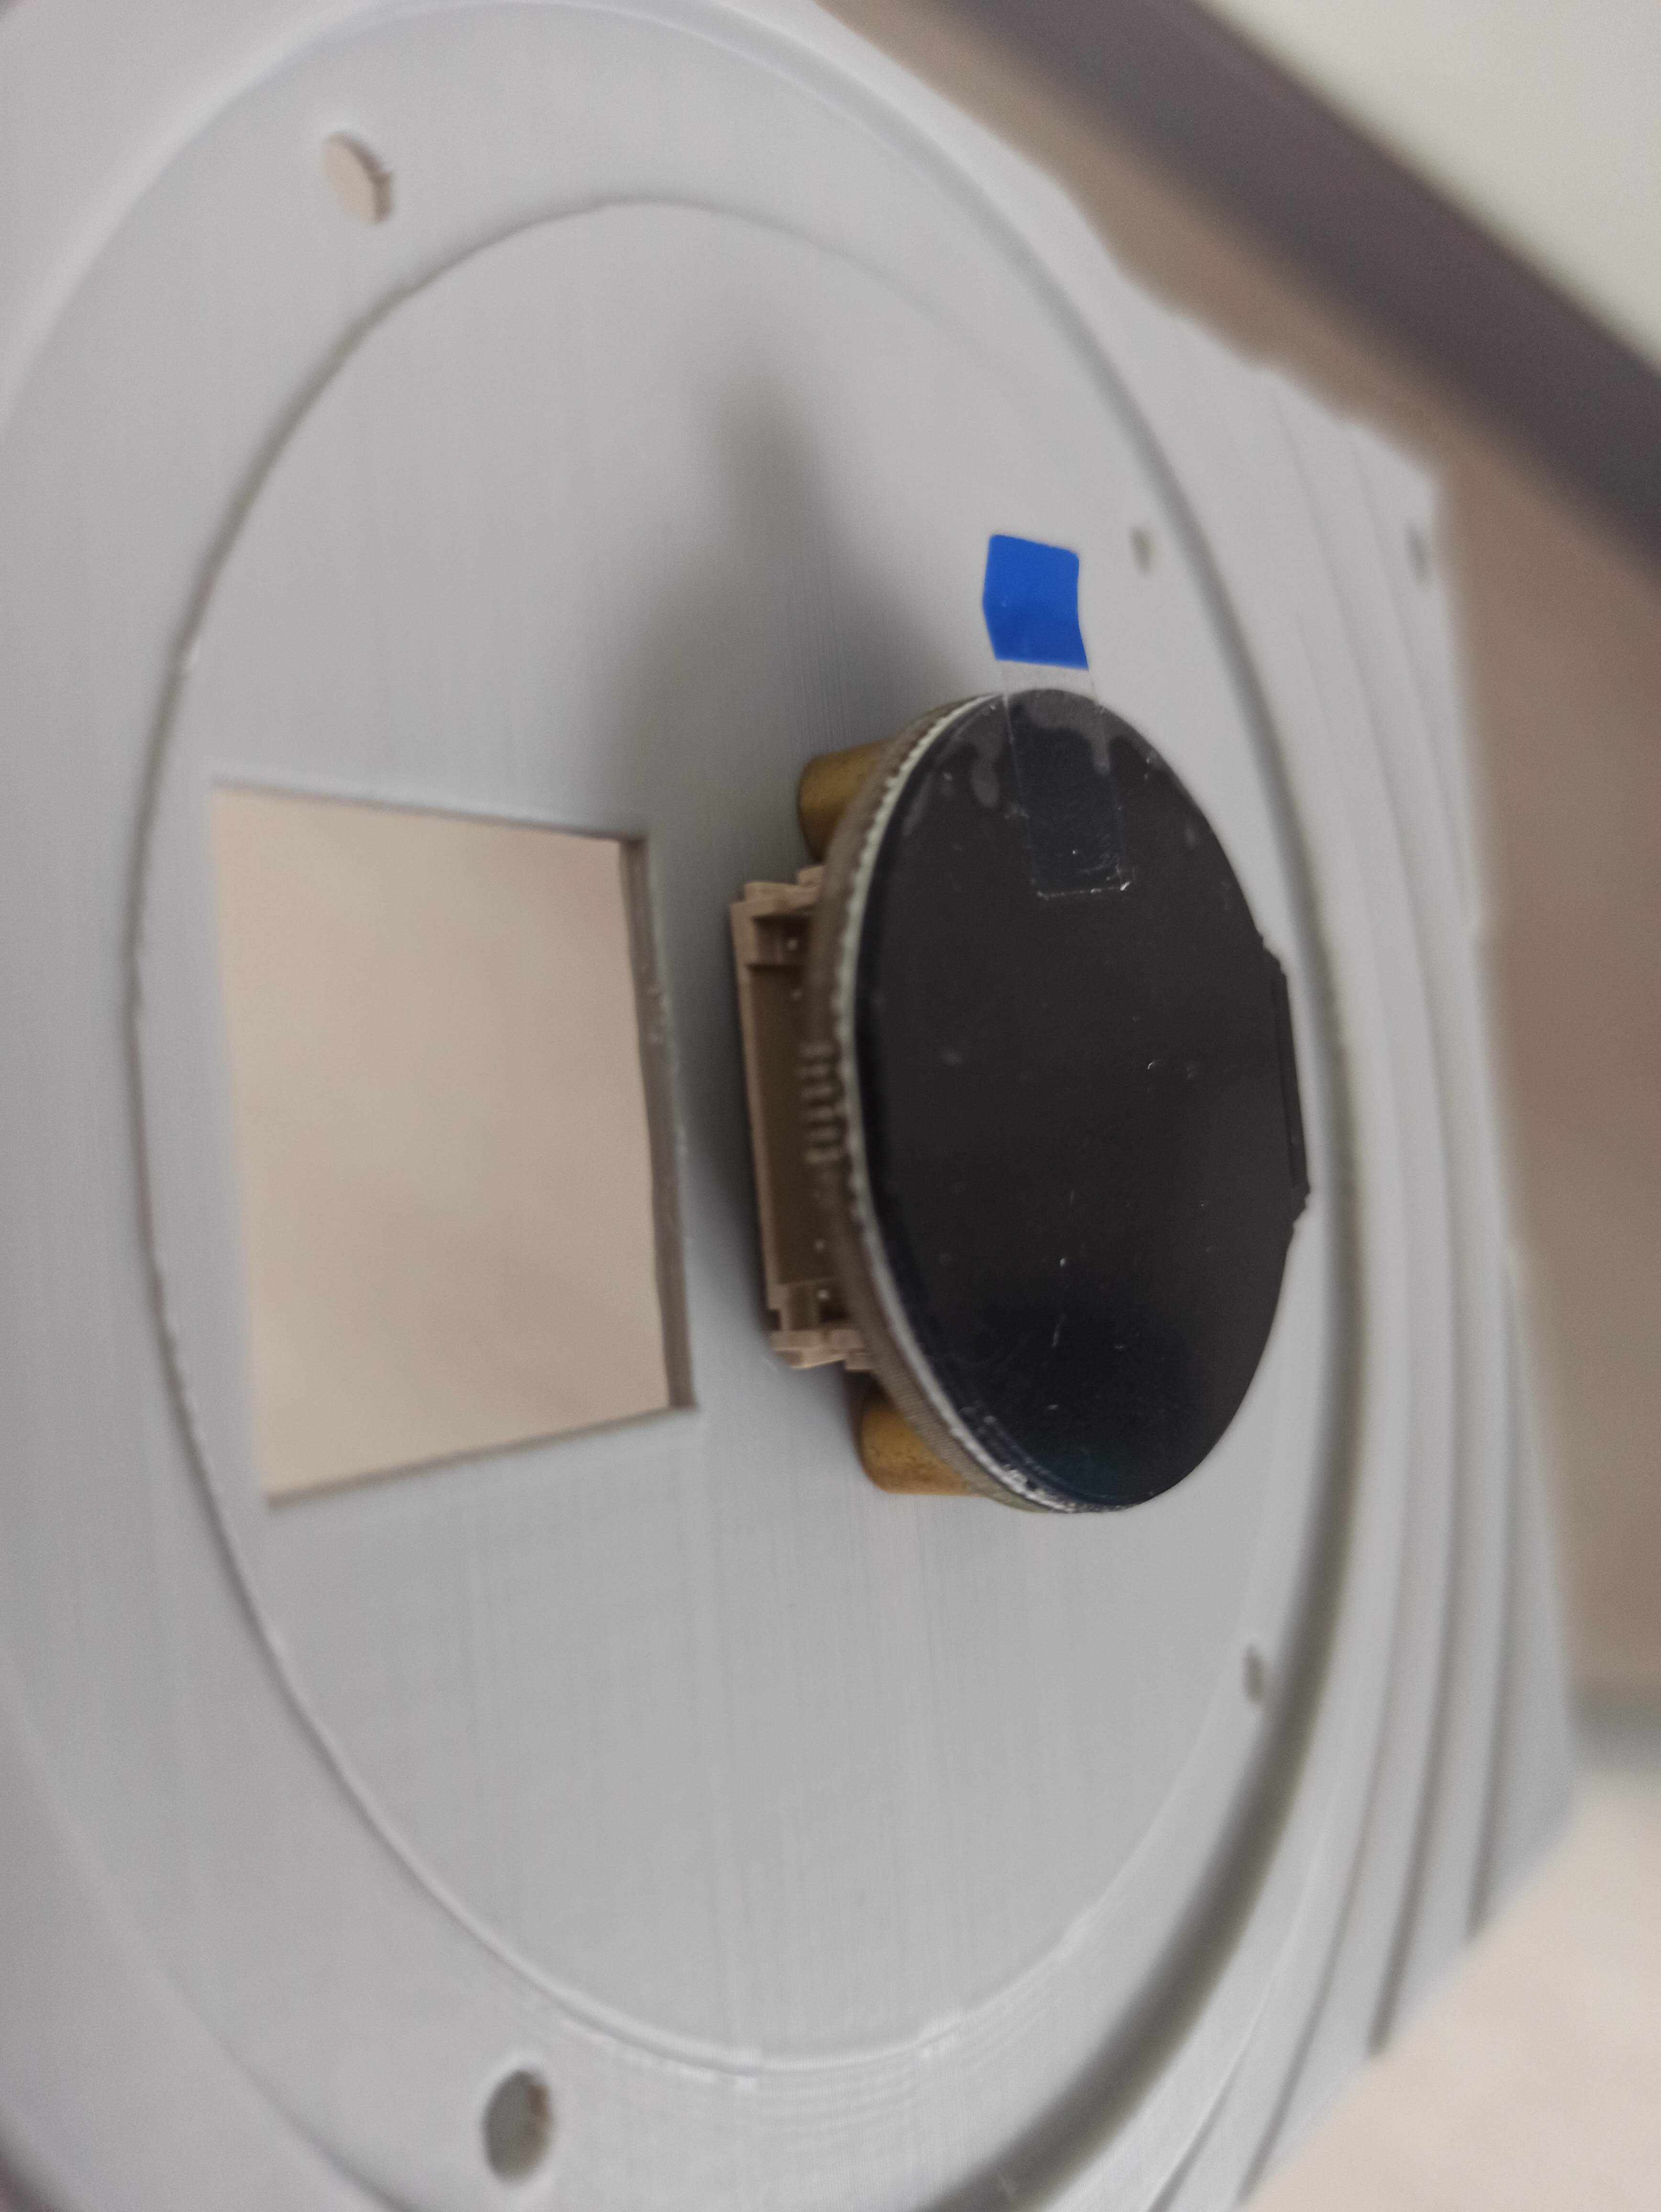
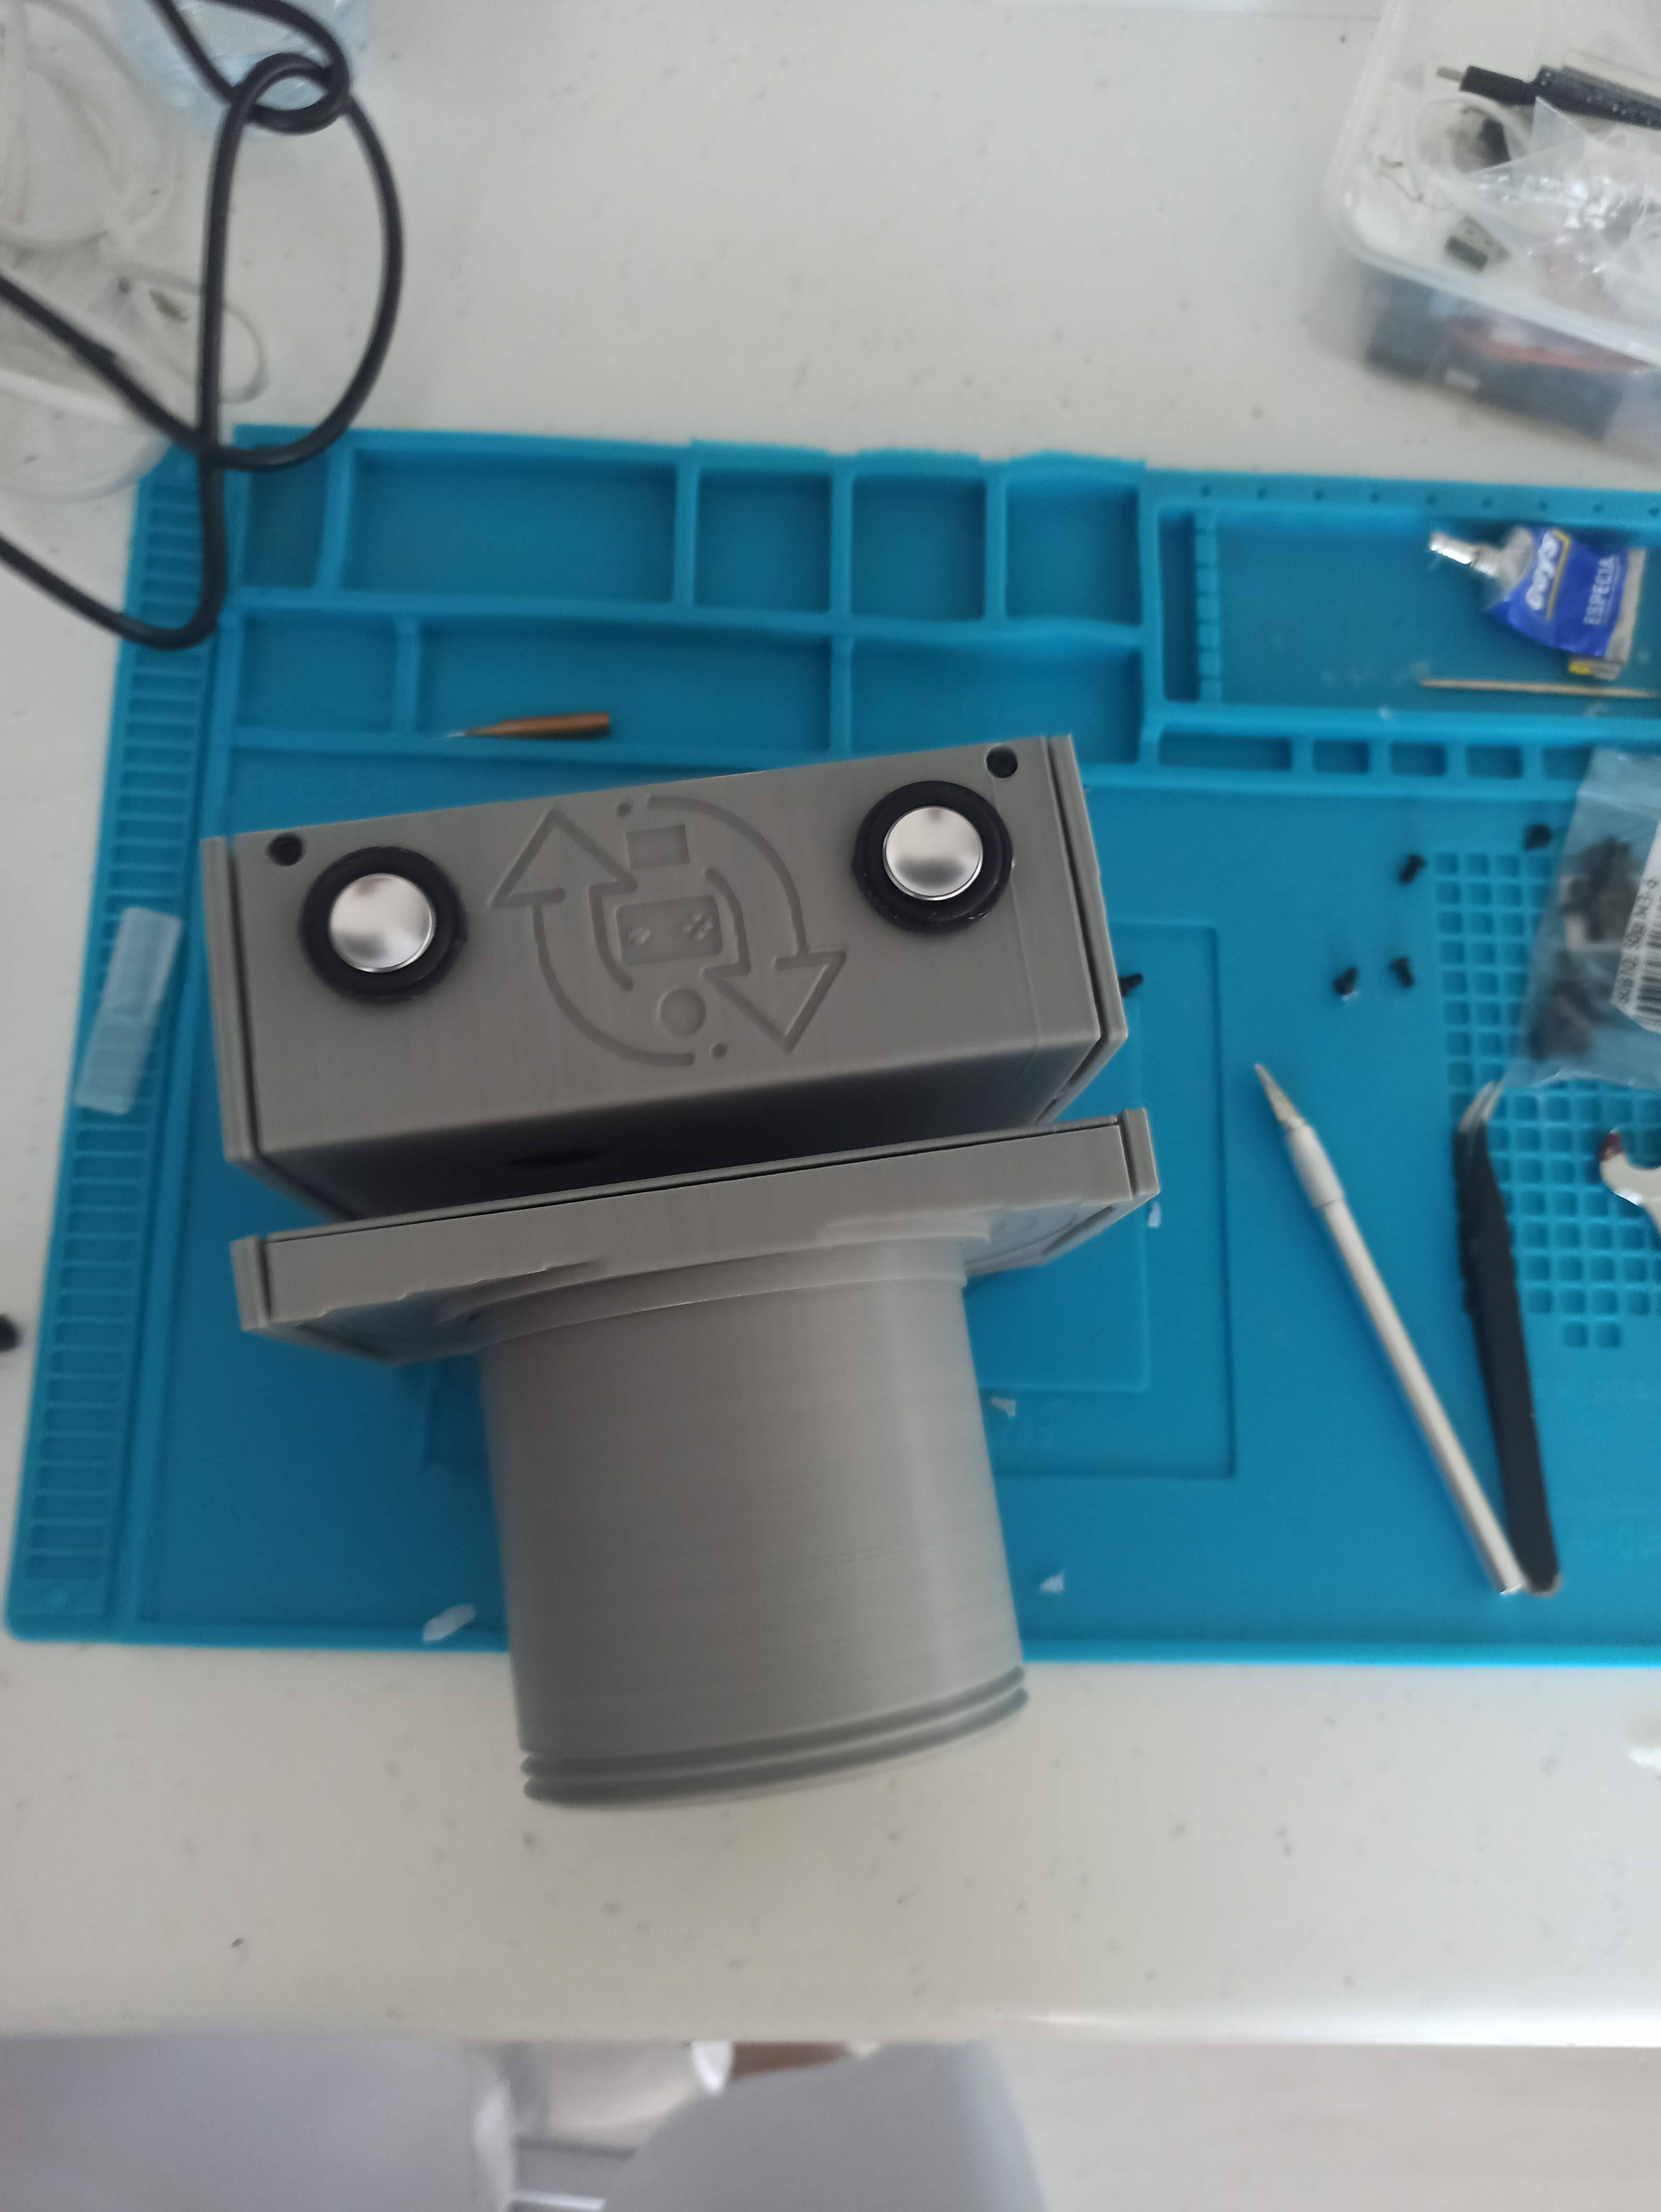
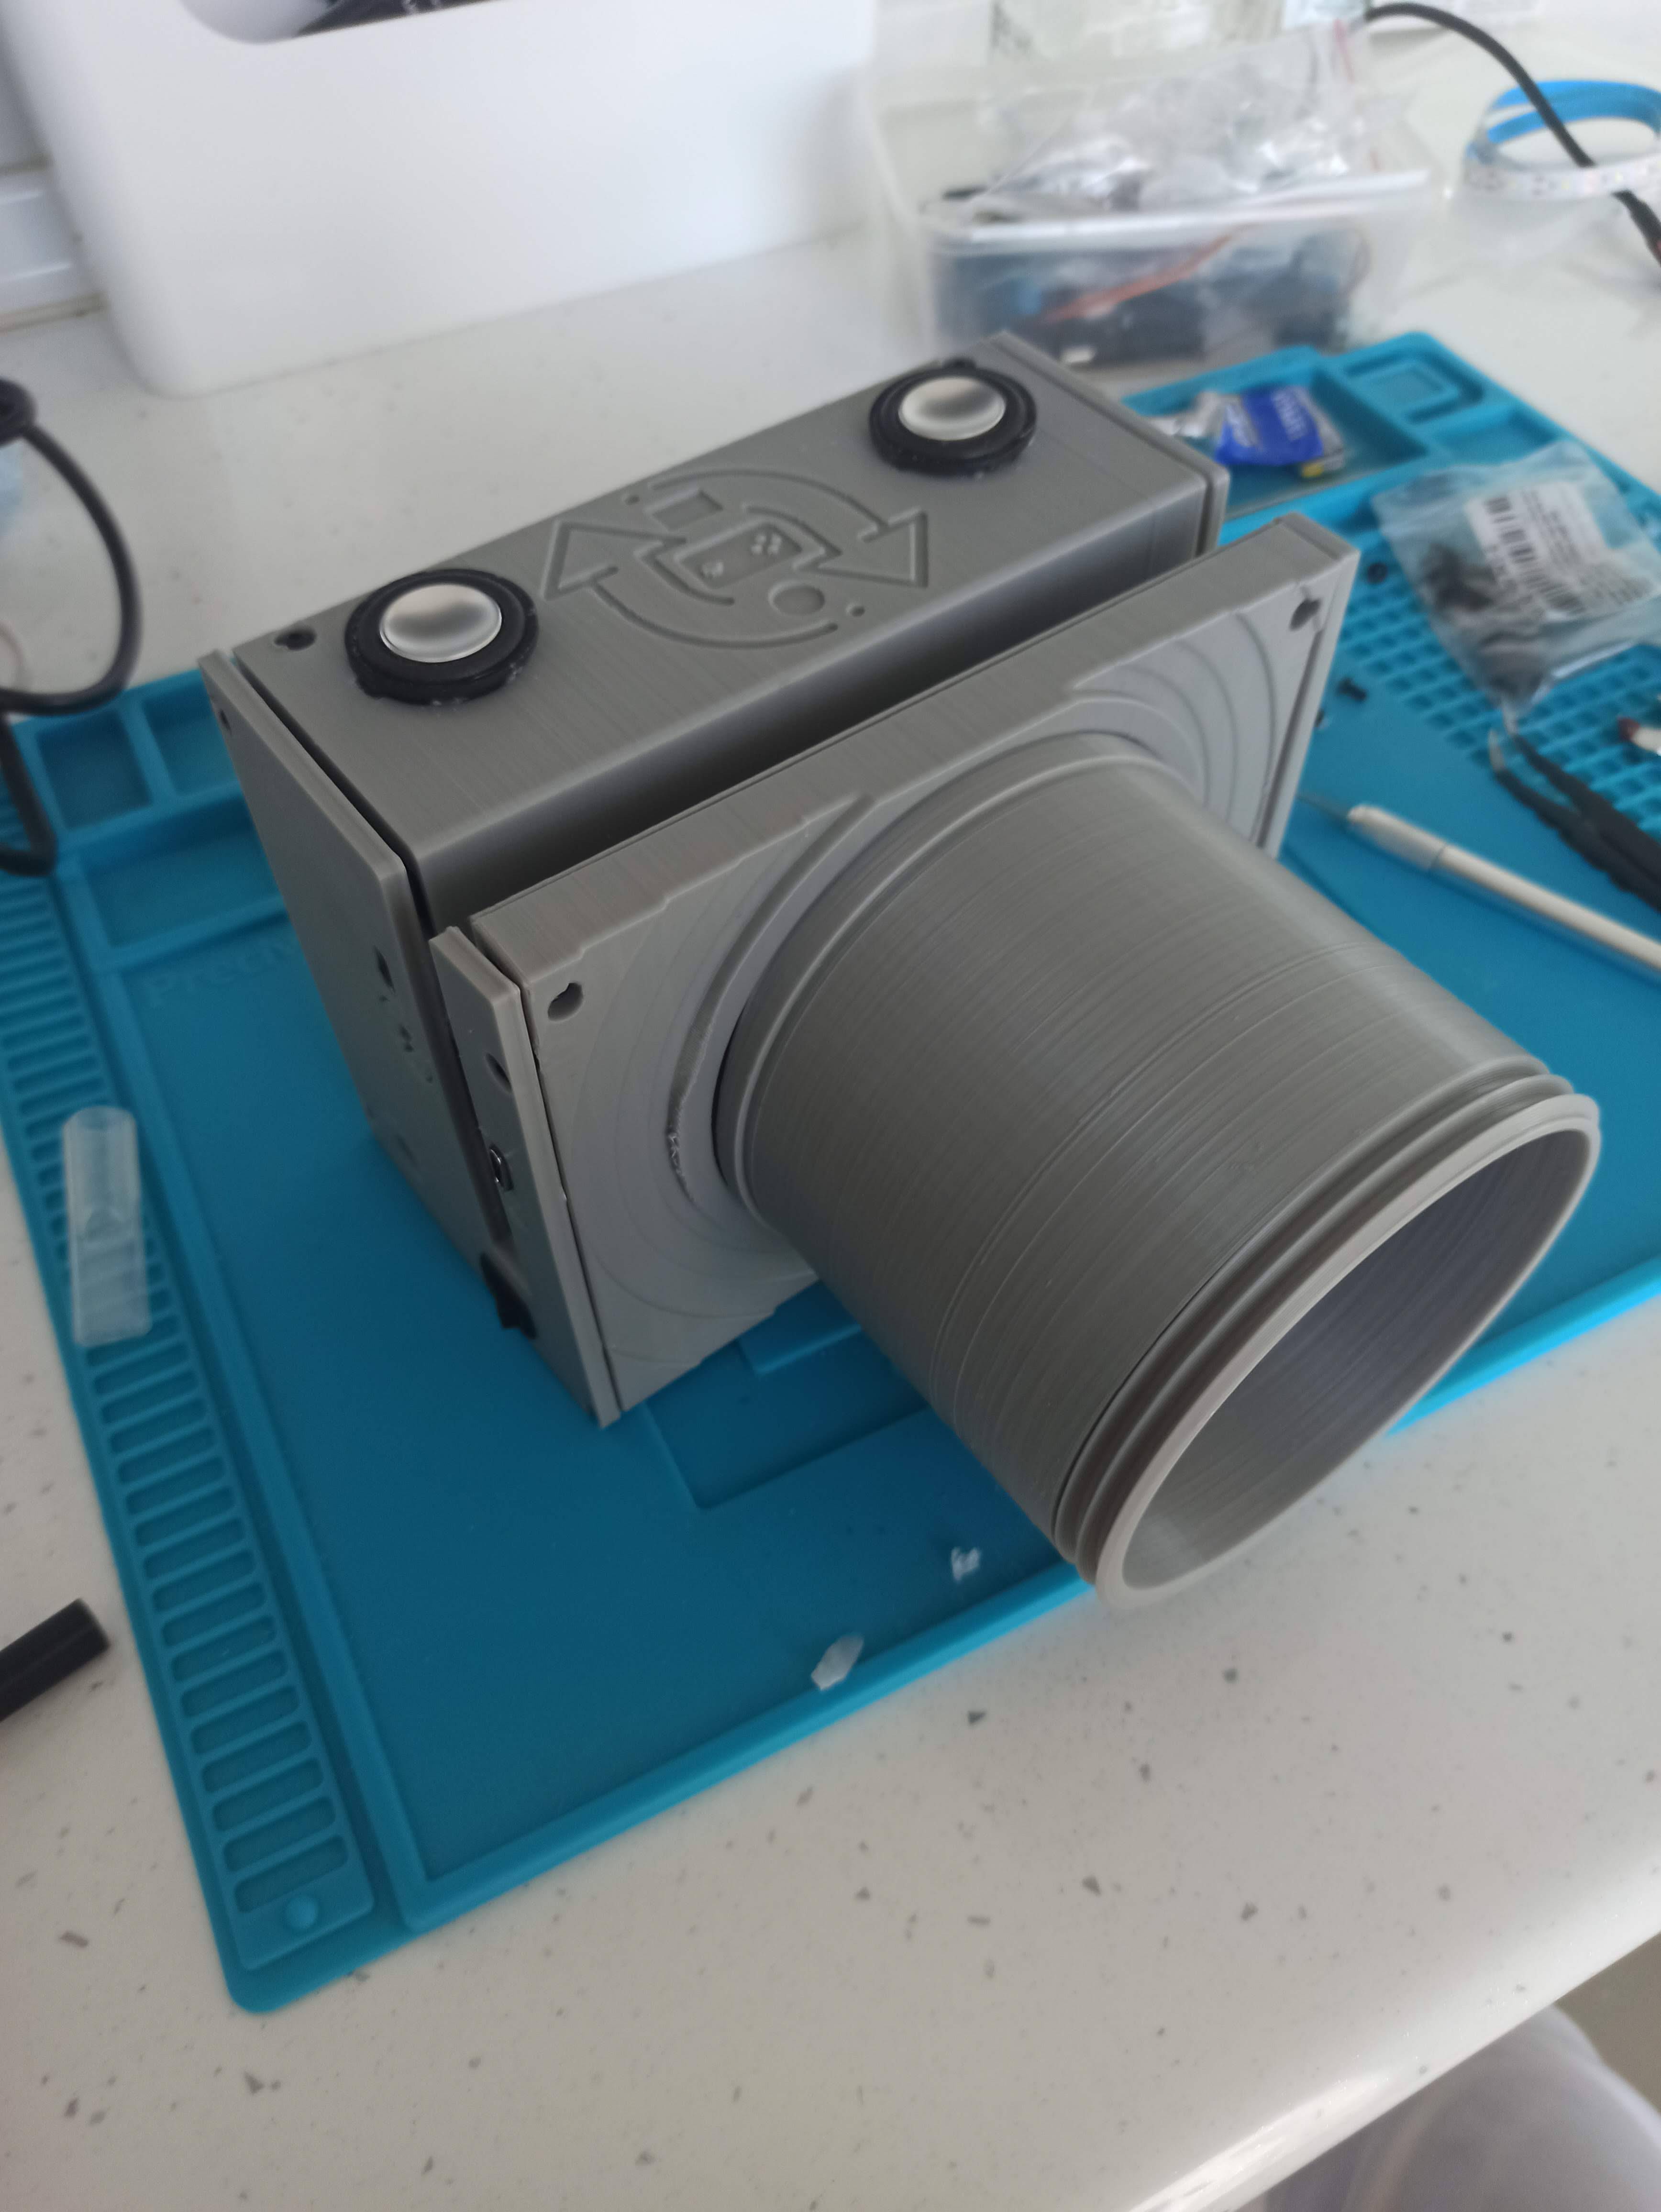
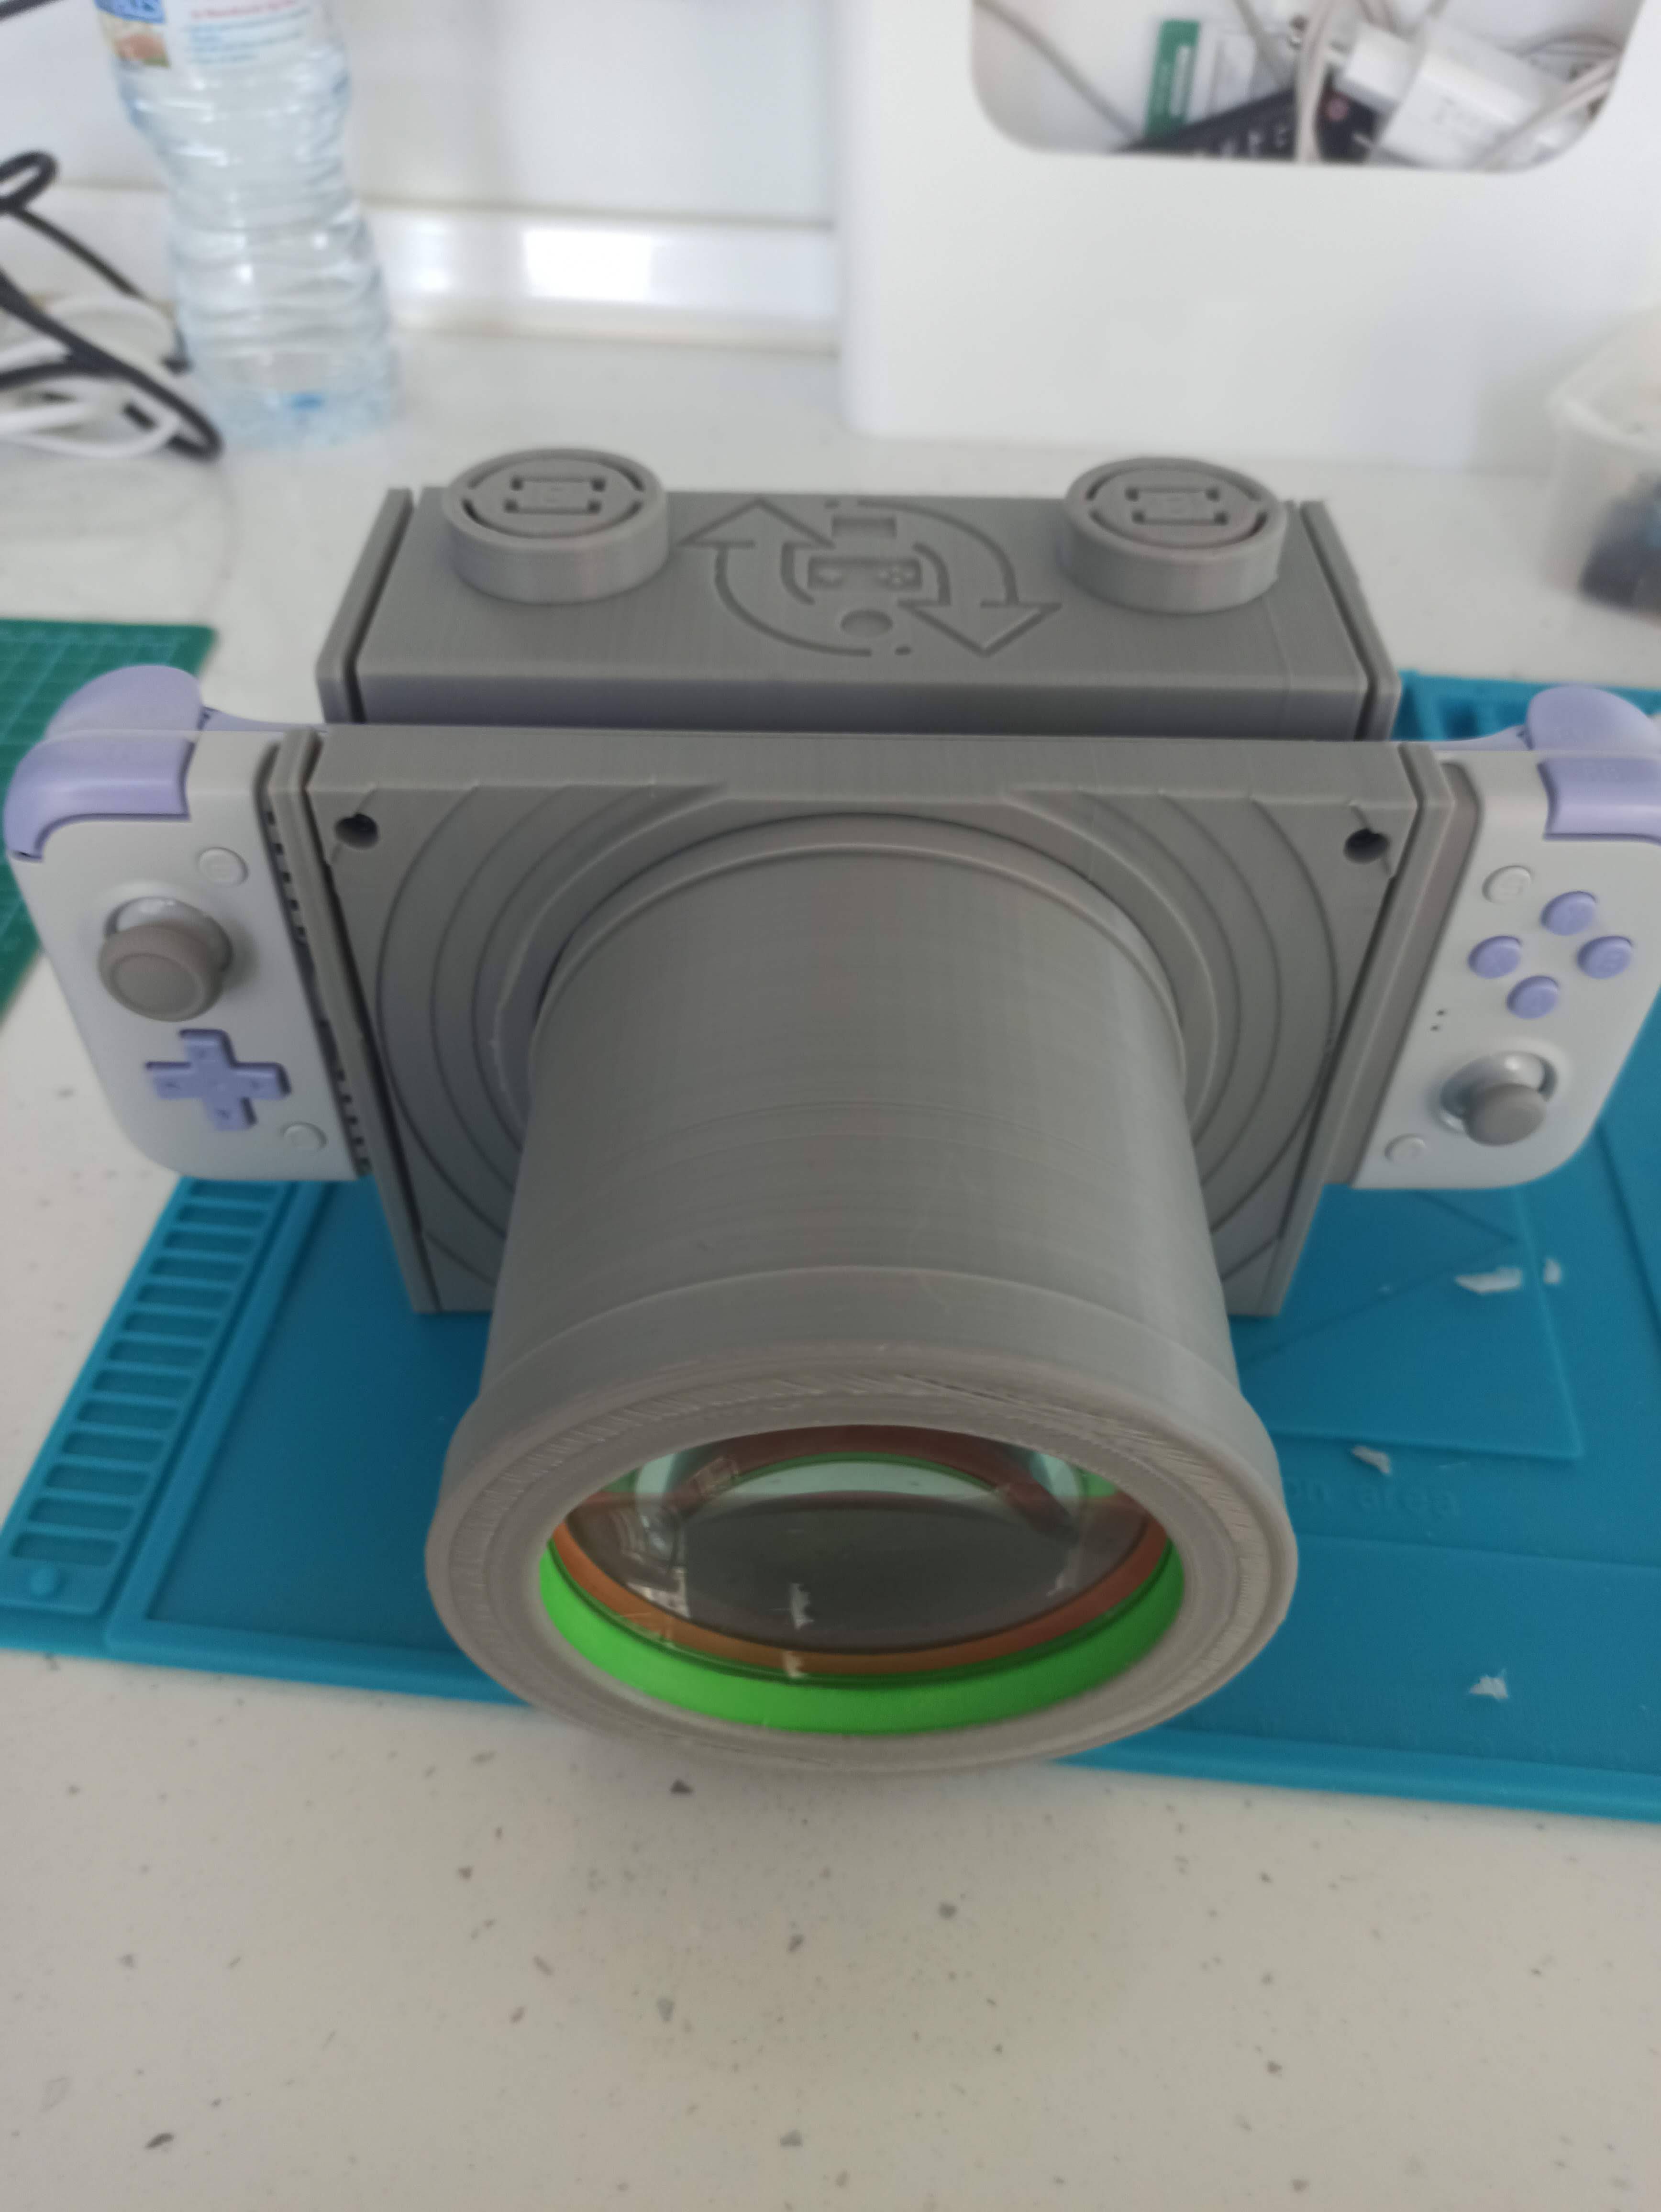
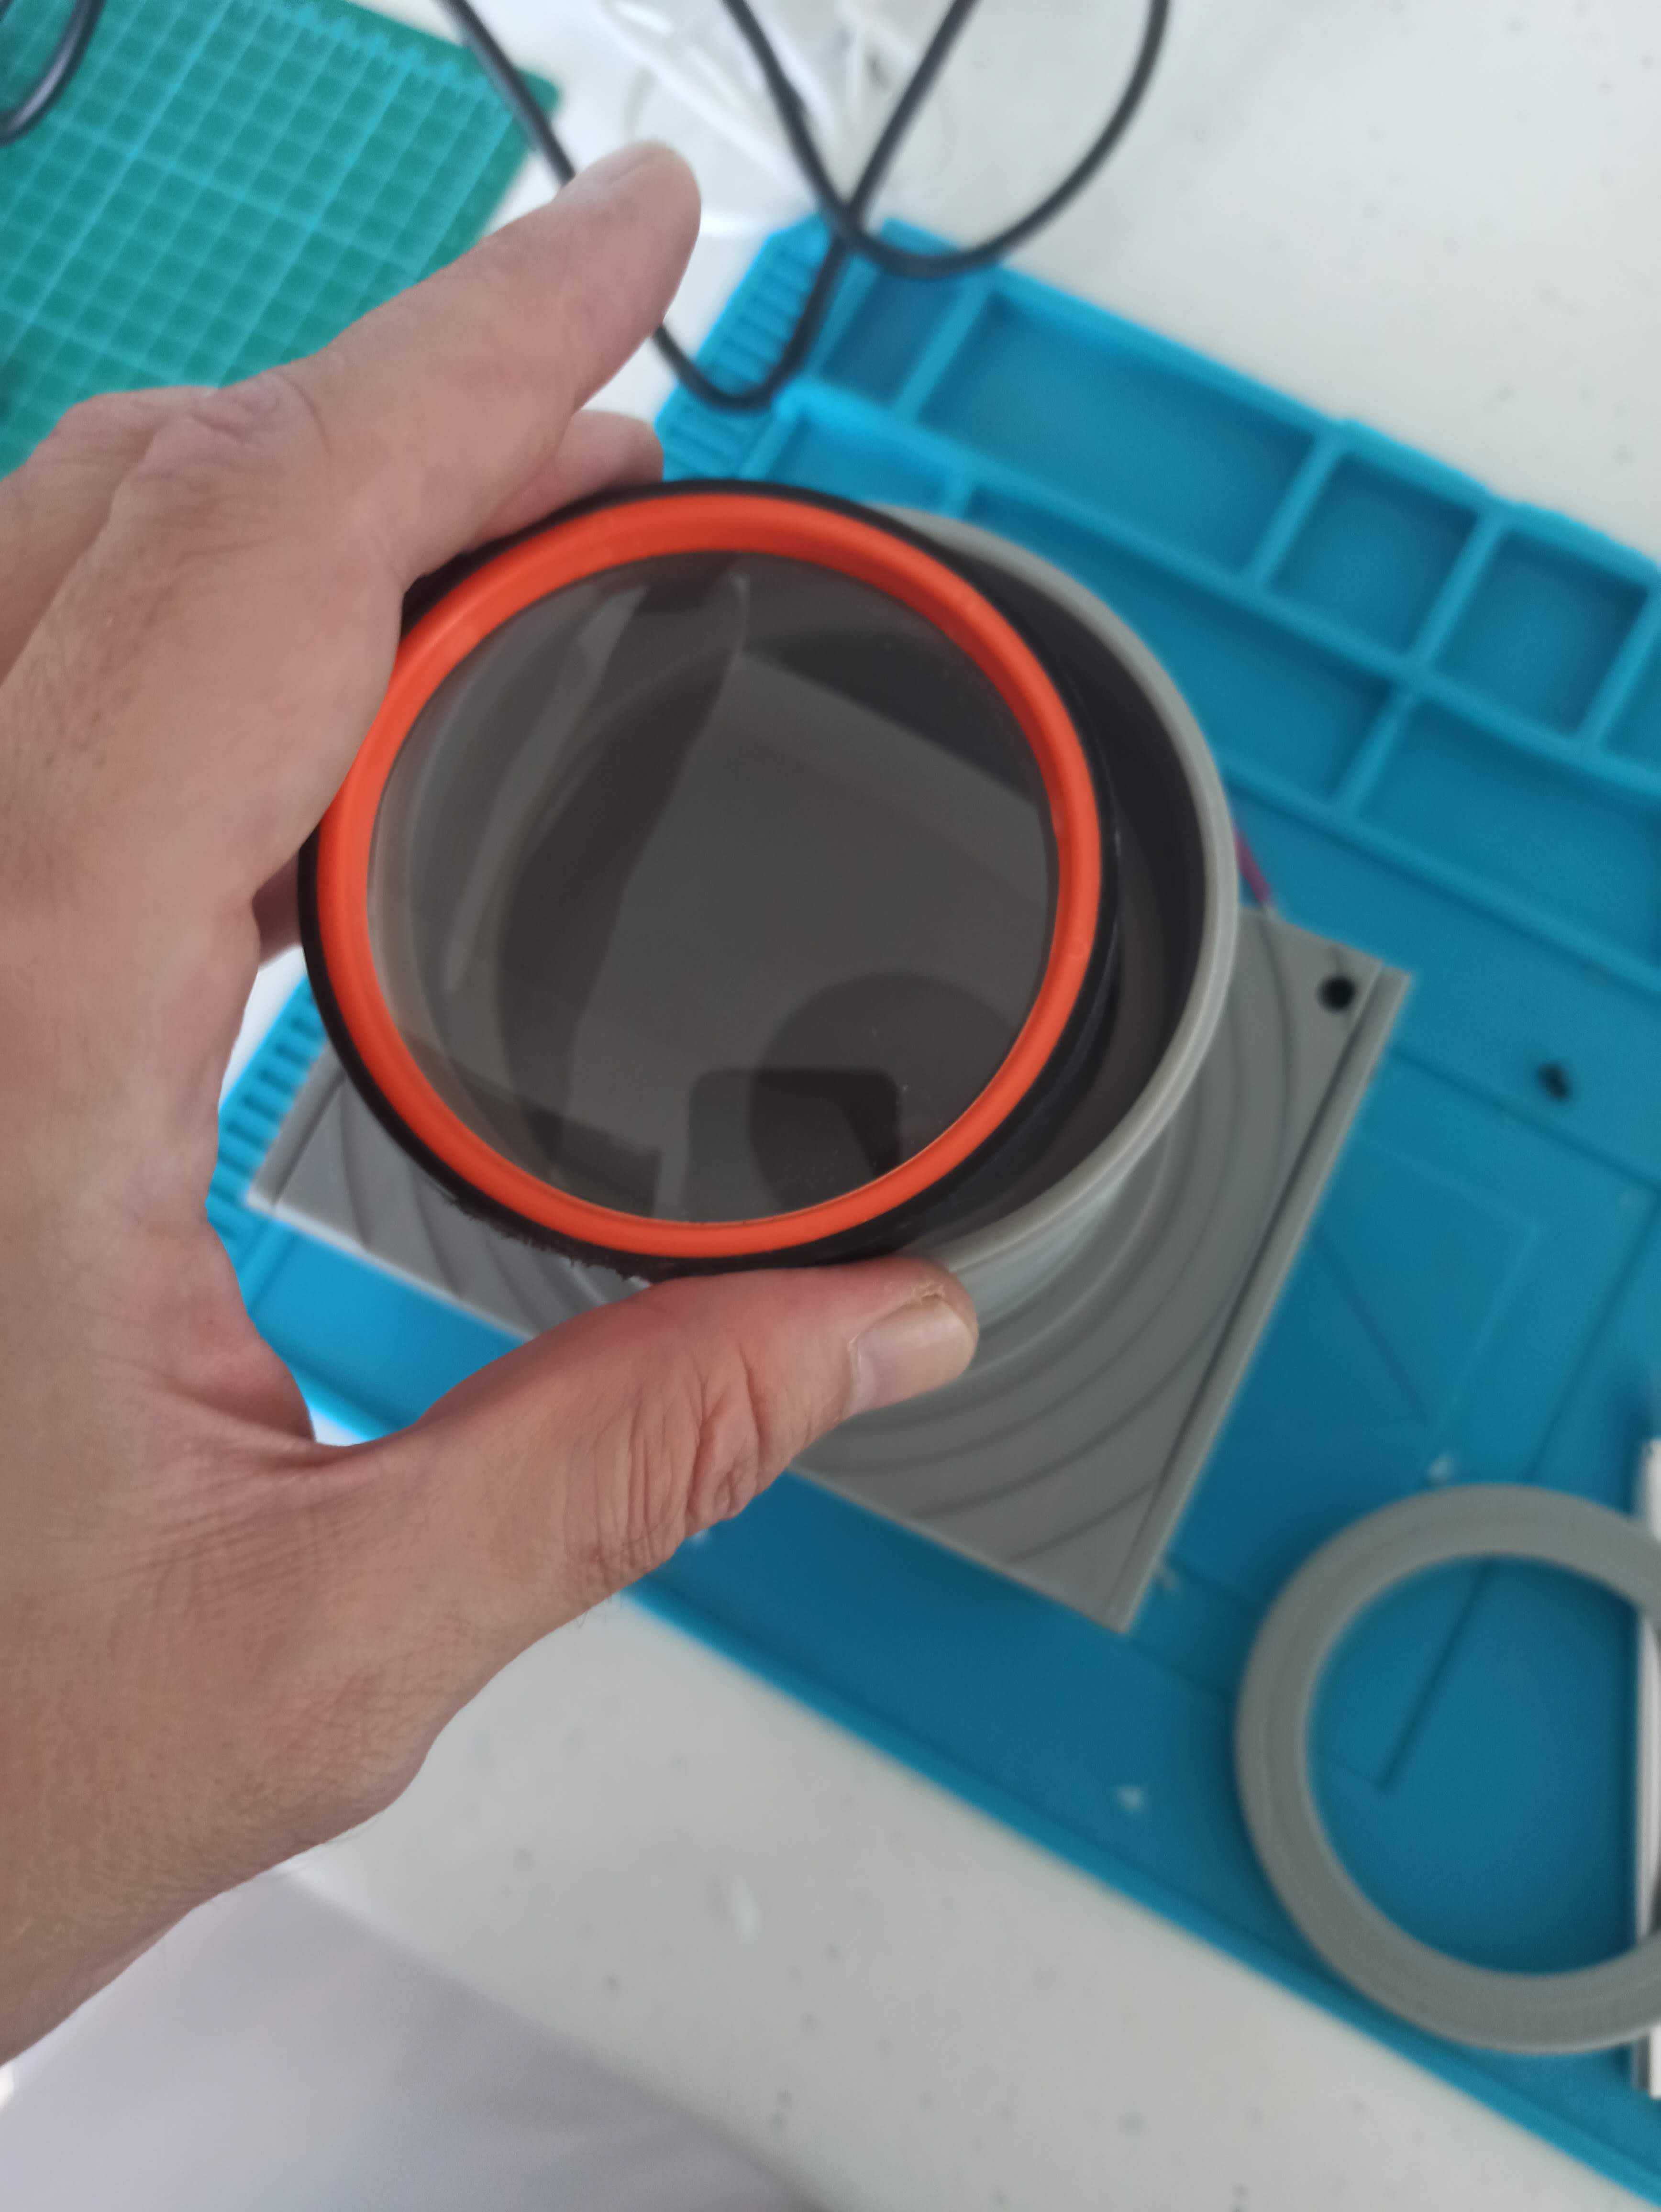
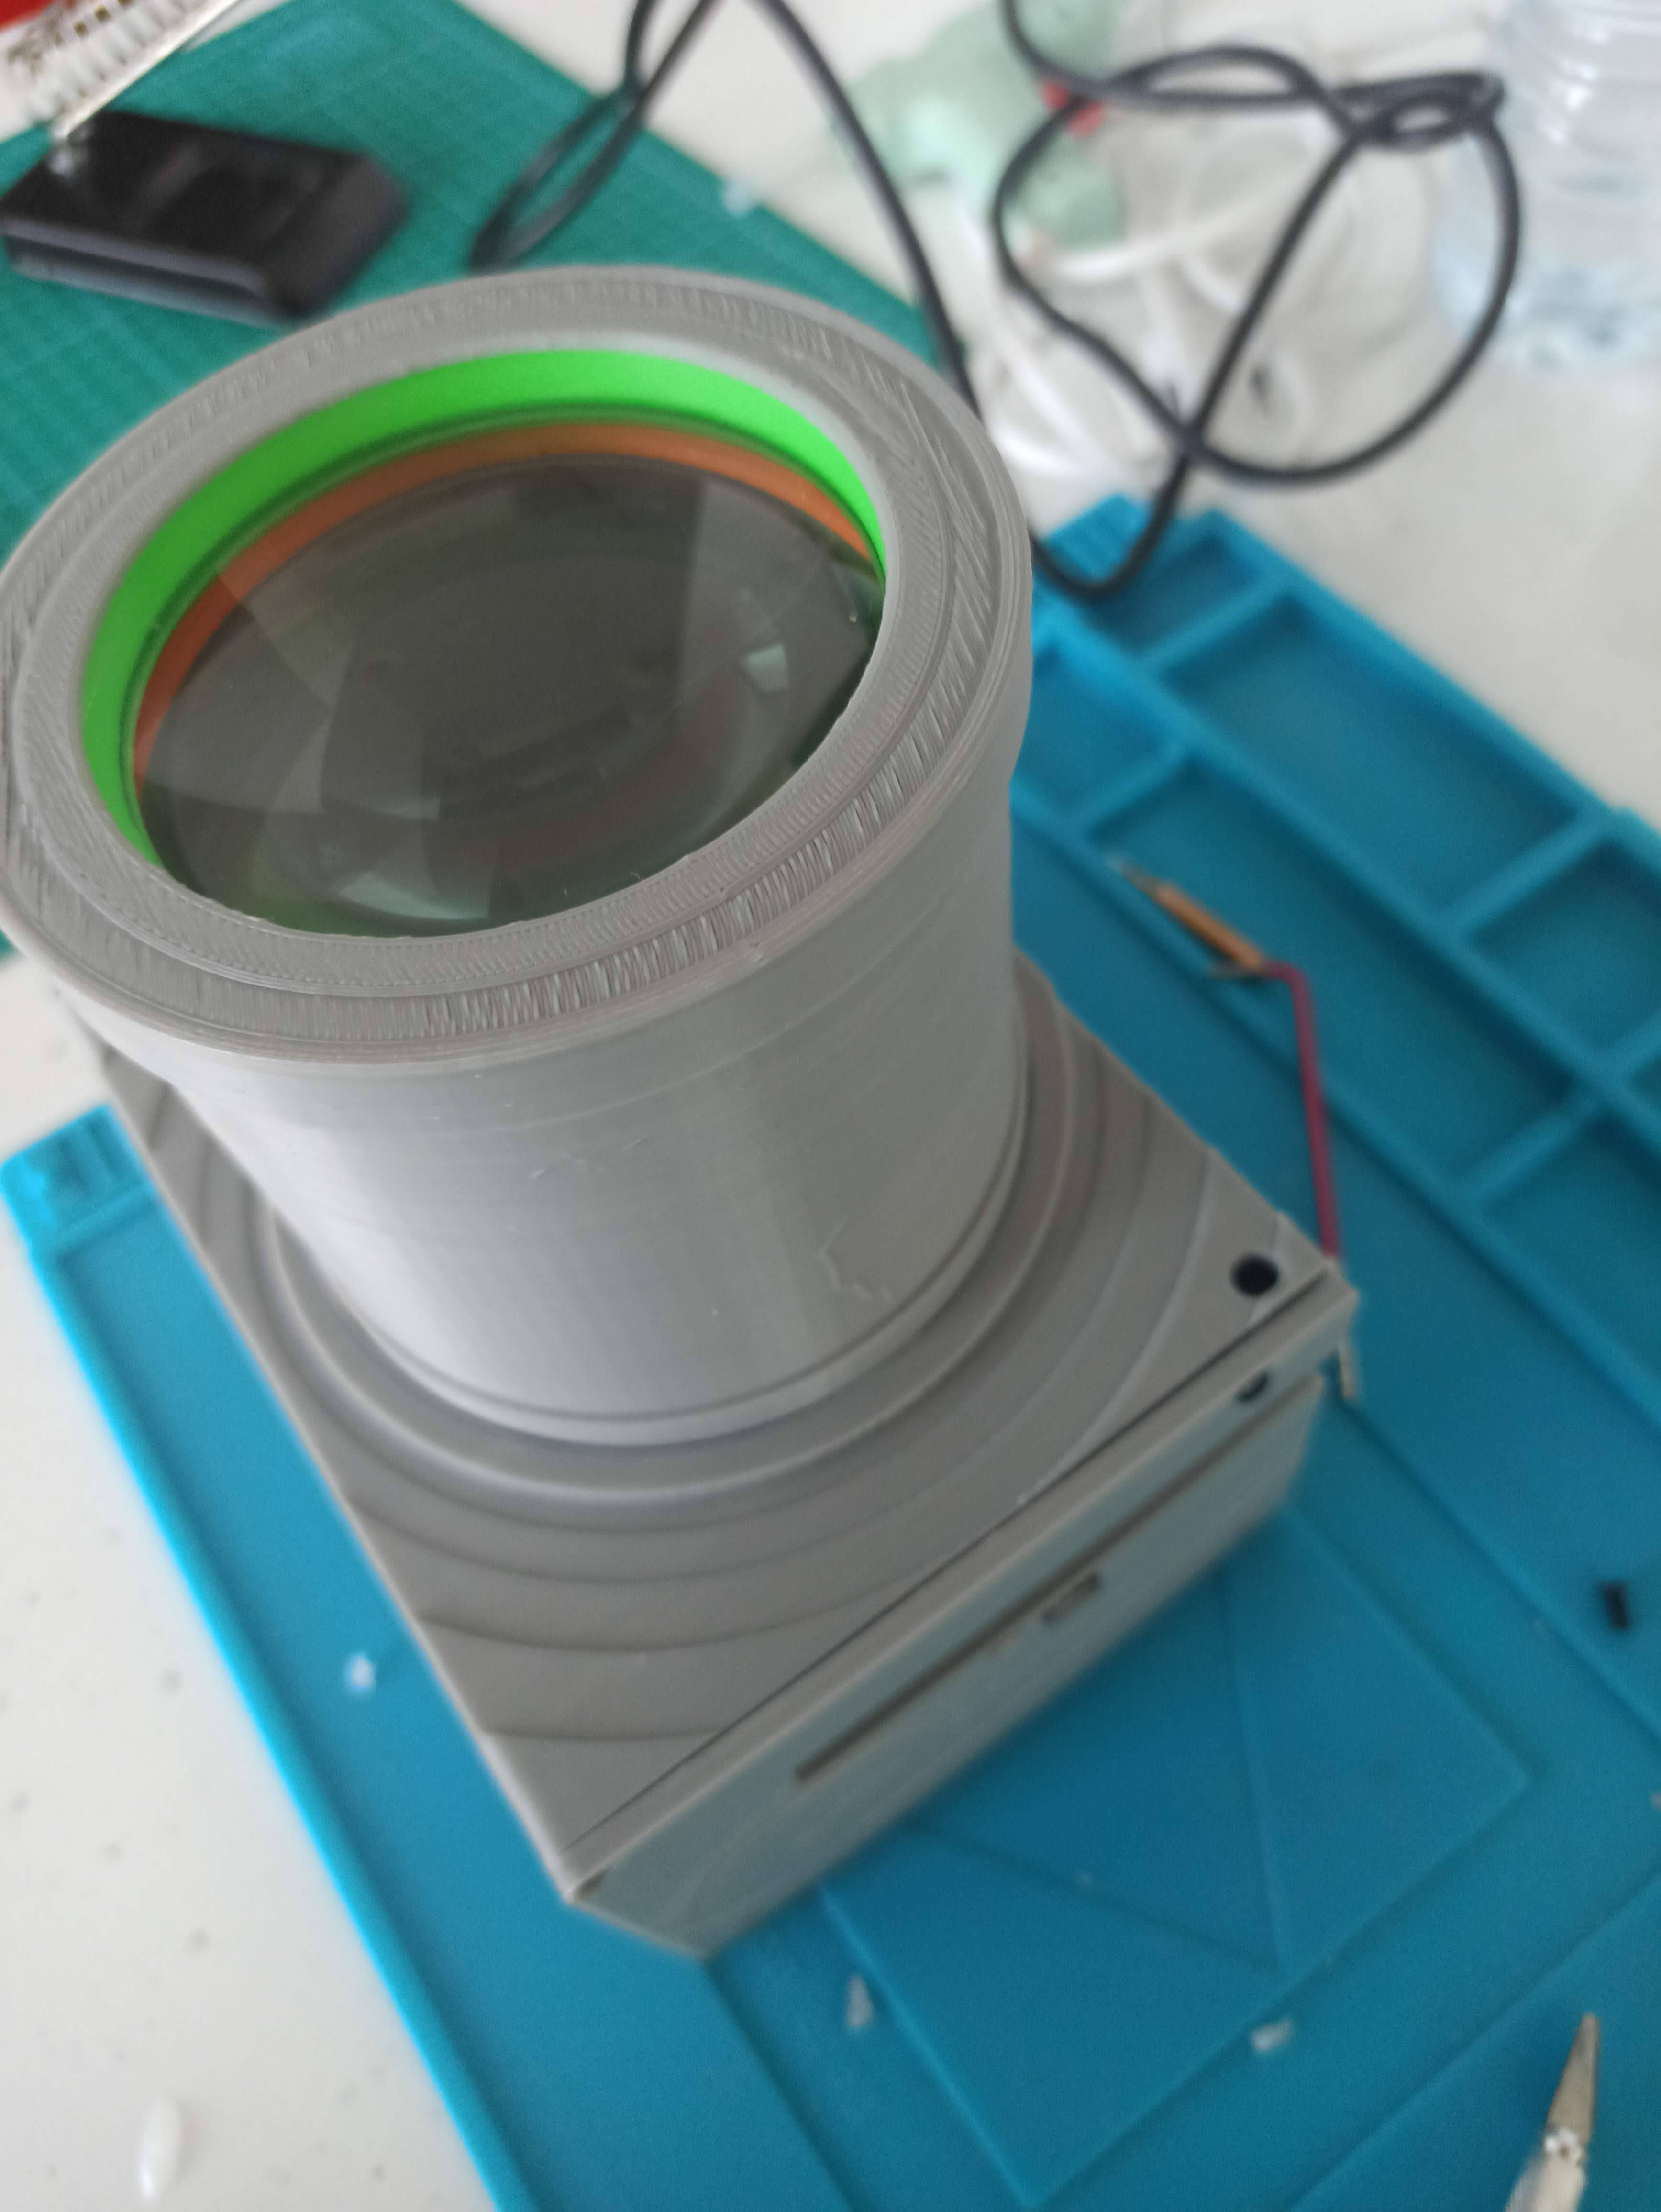
10Input the Lens
![]()
![]()
![]()
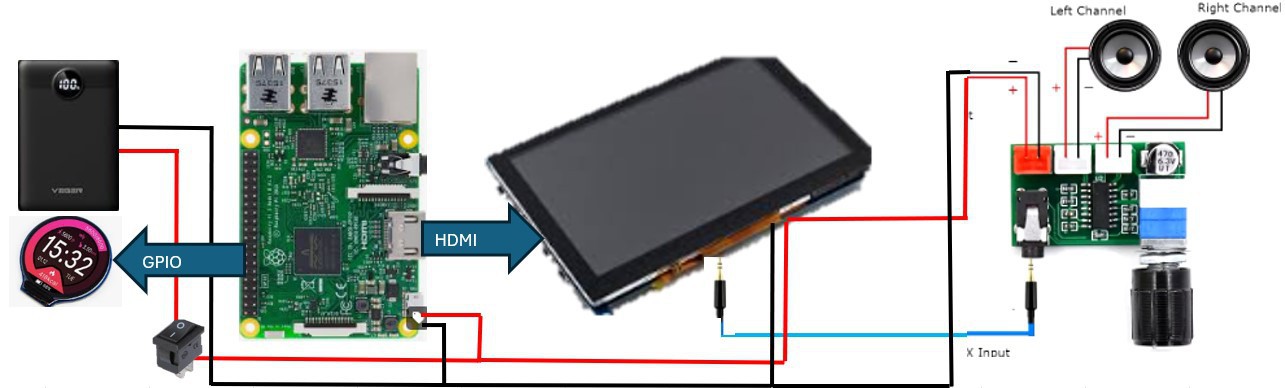
SWAP ARCADE
The project consists of building a portable mini arcade with two displays. IPS round with lens & IPS 4&quo


Discussions
Become a Hackaday.io Member
Create an account to leave a comment. Already have an account? Log In.