Close
0%
0%

pod, controller board and simulator

Golang hexapod simulator and controller.

Similar projects worth following
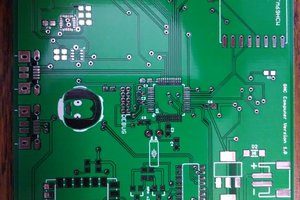
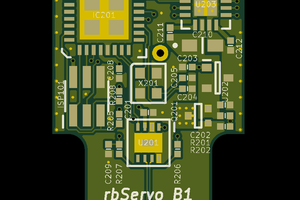
A couple of years ago, I built this Dynamixel powered Hexapod. It sports 18 AX-12A servos and a custom controller board of my own design. It looks impressive, but it lacks proper kinematics firmware.

I have to admit that I underestimated the complexity of robotics at the time of the build. Building a robot is easy. Making it behave the way you want is a bit more difficult.

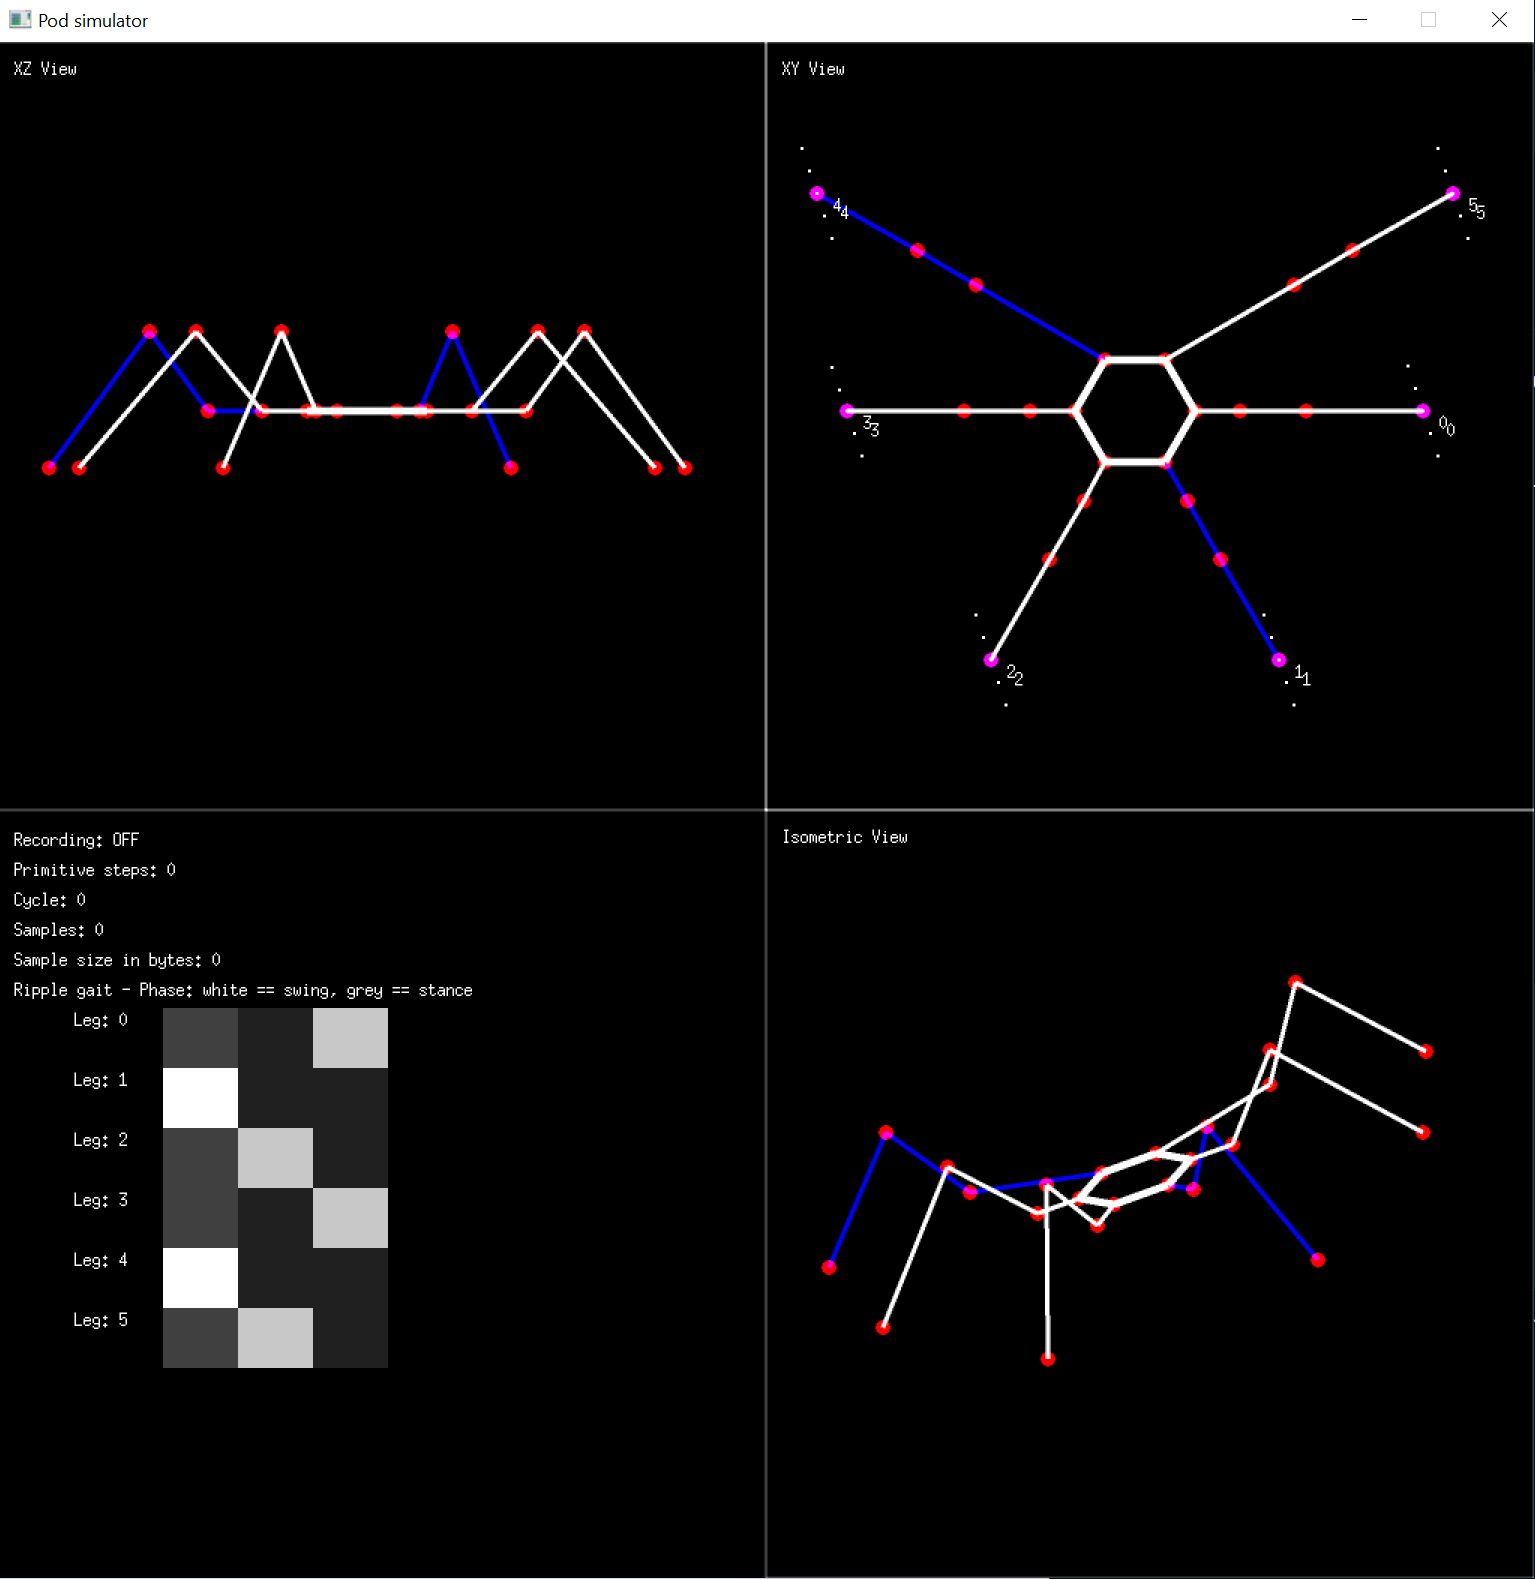
In order to properly learn the fundamentals of kinematics for this system, I decided to create a simple pod simulator in golang. This allows me to play around with topology, forward and inverse kinematics, various gaits and gait transitions.

I'm currently running the simulator under Windows and MacOS, but I am planning to also compile it for Raspberry Pi, which I in turn can use as a more generic robot controller (Or maybe just run the kinematics part on a computer and then stream servo parameters to an ESP32 based controller board)

Originally, I was aiming for a pure hexapod simulator, but as the code matured, I realized that it was trivial to add support for pods with a different number of legs. (e.g. pentapods, heptapods and octopods etc). Since the kinematics is generic, adding support for other pods turned out to be trivial, but the choice of gait patterns are restricted for certain N number and legs. (Hexapods can choose between tripod, wave and ripple gaits, but trying to implement something other than wave gait for a heptapod made my head hurt)

I chose golang, since the language compiles on both mac, windows and raspberry pi. The idea was to first run the simulator with the GUI to verify the kinematics on a computer, and then run more or less the same code in "controller" mode on a raspberry pi (as a controller board for the robot).

Another possibility is to run the controller/kinematics code on a computer and then stream the servo parameters to a simpler ESP32 based board over the network. This also enables easy integration with external sensors in the room, as well as making it possible to orchestrate the movements of several robots at the same time.

As soon as the project is finished, i.e. I have wandering hexapods in the mancave, I'll opensource the code and design files on github.

View all 6 components

  • GOIK Hexapod designer / simulator on GitHub

    Hans Jørgen Grimstad4 days ago 0 comments

    I decided to release the source code for my hexapod designer / simulator on GitHub. The code is "as is". In other words - no promises :) (I still consider this to be work in progress)

    I am also tinkering with a new more generic controller board with more compute "oomph" (Pi CM5 with CANbus/dynamixel/pwm servo interfaces) That would allow mix and match of servo types in the same robot (Just got a batch of Xiaomi Cybergears that I want to play with).

    I'm not entirely sure where this is all heading yet, but my gut feeling is that more of the GOIK code is going to end up running on the CM5 in this next version (instead of having to run the simulator on a PC/Mac and then exporting motion primitives for playback on a microcontroller or streaming servo parameters via UDP to the microcontroller)


  • June 26 update - adventures in silicone

    Hans Jørgen Grimstad06/27/2024 at 09:44 0 comments

    I have spent the last couple of evenings creating a skin for the small hexpod. I 3D printed a frame and sculpted more organic shapes and added some texture to the skin.
    I have so far only finished the center "hub". I'll probably finish the leg mold in a few more days.
    The brush-on mold was created with 4 layers of Rebound 25 from Smooth On (FormX in Amsterdam, since I'm based in Europe). This was rigid enough to not need a support shell. I then sprayed several applications of Ease Release 200 inside and poured in Dragon Skin 10. Slush casting with silicone isn't easy, but there is enough surface adhesion to leave a thin skin for each application even if you drain the excess.

    Each layer was pigmented in different shades using SIL Tone pigments (Looks really nice when the internal LEDS light up :))

  • May 29. Update

    Hans Jørgen Grimstad05/29/2024 at 09:21 0 comments

    I stitched together a new video yesterday, demonstrating the new editing features and also autonomous walking, using motion primitives

  • May 26. Update

    Hans Jørgen Grimstad05/27/2024 at 11:12 0 comments

    In addition to streaming live servo parameters, I have now added recording functionality to the simulator. 

    That means that you now can record "motion primitives" (taking a step, posing the bot etc) and save the series of servo angles as files. These files can then be stored in a SPIFFS partion on the controller.

    The primitives can then be triggered via a remote controller or via a simple protocol over the network.

    All an aspiring hexapod builder then will have to do is to implement a simple command protocol and then use standard libraries for reading from files and setting goal positions on the servos (I'll of course provide example code for this)

    The new "export" command also lets you provide the maximum servo angle and a bitmask that let you specify the direction of the servi horn (if it is pointing towards positive or negative Z in the kinematic reference frame). I am normalizing this to a 0-1024 range (with a midpoint of 512 defining 0 degrees)

    This also means that exported motion data from the simulator/designer/playgorund is servo agnostic. If you are using PWM servos, only a simple translator from a normalized value to the corresponding servo PWM signal is required.

    Achieving seamless transitions between motion primitives complicates stuff somewhat on my end, but it will make life much easier for the user. 

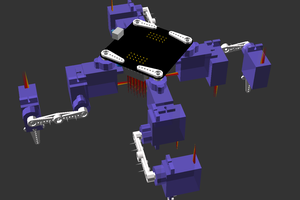
    Another update is that it is now possible to customize each leg separately. This means that every leg in the pod can potentially be totally different in terms of rest angles and segment lenght (The kinematics code is totally generic, so the pod will still be able to walk as long as it is stable with the stance phase legs). As an example, a spider like octopod topology is now possible with longer front and hind legs.

    An added bonus for the user (that didn't really hit me until recently) is that a hexapod builder armed with this software tool no longer needs to understand forward or inverse kinematics to be able build and control a <n>pod - which is kinda nice. This stuff used to be hard :)

  • May 12. Update

    Hans Jørgen Grimstad05/12/2024 at 21:46 0 comments

    Today, I have tested my new board. The only difference from the last is that the CP2102 VBUS pin is connected VBUS via a resistor ladder. The board now works as expected.

    This was the first test where I streamed servo parameters over wifi from the simulator to the physical hexpaod. It's not perfect, but it is a start. The robot moves and nothing smokes :)

    After having watched some of the footage in slow motion, I suspect that I may have mounted the coxa servos upside down., or that "something" is mirrored. I'm not 100 % sure yet, but it seems that the legs might work against each other when it attempts forward motion. Rotation seems to work ok, though.

  • May 5. Update - Dynamixel Espressif Driver

    Hans Jørgen Grimstad05/05/2024 at 12:48 0 comments

  • May 3. Update - dynamixel2espressif

    Hans Jørgen Grimstad05/03/2024 at 19:01 0 comments

    I pushed my first component to the Espressif repository today. Yay ! :)

    Robotis has a Dynamixel SDK for linux, mac and PC along with an Arduino library (Dynamixel2Arduino). Since I don't want to run the arduino framework, but instead use espressif / FreeRTOS, there was a bit of "impedance" mismatch between available libraries and the toolchain.

    The Dynamixel2Arduino is available under Apache 2.0, so I downloaded that, did some minor tweaks (since the c++ compiler in my toolchain seem to be somewhat stricter than the Arduino IDE) and implemented a new version of the port handler class (which is responsible for chatting with the UART).

    Except for the DXL constructor the API is unchanged.

    I have only done rudimentary testing so far (ping, set position etc), but the espressif port seems to be well behaved.

    I have made the espressif version available on the ESP Registry (ESP Component Registry) and on GitHub.

  • May 1. Update

    Hans Jørgen Grimstad05/01/2024 at 17:59 0 comments

    While waiting for JLC PCB to send me the new boards, I had to dismantle another robot and continue testing on one of my older boards.

    Today's task was to "port" the Dynamixel2Arduino-library to espressif / FreeRTOS (I have had a peek at the Dynamixel SDK and also the Dynamixel2Arduino library, but wasn't able to find an official library for espressif / FreeRTOS). So far this has been relatively trivial task with relatively minor changes to make it compile and run.

    The API + semantics are identical, execpt for initialization of the DXL class which is now:

    Dynamixel2Arduino dxl(UART_NUM_2, DXL_DIR_PIN);

     (I guess 'll rename it to Dynamxiel2Espressif when I'm done :))

    I have to do more rigid testing before I can claim success, but initial results are promising.

    One benefit of having this run under espressif / freertos is that it allows me to also use the dual core S3 and pin the driver to one core, while the UDP server runs on the other core. Not sure if this is really necessary, but it might be useful if the ESP gets really busy (The XL-320 servos can be configured to respond with status packets anywhere from 0 to 508 microseconds after it has received an instruction packet, so the latency requirements can be pretty tight if the controller wants status info from the servos to be able to operate).


  • Apr 30 update - smokin'

    Hans Jørgen Grimstad04/30/2024 at 20:18 0 comments

    This is a little annoying, but I had to spin another revision of the PCB since the CP2102N chip overheated and self-destructed after about half a day of testing Oddly enough, this did not happen immediately. I initially suspected that I had a short on the PCB, but after having smoked the board a second time after having replaced the CP2102N I suspected that there was a brain fart in the design.

    I have previously used the CP2103 in other designs and I had the USB VBUS connected directly to the VBUS pin on the chip. Unfortunately, I had not read the data sheet on the CP2102N well enough. It turns out that the VBUS has to be connected to the USB_VBUS via a resistor ladder. I have now updated the design without changing the rest of the layout (, so I don't have to order a new PCB stencil in addition.)

    In other news:
    The Golang dynamixel driver seems rather unstable and tends to lock up in certain scenarios, so I have now abandoned the plan to stream native DXL2.0 packets over UDP to the board and I plan to instead stream servo angles over UDP and then port the Arduino2Dynamixel driver to espressif/FreeRTOS and let that handle the servos. This wil also make it possible to handle status packets from the servos with a reasonable latency.

  • Apr 21 Update

    Hans Jørgen Grimstad04/24/2024 at 10:41 0 comments

View all 11 project logs

Enjoy this project?

Share

Discussions

foxotes610 wrote 06/27/2024 at 16:18 point

Playing at Just Casino in Australia has been a fantastic experience for me. The game selection is vast, and I can always find something new to try, which keeps things fresh and exciting. The site is well-designed and easy to navigate, making it perfect for Aussies like myself who want a hassle-free gaming experience. The bonuses have been generous, allowing me to extend my playtime and enjoy more games.

  Are you sure? yes | no

Similar Projects

Does this project spark your interest?

Become a member to follow this project and never miss any updates