Apologies for not posting in six months—I didn’t expect summer to bring so many distractions!
Here’s a quick summary of what happened during the hiatus:
Switches
Still in spring, I designed, printed, and installed all the switches for the main switch panel.
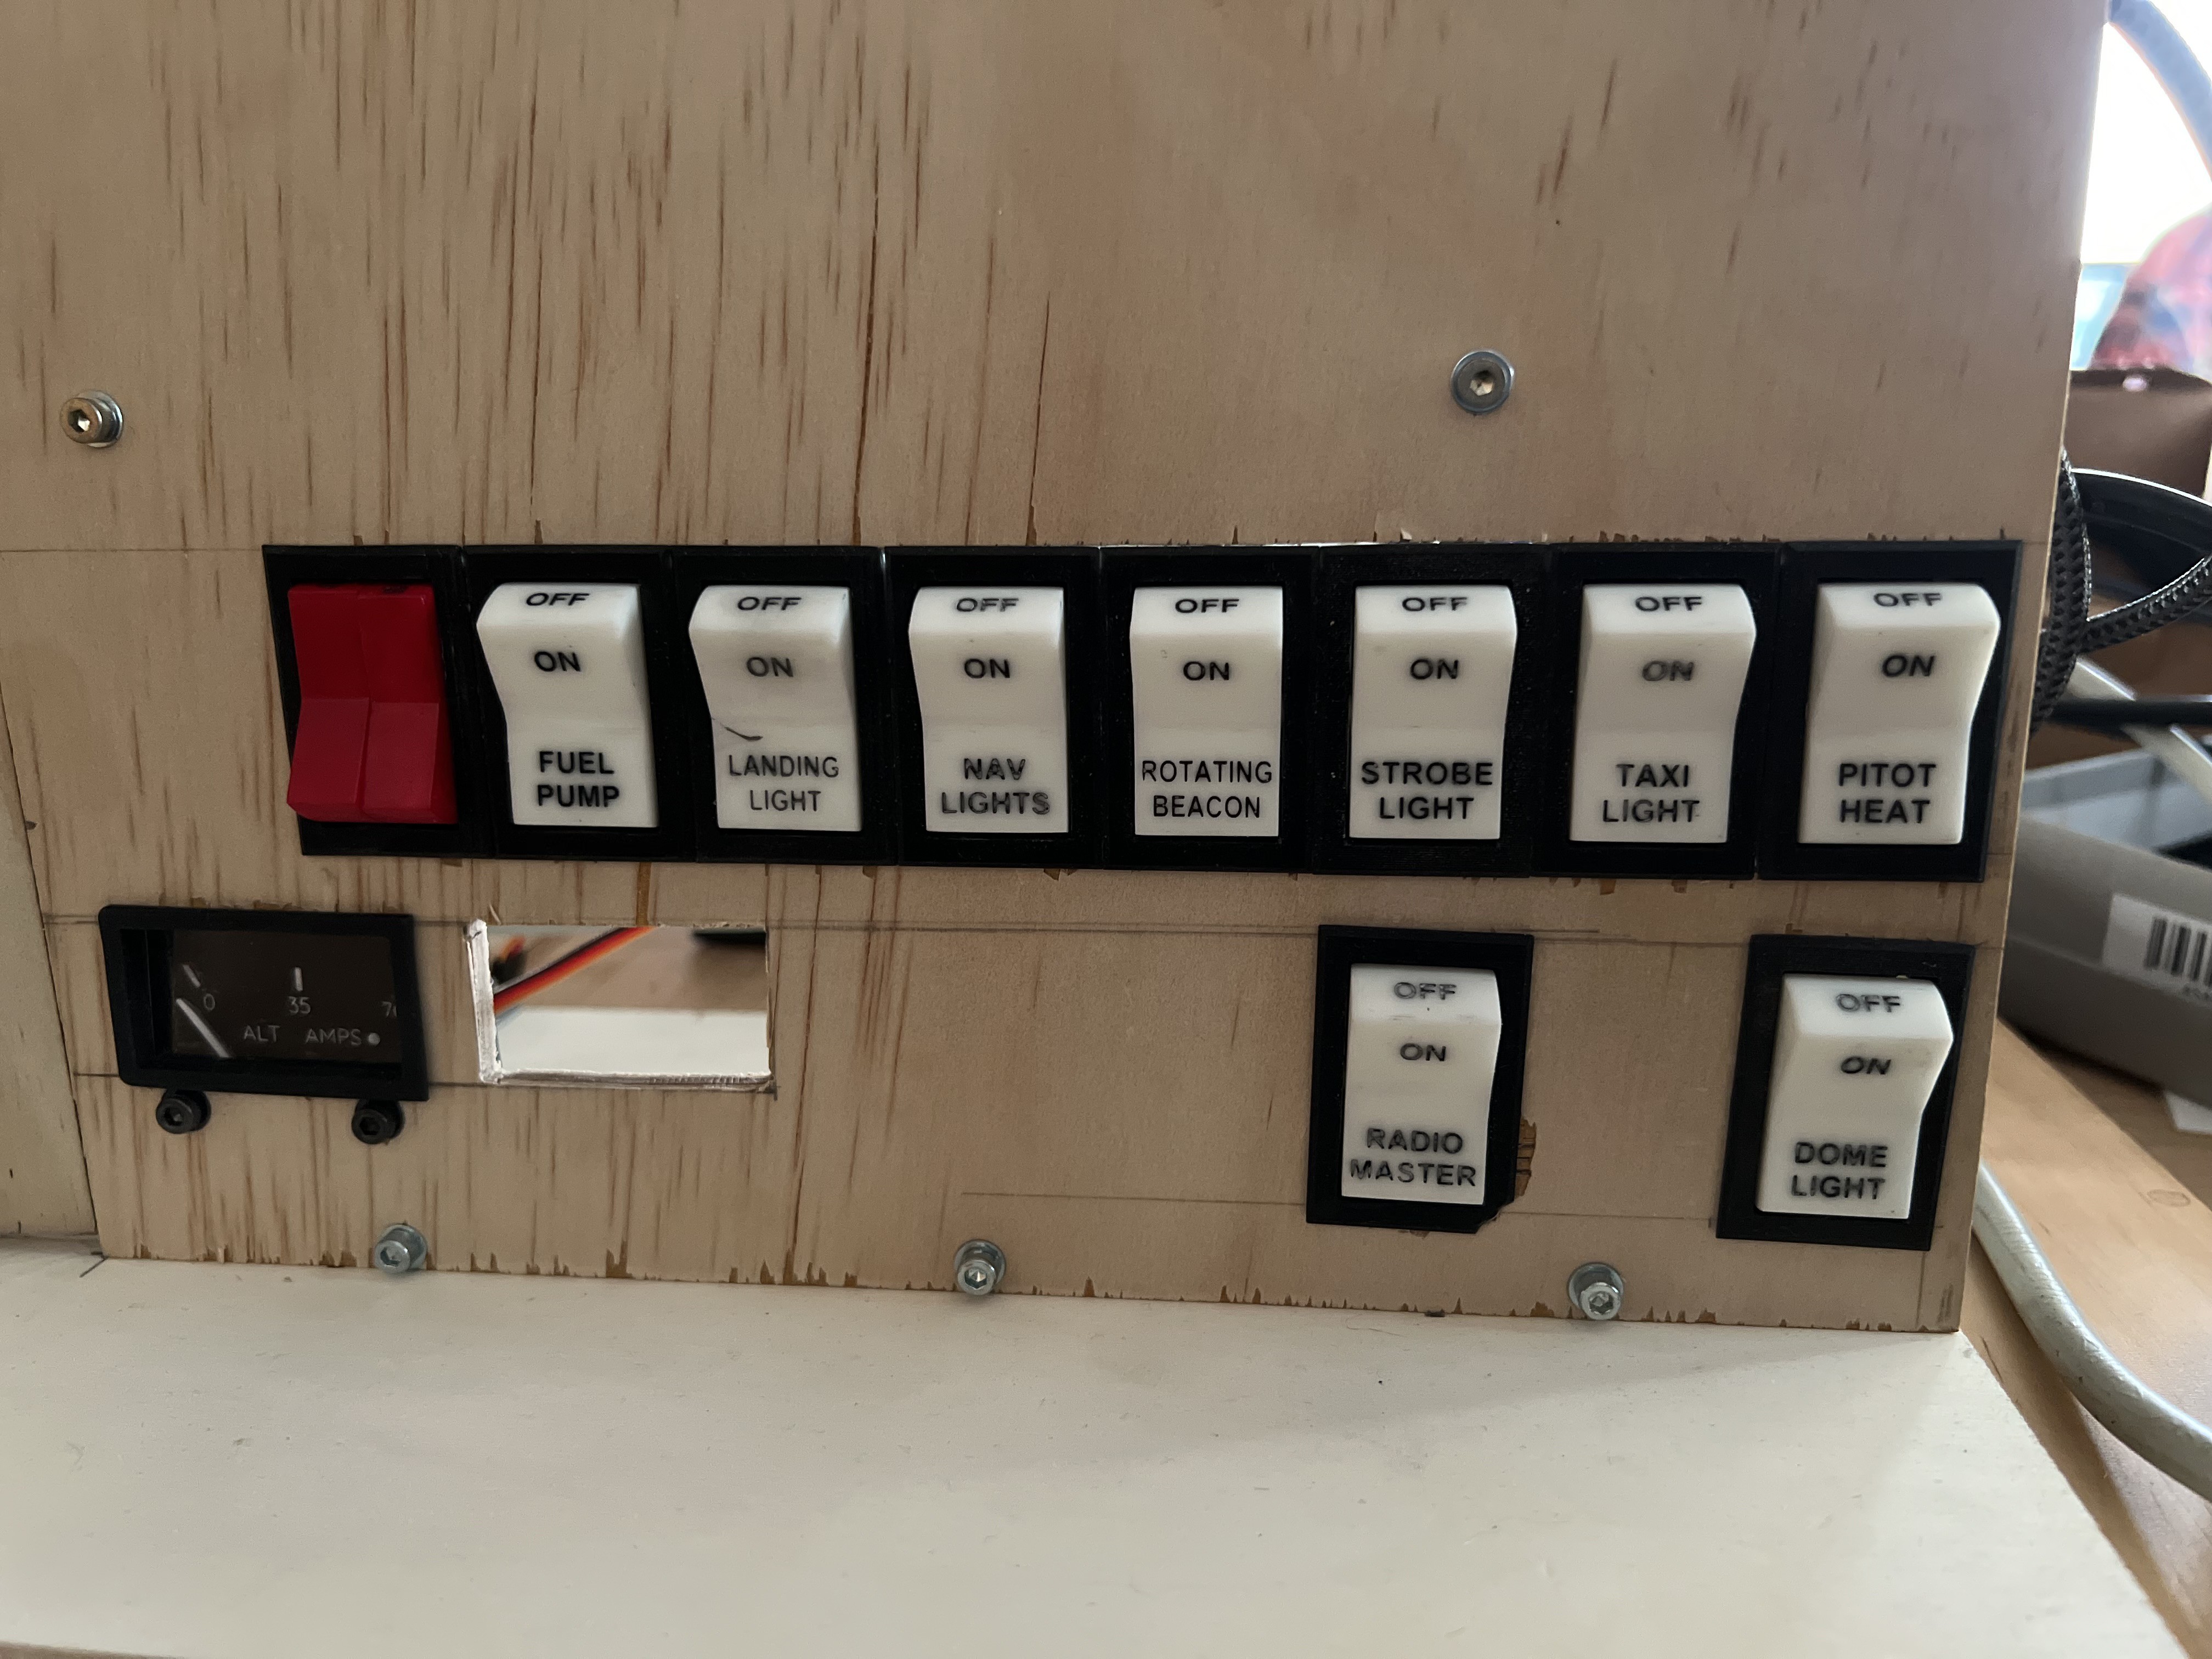
The switches are based on the elegant design by Jay727 on Thingiverse. Using this design as a foundation, I created a “full-width” version of the switch and embossed the writing on both the front and top of the buttons.
I printed the switches in white “ABS-like” resin:
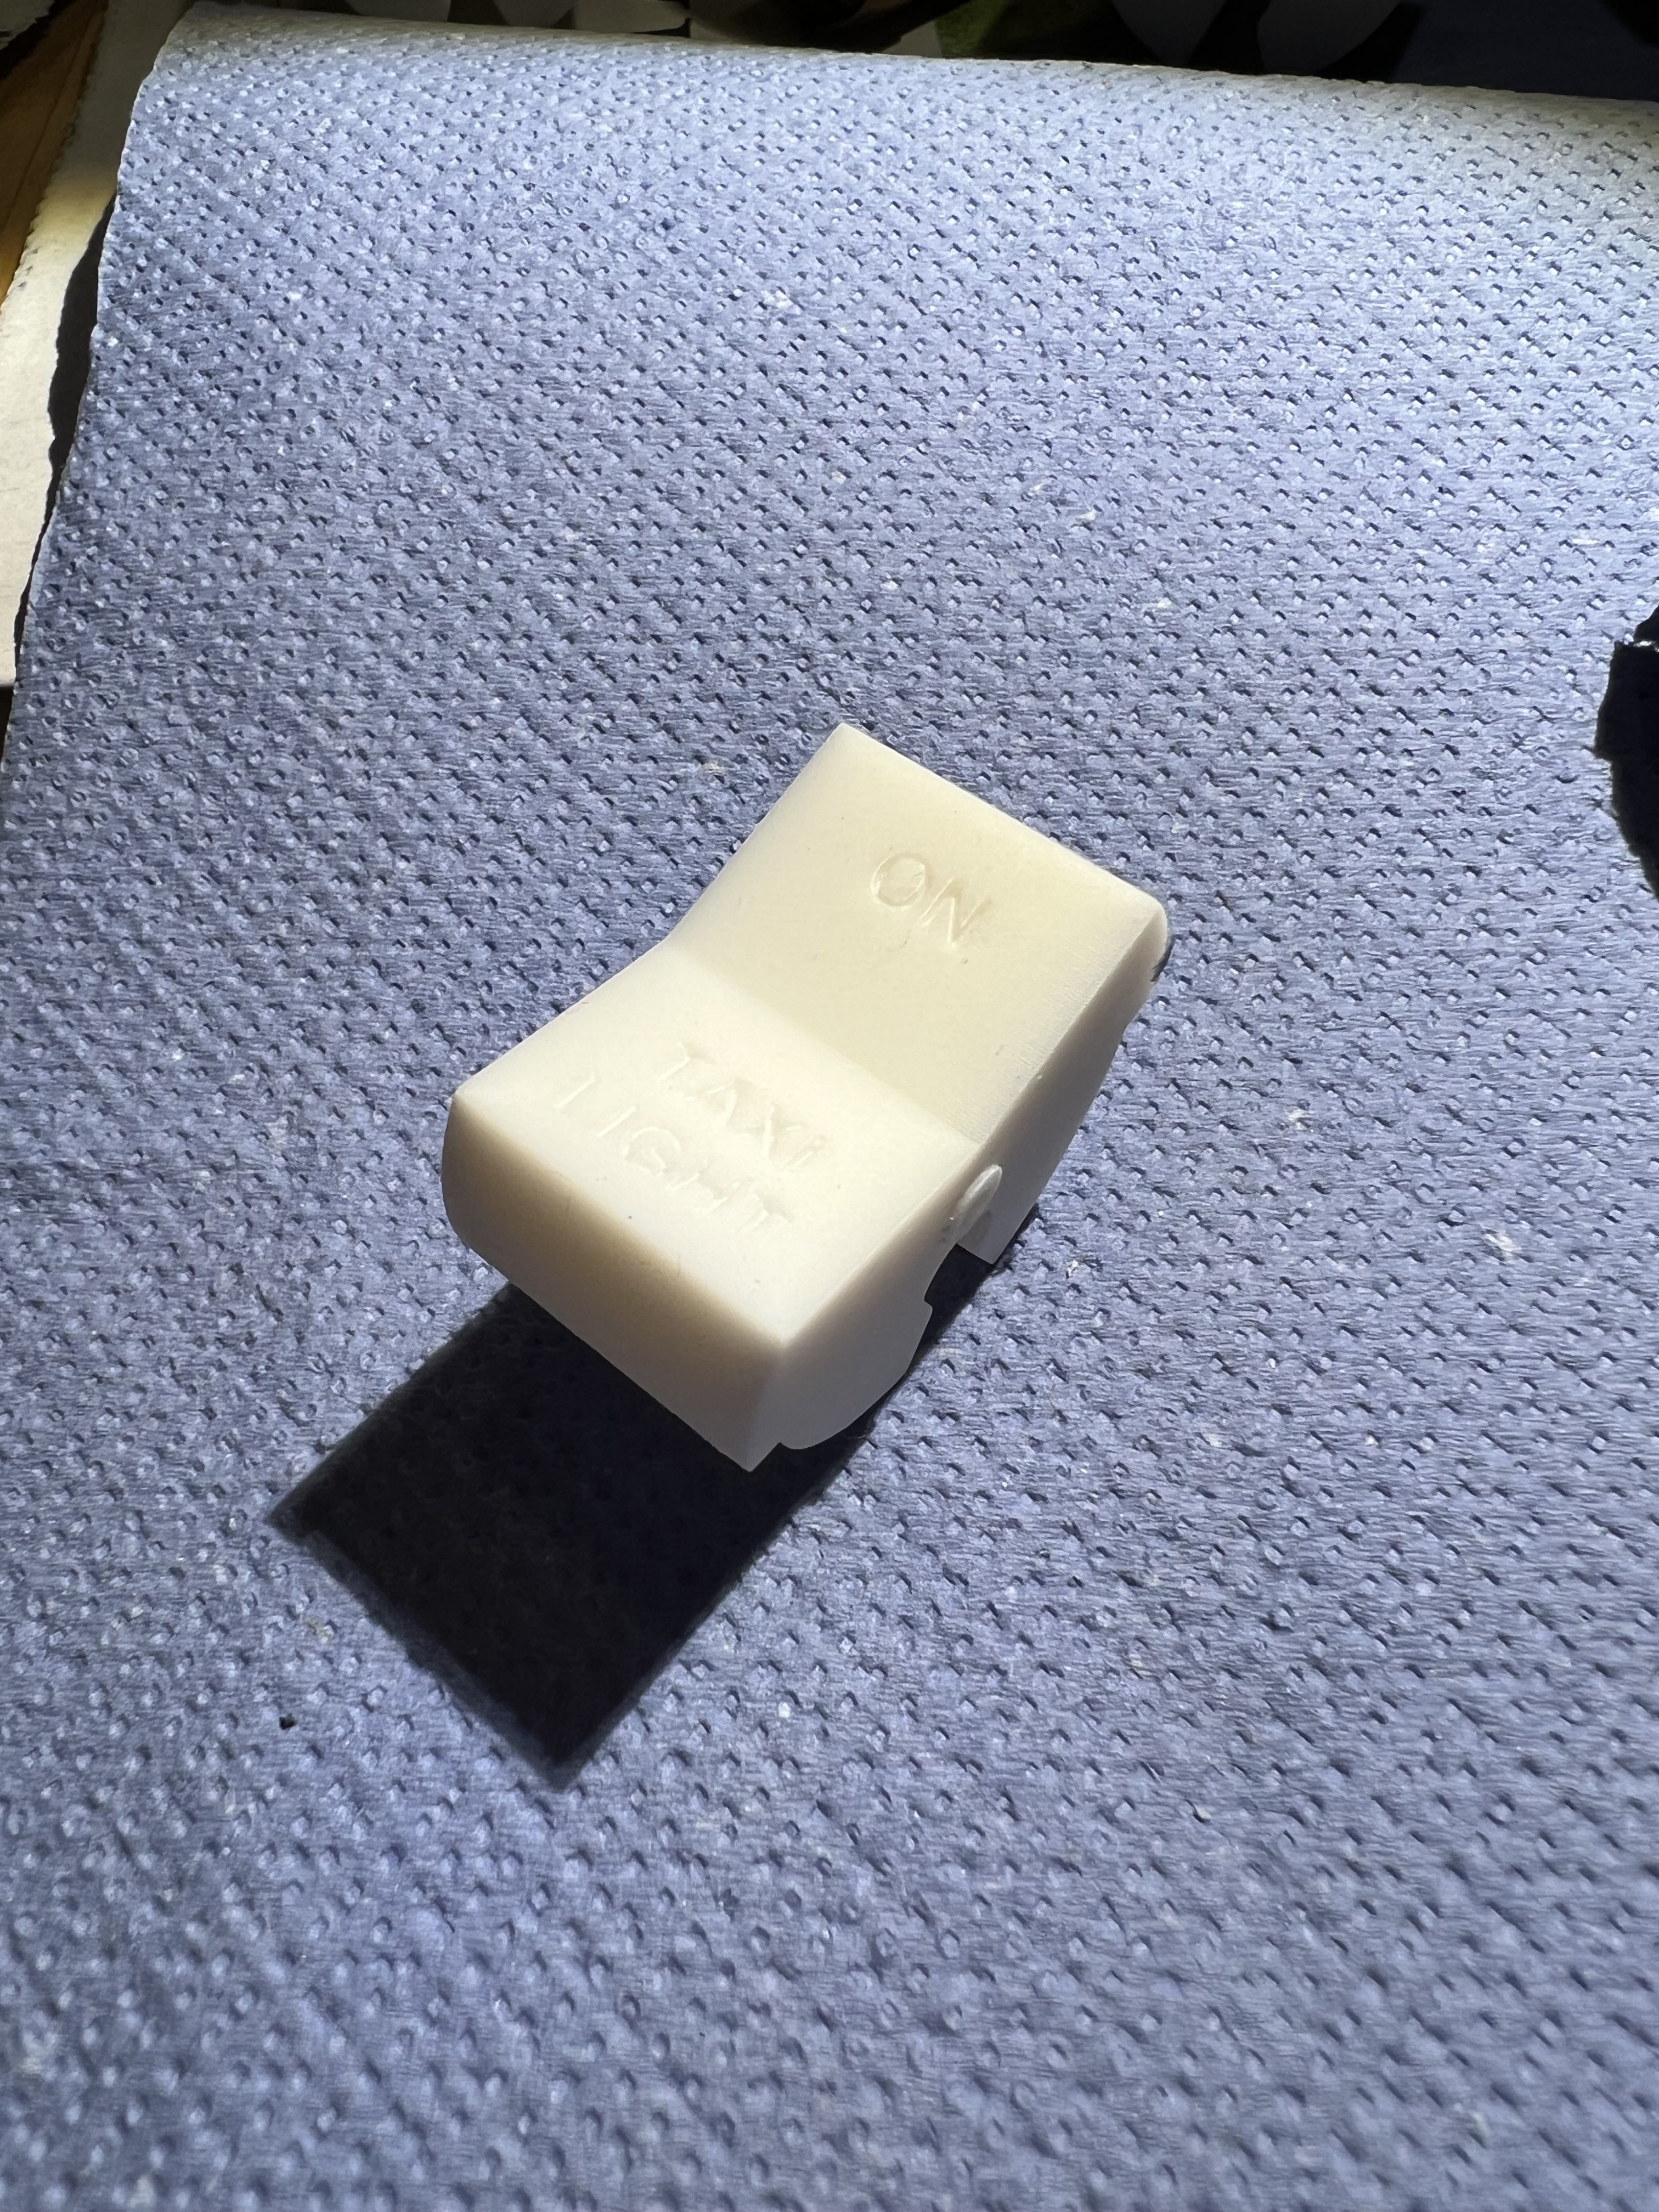
Next, I applied thinned black paint to the areas with writing, ensuring that the paint filled all the grooves of the letters.
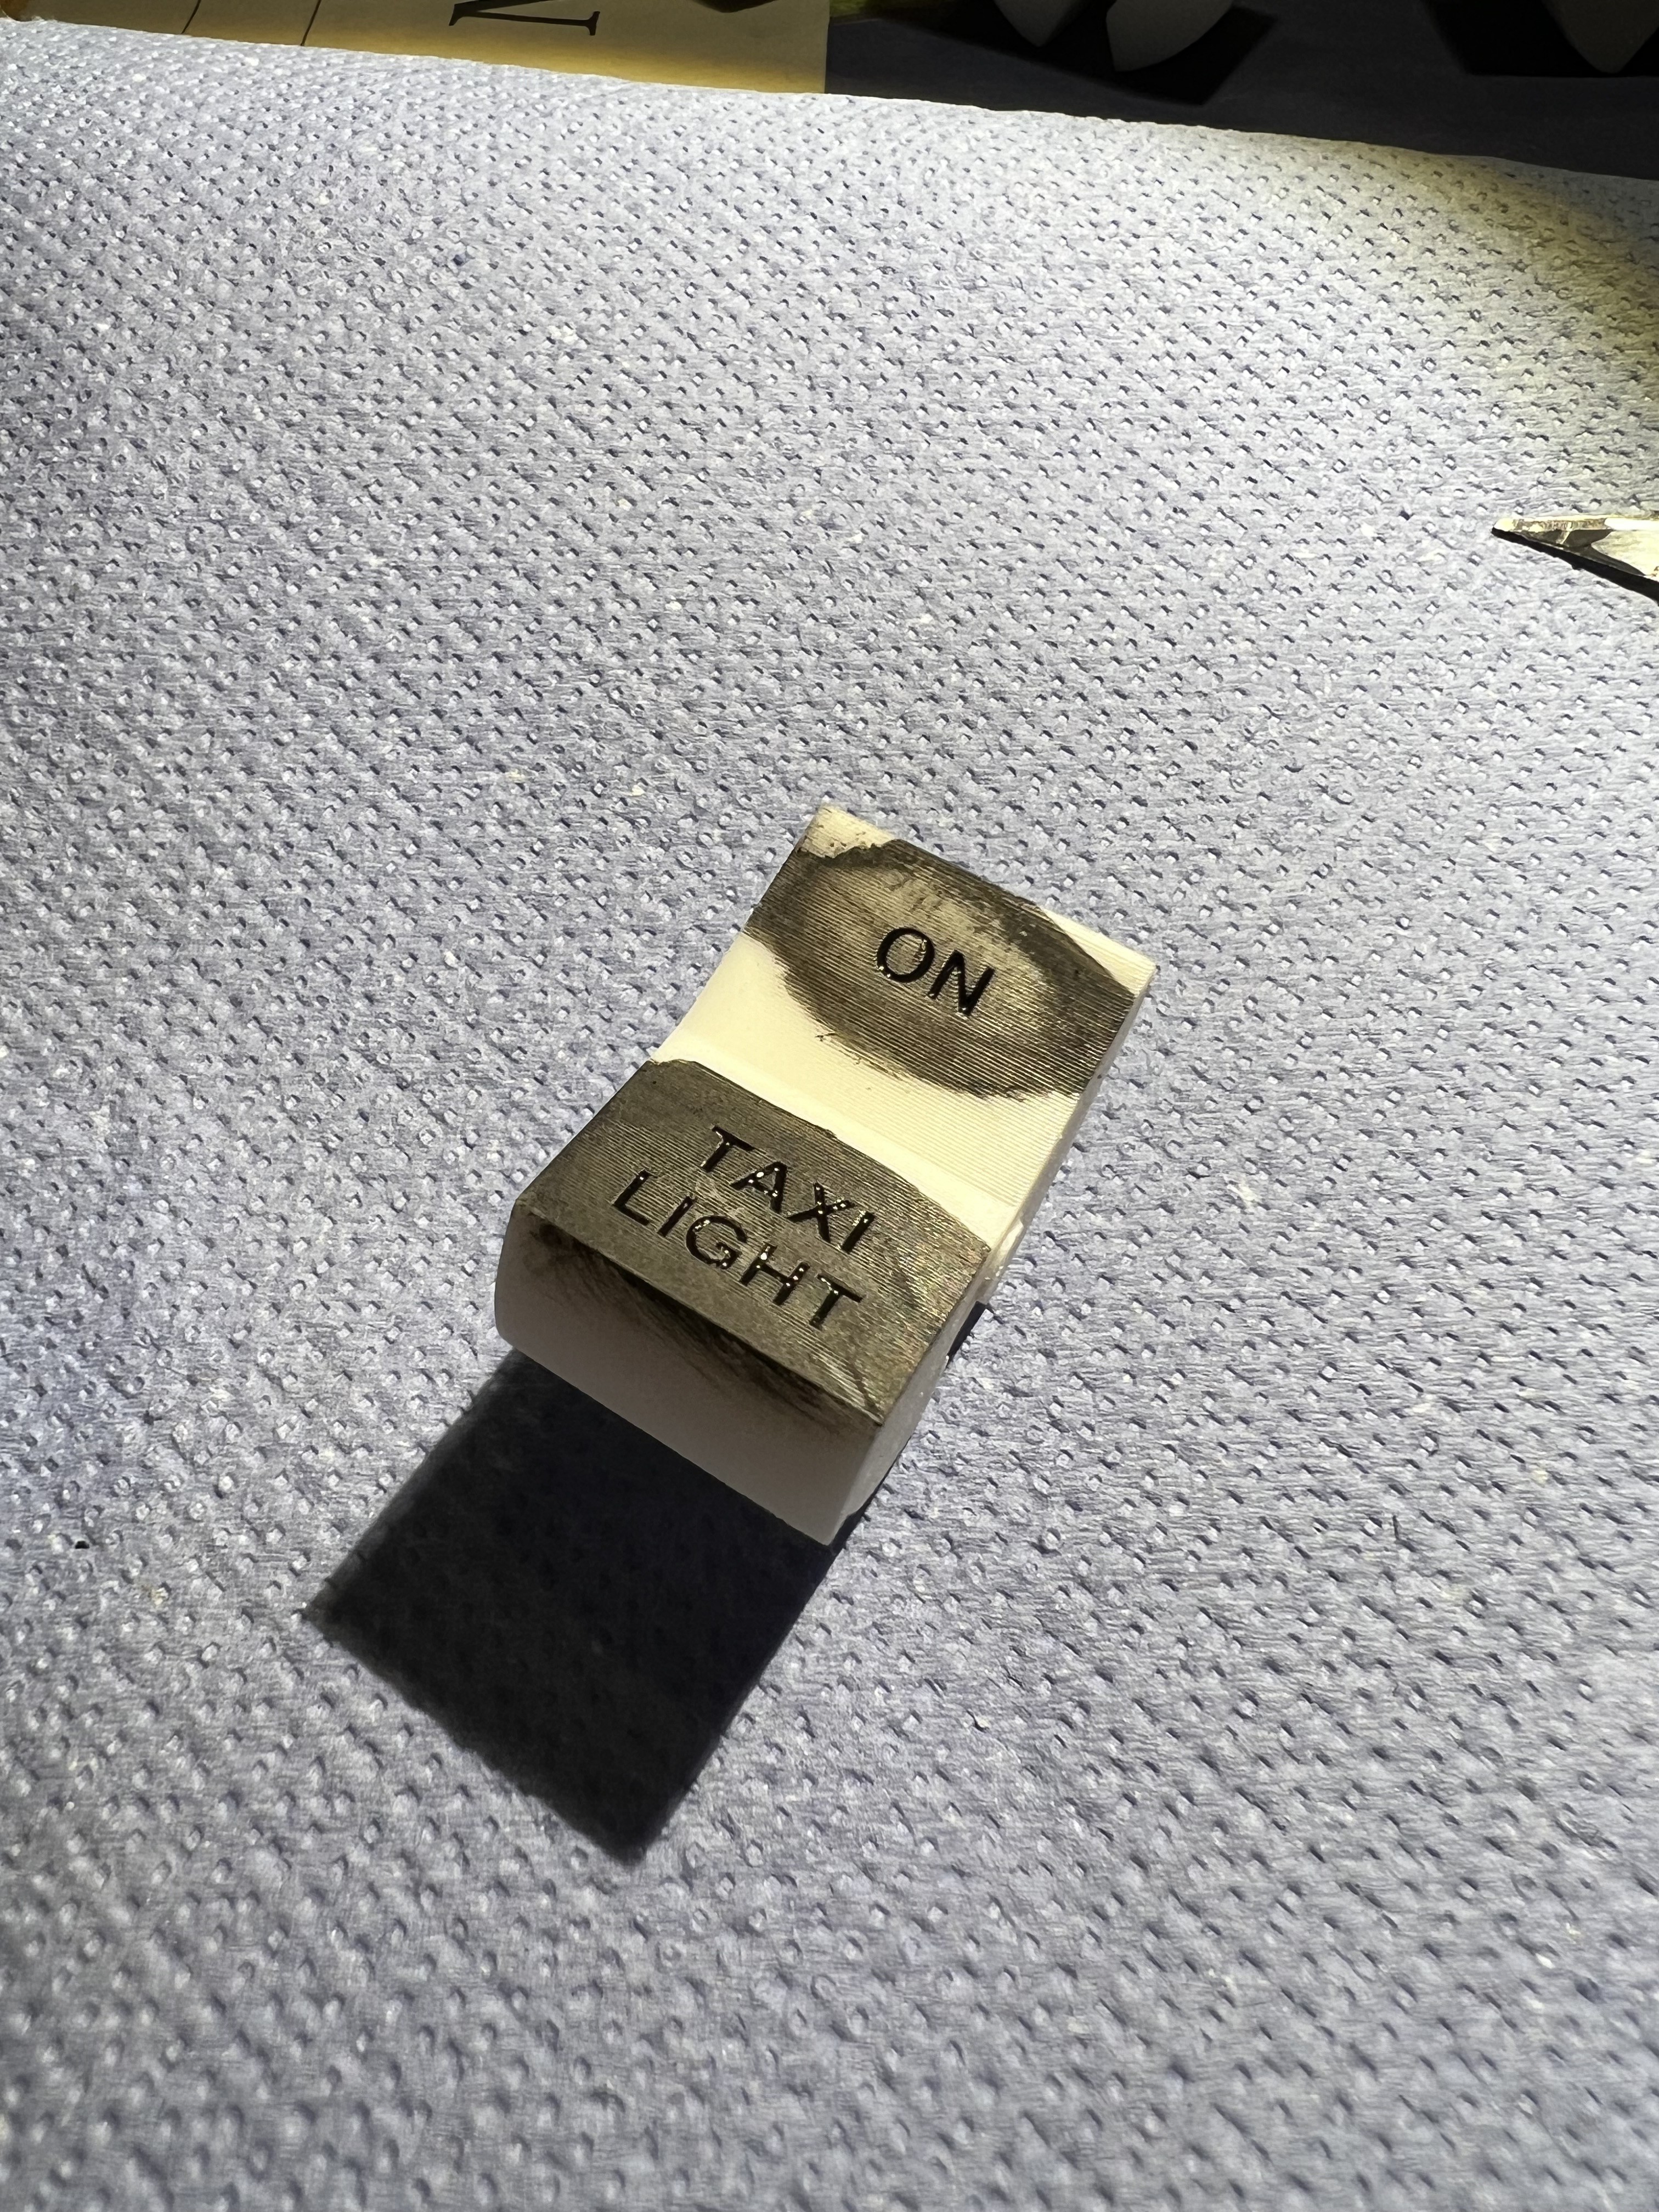
Once the paint dried, I sanded away the excess paint and any faint layer lines from the print. Using wet sandpaper was crucial to minimize the (likely unhealthy) microplastic dust.
Here’s a short video showing the post-processing of one of the painted switches:
Unfortunately, I didn’t have any red resin for the power switches, and I didn’t want to buy an entire bottle of resin just to print two small parts. So, I printed them in white resin and painted them red with some nail polish I borrowed (stole) from my wife.
Starter Key Switch
I also built and installed a starter key switch, which is largely based on Captain Bob's design from Thingiverse.
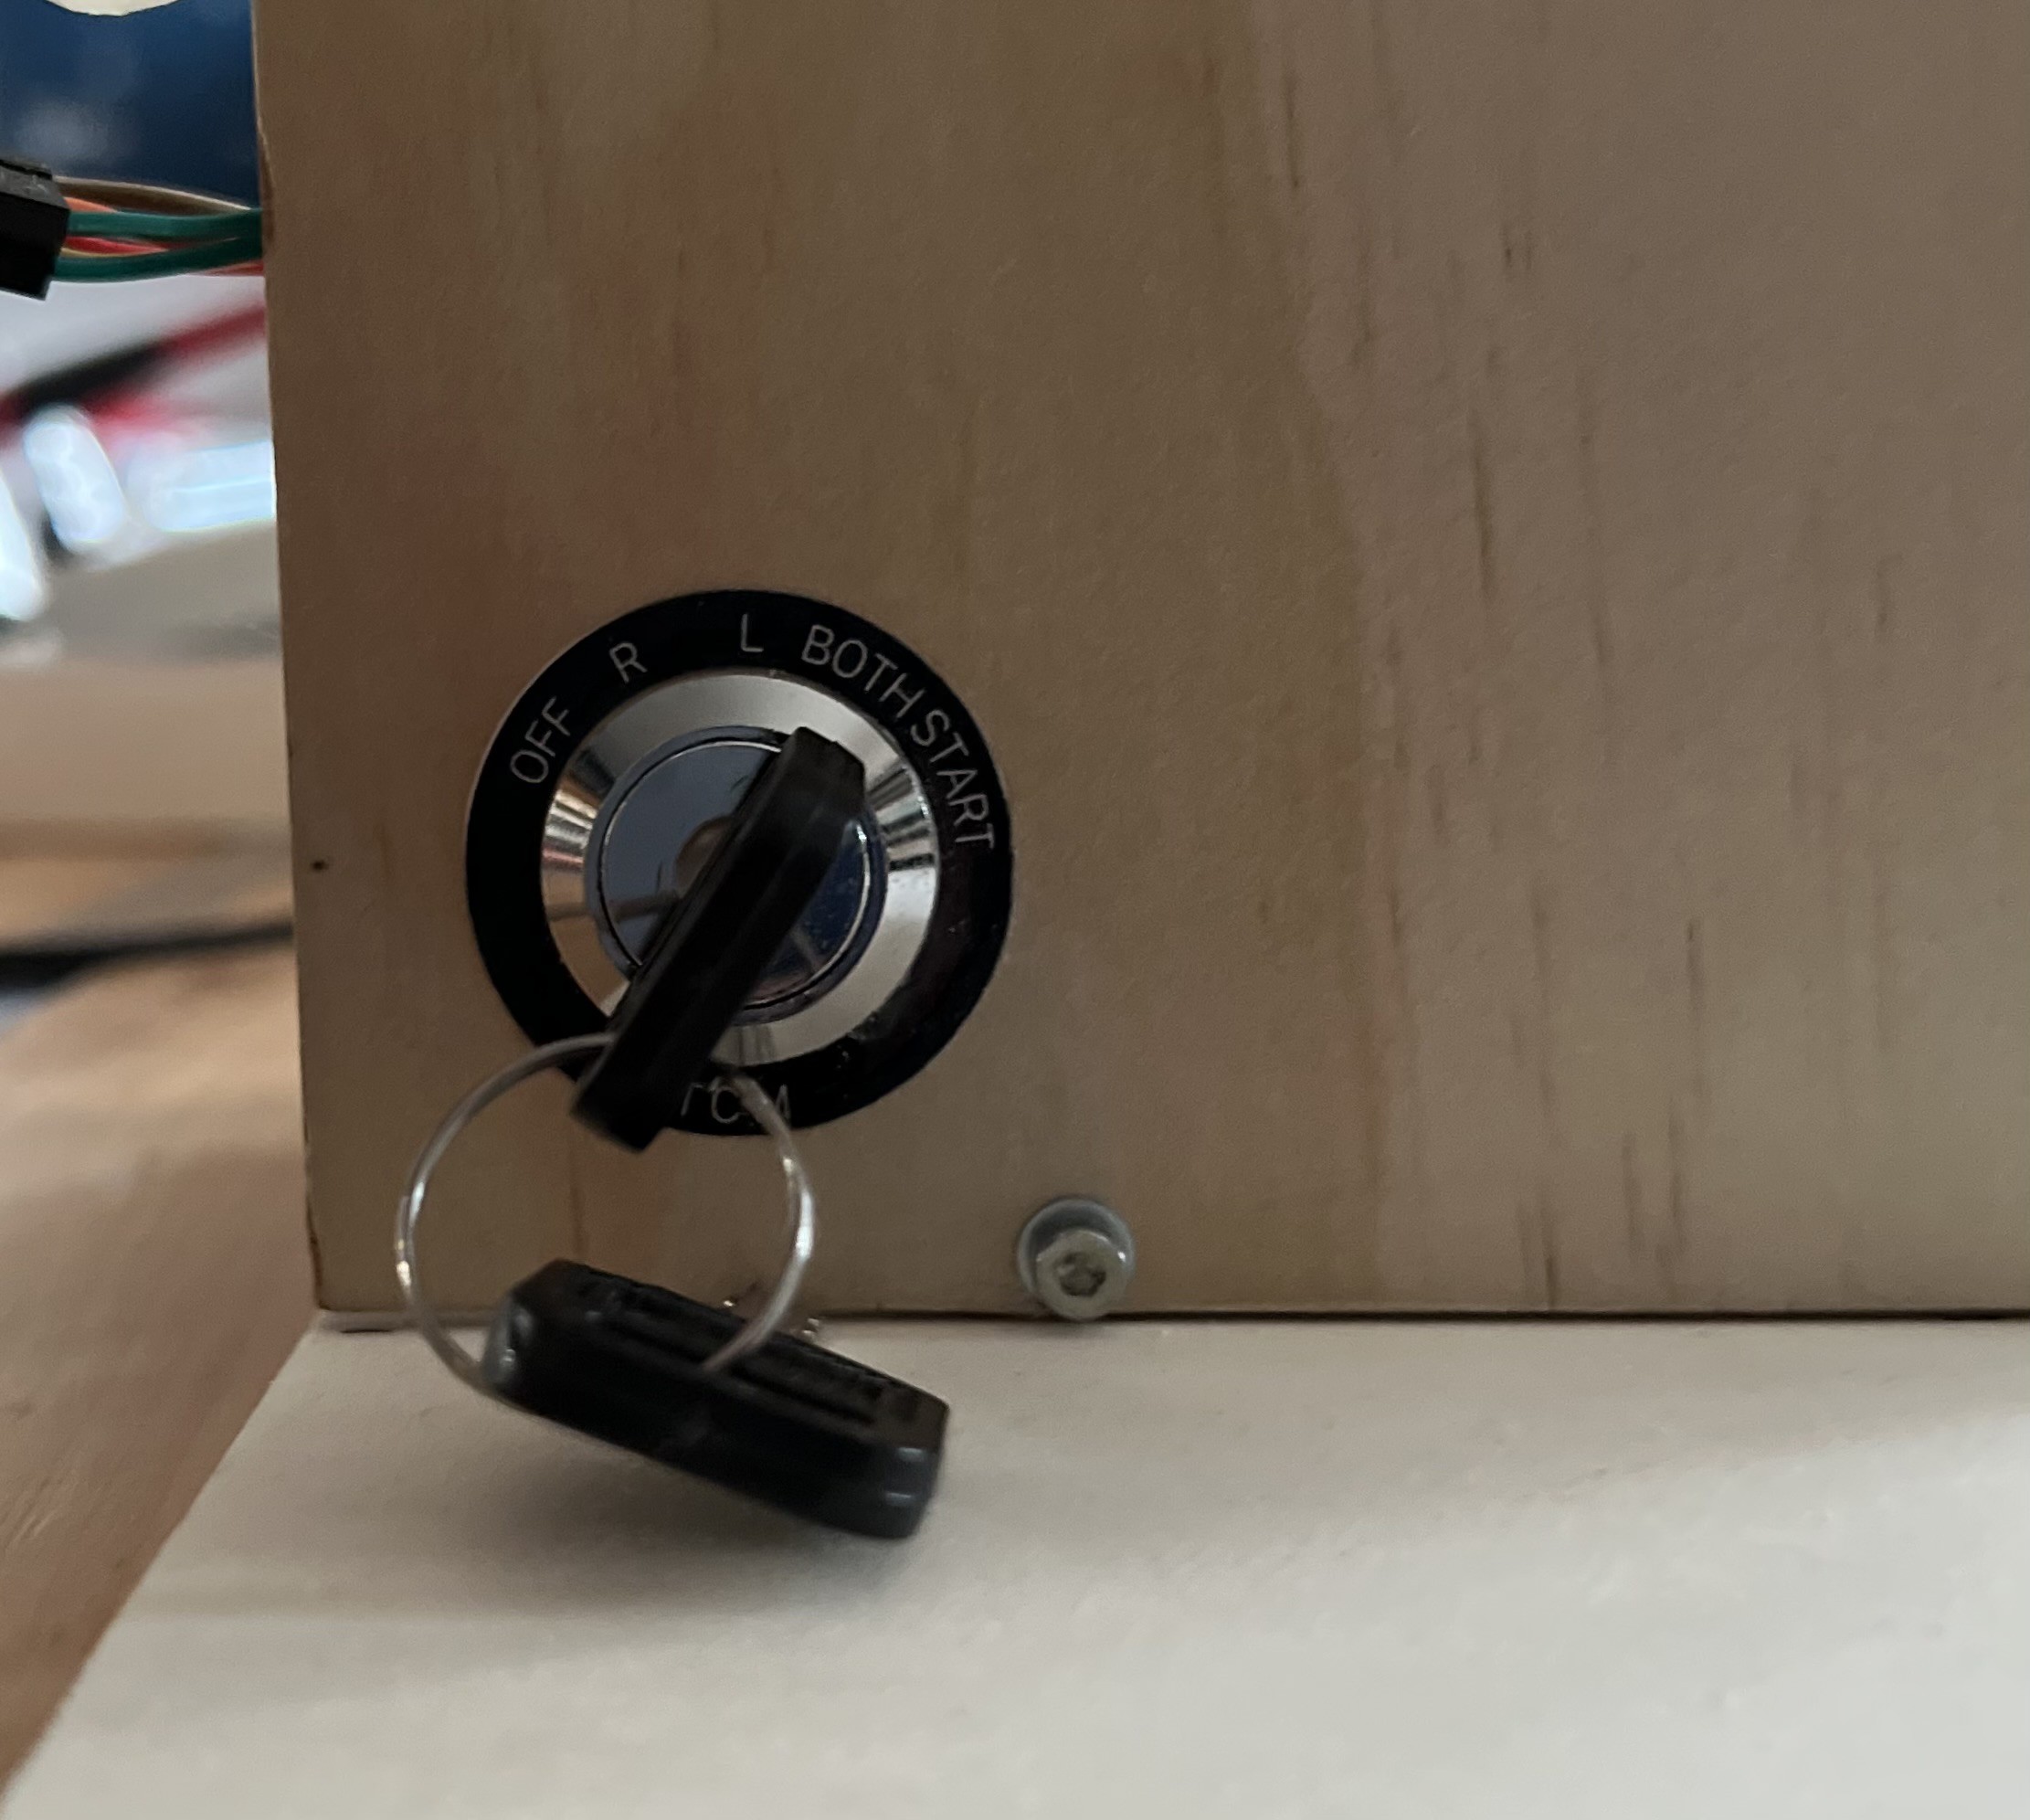
I only made small changes due to a slightly different lock mechanism and the fact, that I printed parts from it in resin. If you want to know more about this design, please check out Captain Bob's Youtube video.
Annunciator lights
Next, I printed several annunciator lights. Normally, these lights are made from colored transparent plastic with white lights behind them:
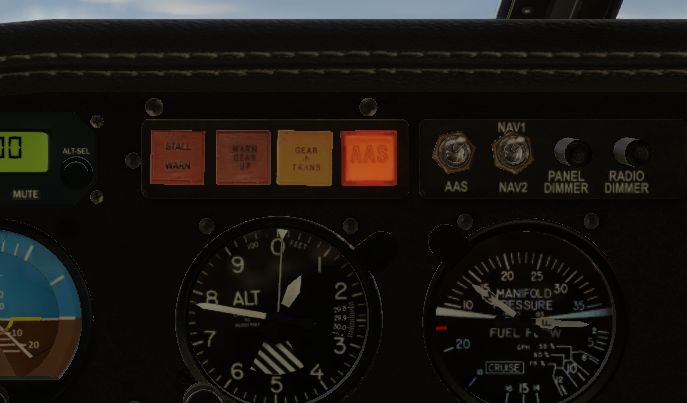
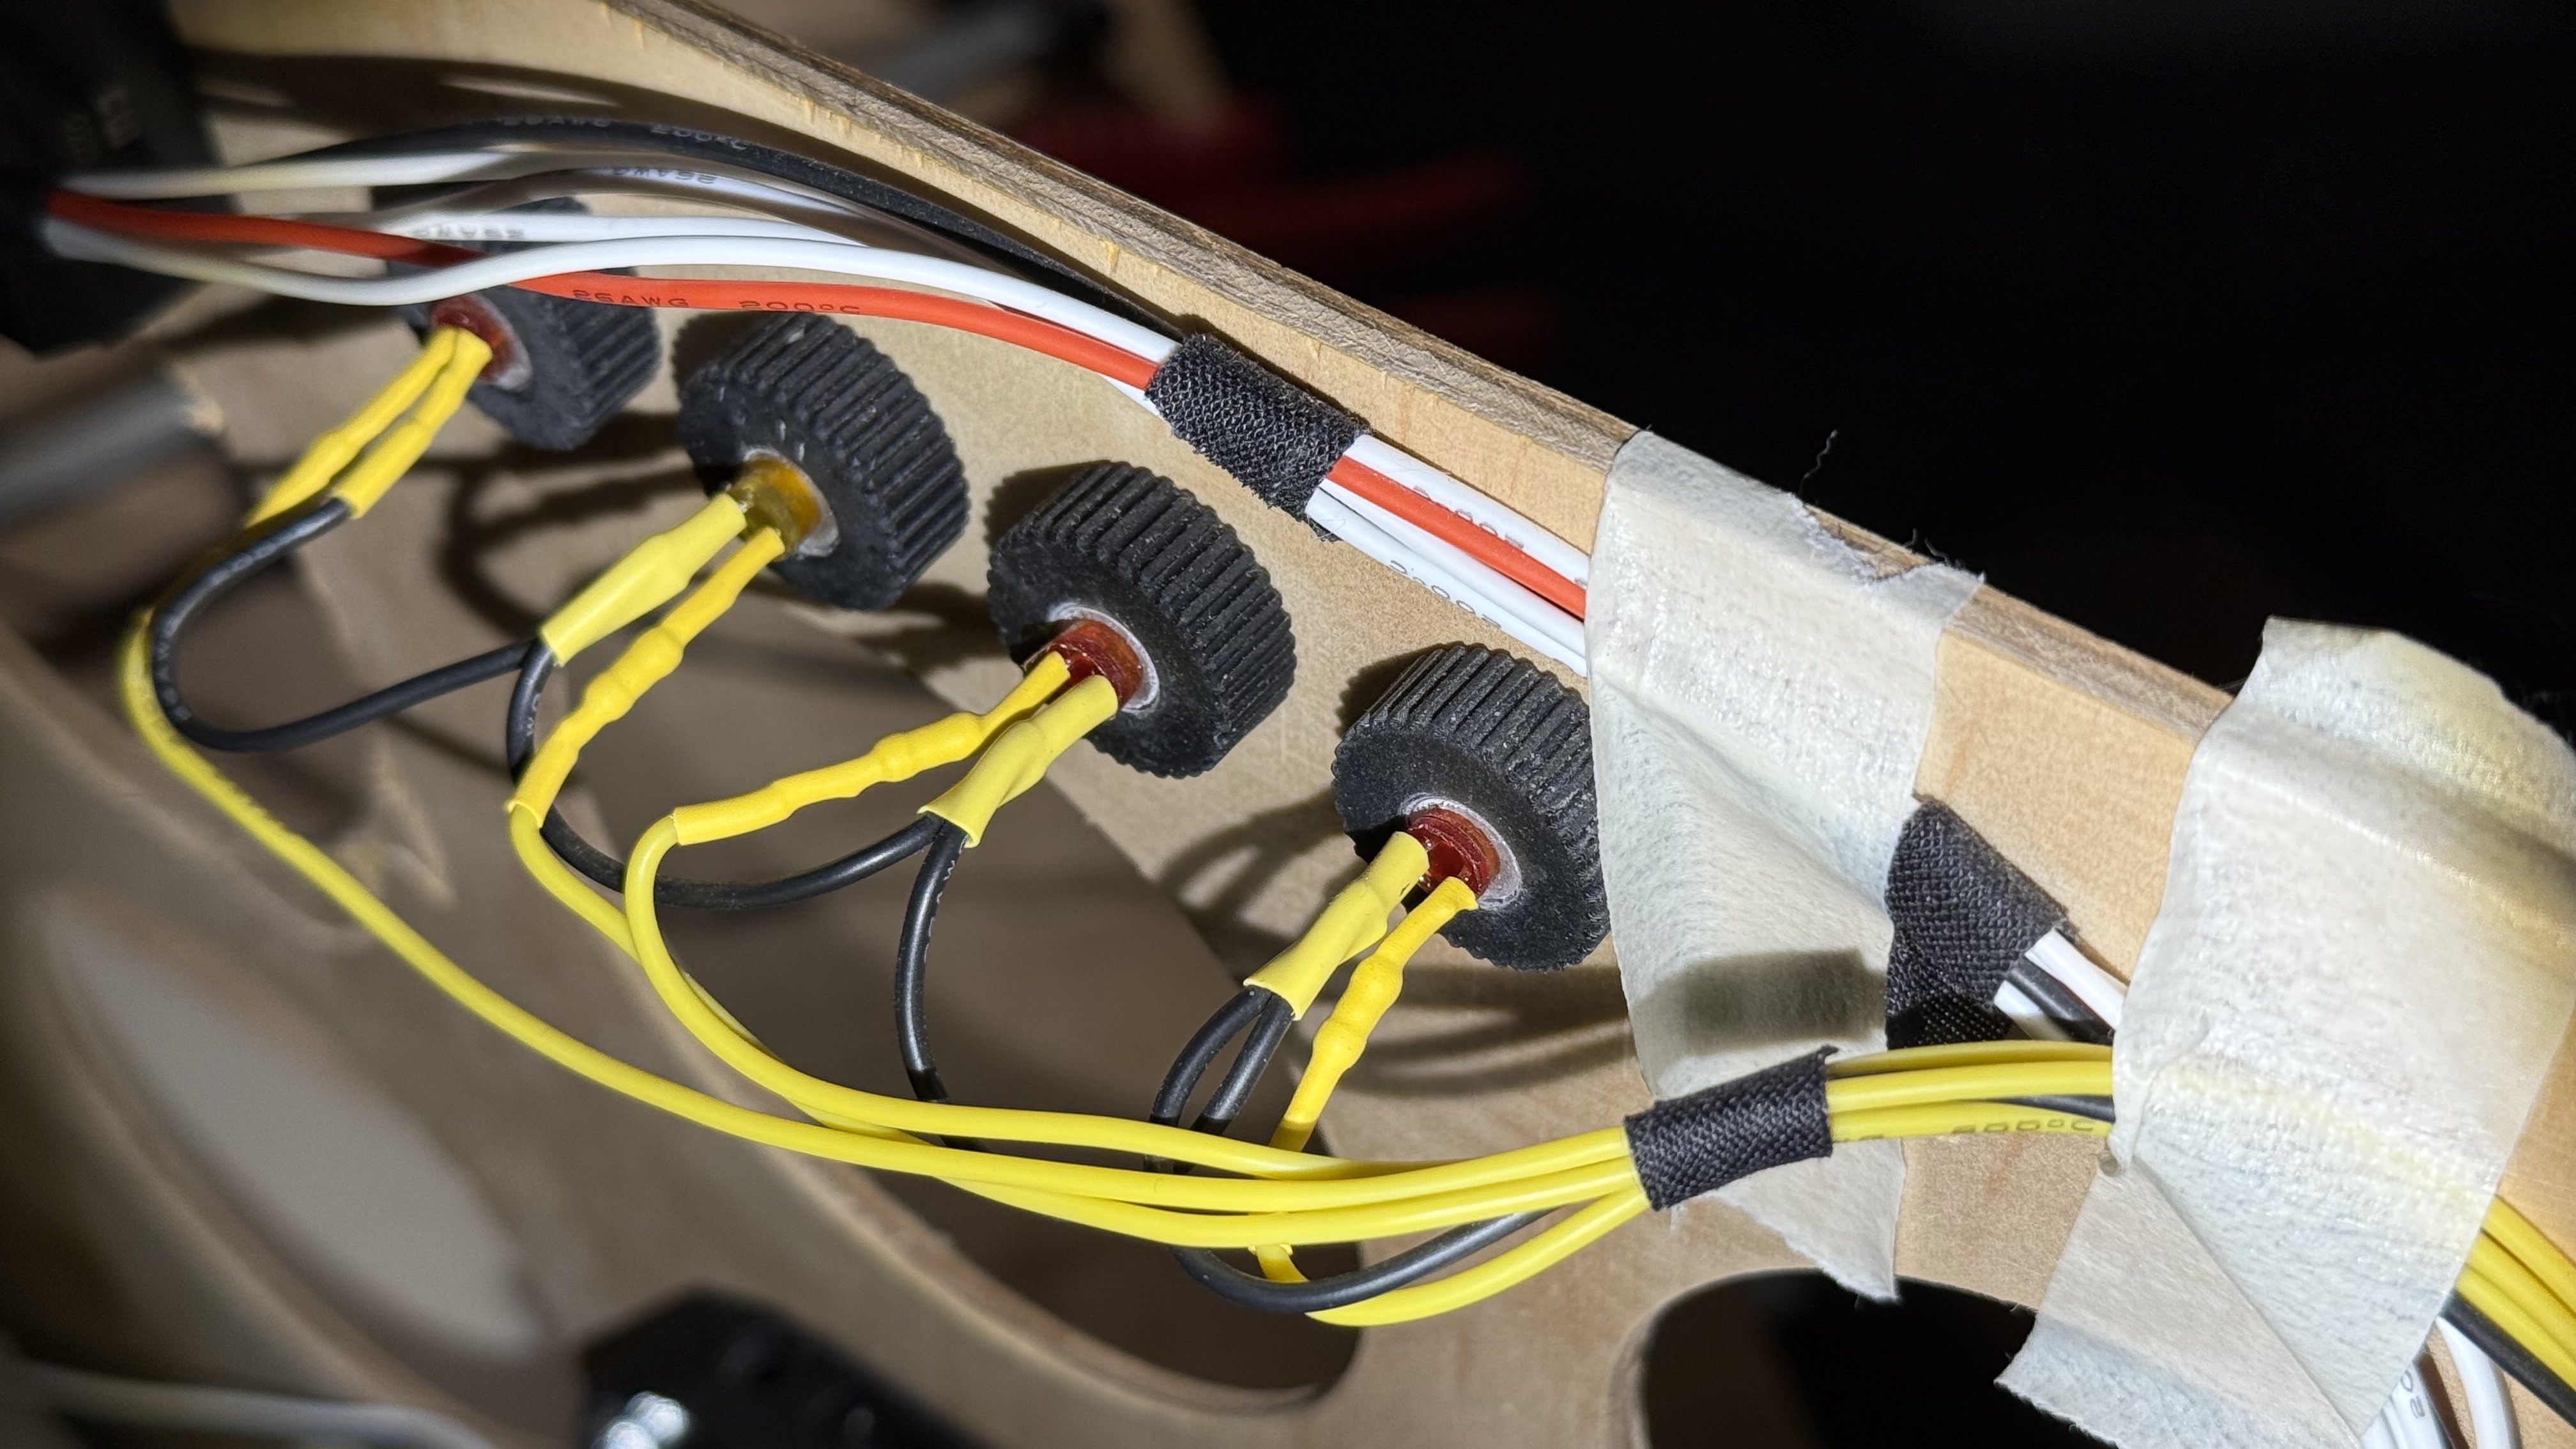
Since I only have uncolored clear resin, I decided to print them in clear plastic and use colored LEDs behind them. This way, they still display the correct color when lit, which works perfectly fine for my needs.
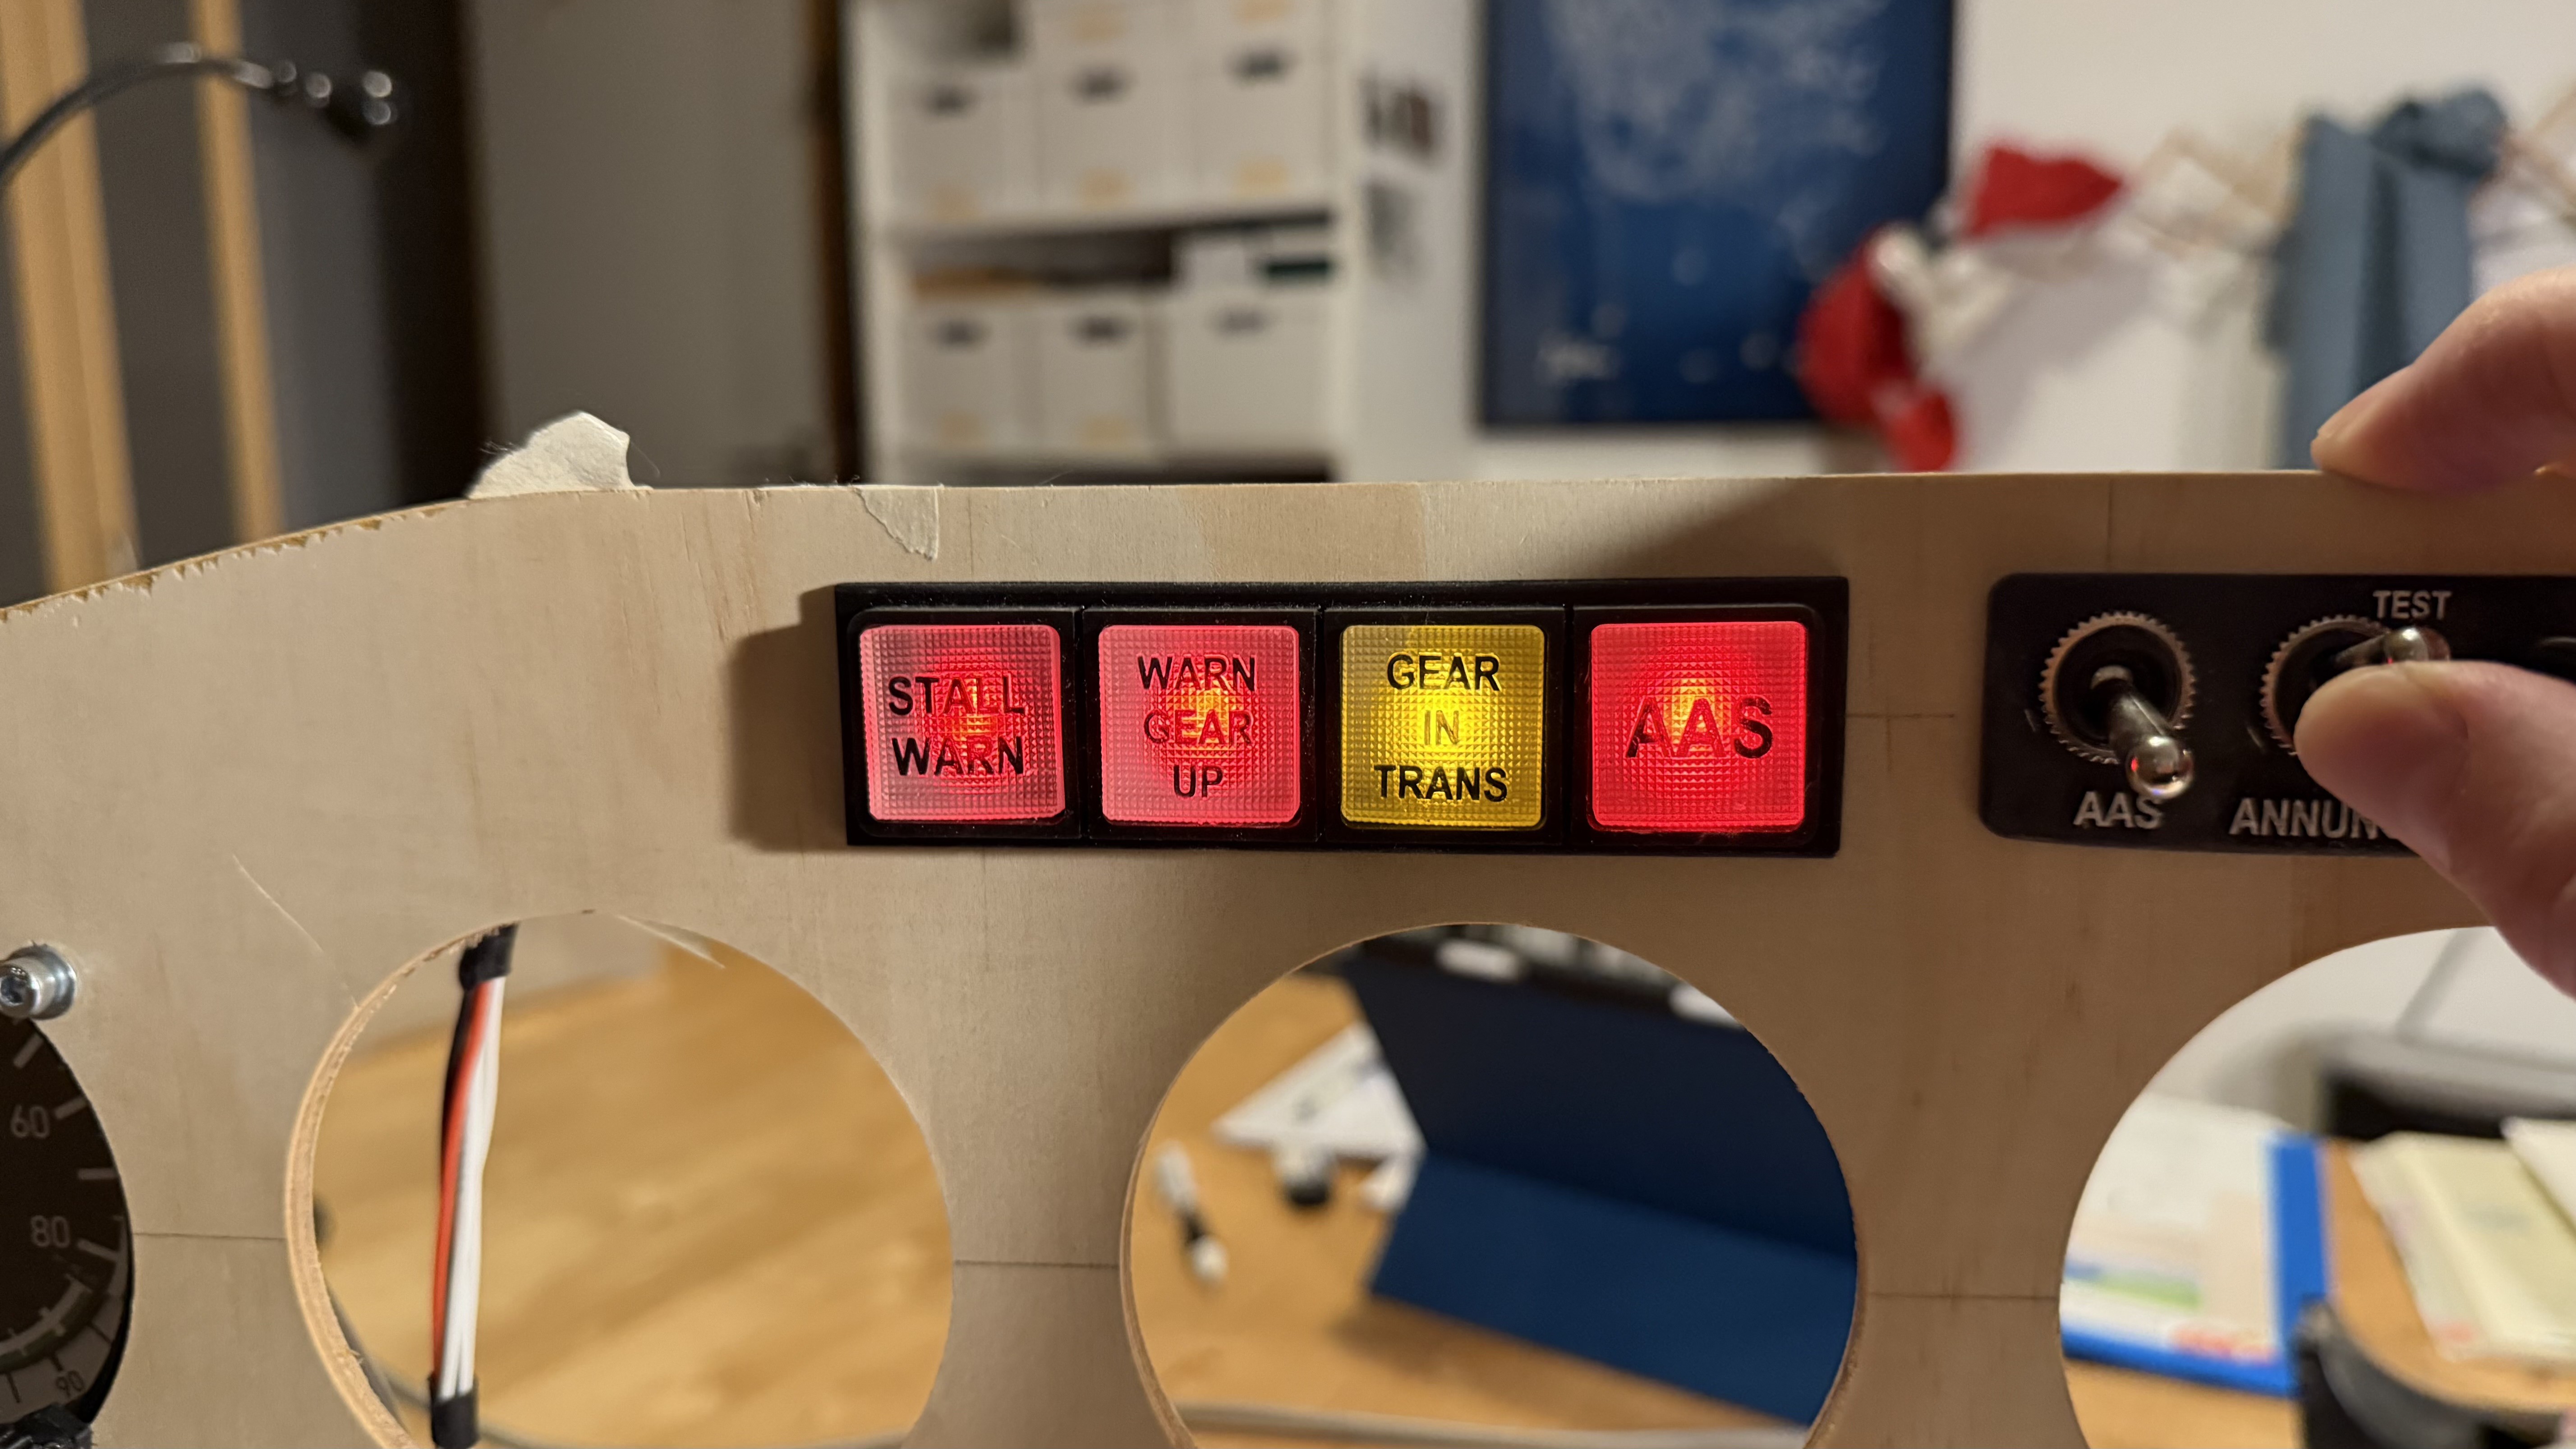
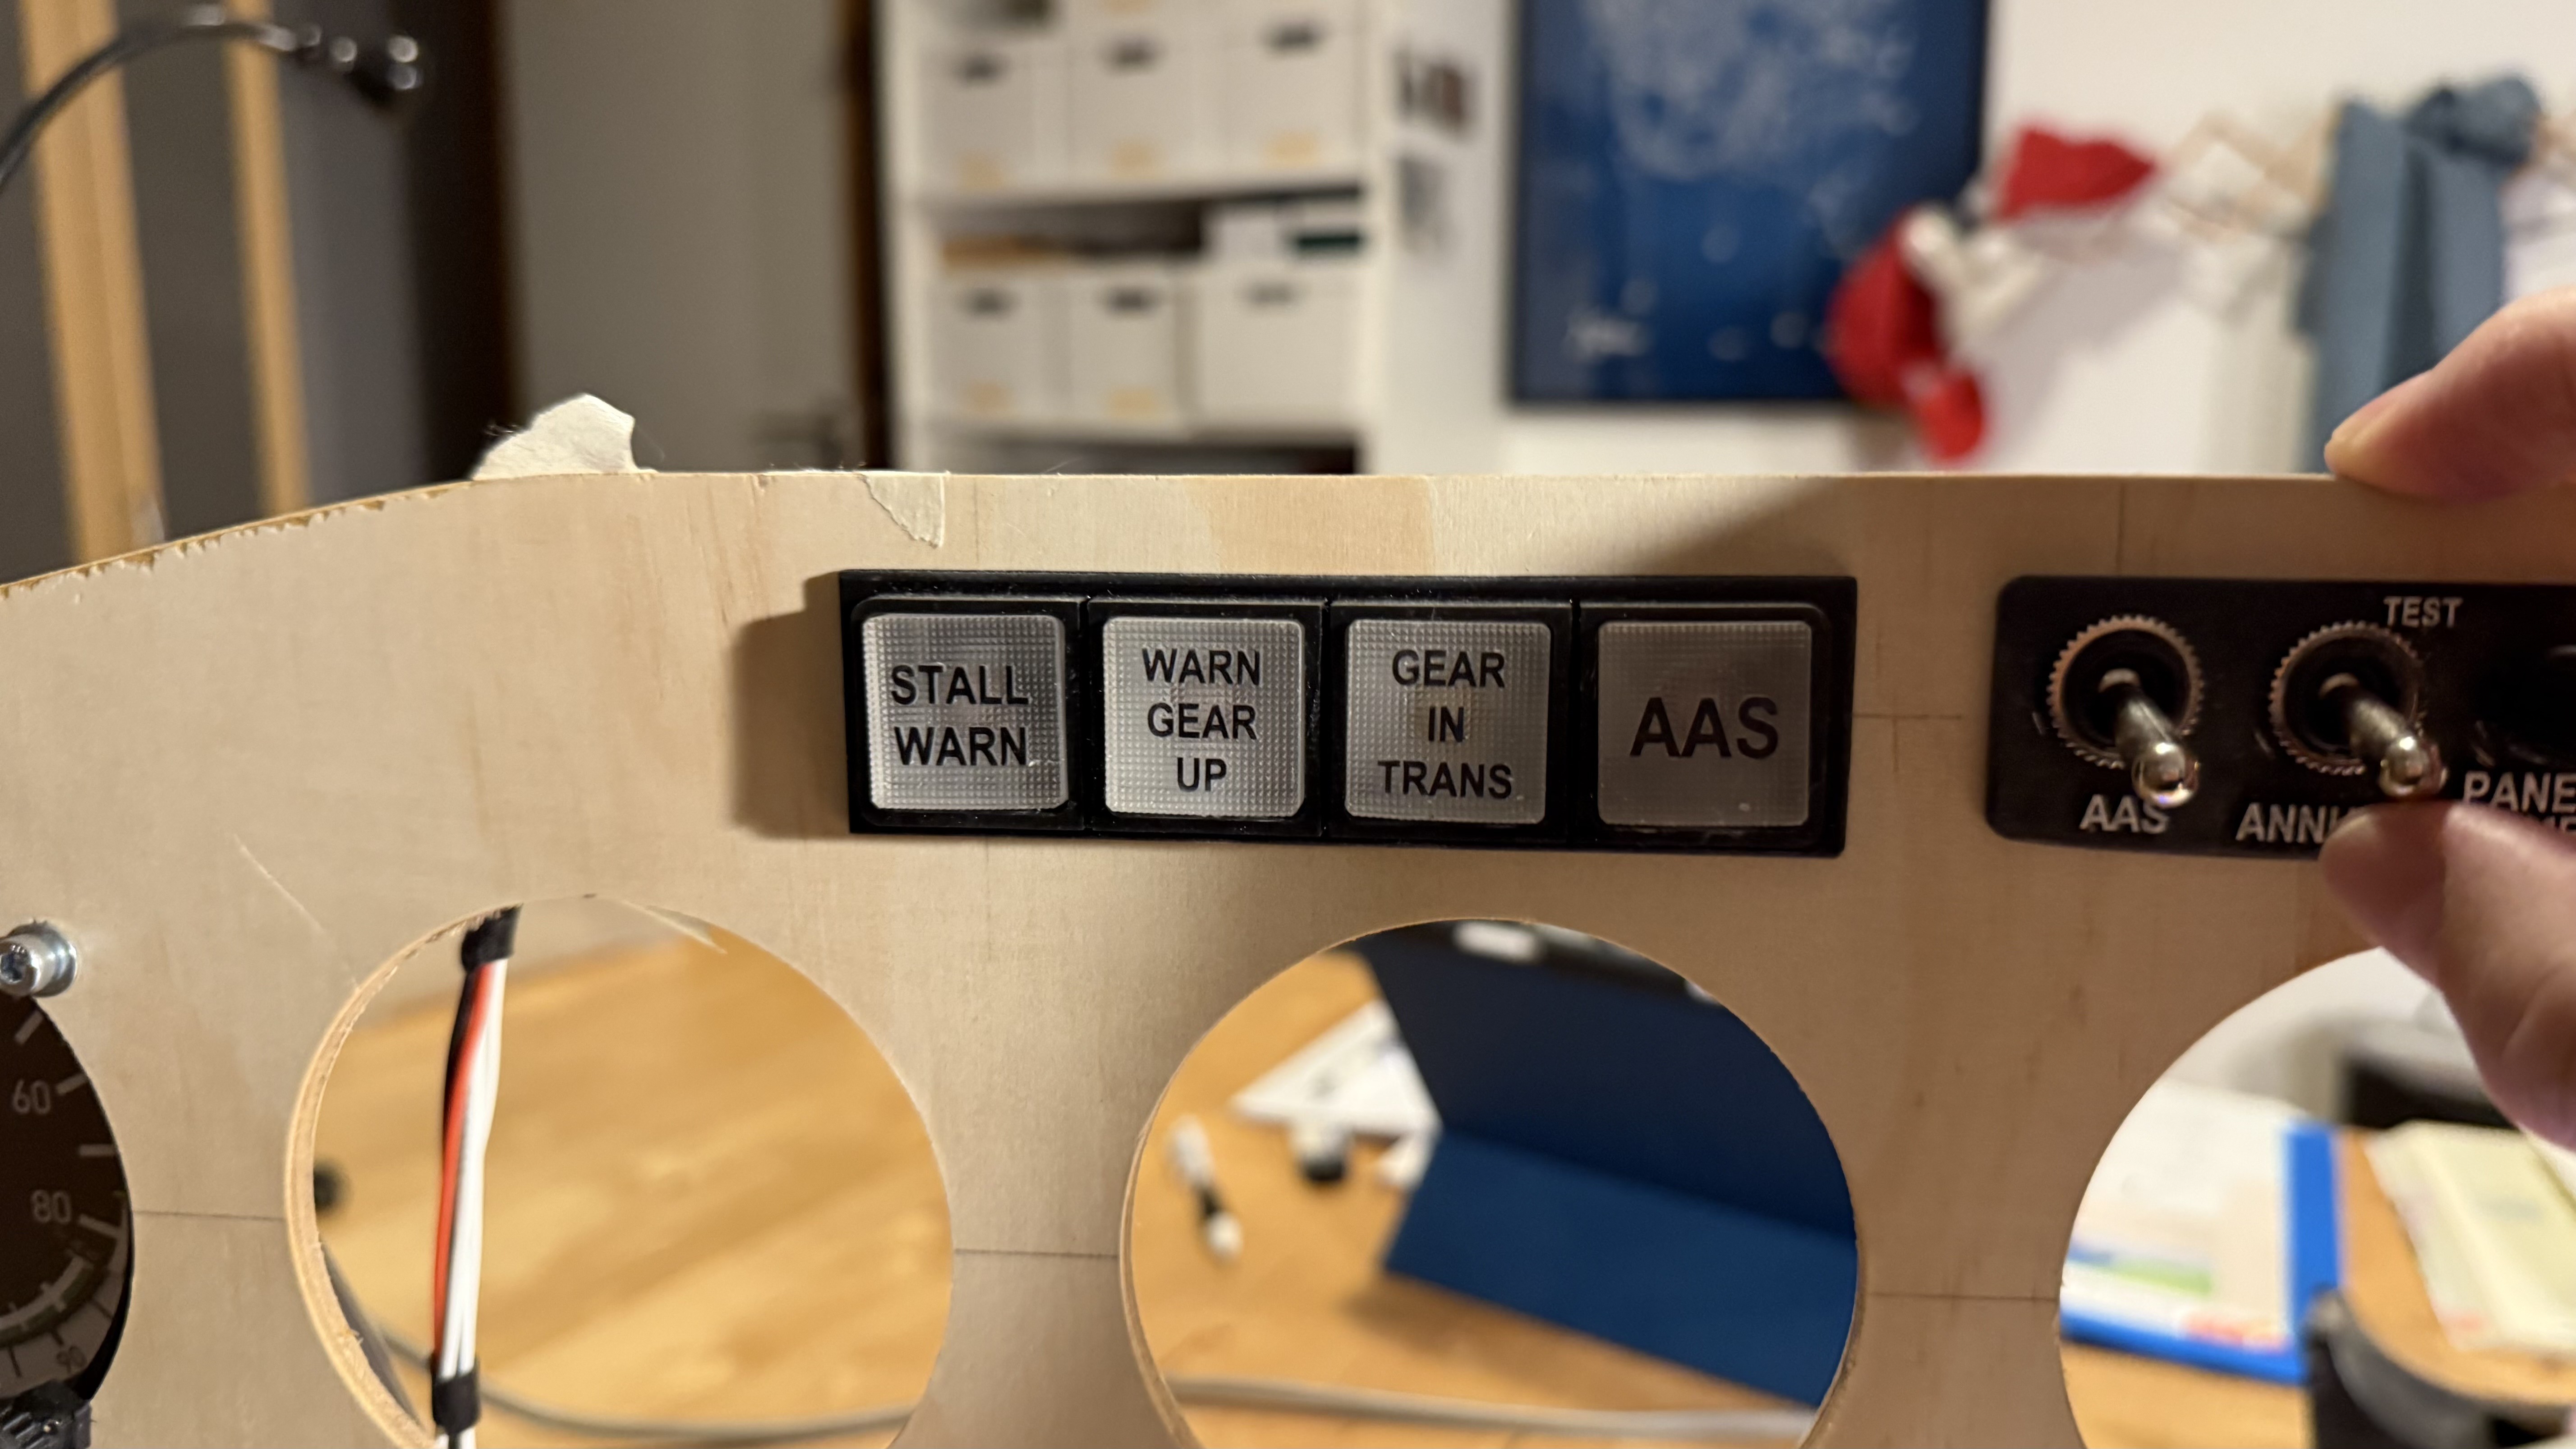
I designed four large lights for the annunciator panel and four smaller ones for the gear and motor starter indicators.
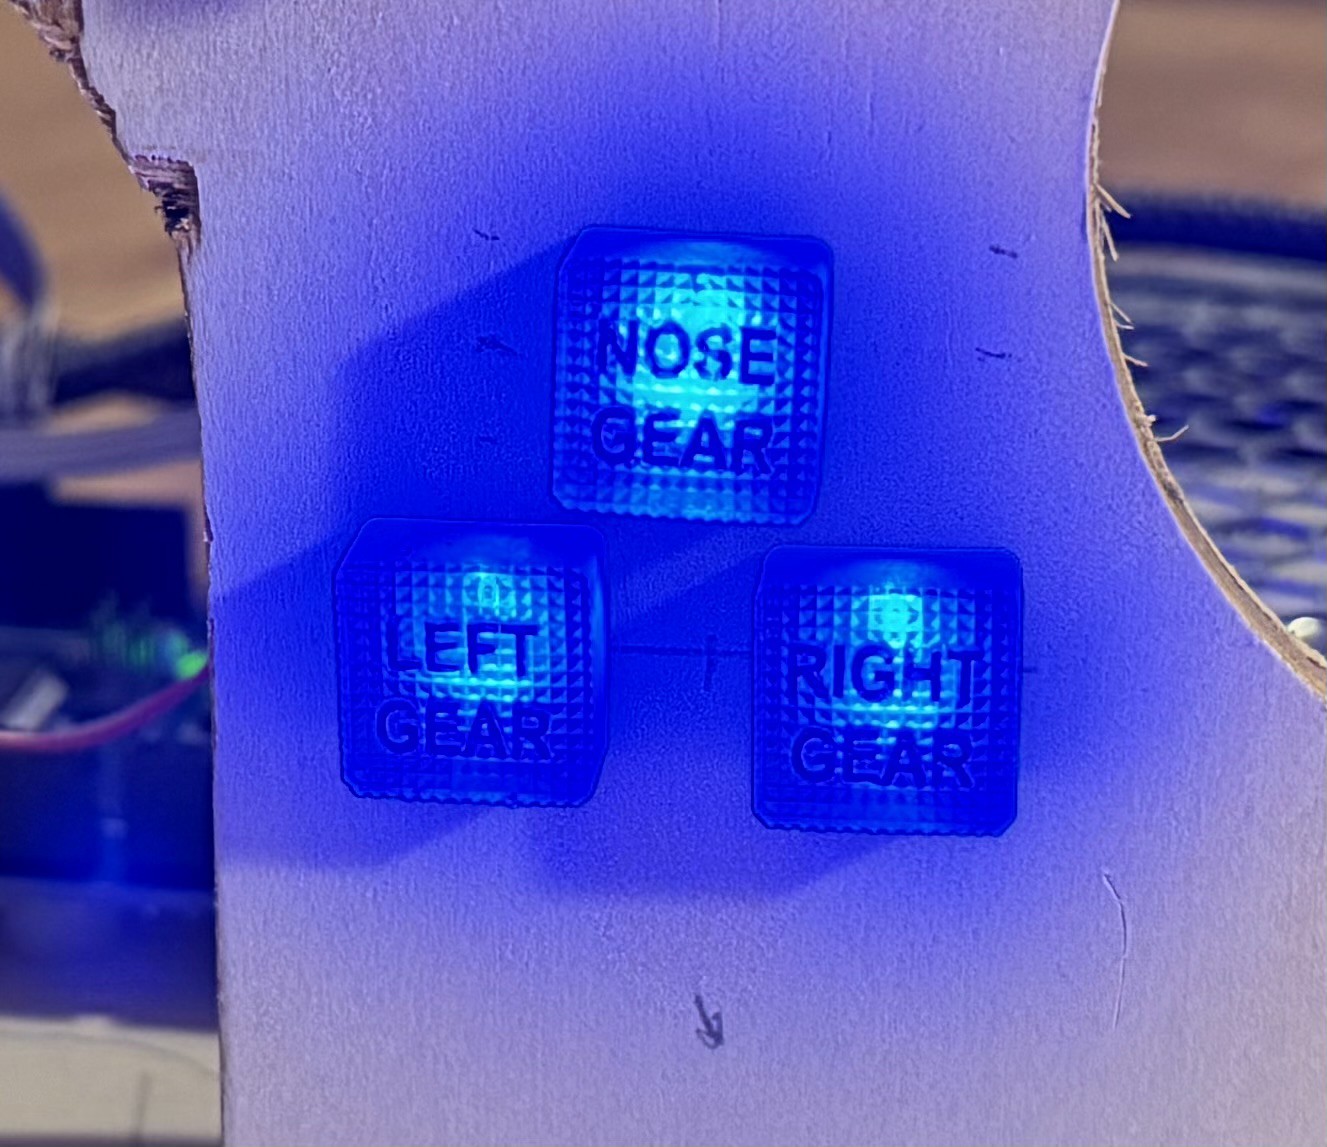
The lights are designed for easy installation: they feature a threaded back end and a matching printed M8 nut to hold them securely in place. If text is required, it is directly integrated into the design as embossed lettering, which I later colored with a black marker.
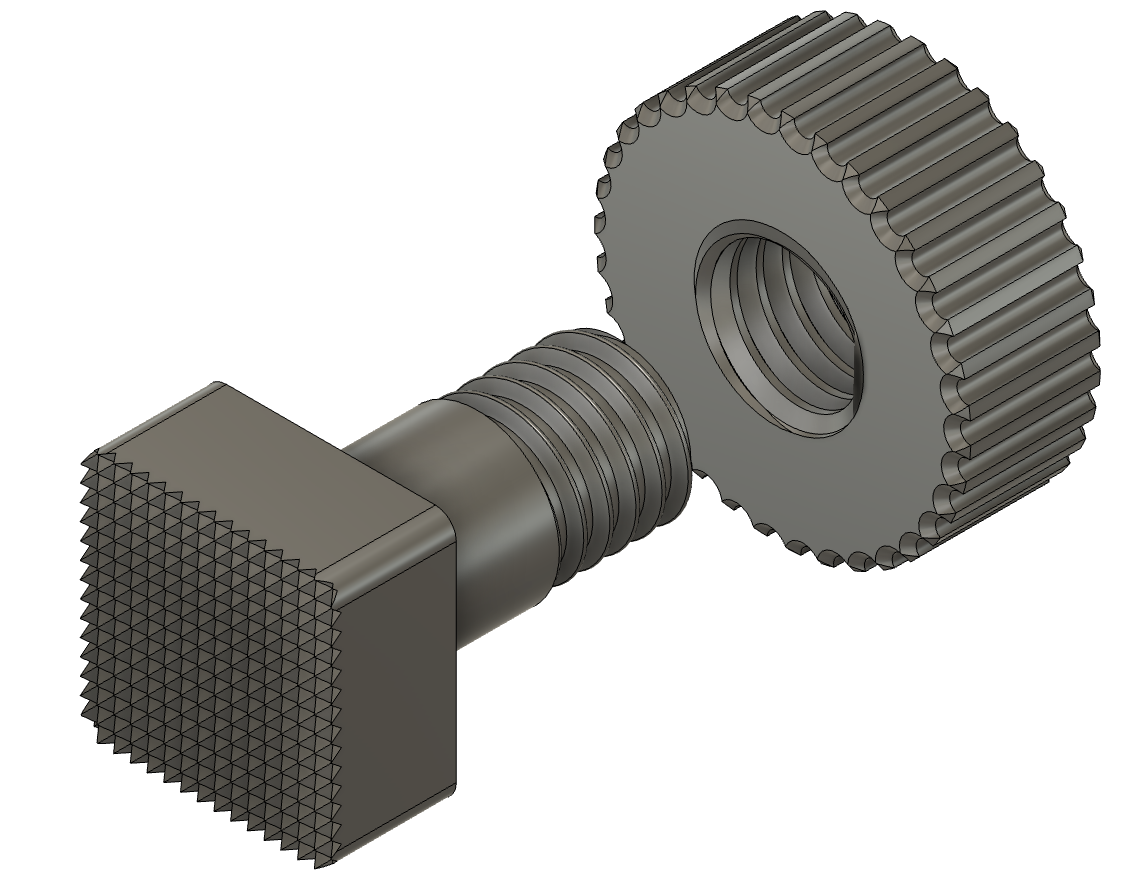
The LEDs are simply press-fitted into a hole at the back.
Long story
And then there’s the altimeter…
I initially checked out Captain Bob’s altimeter design, but I didn’t like the mechanics, and it didn’t match the altimeter in my PA28 simulator. So, I decided to redesign it.
That’s when I had the bright idea to replicate the mechanics of the real thing. Instead of using three separate steppers for the three needles, I began designing a clockwork mechanism driven by just one stepper. Then came the 10k-flag… and then… and then…
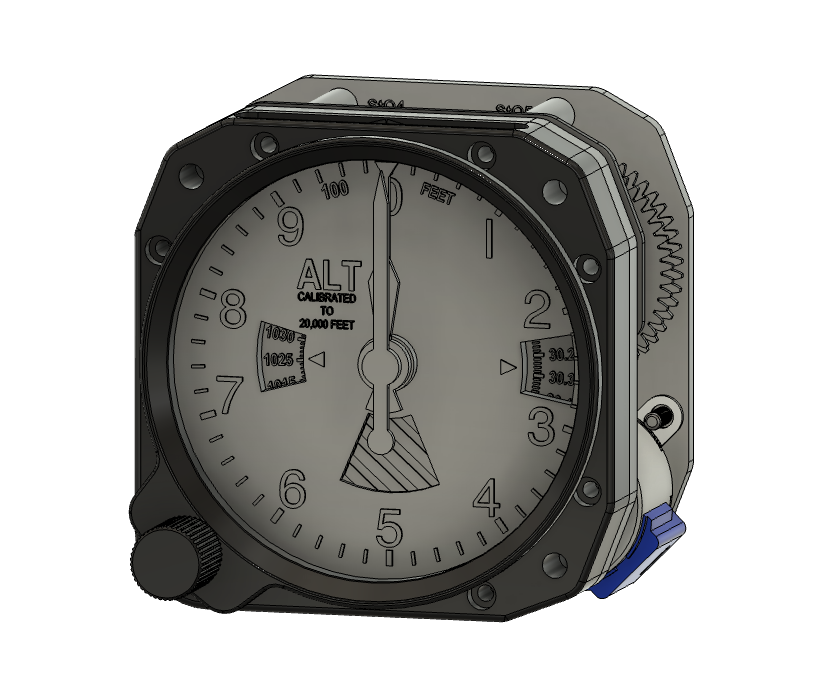
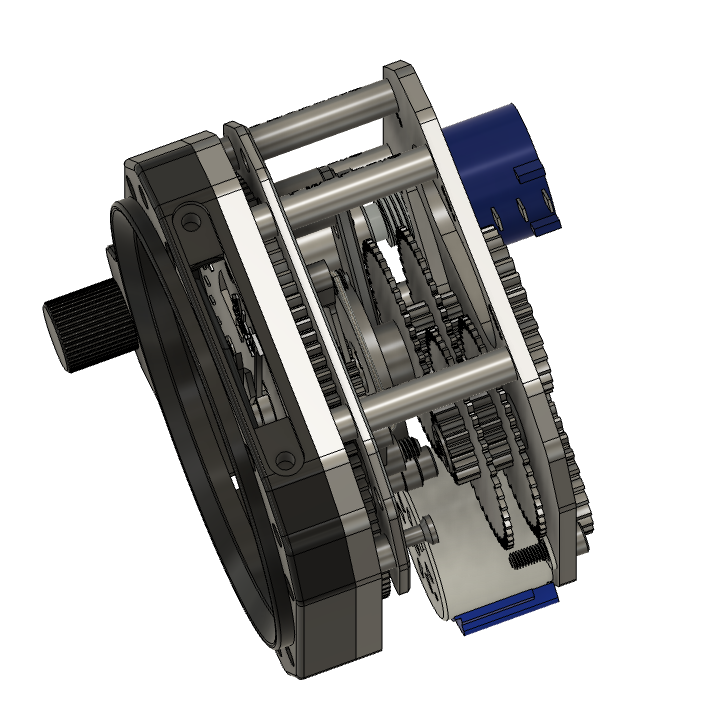
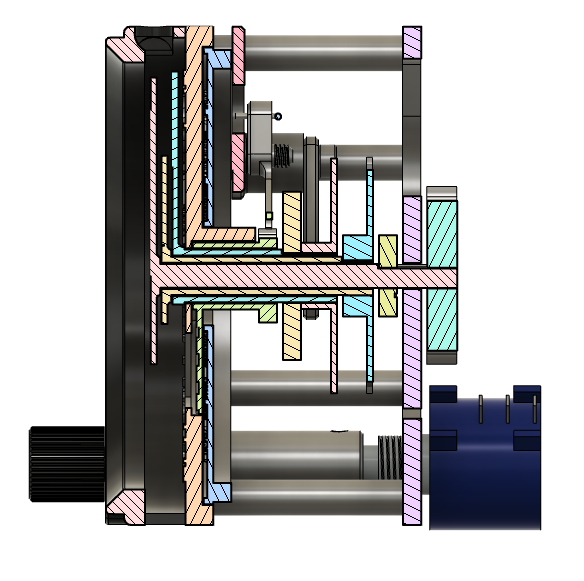
Long story short: after three complete design cycles, numerous test prints, and one full prototype, it doesn’t work…
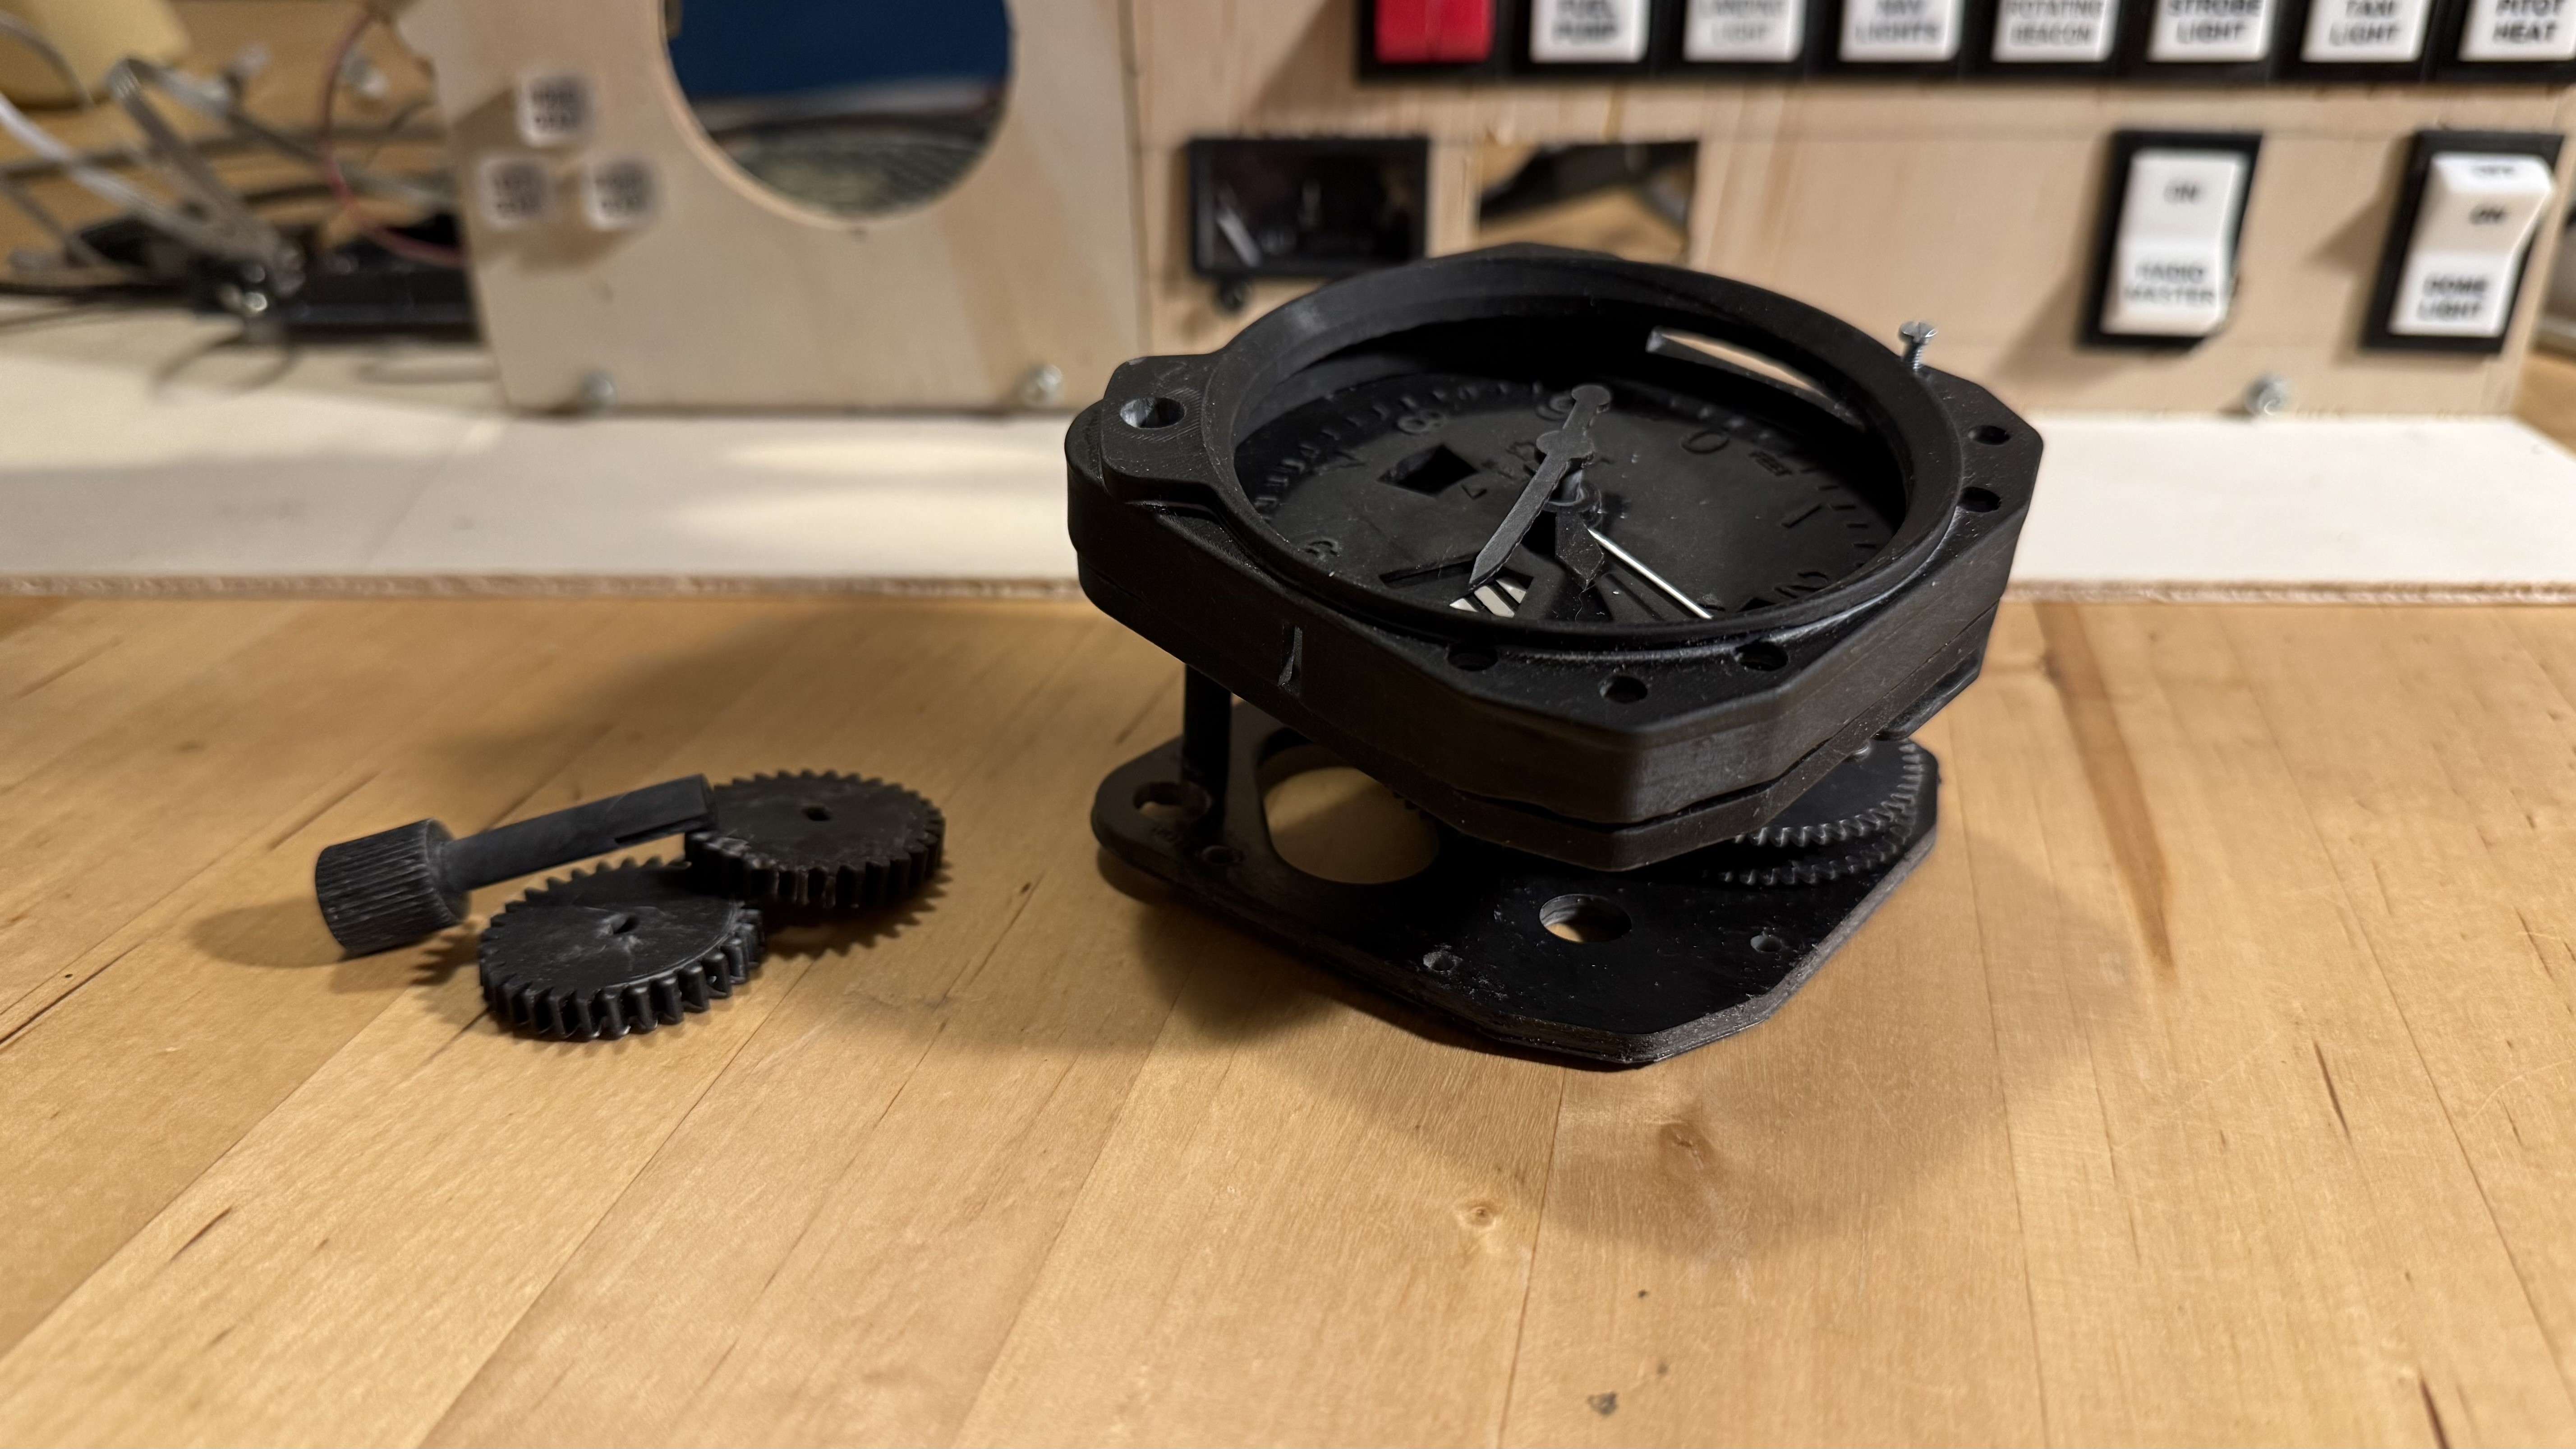
… yet!
There are several flaws in the design—nothing unfixable, but still enough to require a lot of additional work.
Maybe it wasn’t the summer that kept me away from this project after all? Who knows?
To be continued…
 Zaggo
Zaggo
Discussions
Become a Hackaday.io Member
Create an account to leave a comment. Already have an account? Log In.