 mkdxdx
There are people who tried to reload things like if they are scifi weapons (Kommander Karl style) and those who aren't entirely honest about it.
A lot of things happened since the last log - some progress and a detour in the middle.
So I was gaining some momentum in this project and then Cyberdeck Cafe has bitten me with this idea to share with people how I go about designing things in FreeCAD - throwing me out of the saddle for two weeks.
It has ended so bad, I came up with an actual haphazard writeup of how to model your own portable terminal in FreeCAD from concept, to a production-ready handheld, including my own, 14th in a row explanation of what it the most problematic thing in FreeCAD and how to trick around it.
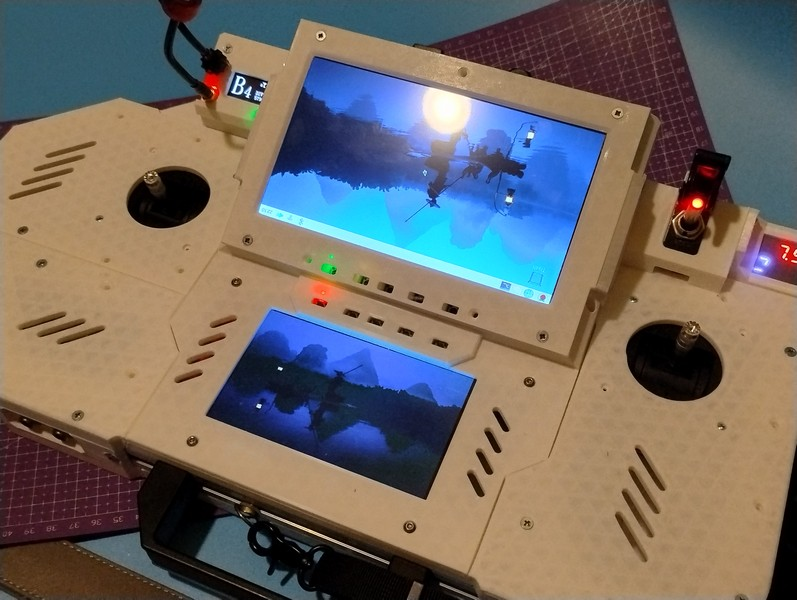
If you ever wanted to either push through a wall of semitechnical text or just curious how to make things in this software, here is an attention attracting picture of the result: And link to tutorial: https://bitbucket.org/mkdxdx/howtobuildashelf/
Other updates: rail-mounted battery pack, VRX mount, primary circuit breaker, new monitor and ELRS micro TX caddy - as usual, below the break.
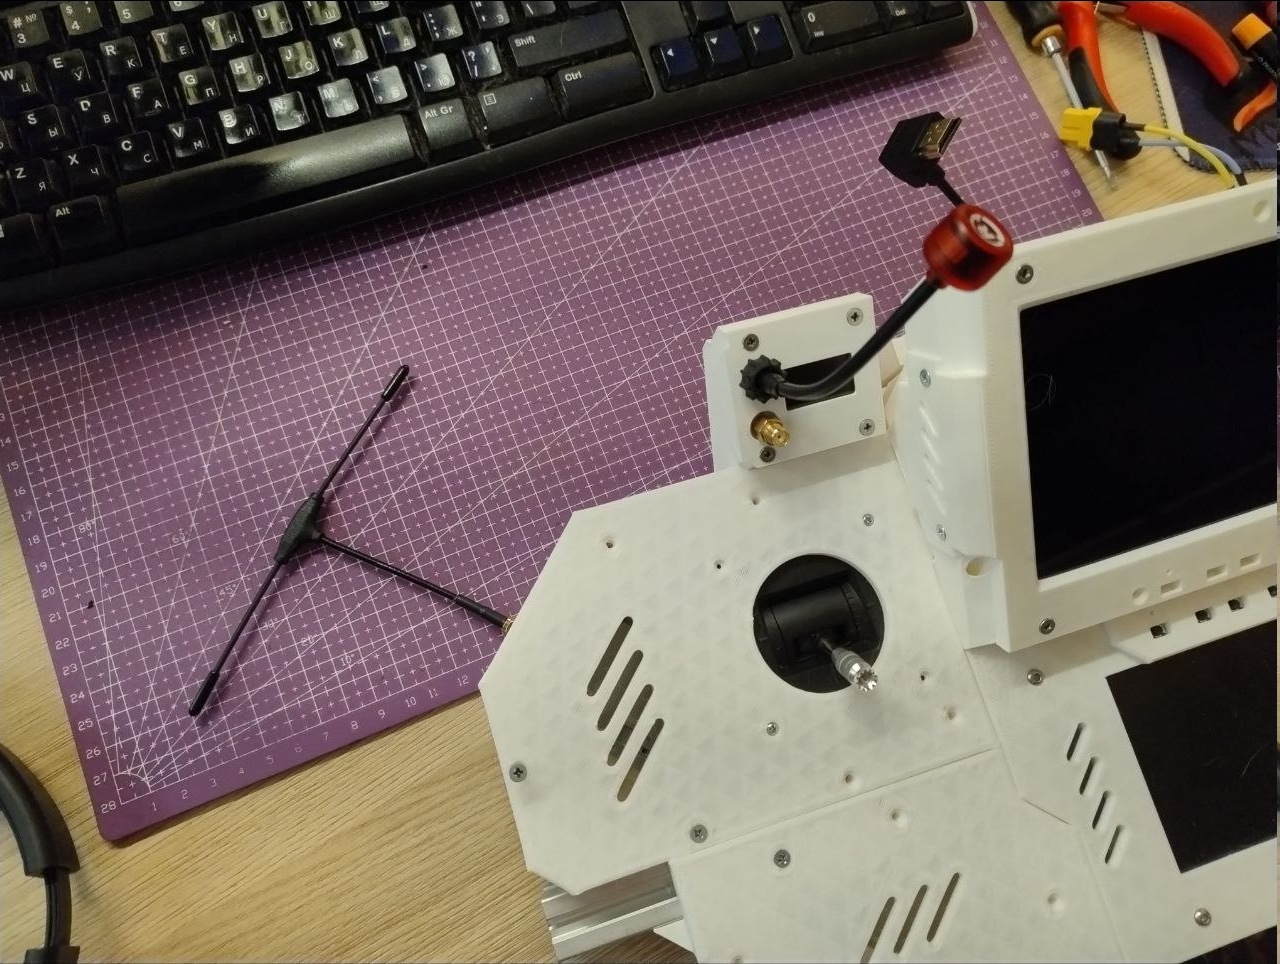
So, a replacement monitor has arrived instead of the one I've almost wasted previously. This one has different scaler board so some fixes had to be applied, and good thing is - it has same button board as the bottom monitor, so now front panel looks a bit slicker:
 Some new stuff immediately shows up, so, here it comes in no particular order.
Circuit breaker
The deck now has primary power ingress module that accepts XT60, runs power through ASW-07D "helicopter" toggle switch, optionally (it is also modular in itself) continues running it via a 10A automotive fuse and volt-amperemeter module and then gives you another XT60 to plug it into the deck's main power input.
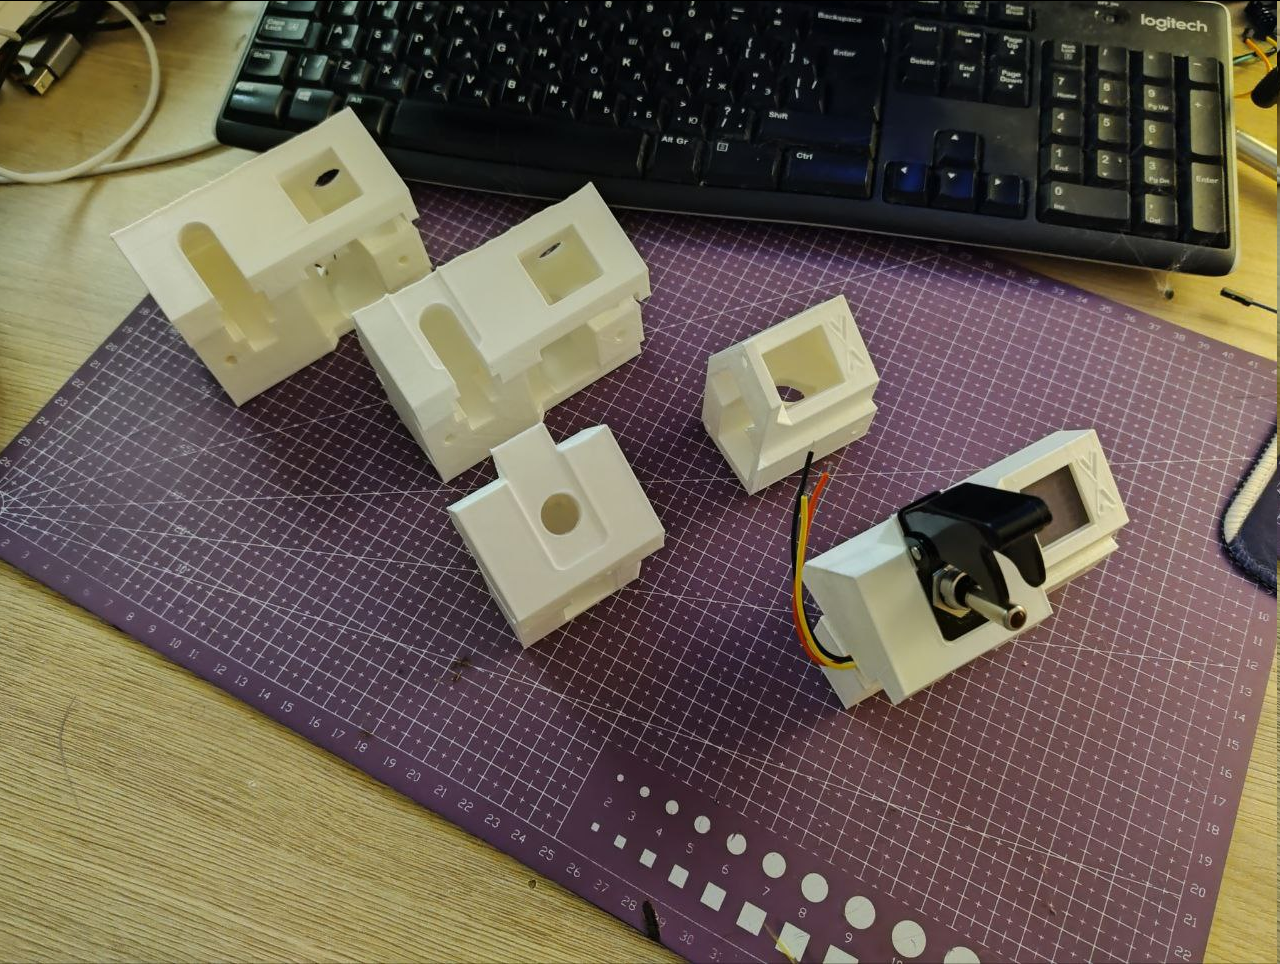 I had to iterate it at least a couple of times, first it was monolithic, then it was split in two halves to ease printing and simplify the design itself, and then it turned out that these round fuse holders aren't very ergonomic to install in cramped spaces, because their nut is not that easy to affix when tightening and they are very, very brittle if you wanna hold it with pliers
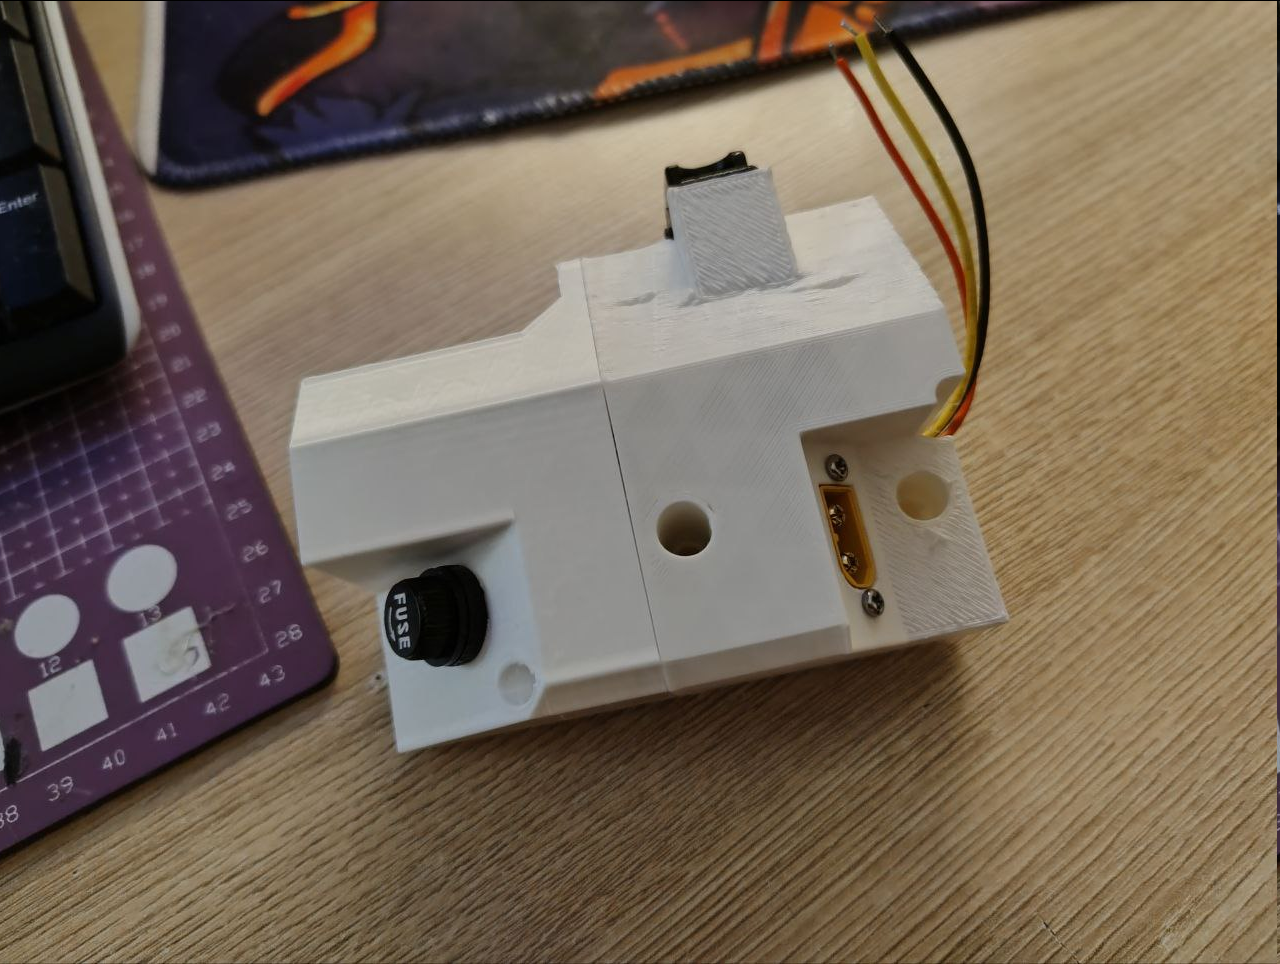 So I've went with this DC automotive fuse holder with a cap that mounts with two screws and called it a day:
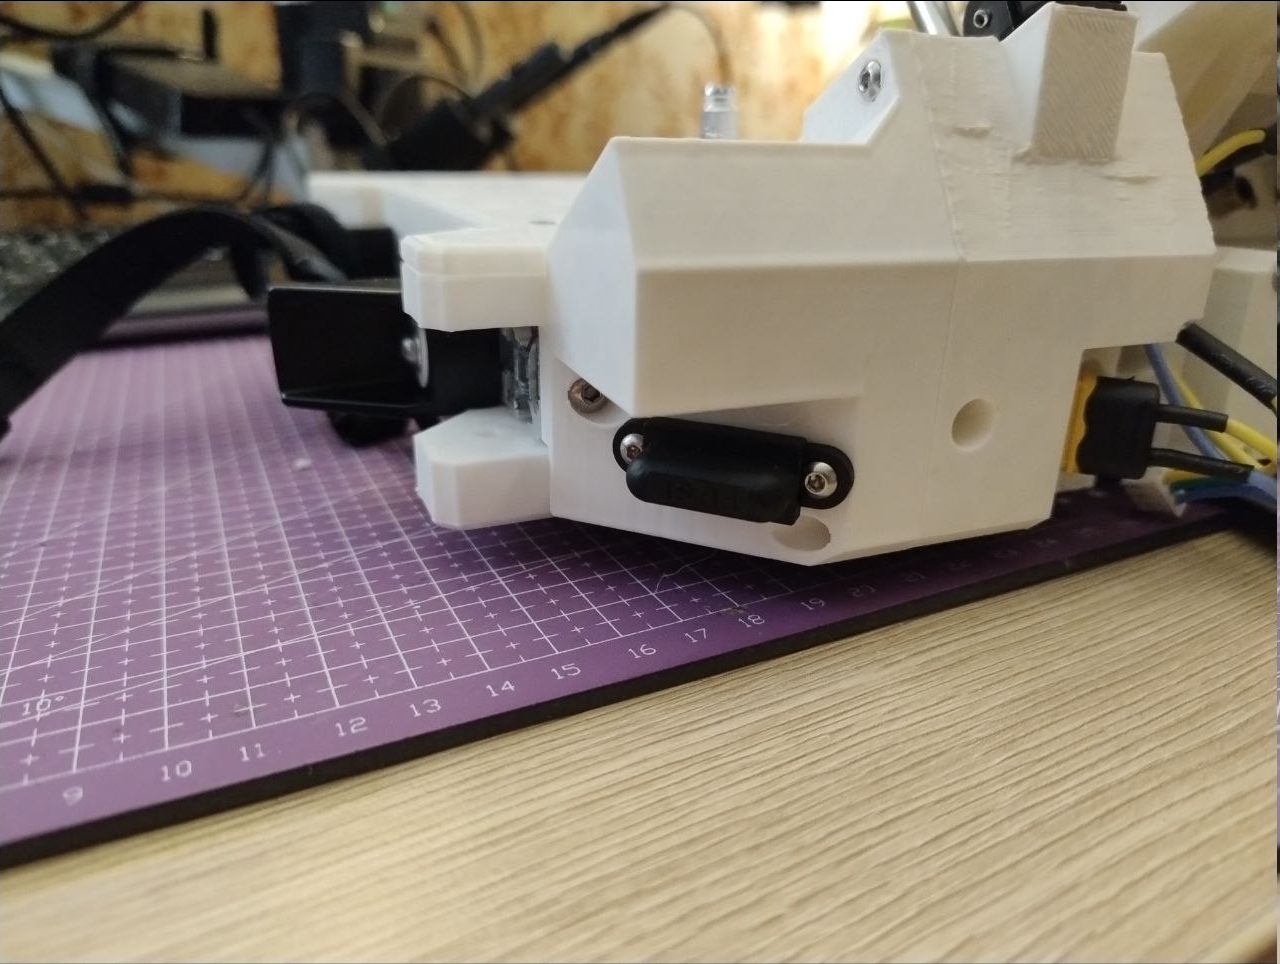
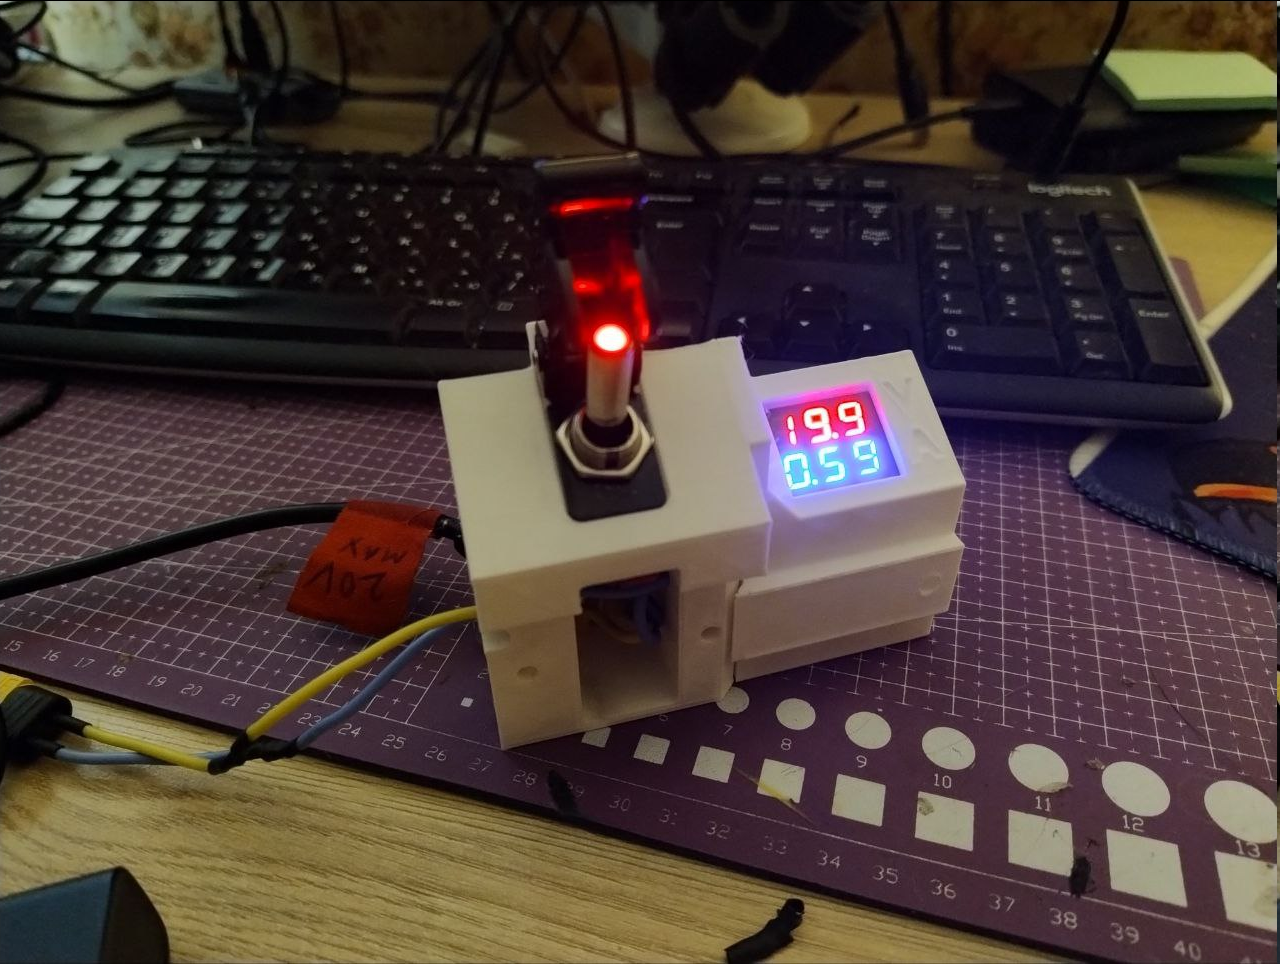 I also had to wait for new meter to arrive because I wasted the first one when miswired it's current measuring connector.
 VRX caddy
Next is the VRX holder/caddy/carrier thing, which also suffered some iterations before settling on something digestable.
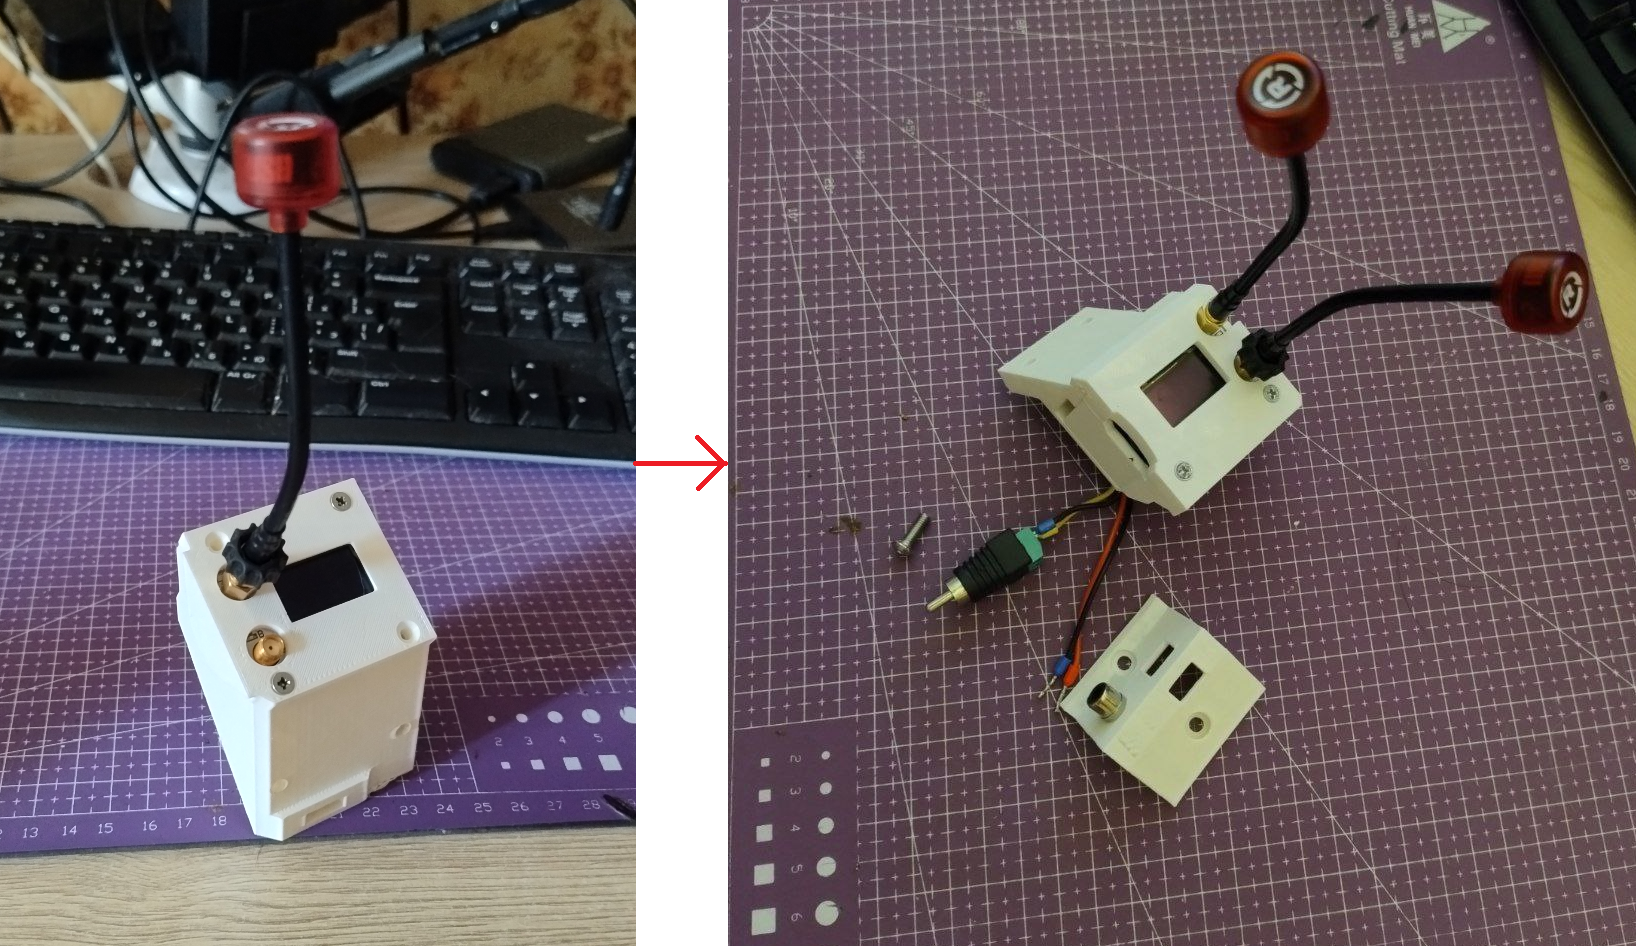 Initially it was almost monolithic, but then I've split it into a holder and signal/power connector group:
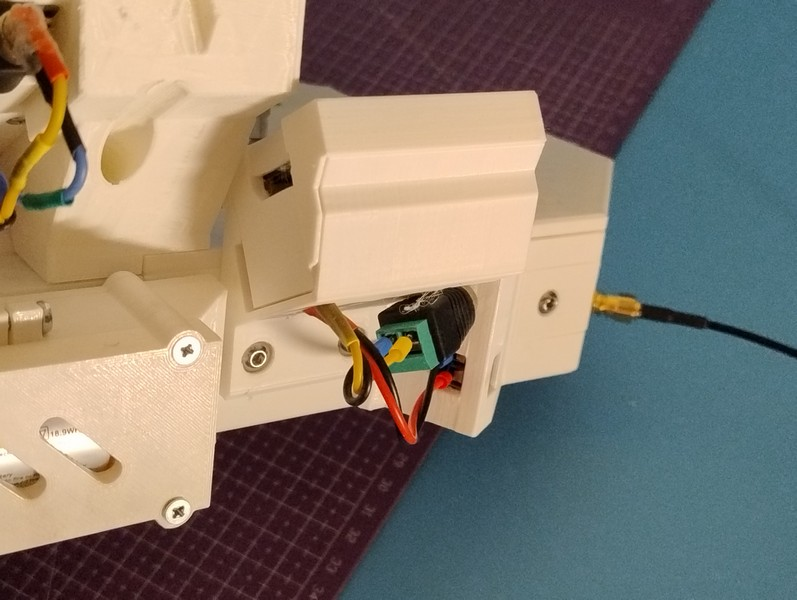
 And it's at this point I've realized how wasteful these redesigns are, because without proper forethought, minuscule changes make you dish out tons of material just to discard the next iteration (note how left and right assemblies have different rims - they were reprinted just for that small change)
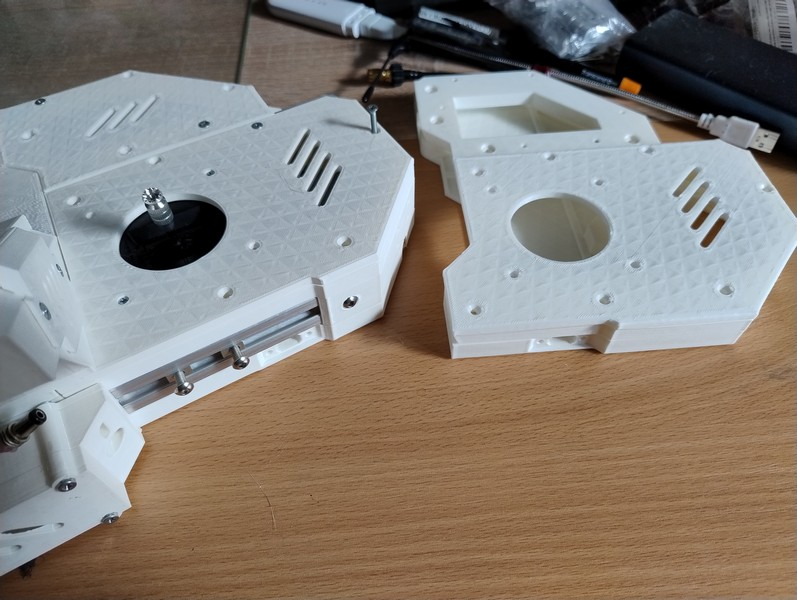
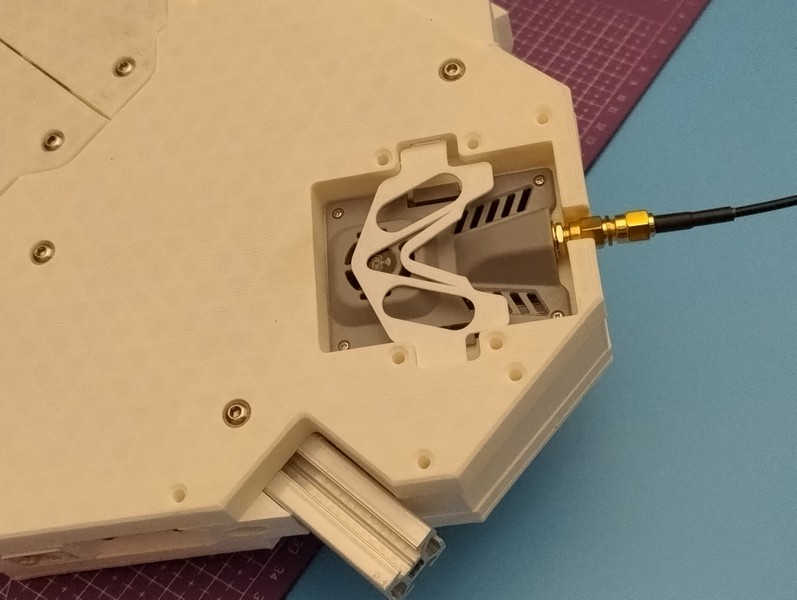
ELRS TX micro JR bay carrier
Honestly I have no idea what's the correct name for this module format because it has like 2 or 3 different names, but I can now mount the thing into one of the bottom panels and have it's antenna sticking out when in operation. It also allows the module to breathe and all - but eventually it will be moved under VRX to allow for left stick to be moved even further to the left.
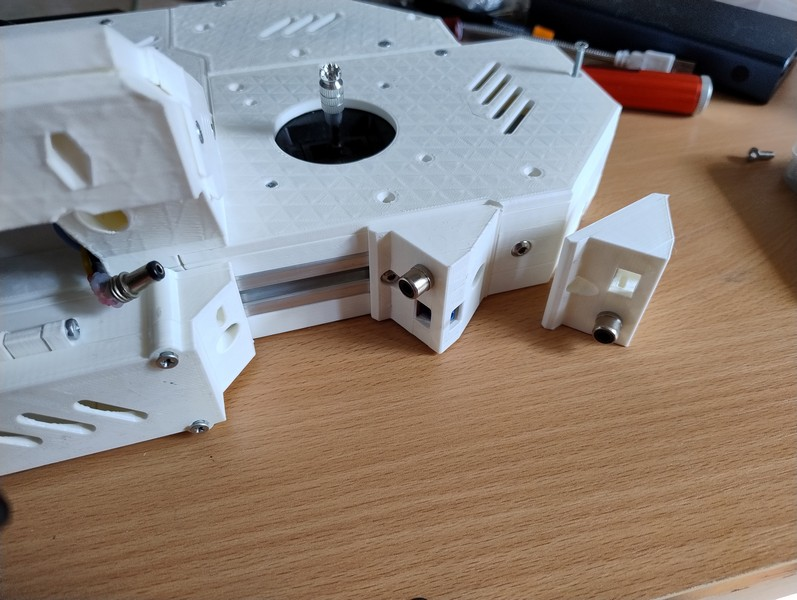
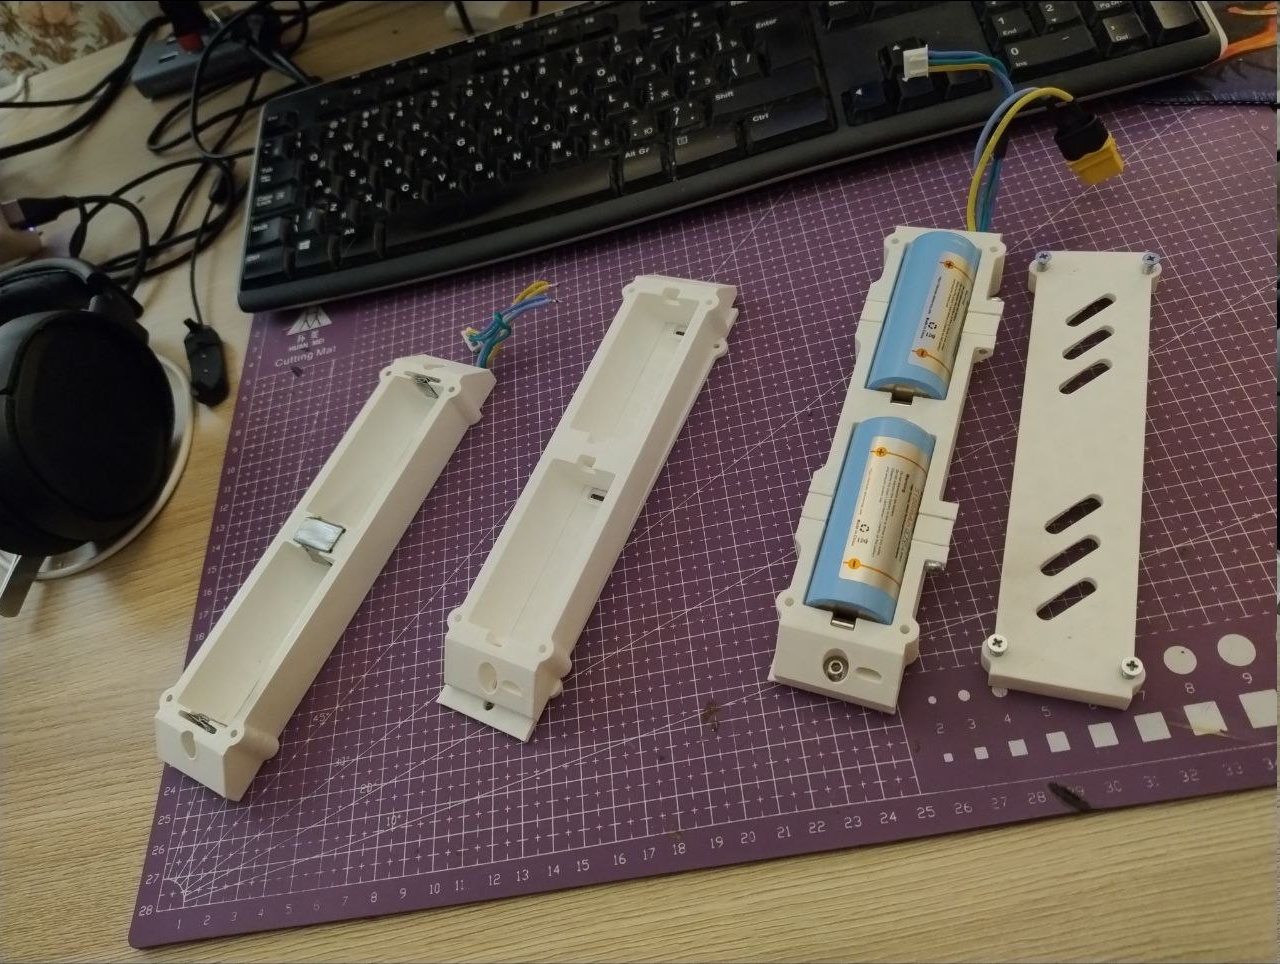
 Rail mounted 2S Li-Ion 26650 battery pack
I've learned a lesson from previous build that having internal batteries does not allow you to do much so it is now external and mounted on aluminum frame in the back. It was iterated at least twice too, first being balls to the wall DIY (because even contacts were made of some tin cutouts) and second one finally featuring some readily available springy battery contacts plus some levers for cool reload animations, like it was shown above to grab your attention. Balance leads included.
 When most of the things connected, the backside looks much more busy than what it does, but I will probably come up with some kind of compact wiring solution to this, hopefully without compromises on functionality.
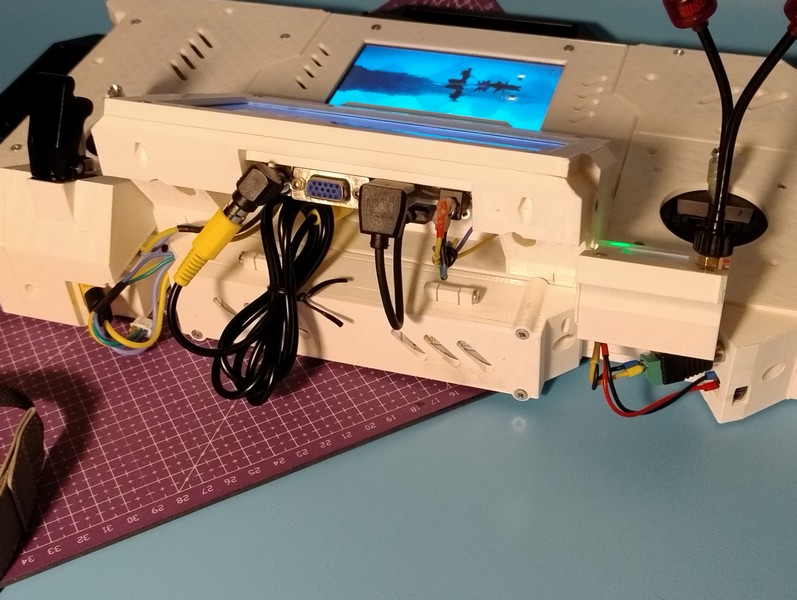 But that should be it for now! It moves and can't be more happy.
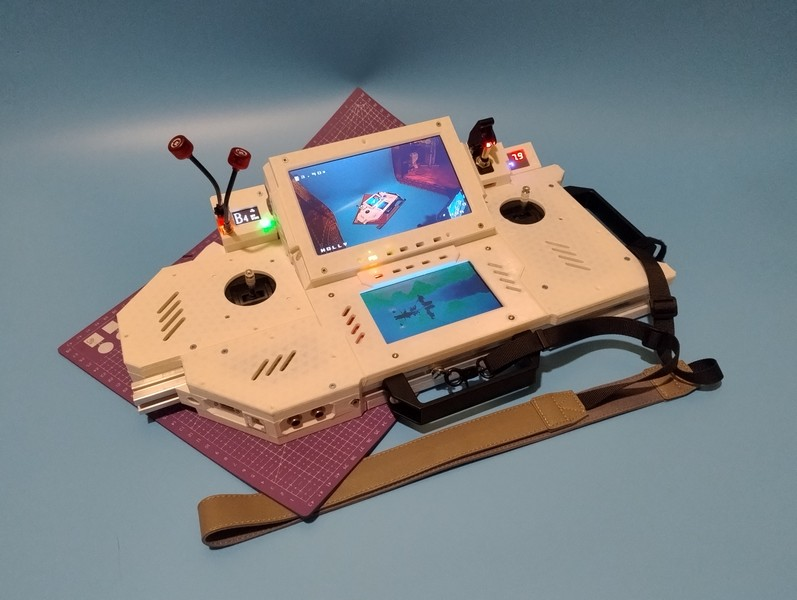
Discussions
Become a Hackaday.io Member
Create an account to leave a comment. Already have an account? Log In.