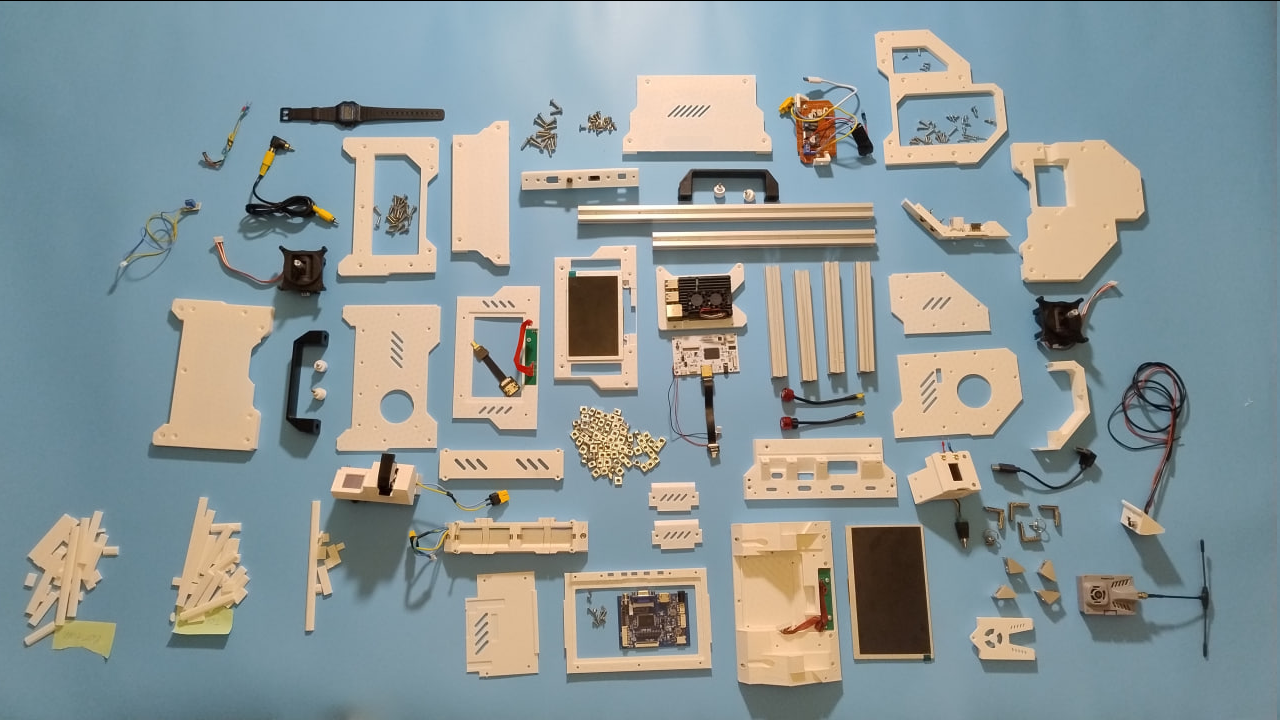
 ^ This is how current iteration of the deck looks if I was to make build instruction.
Do those white pieces in the left bottom belong anywhere on the build? The answer is below.
Working with extrusion rails can be both blessing and a curse.
It becomes a curse once you have to have a lot of t-nuts that hold some kind of cover and holes must align.
And it sucks when you have to fish out these t-nuts from somewhere where they have just slid. It double sucks if they become pressed against something and won't budge back if you shake the frame in question.
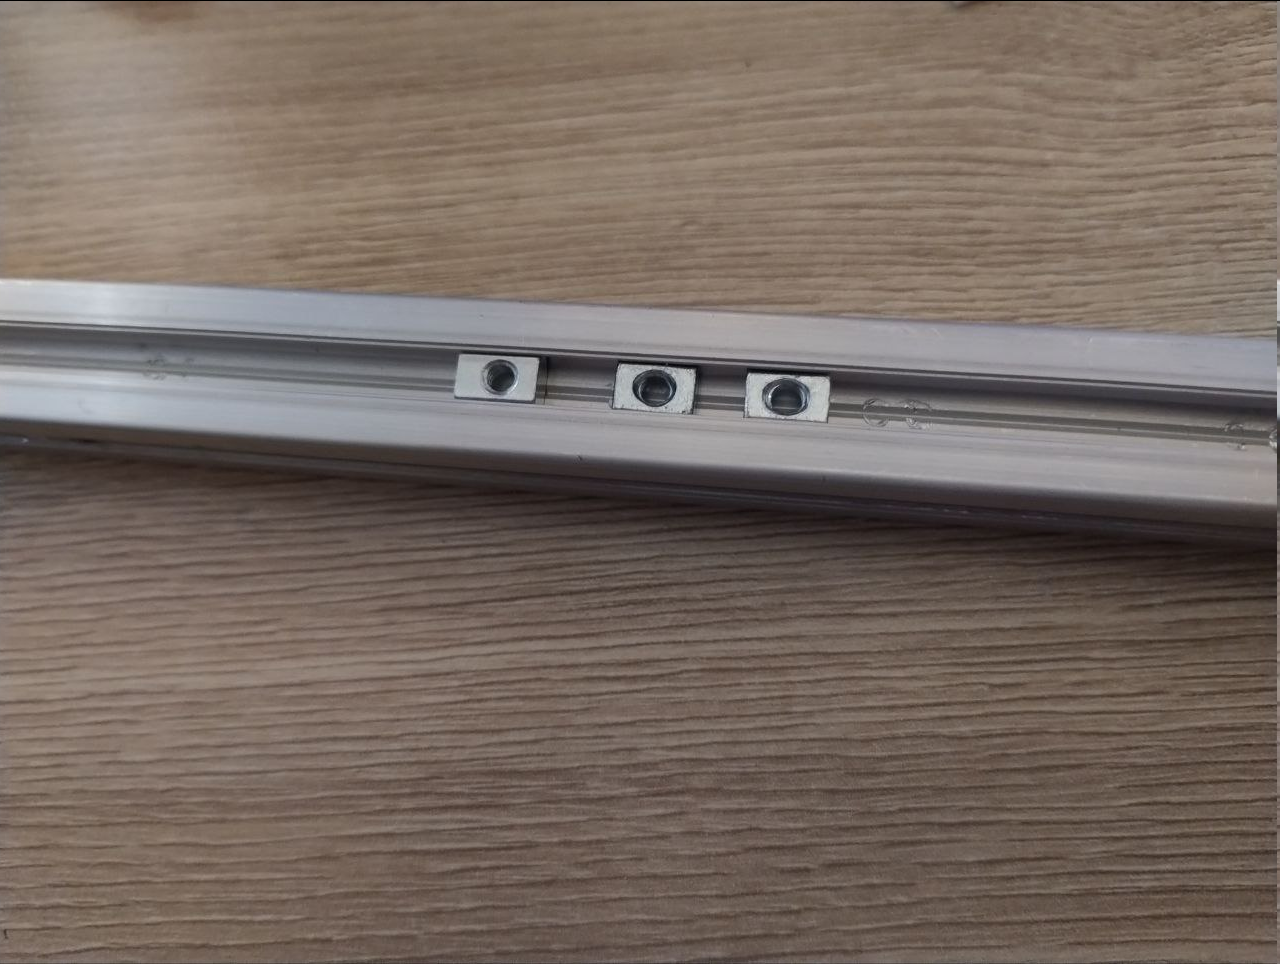 In order to make it suck tad less, I've decided to bet that I will not be changing either cover panels or external accessory mountings and design grove plugs that will fix t-nuts, simultaneously providing some leeway - because t-nuts not necessarily have perfectly centered threading holes.
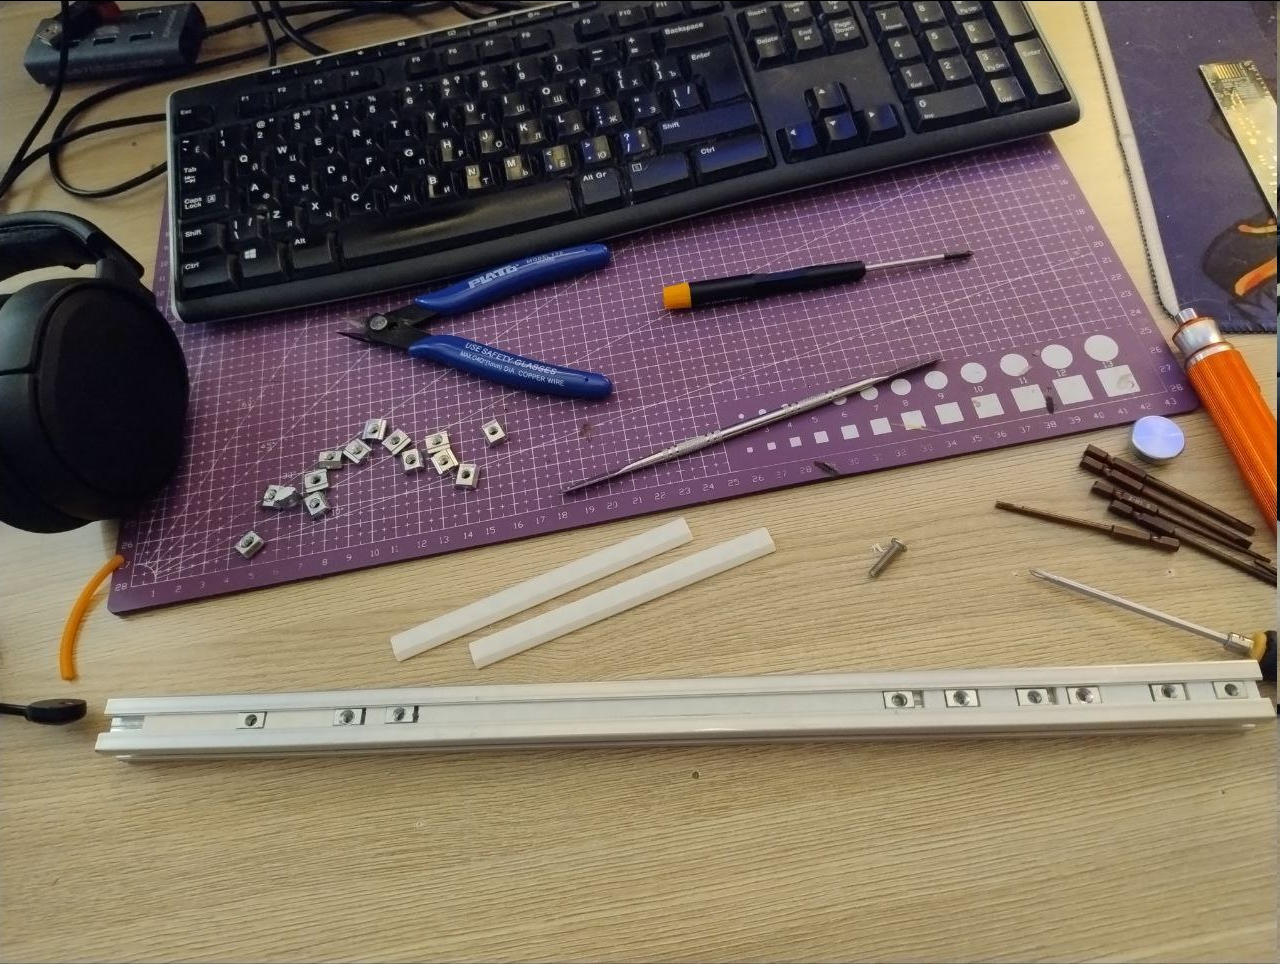
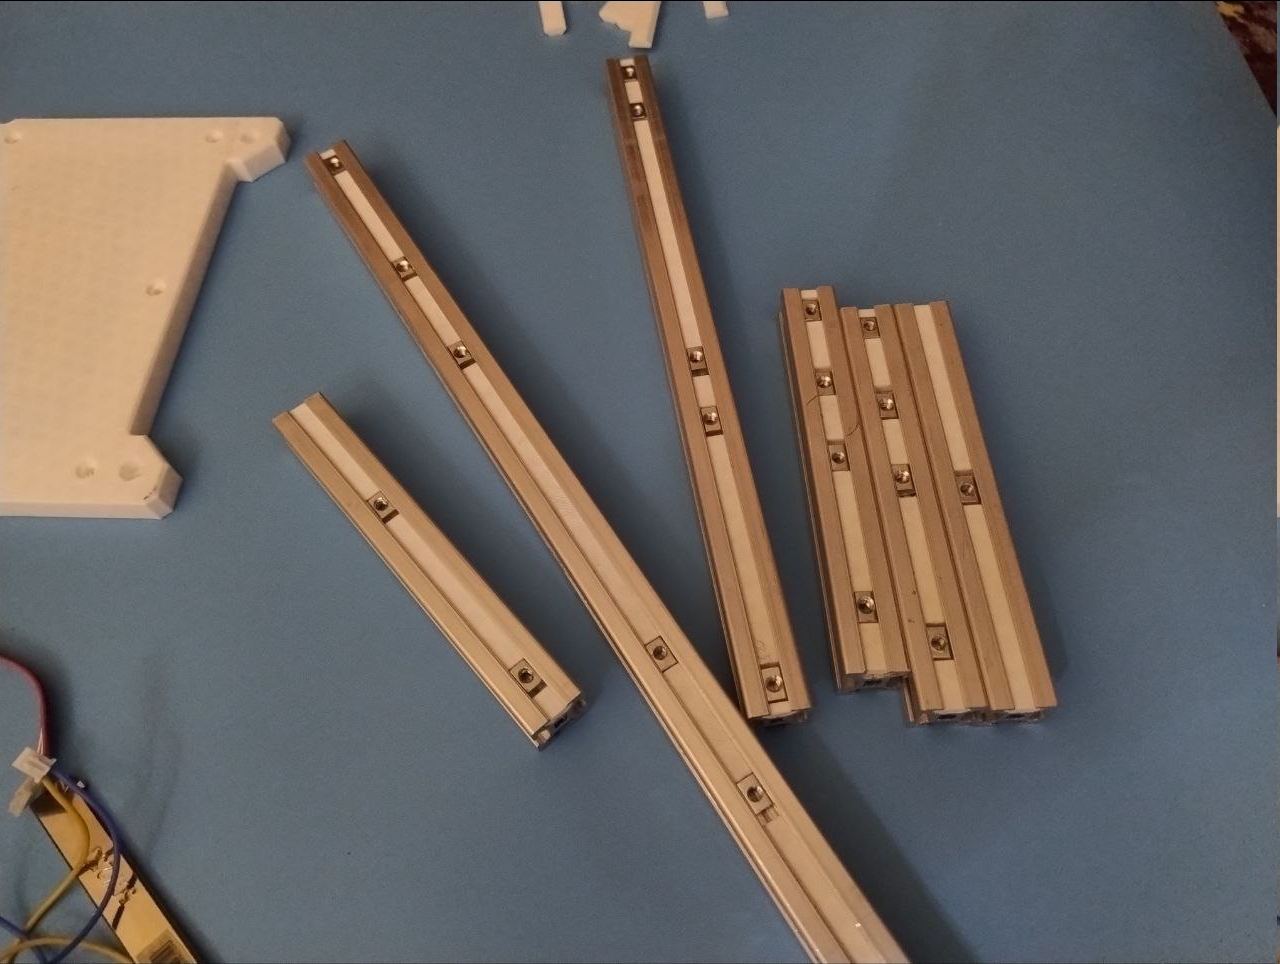
It does require some force to push these down the grove, but that is mostly because my printer has no concept of proper calibration - it's a tool, not a hobby.
Another minor thing was to make these little rail-frame-guide things that temporarily go over the frame while it is assembled - to allow angle fasteners to be mounted and, well, fastened.
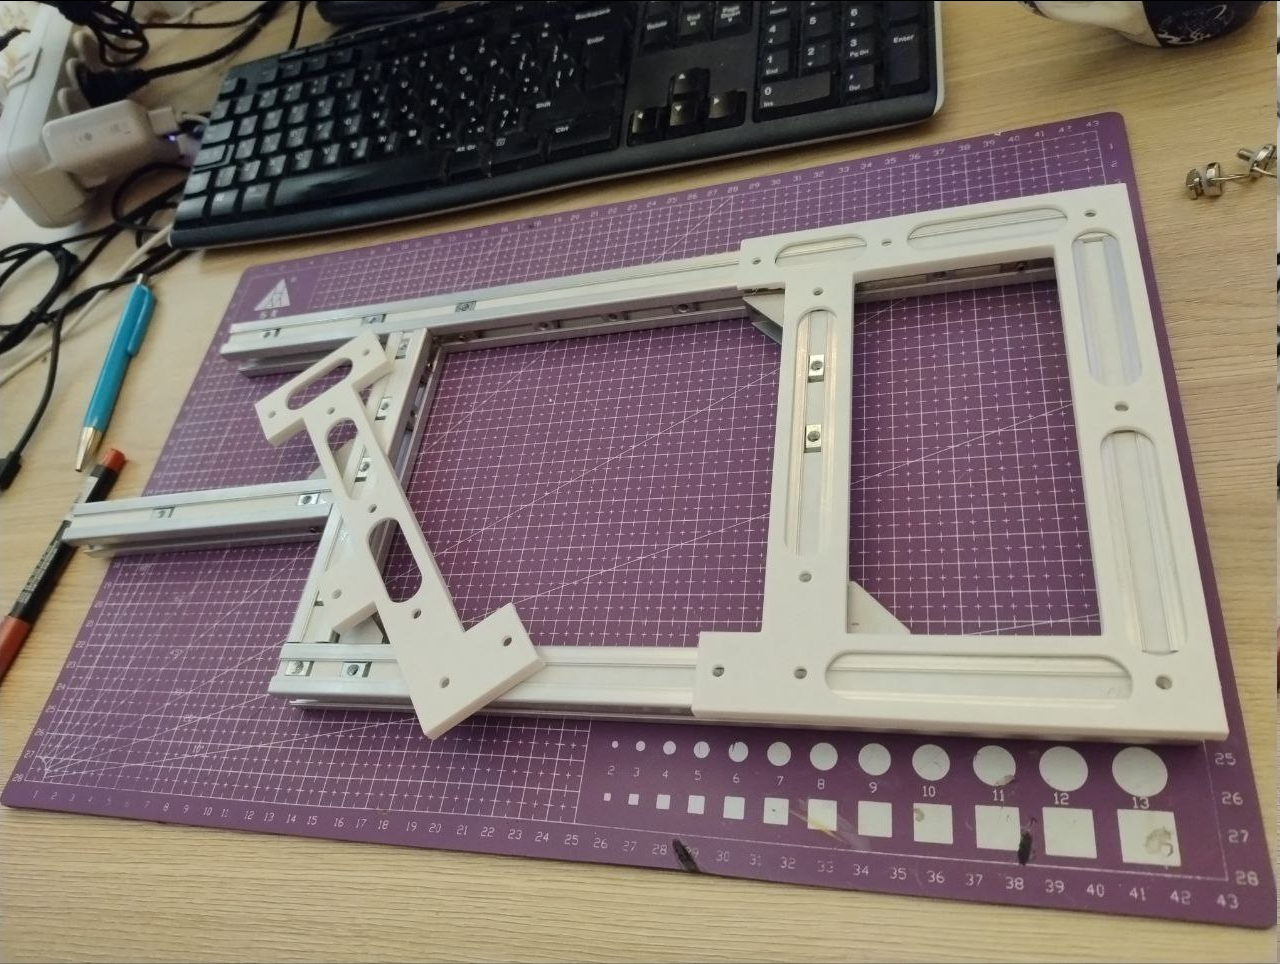 Sadly, it does not solve all assembly problems - I did have to loosen everything, mount back panels and sorta squish the frame until it is properly squared, before tightening everything.
But after that, panels come on just flawlessly, without me needing to fish out t-nuts that roll around and hide from me each time I have to run another wire somewhere.
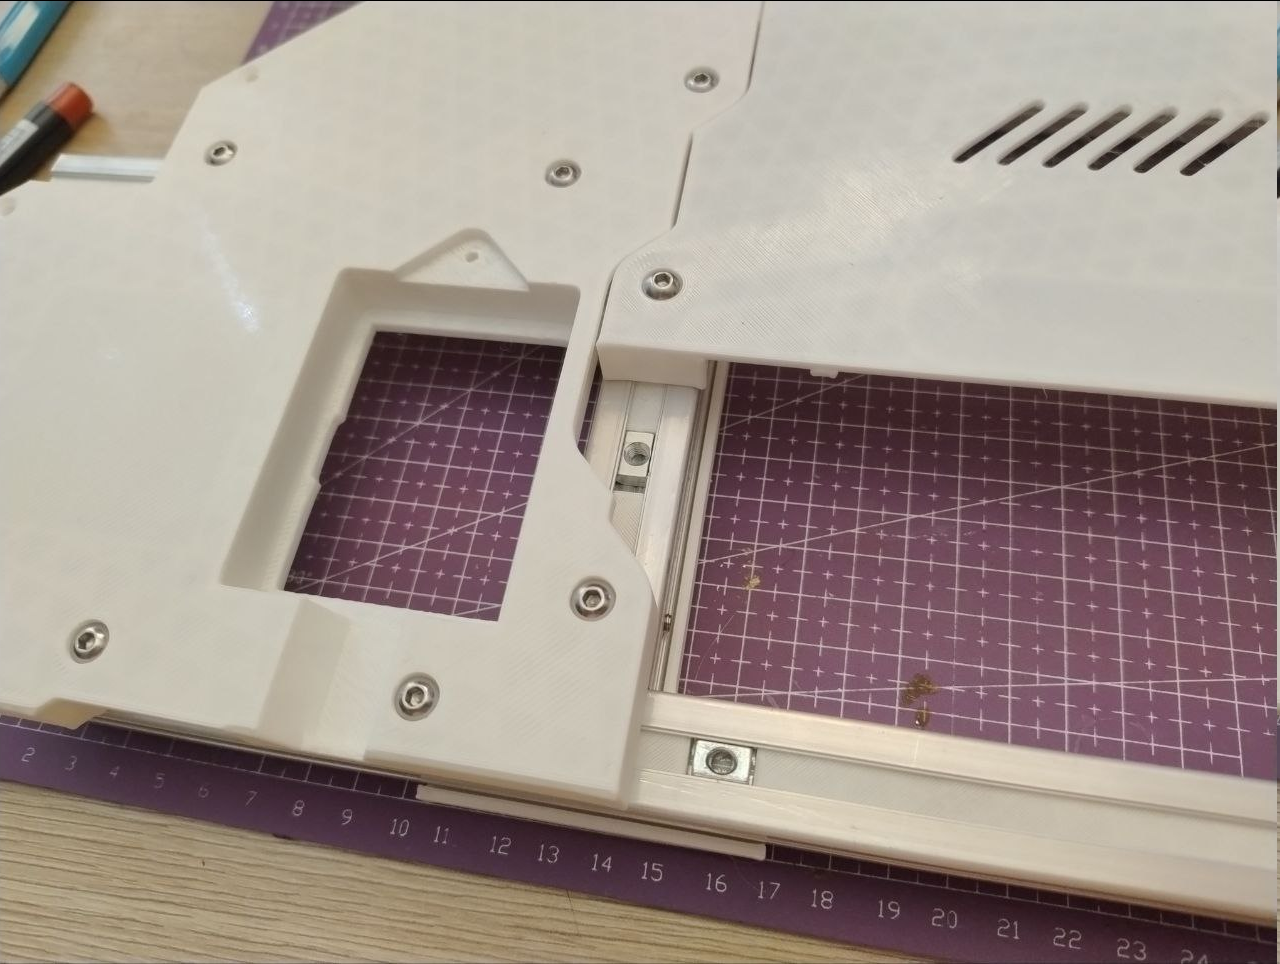
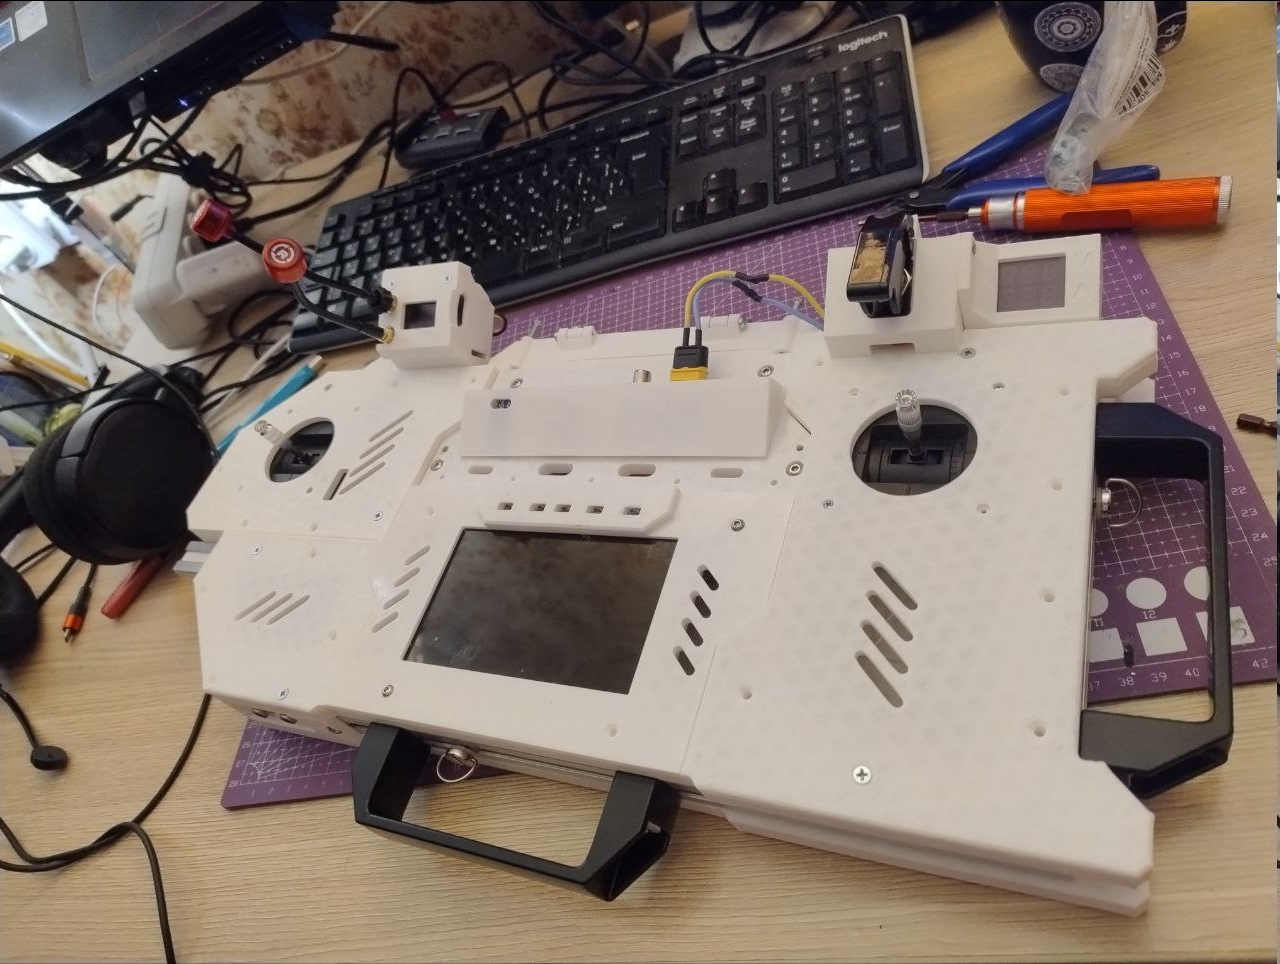
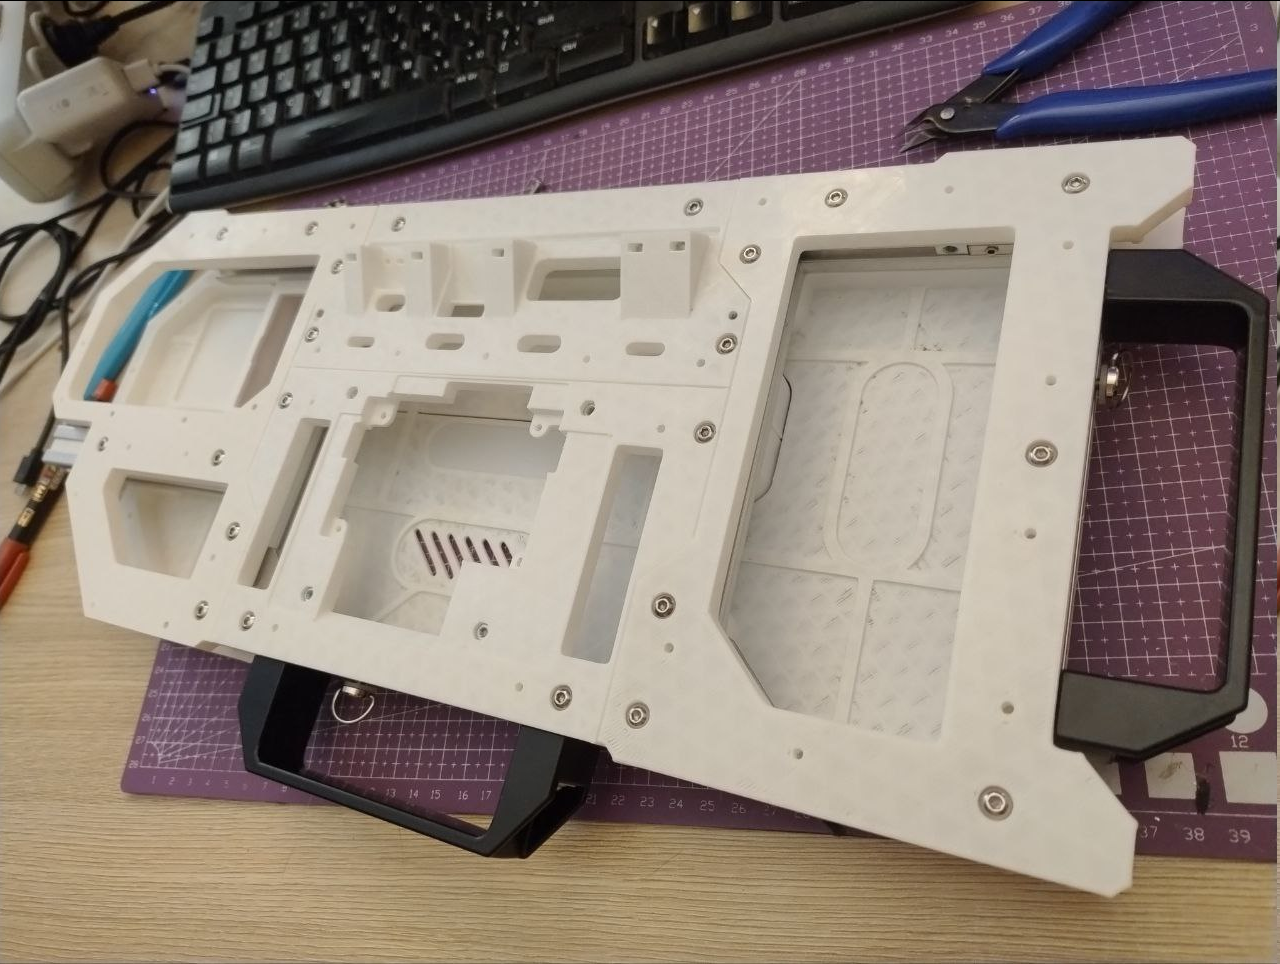 Bonus content: this is how it may look in a HMD-centered setup (no HMD yet), when top monitor is removed - there are plenty of stuff to connect HMD in question both to signal (HDMI and analog) and power.
 mkdxdx
Discussions
Become a Hackaday.io Member
Create an account to leave a comment. Already have an account? Log In.