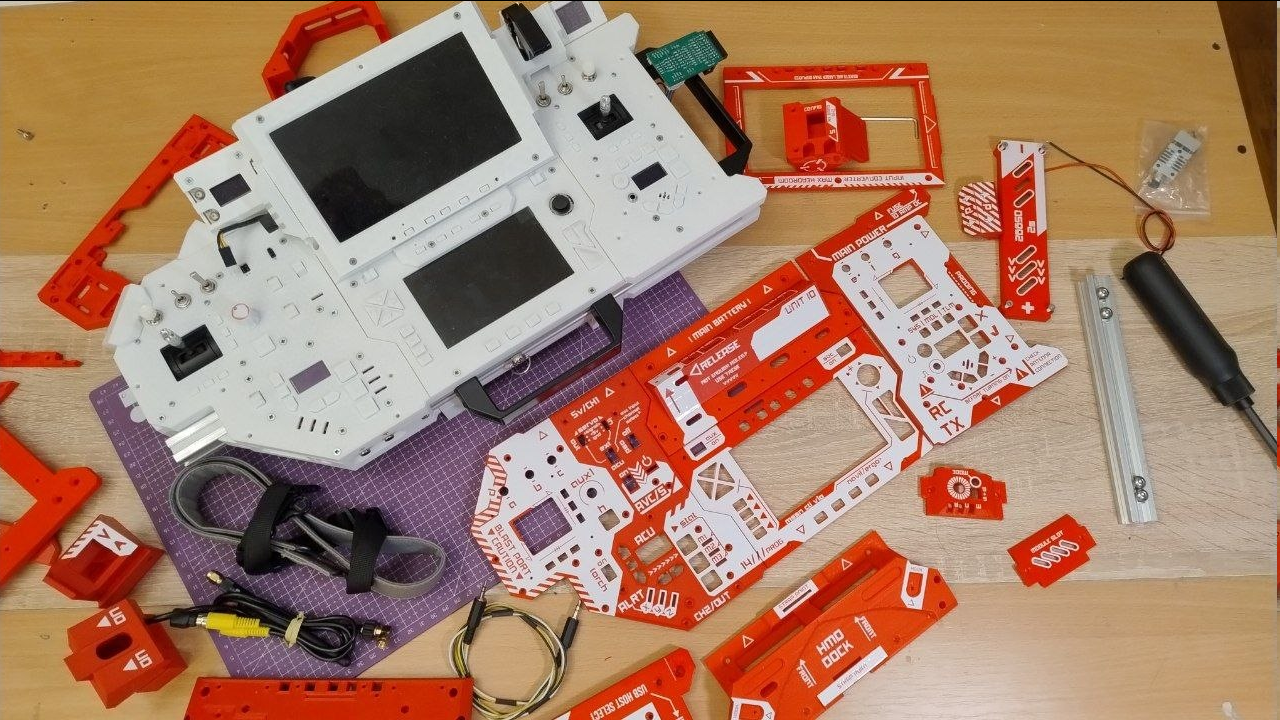
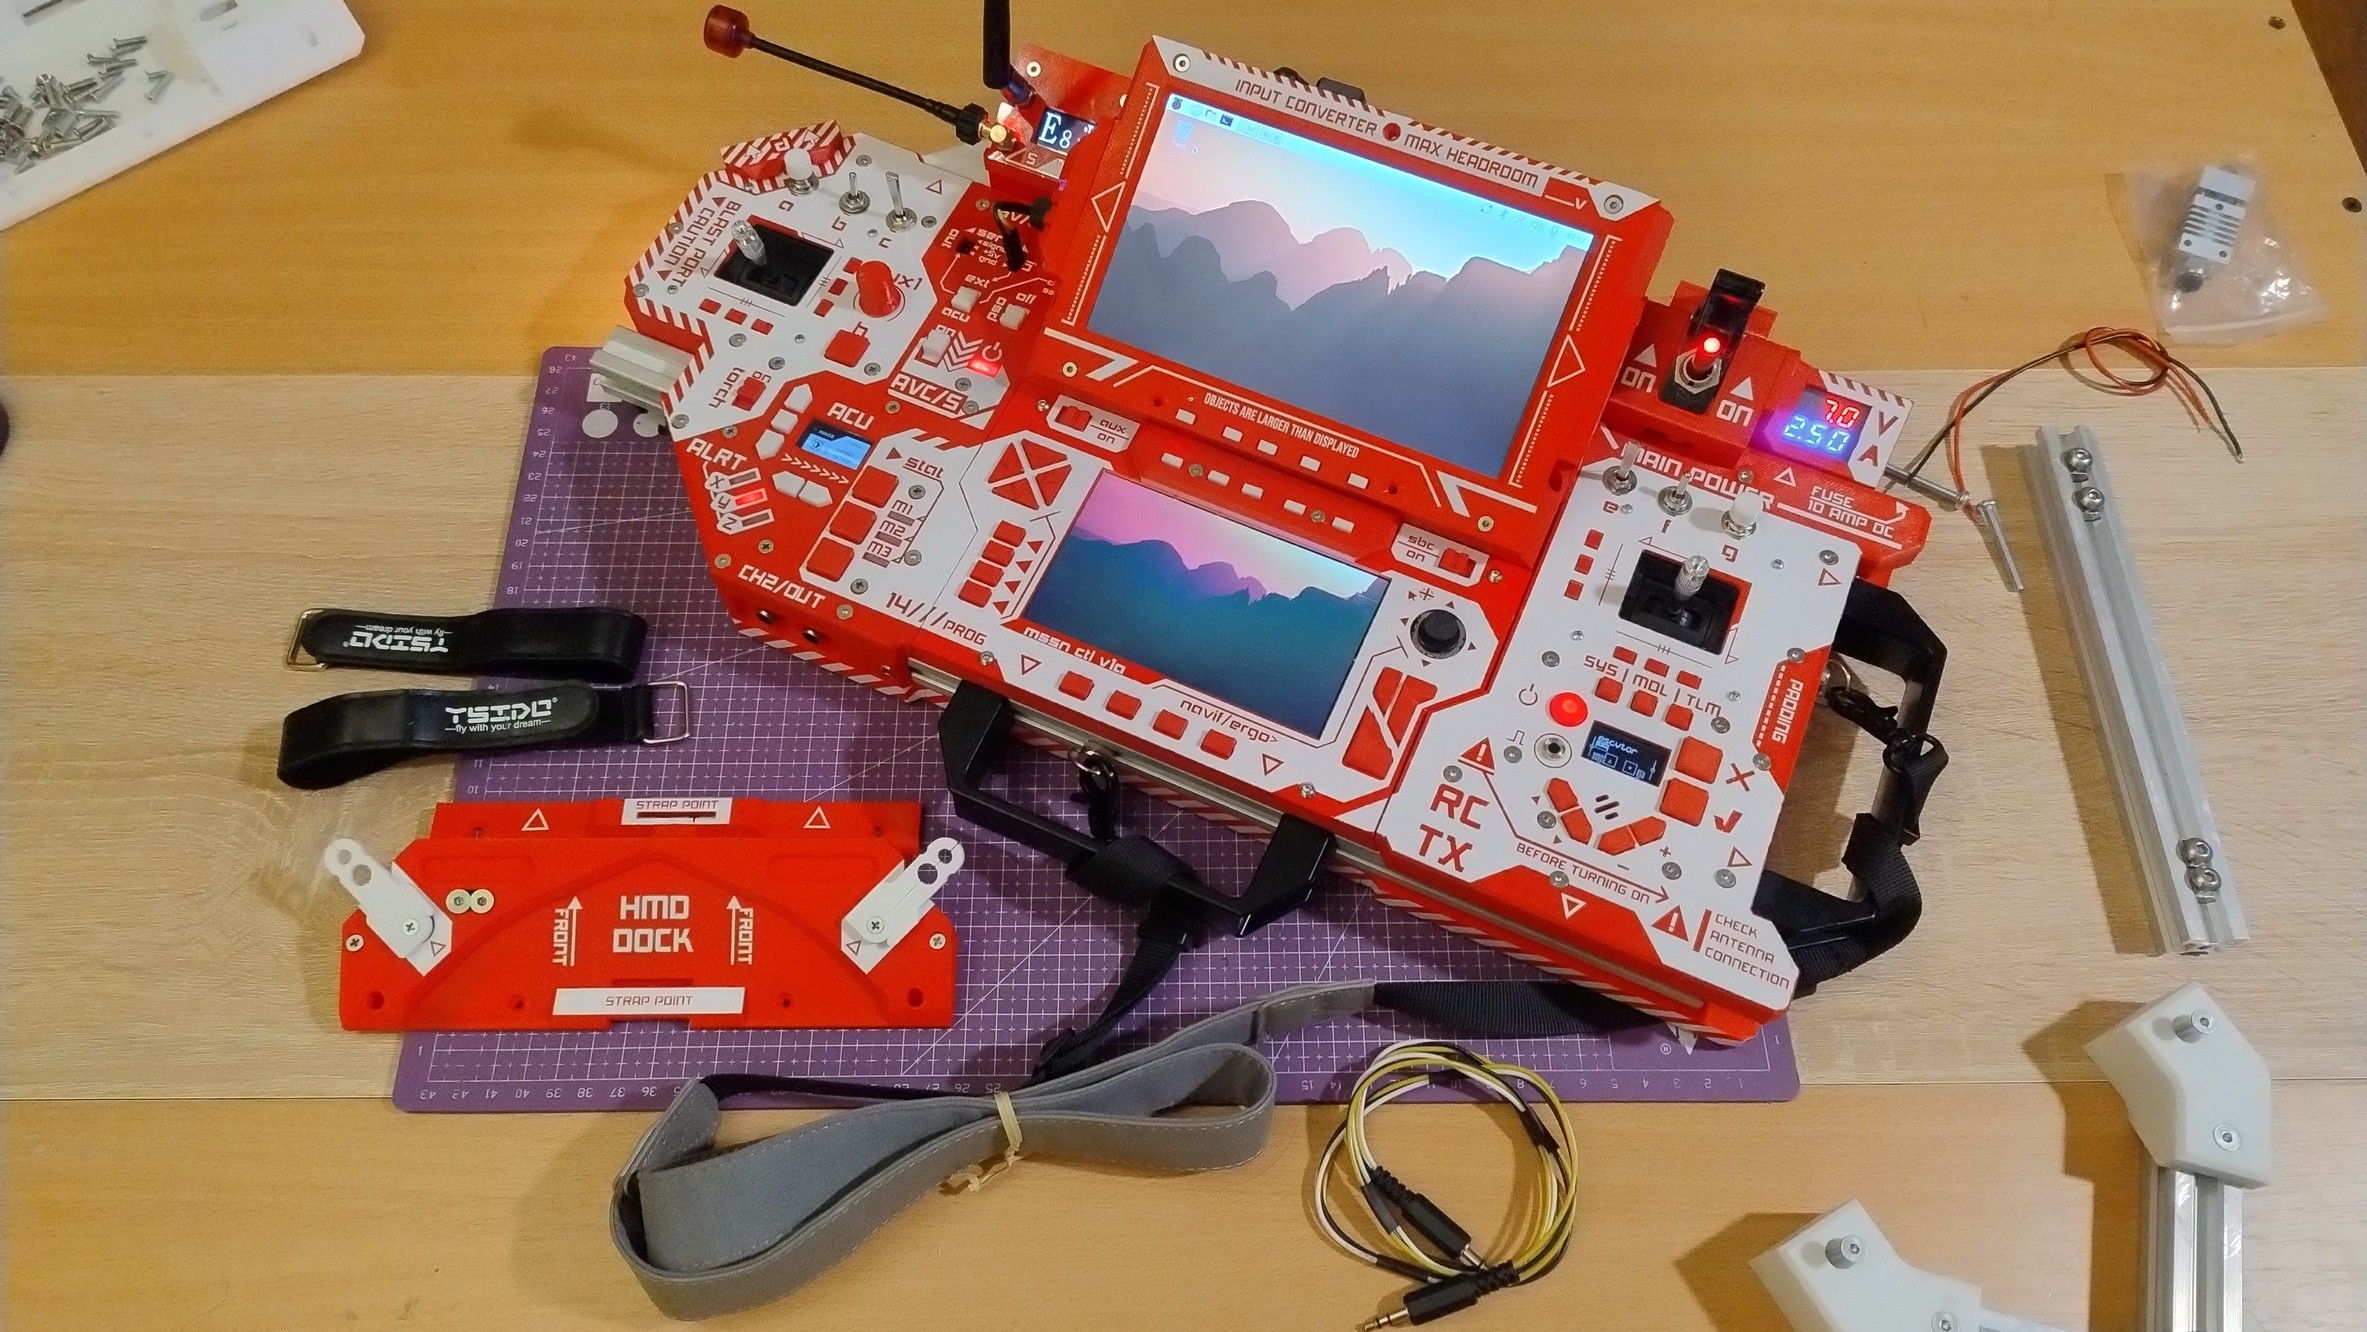
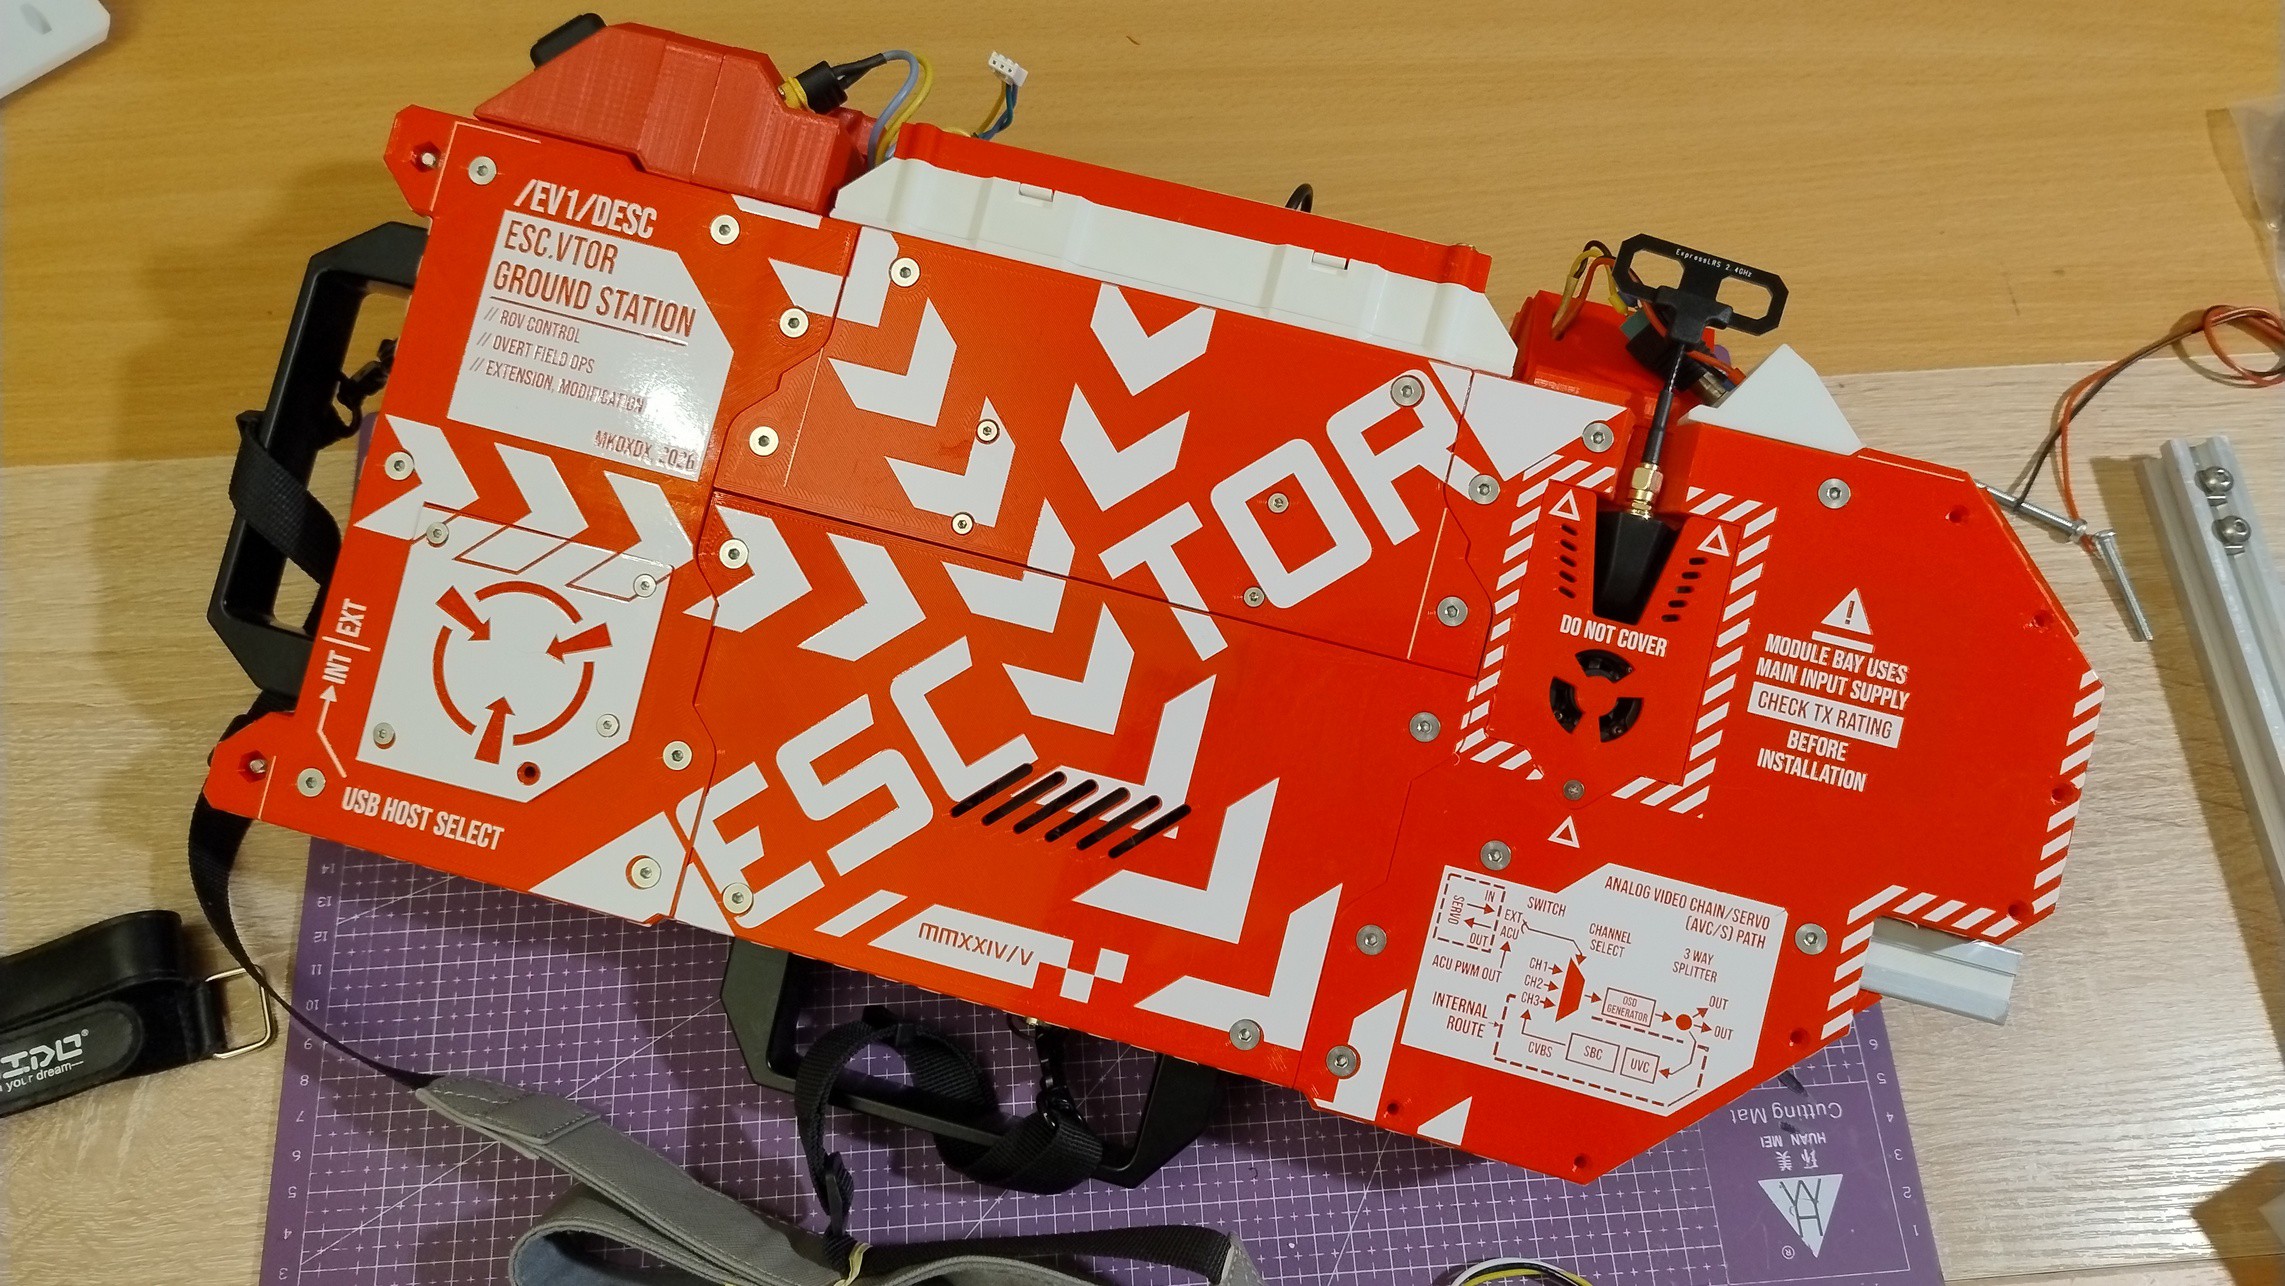
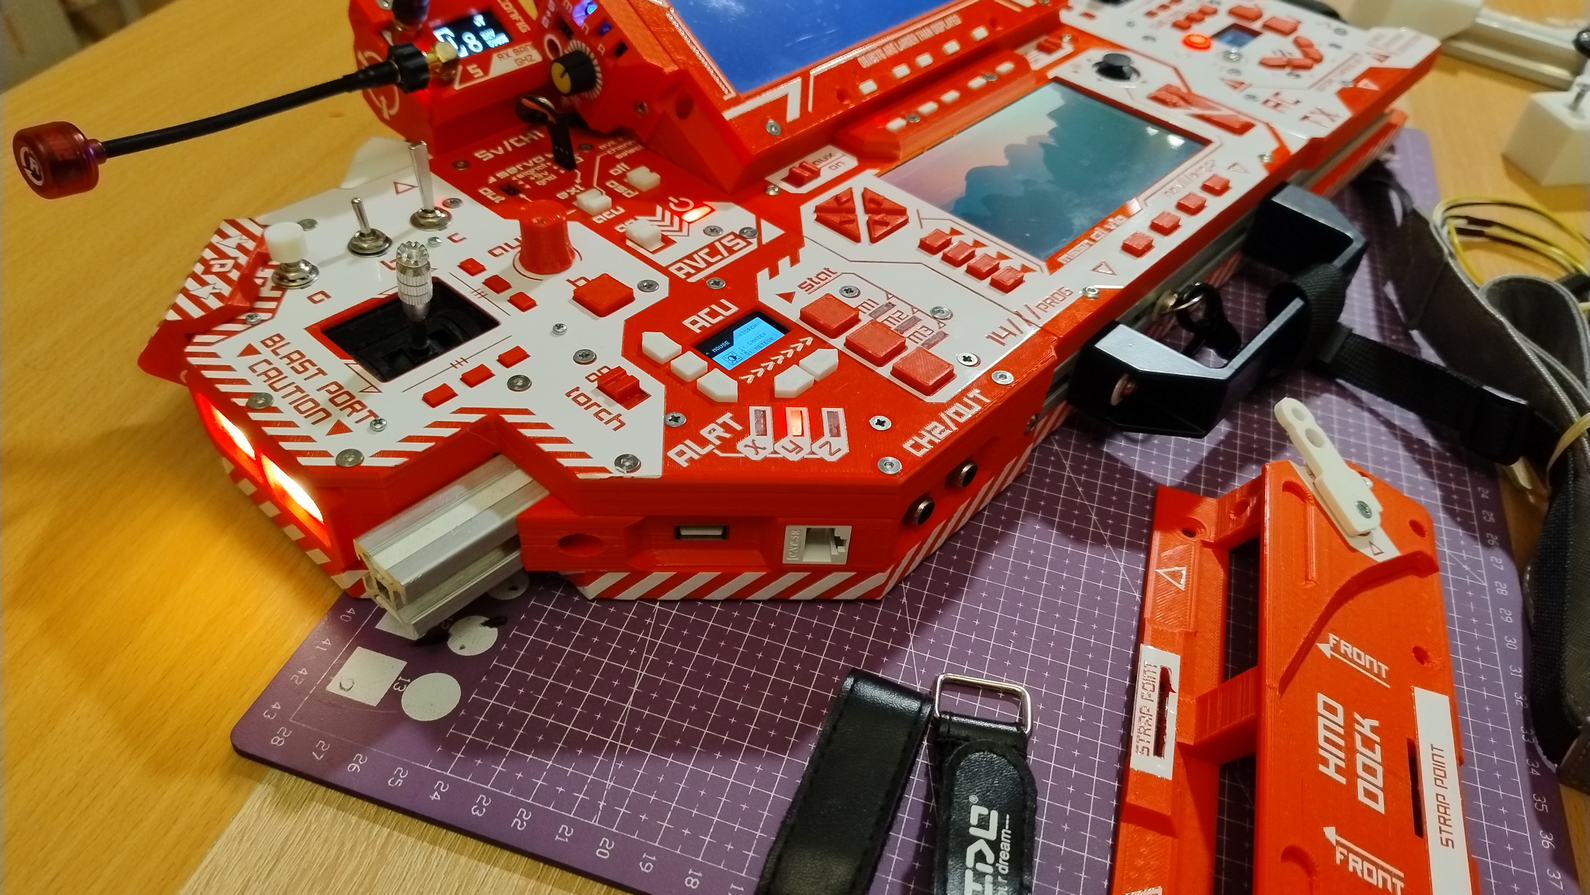
Teaser before everything that is hidden under the break:
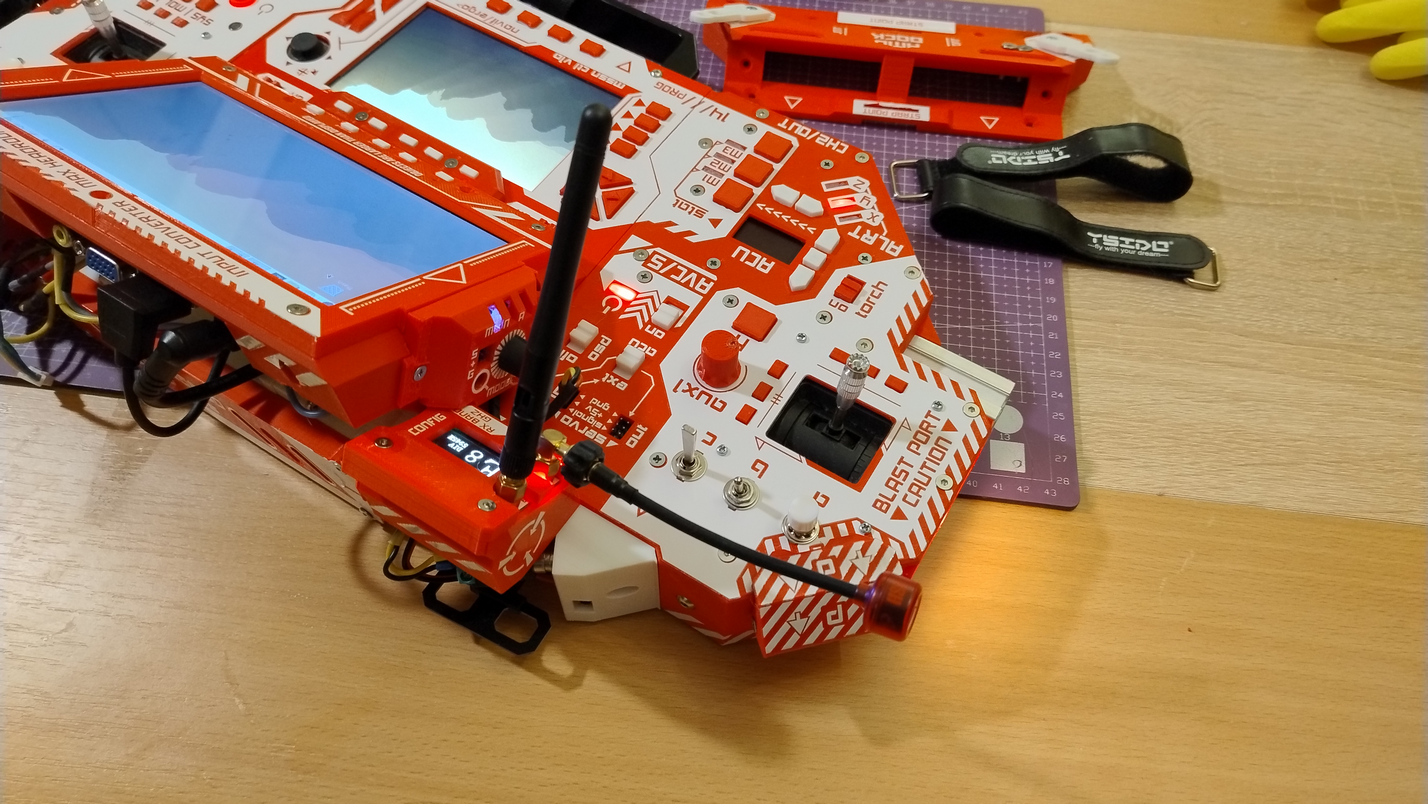
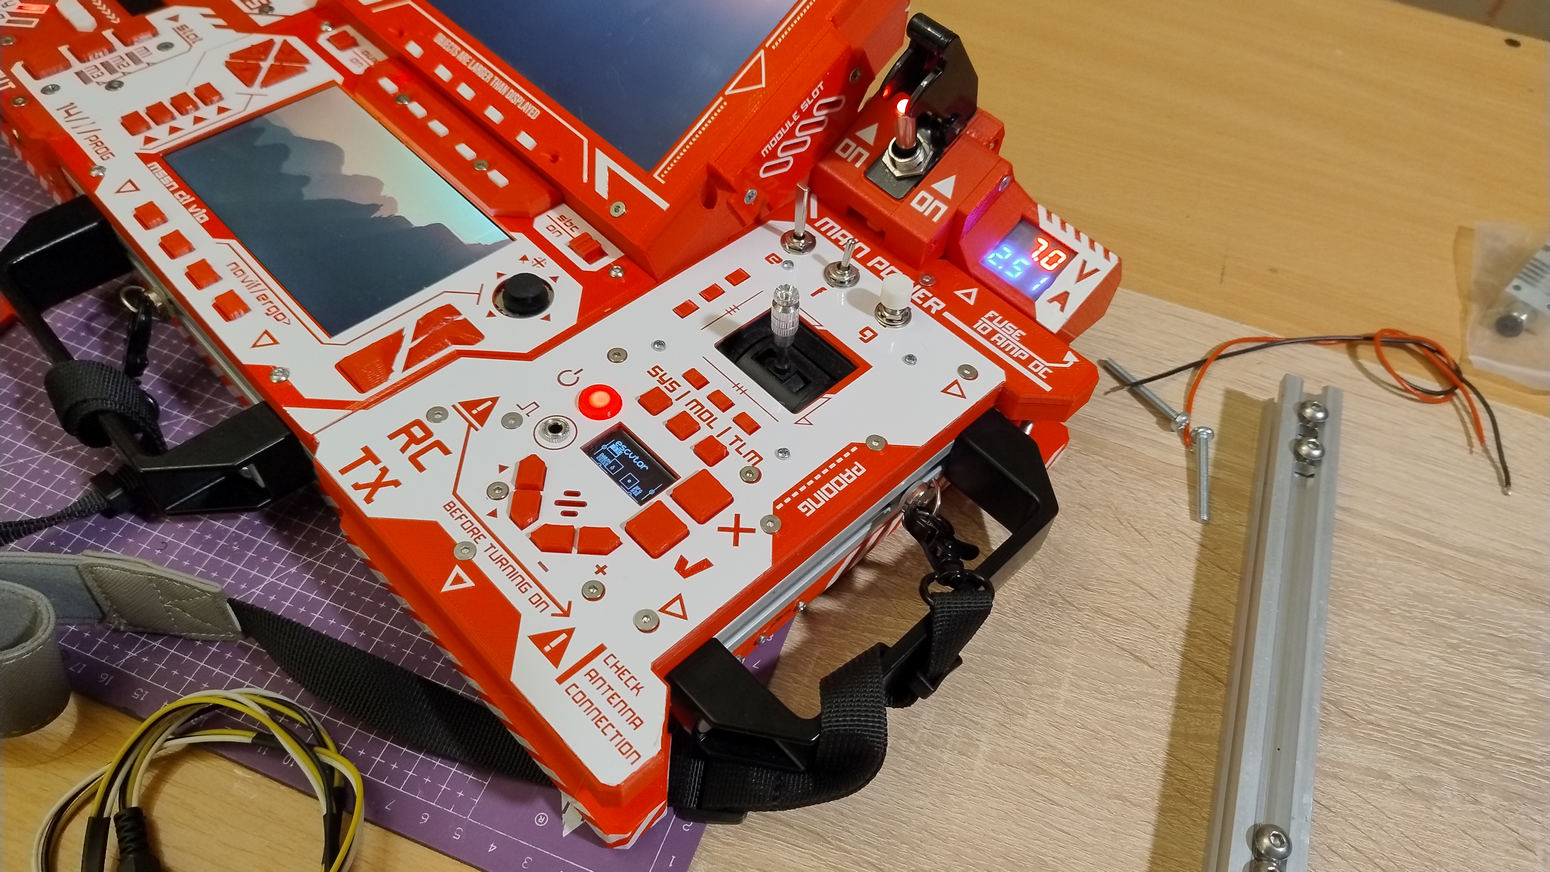
It is time to spice up the sterile attire.
And in order to do that I had to first sketch out ideas and toss them around. Turns out rendering parts of the thing in FreeCAD with transparency and then pasting it all into GIMP allows you to paint different parts without affecting others. Neat!
Now, there are, like, at least three or five methods to make this into reality and since I'm absolutely not confident in my filament swap techniques to print decals in white and then fill the rest with red PLA, I decided to settle on image transfer. Specifically - UV DTF.
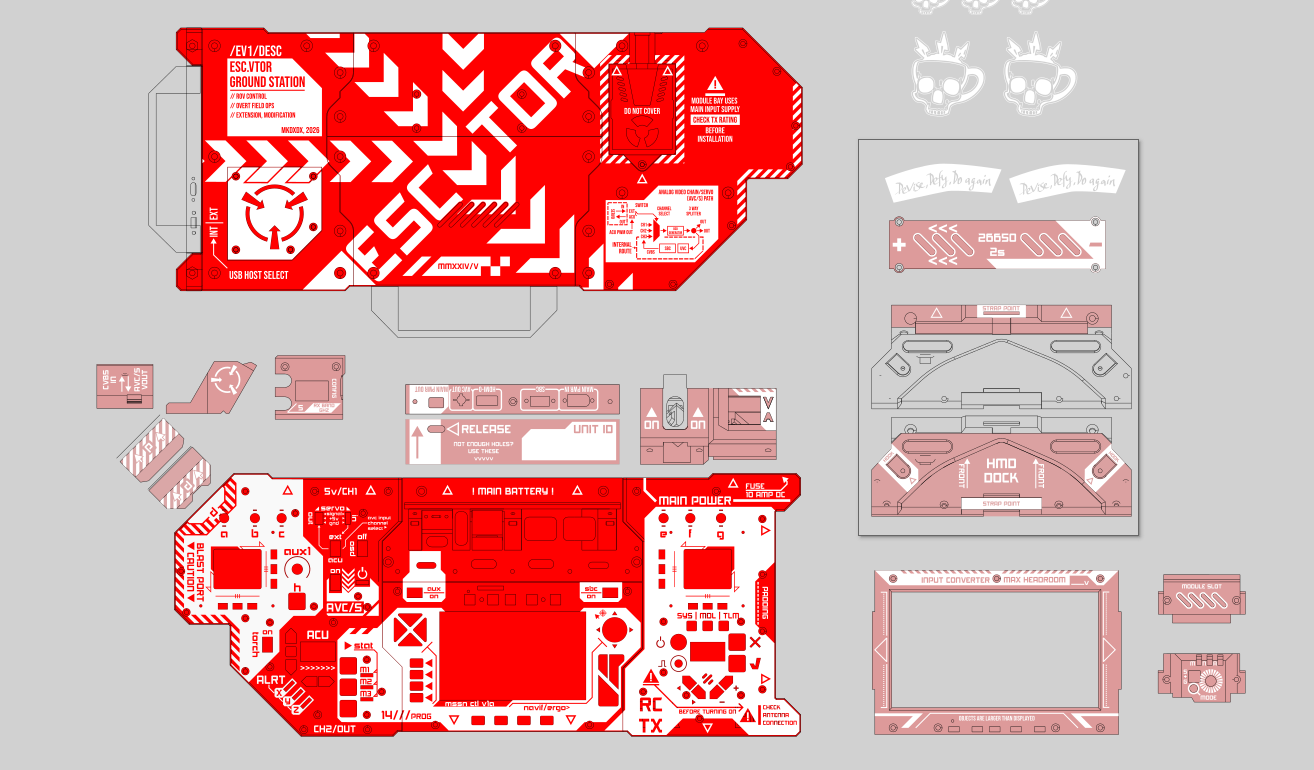
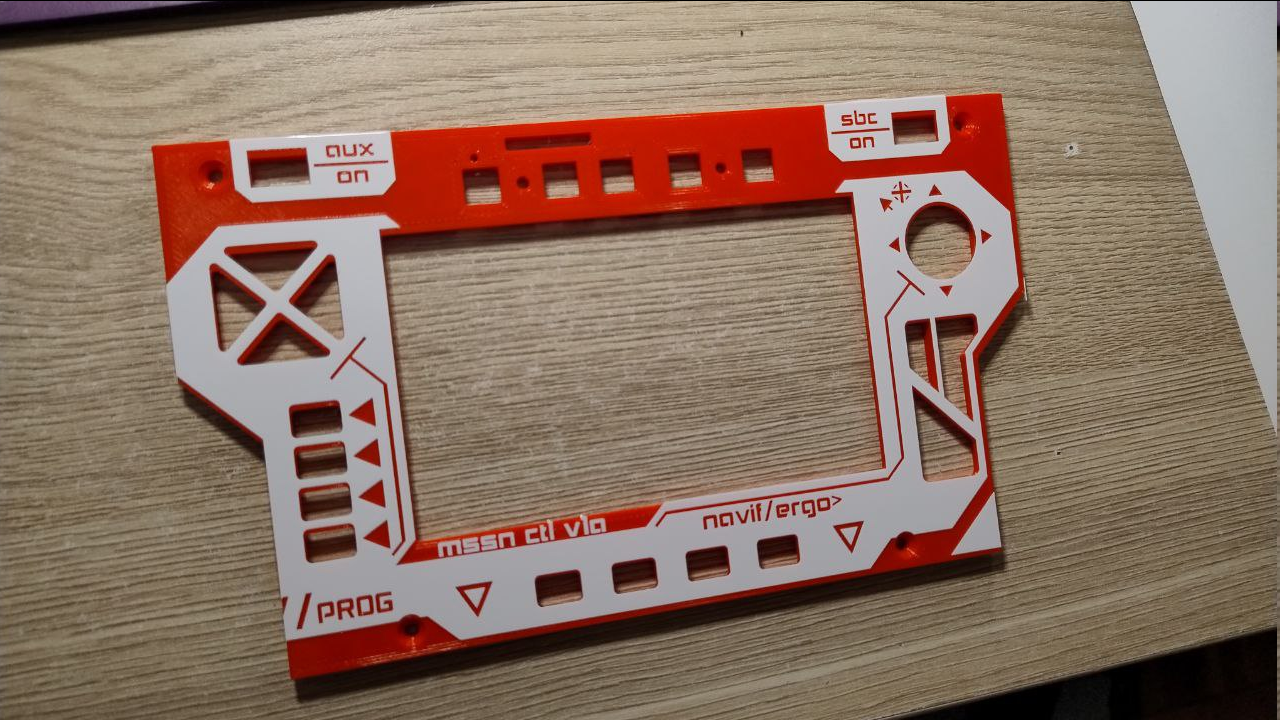
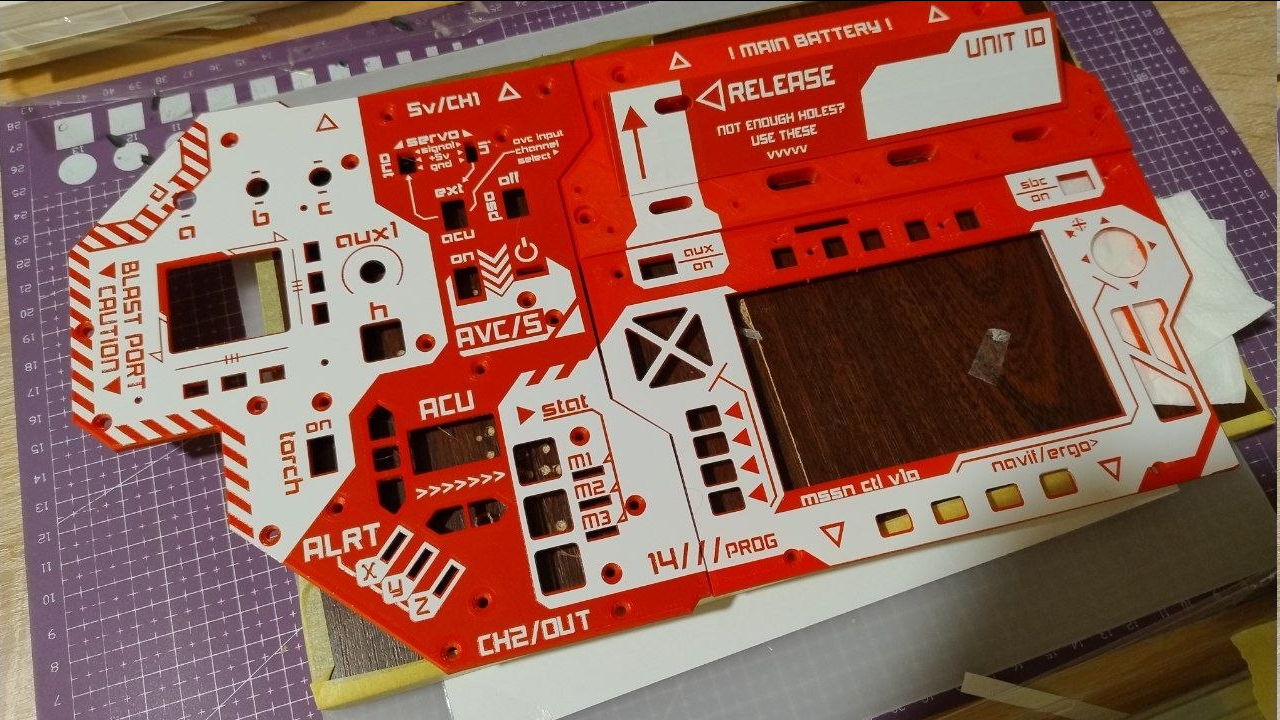
But first, gotta make a vector of decals, before sending it to the printing service. A couple of evenings in Inkscape gave me this: And it's off! I was surprised how actually these printing services sometimes can be confused with what you come up to them with. They don't know what Inkscape is, they expect you to give them Adobe Illustrator file or PDF, and even if you do render it - it's not a guarantee that they'll be able to see it properly because.. Idk honestly.
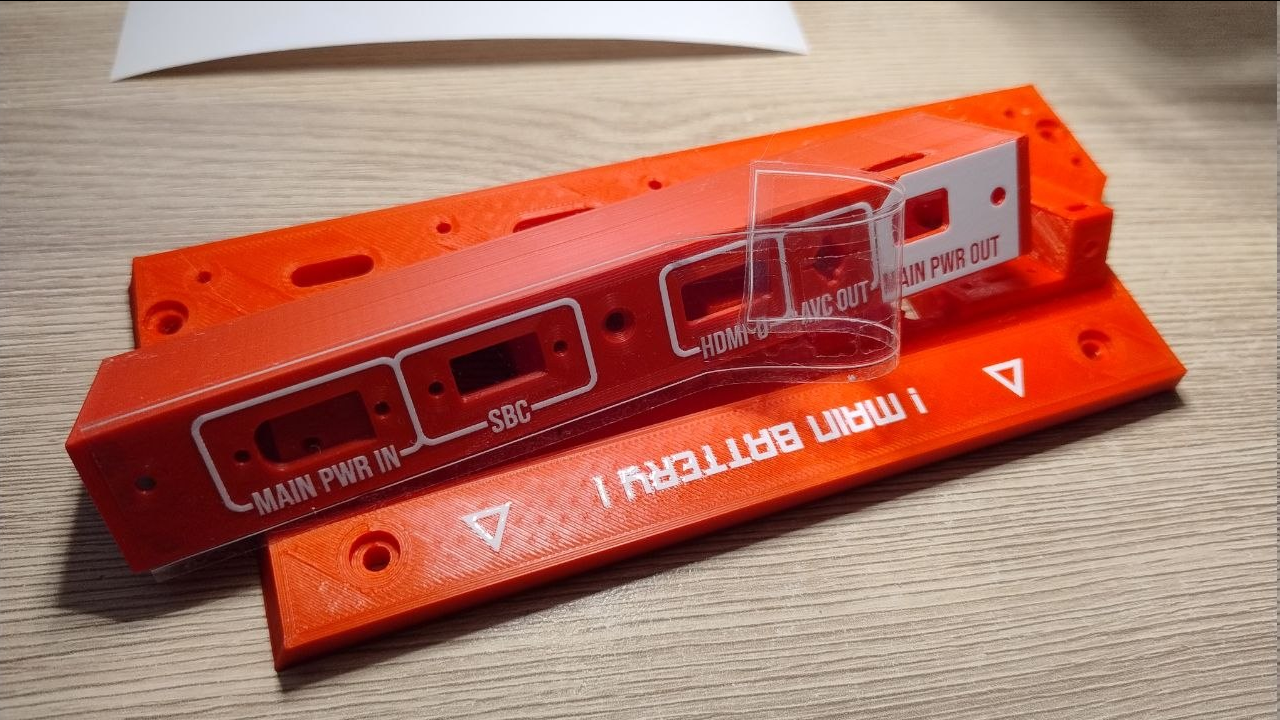
Anyway, UV DTF is a technique where the image is printed on a substrate and then covered with transparent carrier film which you then put on things - and image glues itself on said things, and unlike usual DTF, UV DTF does not require you to heat anything - it just sticks and cures in 24h. They make t-shirt art that way if you're not allowed to heat anything.
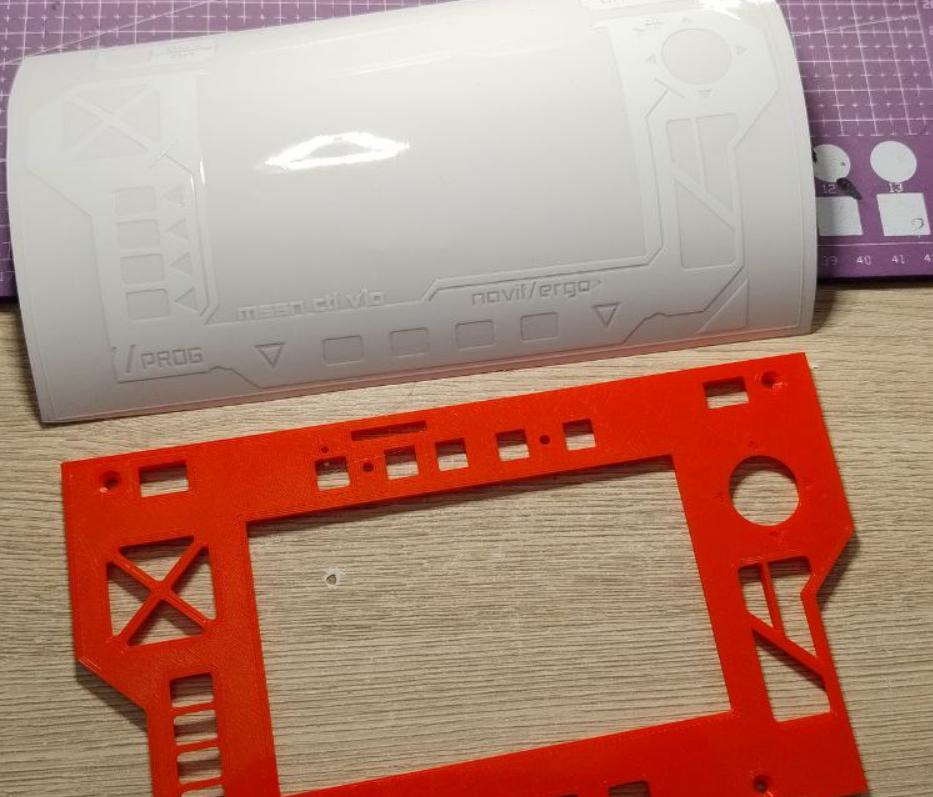
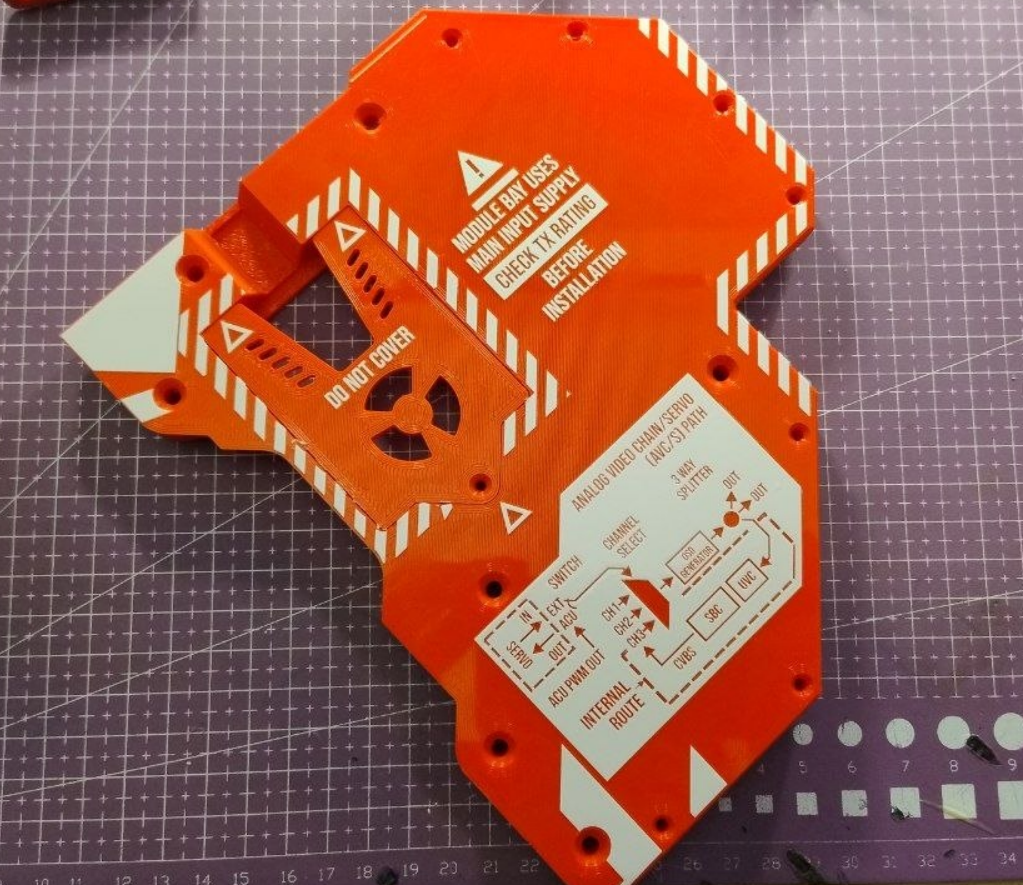
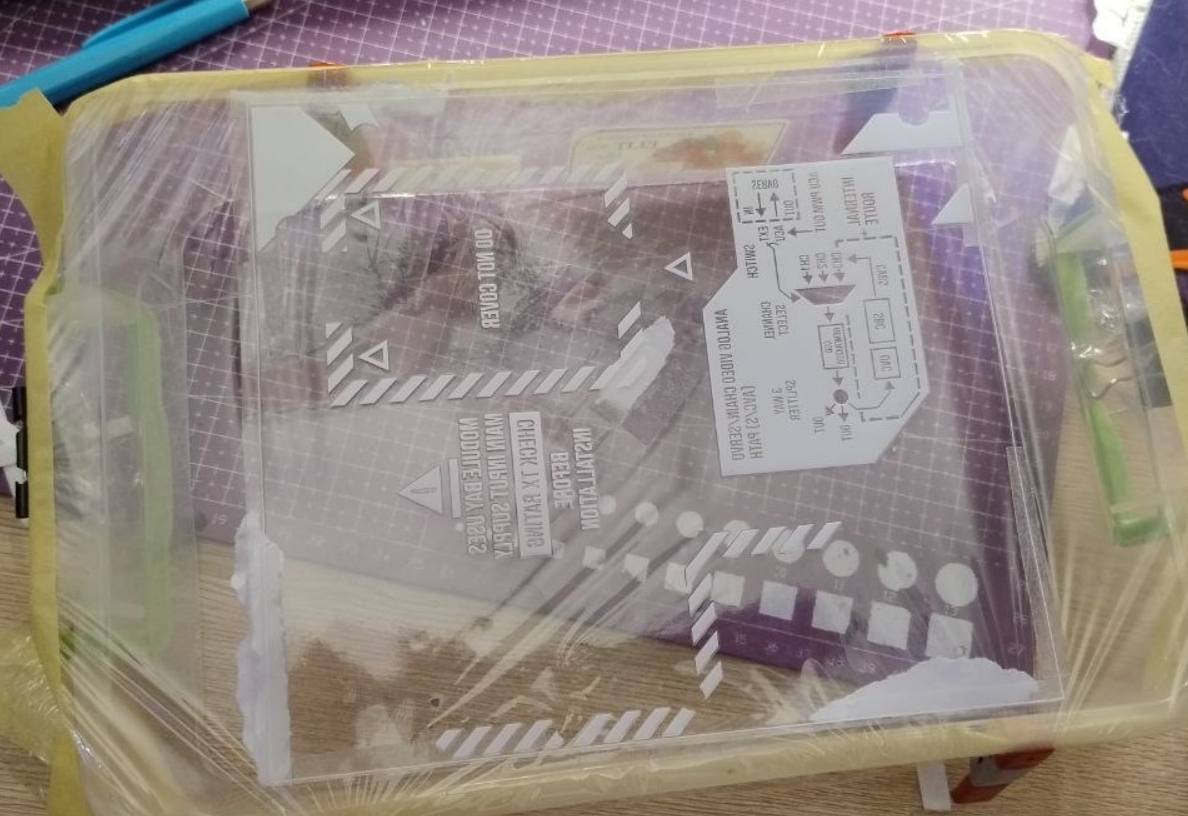
It looks something like this: After printing the whoooole exterior in red PLA, the task was to somehow transfer decals on case parts - and also do it with enough precision that holes aren't overlapped and covered just enough and so on so it doesn't look too janky and messy.
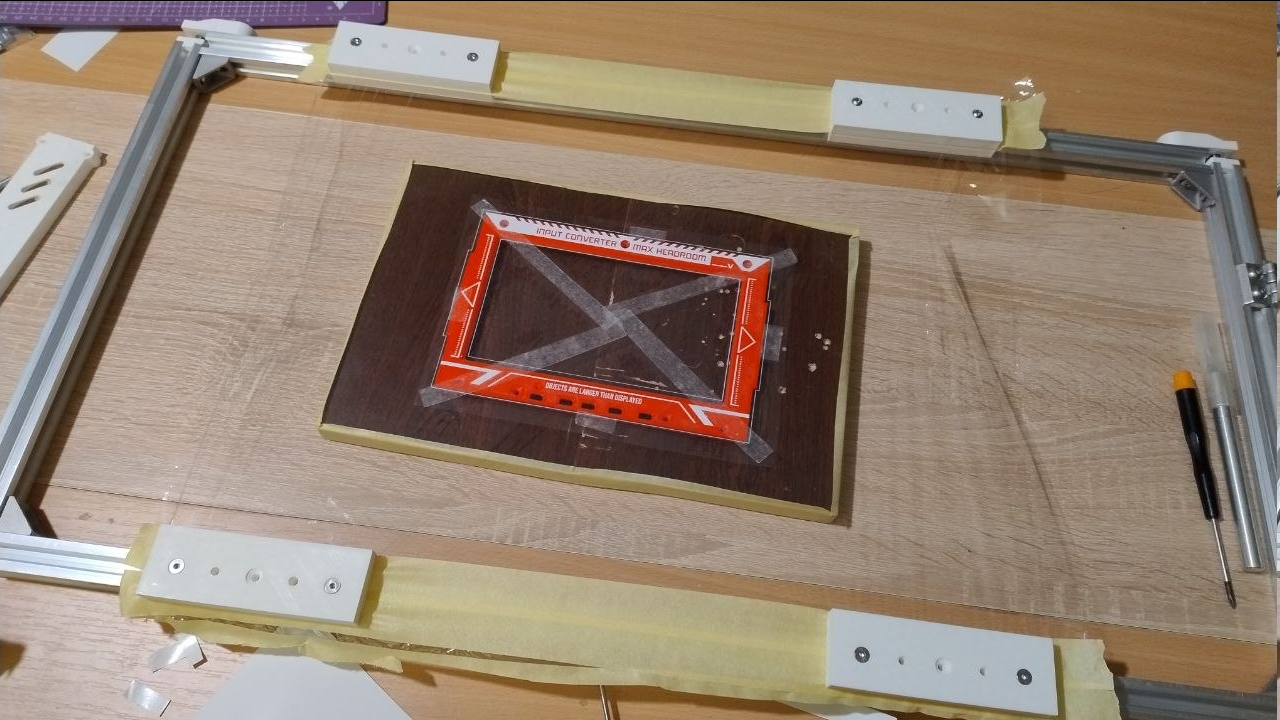
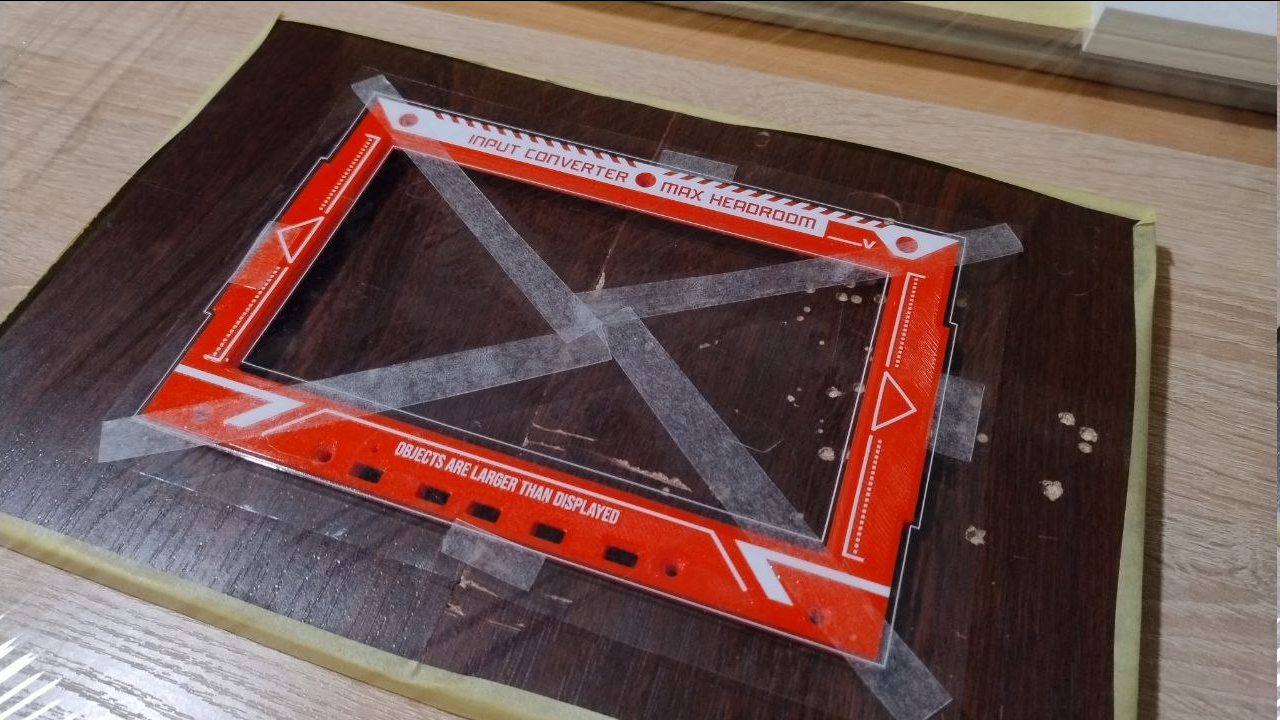
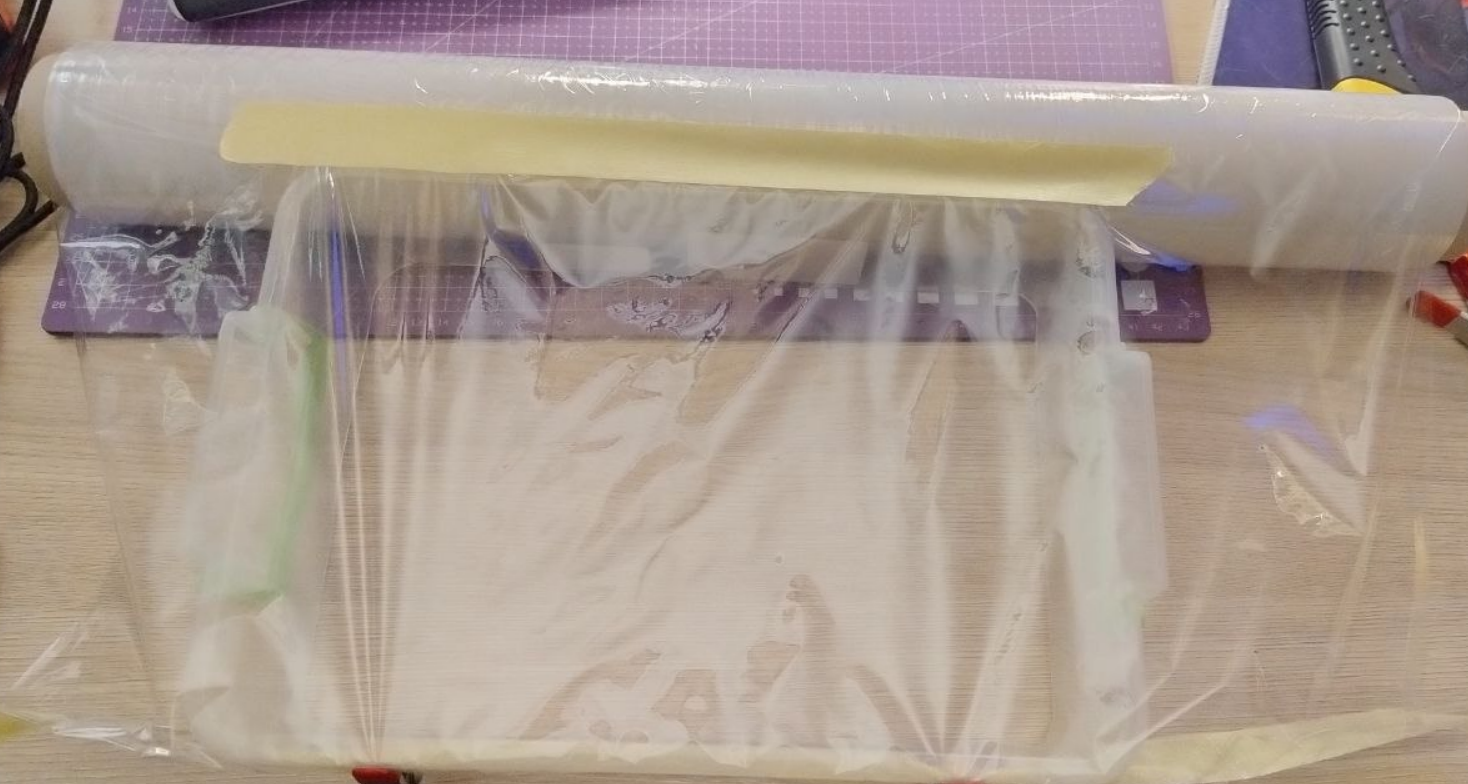
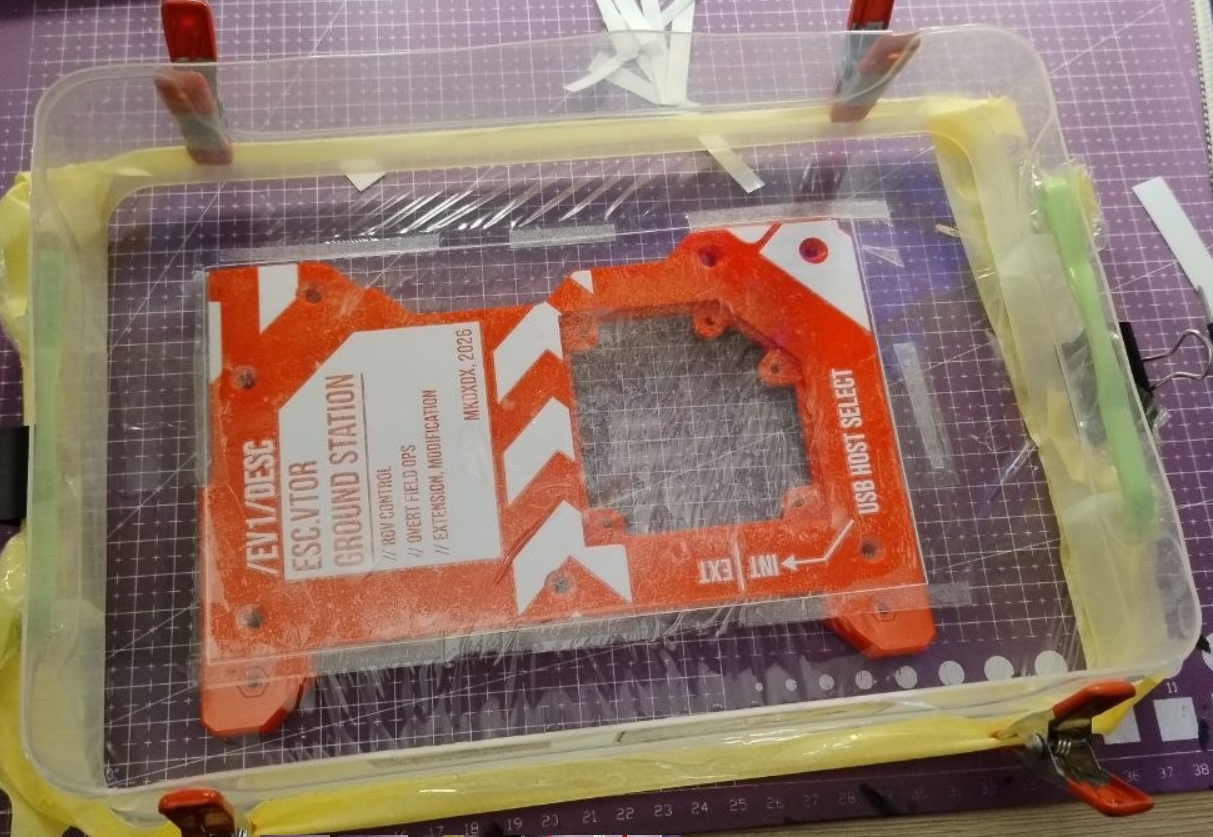
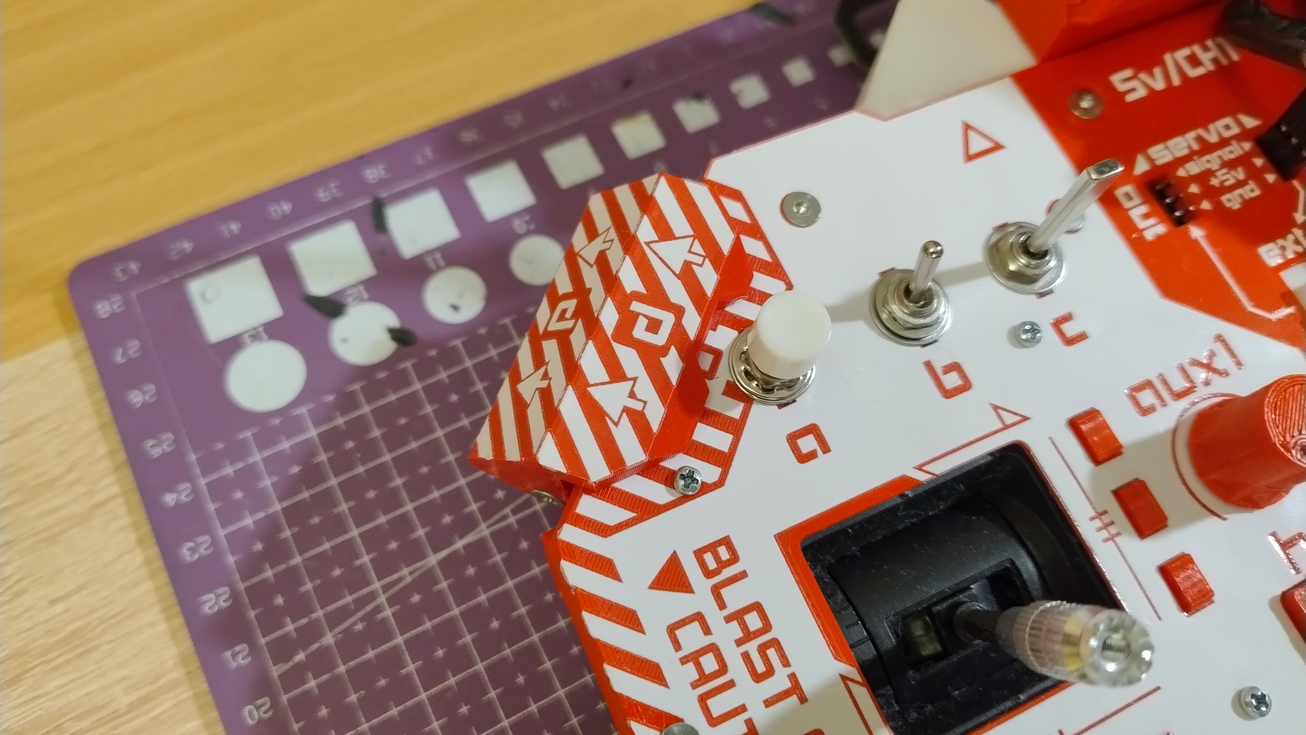
You can do it by hand, but it only works for smaller things, whereas bigger decals will stick to your fingers, deform and misalign, and you'll end up with this, straight out of OCD hell: At first I've tried to put it on a stretchy film and then stretch that film over some kind of frame - akin to silkscreen printing but the paint is already there and you have to veeery carefully align everything before doing the final touch. It went like this:
It worked better than doing it by hand, but it turns out that when you cut out bottom of a plastic container - it becomes even more wobbly and you get decal deformation anyway in addition to still present misalignment at times.
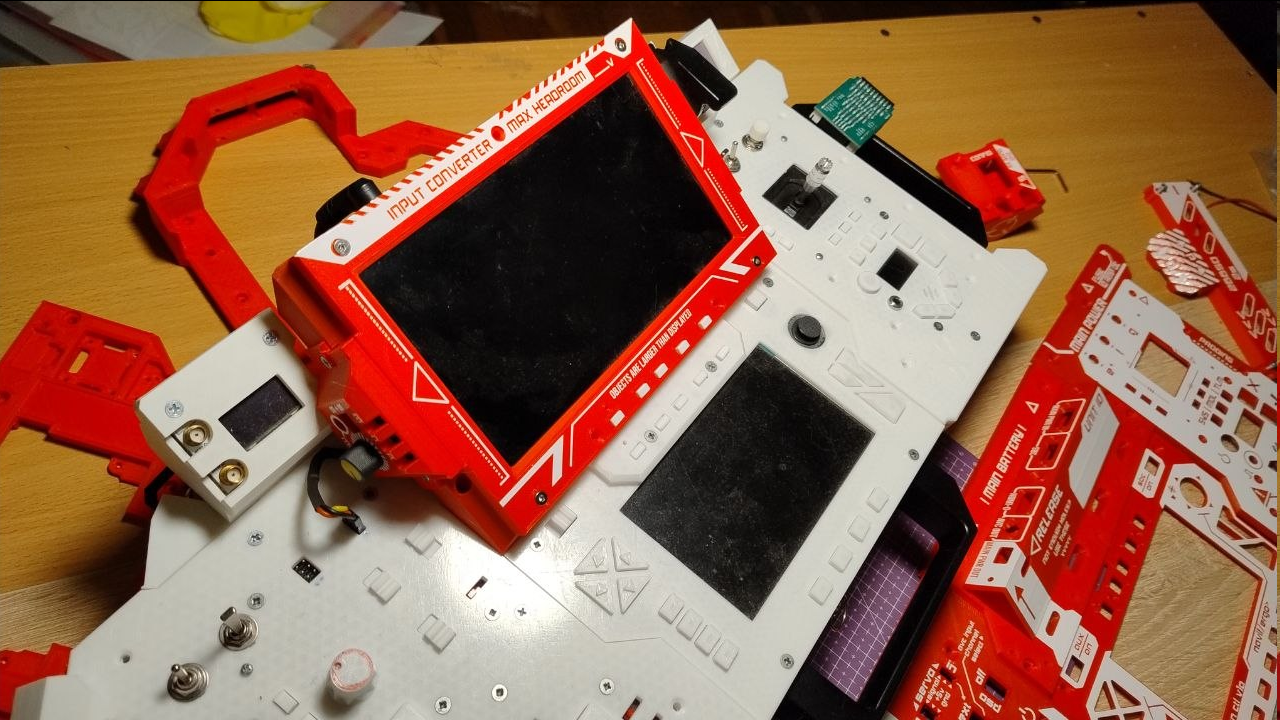
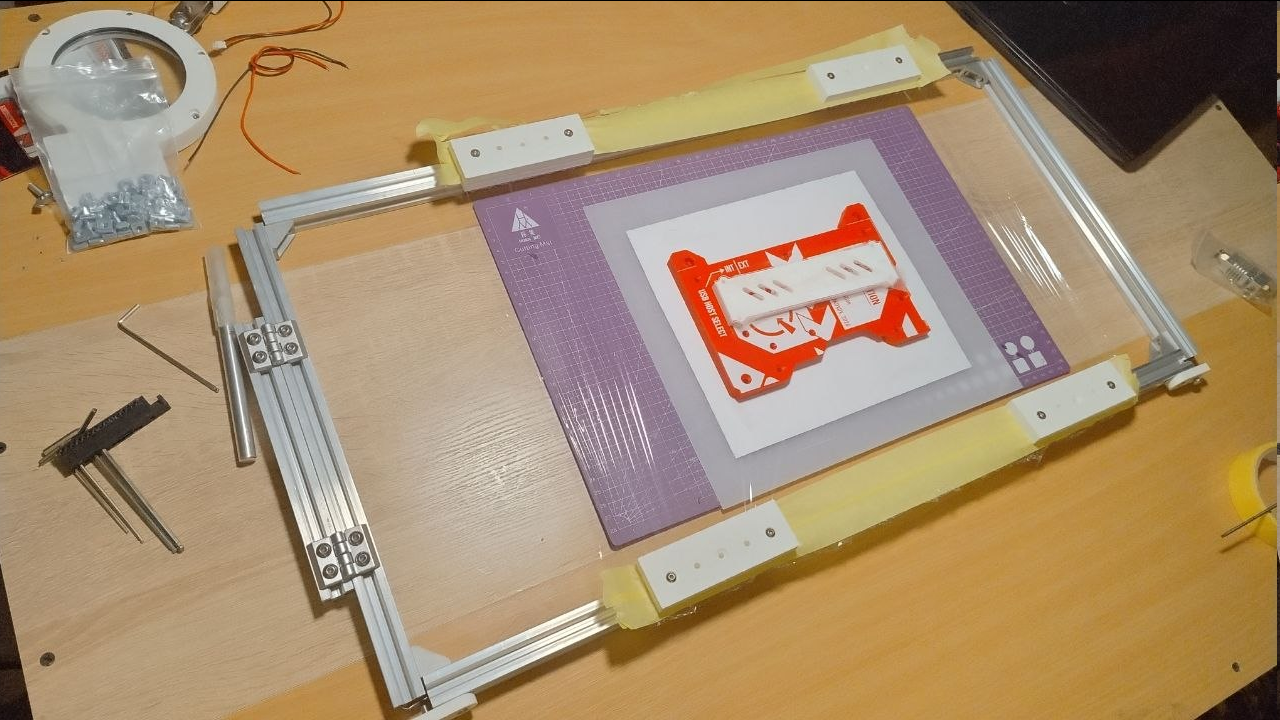
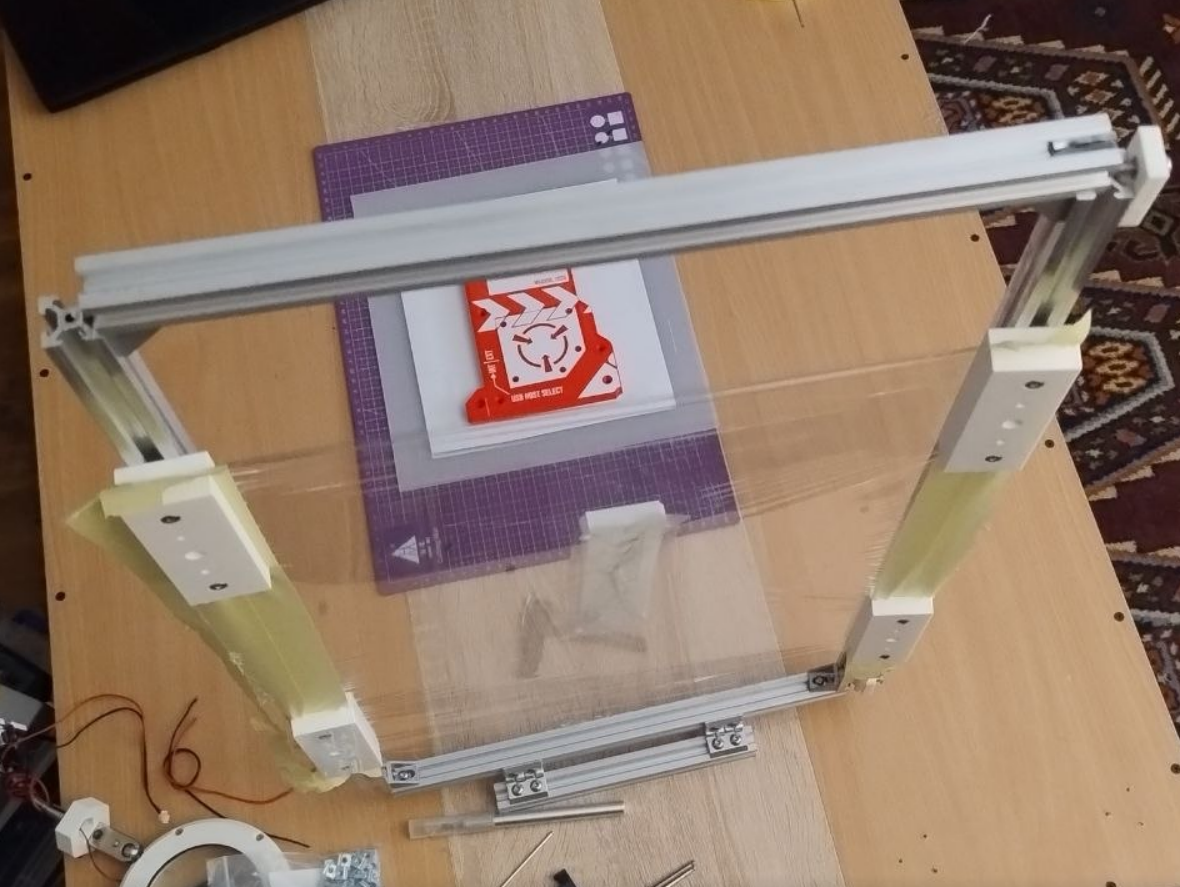
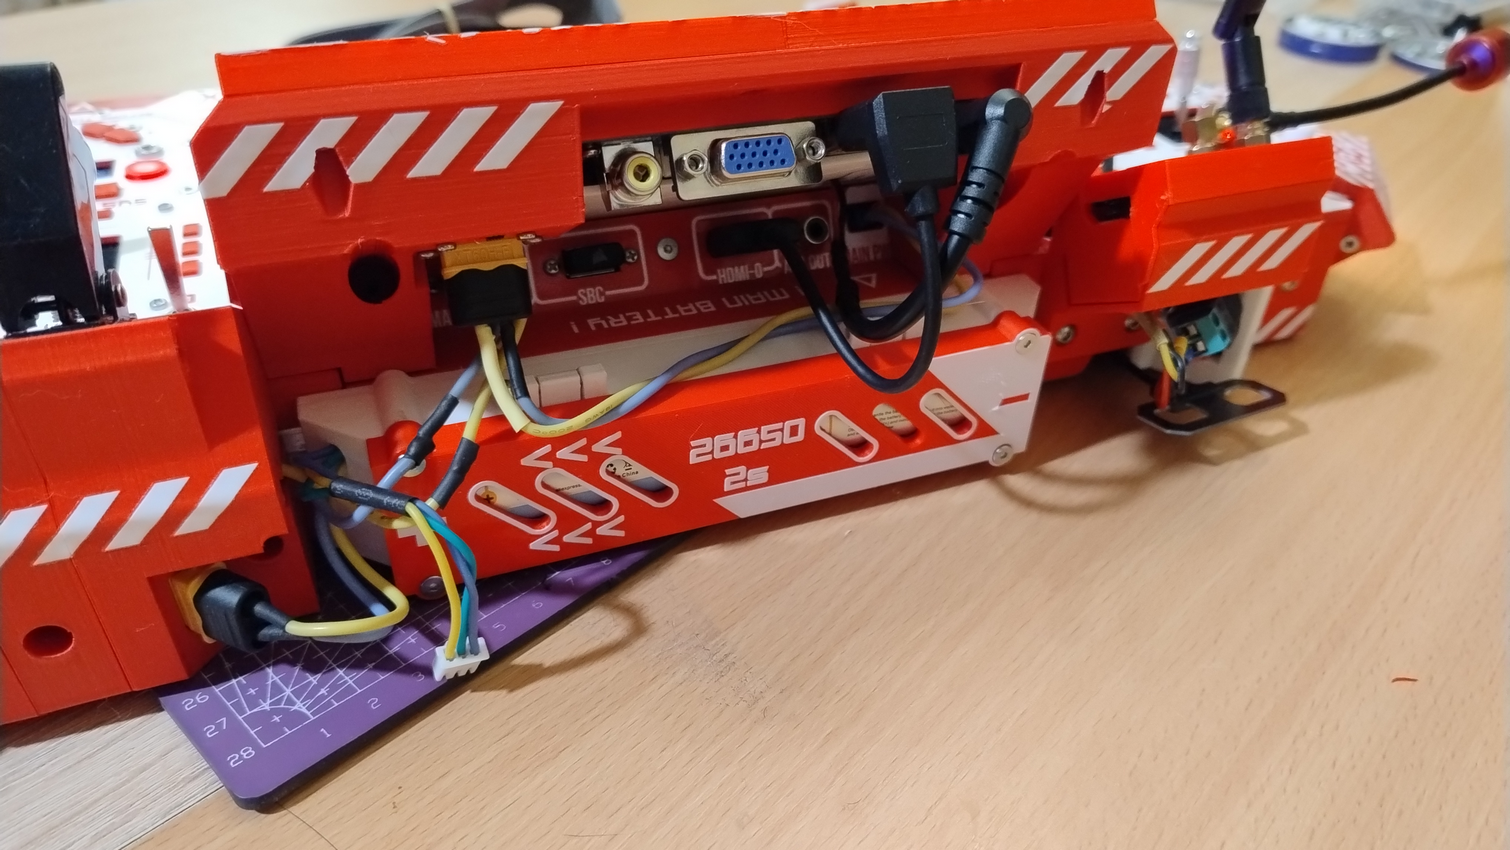
So, with the magic of 3x 2020 aluminum extrusions I put together this - an impromptu UV DTF transfer frame: Not only did I get a sturdy frame to stretch the film over, but the frame itself also can stretch the tape even more in both axes - blocks move as well as whole side of the frame, adjusted with corner bolts. And ofcourse, the positioning: ...which is still not the most ideal, because hinged nature of it introduces visual distortion. I also didn't use any reference/alignment points or markers (which I absolutely should have - a keen eye will spot that below), just went and aligned everything visually until it felt mostly alright. But that was enough to get me going: And some things were okay to do by hand: And after a brief reminder of what the deck looked like before and with a glimpse at what it is about to become, we do the dressing ritual. Don't think it was trivial - things were breaking along the way, forgotten test-fit prints failed to fit together, had to adjust this and that and it also required to re-label what was reprinted, wires were snapping all over the place and the thing obviously had to be rewired.
 mkdxdx
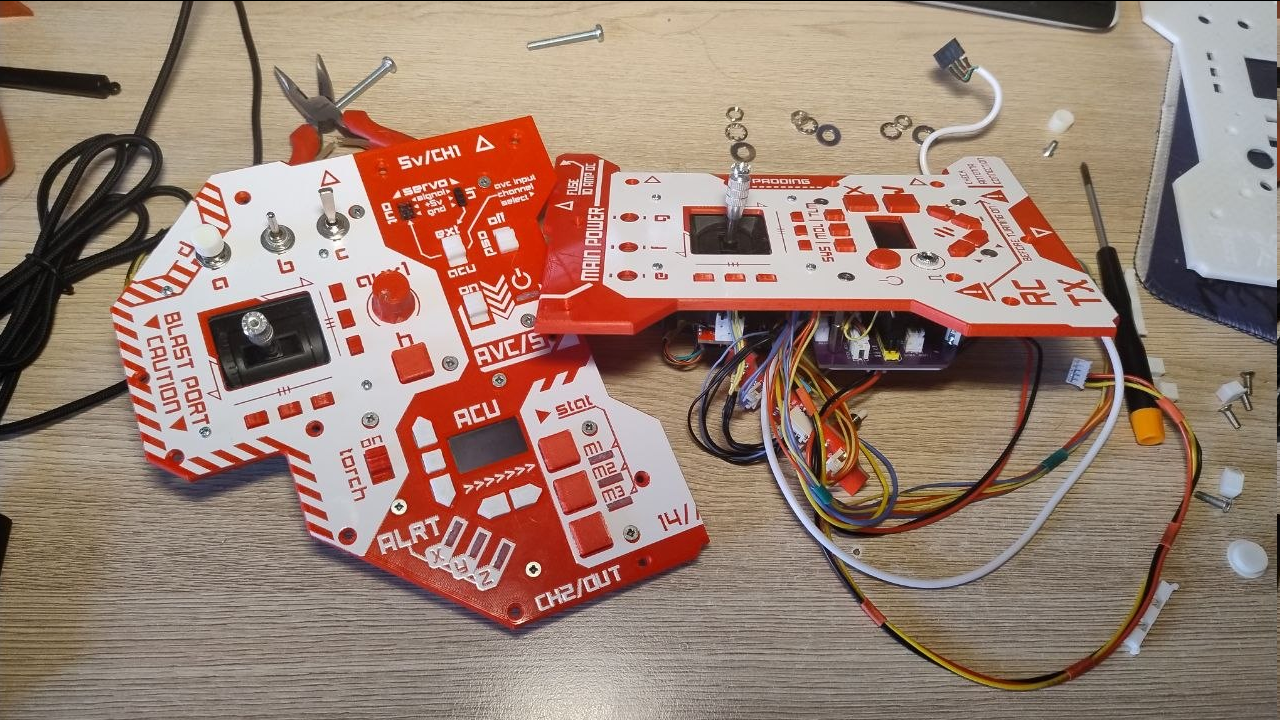 It is time to spice up the sterile attire.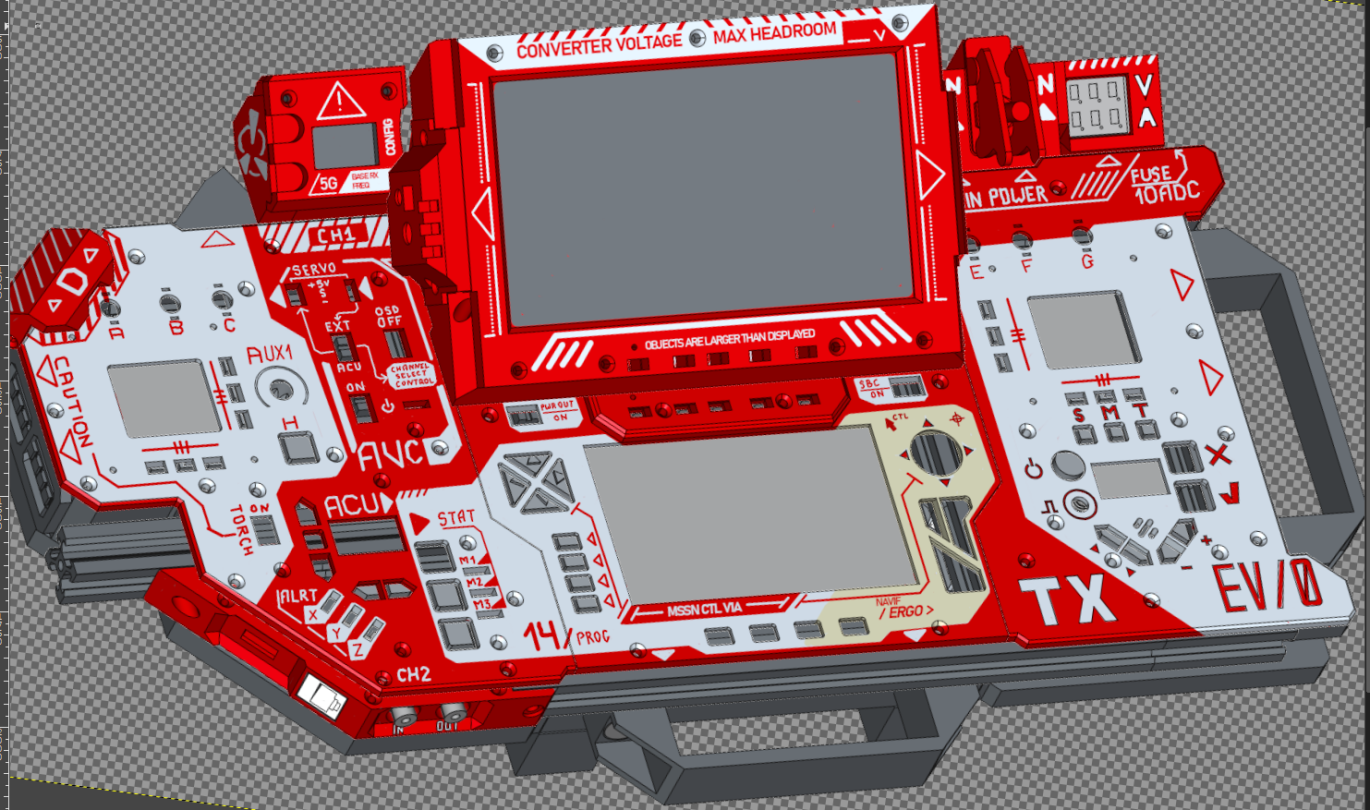
Discussions
Become a Hackaday.io Member
Create an account to leave a comment. Already have an account? Log In.