-
Finalizing Features and Enhancements
05/29/2024 at 19:19 • 0 commentsSixth Week:
- Objective: Add the finishing touches to the project, including a vibration switch, and finalize the 3D printing and website functionality.
- Progress:
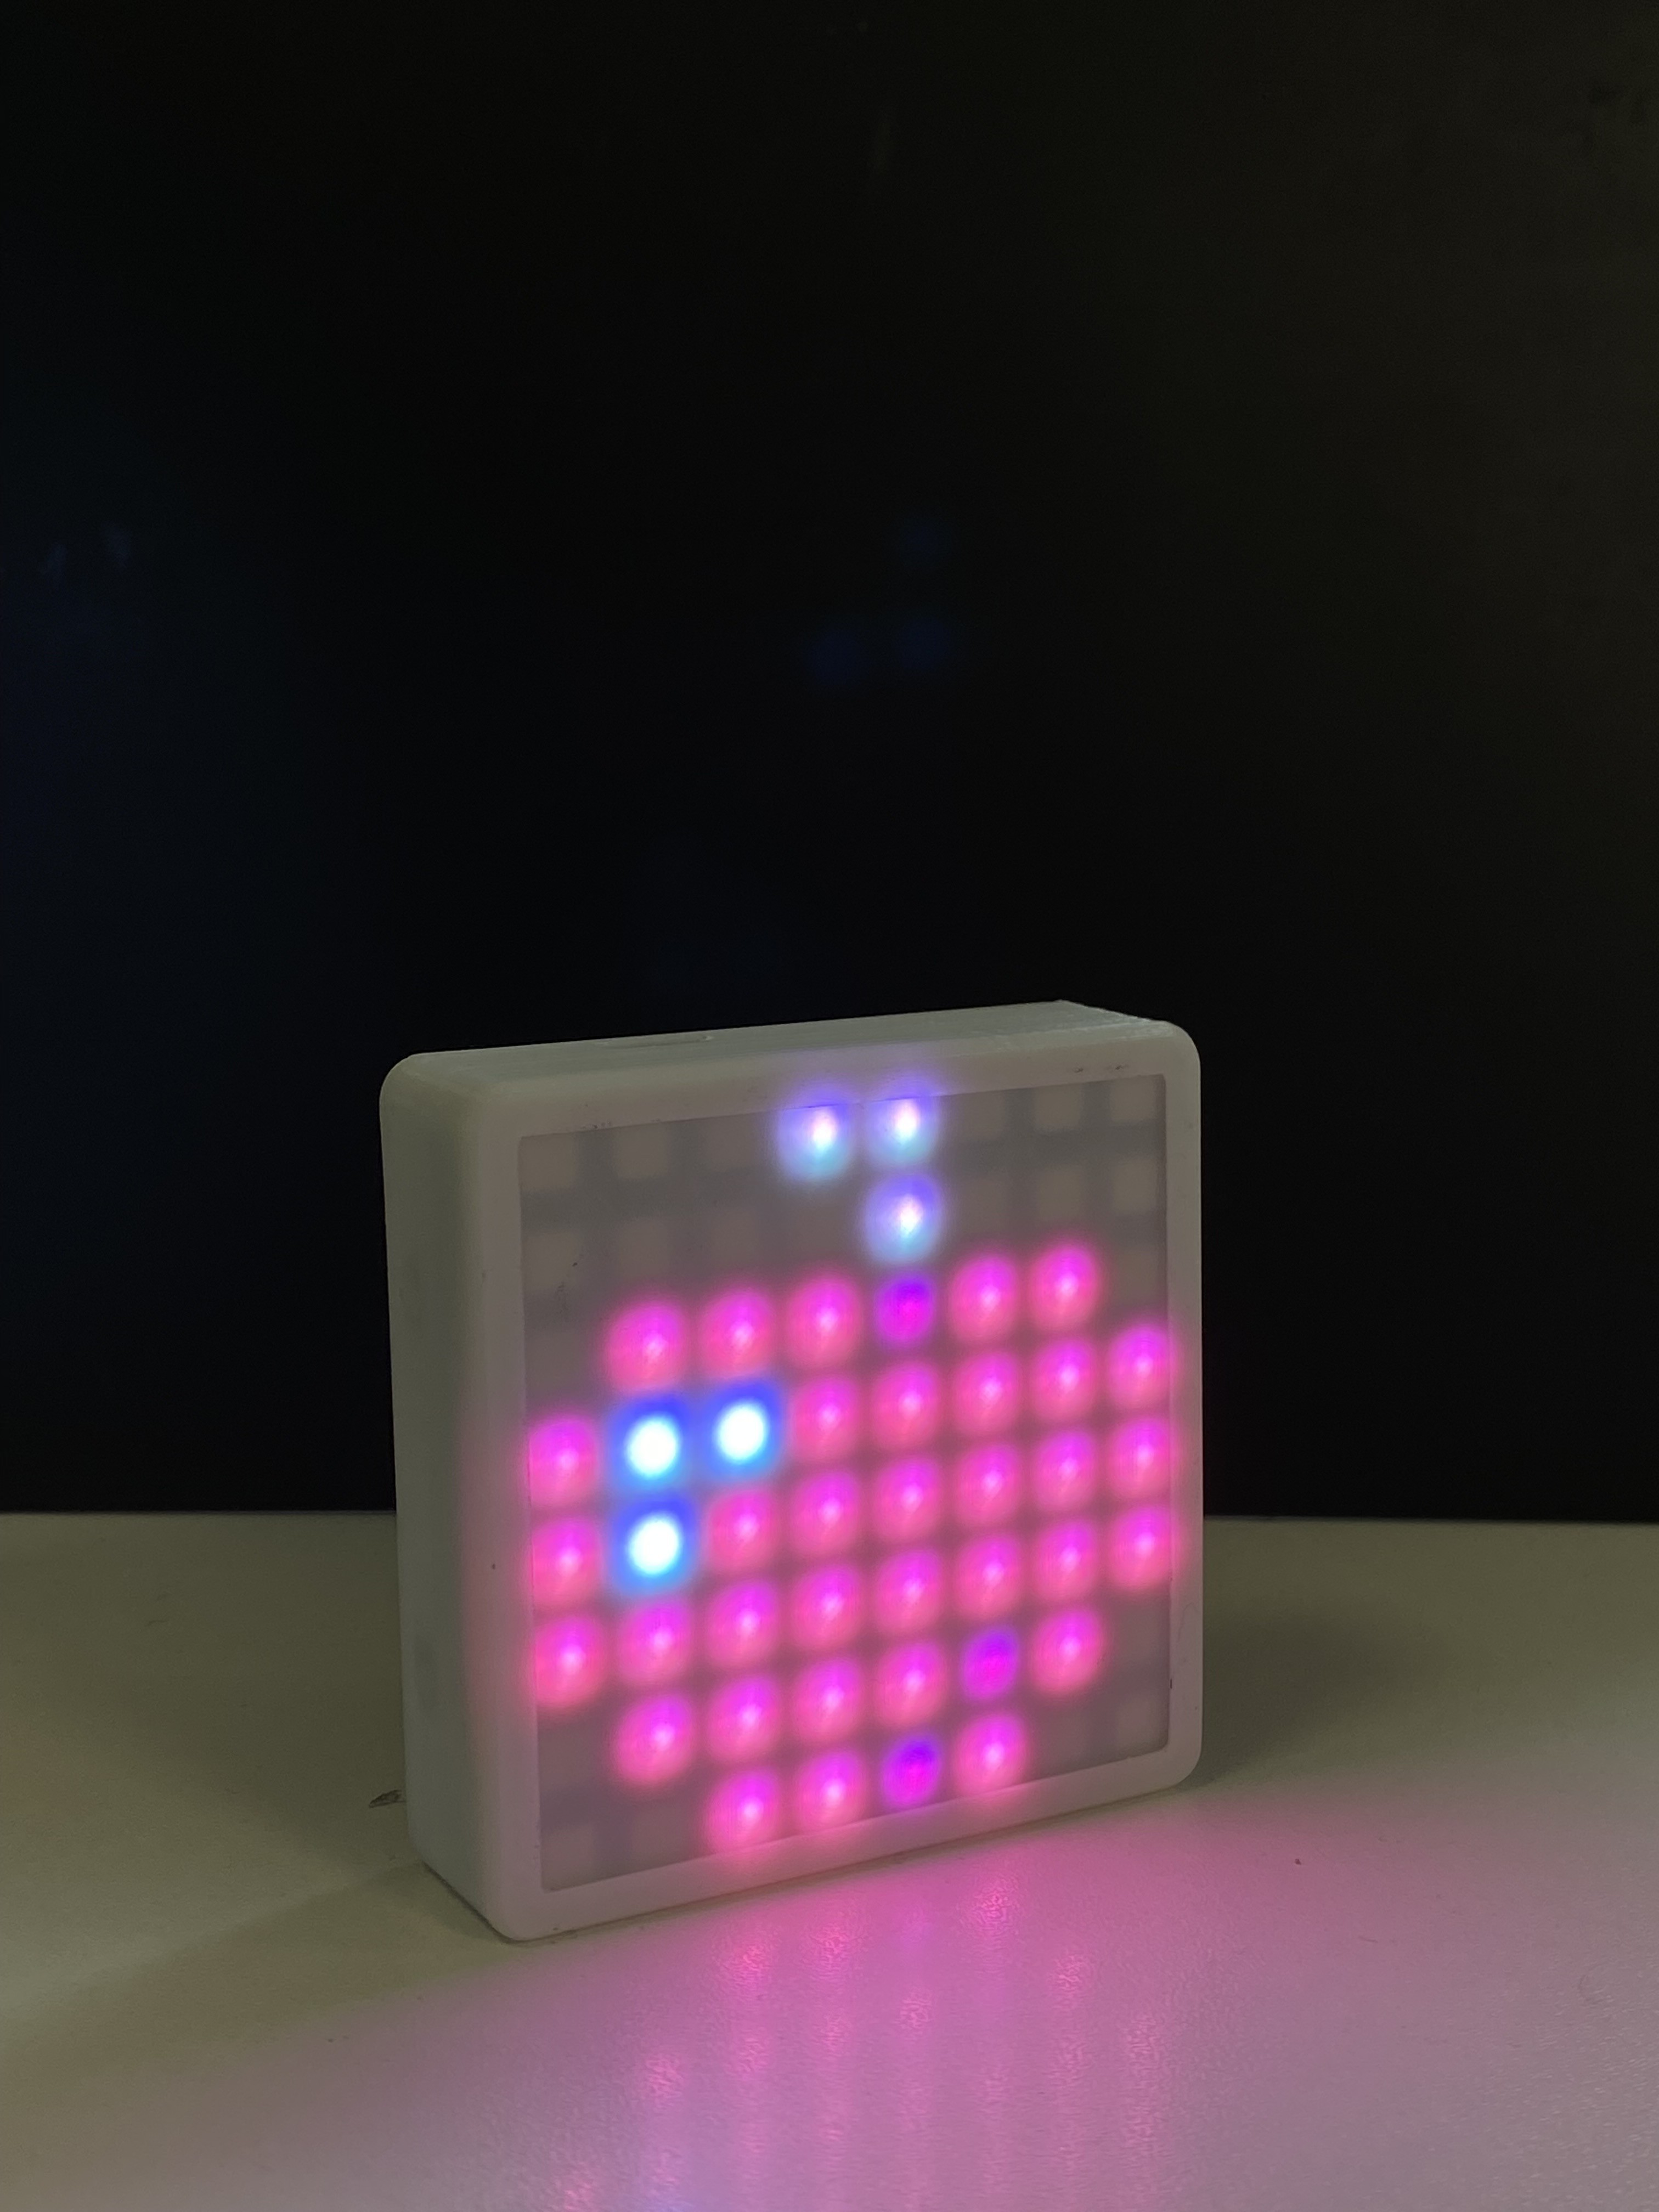
- Vibration Switch: We added a vibration switch that allows you to activate the device by shaking it or tapping on it.
- 3D Printing: We finalized the 3D printed case, ensuring it fits well and provides adequate protection for the device.
- Website Functionality: The pixel art library was already on the website. Now, we enabled the feature to select and send designs from the library to the device.
![]()
-
Finalizing the PCB and Preparing for Case Design
05/28/2024 at 21:25 • 0 commentsFifth Week:
- Objective: Receive professionally manufactured PCBs, plan the 3D printed case, and complete the connection between the device and the website.
- Progress:
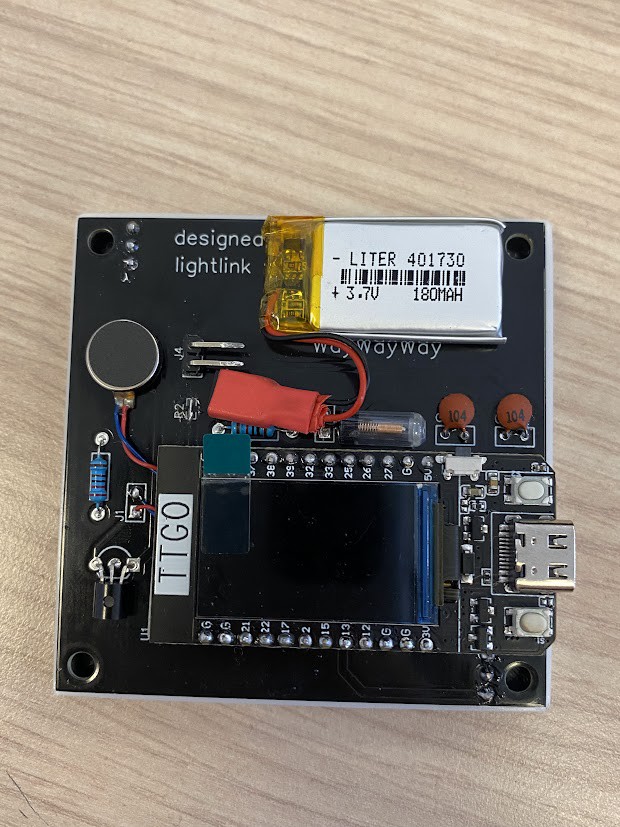
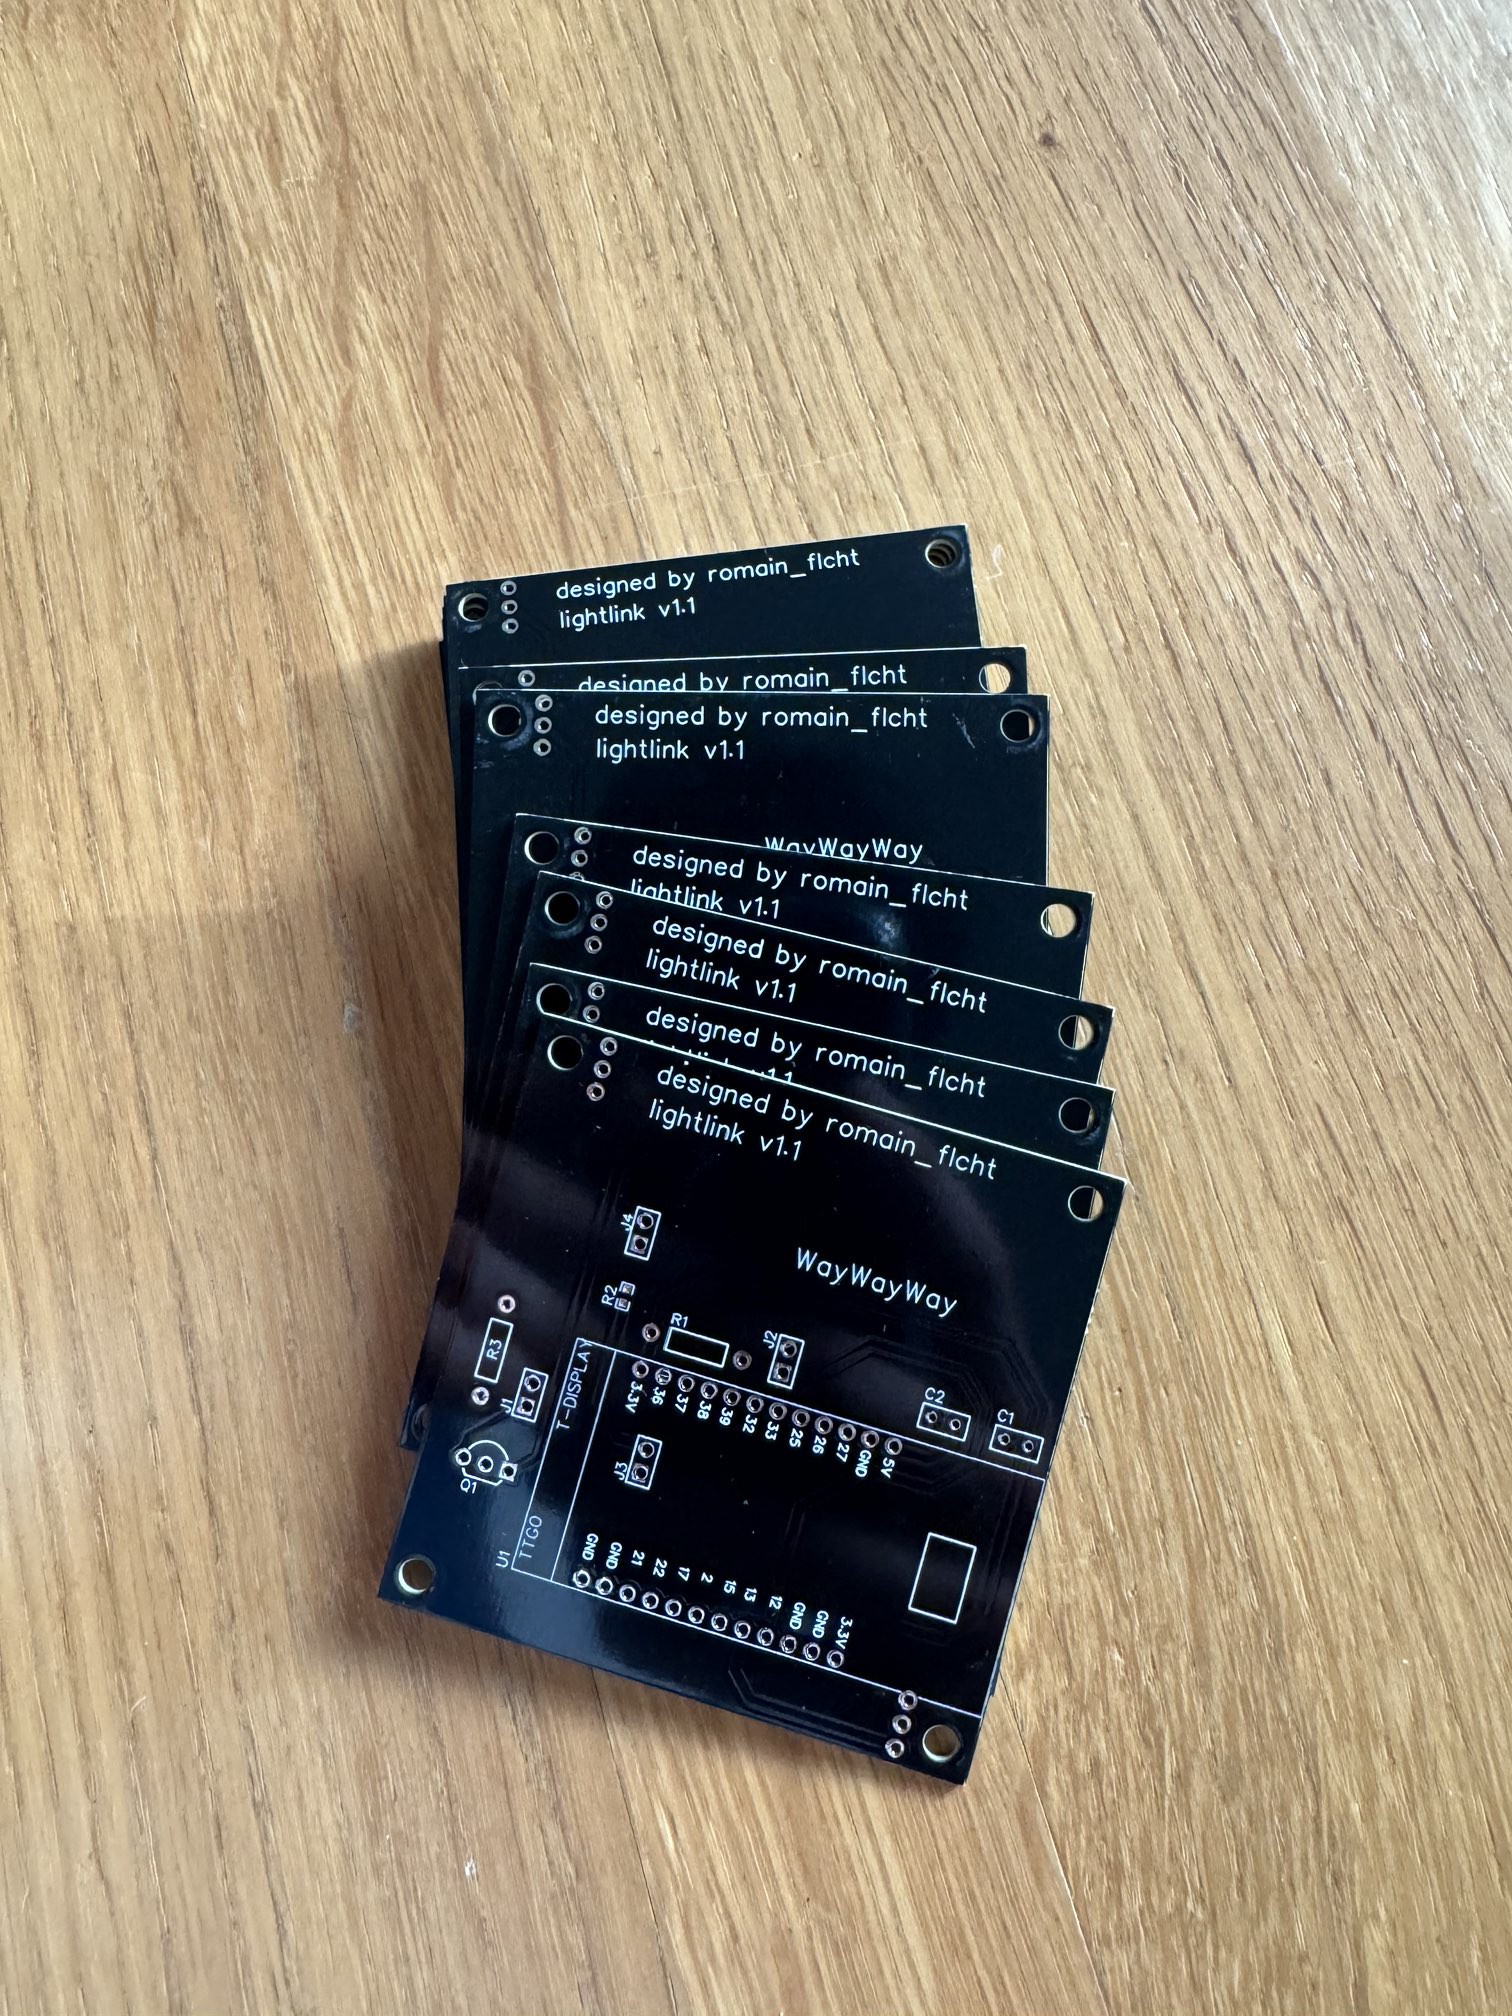
- Professional PCBs: Thanks to PCBWay, who sent us PCBs for free, we provided them with our EasyEDA design, and they sent us back the professionally manufactured PCBs. With these, we now have a cleaner and better device that works perfectly.
- Case Design: We began thinking about the type of box we want to 3D print to cover the electronic parts of our project, aiming for both functionality and aesthetics.
- Website Integration: We almost finished connecting the device to the website. The final step is to add the library of pixel art designs
![]()
![]()
-
Creating a Portable Device and Enhancing the Website
05/28/2024 at 20:56 • 0 commentsFourth Week:
- Objective: Develop a portable device with a homemade PCB and enhance the website with new tools and connectivity.
- Progress:
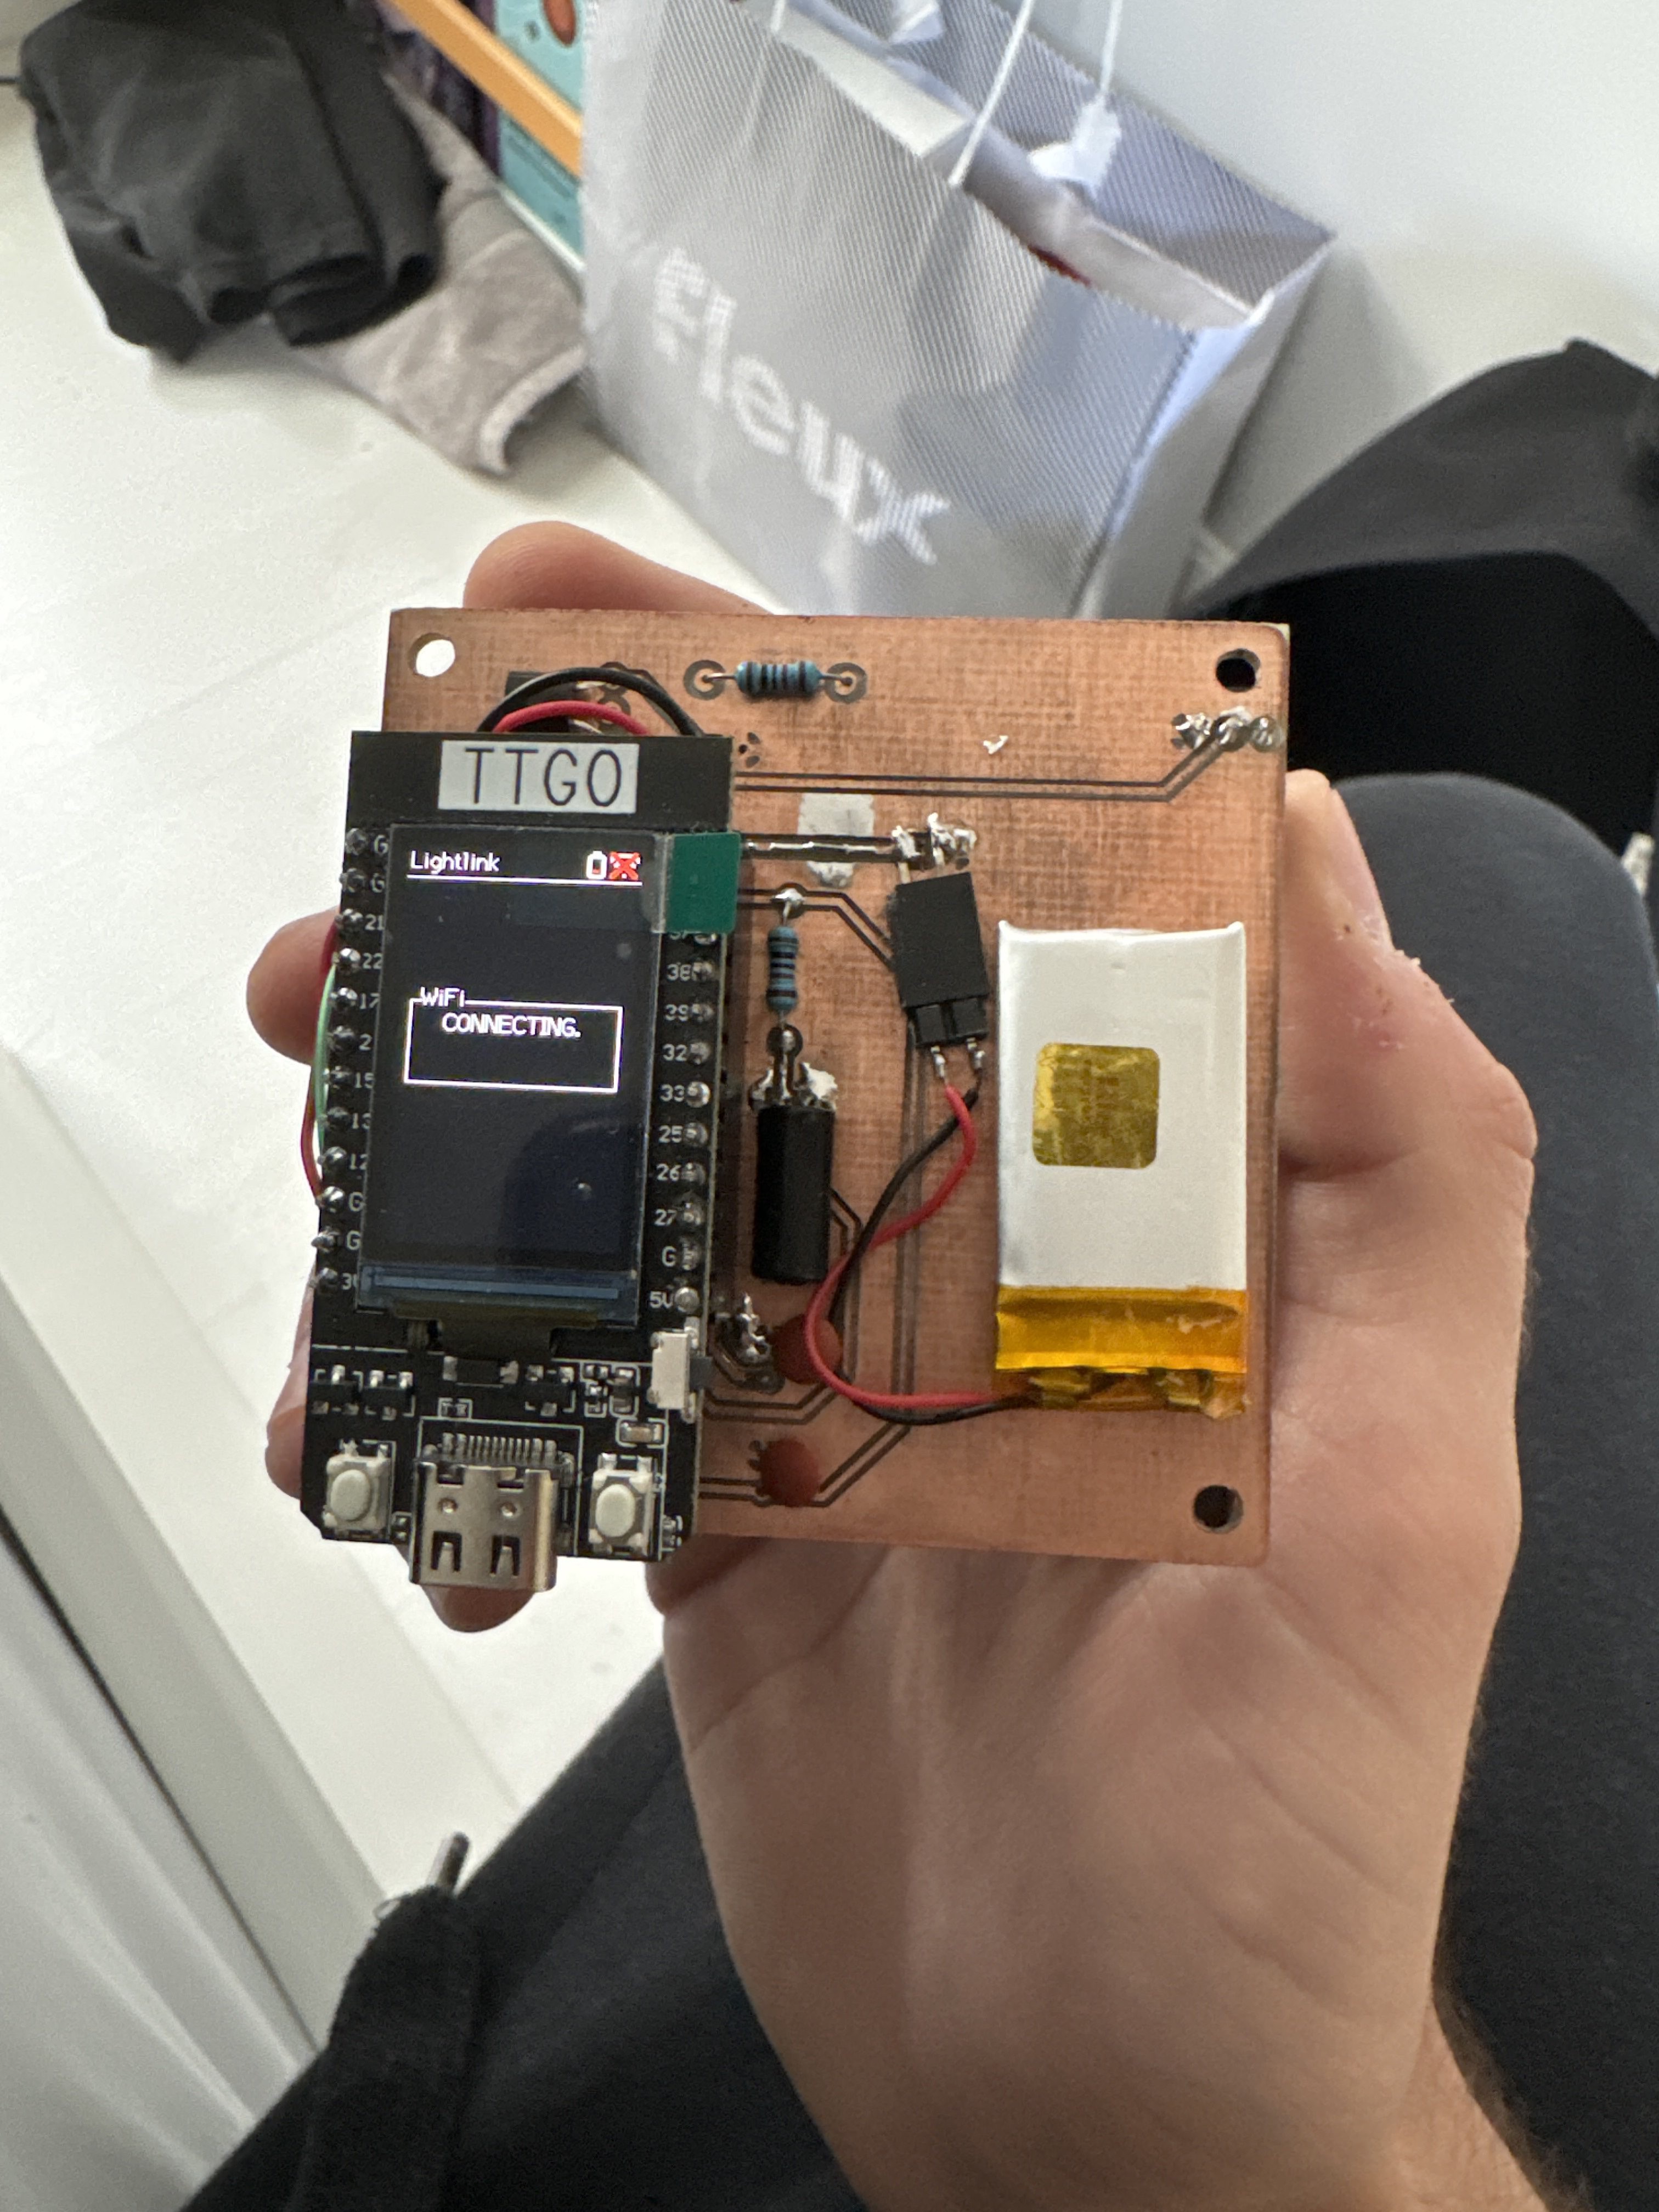
- Portable Device Development: We used EasyEDA to design the PCB and FlatCAM to convert it into G-code for the CNC machine. Then, we used the CNC machine to cut the PCB, making our device portable. We also added features to display the battery percentage of the TTGO and show the connection status to the server.
- Website Enhancement: We continued coding our website by adding tools such as a bucket fill, color selector, and trash icon. We also began researching how to use JSON to link our device to the website.
![]()
![]()
![]()
-
Enhancing LED Matrix Display and Developing the Web Page
05/28/2024 at 20:29 • 0 commentsThird Week:
- Objective: Improve the LED matrix's visual clarity and begin developing the web page.
- Progress:
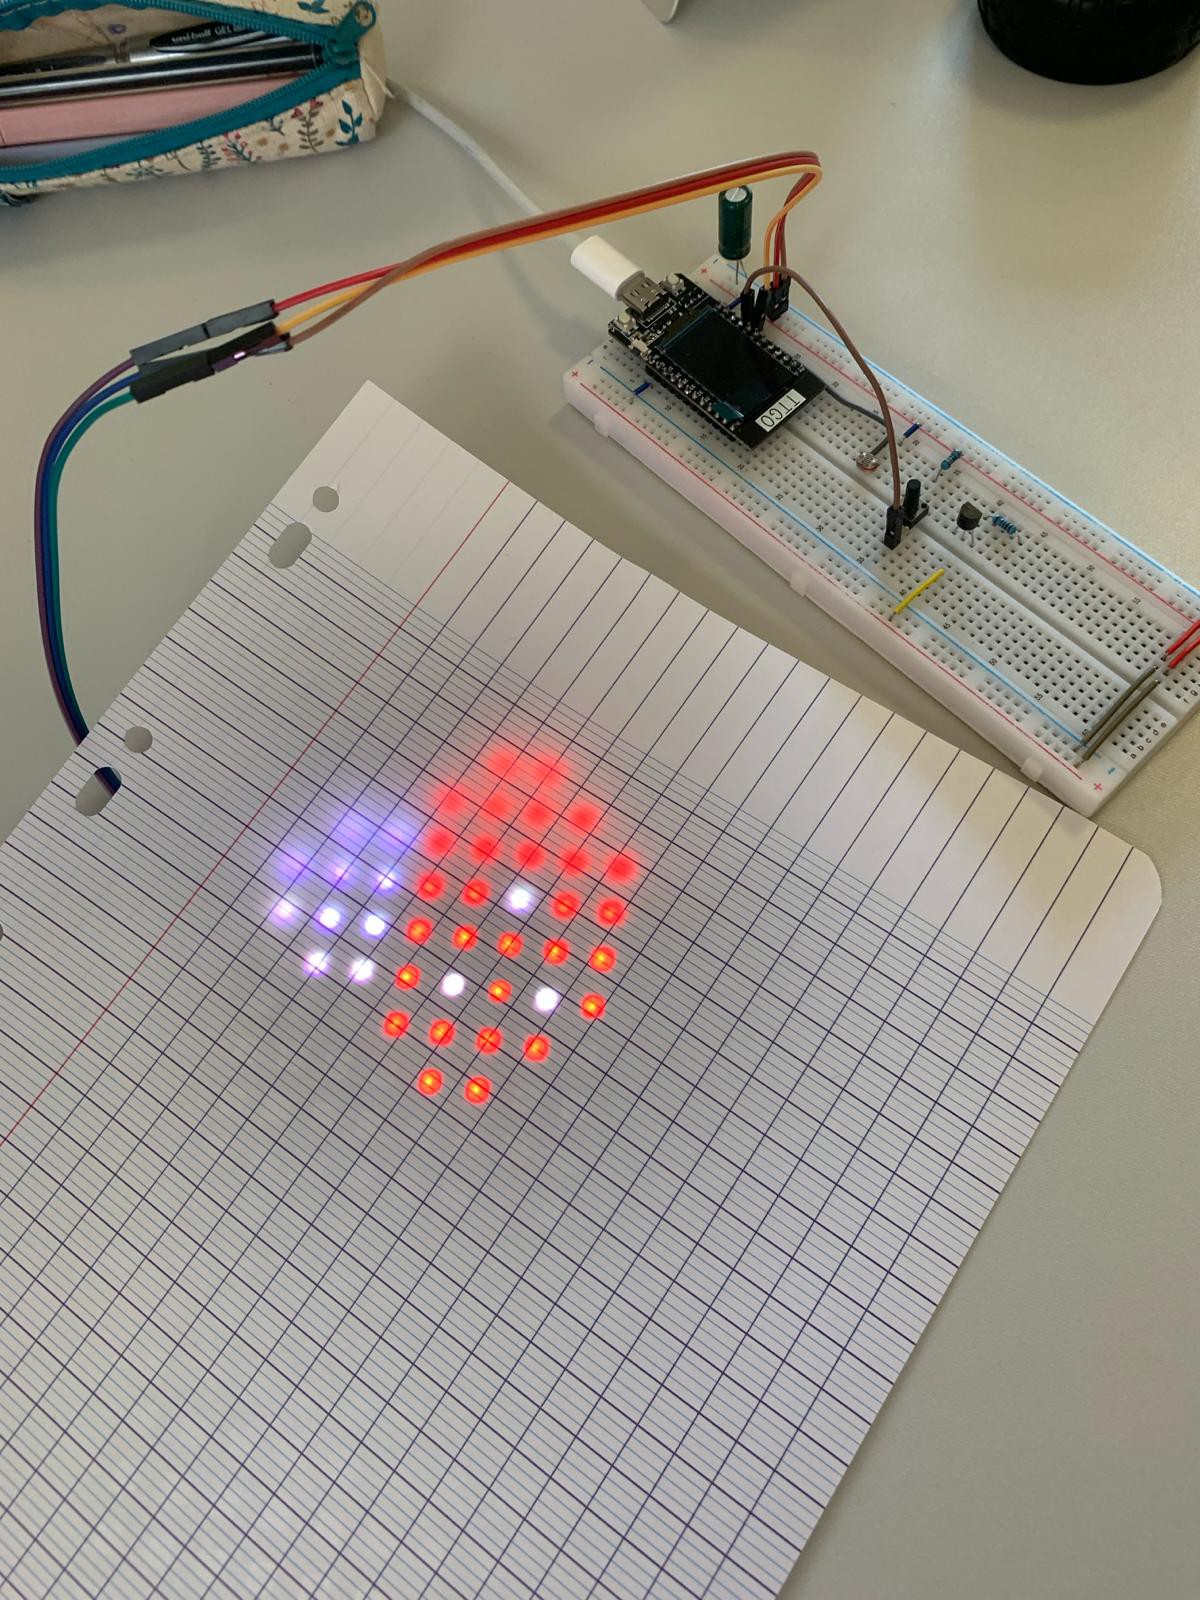
- LED Matrix Enhancement: We received the new LED matrix and started thinking of ways to make the drawings more identifiable by blurring the pixels. We did some experiments using a piece of paper to diffuse the light and achieve the desired effect.
- Web Page Development: We began coding our web page using HTML, CSS, and JavaScript. We focused on creating a responsive and user-friendly interface for drawing pixel art, without yet connecting it to the LED matrix.
![]()
-
Designing the Web Interface
05/28/2024 at 20:10 • 0 commentsSecond Week:
- Objective: Visualize and plan the web interface and develop a library of 8x8 pixel art designs.
- Progress:
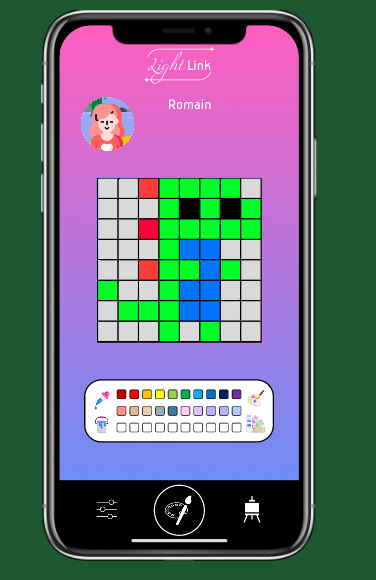
- Web Interface Design: We created a detailed visual mockup of the web interface using Figma. This included the layout, color scheme, and user interaction elements to ensure a intuitive experience.
- Pixel Art Library: We developed a library of various 8x8 pixel art designs, providing users with templates and inspiration for creating their own art.
![]()
-
Understanding and Experimenting with the LED Matrix
05/28/2024 at 20:02 • 0 comments![]()
First Week:
- Objective: Learn and experiment with making the LED matrix work.
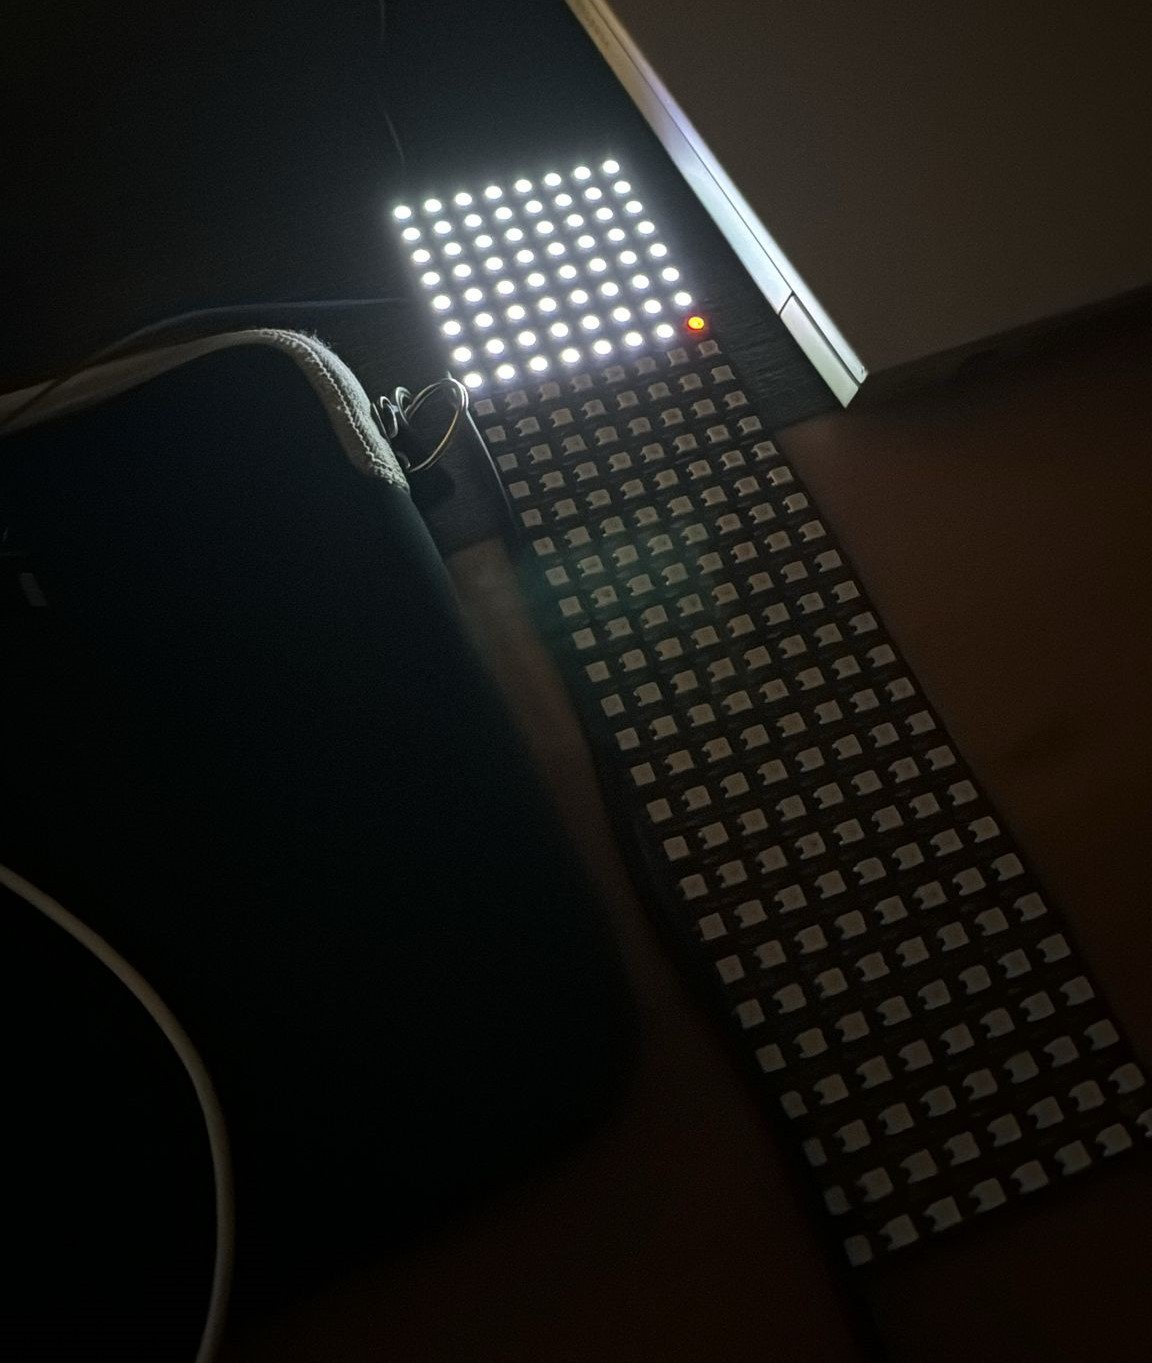
- Progress: We started with a large matrix instead of the standard 8x8 matrix due to the available components. This allowed us to understand the basics of LED matrix operation, wiring, and initial programming to control the LEDs.
Light Link
Light Link is adevice that lets you create stunning pixel art right from your smartphone and display it instantly on a vibrant Led matrix!