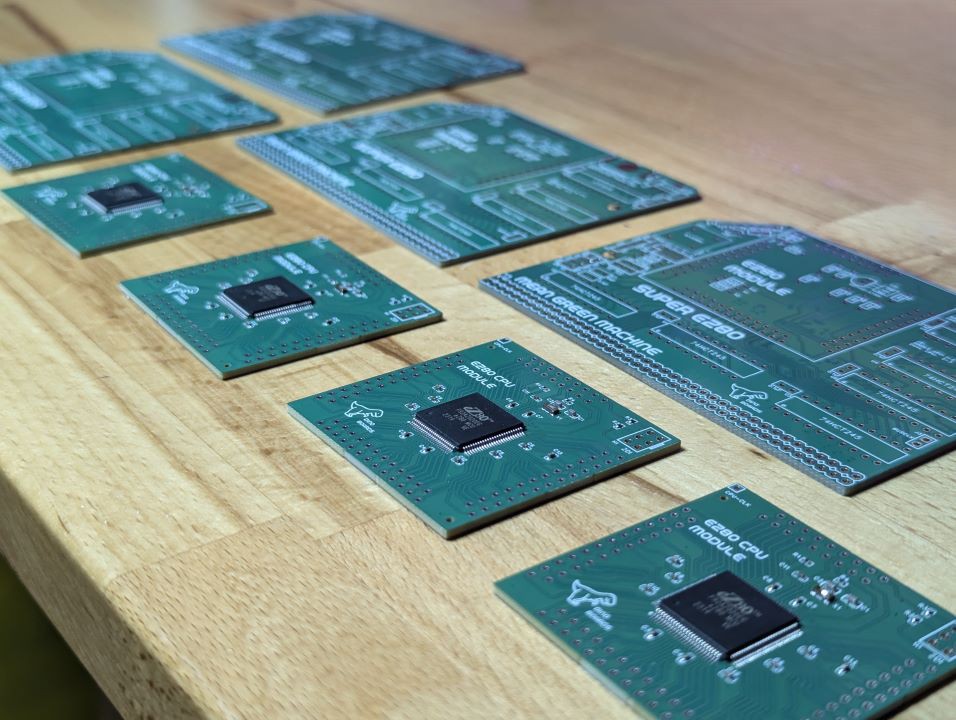
Last week, I submitted to the PCB manufacturer, an order for assembled CPU modules. This is the first time I have submitted an order to the factory to place and solder components onto one of my PCB designs. It was quick, easy and generally quite simple.
And now they have arrived.

Will they work?
Only one way to find out. Of course, I live on the edge, and ordered a version of the module (and associated interface PCB) with some last minute untested changes.
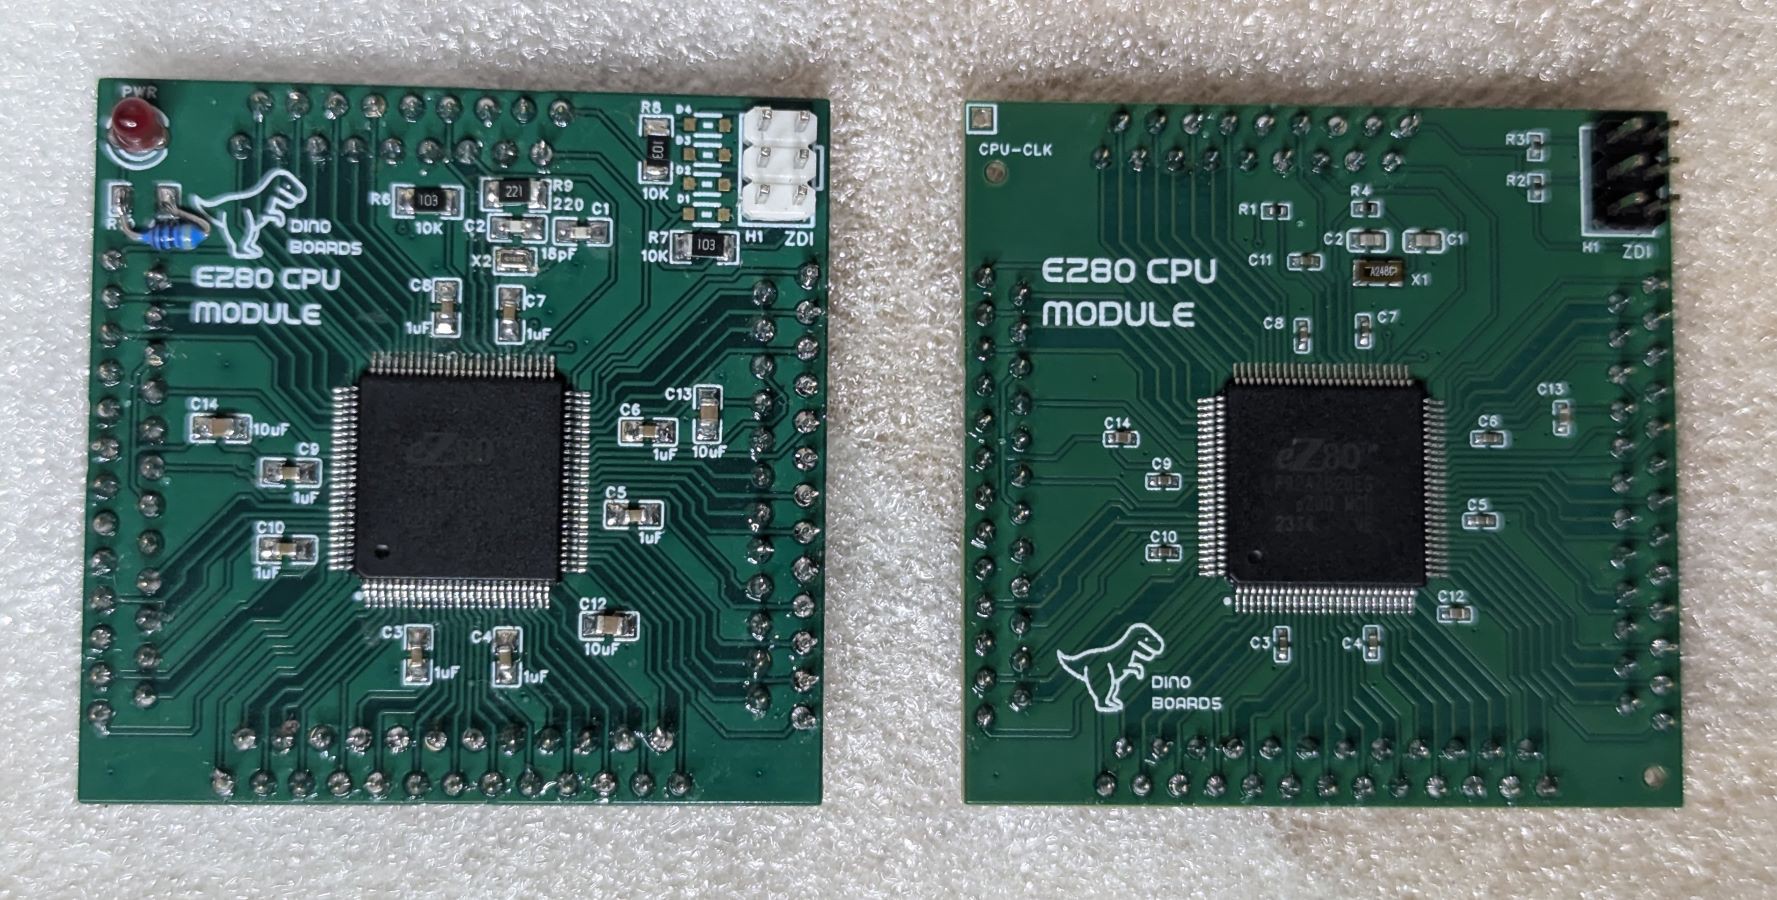
One change was the size of the various SMD capacitors and resistors. For the hand assembled units, I had selected as large a footprint I could - to reduce the challenge when hand soldering. But for the factory assembled units, it was cheaper and easy to use smaller components. Smaller sizes, I gather, are not only cheaper, the de-coupling capacitors would likely have a lower inductance -- meaning they will work just that bit better at absorbing all those high frequency digital spikes.
The other change was a slight 'correction' to the positioning of the interface pins. The inner rows are now 2.54mm (100mil) from the outer rows. (The original versions had a rows separation of 3mm)
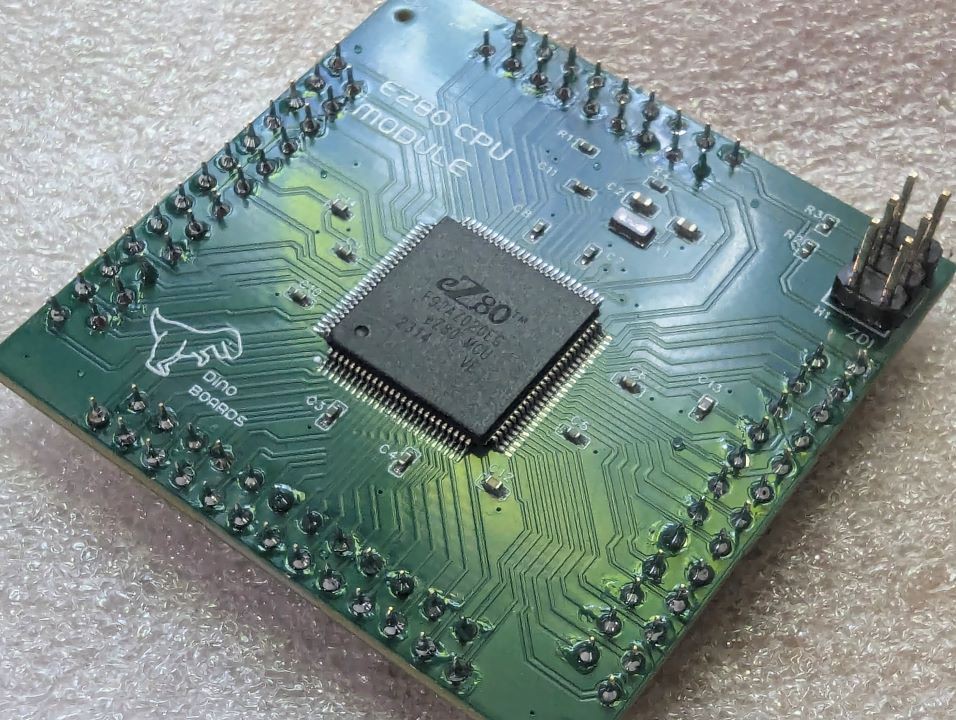
The factory assembled units only assembled the surface mount components. I still needed to solder the programming header and the 93 PCB pins.
Me vs Factory
Here's a comparison of my hand-assembled module (left), and the factory assembled unit (right). Notice the much smaller components:

Close up of the factory assembled unit, after I have soldered in the header and PCB pins:

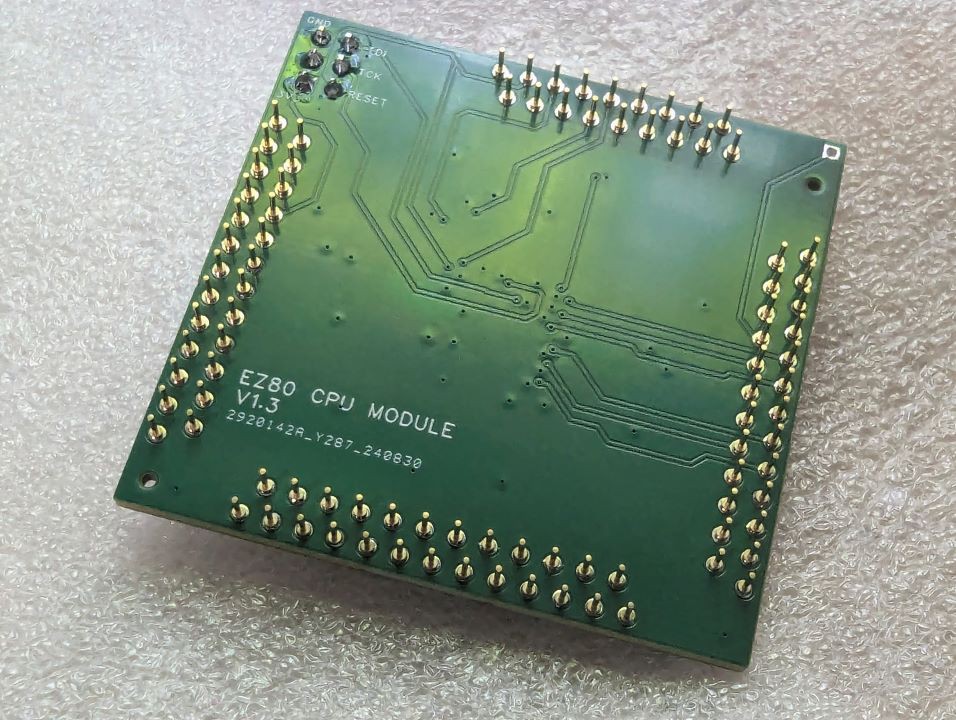
The back of the module is basically the same:

I am please to say, I have since installed the new CPU Module and Interface board into my RC2014 and it all works just like the hand assembled units.
 Dean Netherton
Discussions
Become a Hackaday.io Member
Create an account to leave a comment. Already have an account? Log In.