Alana B
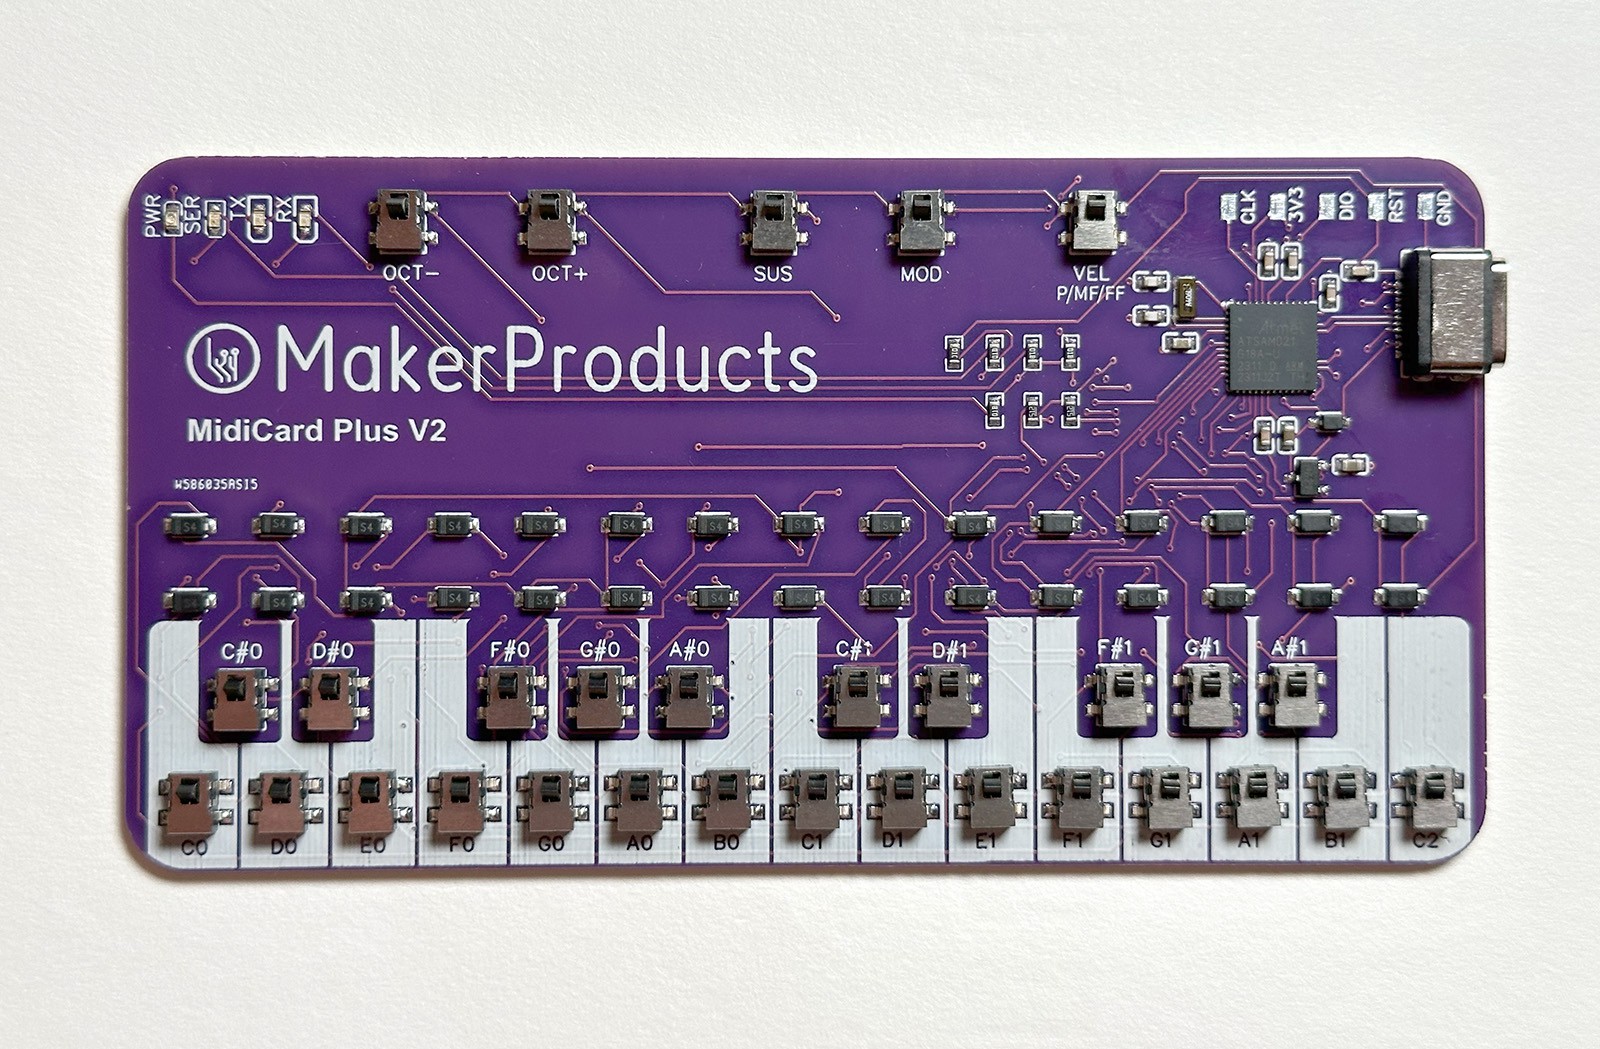
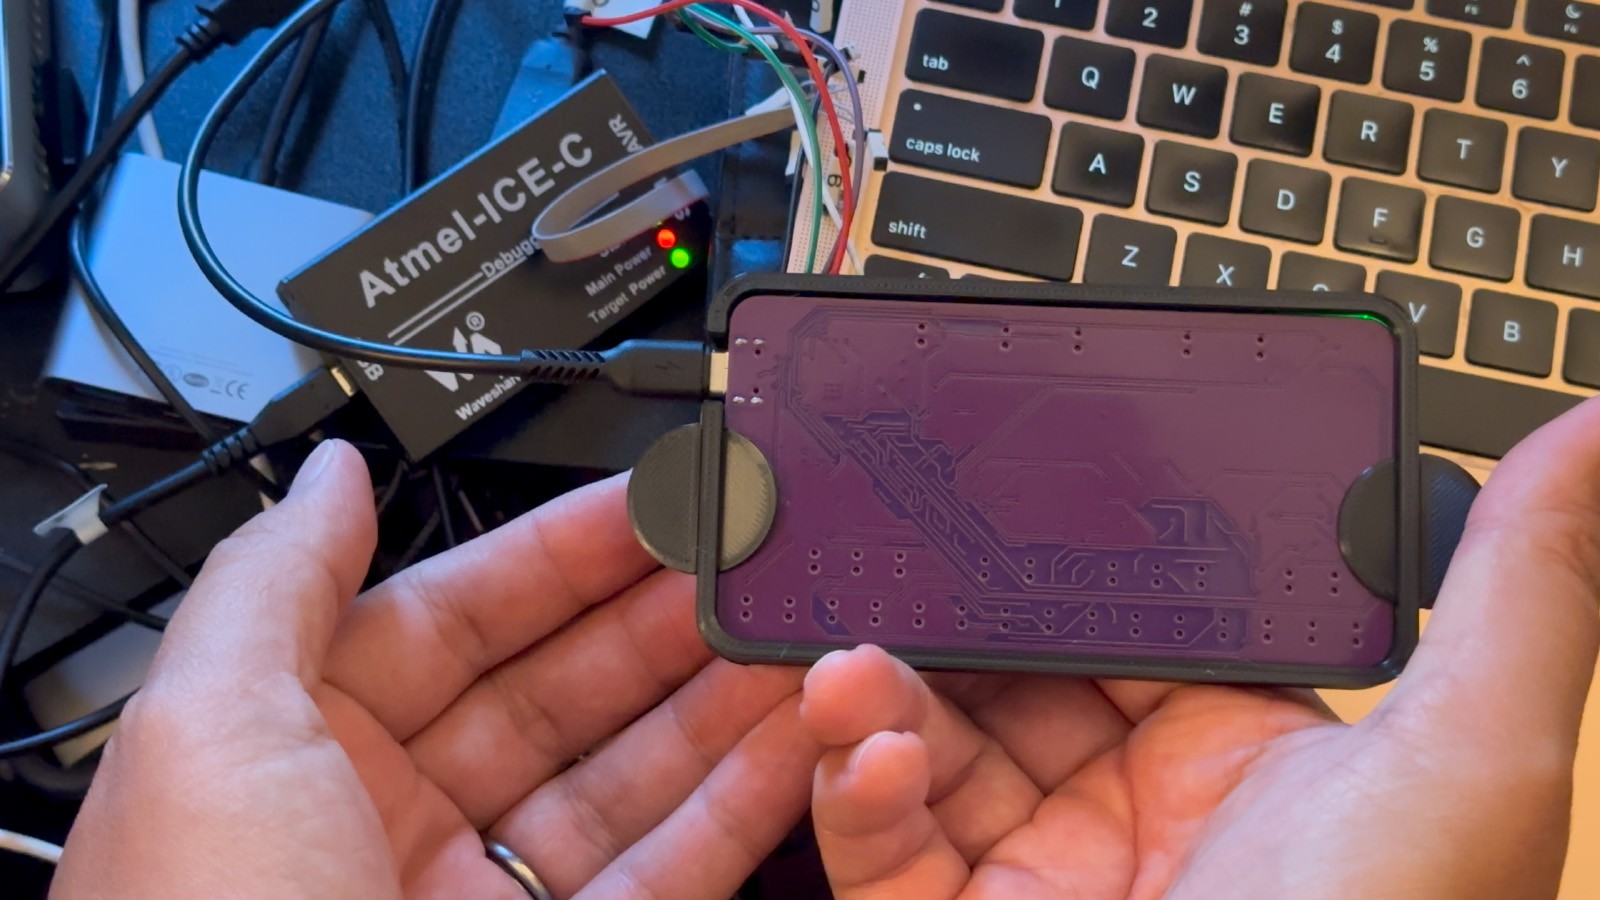
MidiCard v1.1 is a credit card-sized PCB I designed with the goal of having a tiny MIDI keyboard that I could keep on my person and have a Midi Keyboard anywhere. It's class compliant and USB-C compatible, so it works with Mac, PC, Android, Tablets, and iPhone (15, older ones with a lightning on the go adapter). I use it to sequence music, for speedy note entry in Finale, and to play chords and parts for my choir.
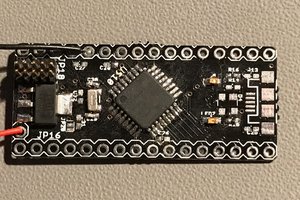
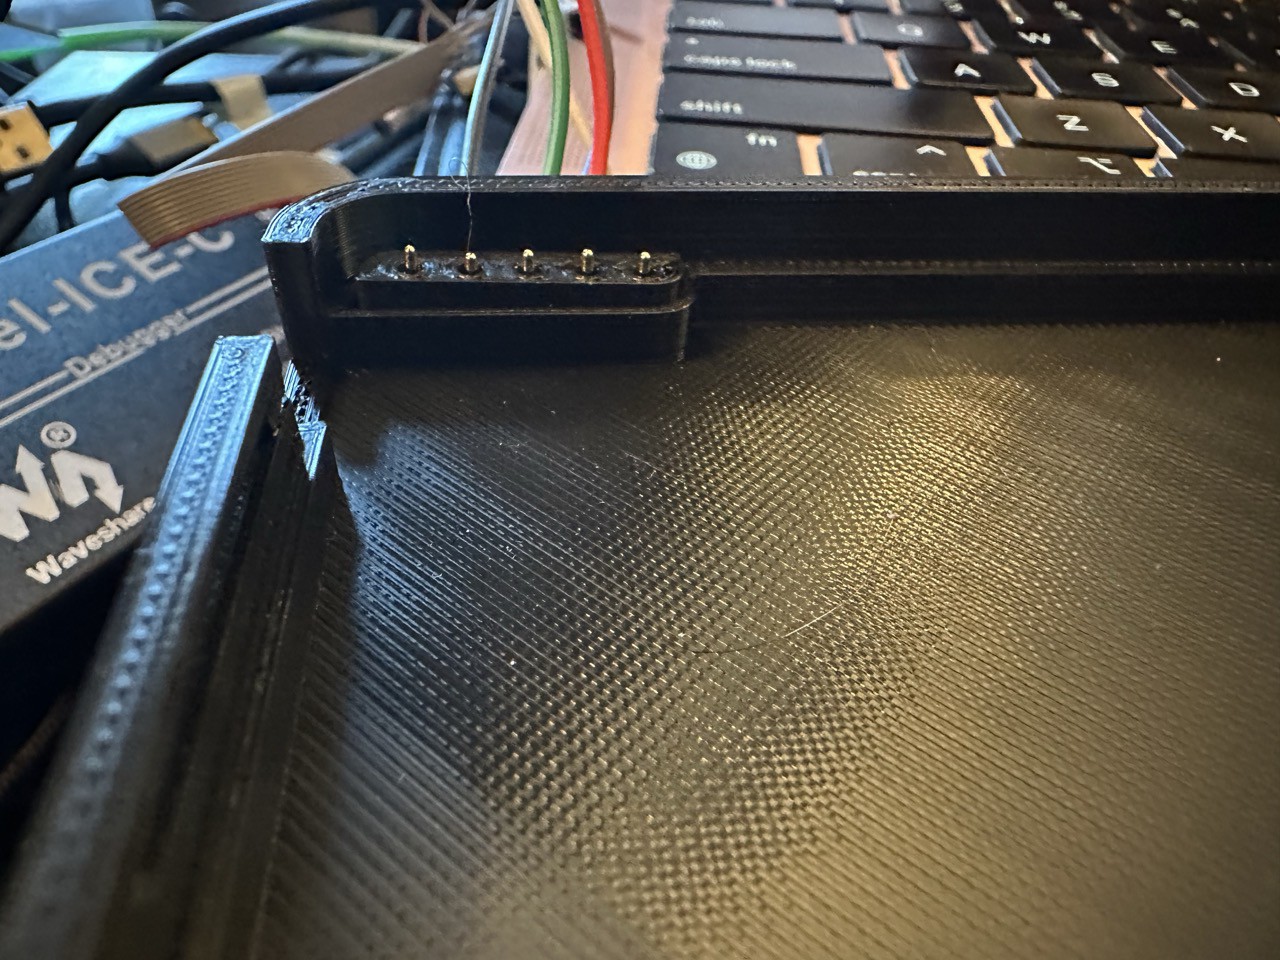
The design uses a PCB with tiny buttons and diodes in a multiplexed arrangement. It uses a Seeed Studio Xiao SAMD21, a tiny Arduino-compatible microcontroller. The source code is available on github.
I have some demos of it on youtube:
MidiCard is available at https://markerproducts.art.

 Arnov Sharma
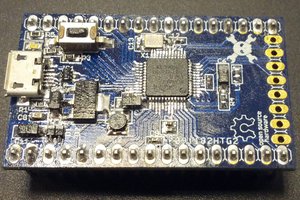
 Michele Perla
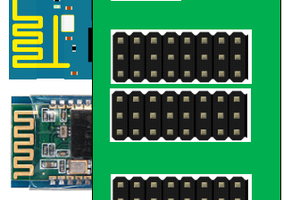
 Craig Hissett