 Isaac Zammit
Context: the below happened around November 2023.
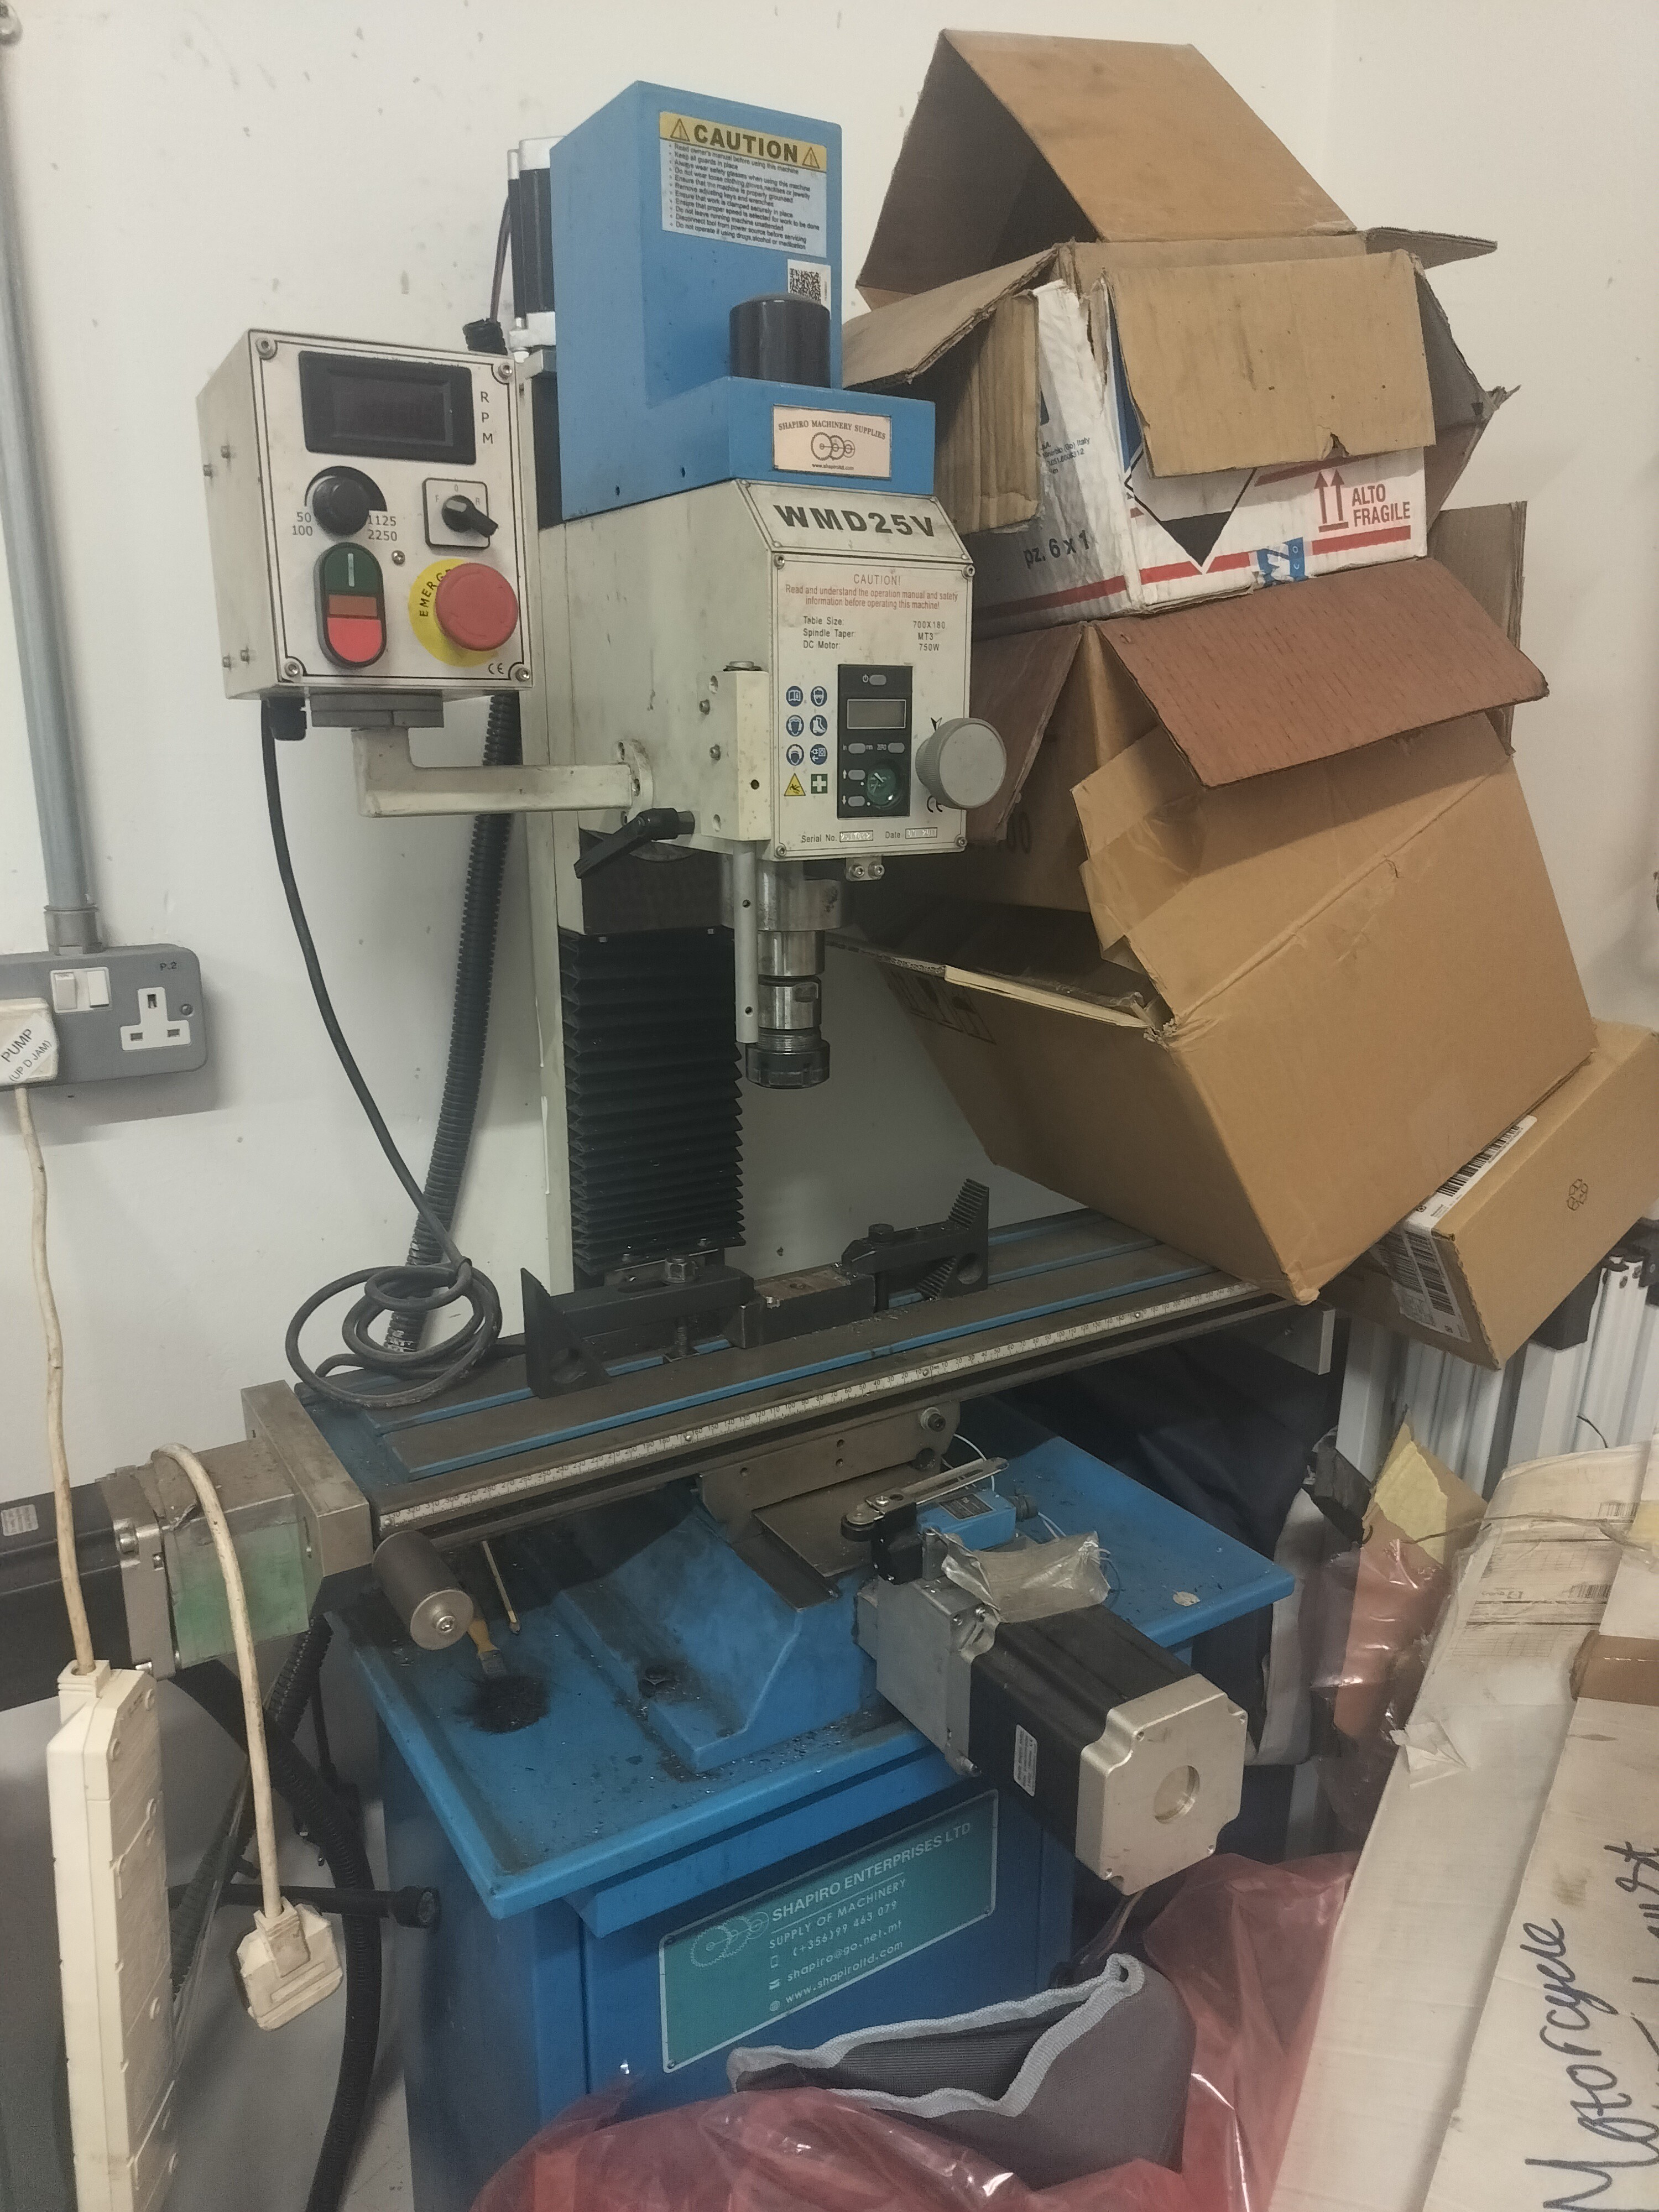
With reference to the project description, I bought this mill used with a CNC conversion already done to it. It came complete with the stand, electronics and the OEM parts that were removed to make way for the CNC conversion, like leadscrews.
At first glance, the mill doesn't seem all that bad. When compared to other BF20 conversions out there, this example has much of the original parts, such as the quill DRO and spindle unit, remaining intact. The first signs of neglect are to be expected on any "project" machine tool, such as loose limit switches and random bolts missing.
What wasn't expected however, was apparent damage on various elements of the machine, as a result of the CNC conversion. These were mainly:
- Damaged flange on Y axis stepper motor
- Loose & damaged end support plate for X axis ballnut
- And, worst of all, cracked saddle casting
Before jumping to conclusions, the machine was powered on and tested as-is. The mill has two separate systems; the spindle drive, and the axis drive systems. The spindle system is powered by a 700W motor through a gearbox with high or low speed ranges. It drives a tool with a #2 Morse taper, held on with a drawbar. The spindle turned on without hesitation, and all spindle speeds were tested, from zero up till around 2000RPM. It seemed to run quite well, and the spindle didn't show excessive heat after 30 minutes of spinning. It was noted that the tachometer periodically turned off, however this was seen as a very minor issue given that it did not seem to affect the rest of the spindle drive system.
The linear axes are actuated via three stepper motors of the same specification, through an Oldham coupling then to the ballscrew of the respective axis. Motion control is done through a USB SmoothStepper board, running off a PC via Mach3. After figuring out the installation of this software on a laptop, and establishing contact with the SmoothStepper board, the pinouts from the breakout board were noted and inputted into the Mach3 configuration. Together with the stepper drivers powered on, the linear axes could then be moved via the Mach3 interface.
Upon moving the X and Y axes however, all sorts of unfavourable sounds were produced. The X axis made a distinct "rattle" from the loose ballscrew end support, and the X axis ballscrew also had runout as a result of this. The Y axis audibly gave the impression of stick-slip, a possible result of tight gibs, lack of lubrication, and the cracked saddle. Thankfully, the Z axis seemed to run a fair bit smoother. The only shortcoming was a slipping Oldham coupler upon moving the Z axis upwards, which was resolved by simply tightening the clamping screw a tad more.
To some people, this machine would be classified as "too far gone" due to the amount of work it involves to bring the machine back to an operating state. I however, saw this as the perfect opportunity to debut into CNC machining, and I don't think there's a better way to do it than rebuilding your own machine completely BEFORE making the first chips (some previous machining experience is 100% necessary, however). On these grounds, the machine was purchased with the intent of performing a complete overhaul and optimization modifications to improve the machine's performance.
The process of moving the machine to my place then commenced. Parts like the spindle head and stepper motors were dismantled to aid in transportation, and with the help of a mate of mine, the machine was transported back to base. Following this, the machine will be dismantled completely and everything is to be closely inspected.
Discussions
Become a Hackaday.io Member
Create an account to leave a comment. Already have an account? Log In.