Finalising the Design
The design for the redstone lamp how now been completed on Sketchup, it consists of four individual pieces. These pieces are:
- Bottom
- Side 1 – repeated for two sides
- Side 2 – repeated for the other two
- Top
Parts Together:
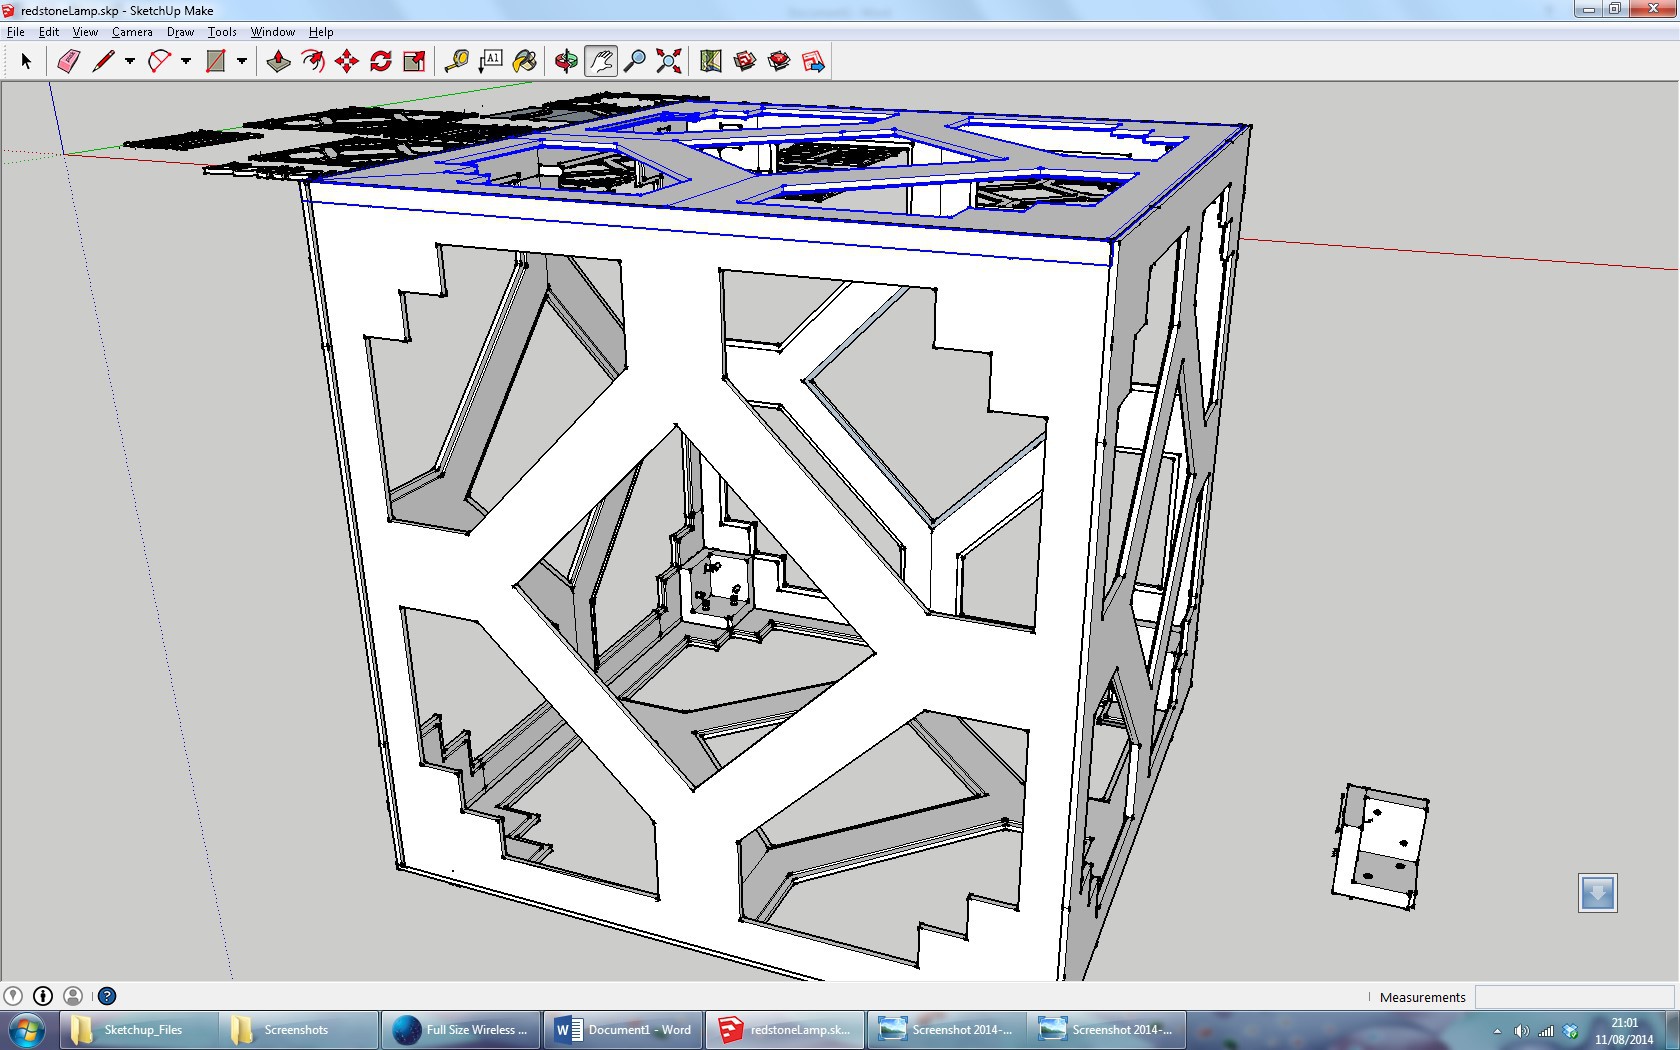
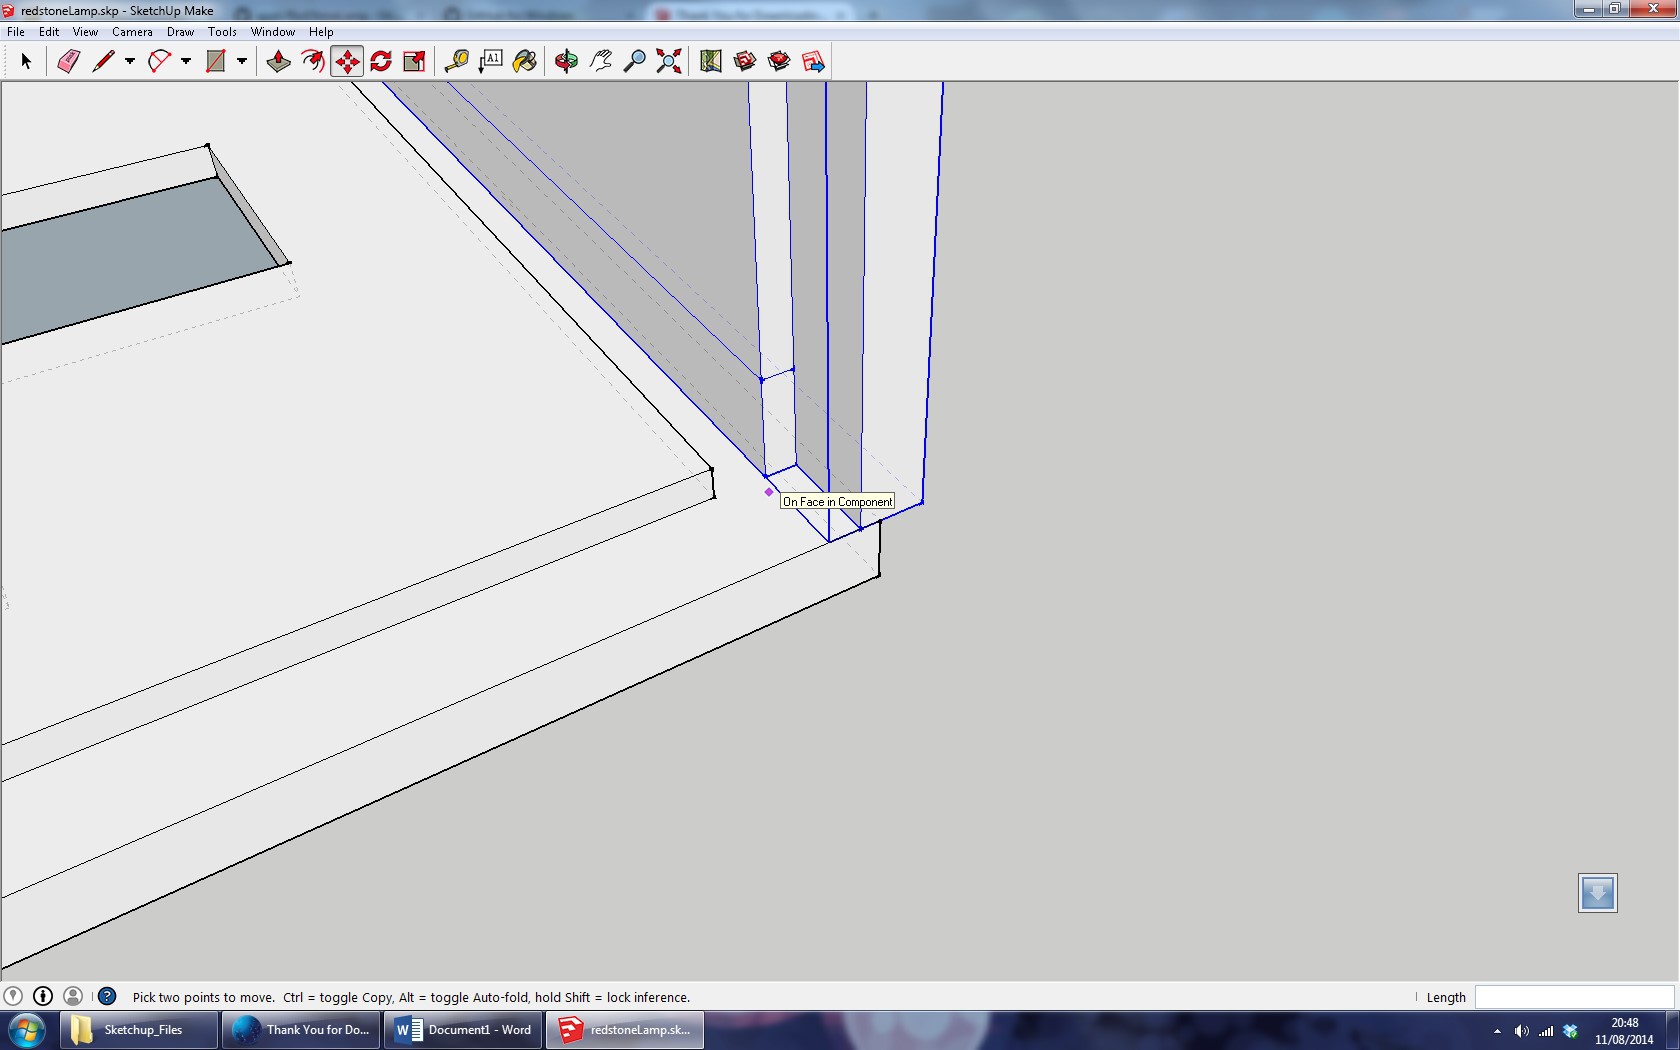
These sides all have sections cut away from the edge of the components in order to slot the box, this aids in transport as it will be able to be flat packed down into six 1m^3 sections. A corner section, with the side slightly moved can been seen in the picture below.
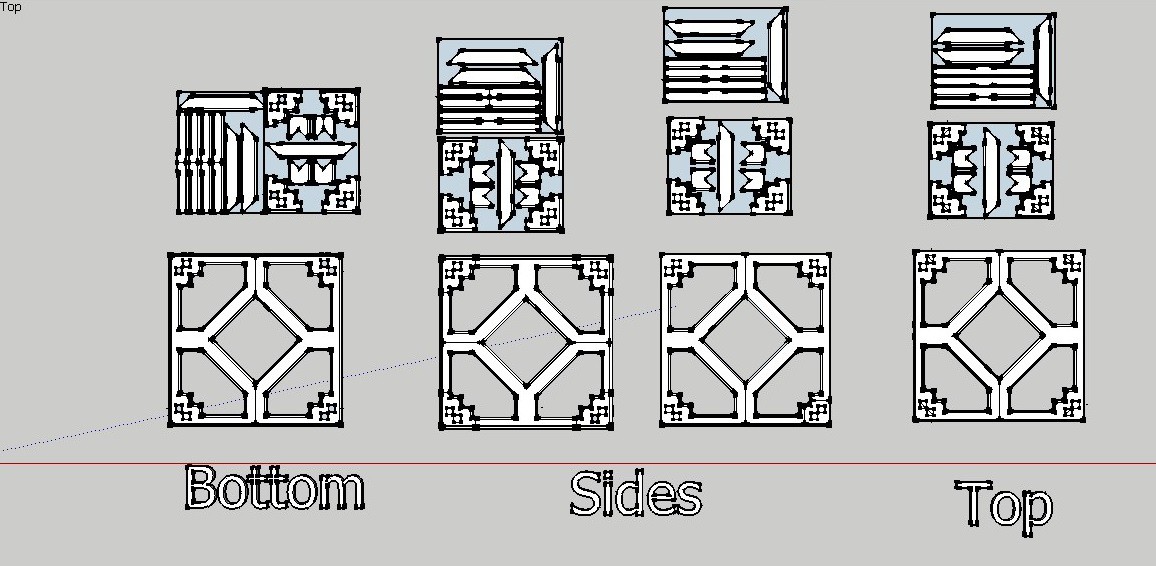
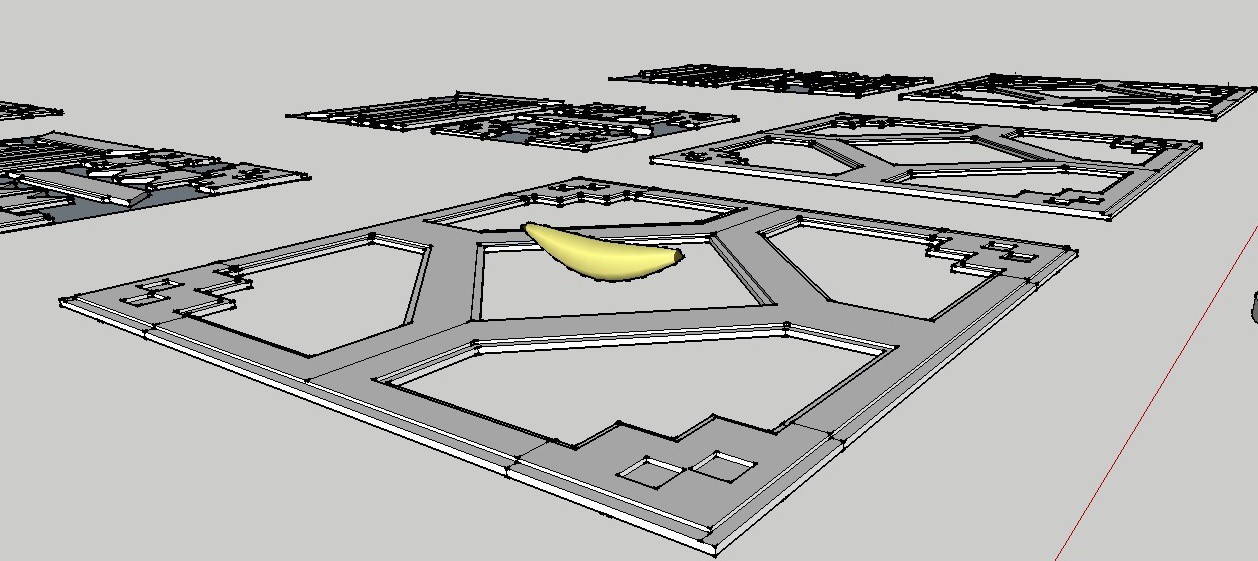
Once this design had been finalised the sides of the lamp needed to be cut up into much smaller sections so that they were able to be milled. The CNC bed was 720mm x 550mm and so the sections were cut and tessellated to take up as little space as possible to bring down costs. In the following picture you can see the final of all the components for each side.
Final Cut Up:
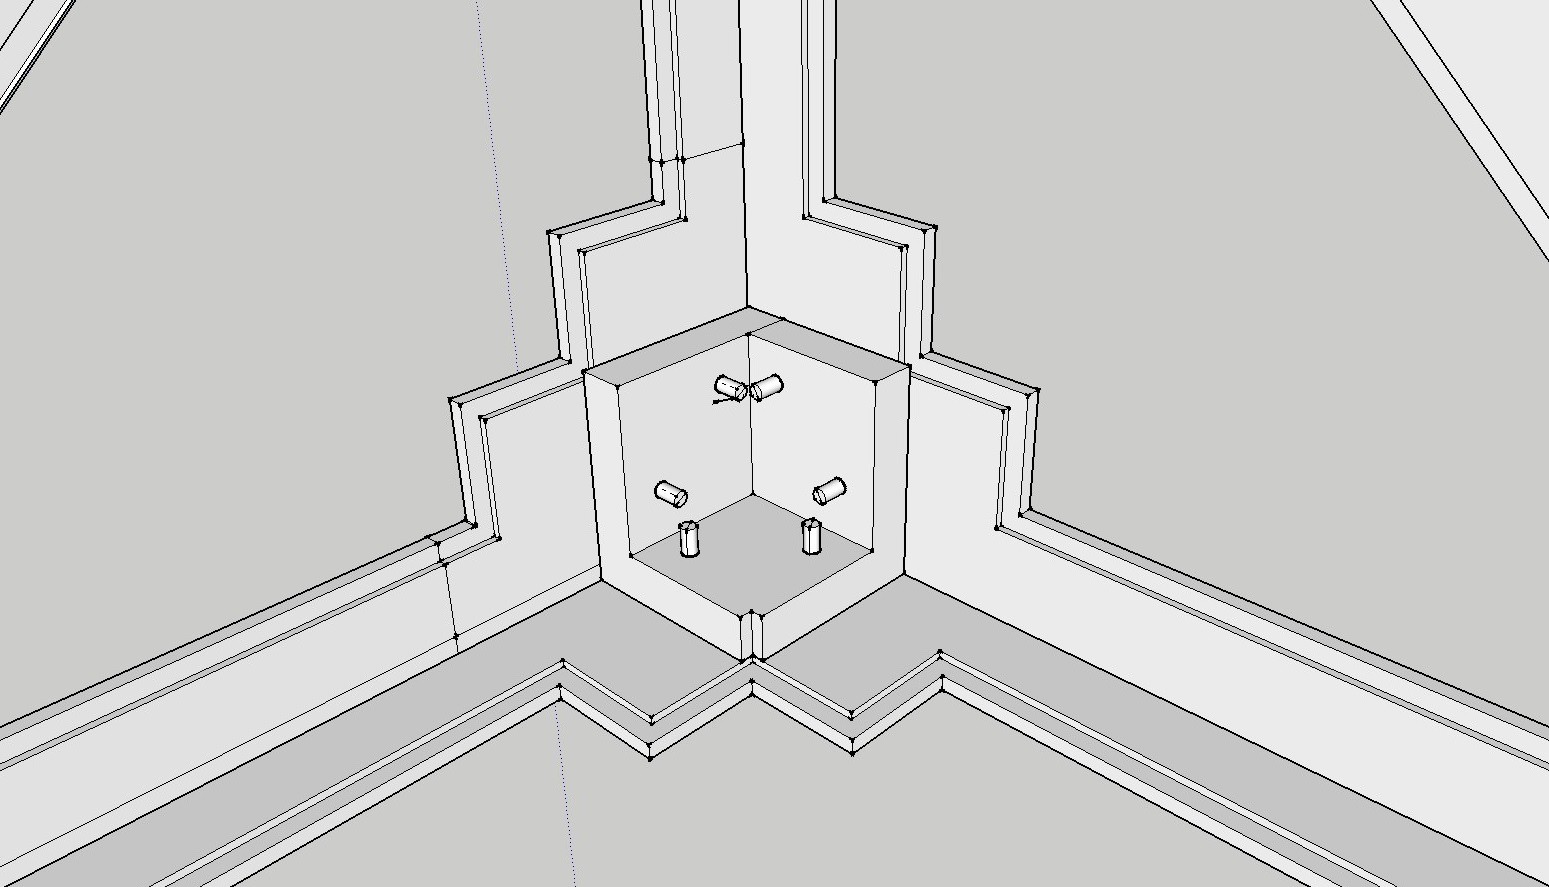
In order to add strength and connect the sides a 3D printed part was designed to bolt the components together, this part will be 3D printed on my lamp however it may be cheaper to mill this in future iterations, in the pictures below it is shown on a Makerbot Replicator 2 bed and it was rather larger than anticipated!
3D Printed Part in Lamp:
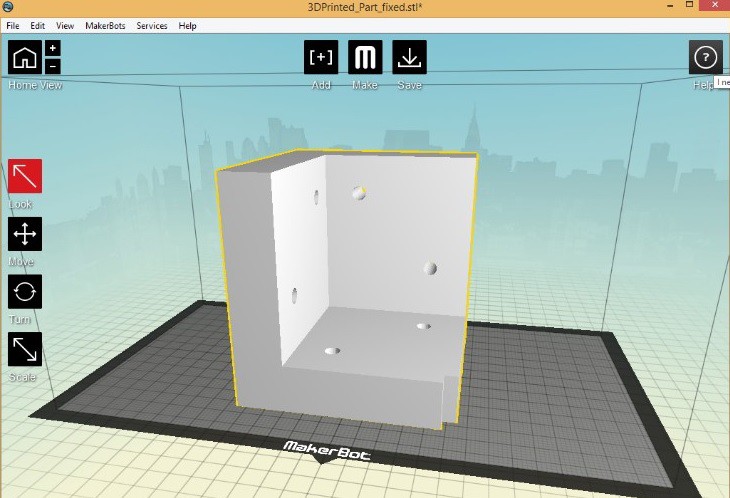
The design of all the components to be made is now “complete” barring any alterations made when the milling process is started. Next blog will be on the milling process, what I changed about the design (not as much as anticipated!) and the sanding/gluing process
Easter Egg (Thanks for reading):
Banana for scale
 GPPK
GPPK
Discussions
Become a Hackaday.io Member
Create an account to leave a comment. Already have an account? Log In.