 Arnov Sharma
XIAO EXPANSION BOARD and XIAO SAMD21 M0 DEV Board
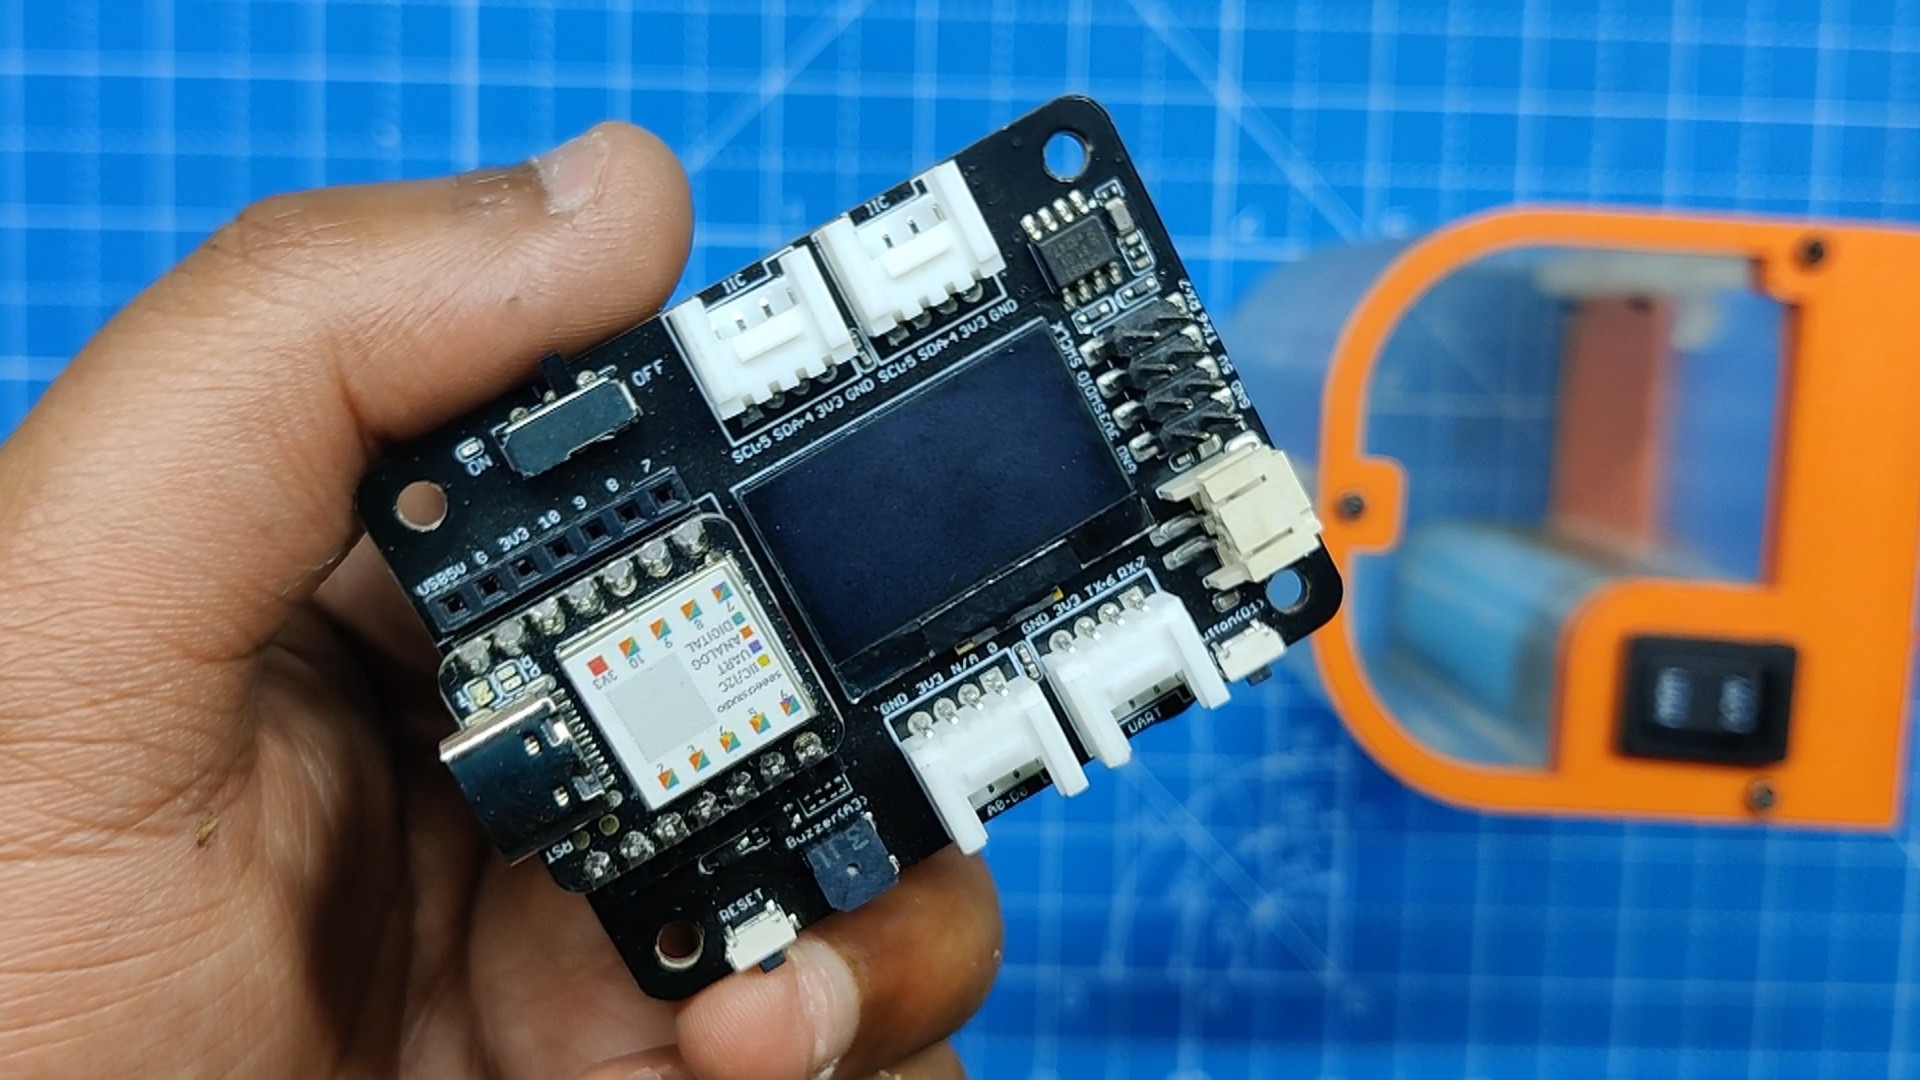

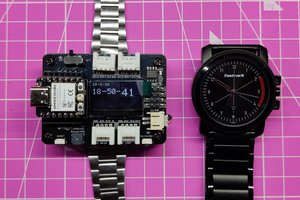
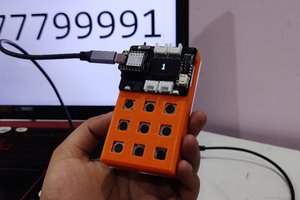
We're using the XIAO SAMD21 M0 Development Board, which, paired with the XIAO extension board manufactured by Seeed Studio, is the heart of this project.
It comes with rich peripherals that include an OLED, RTC, SD Card Sot, passive buzzer, reset/user button, 5V servo connector, and Grove connector for pairing multiple Grove devices with XIAO.
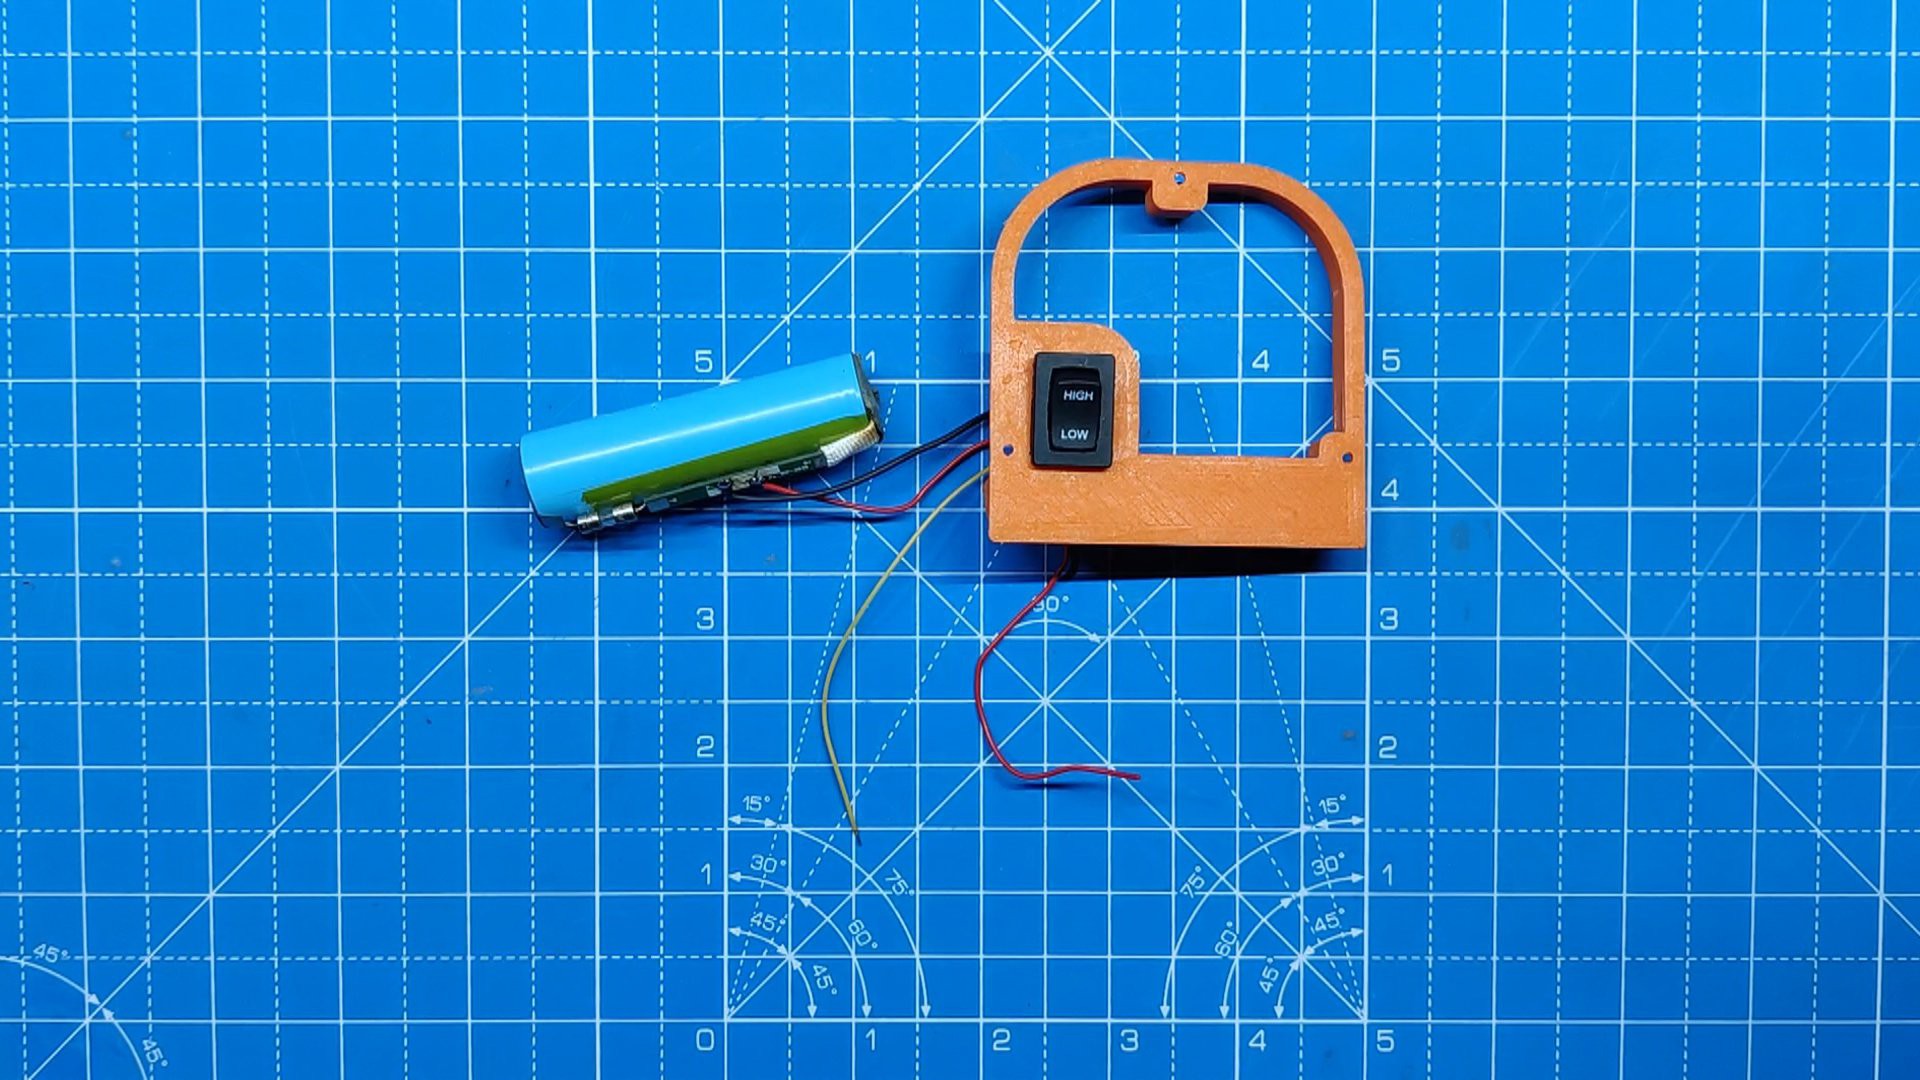
We can power the entire setup using any Li-ion or LiPo cell thanks to its integrated Li-ion charging circuit; later in the project, we will be using a Li-ion 18650 cell to power the whole setup.
If you would like to get one for yourself, here is the link to its page.
https://www.seeedstudio.com/Seeeduino-XIAO-Expansion-board-p-4746.html
One of the reasons for using the expansion board was its intergraded OLED display, which we will be using for displaying the Dilating Eye and Quote Sketches.
DESIGN


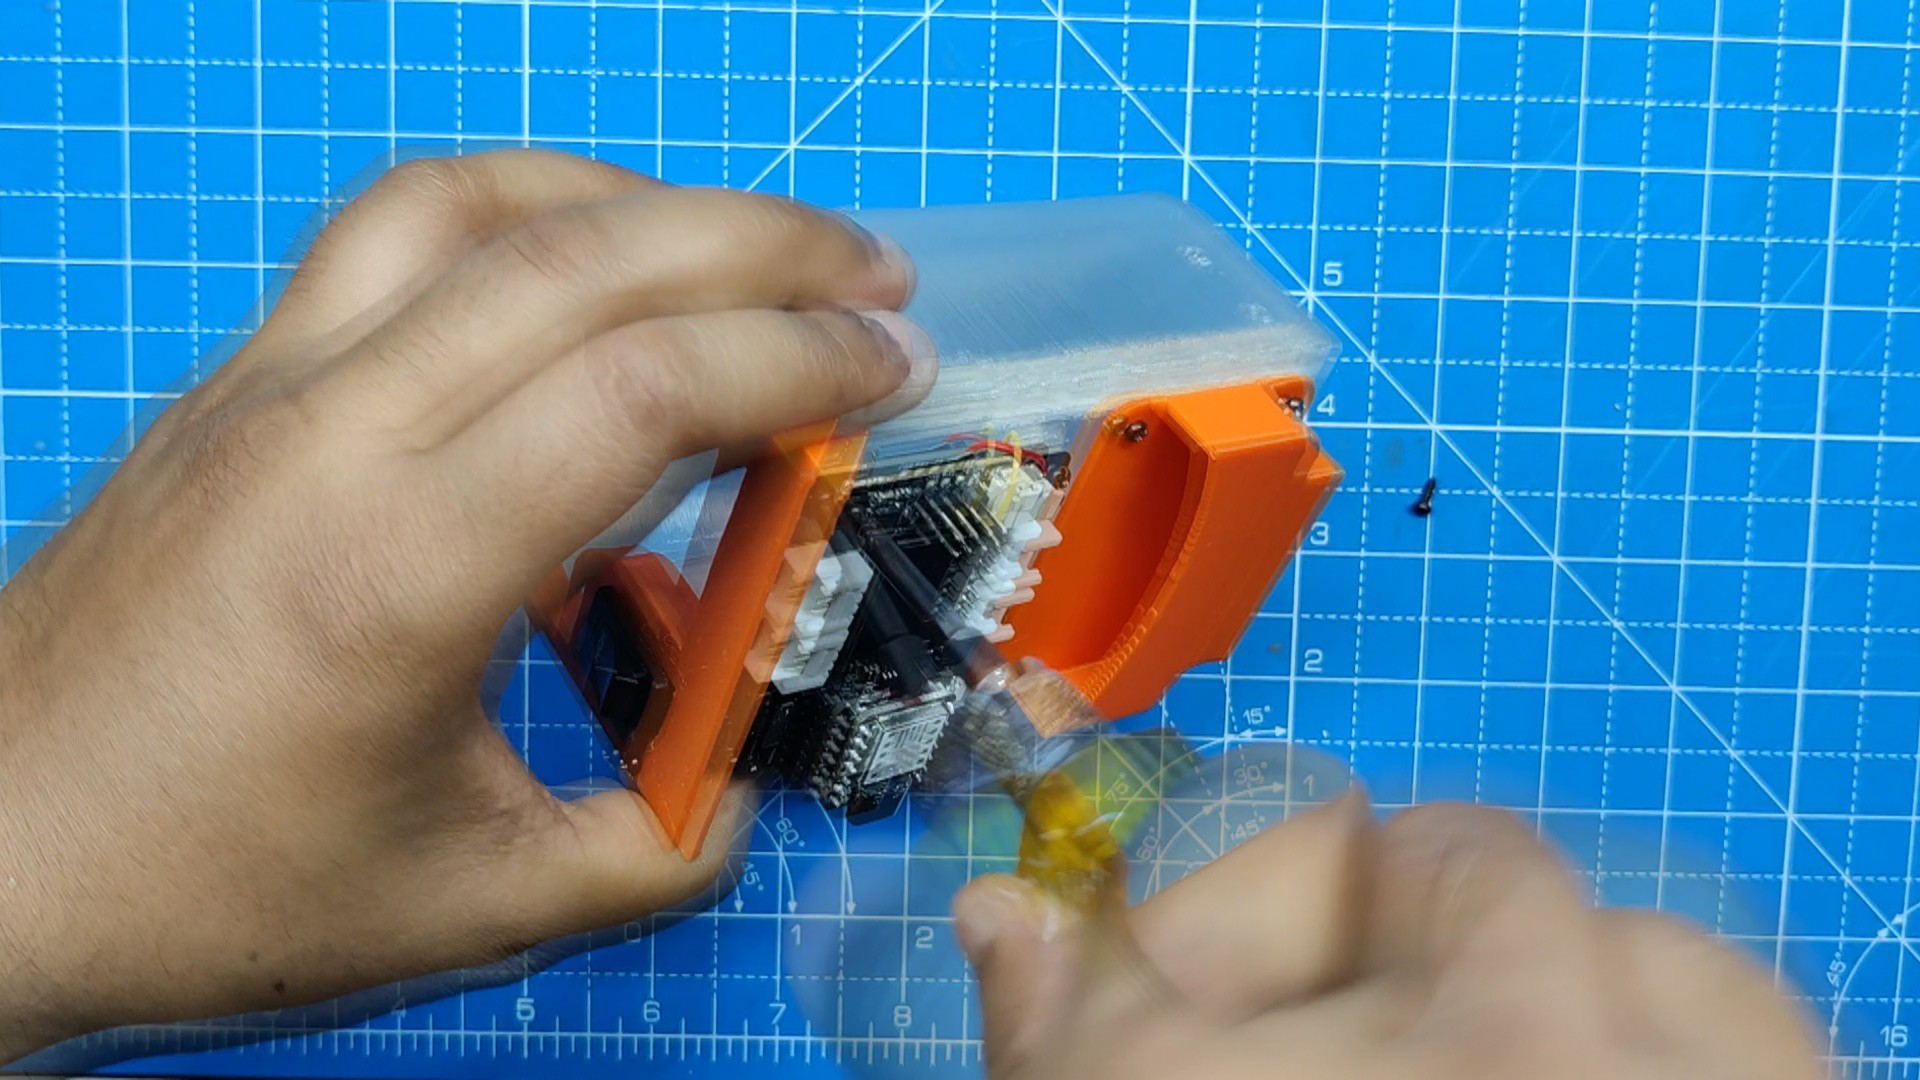
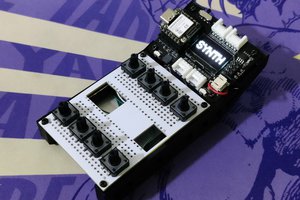
The project's model comprises four parts in total: the front holder part, which is designed for holding small things like USB drives, coins, etc., and the upper lid section, which covers the lithium cell and holds the rocker switch in its place. Finally, a nametag with the project title "Overengineered" is positioned on the left side of the stand.
Three M2 screws are required to mount the upper lid on the screw bosses found in the holder part. The XIAO expansion board is mounted using four screw bosses specially made on the front face of the Holder section. These bosses allow the XIAO expansion board to be positioned slightly beyond the front face, maintaining a small gap between the front face and the bottom side of the board.
After creating the model in Fusion 360, we exported the mesh files so that they could be 3D Printed.
We used clear PLA to print the holder section, orange PLA for the upper lid portion, and PLA for printing the front holder portion. In order to print the letters on the nametag, we first print the white PLA base of the tag and then switch to orange PLA in the middle of the print.
You are free to download or edit any of the files that are attached.


 bornach