-
1Step 1
A step by step through some images.
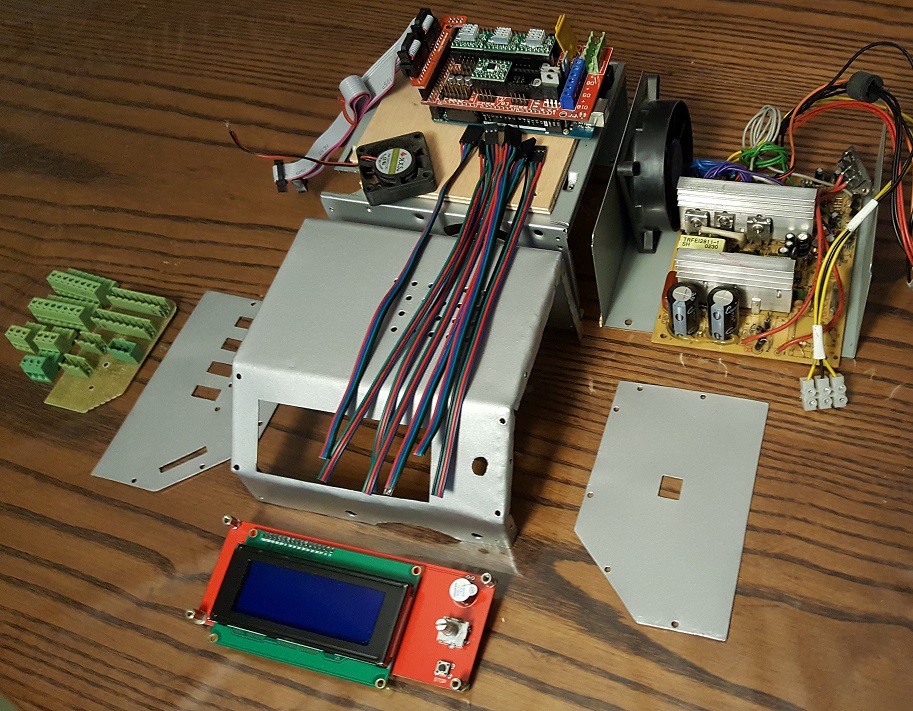
![]() These are the components to use
These are the components to use -
2Step 2
![]()
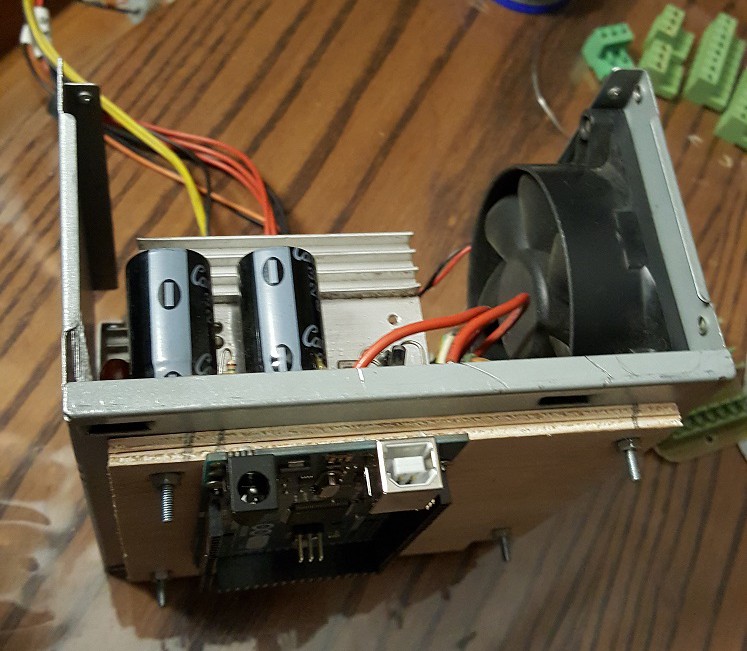
Here we can see the inside of the power supply and how the arduino plate has been mounted using a piece of wood as an insulator
-
3Step 3
![]()
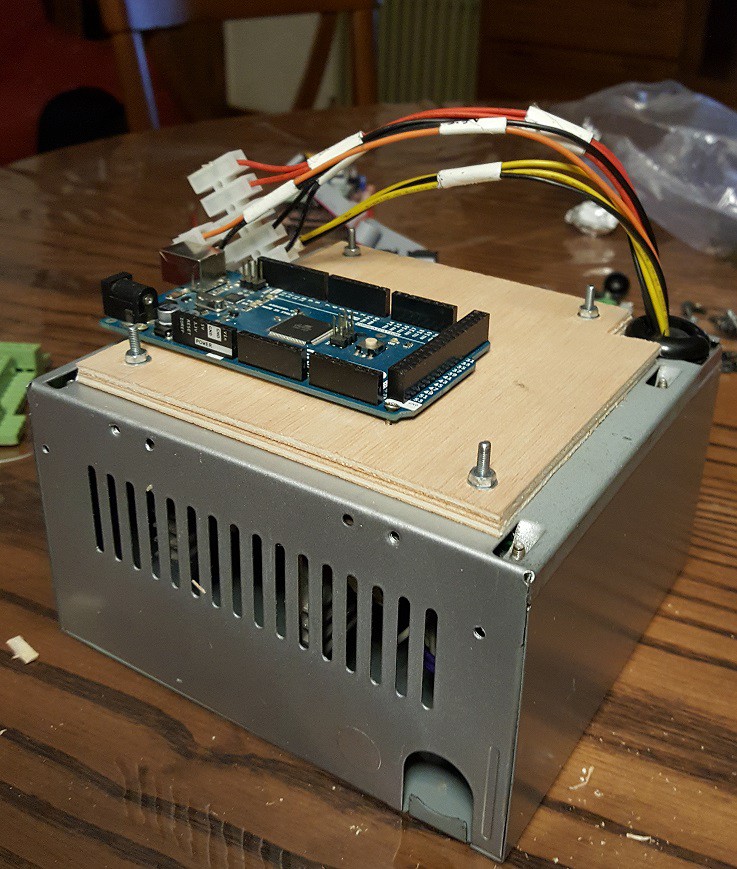
Here we can see the mega arduino board mounted and you can also see the cables of the power supply for which a new hole has been made to come out to the outside by the top.
-
4Step 4
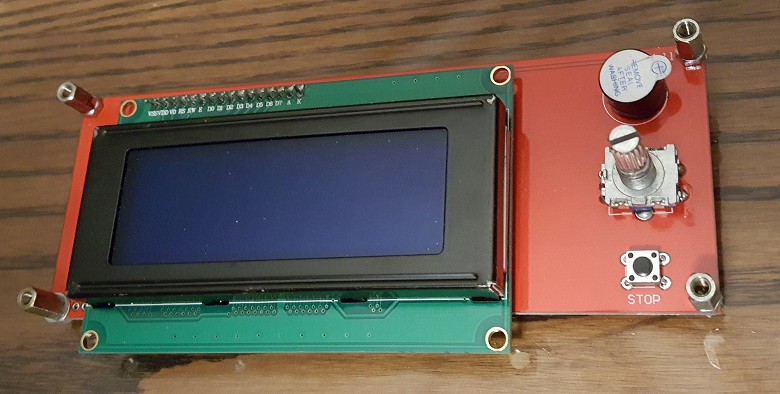
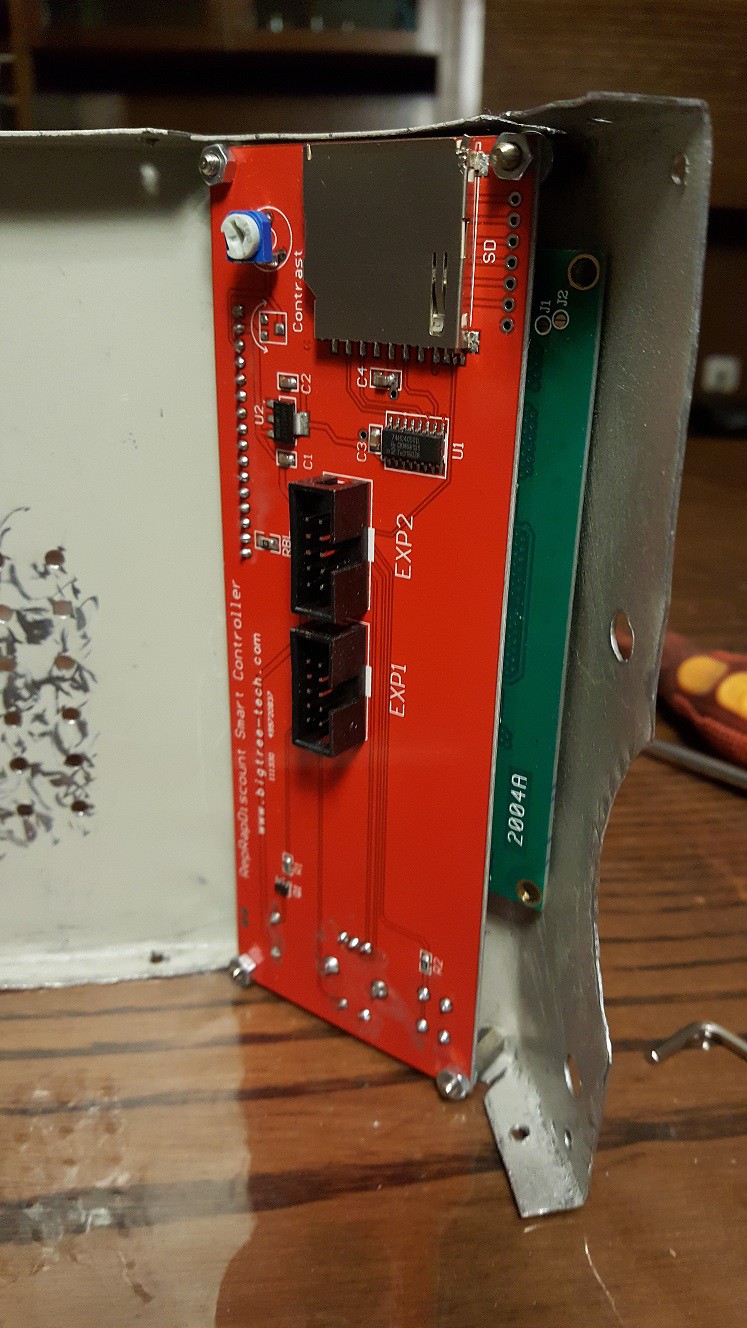
![]() This is the LCD smart controller, we can see the brackets with which it will be attached to the front panel.
This is the LCD smart controller, we can see the brackets with which it will be attached to the front panel. -
5Step 5
![]()
The inside view
-
6Step 6
![]()
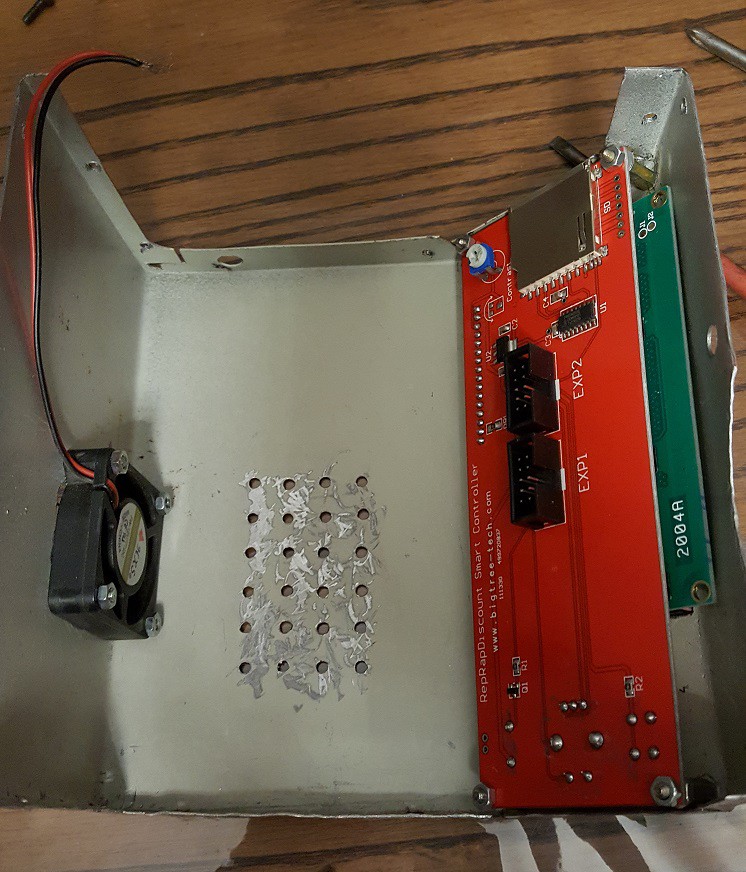
Here we can see the LCD smart controller and also the assembly of the fan to cool the drivers for stepper motors.
-
7Step 7
![]()
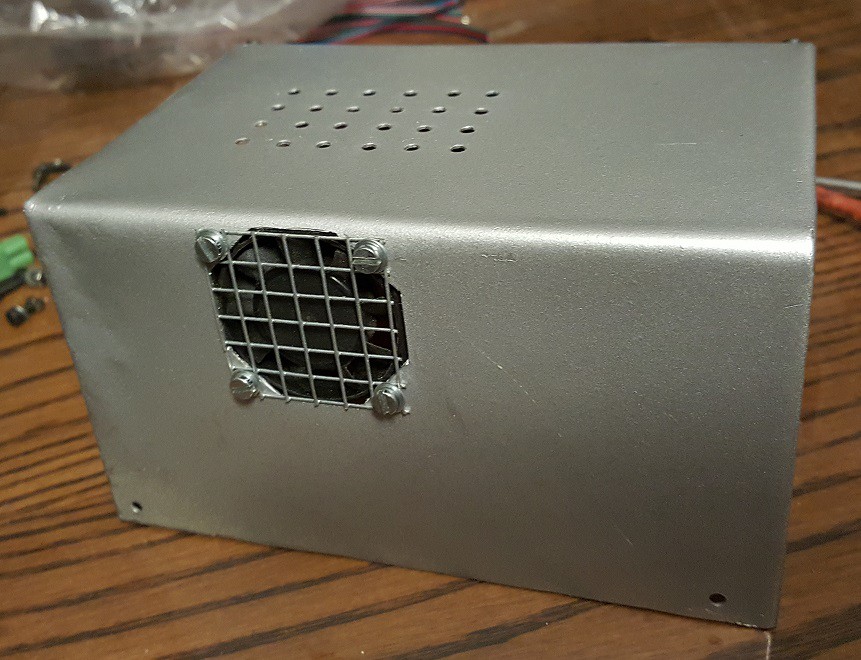
I did not have the fan grill and I put a piece of wire mesh I found in the workshop.
-
8Step 8
![]()
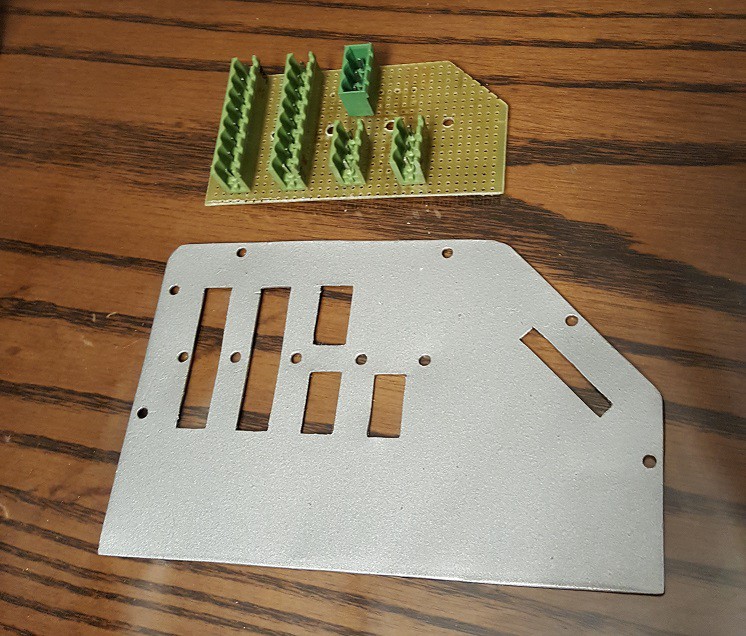
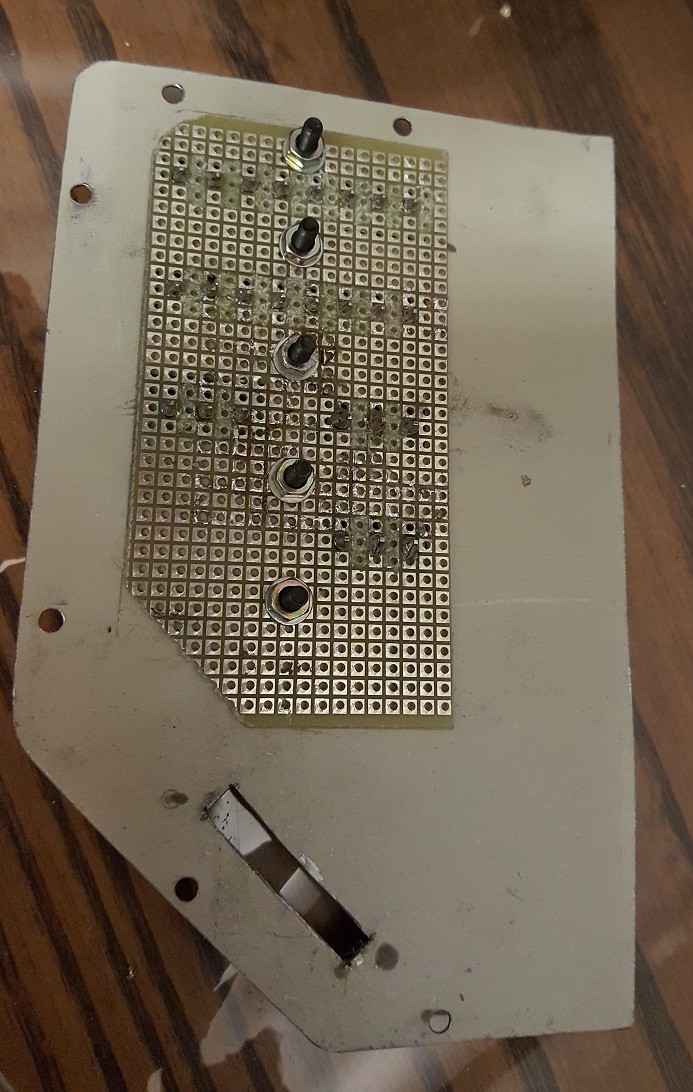
Here we can see the left side panel with the holes to mount the connectors. And at the top we can see the welded connectors on a universal printed circuit board
-
9Step 9
![]()
Here we see how we fixed it with screws.
-
10Step 10
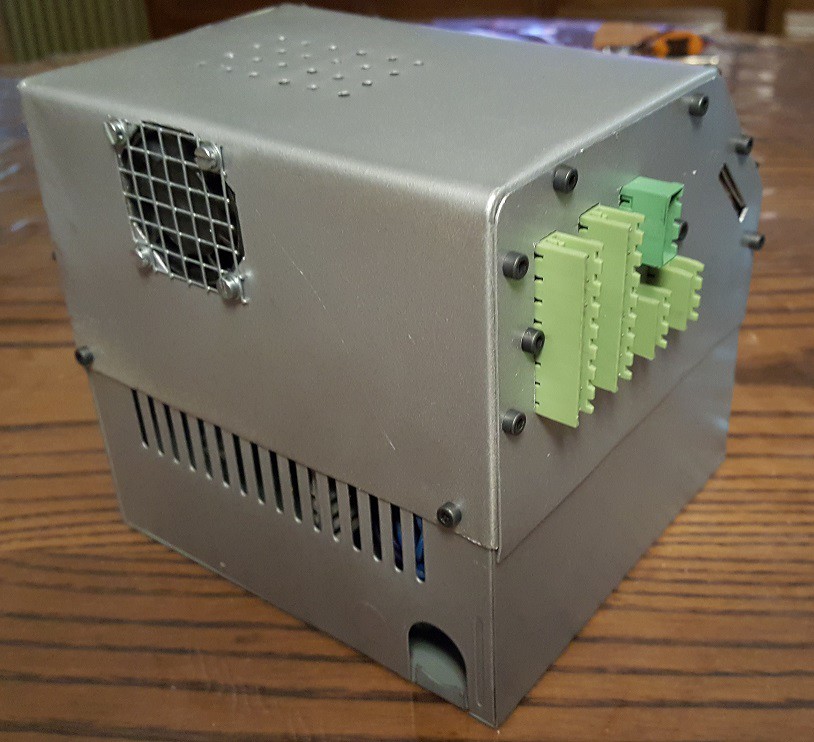
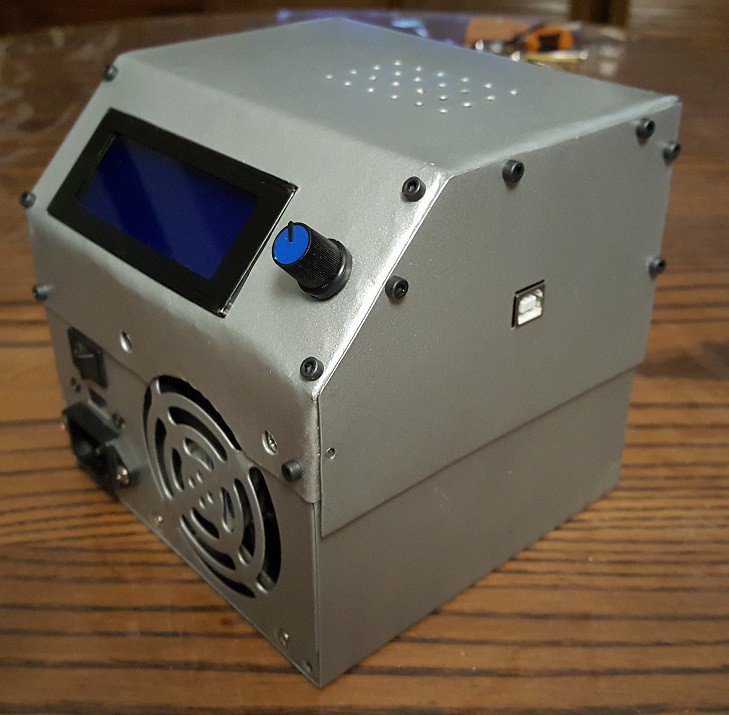
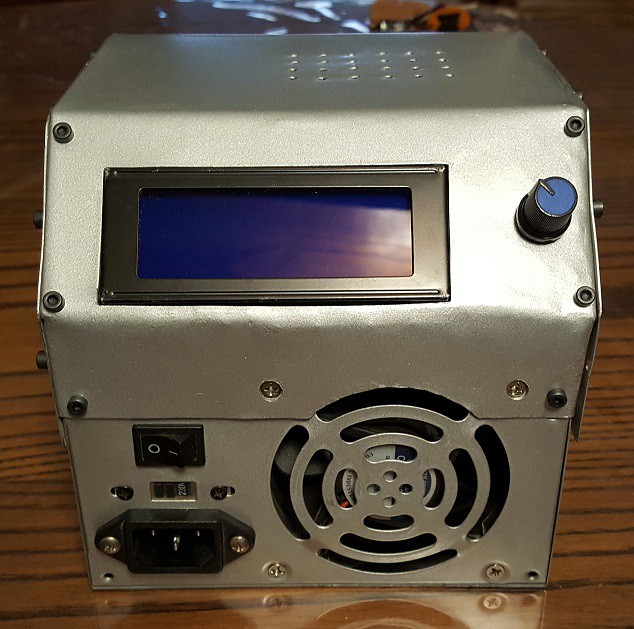
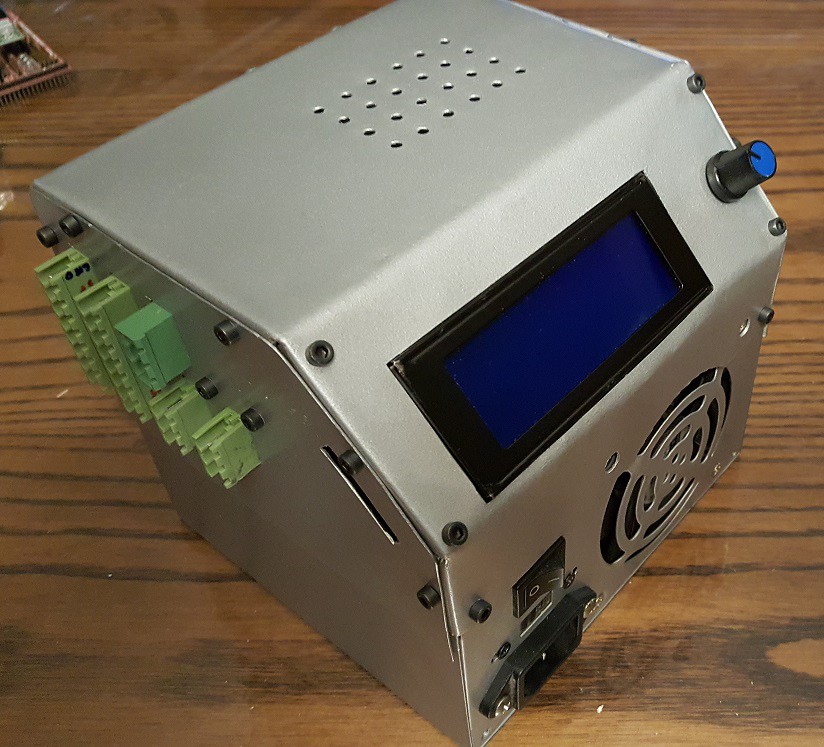
Below are several views of the final assembly.
![]()
![]()
![]()
![]()
Universal CNC Control Center
A portable, cheep and easy to made CNC Control Center.
 jvsalatino
Discussions
Become a Hackaday.io Member
Create an account to leave a comment. Already have an account? Log In.