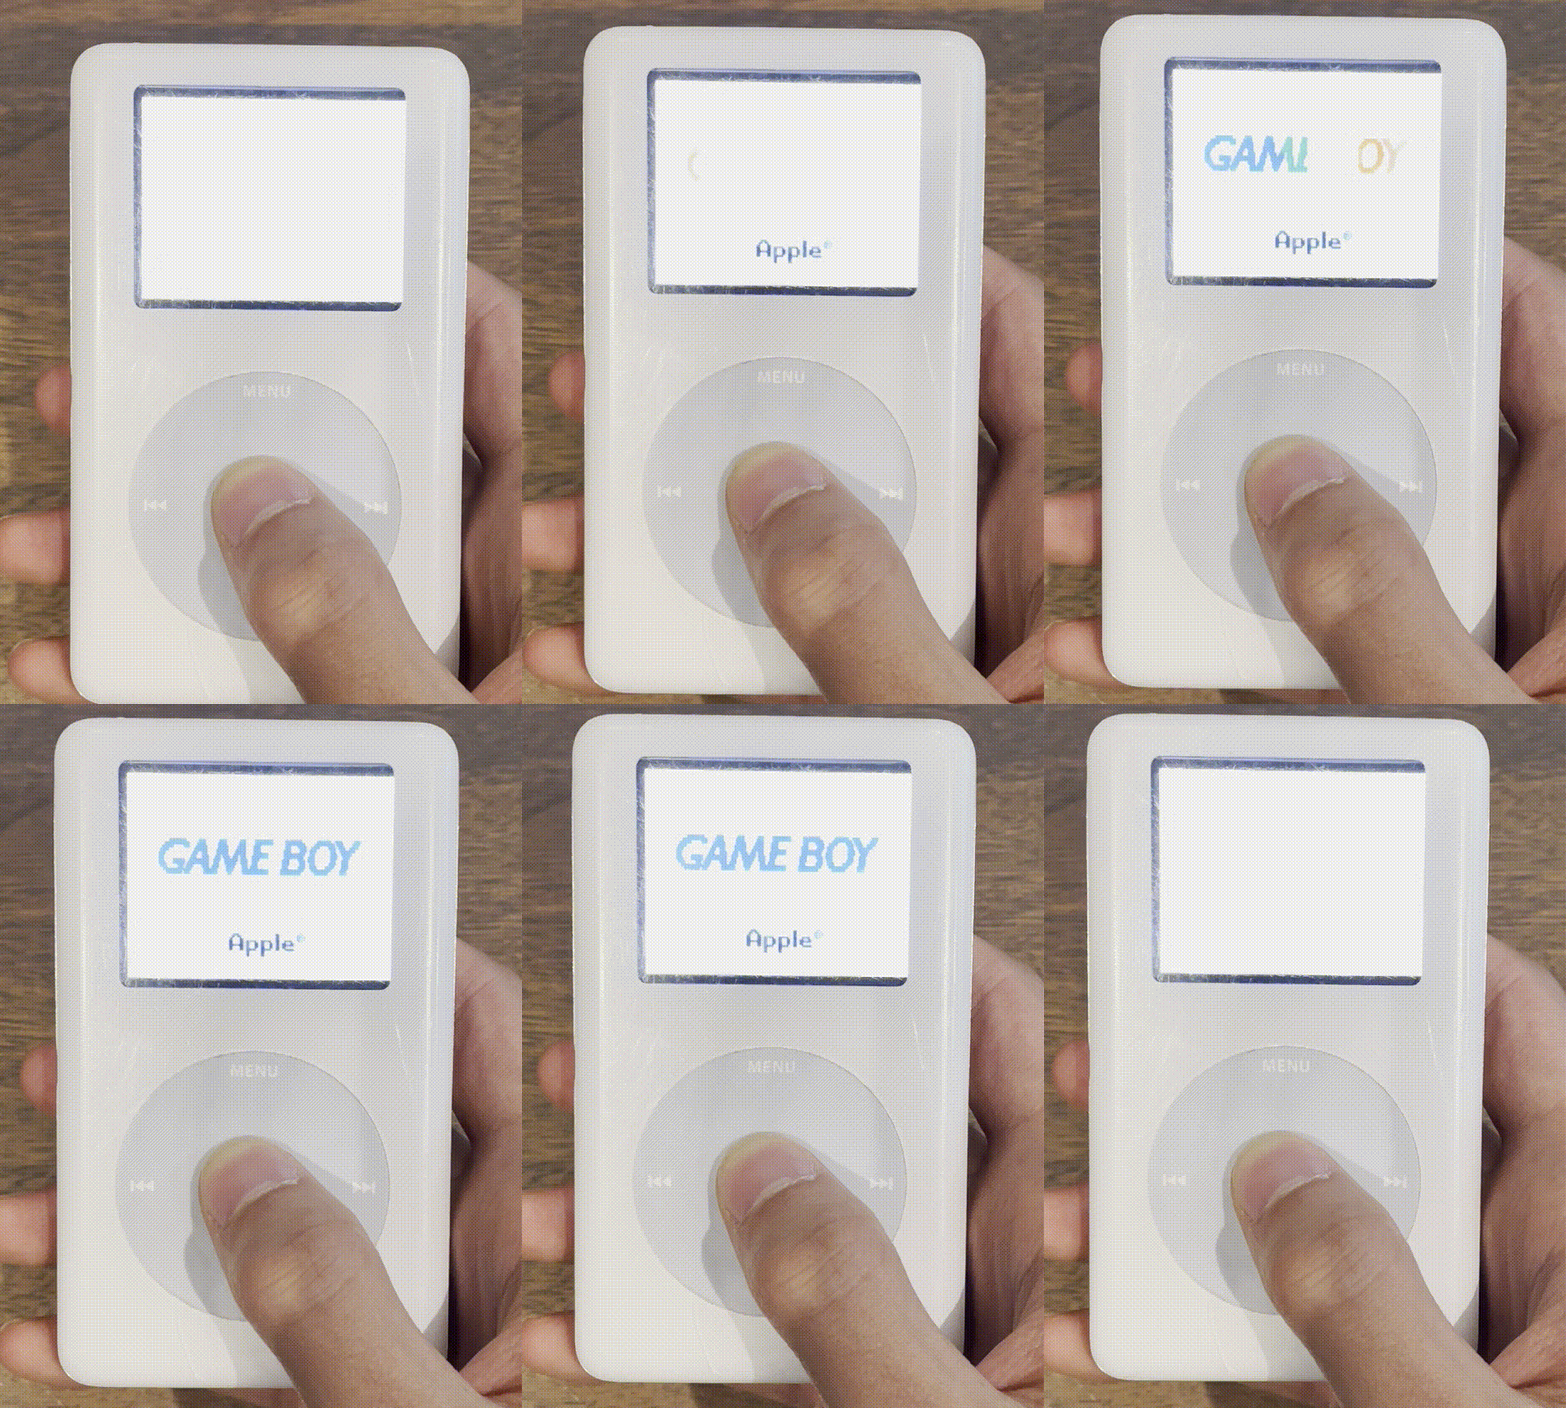
the animation I was talking about earlier ^
Disclaimer:
While I'm aware there are solutions out there to run gameboy games on older iPods without ripping them open (like RockBox), I opted to go for this approach because it allowed me to play more consoles, add colour, and much more flexibility with the Raspberry Pi for future development. (plus its more fun)
Hardware:
- Currently power is being provided by a 350mAh rechargeable li-ion battery, it is charged by an Adafruit PowerBoost 100 Basic
- The click wheel communicates via a 8 pin FPC cable connected to a breakout board, this allows it to be easily connected to the rpi
- A Waveshare 320x240 lcd is connected to the rpi via SPI interface
- I also wired the origional iPod lock switch to serve as the devices power switch, the way I connected it could certainly be improved however, I should've read the documentation a little more carefully
- Aside from not including haptic feedback and using the lock switch for power I essentially followed this tutorial by Ricardo Sappia to the letter:
- It is a fantastic resource which I would 100% recommend if you intend to build something similar.
Software:
- I installed the legacy raspbian lite image directly from the RetroPie website to try to avoid any hiccups with installation.
- I then went through the default retro pie installation process
- I modified the click.c program found in this GitHub repo: https://github.com/syproduction/ipodrpi to also include functionality for further buttons beyond the default 5 already built in to the iPod. Similar to what Guy Dupont originaly explain in his iPod sequel video I programmed a way for more buttons to be recognized by resting a finger on certain regions of the click wheel while pressing the middle button. You can find my version of the click.c program attached in this project ( Be warned that my C experience is minimal so it may not be perfect )
- As opposed to the two previous projects I used the gpio-key function in the rpi config.txt, I found this to be much easier than programming communication over ports.
Conclusion
Overall, this iPod project ended up being an amalgamation of Guy Dupont's origional ideas regarding the expansion of buttons on the iPod using the clickwheel and ofc putting retro pie on it in the first place, as well as Riccardo Sappia's really helpful and easy to follow tutorial for putting this together.
 Russell Tabata
 The Lab Guy
 Craig Hissett
 Guy Dupont
 Jorge Miar
This just awesome! Very nice build 😀