 Nianzu
-
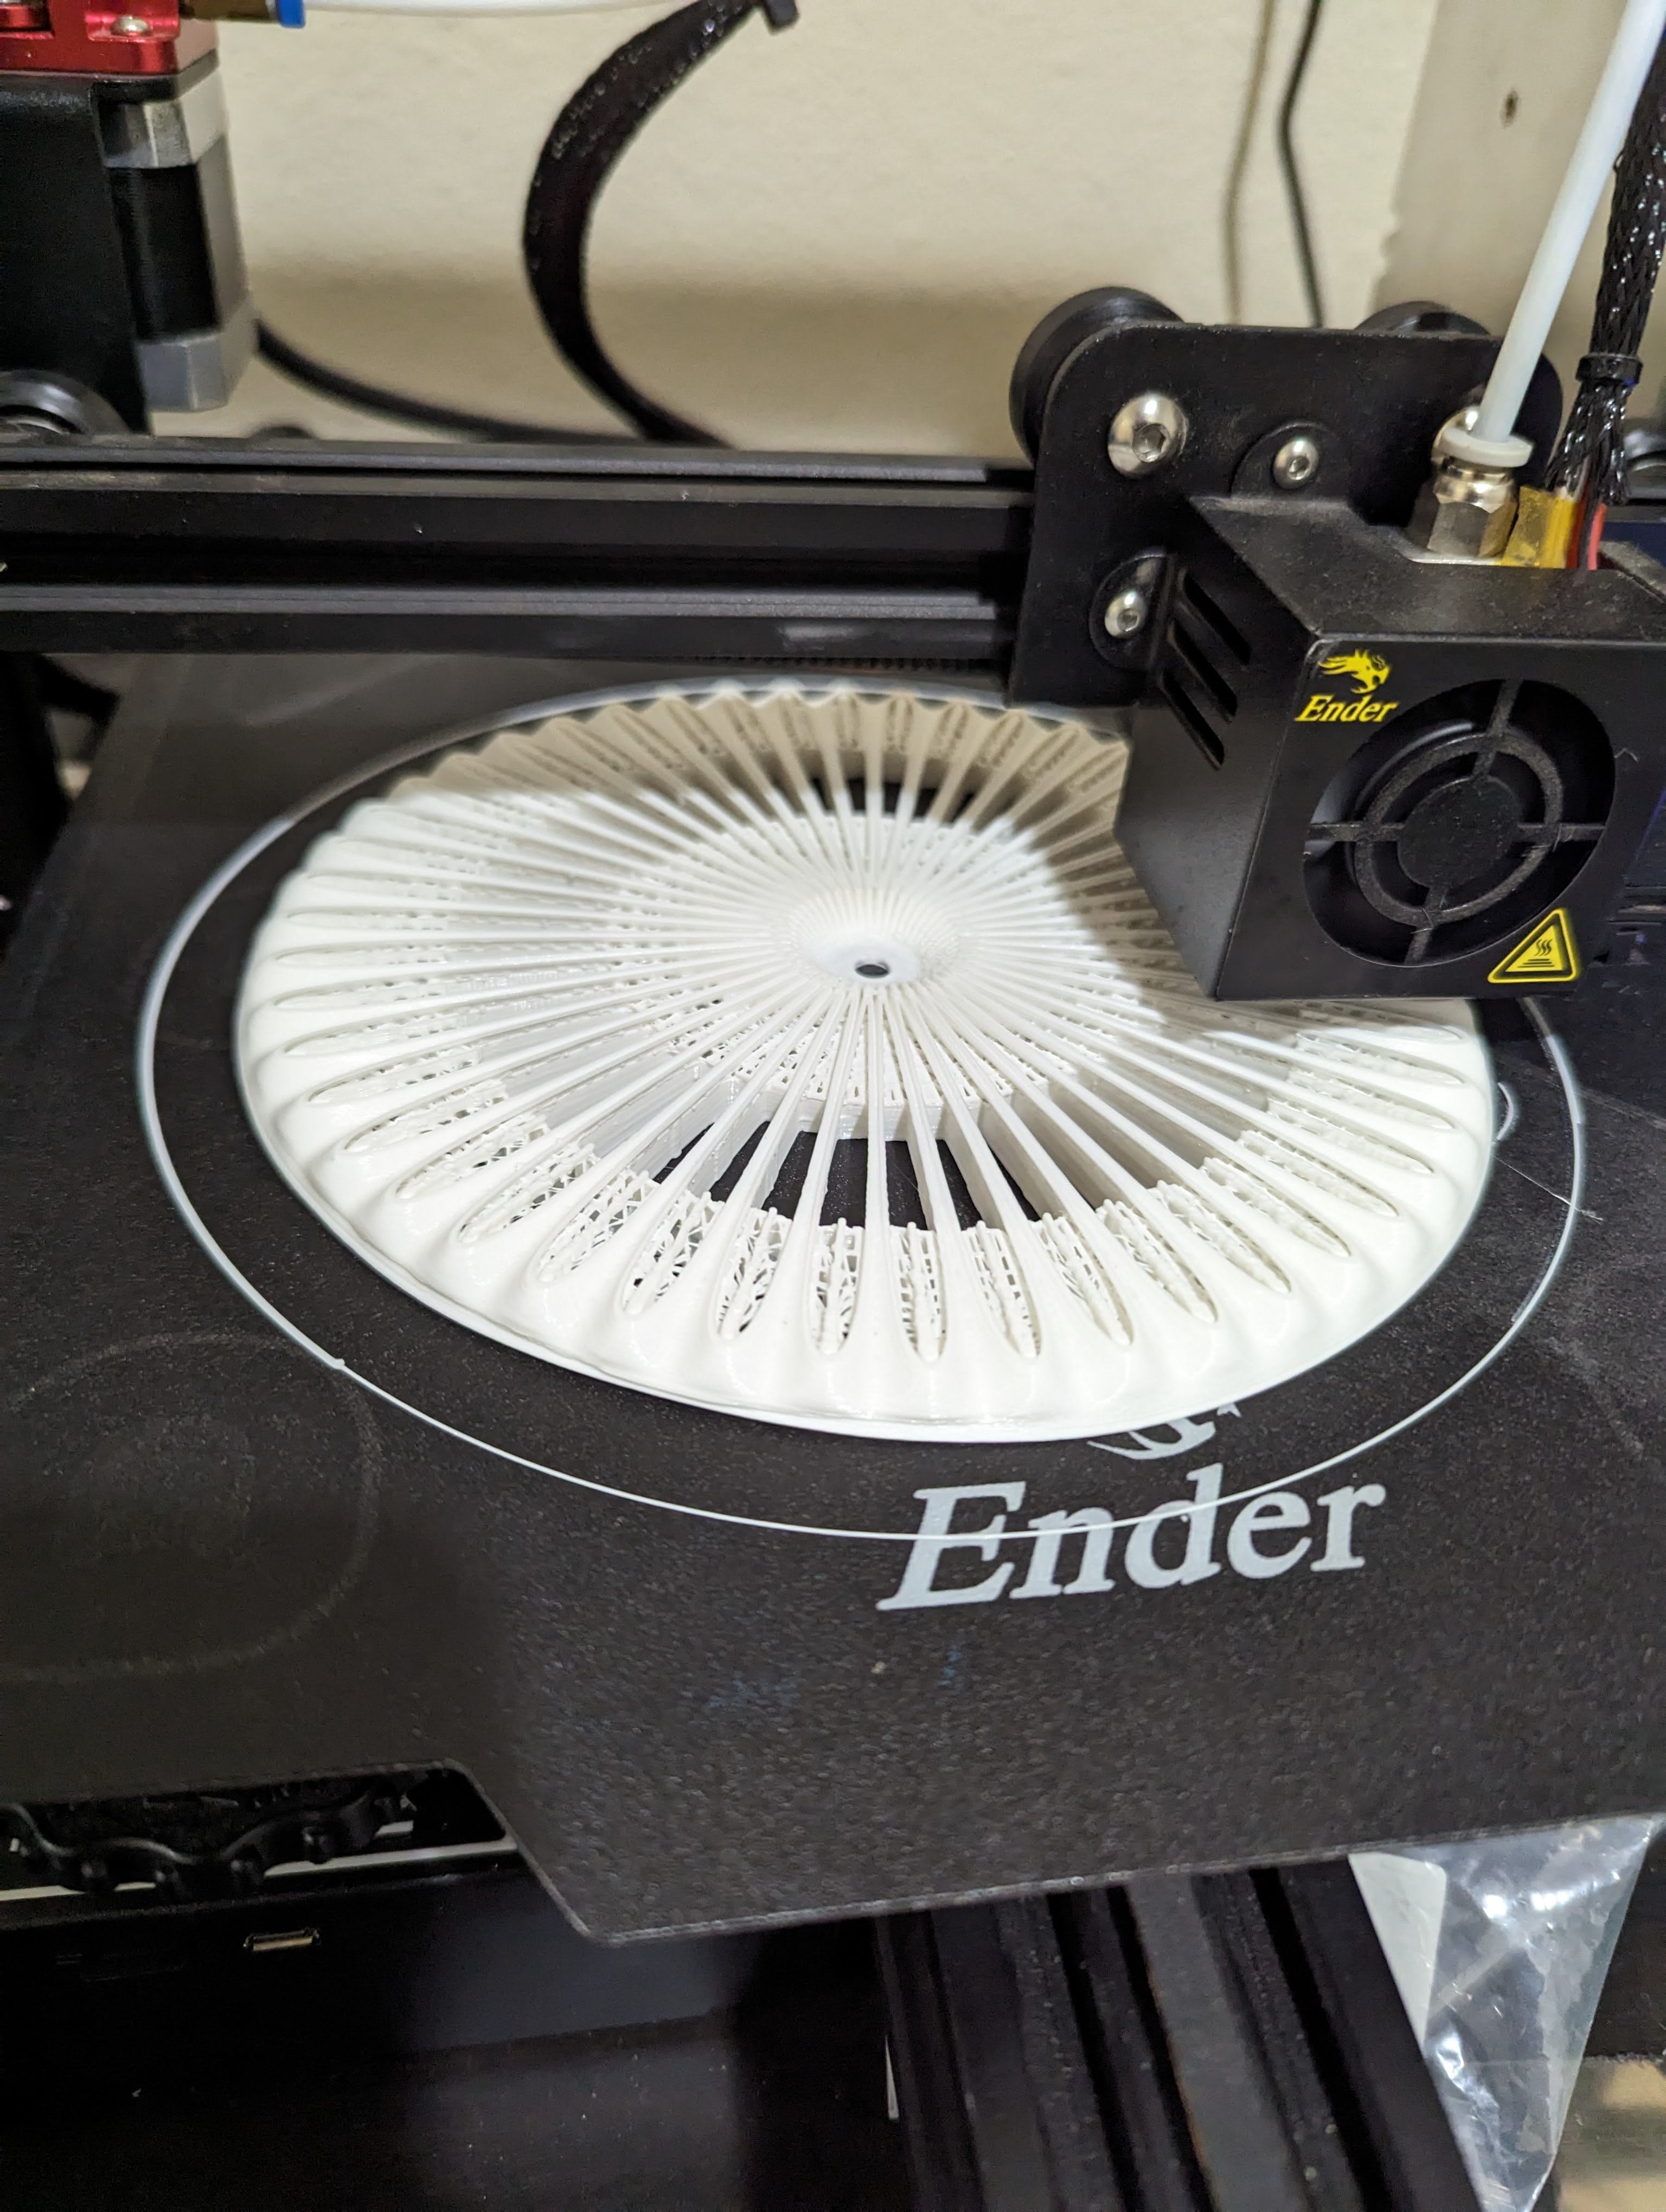
1Print the required parts
Print the required parts. I used white PLA for all 3 components, but you could use different colors. If you don't plan to paint anything, I would suggest using a red PLA for the cap, white for the stalk and underside. The thin underside transmits light well, but you could experiment with a more translucent material.
The parts can be downloaded from Thangs: https://thangs.com/designer/Nianzu/3d-model/Mushroom%20Lamp-1099087
![]()
![]()
-
2Post process the prints (optional)
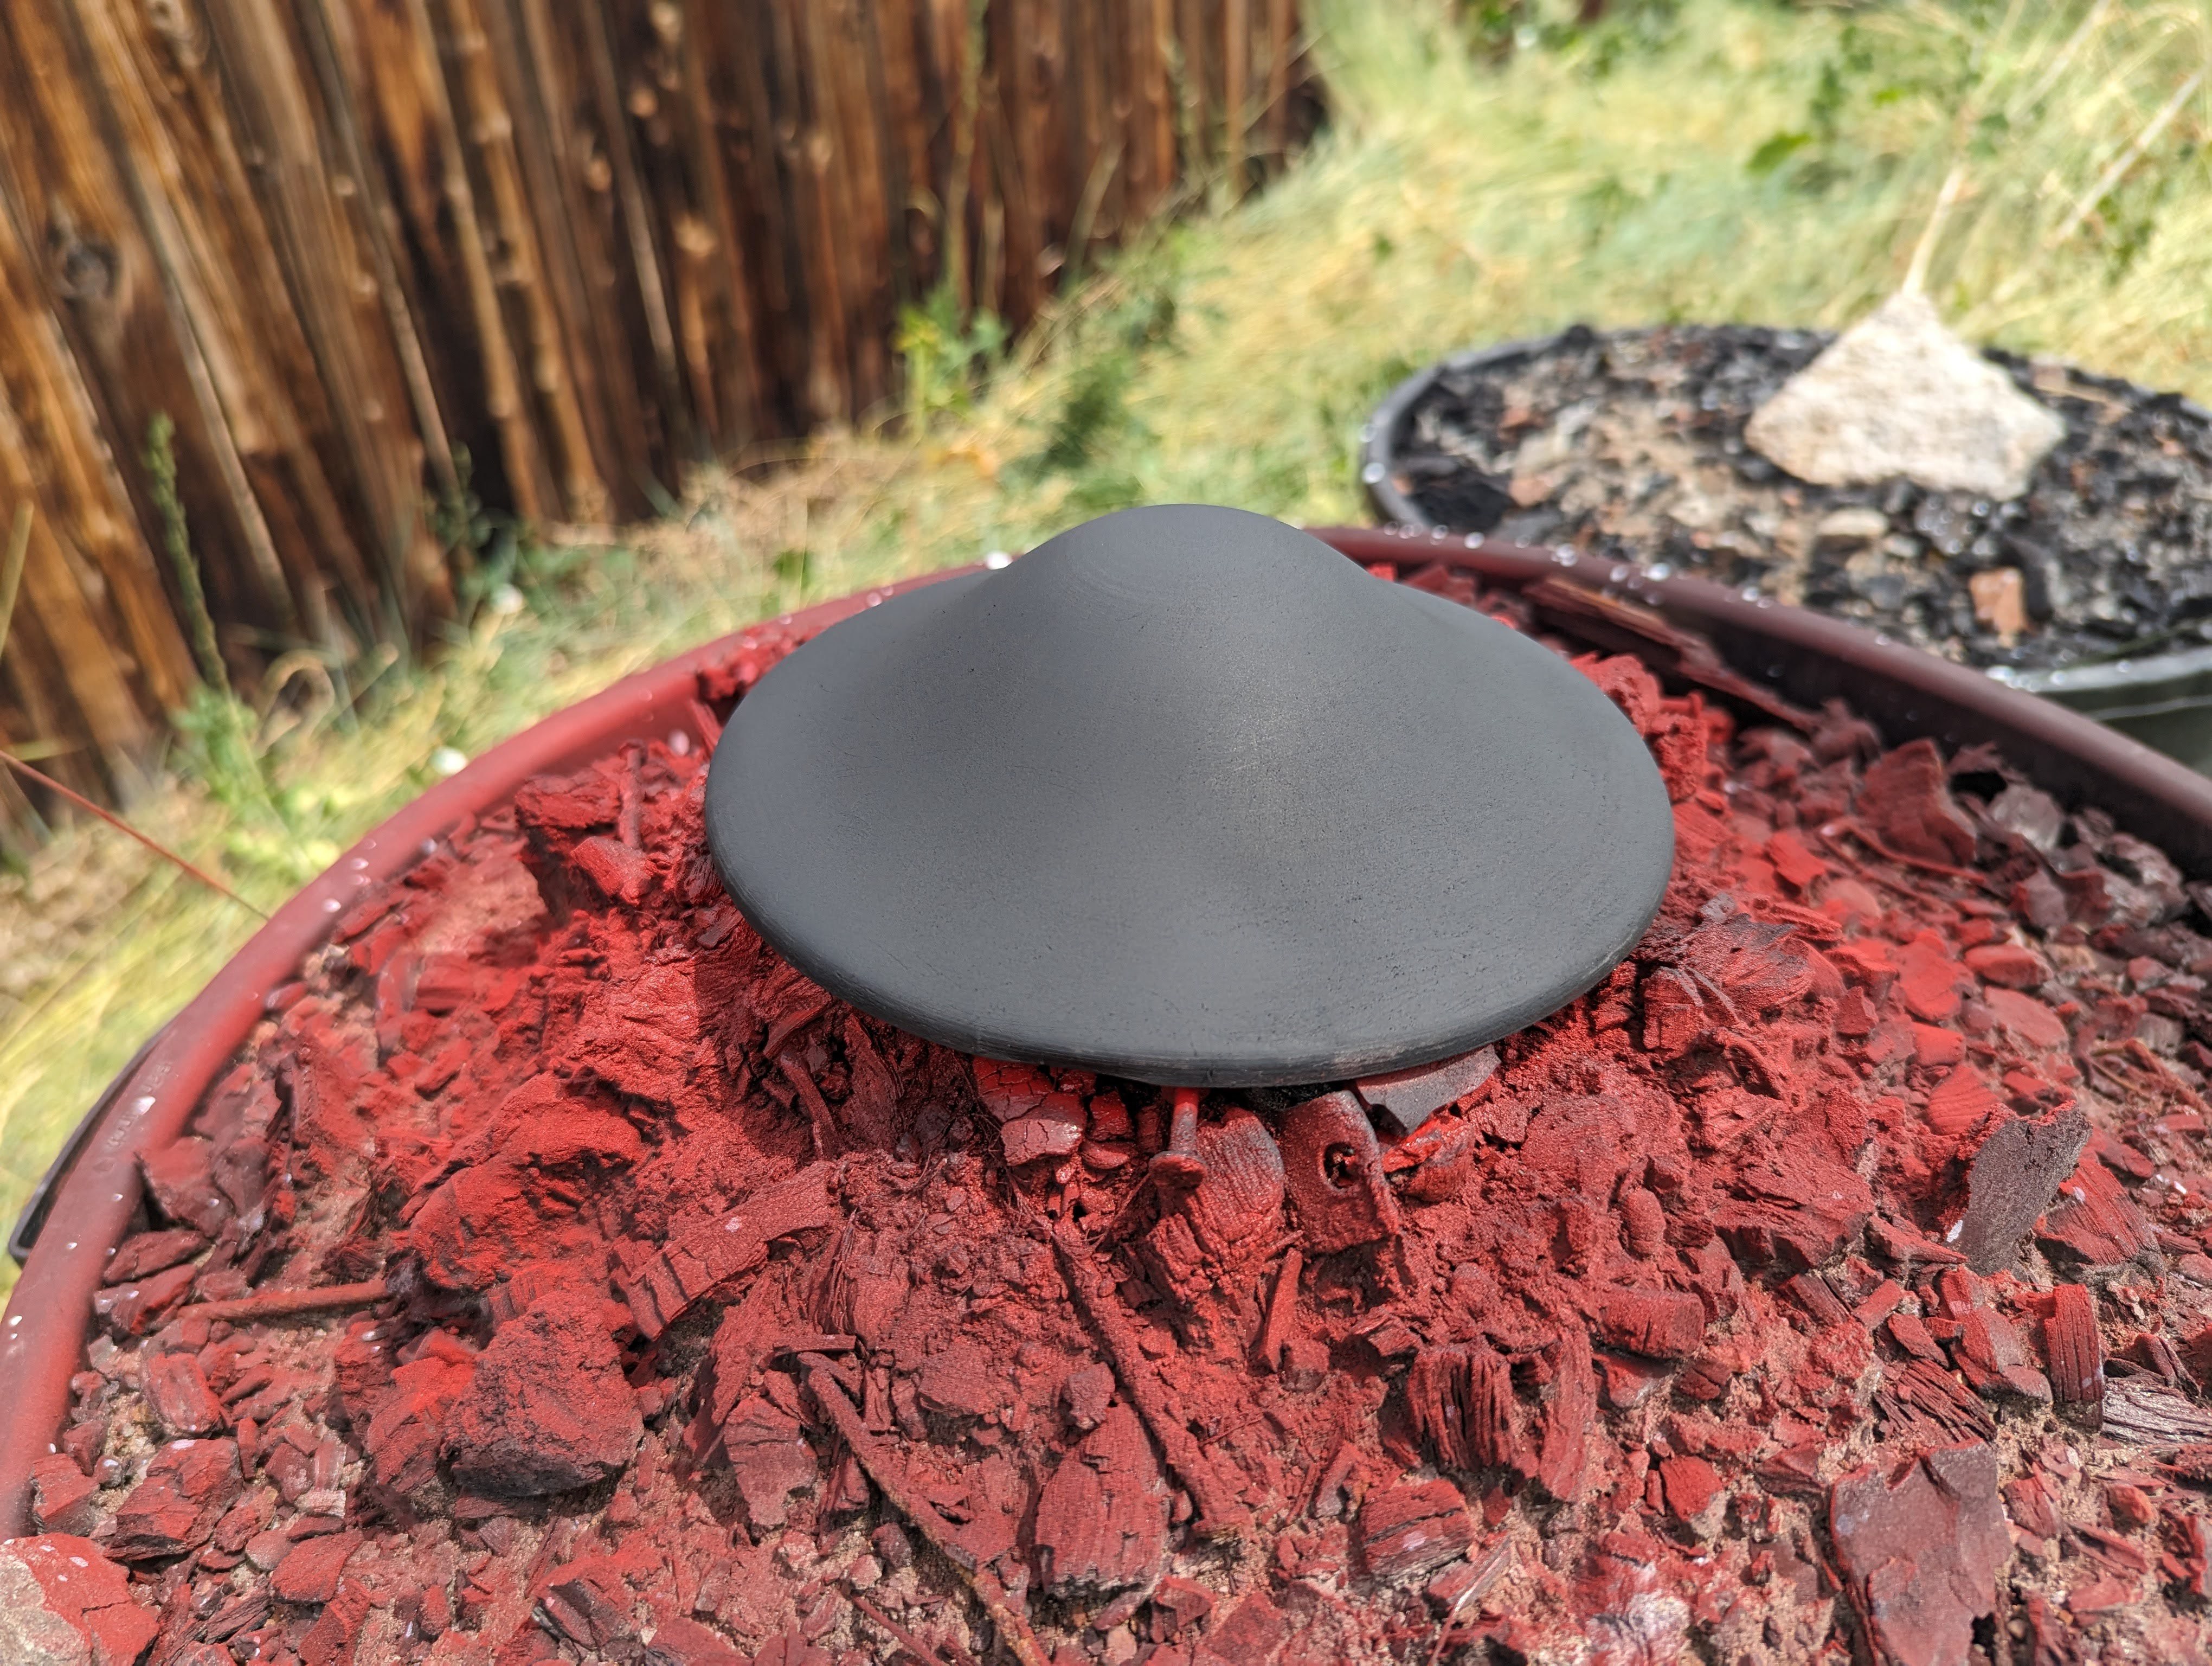
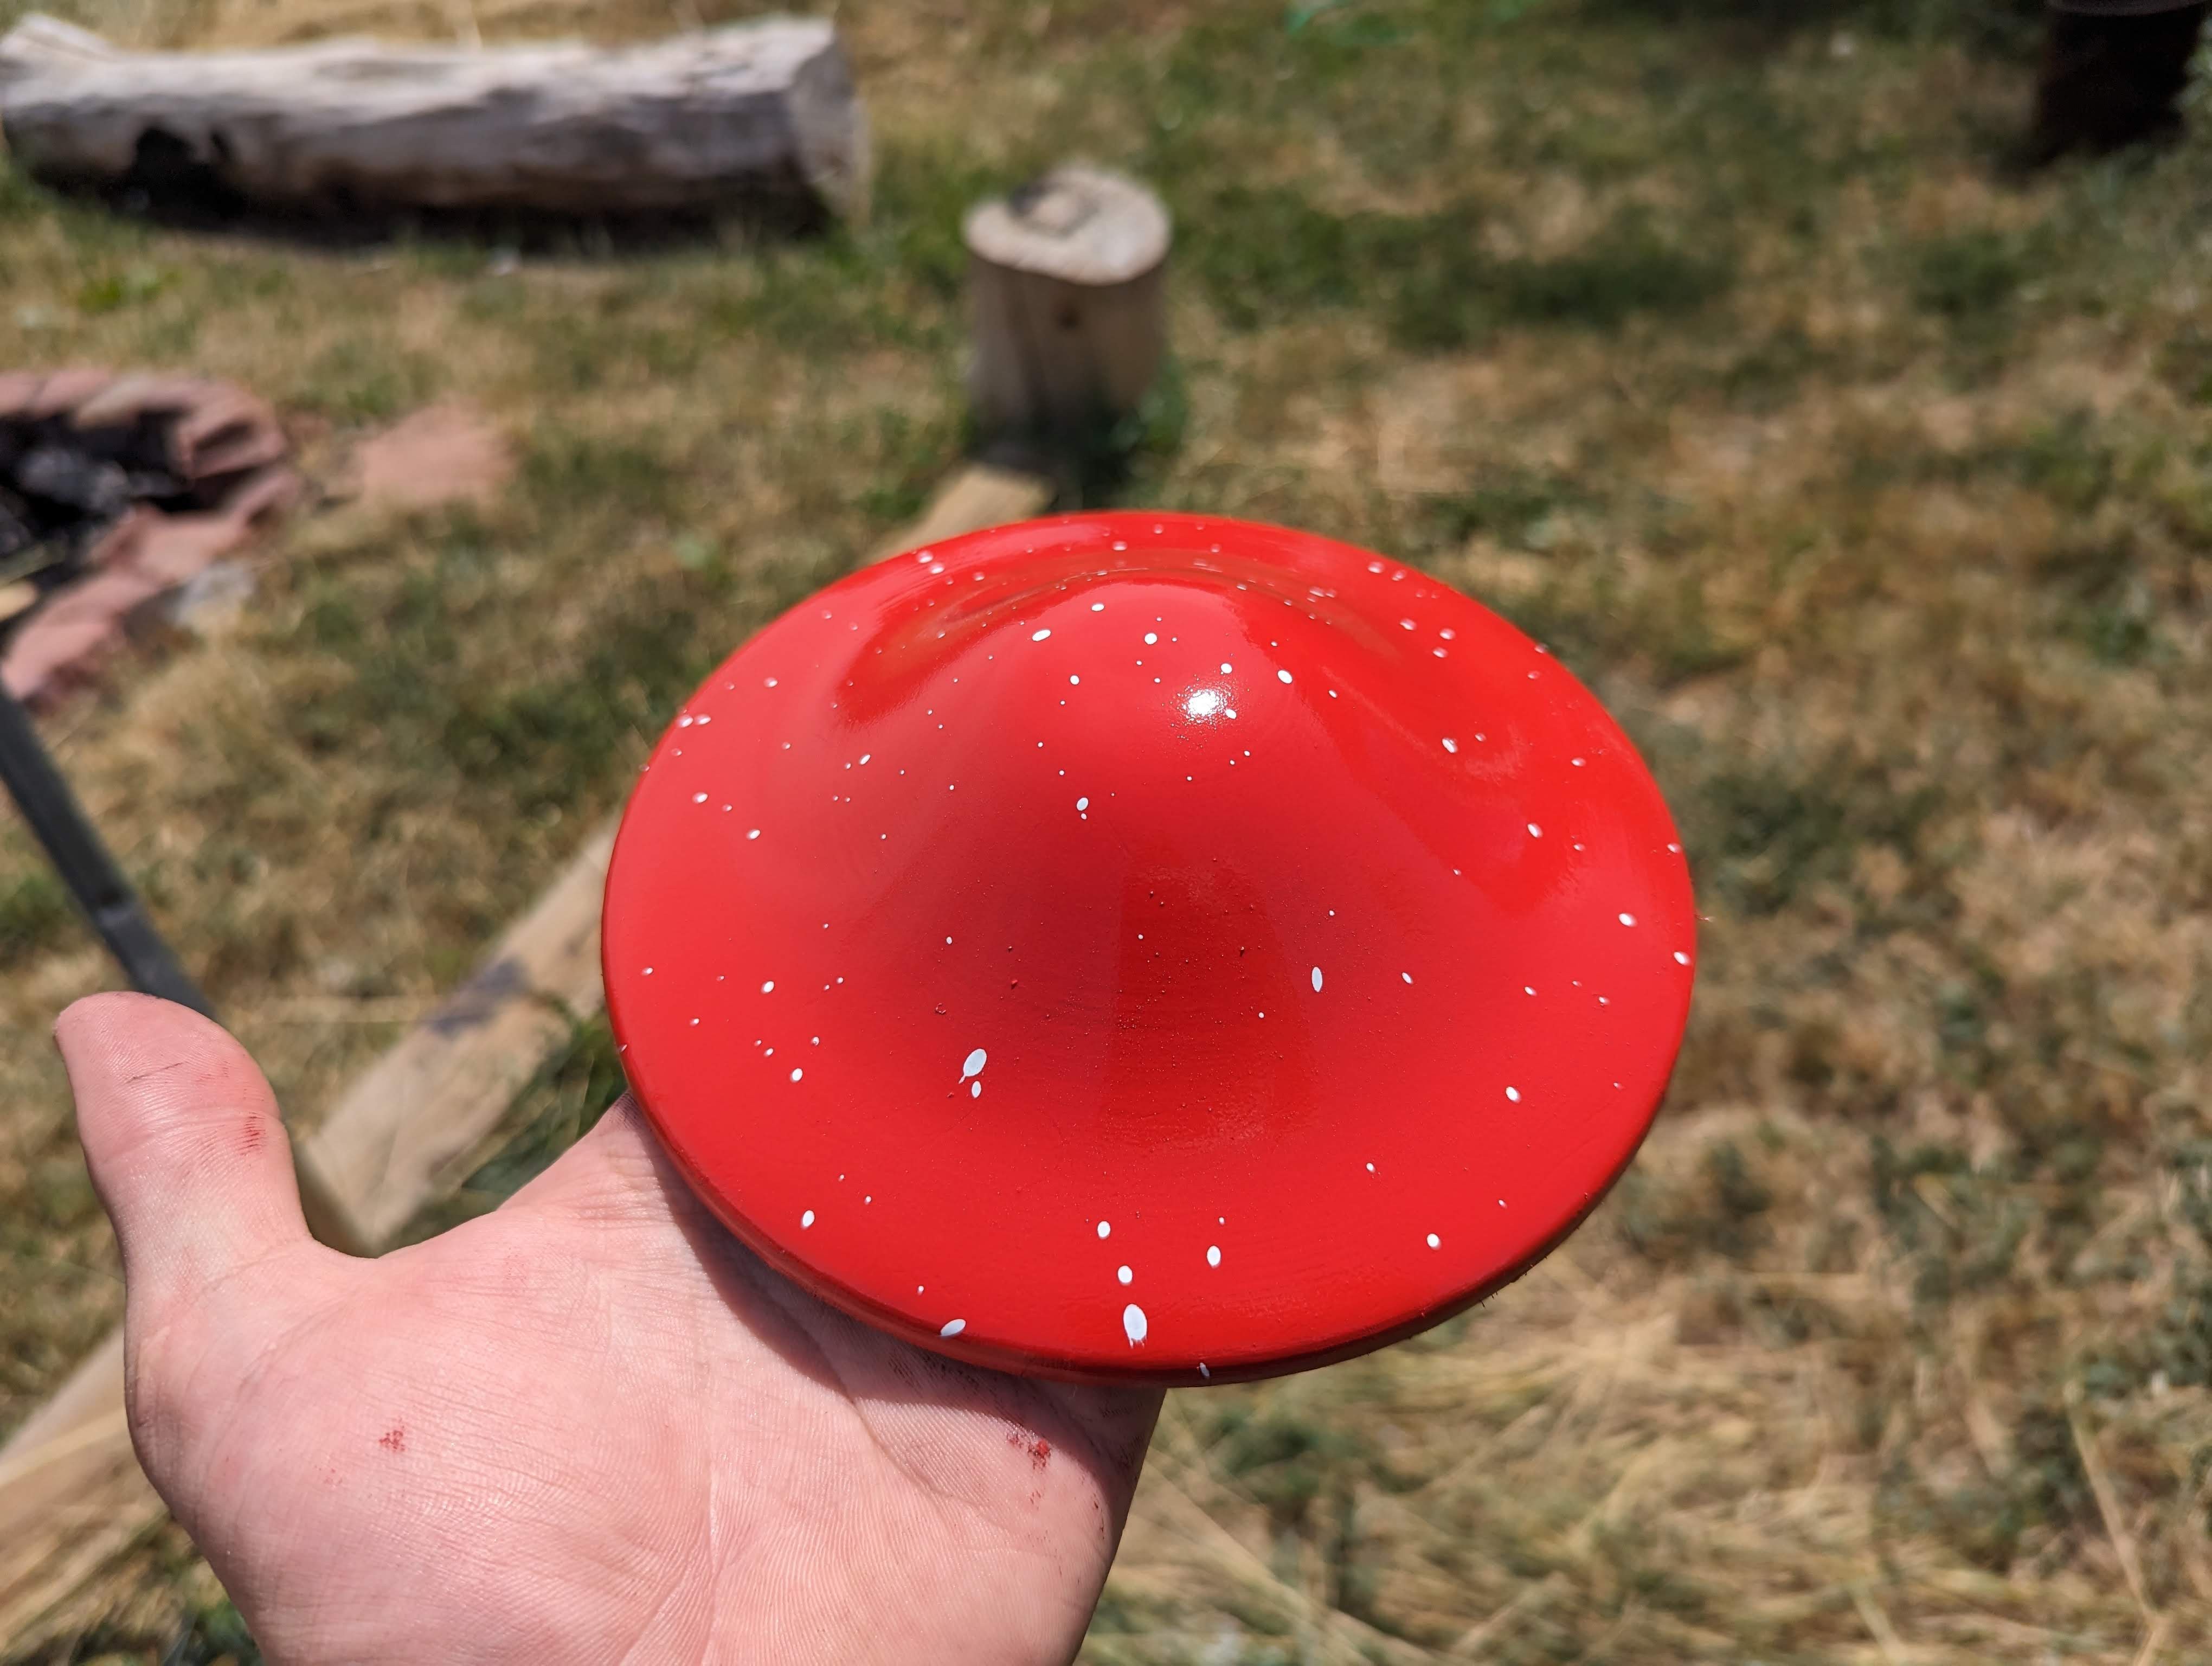
I alternated between sanding and applying sand-able spray paint until the desired smoothness was achieved for both the stalk and the cap. The underside should not be processed because its pretty delicate at this stage. I then spray painted the cap with glossy red spray paint, and speckled it with white acrylic paint by flicking a paintbrush at it. The stalk was spray painted with glossy white, and both were then clear-coated.
![]()
![]()
-
3Assemble the top
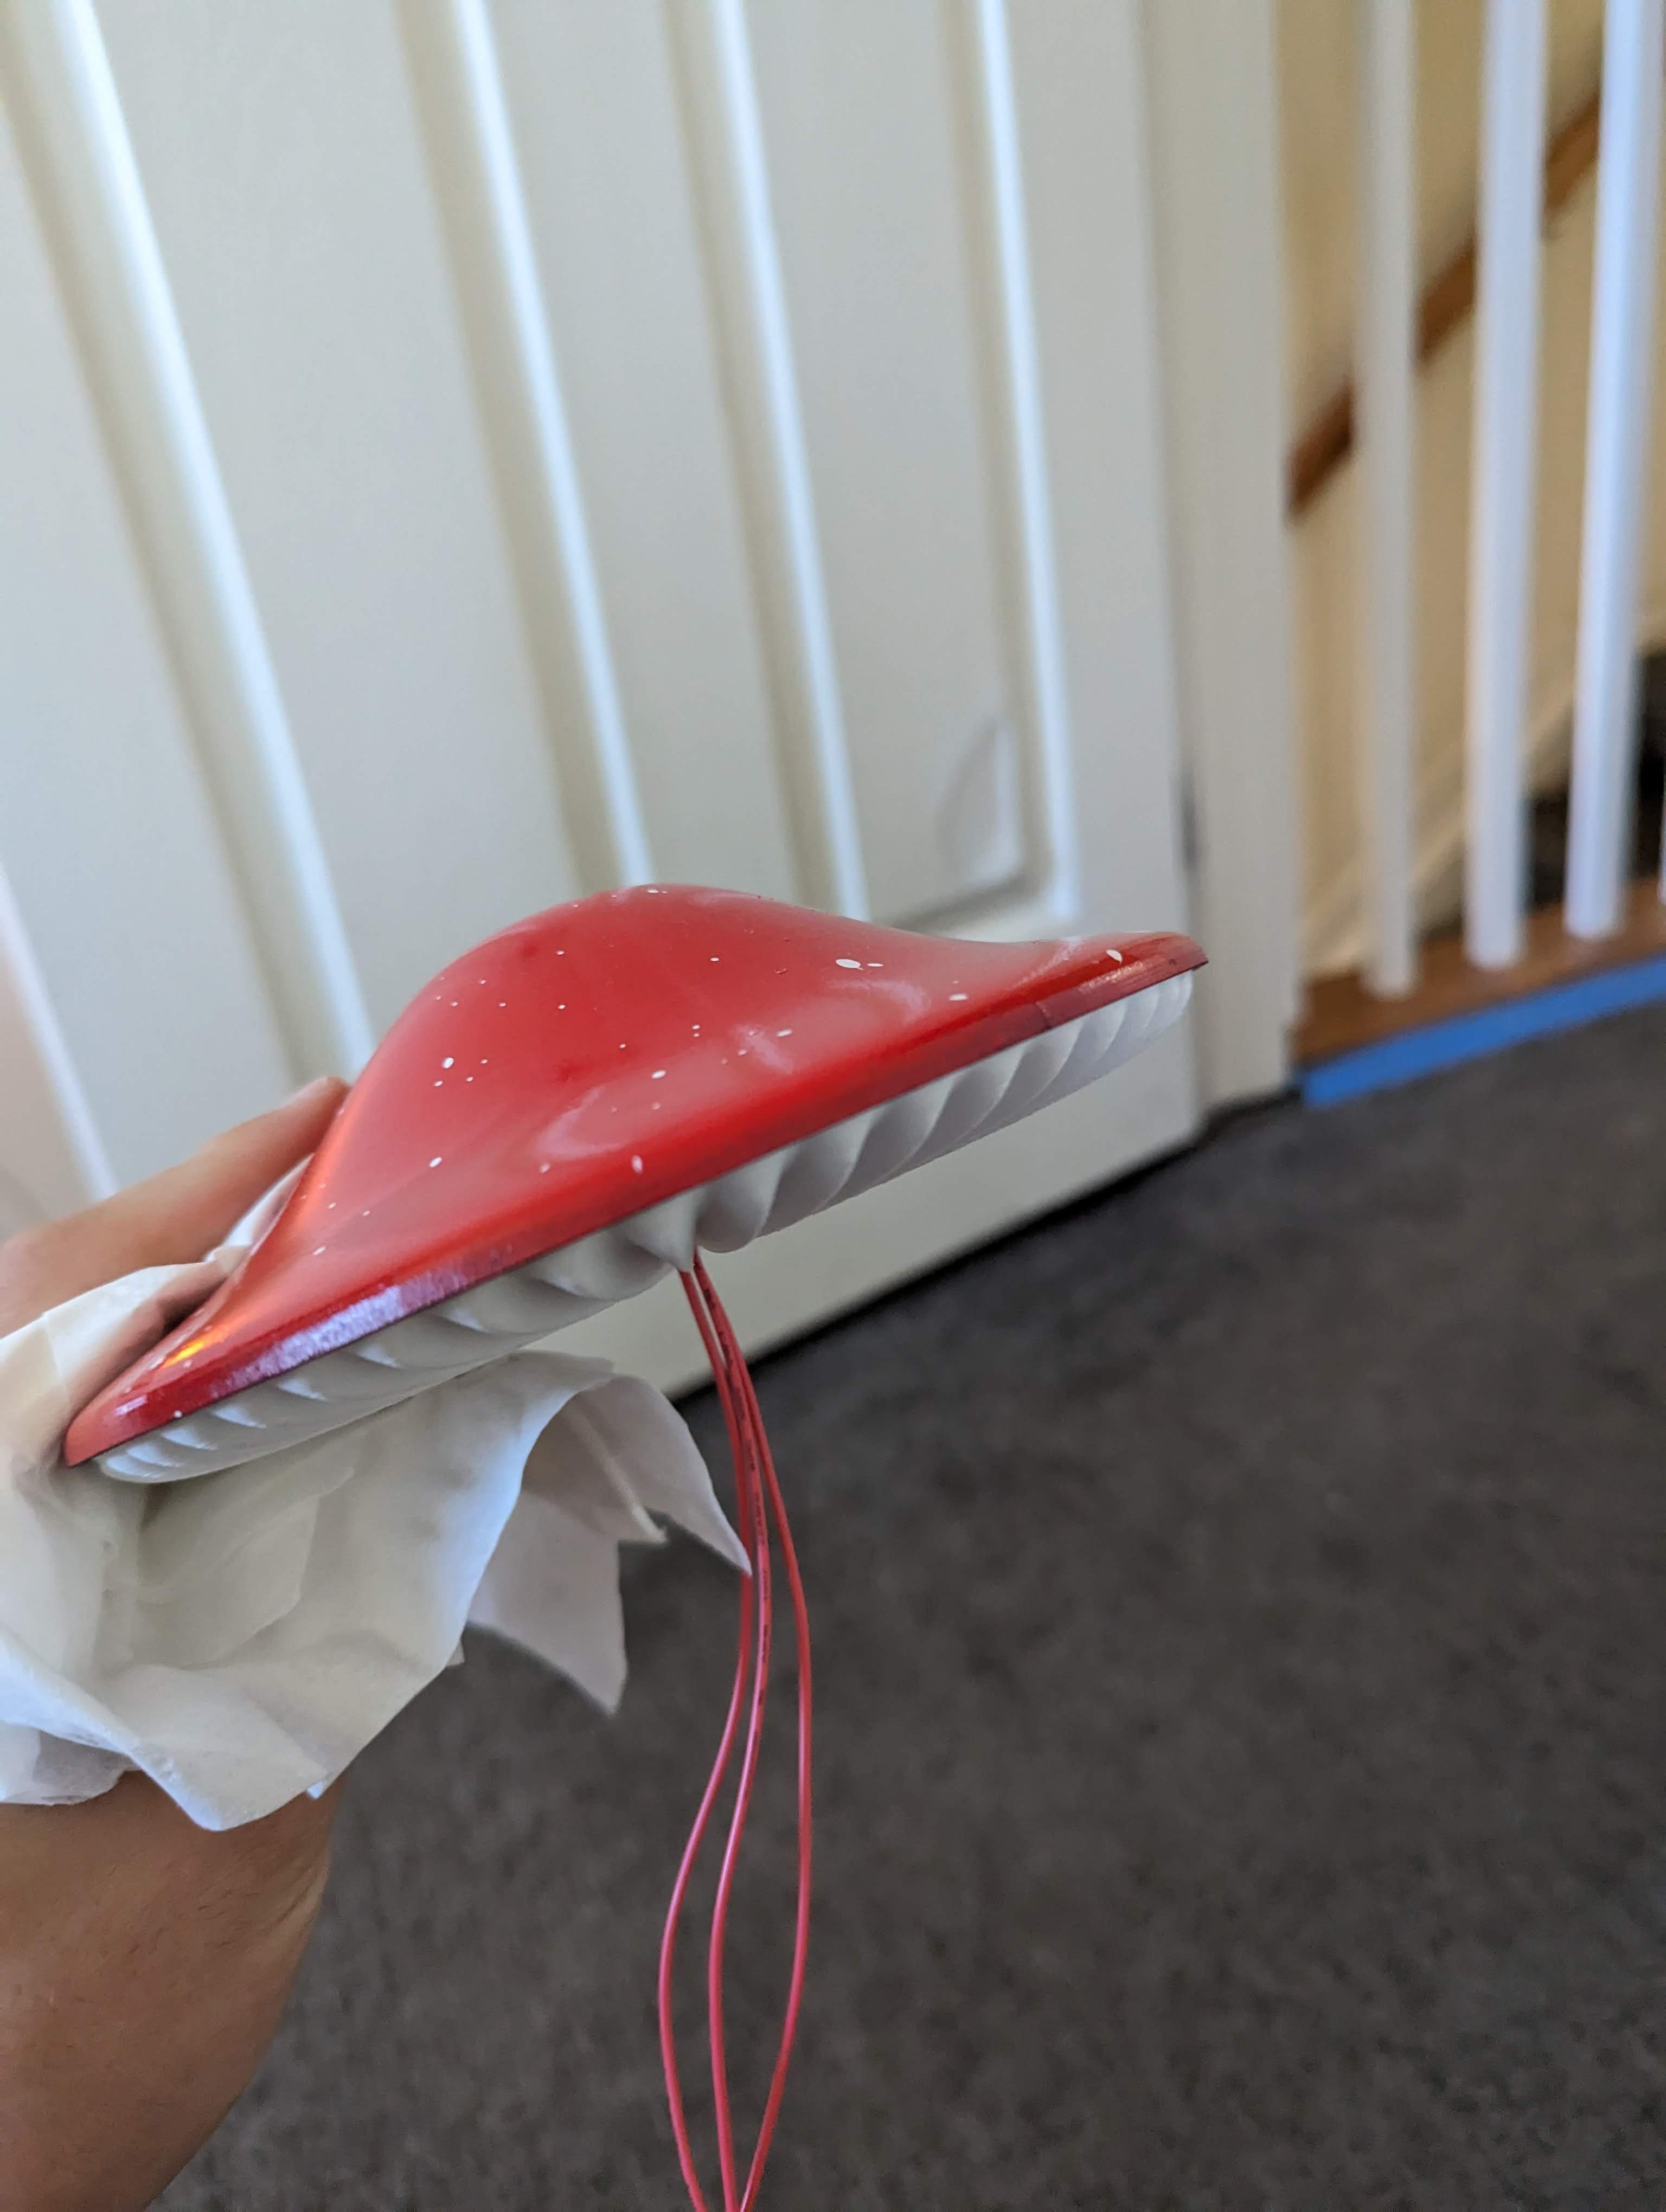
Install the LEDs of your choice. I used double-sided tape to attach them to the cap. Then epoxy the underside to the top of the cap. I used 2 part epoxy to glue everything together in this project.
![]()
![]()
-
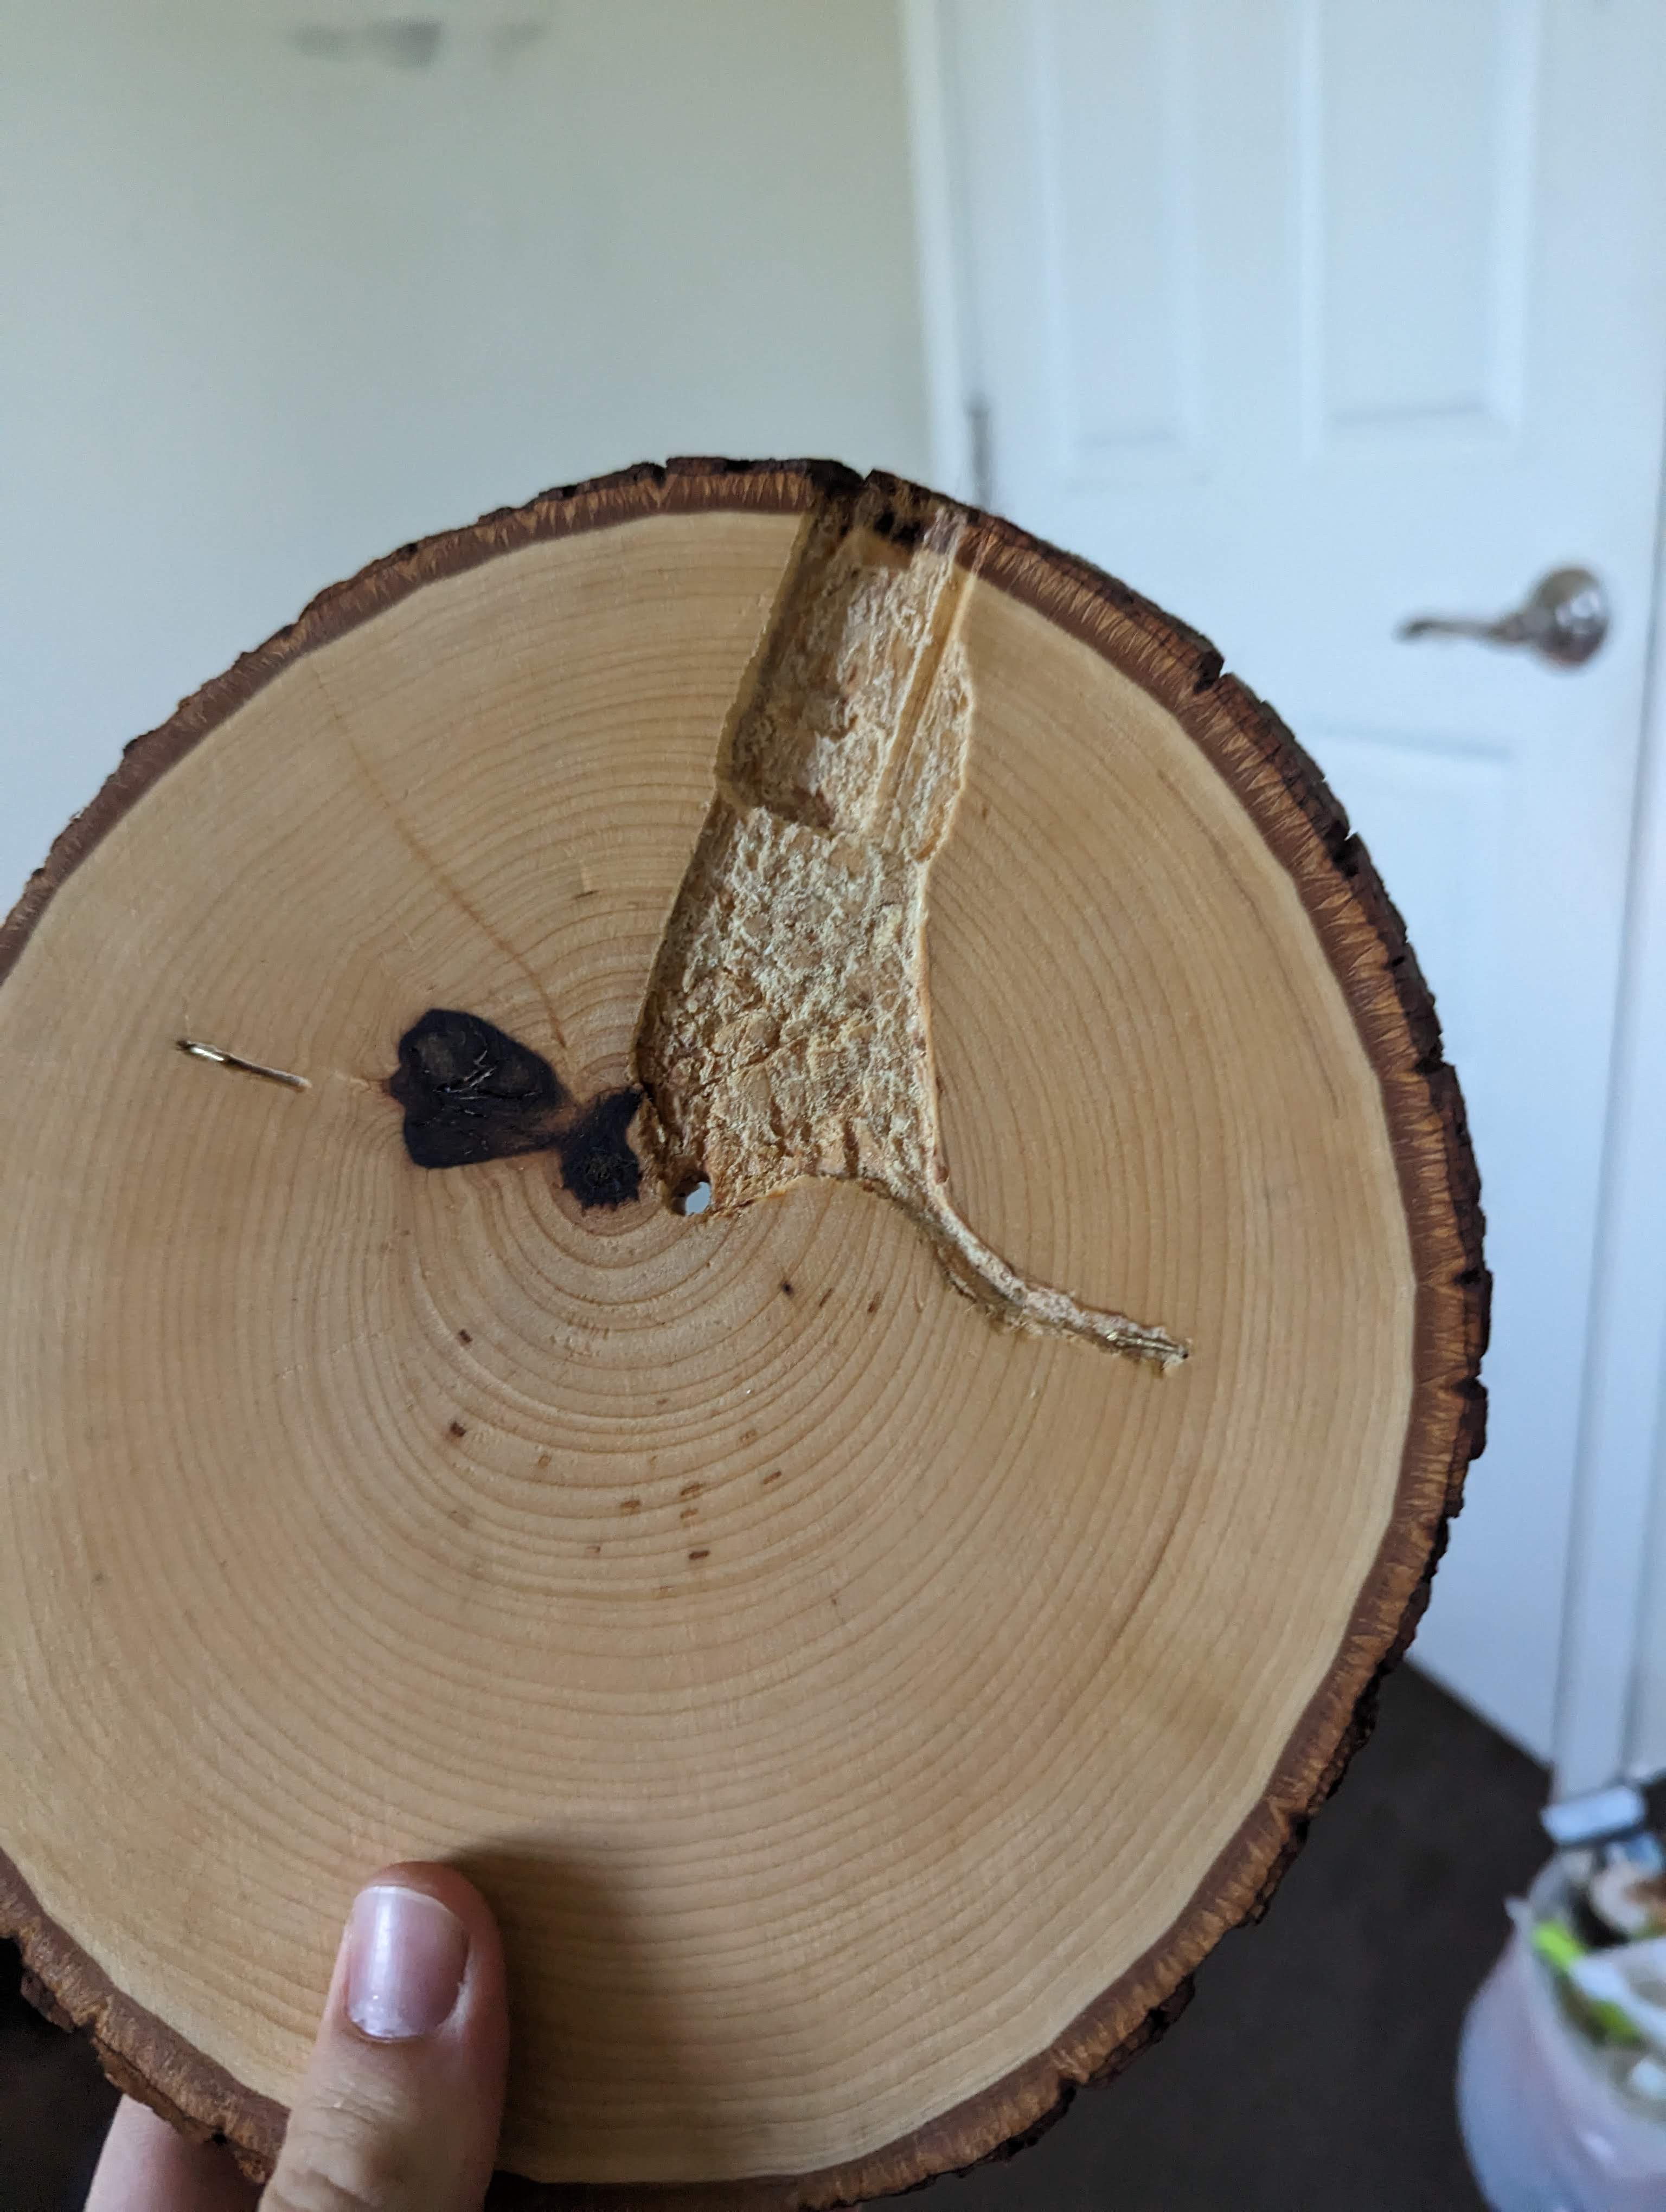
4Prepare the base
I used a cut of wood from my local hobby shop and a piece of brass wire as a capacitive touch button. I drilled holes for the wires and dremeled out a space for my arduino nano to sit.
![]()
![]()
-
5Final assemby and programming
Finally, glue the stalk to the base, wire the LEDs and capacative touch sensor to the arduino, and flash software! The arduino file can be found on the thangs project page. Happy building!
![]()
Mushroom Lamp
Bring the vibes of the forest into your home with this simple and elegant mushroom lamp!


Discussions
Become a Hackaday.io Member
Create an account to leave a comment. Already have an account? Log In.