 Tom Nardi
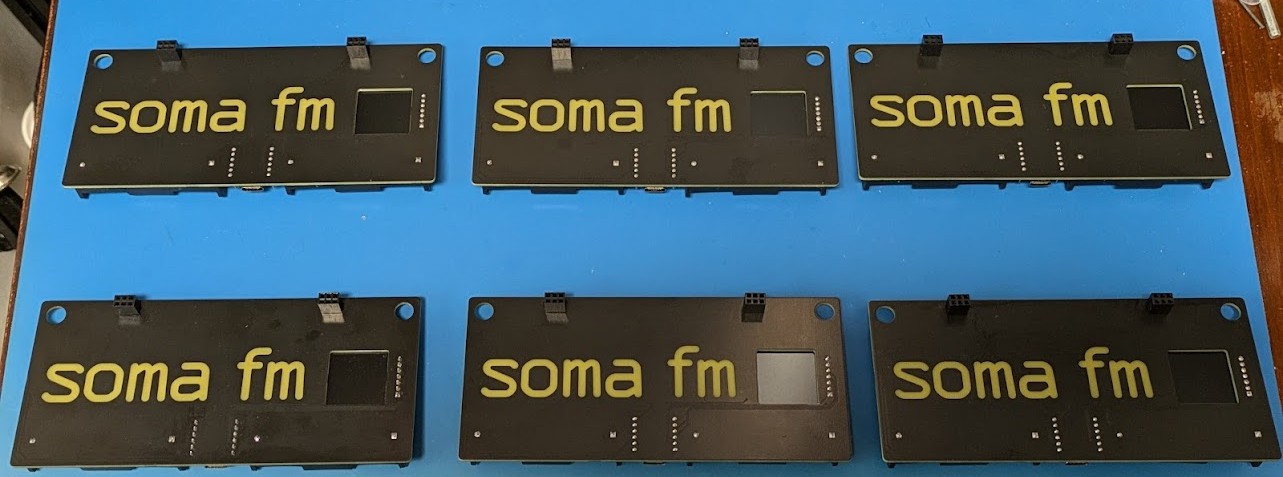
I felt confident that V2 of the badge would be good enough to ship off to SomaFM HQ, but by the time the new PCBs came in, it was the beginning of July -- just about three weeks before DEF CON 32. Amazing how quickly 6 months can get away from you.
Luckily, the assembly was pretty simple. The first step was to place the SMD components and reflow the board on a hotplate. Afterwards I'd solder on the power button, connect a battery to the test pads, and then use a jumper to bring the MOSFET pin high. This would allow me to quickly test if all the LEDs were working, which was arguably the most critical part of the whole thing.
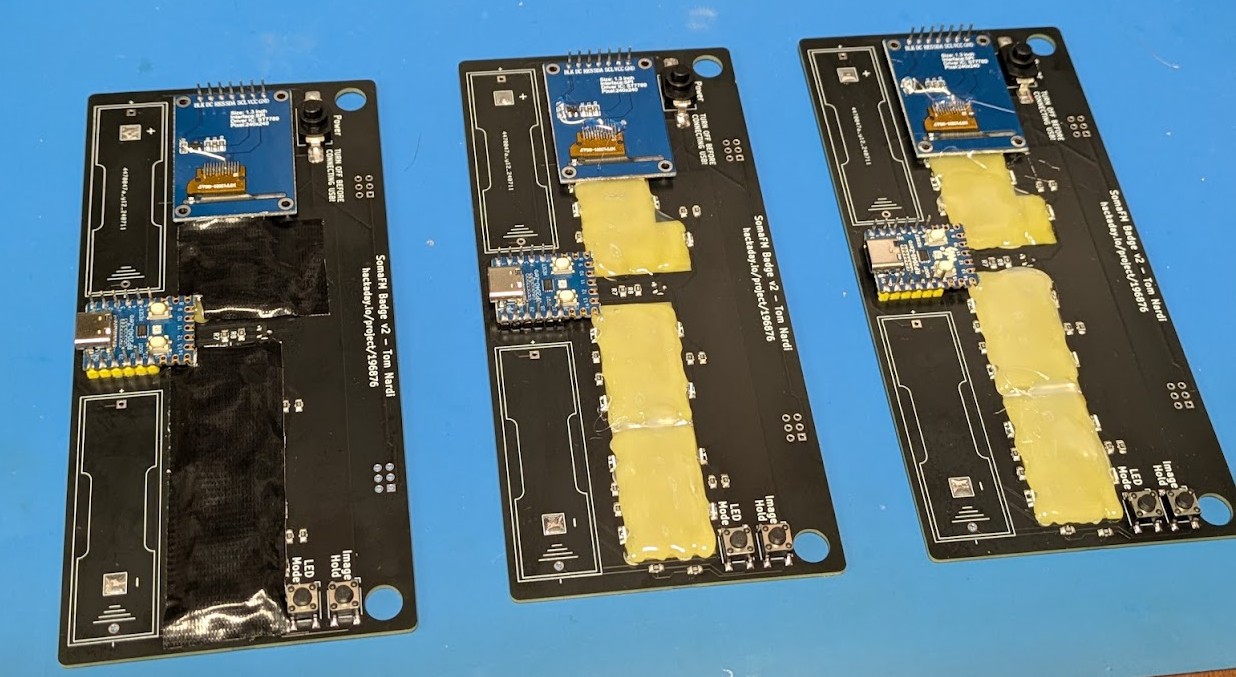
From there, I'd solder on the two tact buttons, the RP2040 Zero, and the LCD module. At this point I could plug the badge into the computer to flash the firmware and quickly go through the different functions on the badge to make sure everything was working.
The next step was to squirt on the hot glue "diffuser". At first I made the mistake of trying to physically smooth out the glue as it dried, which ended up making a mess. But quickly I realized that the glue stayed liquid enough to find its own level, I just had to get the right amount onto the board before it started setting up.
Finally, I would solder on the battery holders and SAO connectors. This would be the first time the badge would be powered by the batteries, so I would go through and test everything again just to double-check the assembly. I'd also plug a couple of SAOs in to make sure they were getting juice.
At the last minute (literally right before I packed them for shipping), I decided to put black duct tape over the dried glue. While I'm not 100% thrilled with the solution, without the tape, the badge would throw a lot of red light back towards the user and I was worried how that would look.
Discussions
Become a Hackaday.io Member
Create an account to leave a comment. Already have an account? Log In.