Close
0%
0%

Sediment Petri Dish Setup

Finding a way to store petri dishes during the sediment collection process in a quick, organized, and intuitive manner.

Similar projects worth following
149 views
0 followers
Team members: Sav Bethell and Aishwarya Kalaga

We worked with the Morton Bay Environmental Education Committee (MBEEC), a group tasked with teaching students through primary and secondary school knowledge on the Morton Bay ecosystem. In the current methods that the staff utilized, the process of sediment collection and observation was time-consuming and minimally involving of the students given the lack of organization. In partnership with them, we designed and created a new organizational method for the storage of the petri dishes that would suit the needs expressed.

Progress Photos

Need Statement: A way for the MBEEC to store petri dishes and separate sediments in a quick, organized, and intuitive manner, so that students can spend more time learning and observing sediment under a microscope.

Specifications:

— Is capable of holding the necessary amount of petri dishes securely

— Is intuitive enough to be used by both staff and students, allowing for each petri dish to be uniquely identified

— Minimal size allows for product to be placed on the table as well as easily stored on the boat

— Reduces the time the process takes for MBEEC educators to sort the sediment samples

— Can maintain stability in a moving boat without being secured

DescriptionMeasurementUnitsTarget Value
The petri dish holder should be able to tip over without dropping any petri dishesangledeg
90
The MBEEC needs a certain number of petri dishes# of petri dishesea8
The petri dishes are already owned so need to fit in designed productsize of petri dishcmunder 9.5 cm
The number of steps it takes for both students and staff to receive petri dishessteps#less that previous
Can fit within the storage and table space allottedstorage/ table space on boat
cm/sqfits on table
The time it takes for Tim to organize the sediment collected into the petri dishestime it takes to organize sedimentseconds210

Design Description:

— We considered different materials and settled on acrylic as it is water-resistant, salt water safe, and durable. Additionally acrylic material is compatible with Laser cutting machines and is readily available.

— Color coding the shelves allows for easy identification of each petri dish, as they differ based on the size of the sieving plates used to sort the sediment samples.

— Additionally, 3D printed figures were printed in order to identify between the two sites where sediment is collected.

— In order to keep the Petri dishes safely inside the structure without using additional space when set on the table, a sliding door mechanism was implemented. This additionally made it possible to only expose one site at a time. 
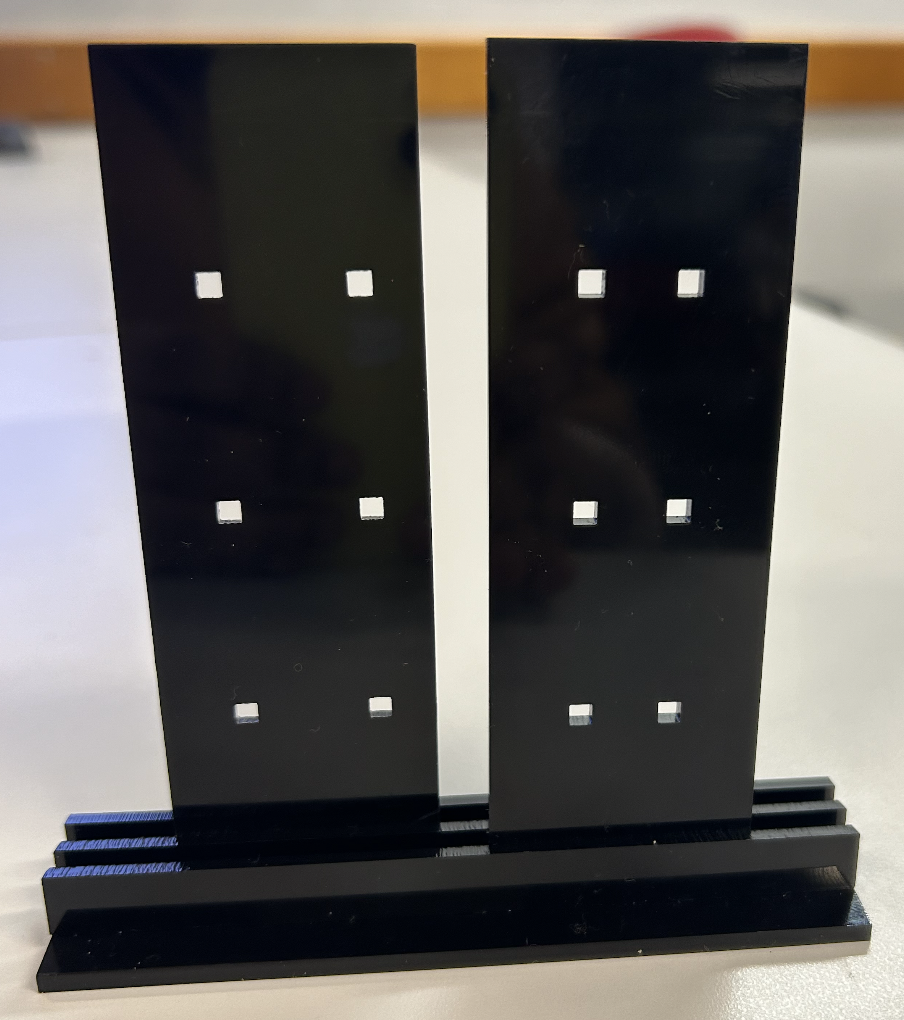
— The way chosen to secure the doors is by placing magnets upon each of the doors. Four on each corner of the door, and one on the side shelves. This allows us to secure the doors in different positions whether that be fully closed, or partially open and exposing only one of the sites when required.

— The client additionally asked to implement handles into the design during one of the feedback review sessions. Therefore after exploring different options, it was decided to include rope handles as it allows for the user to carry the storage system in one hand as you would a gift bag. It also has the ability to compress and lay flat which is beneficial for storage purposes.

— The individual petri dishes were labeled with color coordinated paint pens to correlate them to the colored shelves allowing for easy identification amongst children of all ages.
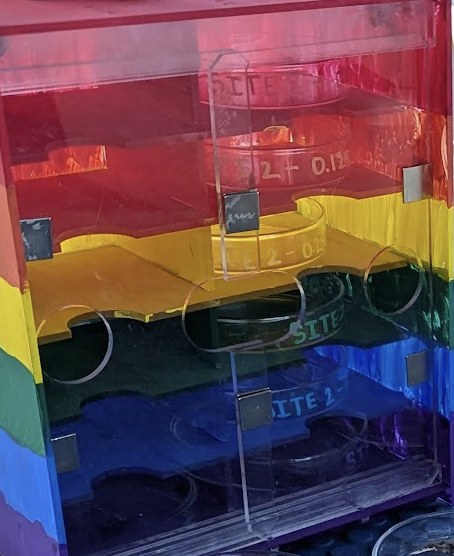
— In this current design, the largest petri size used was 8.2mm x 2.1mm. Dimensions may need to be adjusted depending on the size of petri dishes used in other scenarios.

Testing:

— Different connections such as edge lap joints, end joints and multiple end joints were tested to identify the most secure method for connecting the acrylic panels.
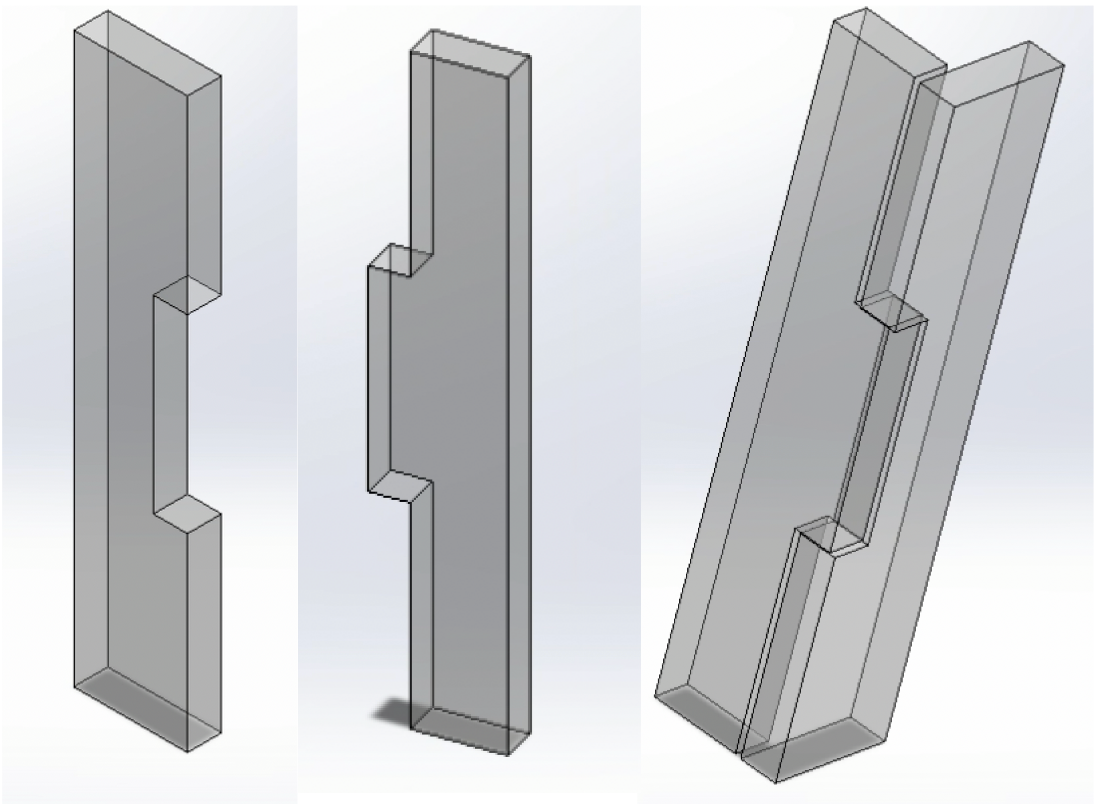
— Rough prototyped assemblies were produced to ensure the chosen connection methods can be assembled in a relatively simple manner.
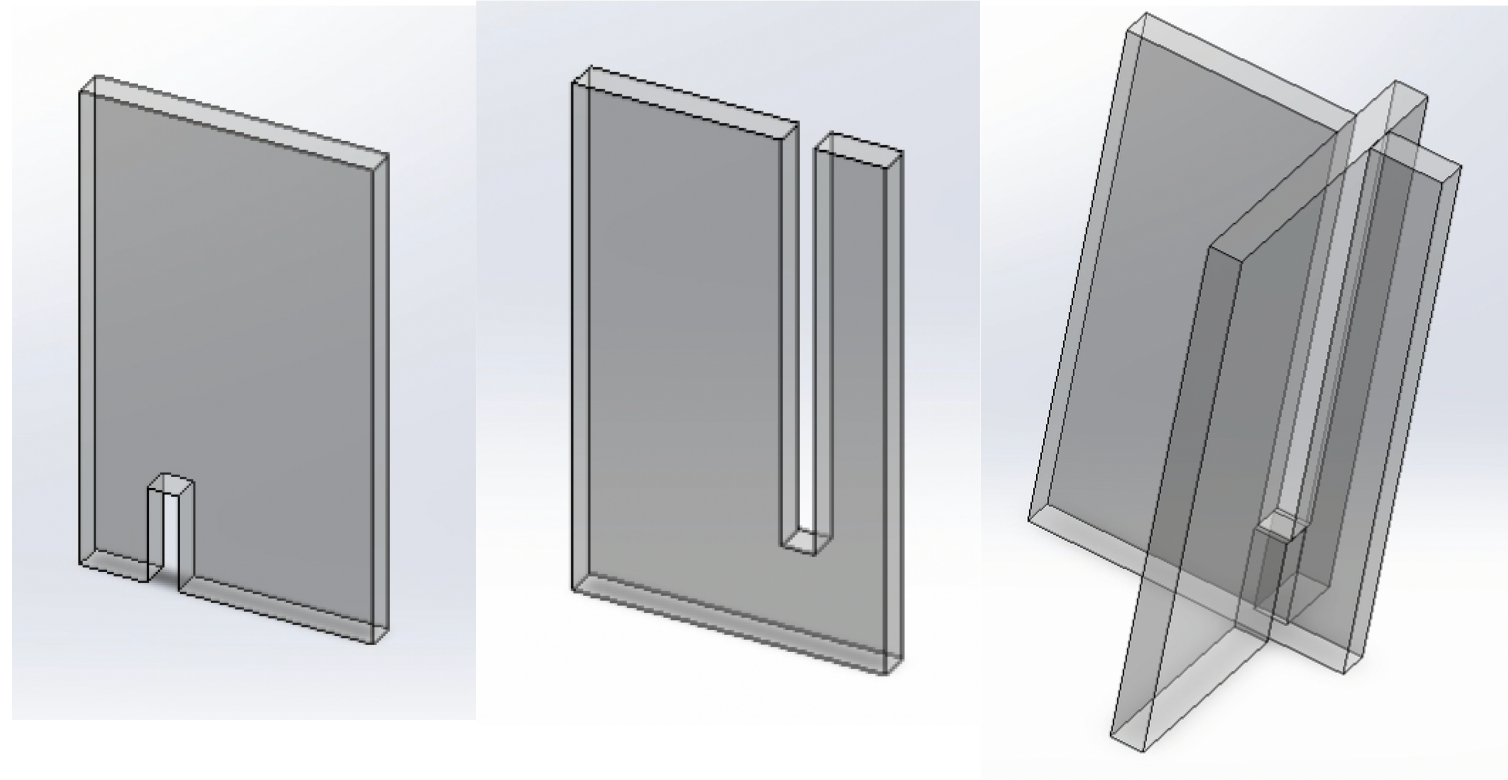
— Different tolerances between the sliding doors were tested to ensure doors slide as seamlessly as possible.

Conclusion:

— In the future, some things we would reconsider in the design include amending or changing the style of the edge lap joints as a few snapped along different steps of the cutting, assembly and delivery of the product. None of this affected the structural integrity as of this time, but posed some questions for further analysis. 

— Overall, the assembly process required some finessing in order...

Read more »
DP-product.mp4

Video of exploded view

MPEG-4 Video - 582.25 kB - 07/19/2024 at 05:15

Download

DP-product.assembly.SLDASM

SolidWorks assembly with built in configuration of the exploded view.

sldasm - 212.06 kB - 07/19/2024 at 05:10

Download

DP-laser.cut.drawing.DXF

dxf file to send to the laser cutter for printing each component

AutoCAD DXF - 150.22 kB - 07/18/2024 at 22:07

Download

Sprint Review 3.pdf

Final presentation before the final testing of the product to identify any final comments/feedback the client desires.

Adobe Portable Document Format - 910.02 kB - 07/17/2024 at 23:53

Preview

Sprint Review 2.pdf

Presentation the following week with the client once a general design concept is being created to receive feedback and additional ideas.

Adobe Portable Document Format - 323.07 kB - 07/17/2024 at 23:53

Preview

View all 14 files

  • 1 × Back Wall All materials are acylic unless other specified
  • 1 × Roof Vertical Wall
  • 5 × Tray
  • 5 × Vertical Wall Seperates each shelf by site
  • 2 × Side Walls

View all 12 components

  • 1
    Assembly Instructions
    1. Retrieve parts from the cut DXF file on 3mm acrylic

    2. Paint each tray, vertical wall, roof vertical wall, and roof/base walls with the correlating color from the rainbow and let dry 

    3. Cut two pieces of approximately 400mm of polypropylene rope - if you cut the rope piece intended for the front slightly shorter, it will cause the product to tilt slightly back, thus further protecting the Petri dishes. 

    4. Insert the rope into the intended holes on the side wall pieces. Correlate front holes to one piece of rope and back holes to the second piece of rope. 

    5. Tie a Mathew Walker knot on each end of rope inserted into the holes. 

    6. Splice the ends of the rope/ the knots

    7. For every step that involves connecting two parts, make sure to use acrylic cement glue on all surface areas that make contact

    8.  Lay the back wall flat to begin assembly

    9. Attach the roof vertical wall first, connecting it to the back wall

    10. Attach a tray

    11. Attach a vertical wall 

    12. Repeat steps 10-11 four more times so that all the trays and center walls are attached and glued. 

    13. Attach the side walls by sliding it into the back wall, some finessing may be required to line these parts up with the end joints of the trays 

    14. Attach the base wall once again applying a bit of finesse to make the connections fall into place

    15. Attach the roof wall in the same manner, completing the exterior structure

    16. Glue the three longer slider pieces of the sliding door pocket to the roof of the structure in the designated cutouts

    17. Glue the three default slider pieces of the sliding door pocket to the base of the structure in the other correlating cutouts.

    18. Attach magnets to the sliding door on each of the 4 corners of a single piece

    19. Complete step 18 for the second sliding door part

    20. Attach magnets to the inside of the side walls on the top half, in line with where the sliding door magnet will rest.

    21. Insert the sliding doors into the pockets created. 

    22. Finish painting the exterior of the product with the correlating colors, the side walls and back walls will be multicolored to align with each tray level

    23. Glue the 3D printed figures to the roof of the product

    24. Retrieve the 12 Petri dishes and label them with the correct descriptor (site and size) and a correlating color to a tray level in the product

    25. Place the Petri dishes in the designated spots and the product is finished

View all instructions

Enjoy this project?

Share

Discussions

Similar Projects

Does this project spark your interest?

Become a member to follow this project and never miss any updates