A mixture of Snake and Tron. Its a fast chaotic short game for a relative low cost.
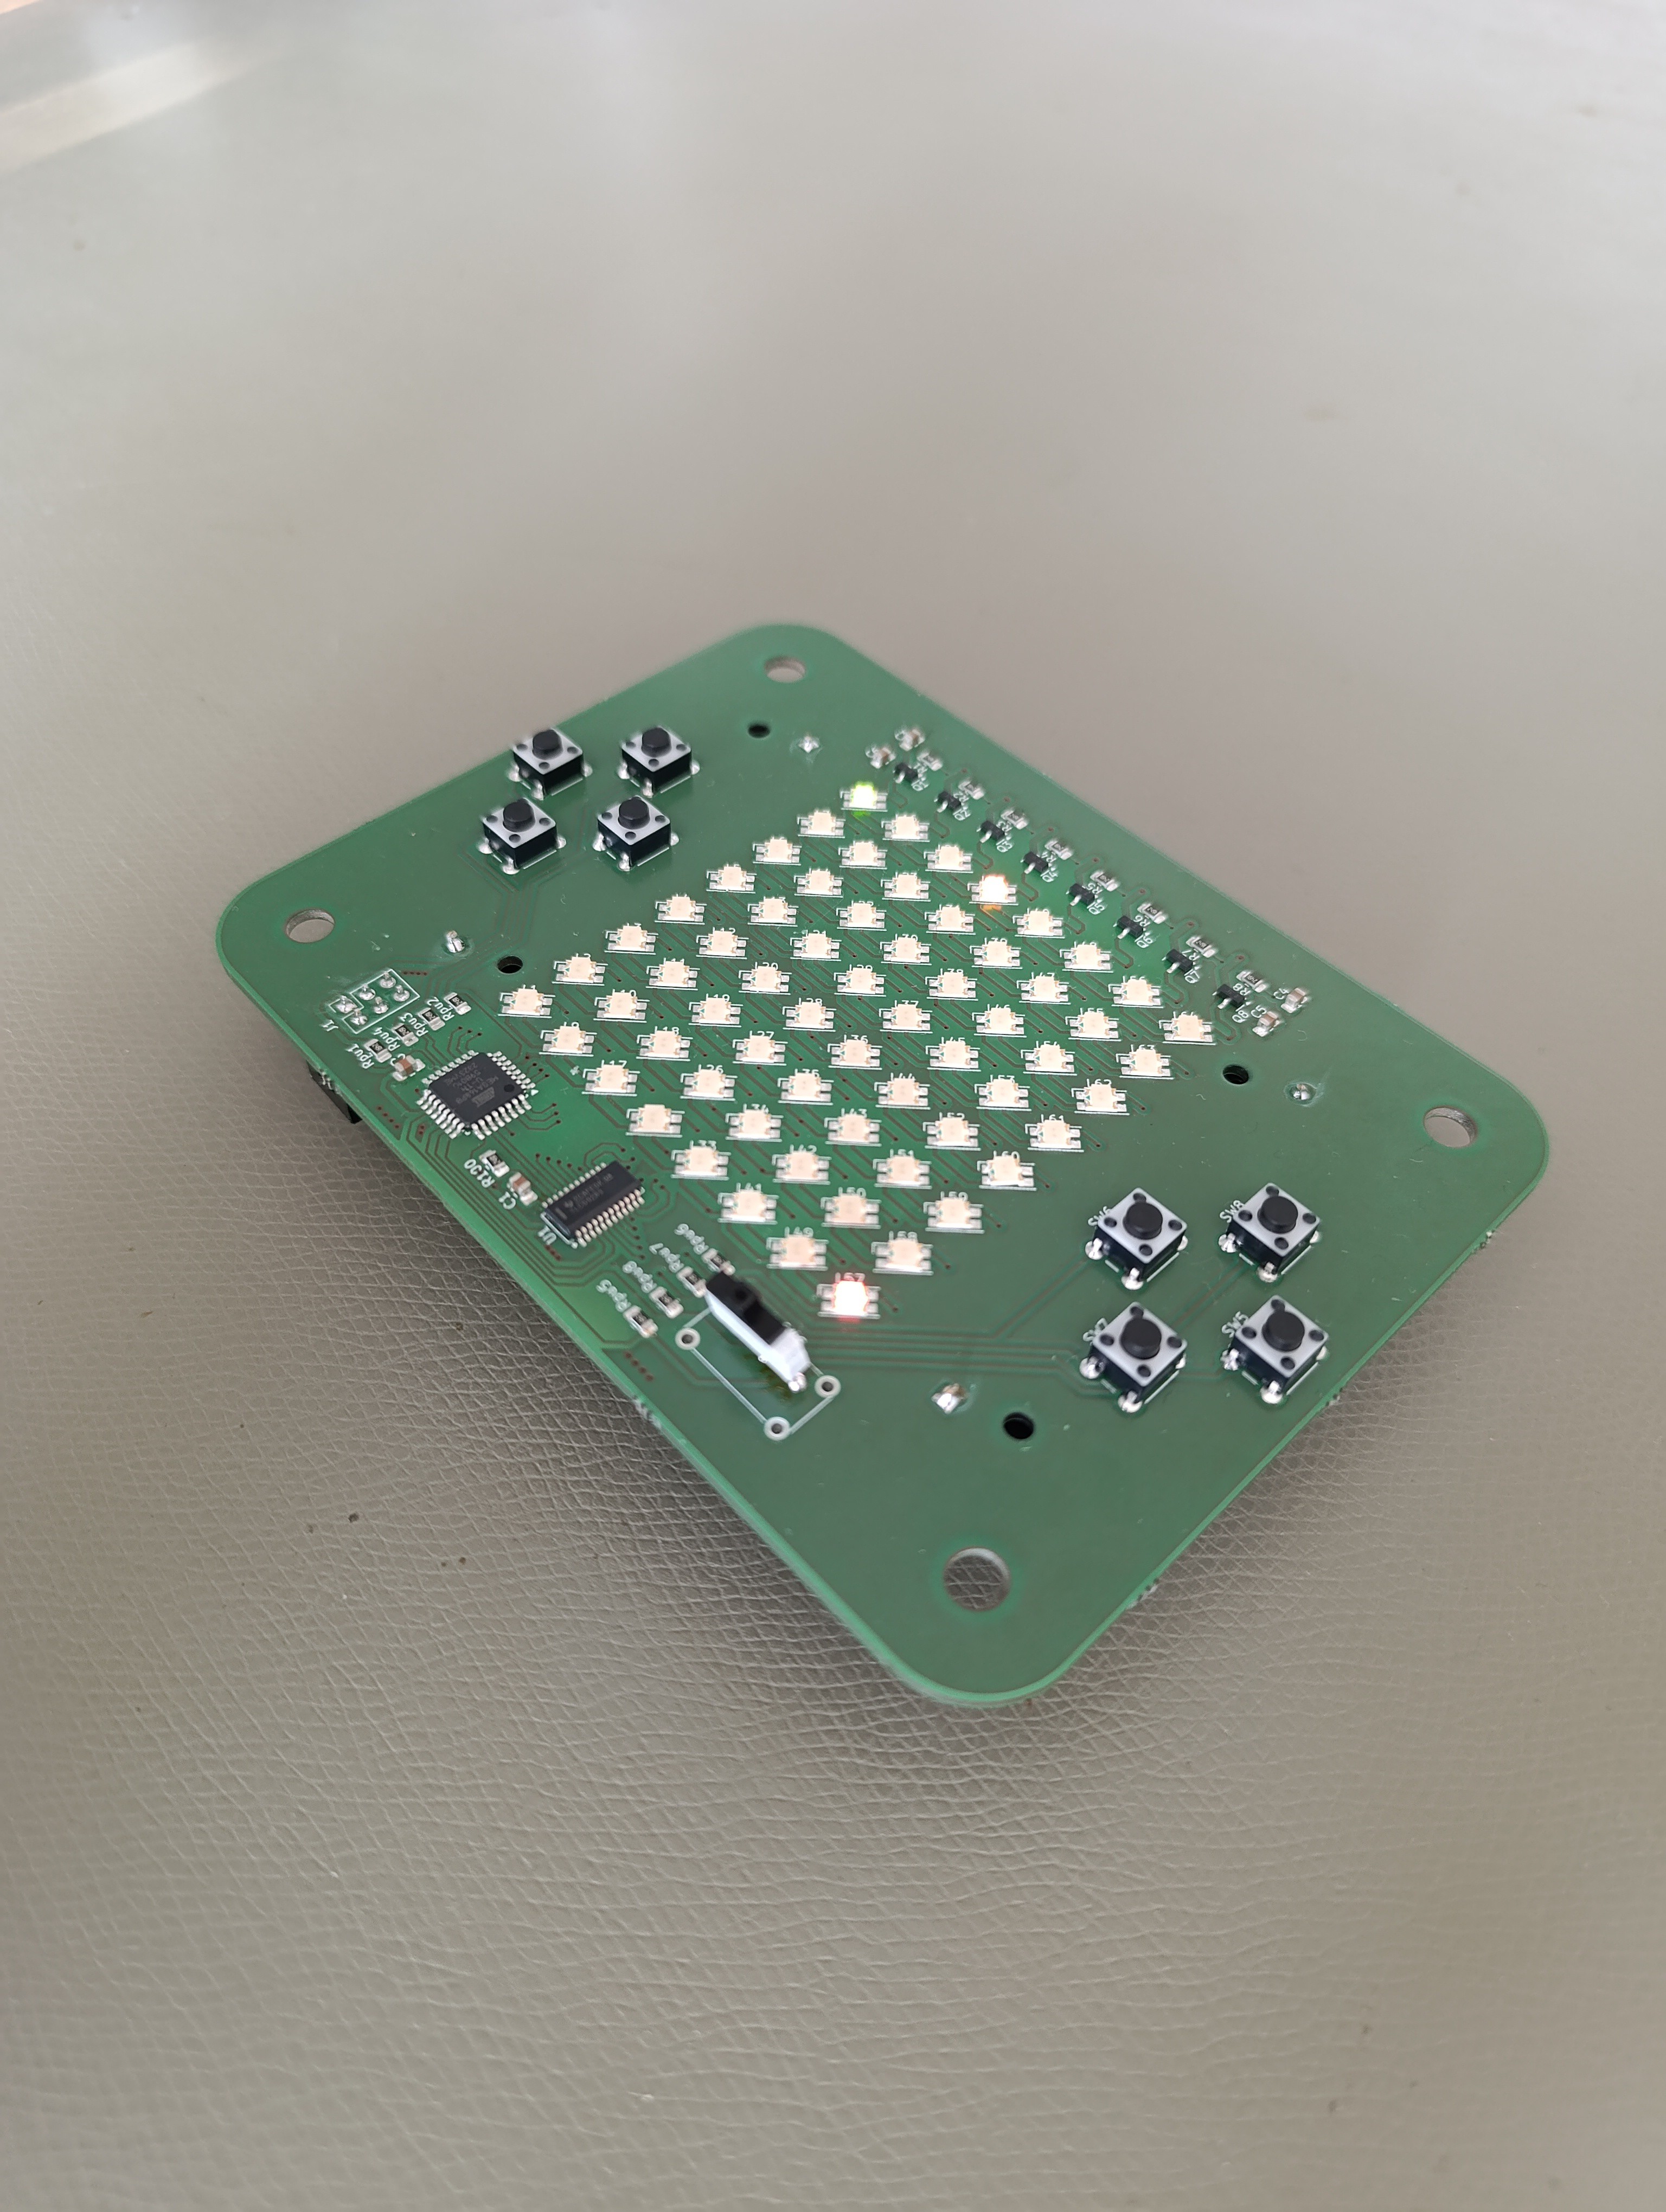
It runs on two AA Batteries, uses standard components and is quite easy to build (if you have some SMD skills)
Please read the project logs (will be updated) if you want to see some development details.
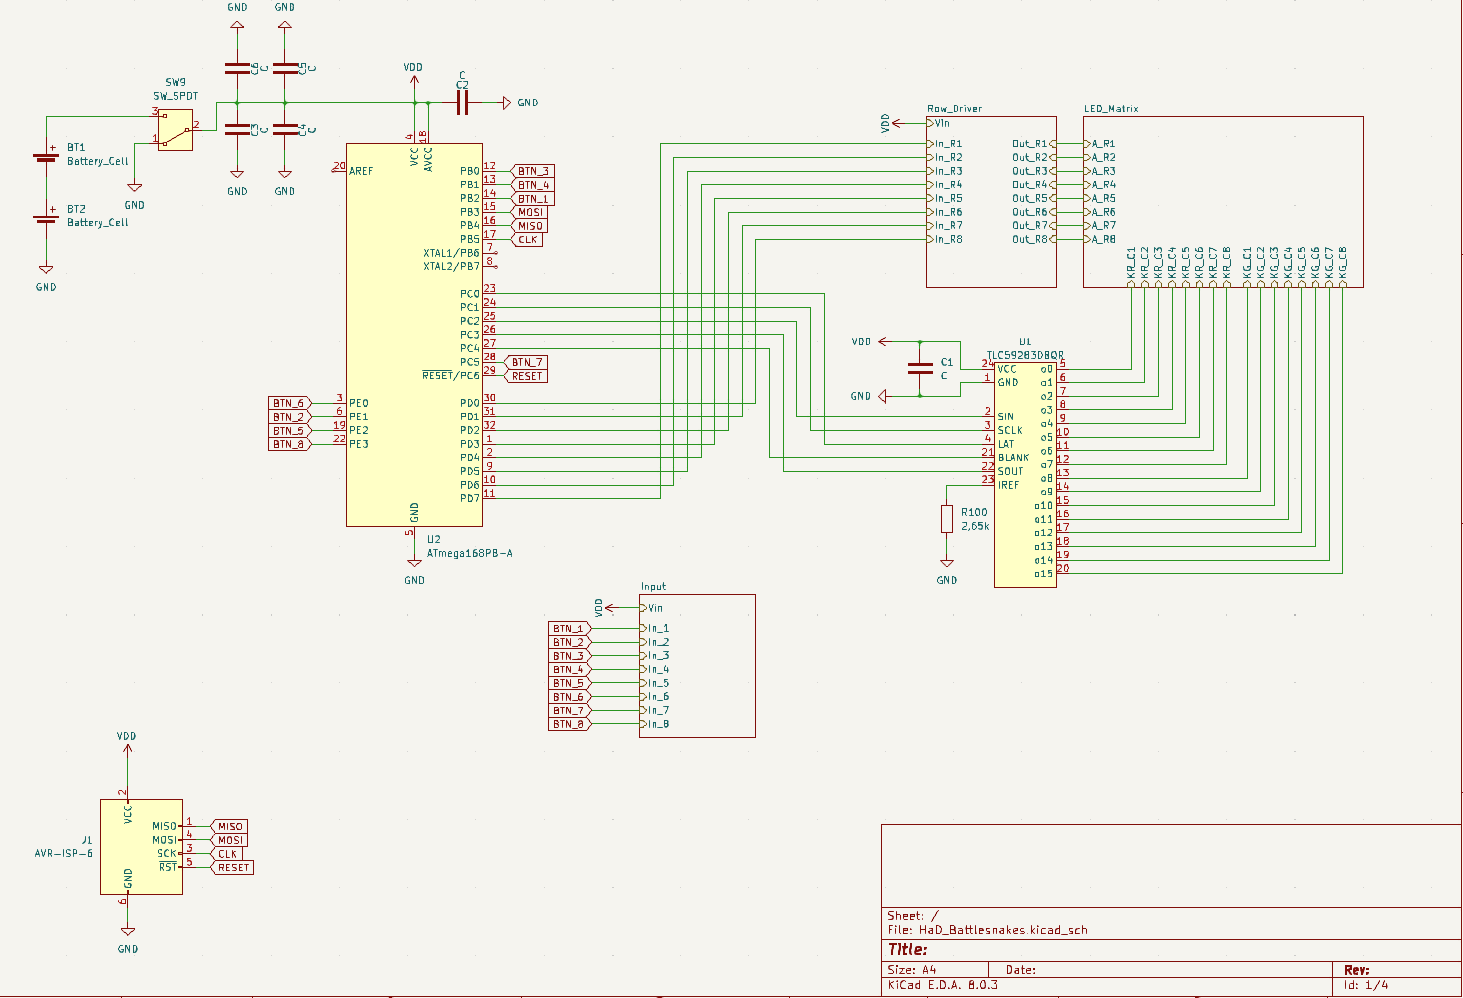
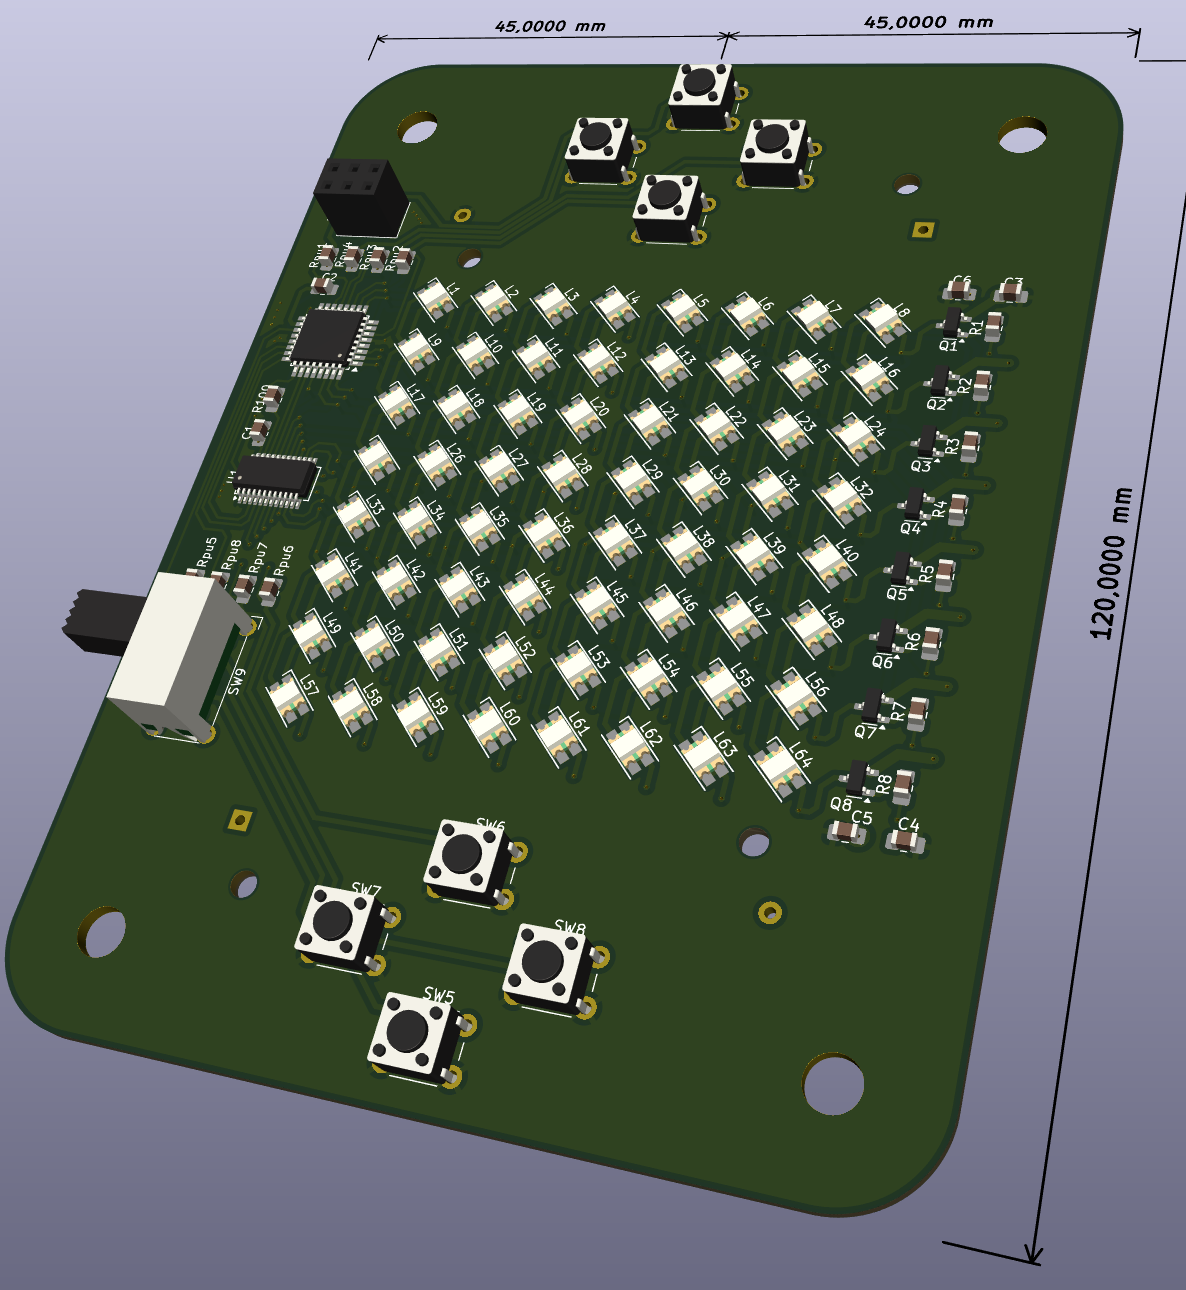
The game is base on a ATmega168, so you will need an AVR programmer. The PCB is done with KiCad.
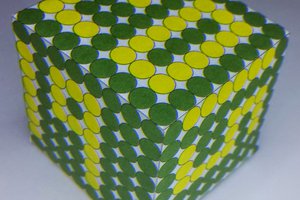
Its using dual colored LED´s to distinguish between the players. Other than that its classic snake, pretty much self explainatory.
Did i manage to finish the project in time?
Hell yes!
Did i manage to keep the BOM at my targeted 10€?
Sort of ...
Feel free to download, rebuild, improve or whatever. But let me know if you do something cool :)
Have fun!
 daniel.bryand
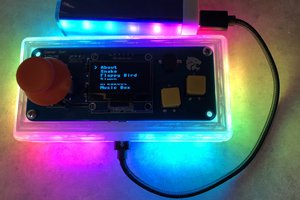
 Brian Wagner
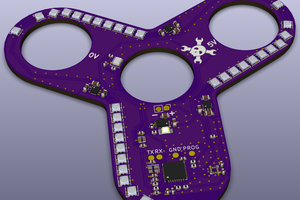
 Matthias
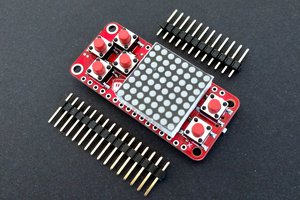
 deʃhipu