 Plandeka
I wanted to make a sun follower robot, therefore I needed a sun position sensor. I imagined a very small camera obscura design, which would work for a light source which is not exactly a point (for example it wouldn't work well with a laser). This kind of sensor would only show the direction in which to move to center on the brightest spot, rather than pointing to where it is exactly.
In the first attempt, I have made a sensor out of cardboard and a beer can.
 |  | 
|
It has worked so well, that I was able to focus a large lens on a few think fibers quite reliably. But it was not perfect, as you can see in the video:
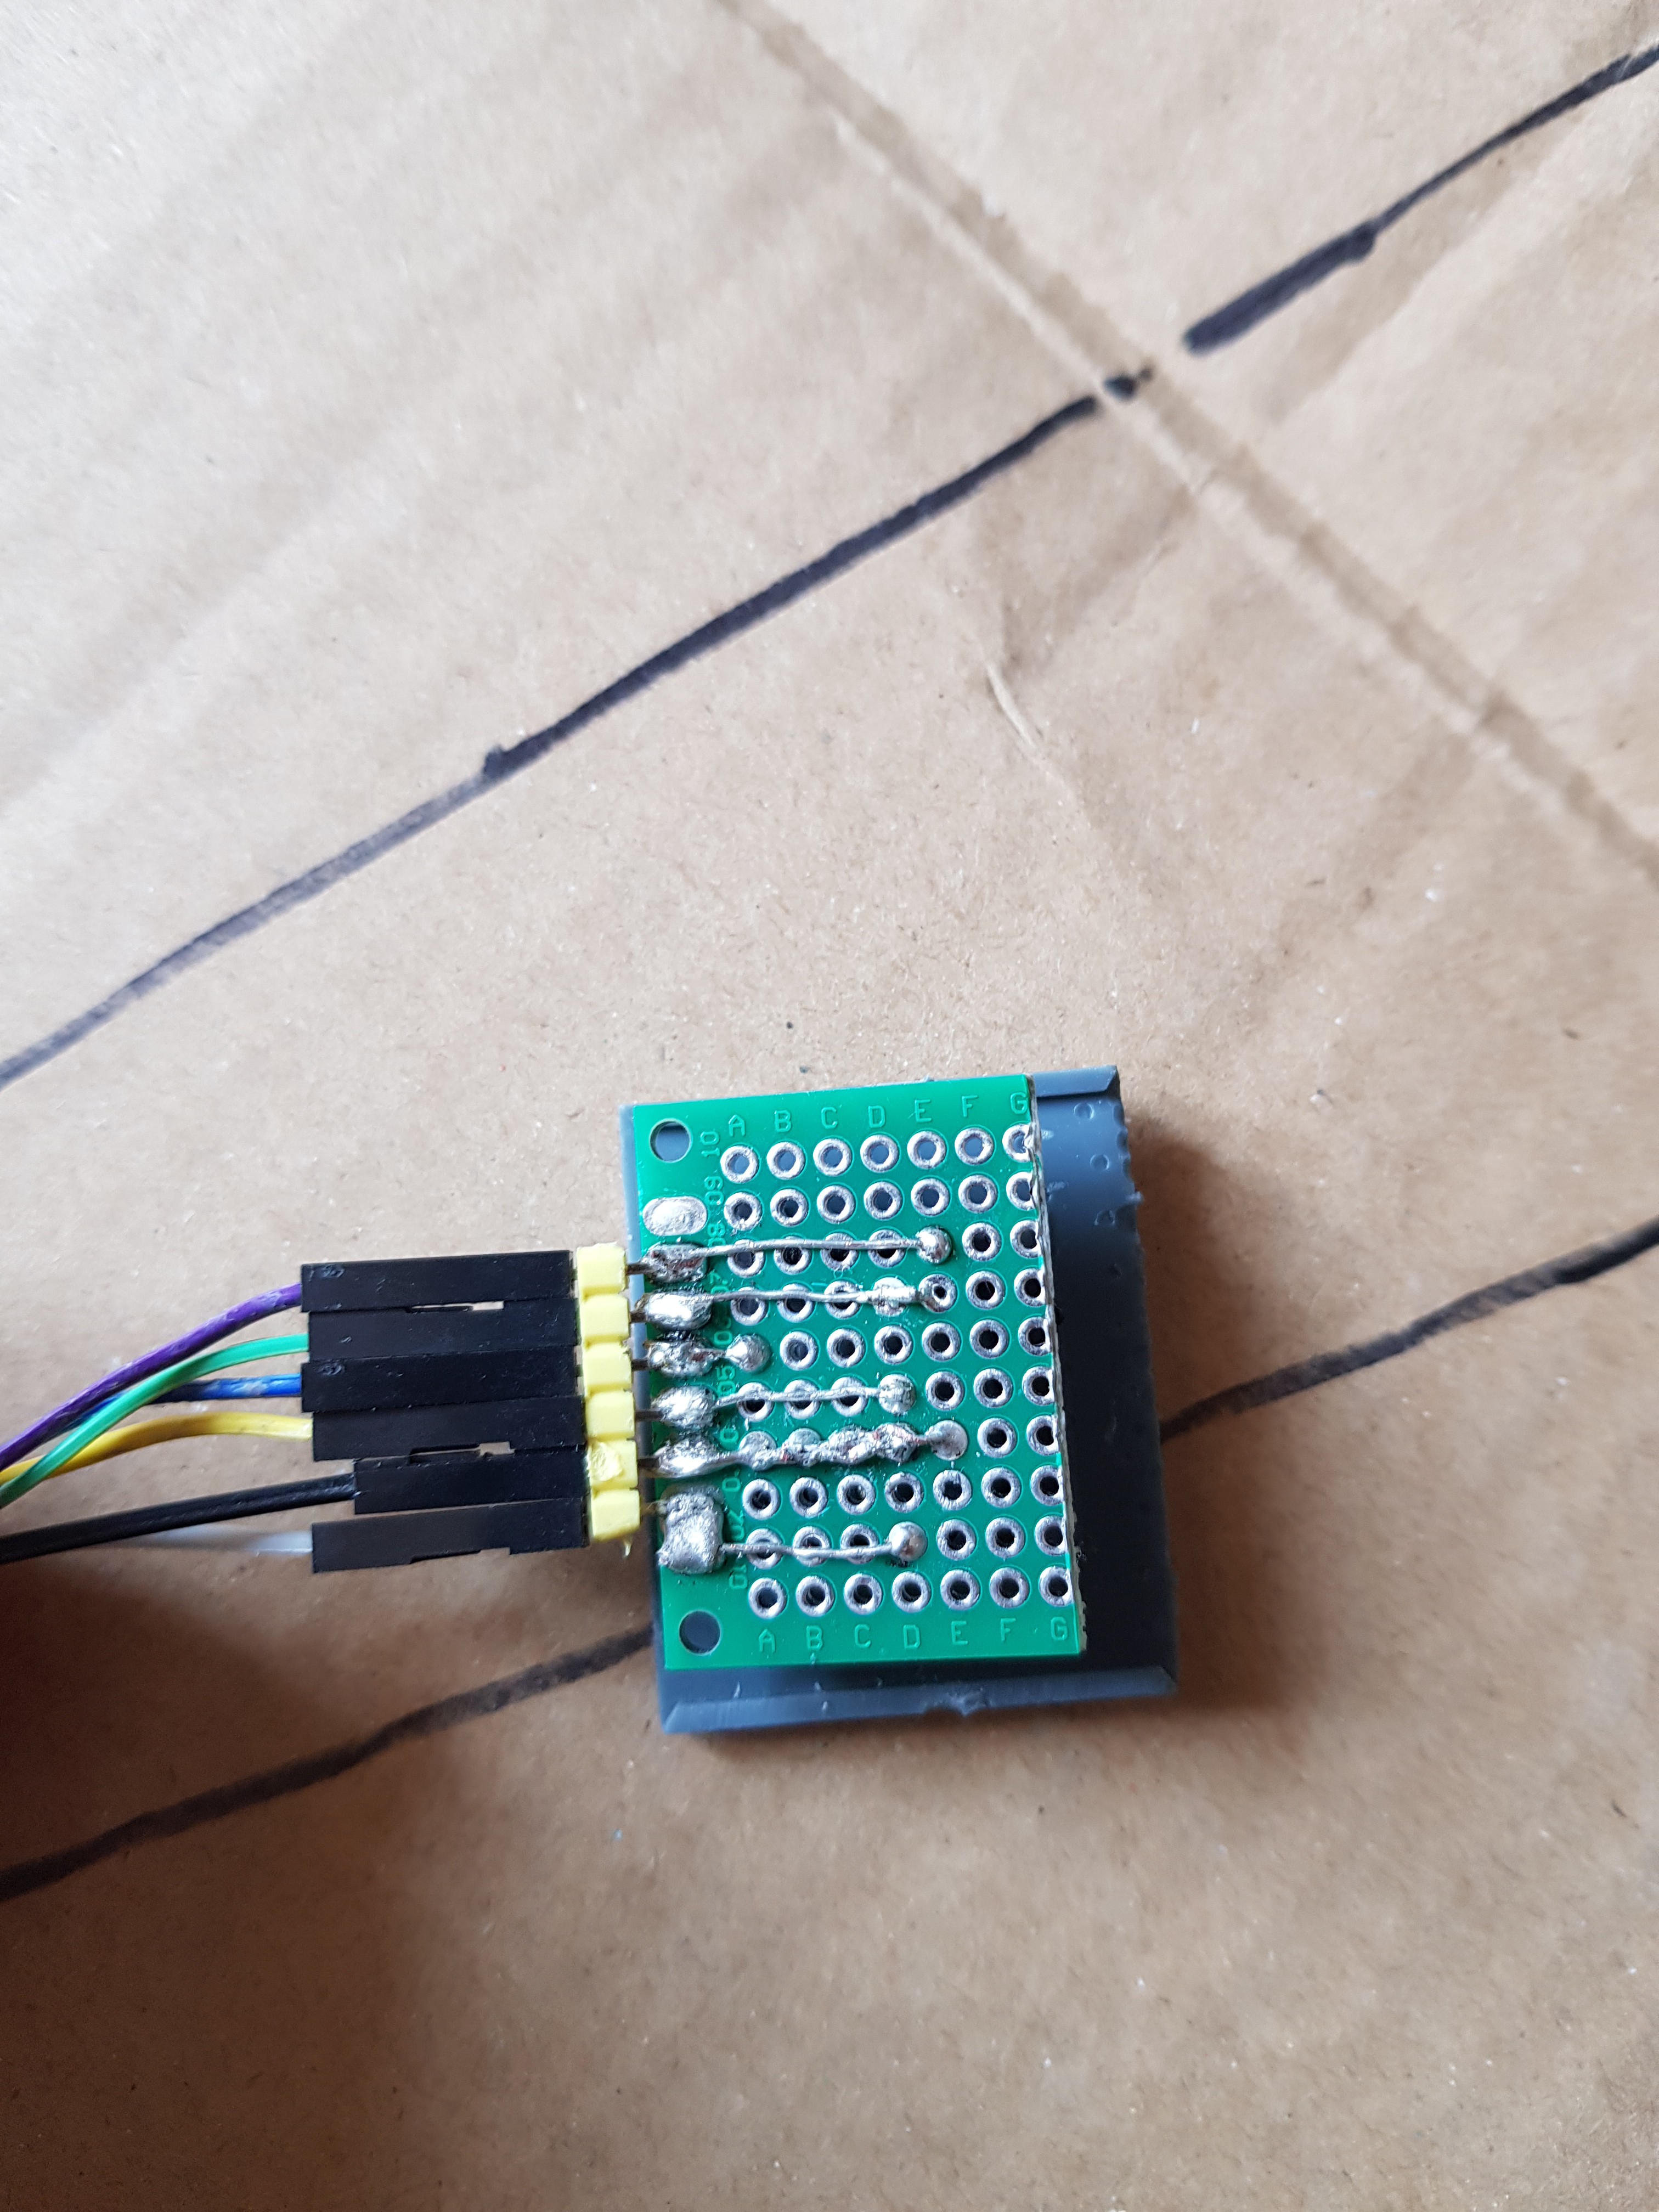
Therefore I have decided to add some precision to the idea and 3D printed the housing (which would also allow to mount it properly).
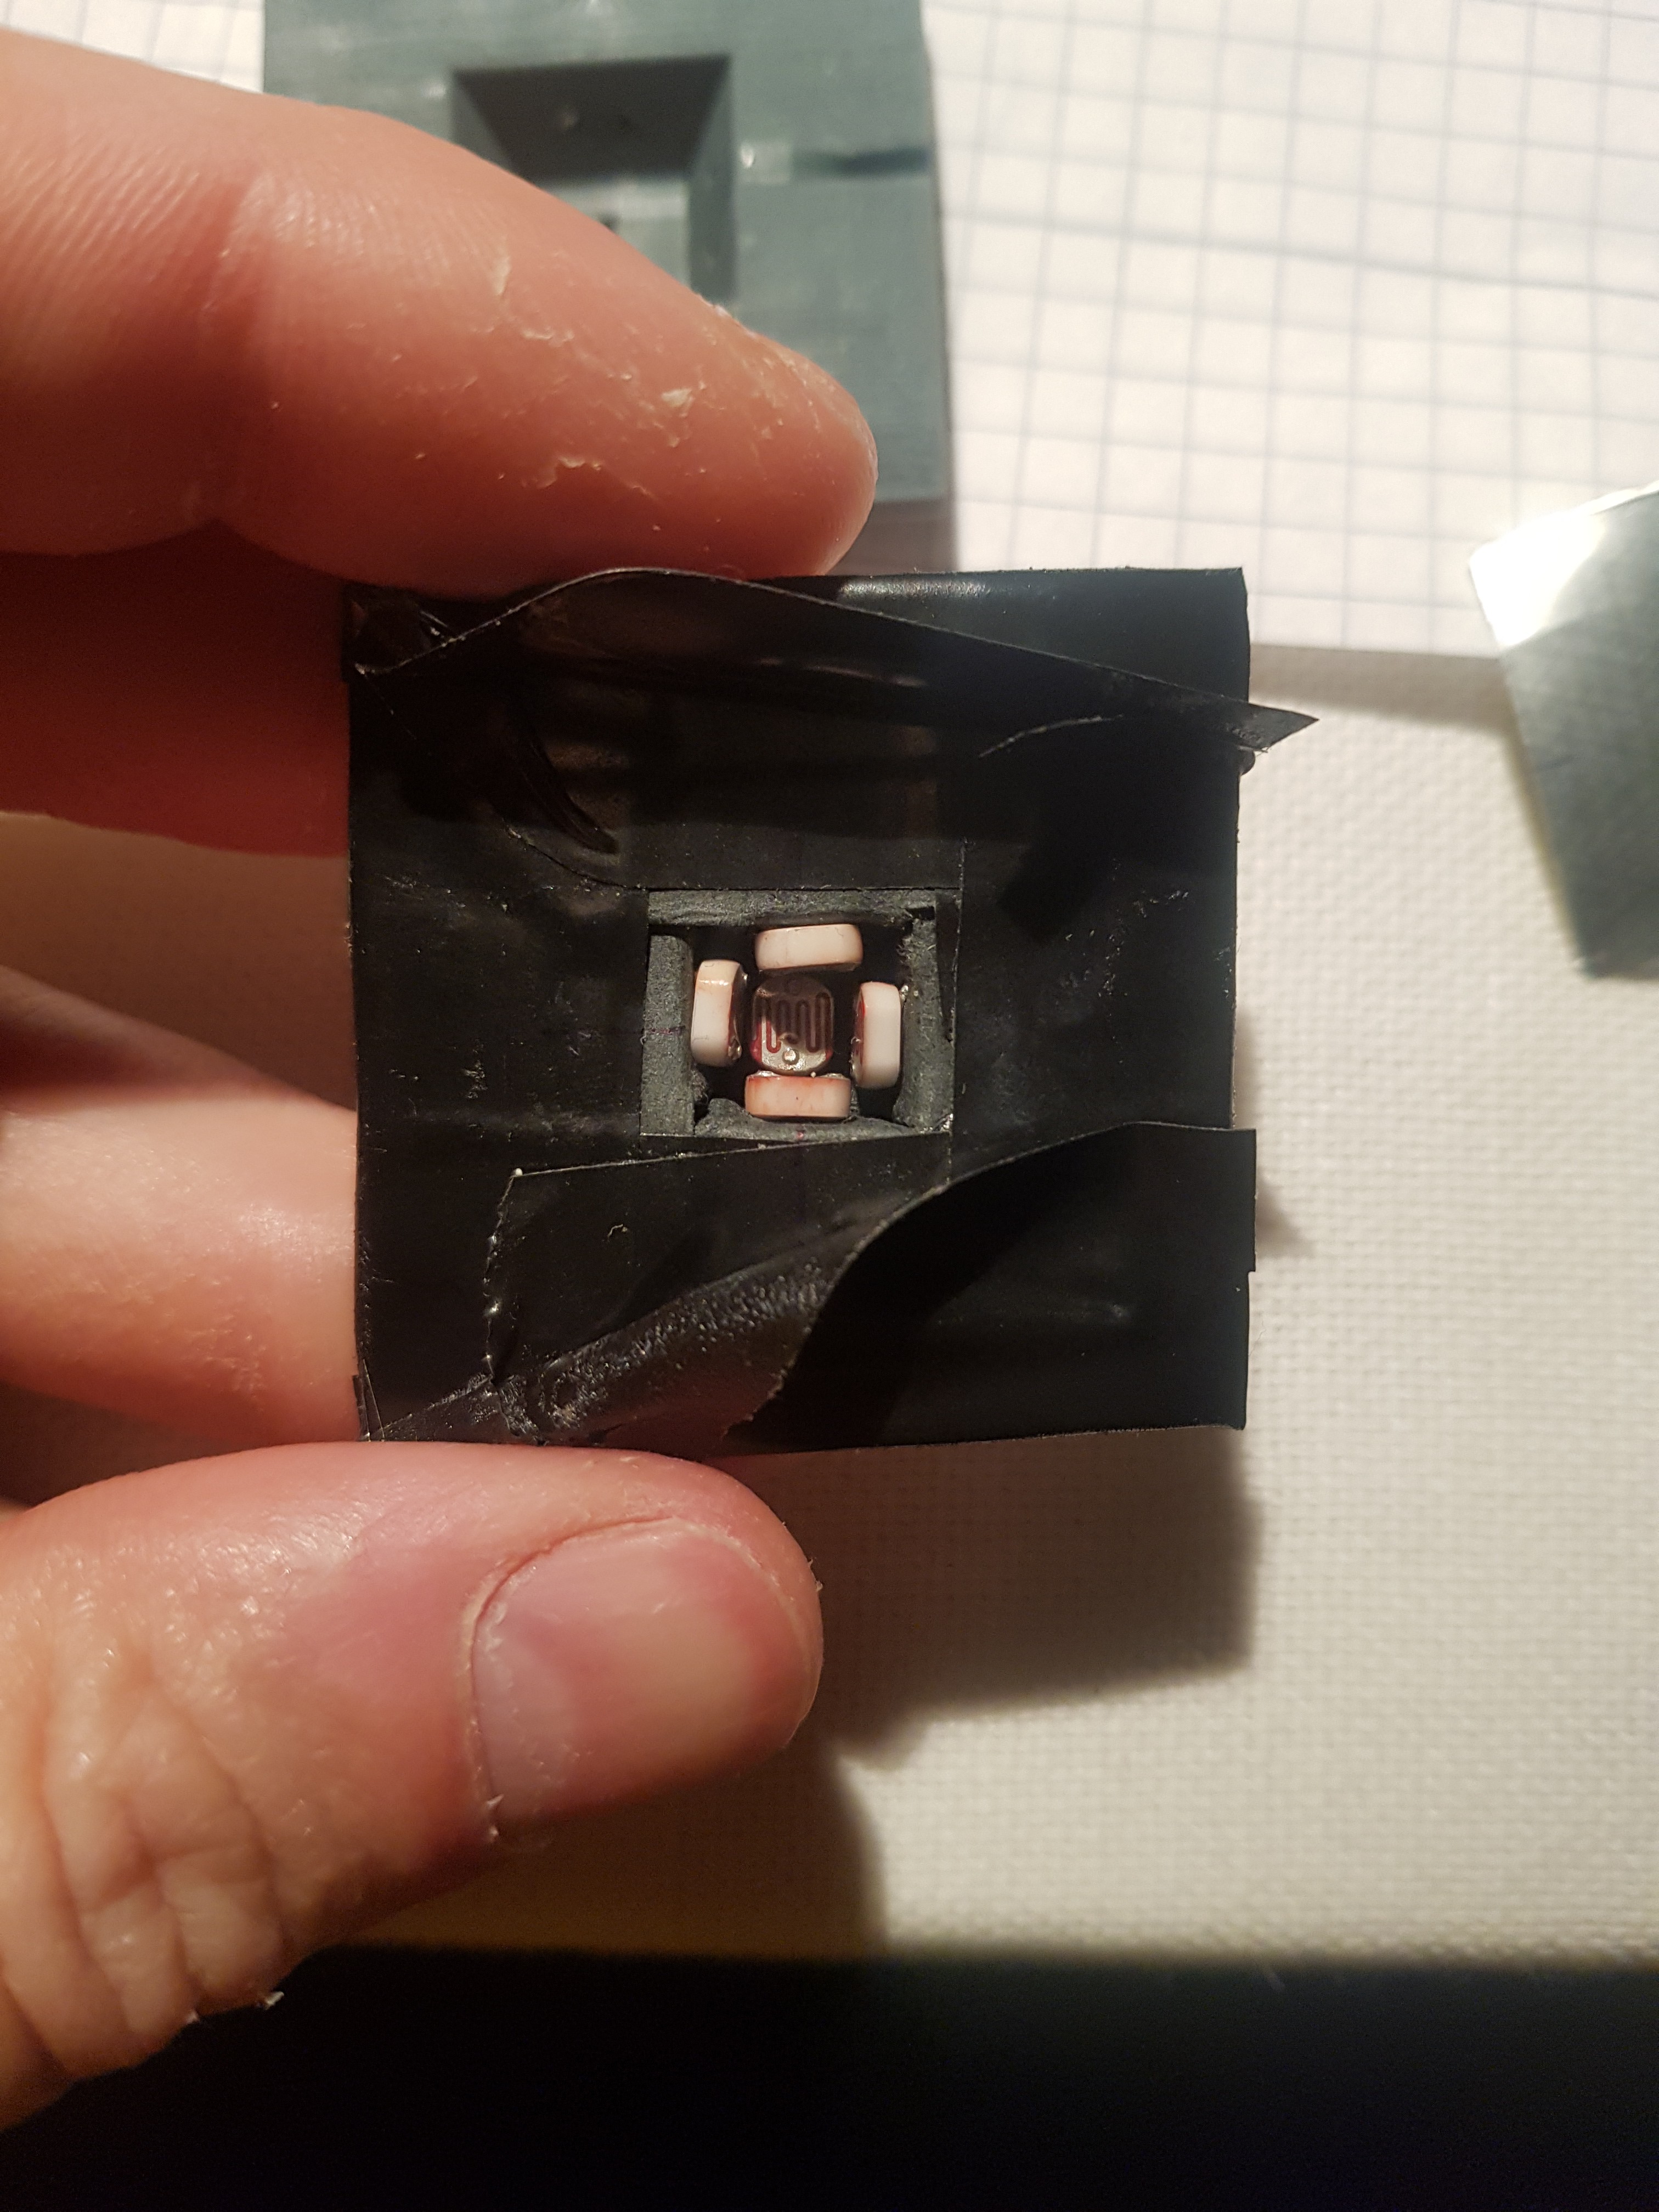
As it turned out it was sheer luck, that my initial design worked so well. I went through at least 3 iterations of the design, meticulously gluing and soldering everything together. The designs were doing okay in the small angles regime, but were showing completely opposite results for higher angles.
What I have figured out is that this was because of reflectivity of the surface of the photoresistors (and partially the cover). The geometry would work in a way that the light coming from the pinhole would be reflected from inactive part of the sensor onto the opposite one, making it think the light source is on the other side.
Steps I have undertaken to combat this issue:
- Remove any stray light coming in (covered the backside holes with insulation tape)
- Sanded the alu cover from the inside, so it is not reflective and paint it black (I used a permanent marker). I was also thinking about using soot
- Made sure the cover is super flat, especially in the pinhole region
- Finally, making the walls vertical was what solved the issue
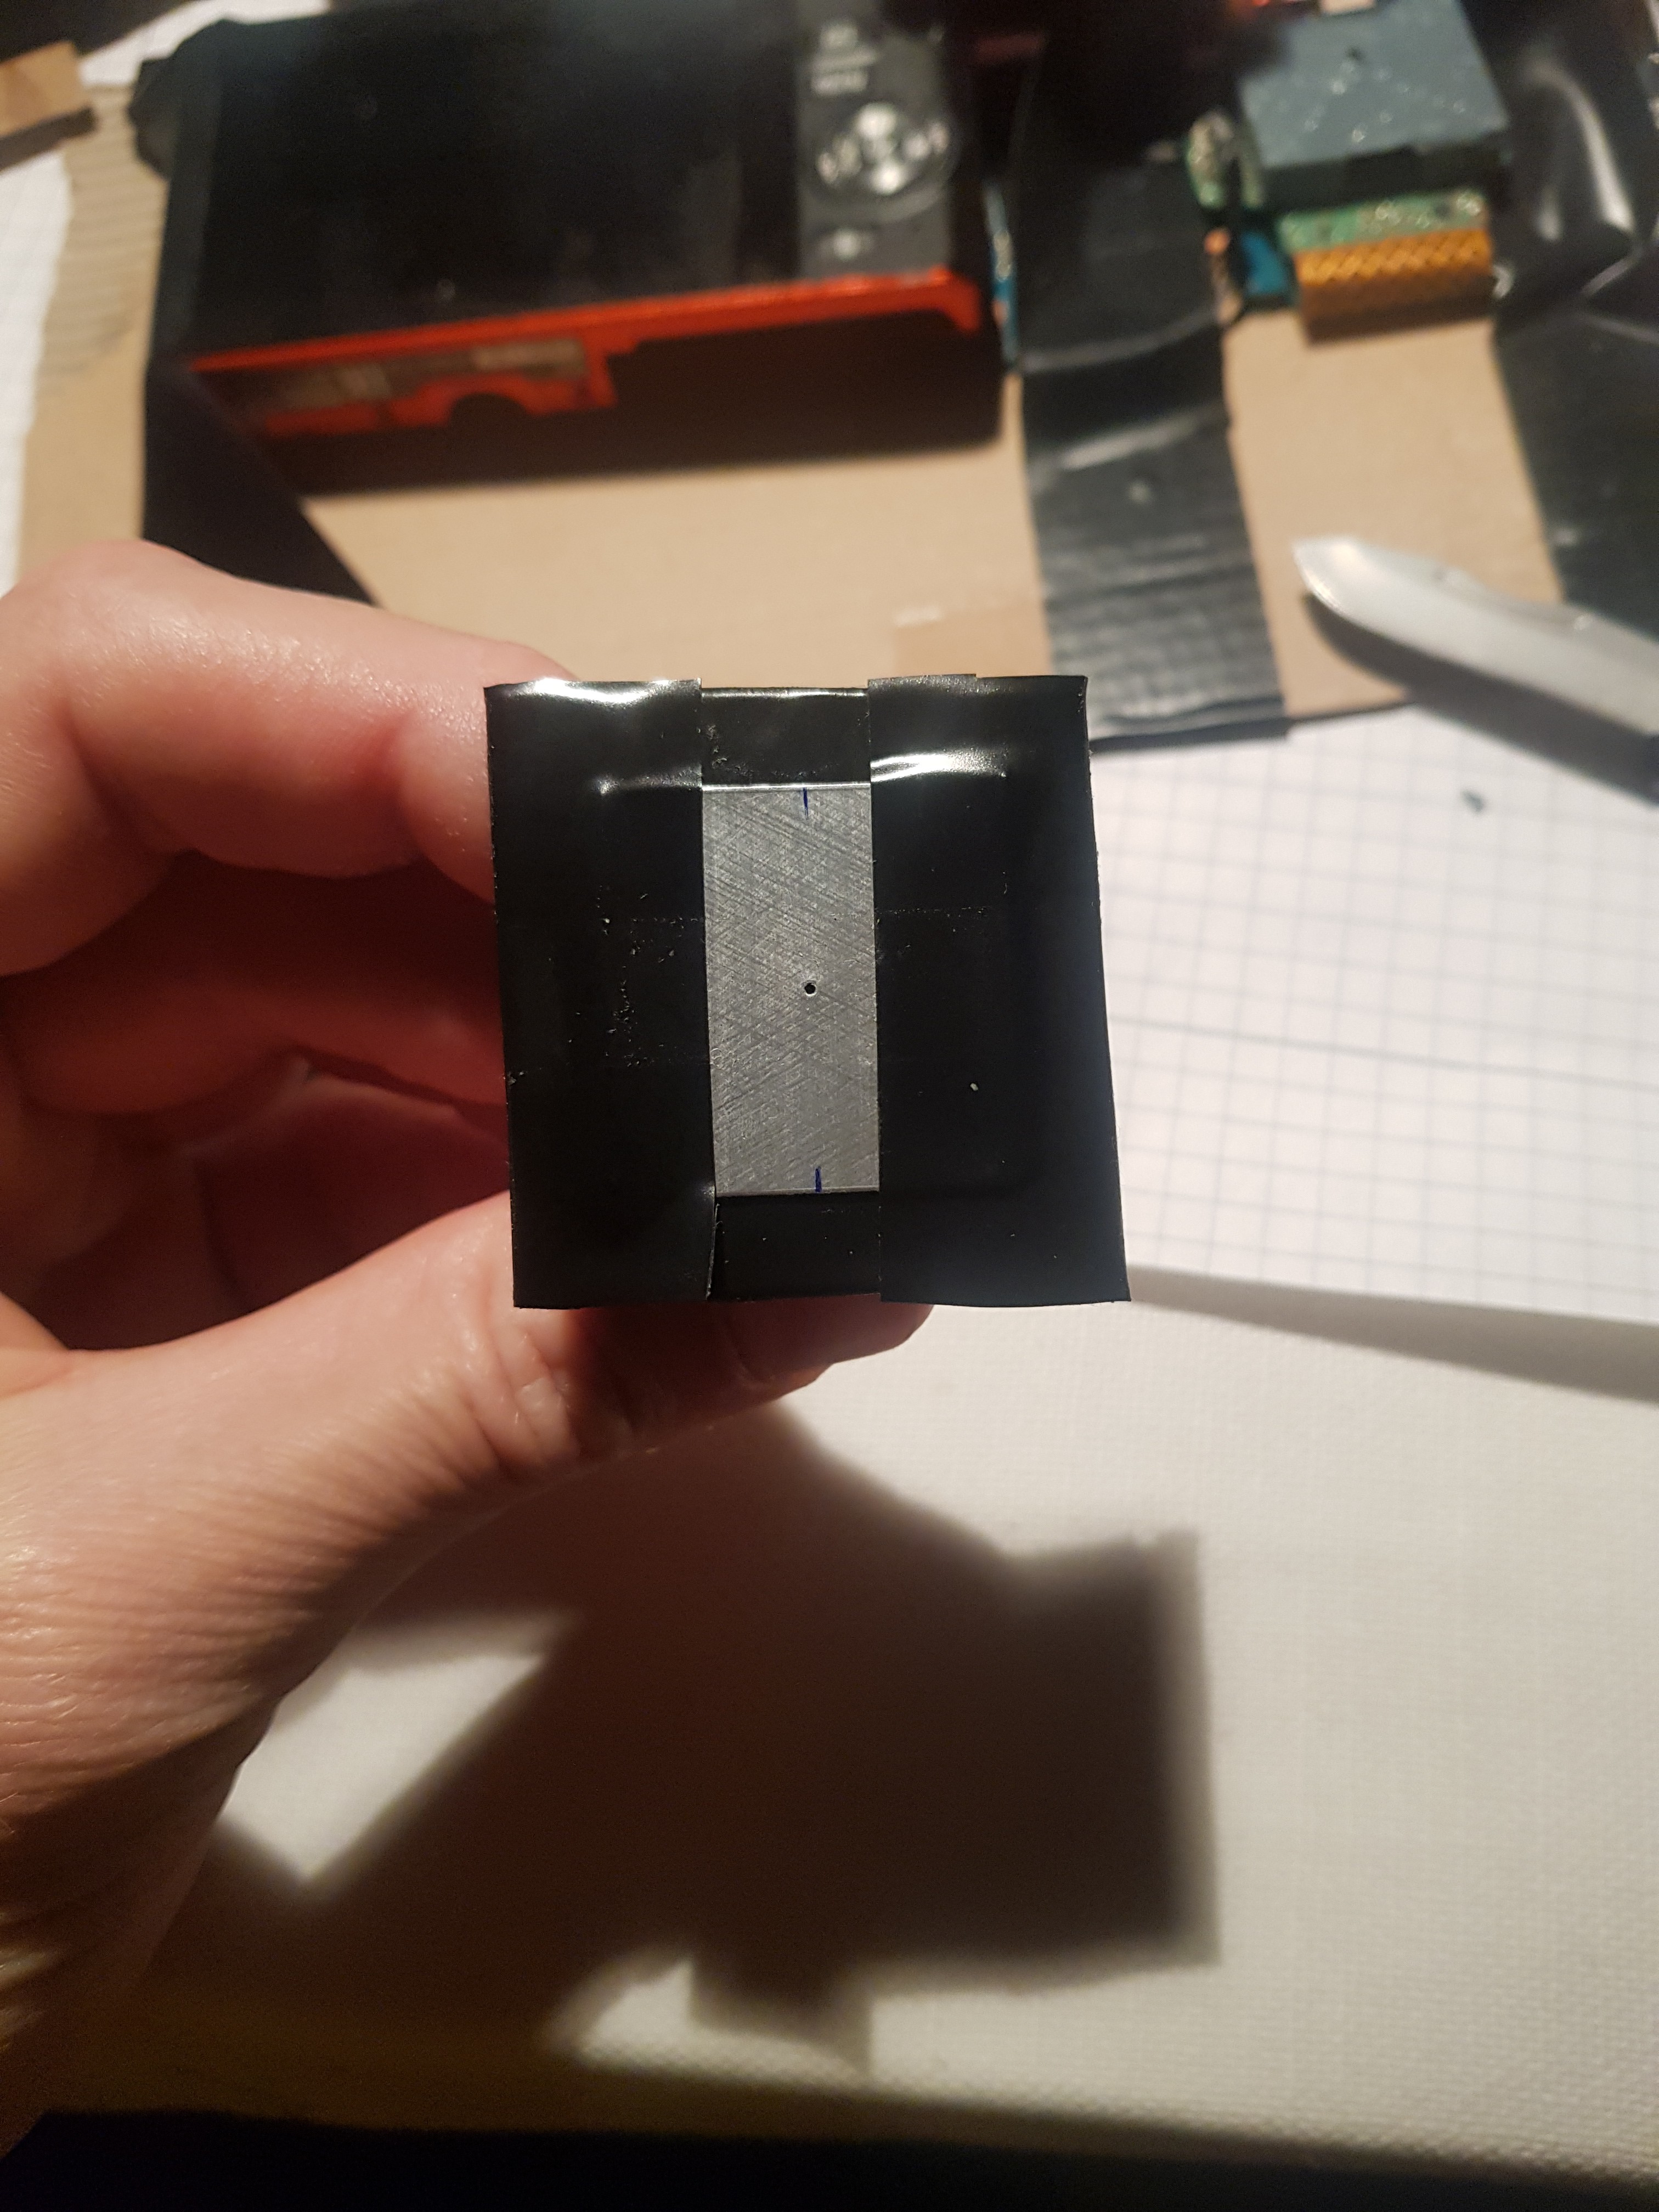
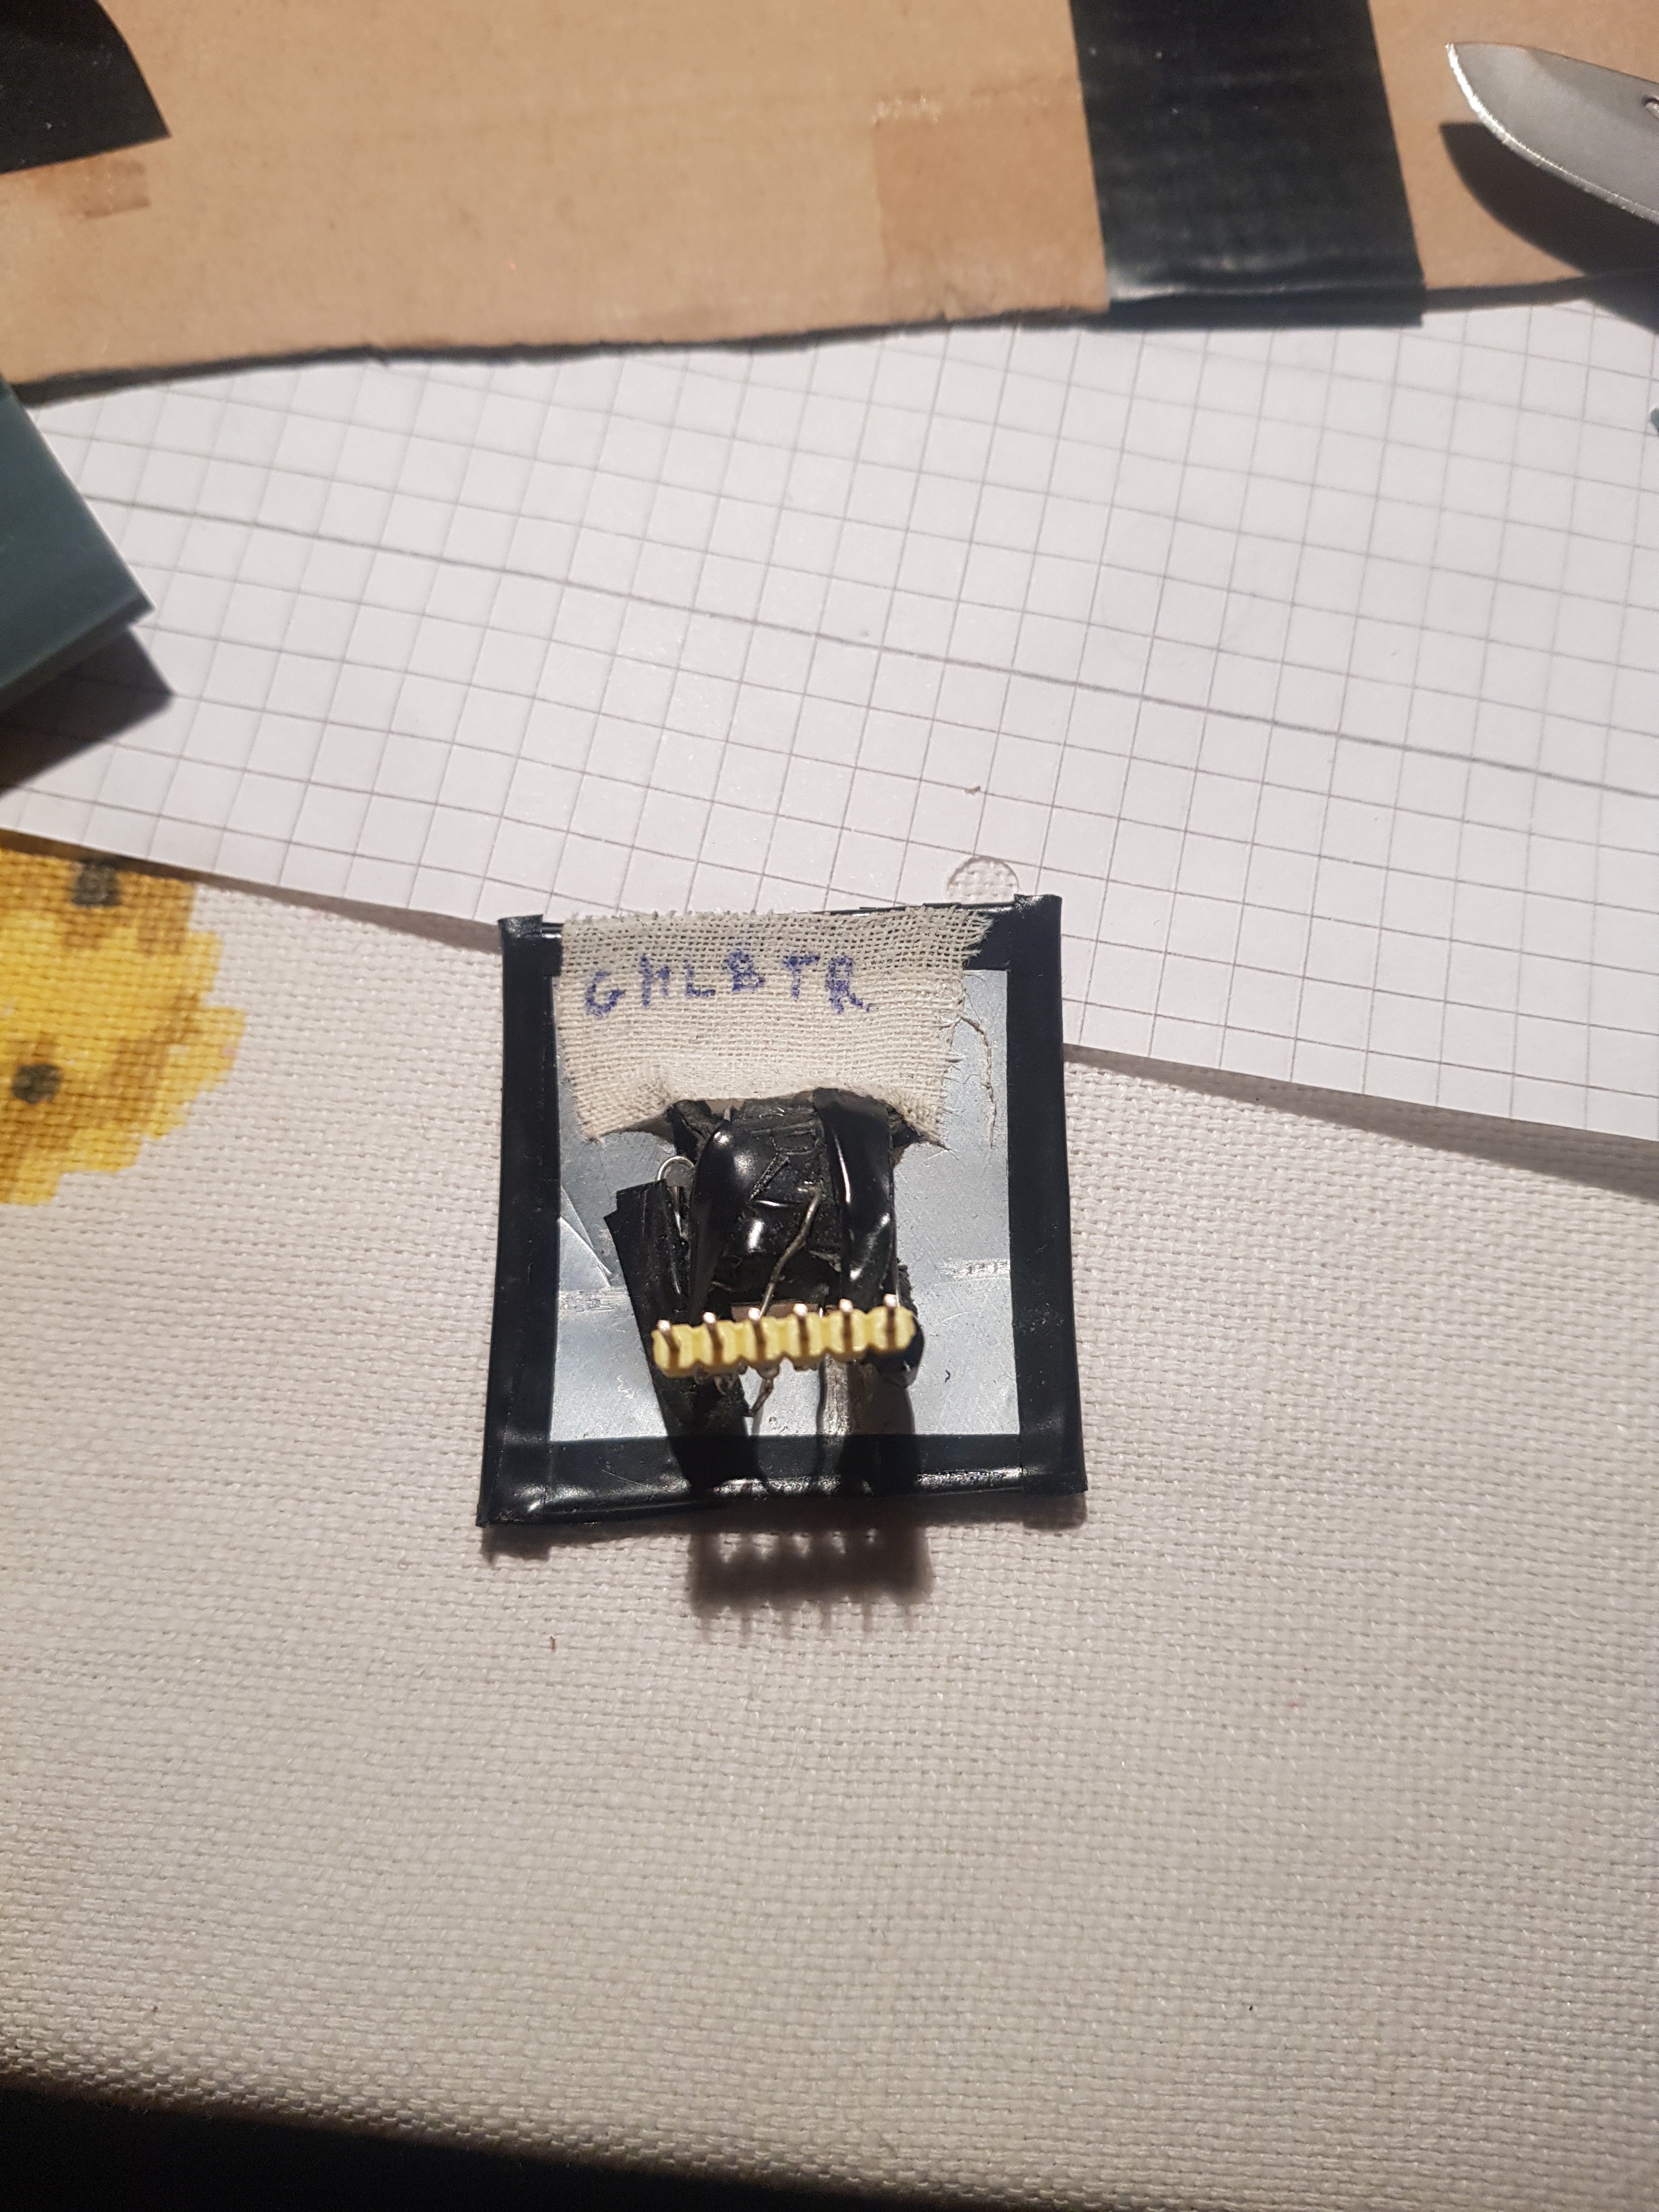
The finished product:
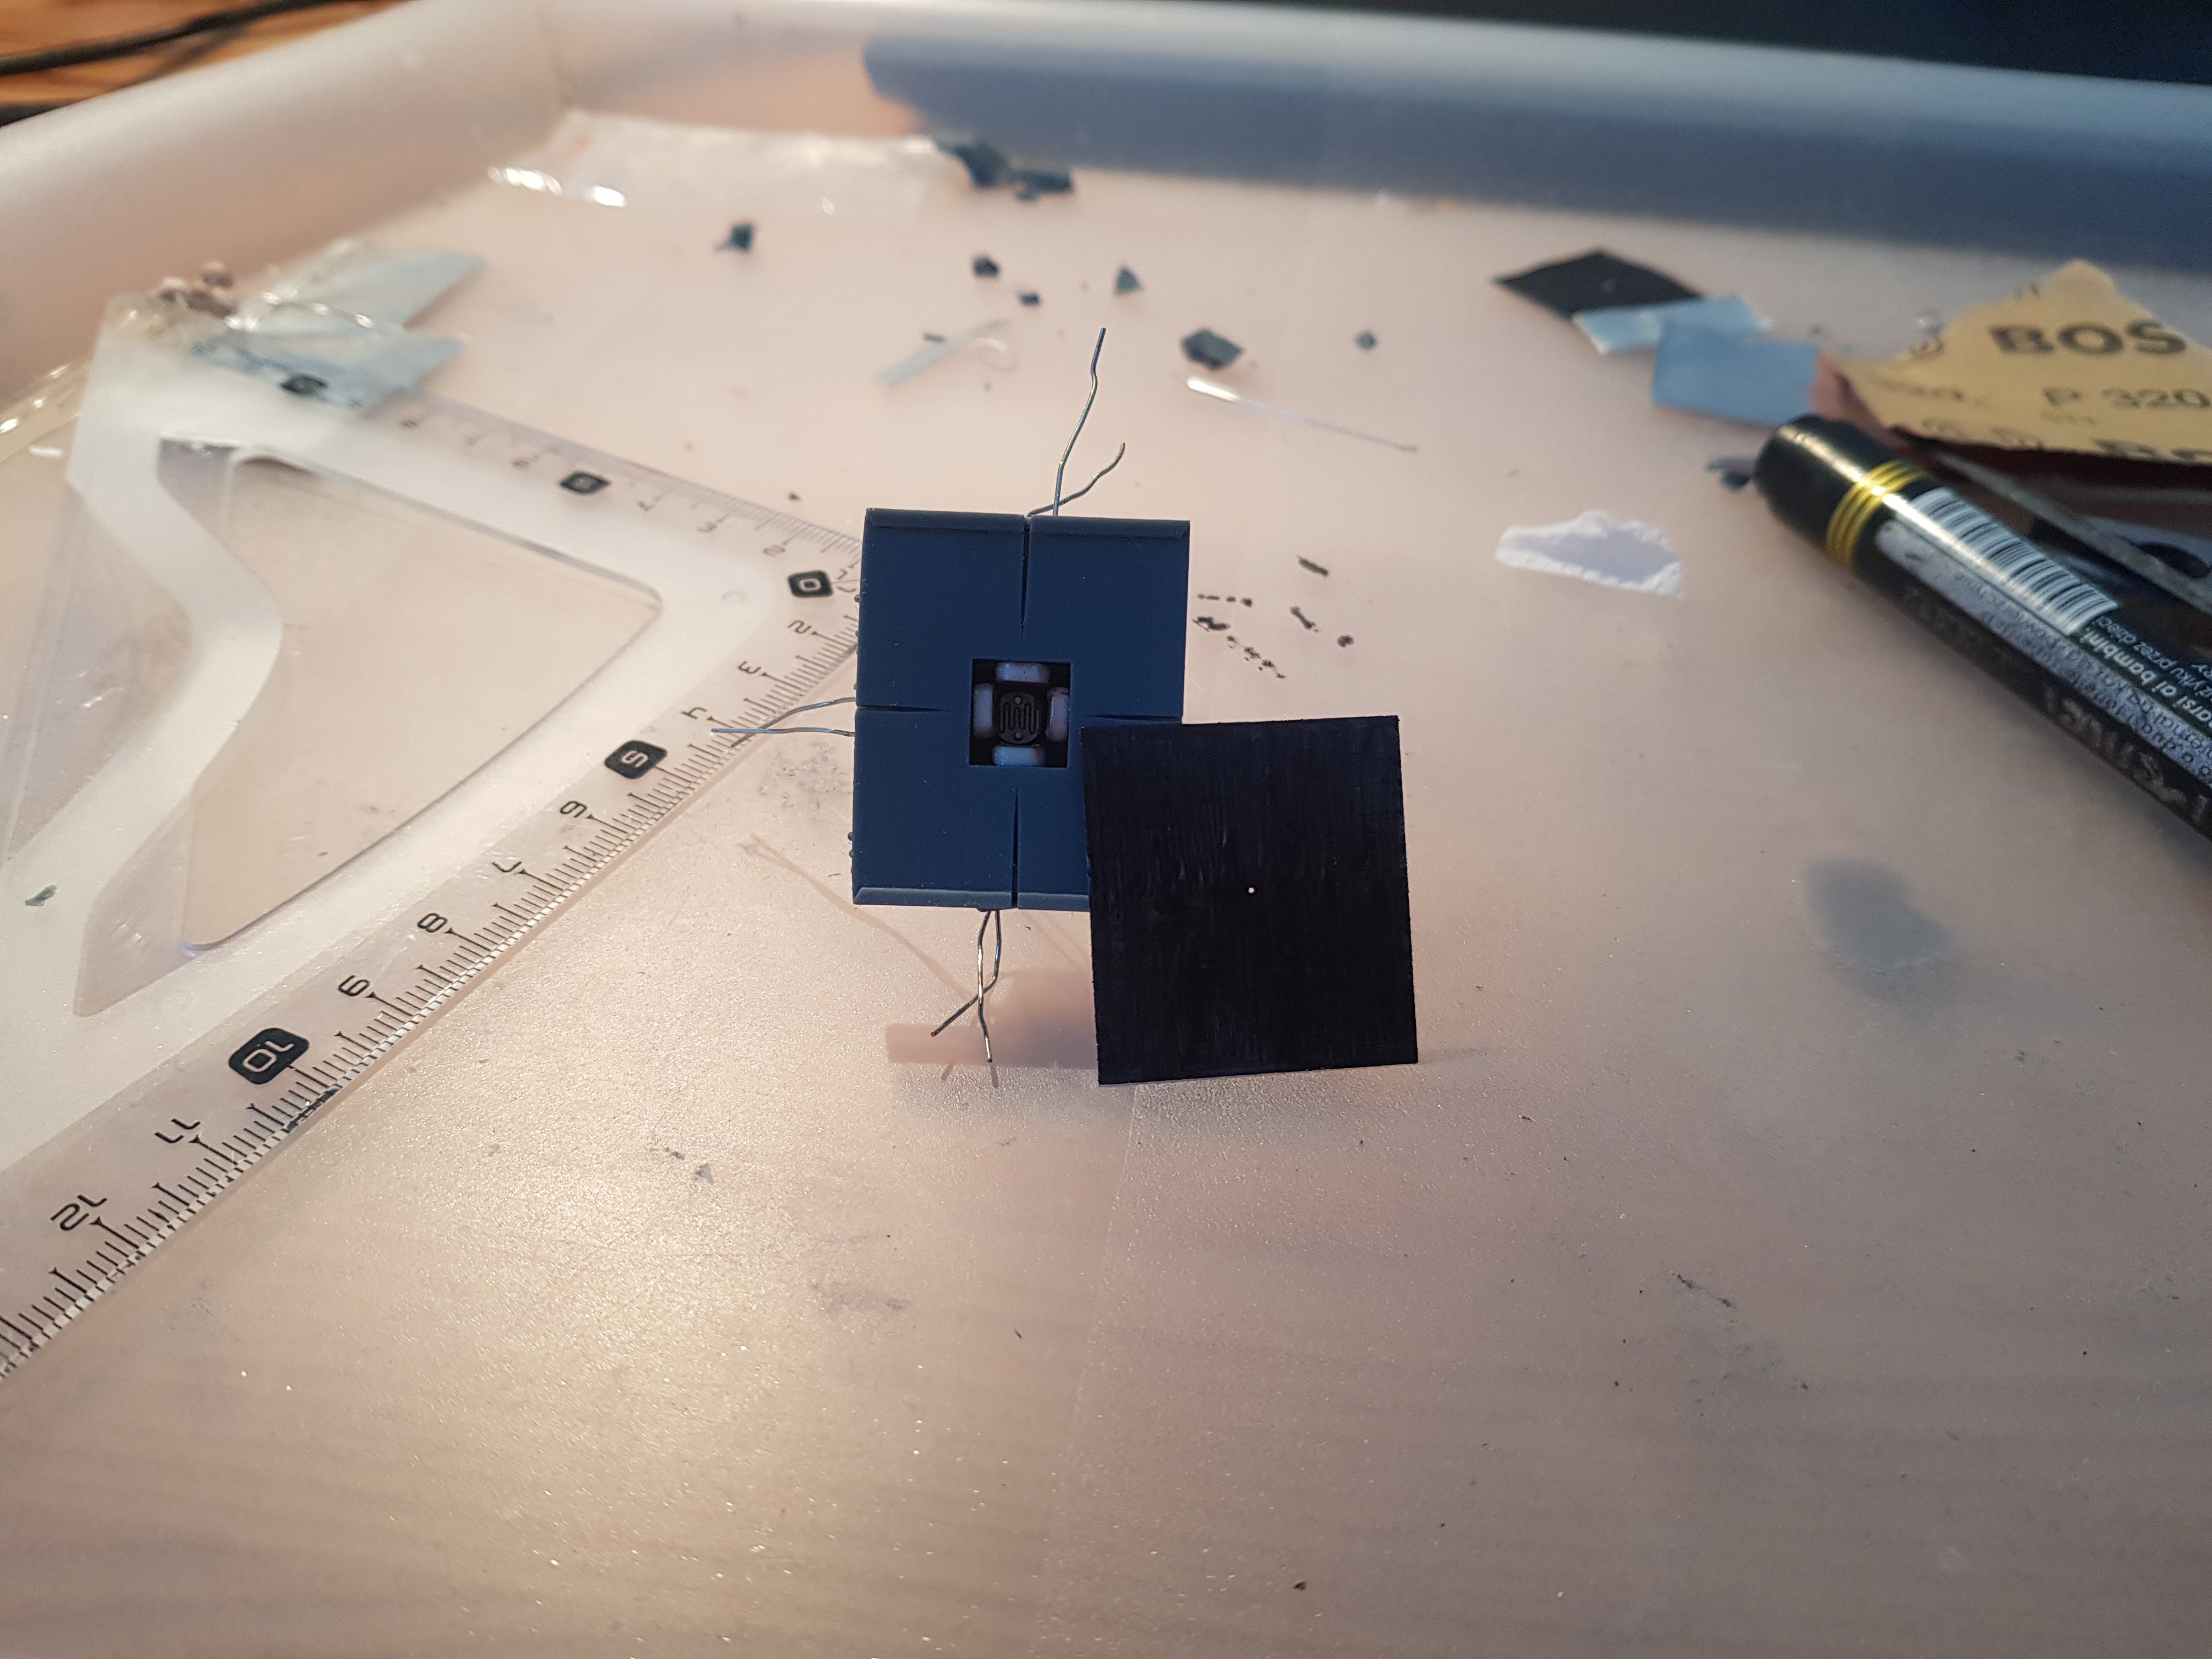 |  |  |
It might even be better to make the walls "overhanging" a bit. I might do another iteration at some point, but for now this vertical one works okay.
Once I had it working, I have decided to test it in a more organized way, so I have thrown together a measurement setup, where I checked how it works for various angles. I have used an ordinary headlight for that purpose. Not very precise, but enough for my purposes.
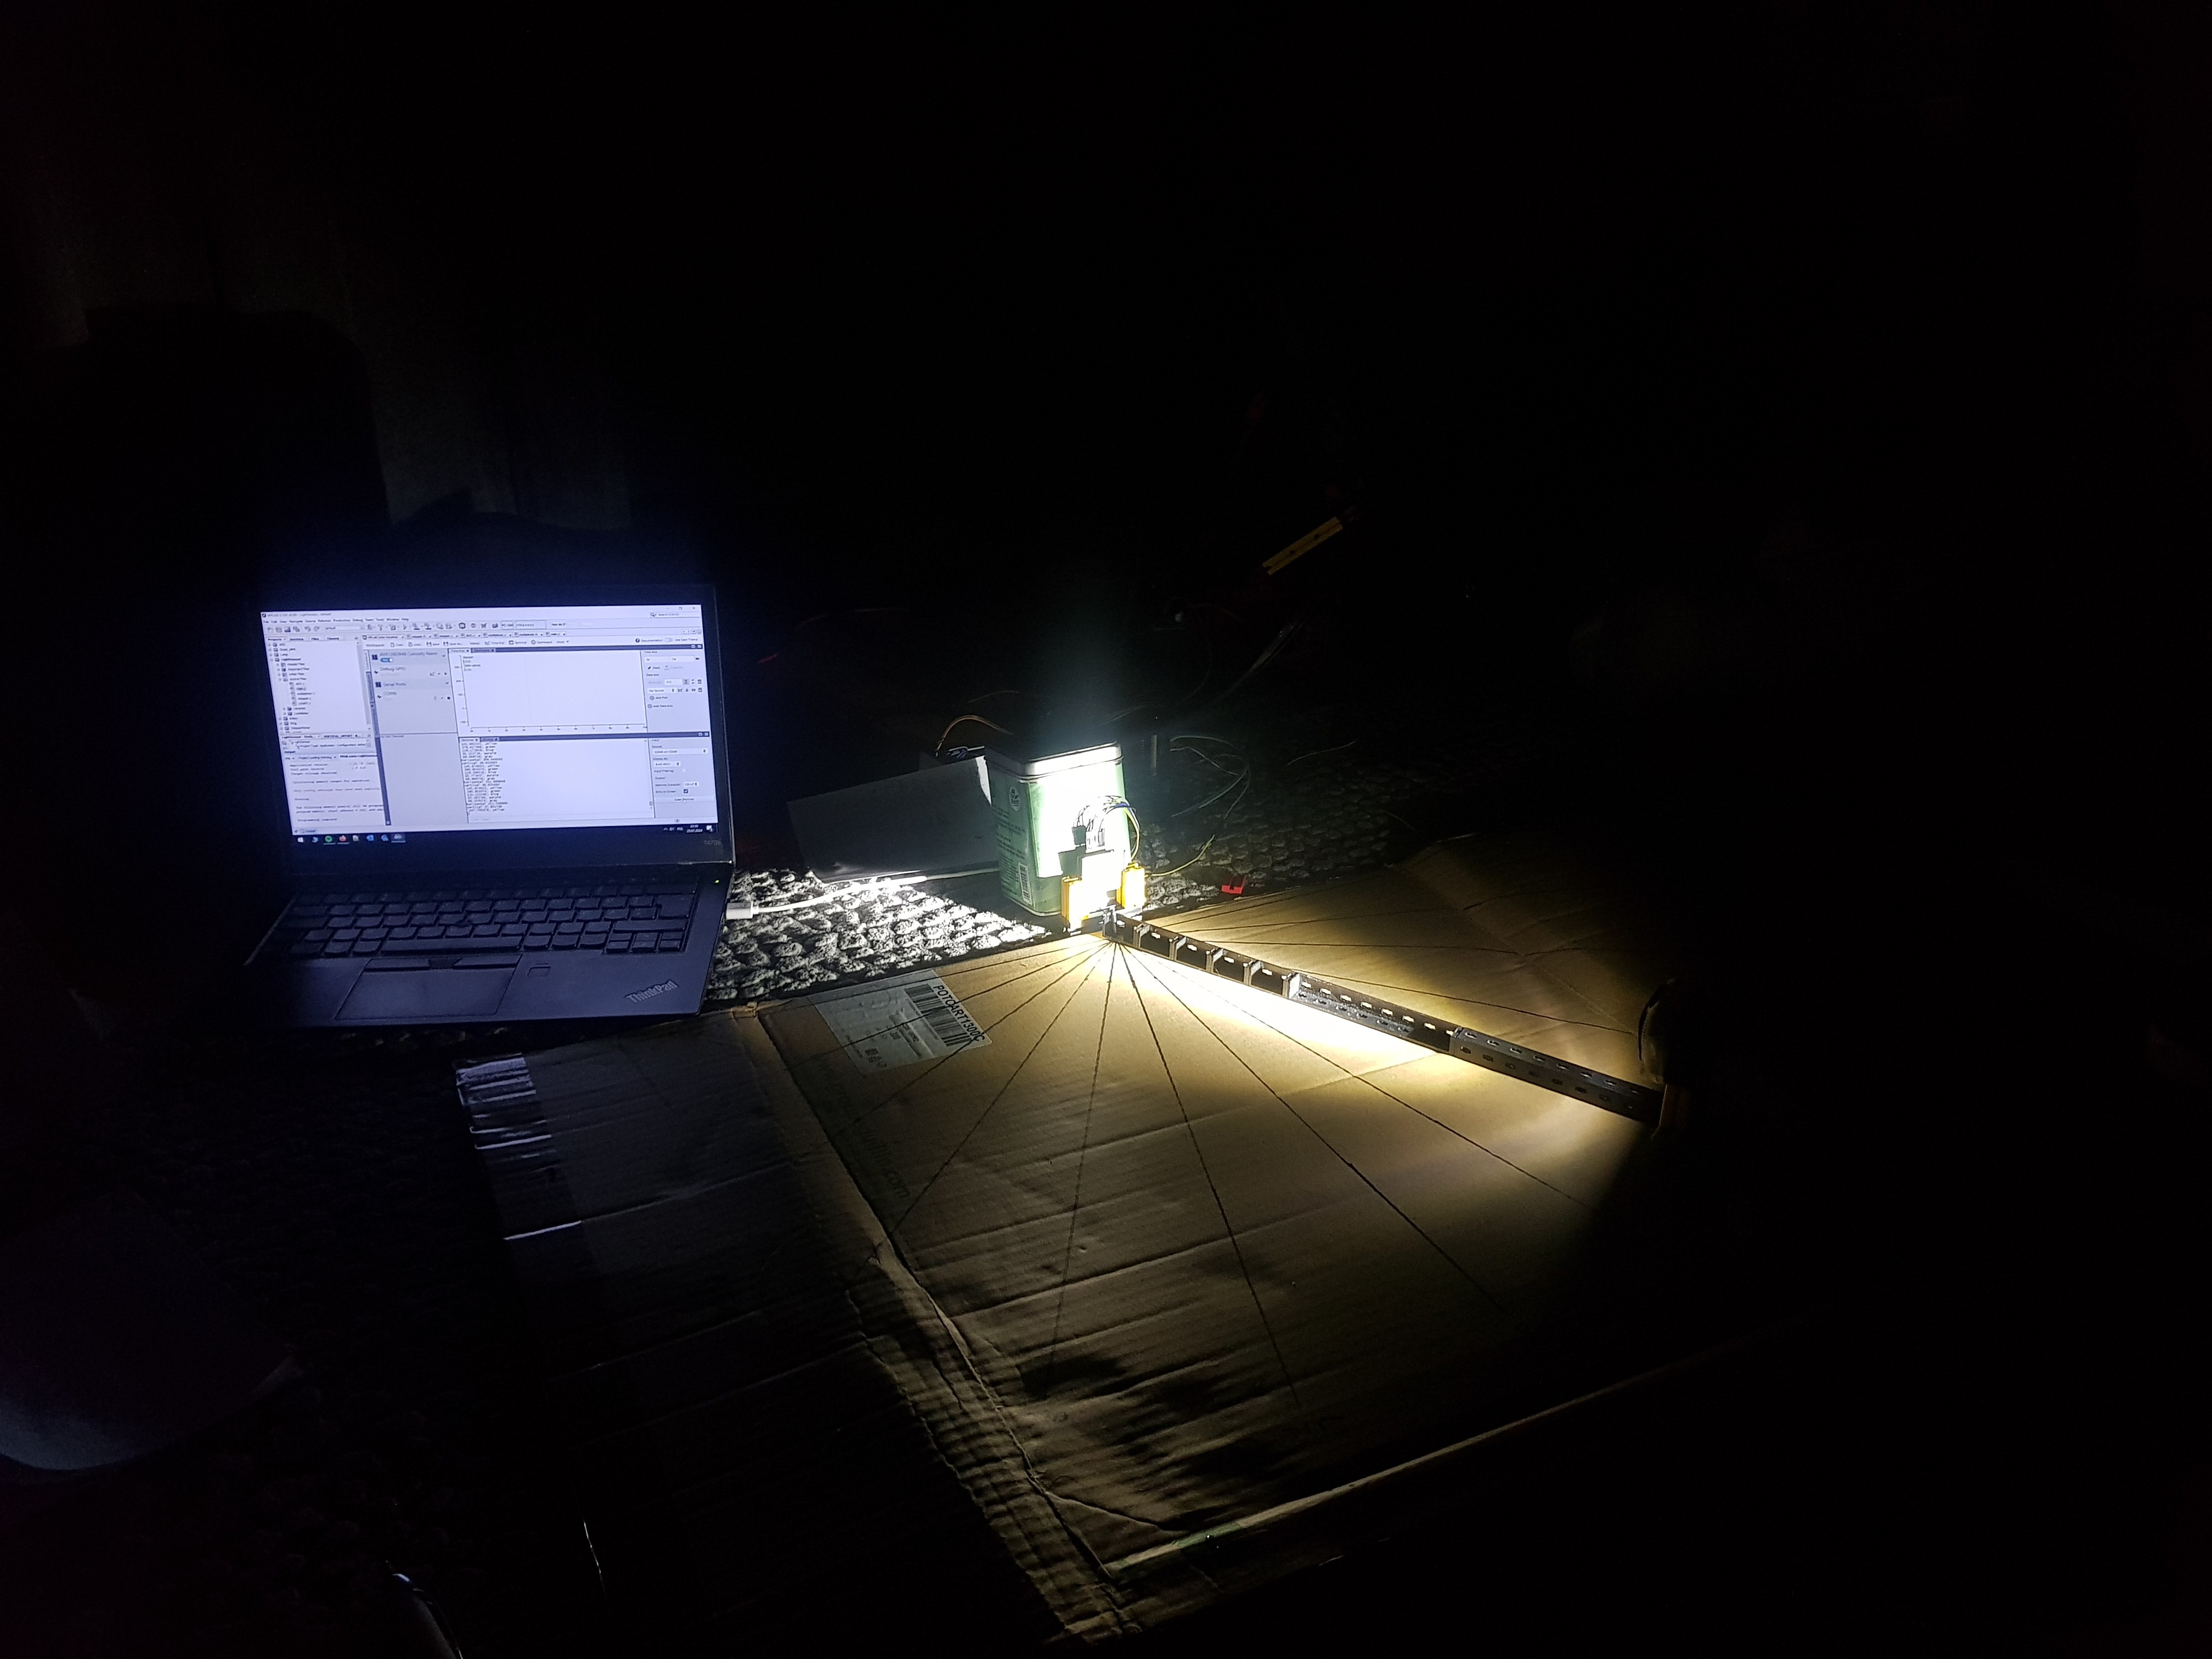
The results are attached in the files, key result is that it works very well between around -65 and 65 degrees in both axes. Not too bad, considering this is measured with a sort of a "point" source of light, for which it was not designed.
 DeepSOIC
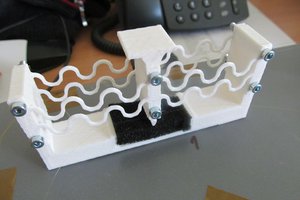
 jaromir.sukuba
 Minimum Effective Dose
 Nathan Peterson