-
11Volume Knob Holder Assembly
![]()
![]()
![]()
![]()
![]()
![]()
![]()
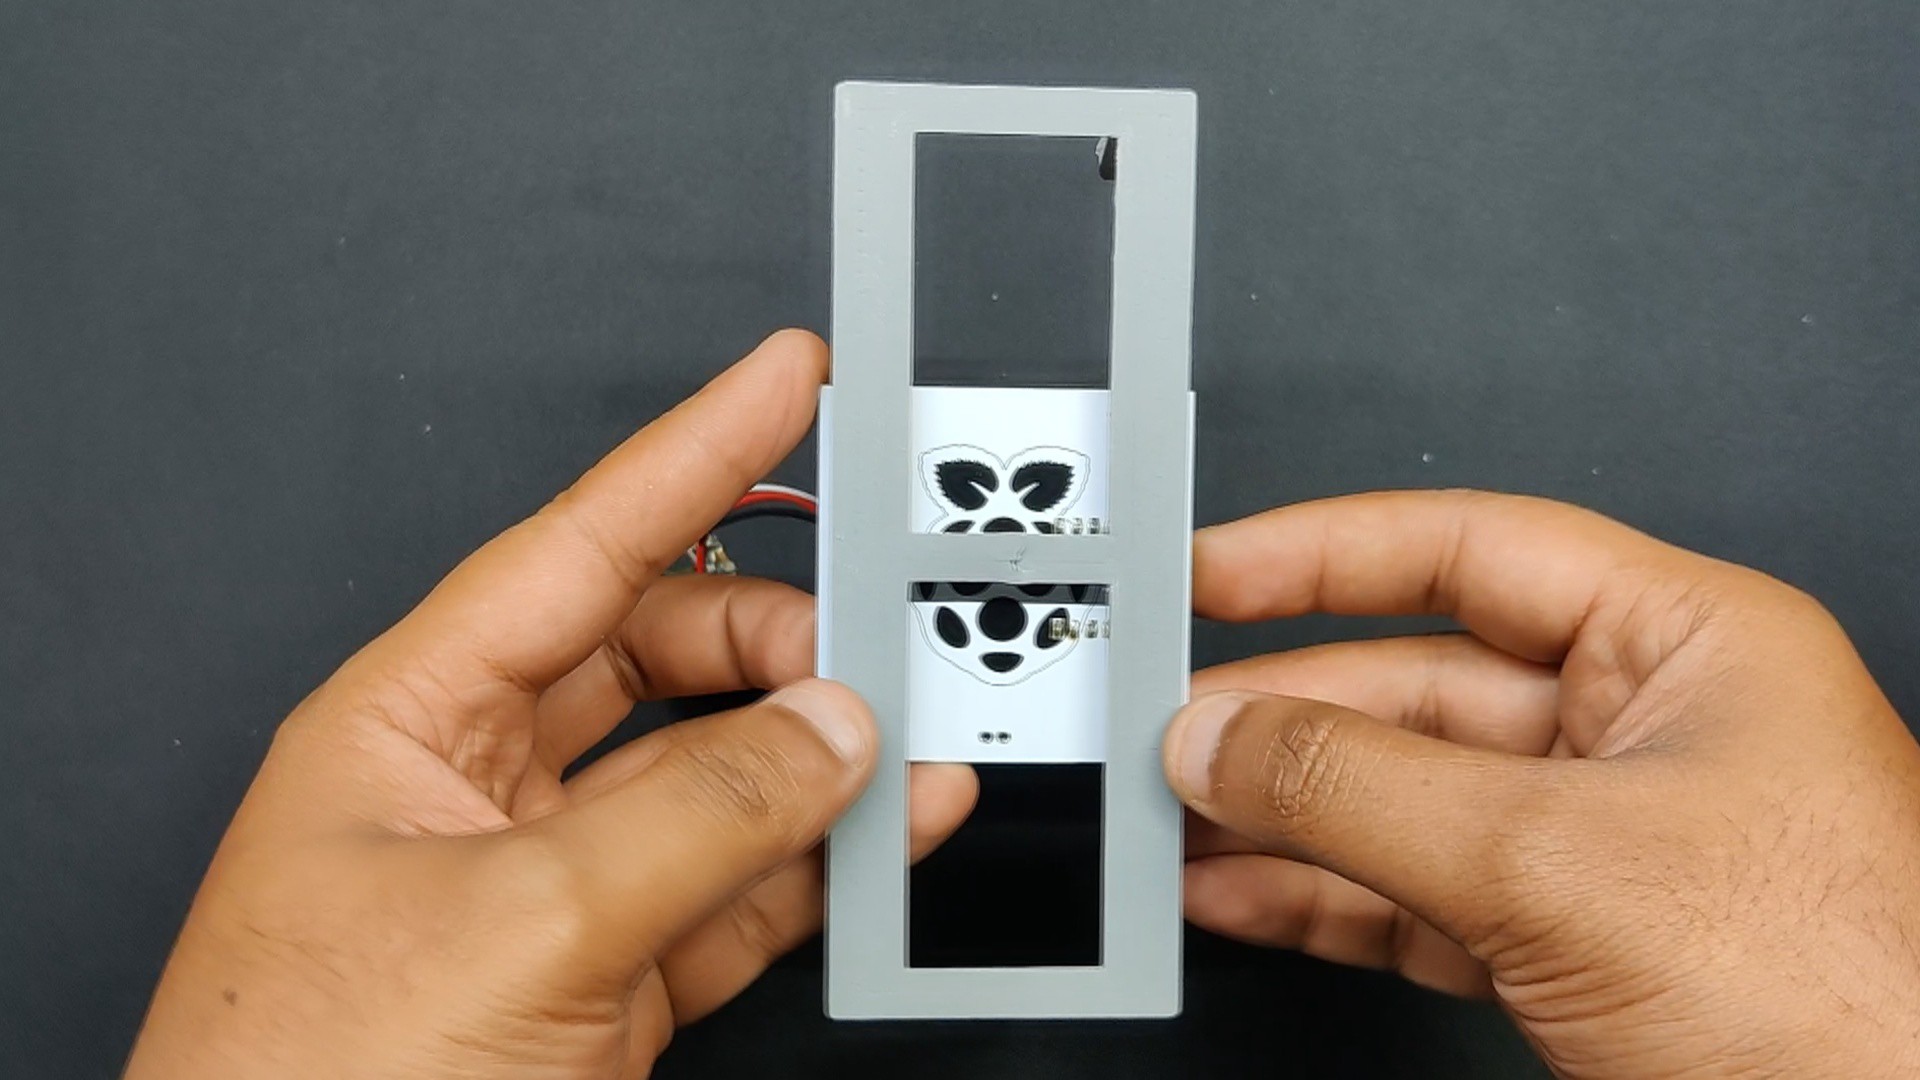
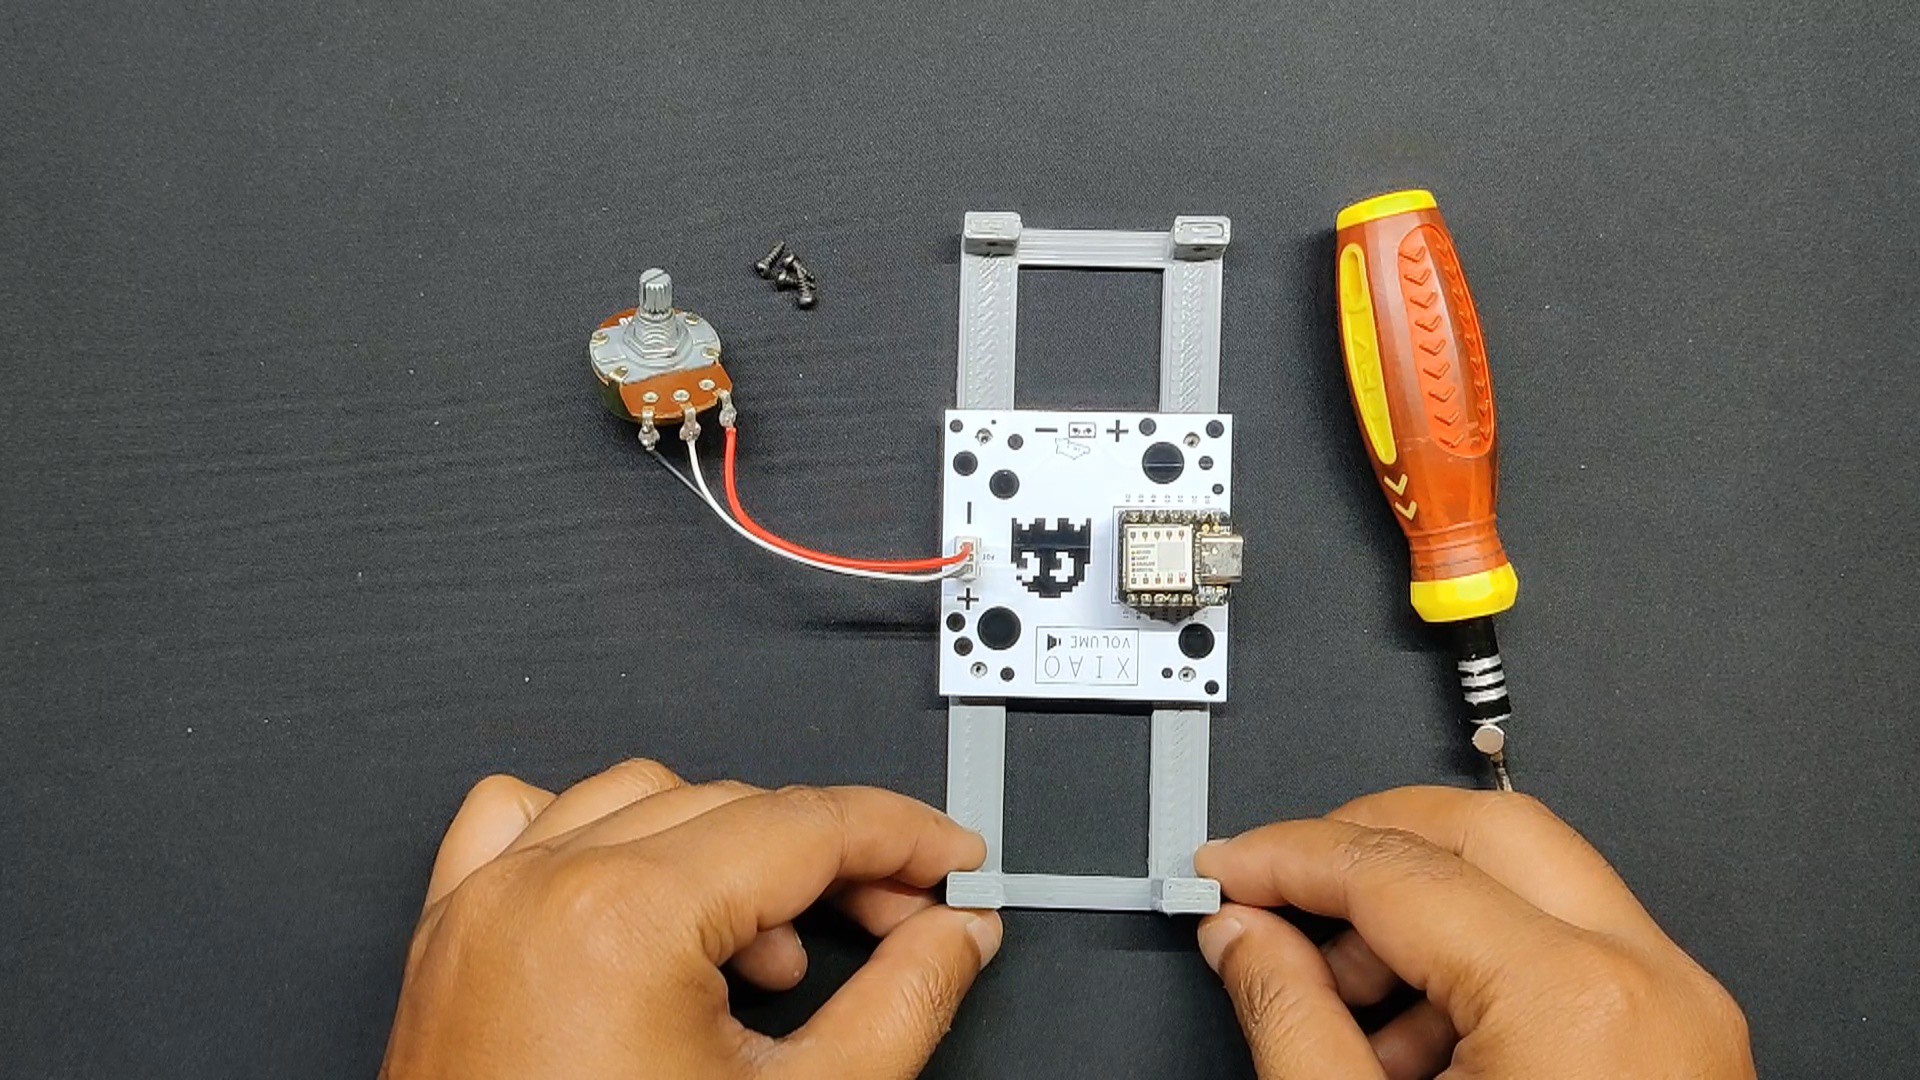
- After positioning the volume PCB over the PCB holder, we secure them to each other with four m2 screws.
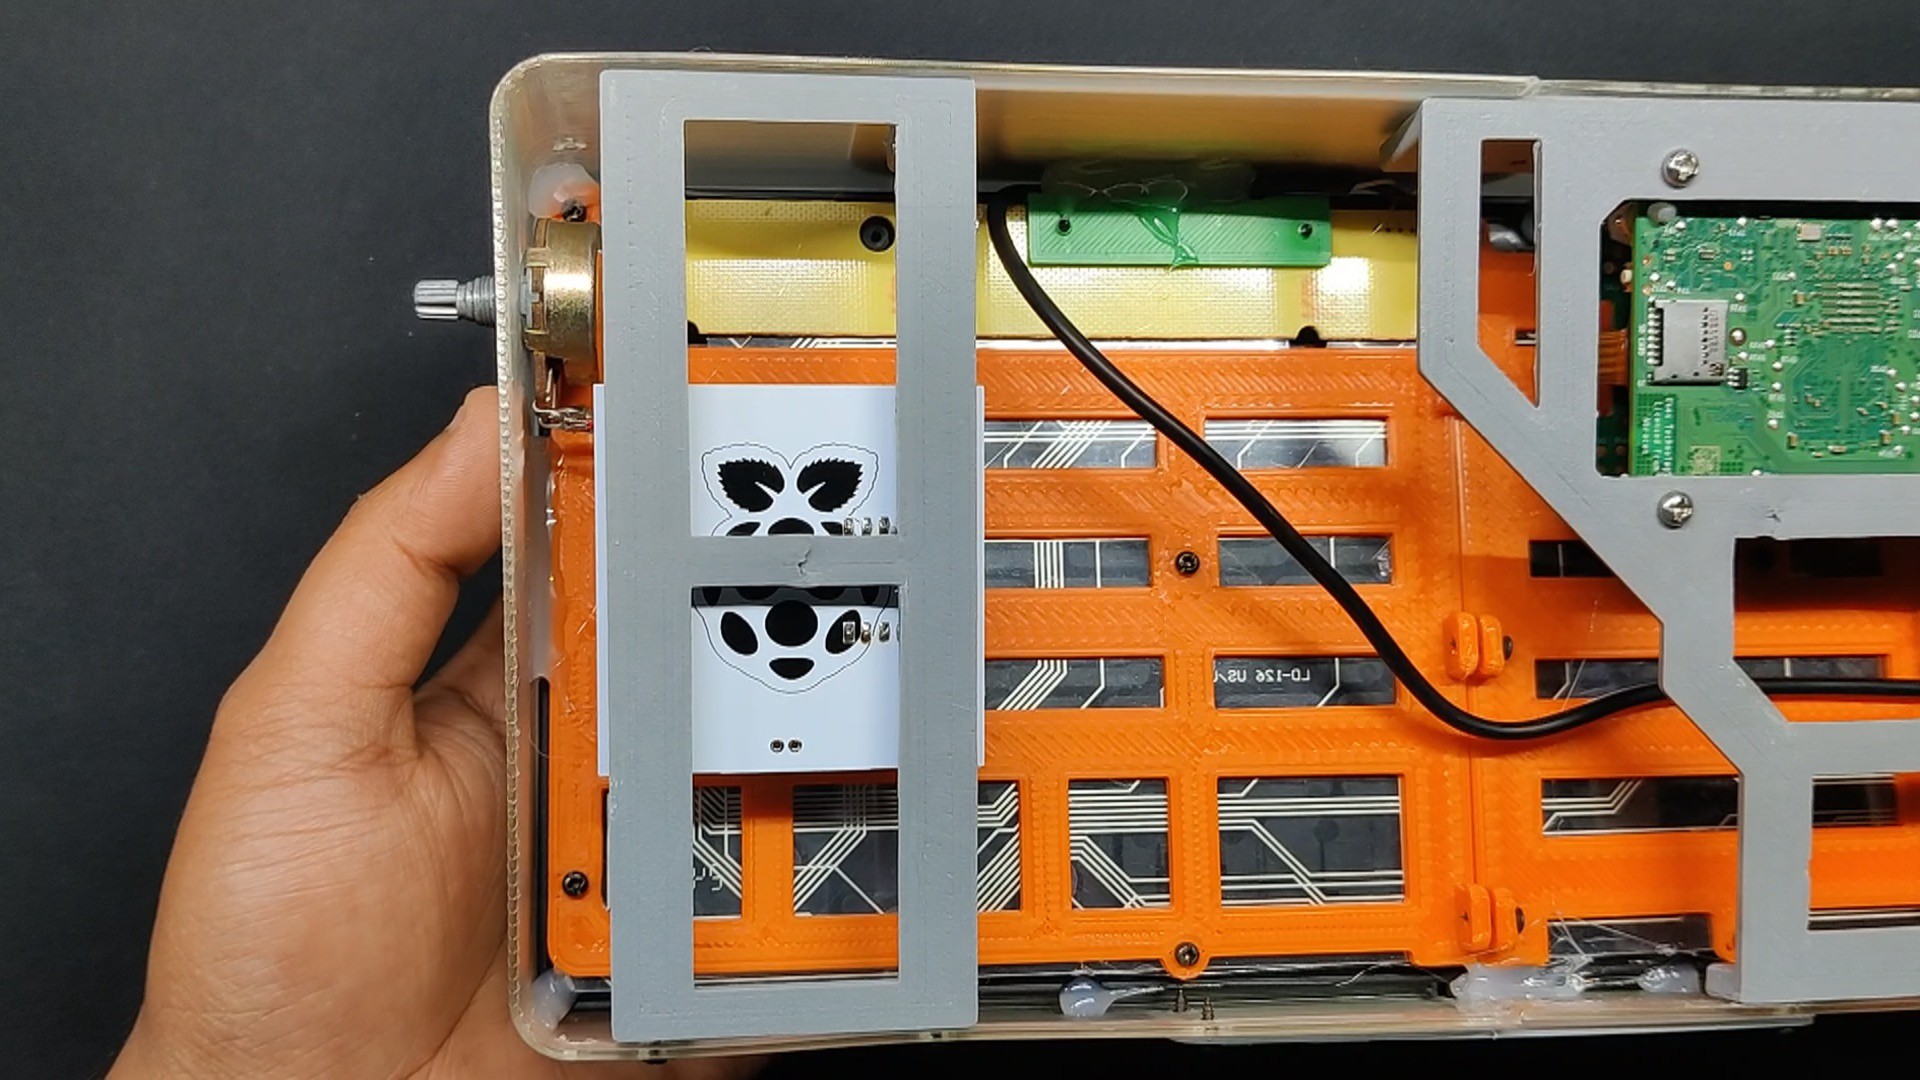
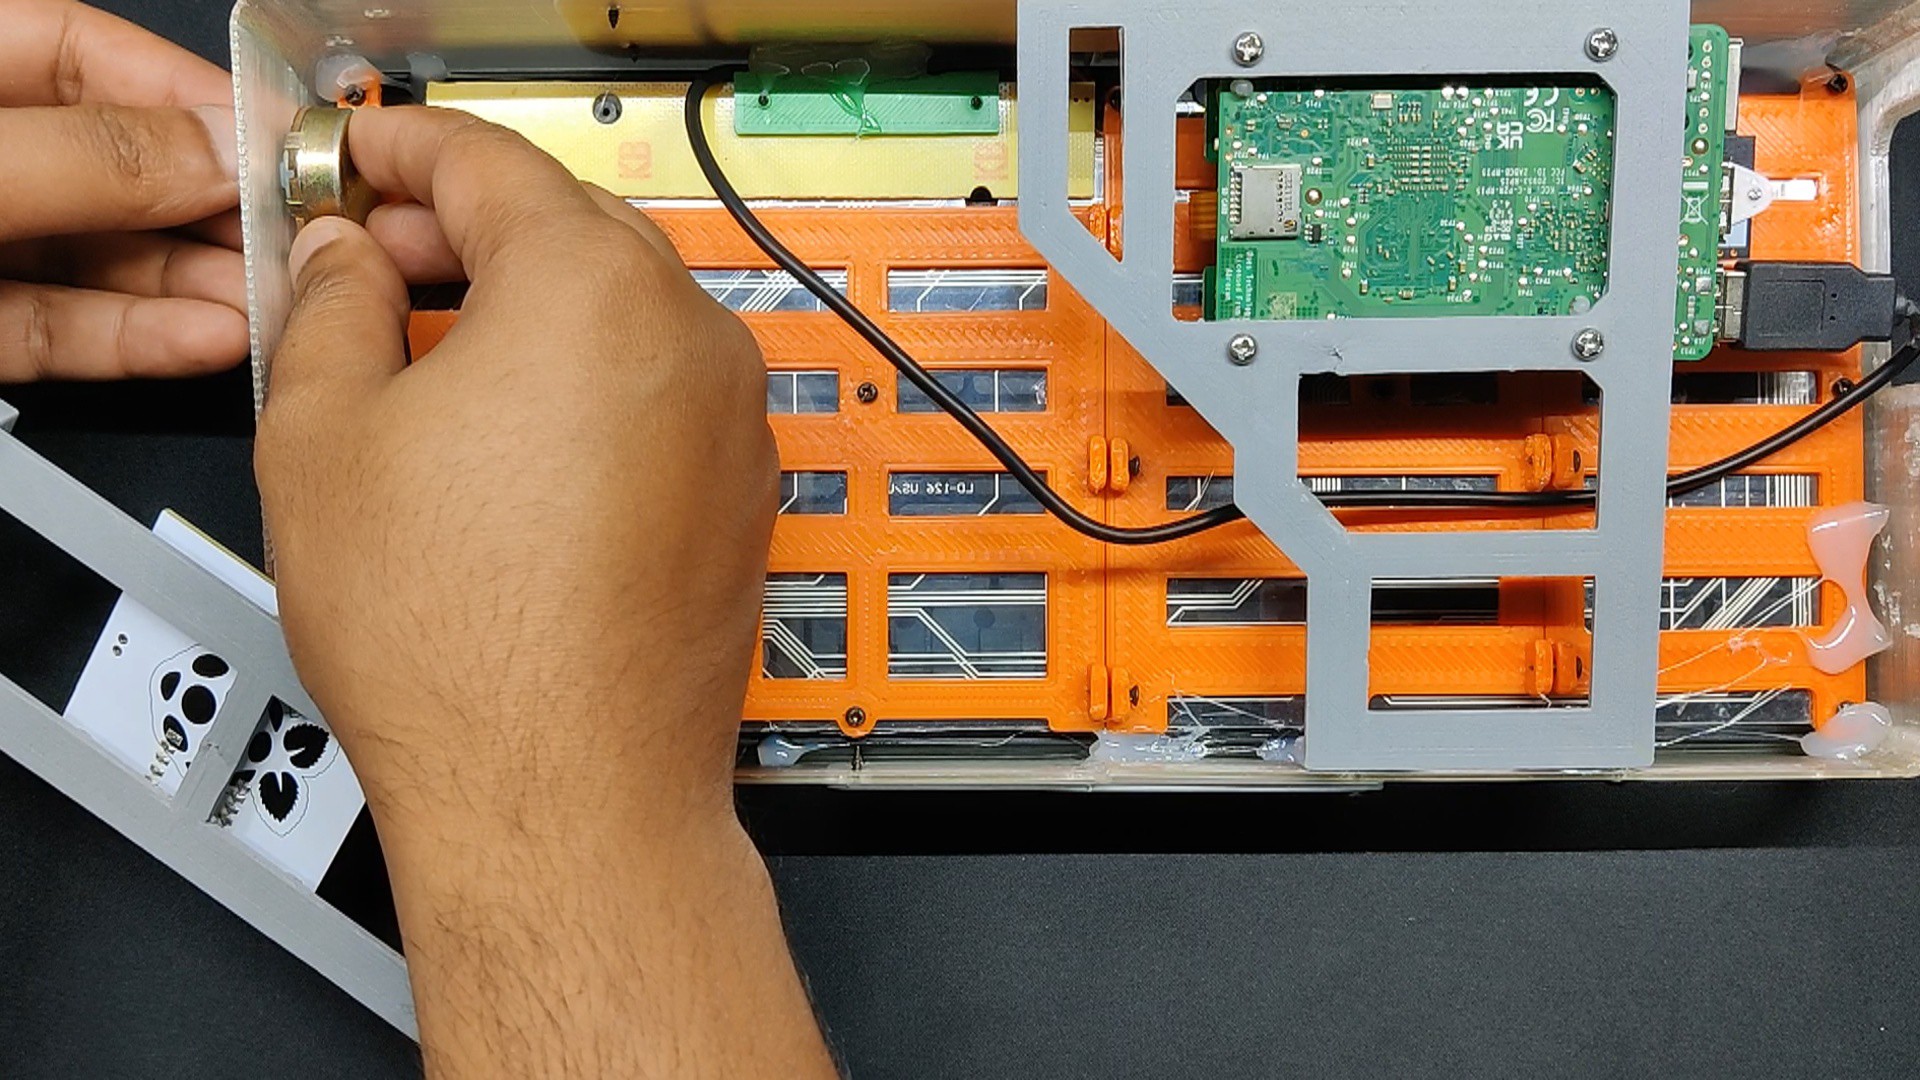
- The potentiometer is then attached to the frame body by placing it into the hole on the left side of the frame.
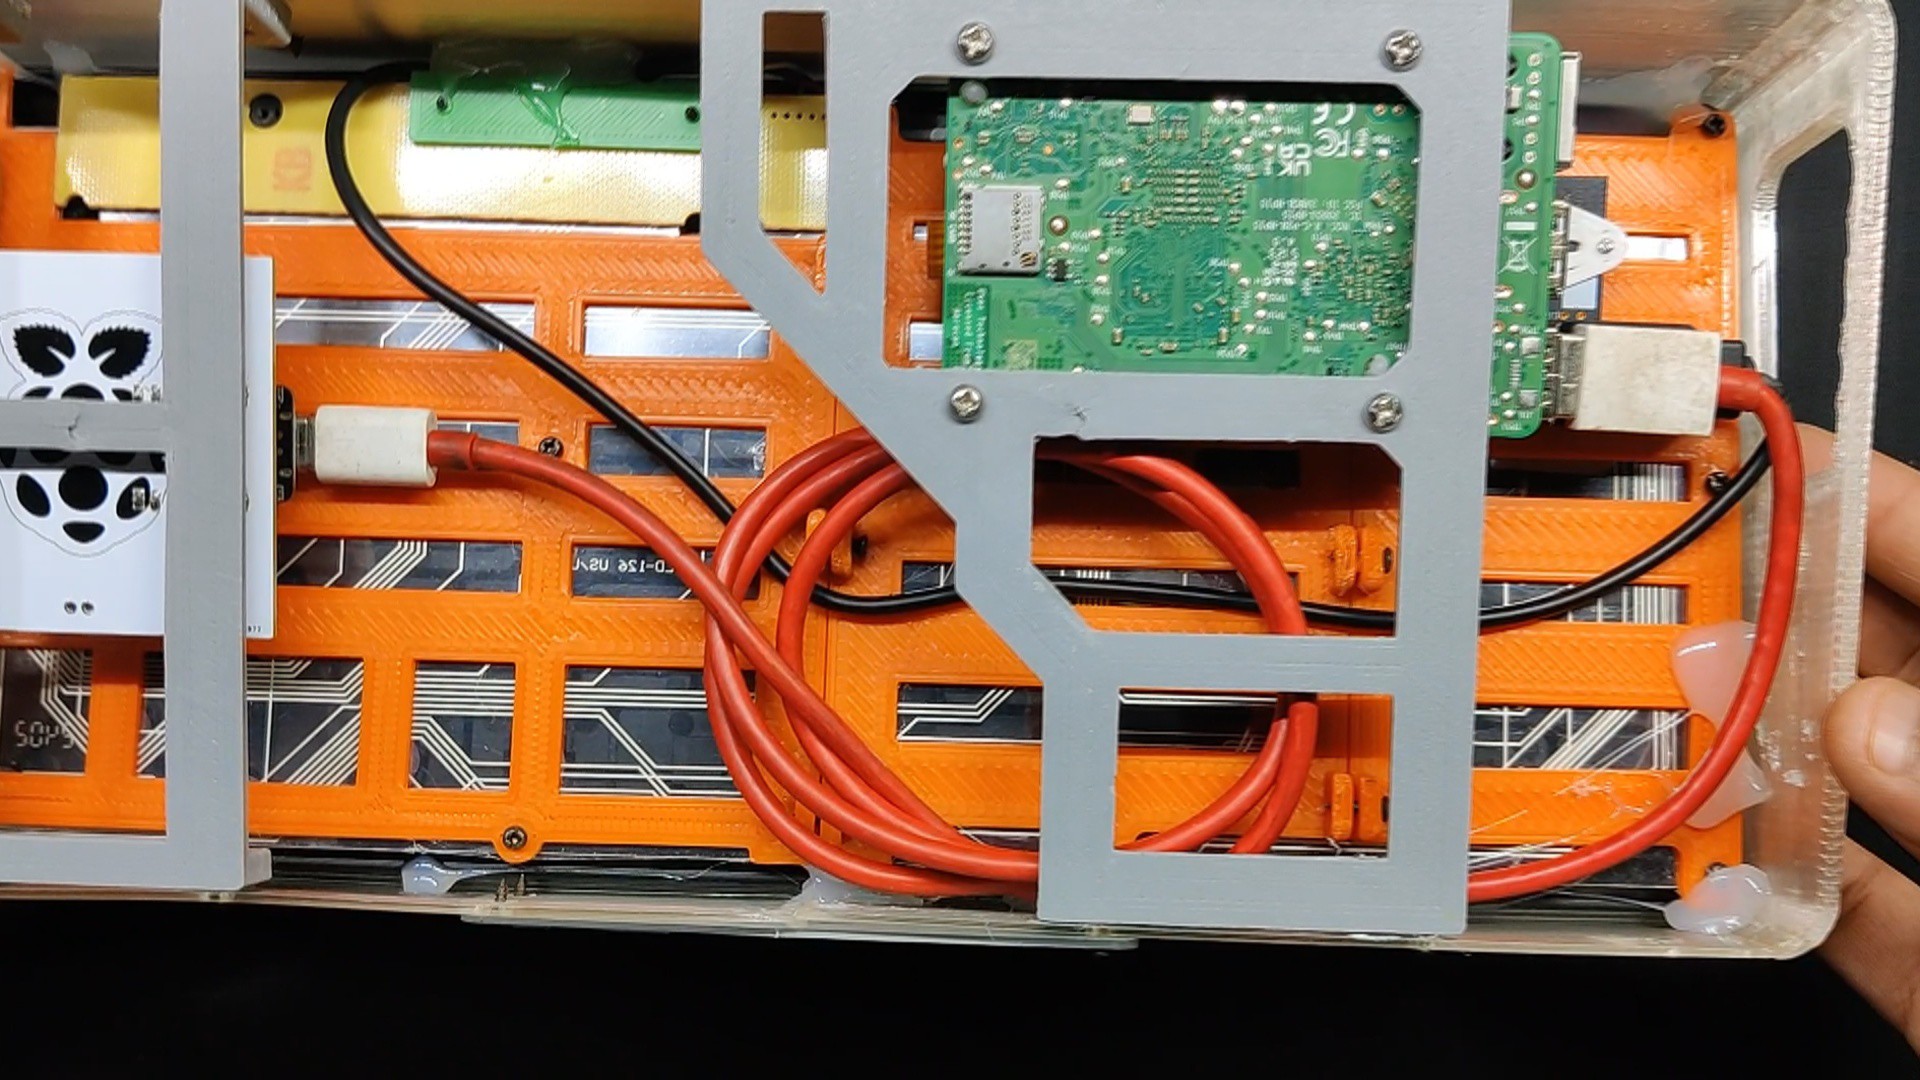
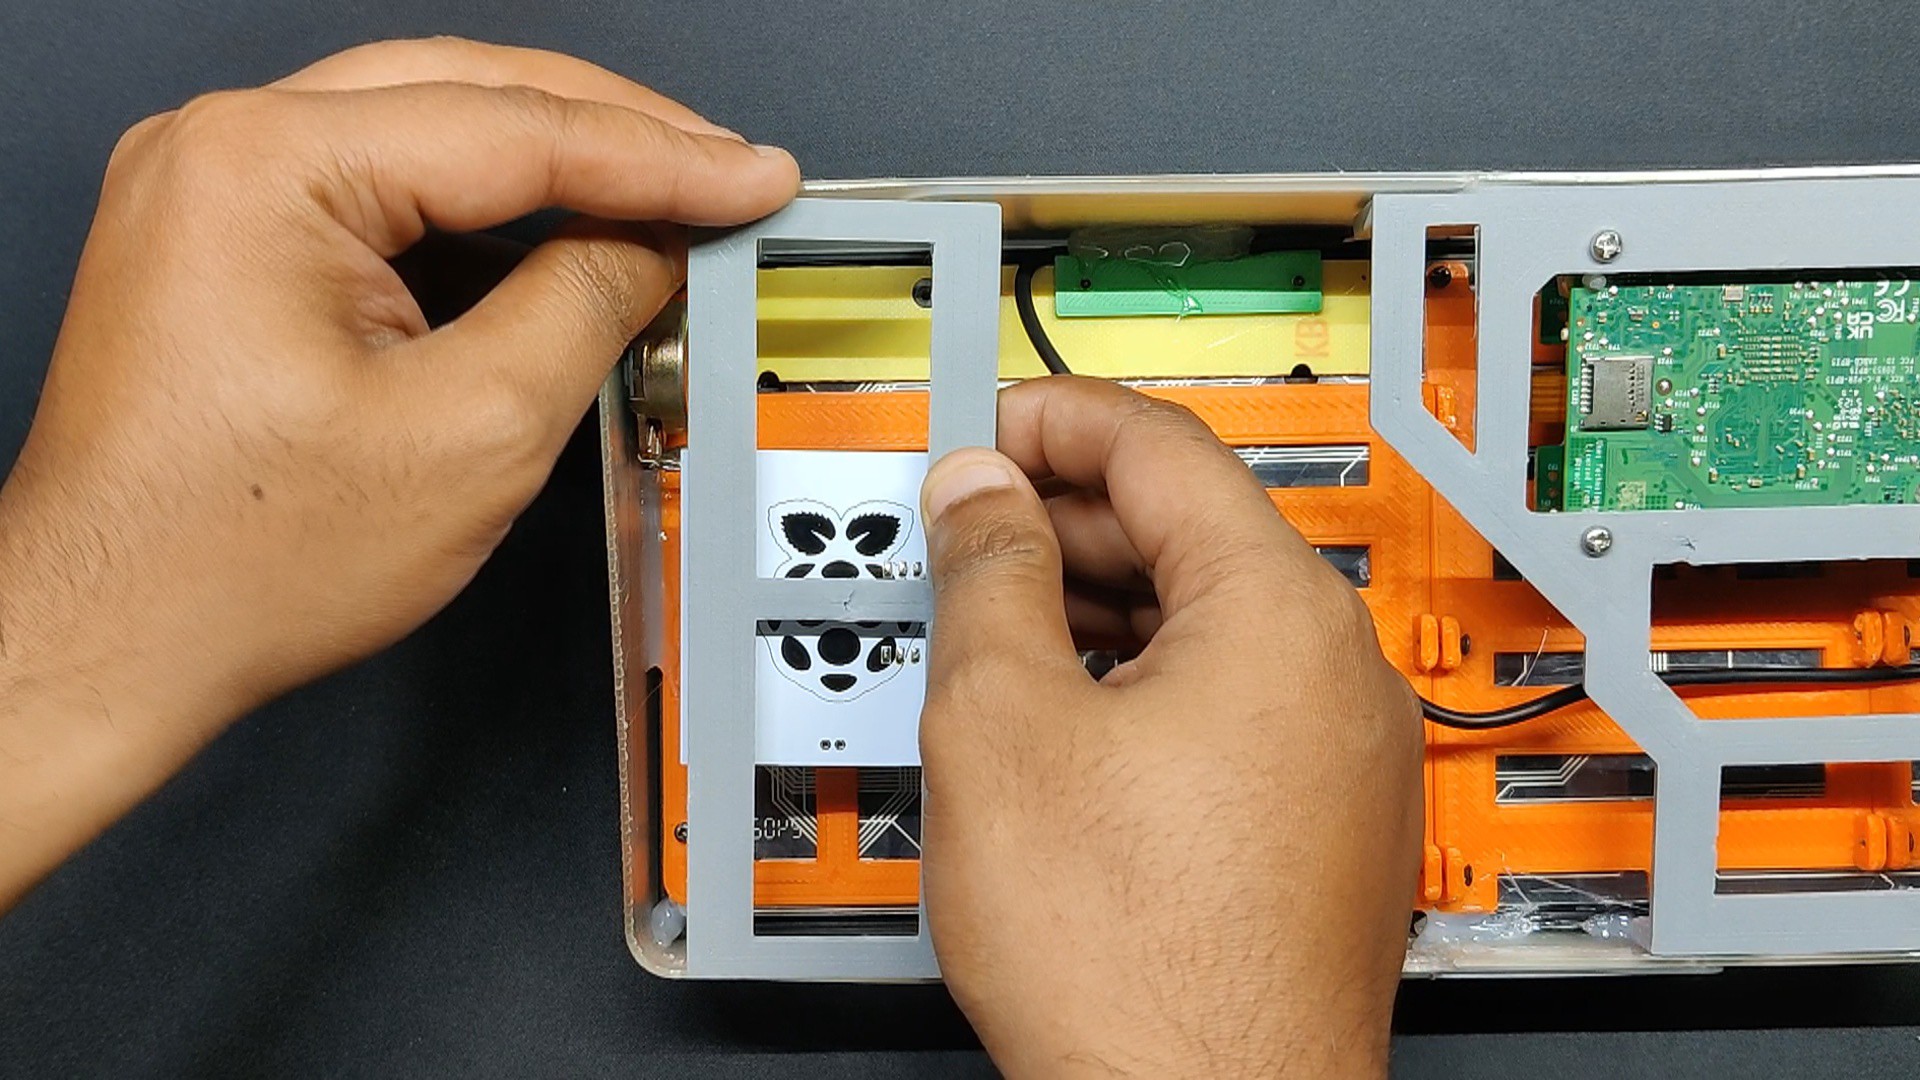
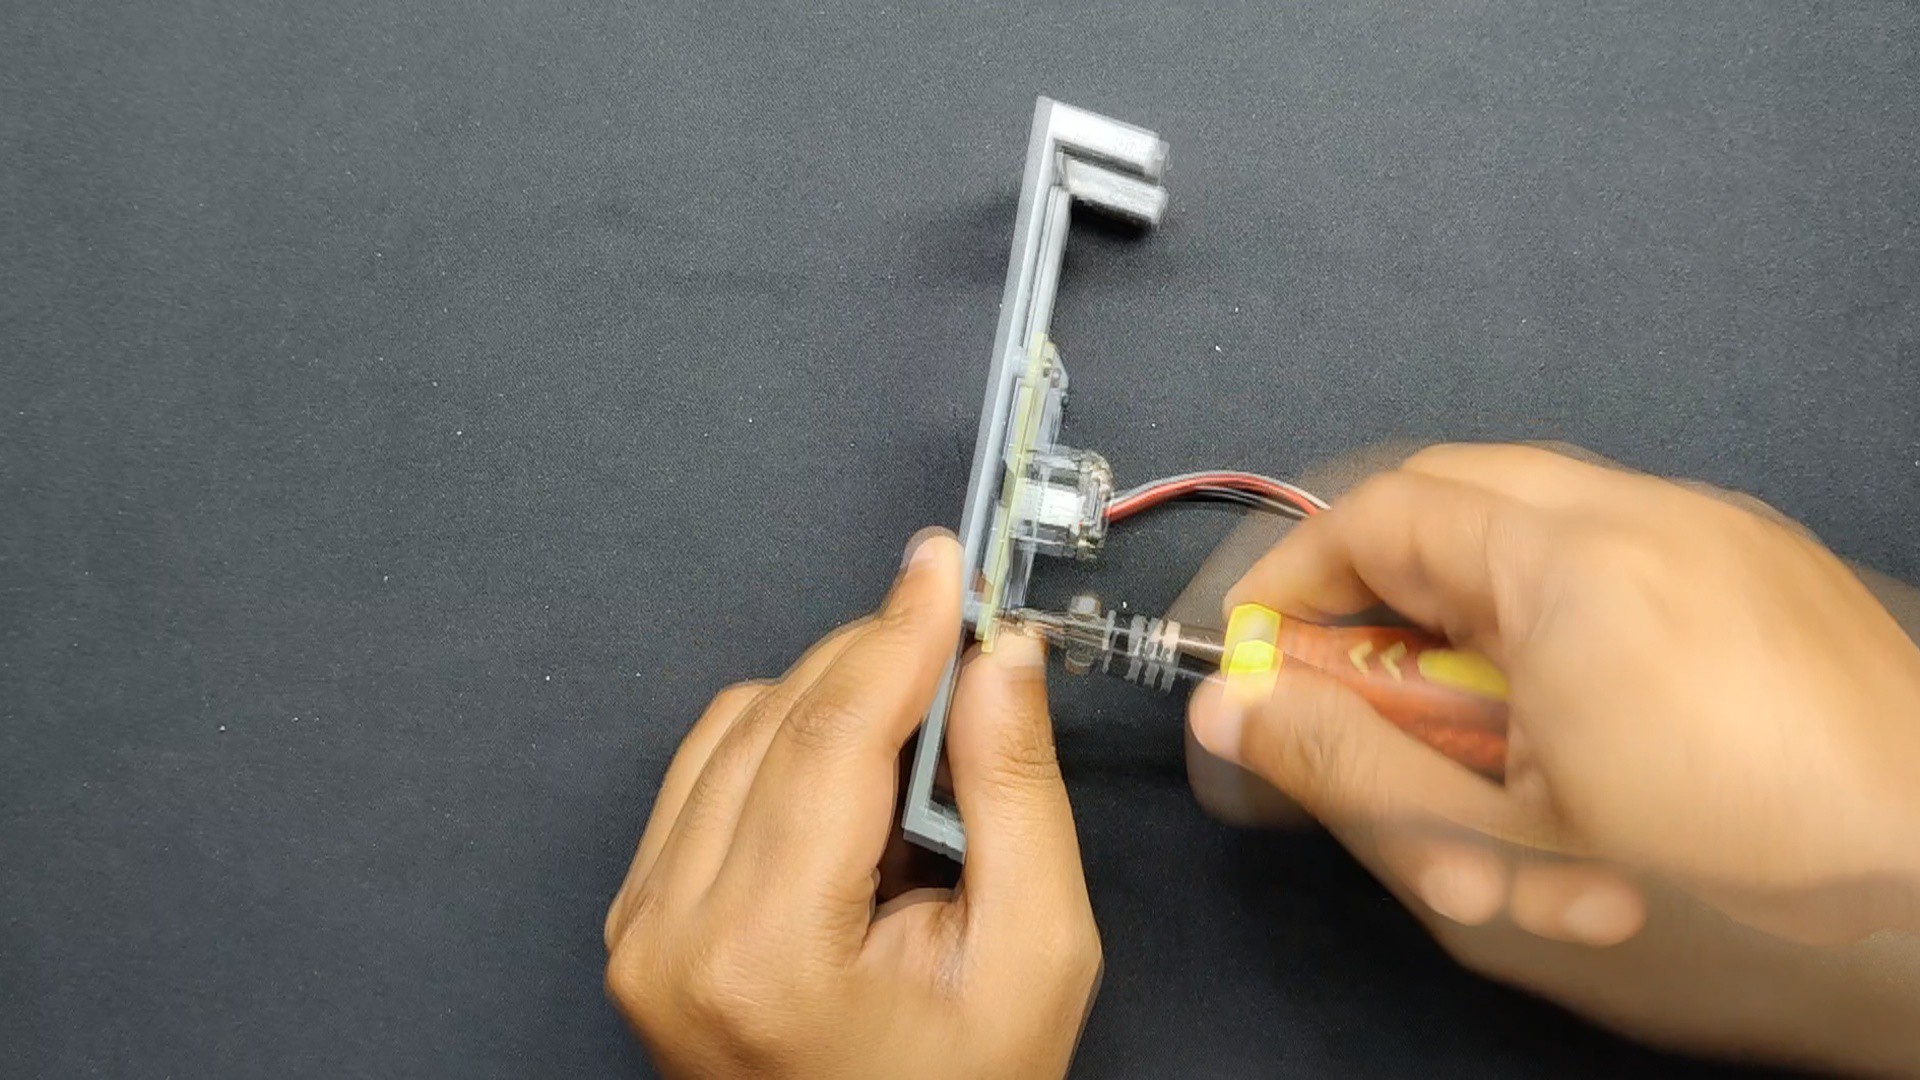
- The PCB holder is then positioned in its proper location and fastened with four M2 screws.
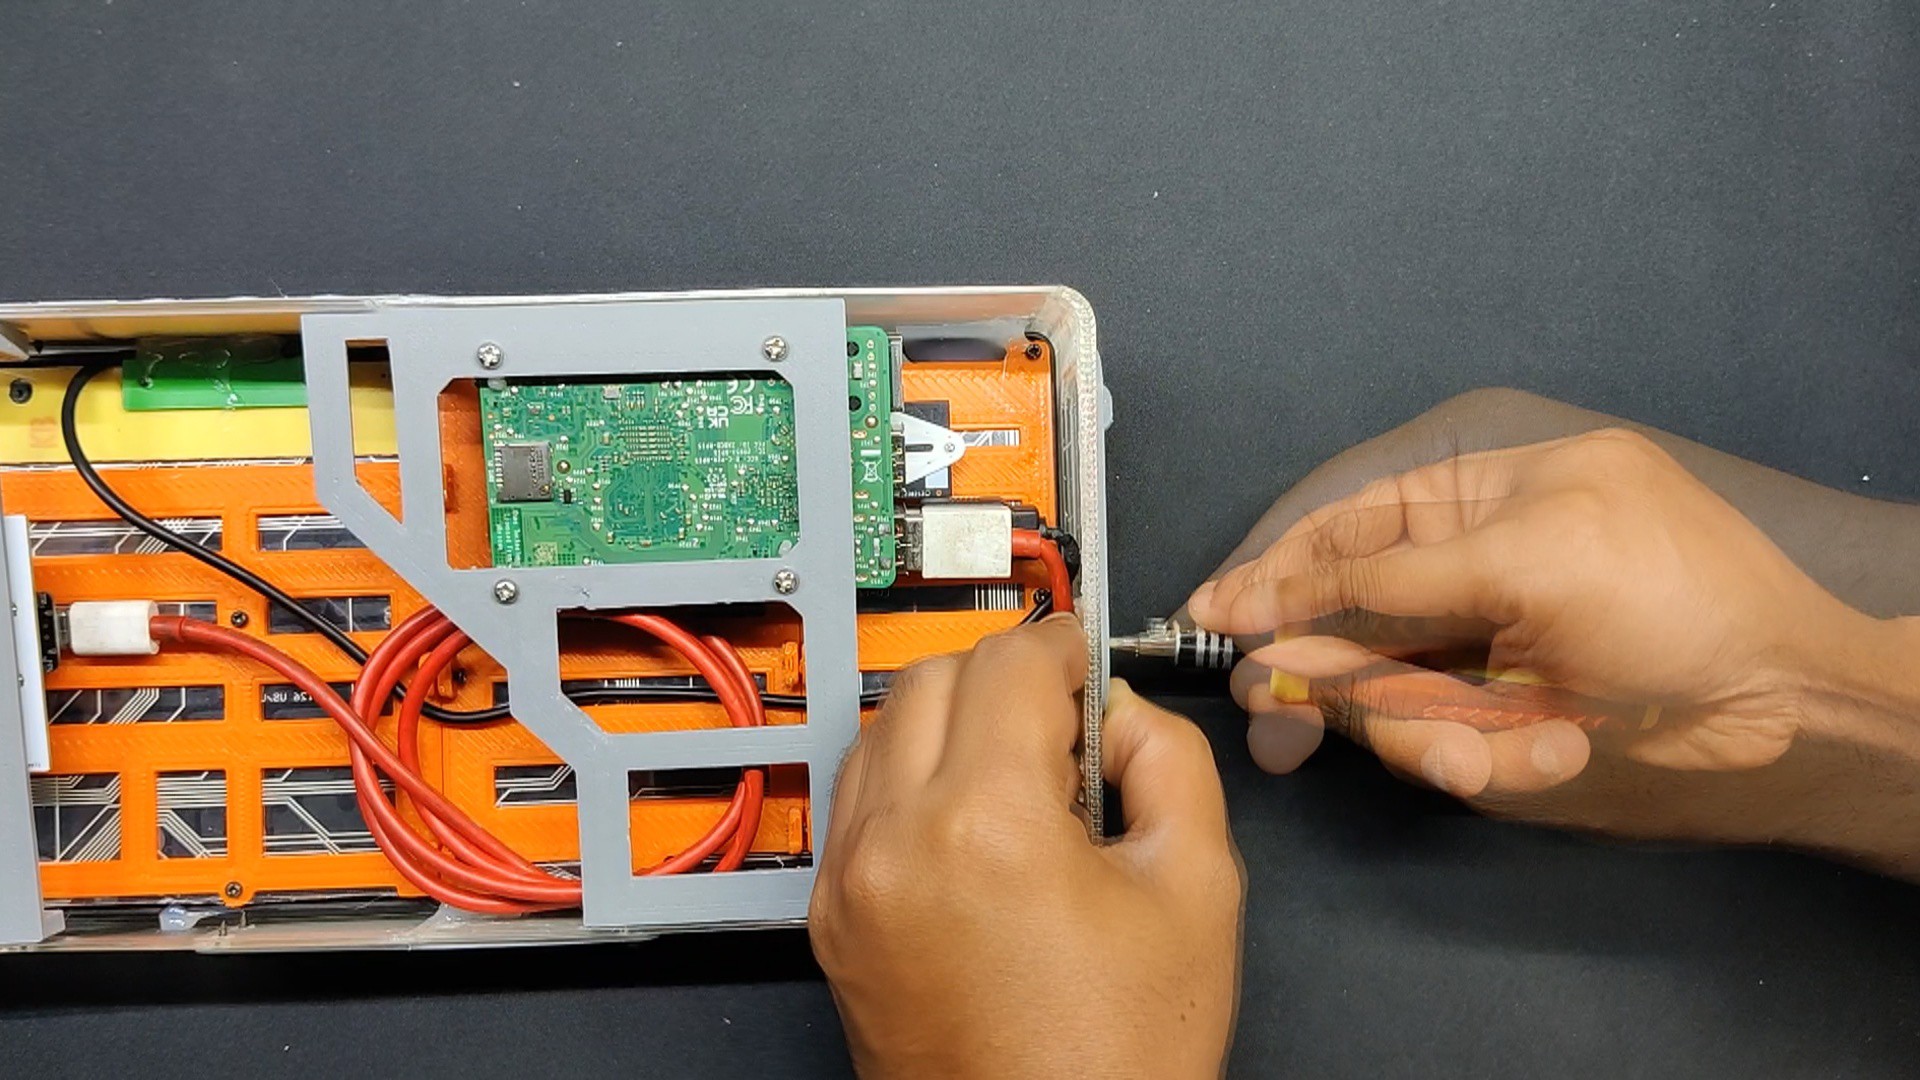
- We now use a type C data cable to connect the Raspberry Pi and XIAO microcontroller. Here, the USB is plugged into the USB 2.0 port of the Raspberry Pi.
-
12Final Assembly
![]()
![]()
![]()
![]()
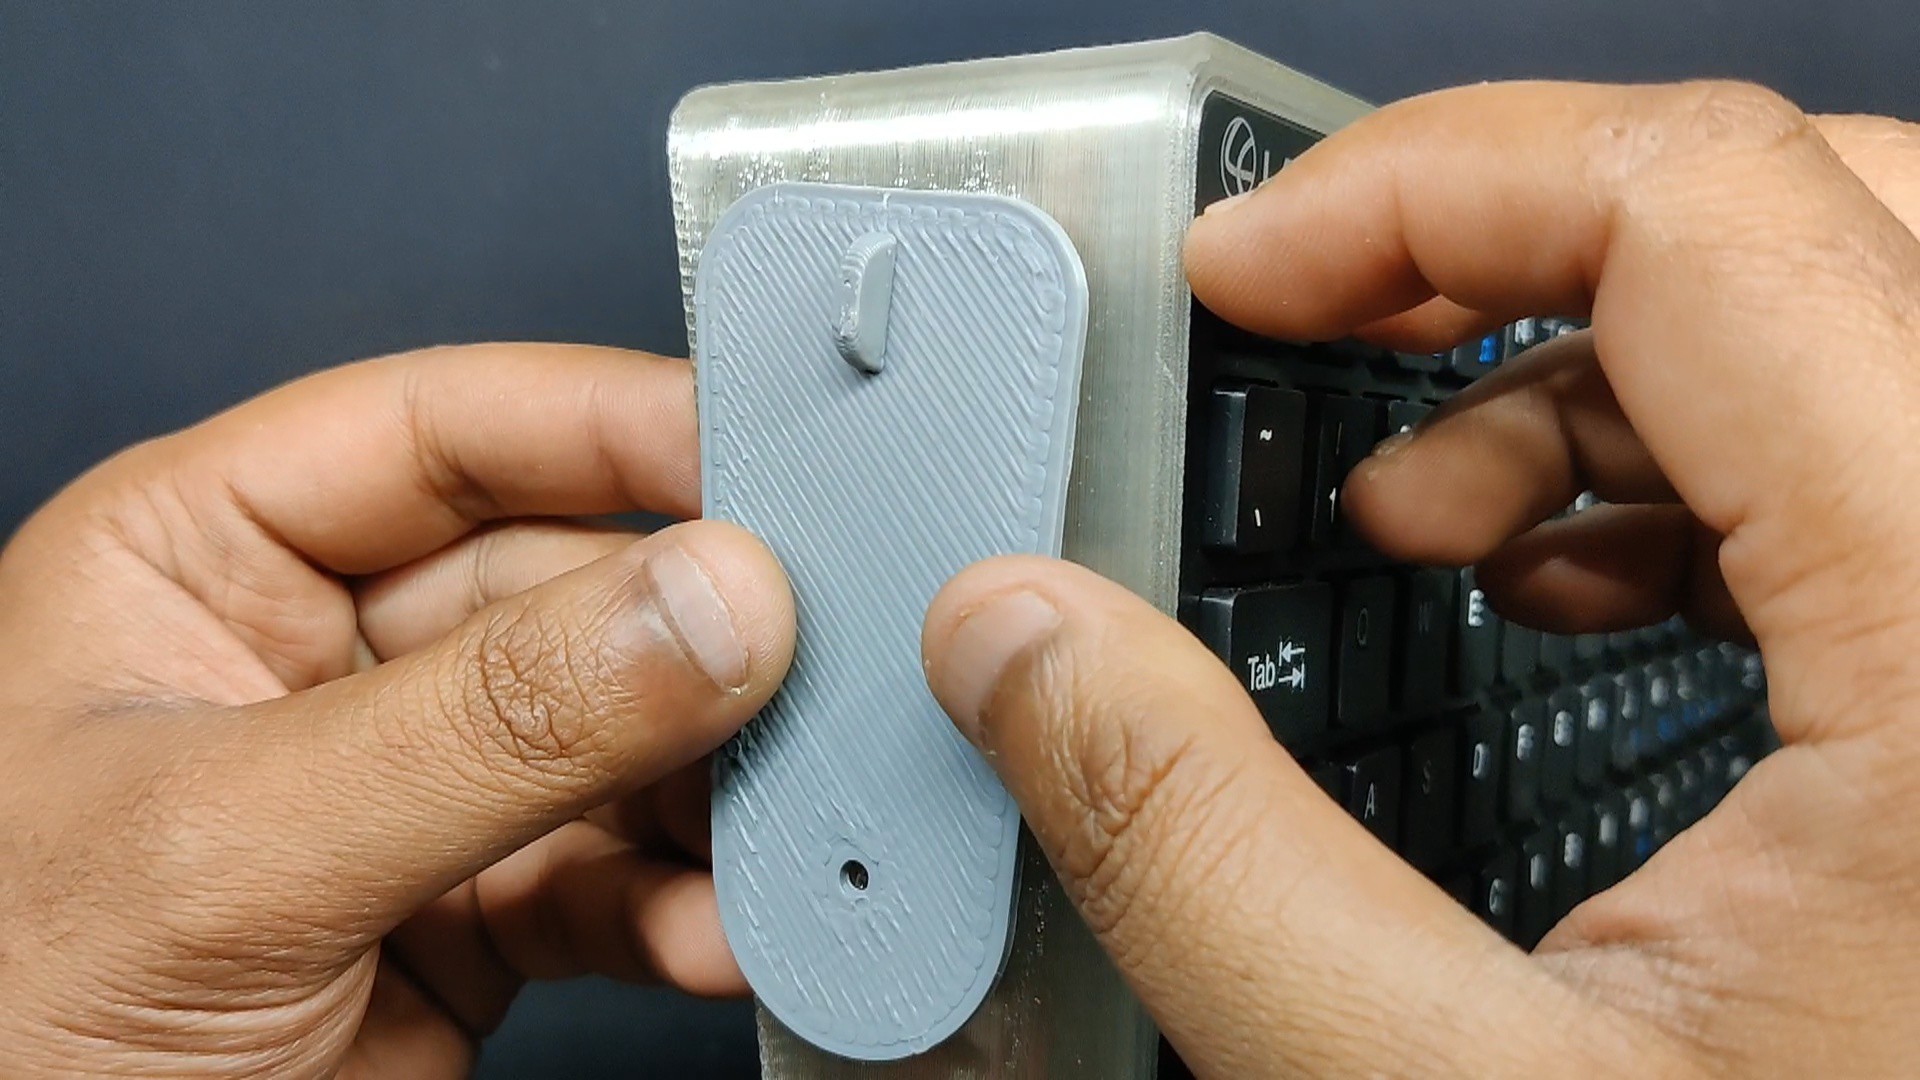
- The USB side cover is positioned on the left side of the frame for the last assembly step, and it is tightened in place with an M3 nut and bolt.
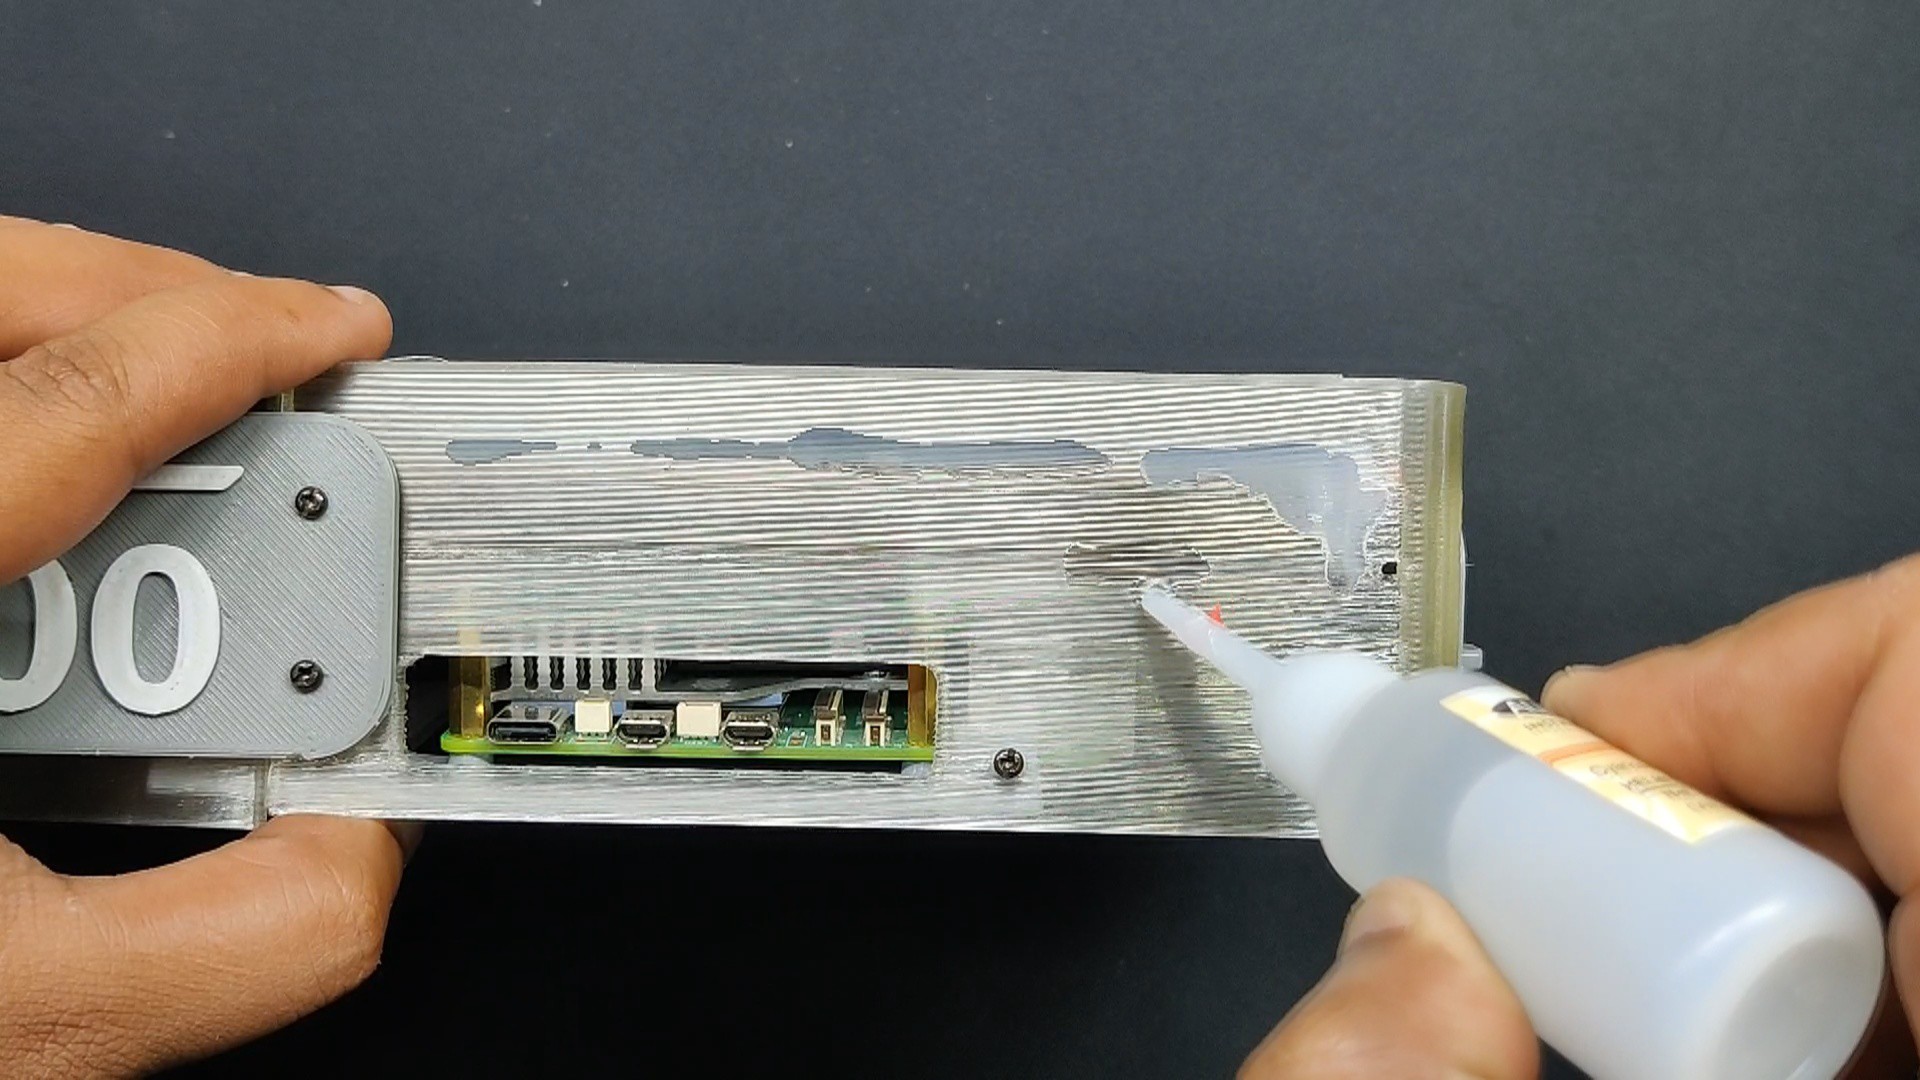
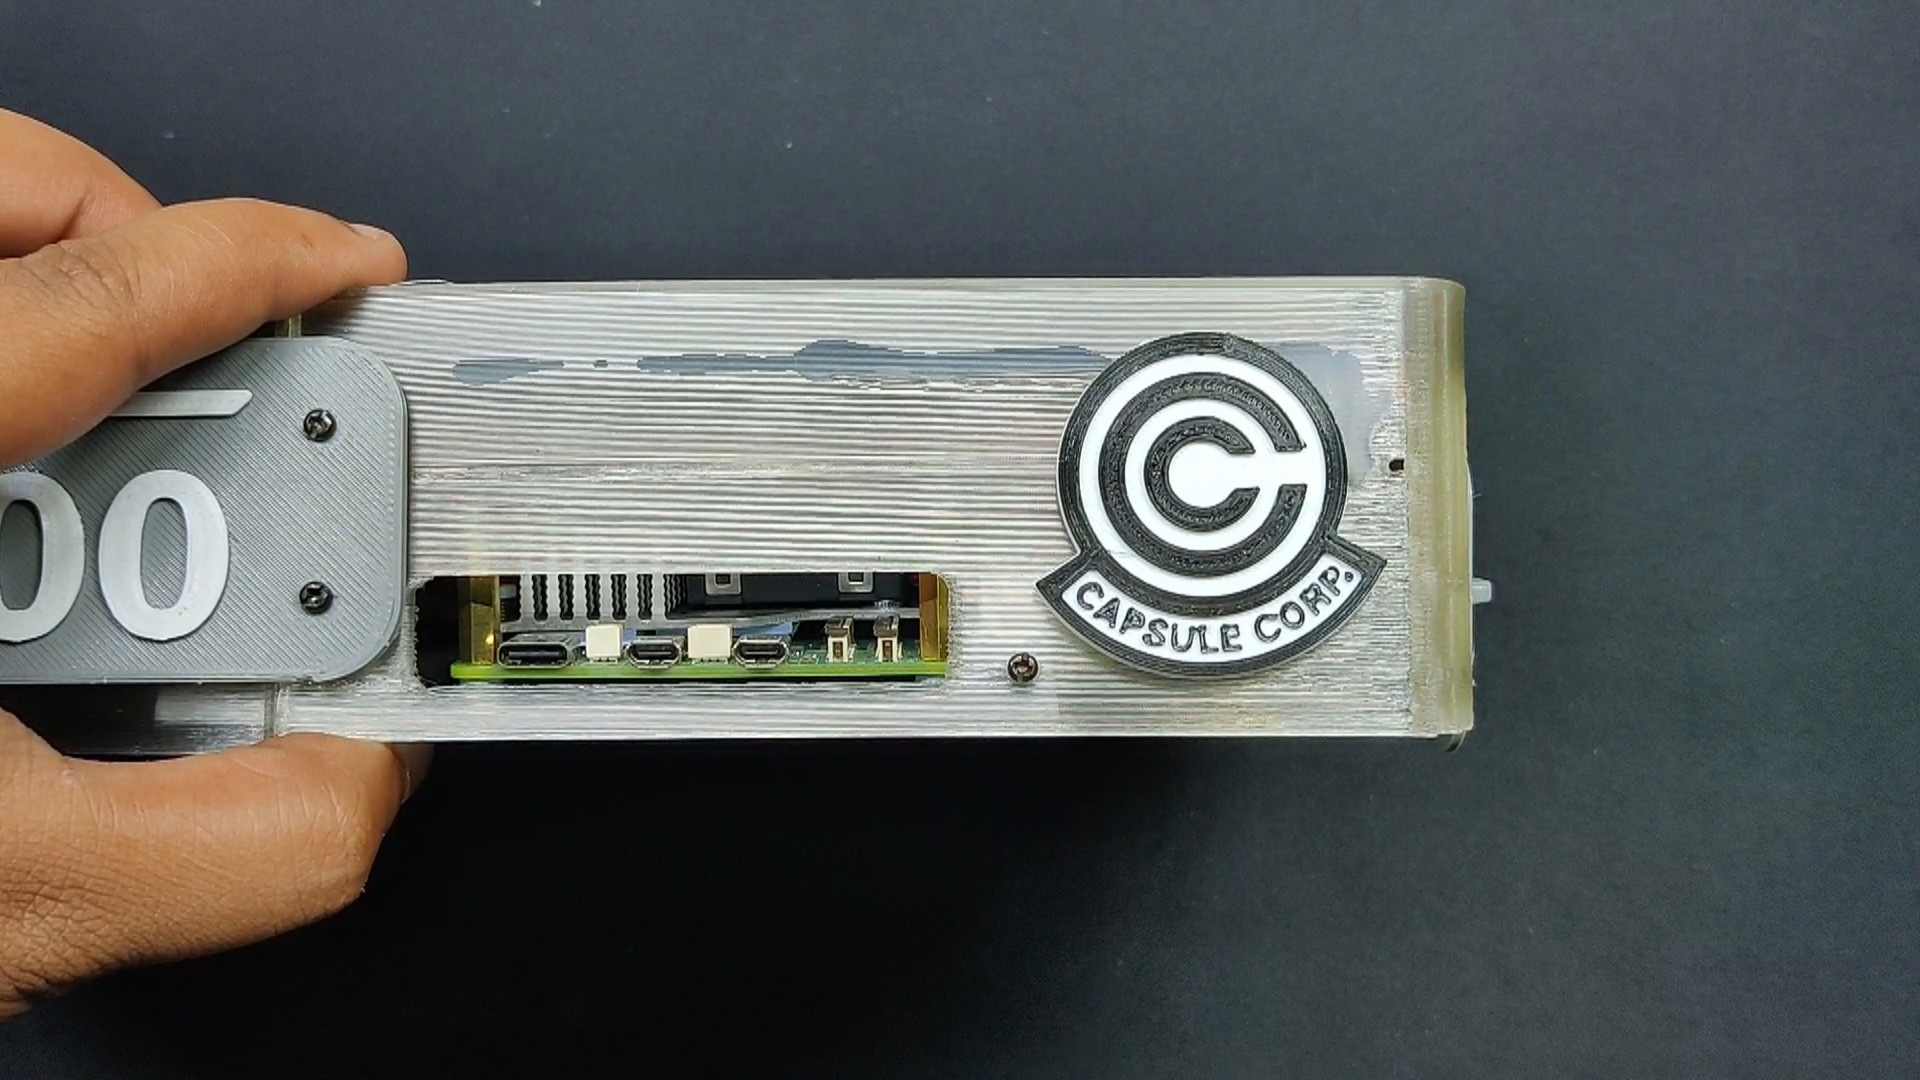
- Subsequently, we attached the Capsule Corp badge part to the front side of the frame, close to the Pi's HDMI ports, by first gluing the Capsule Corp part to the frame.
-
13Result
![]()
![]()
![]()
![]()
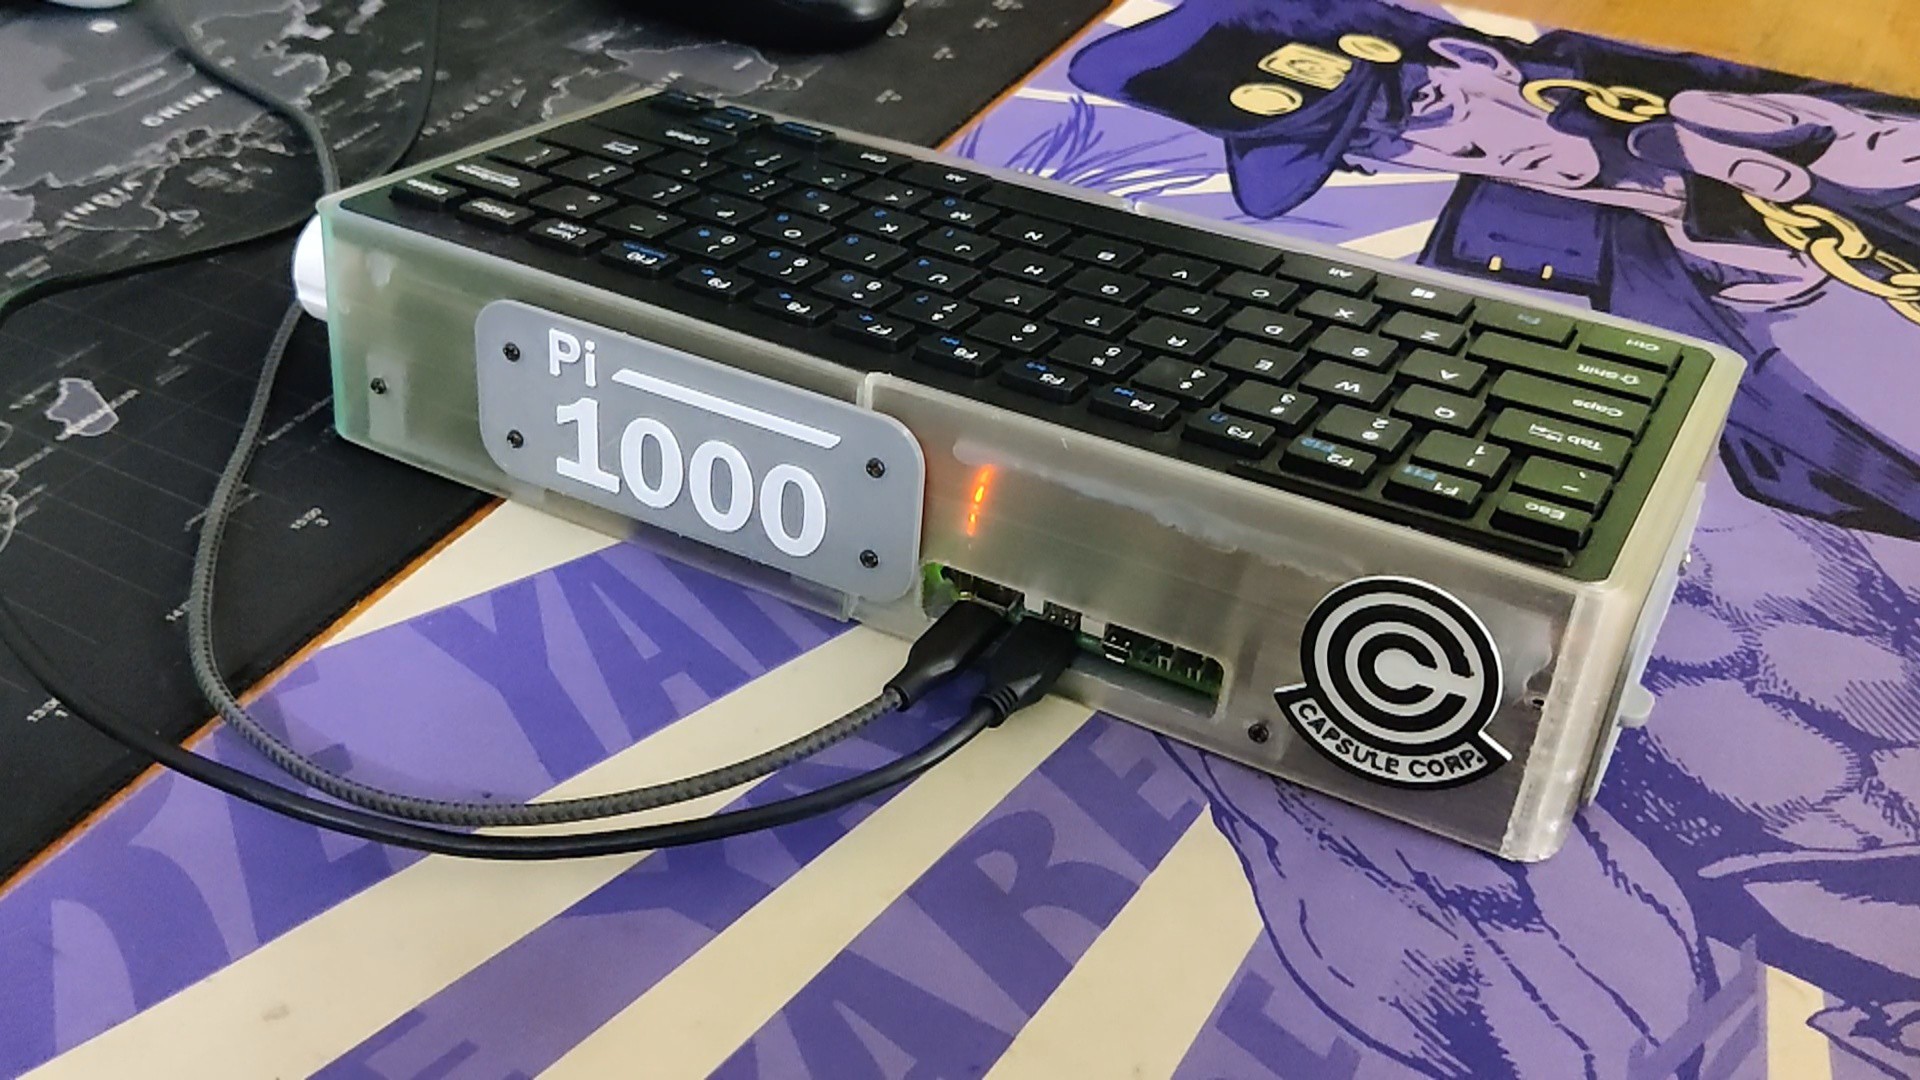
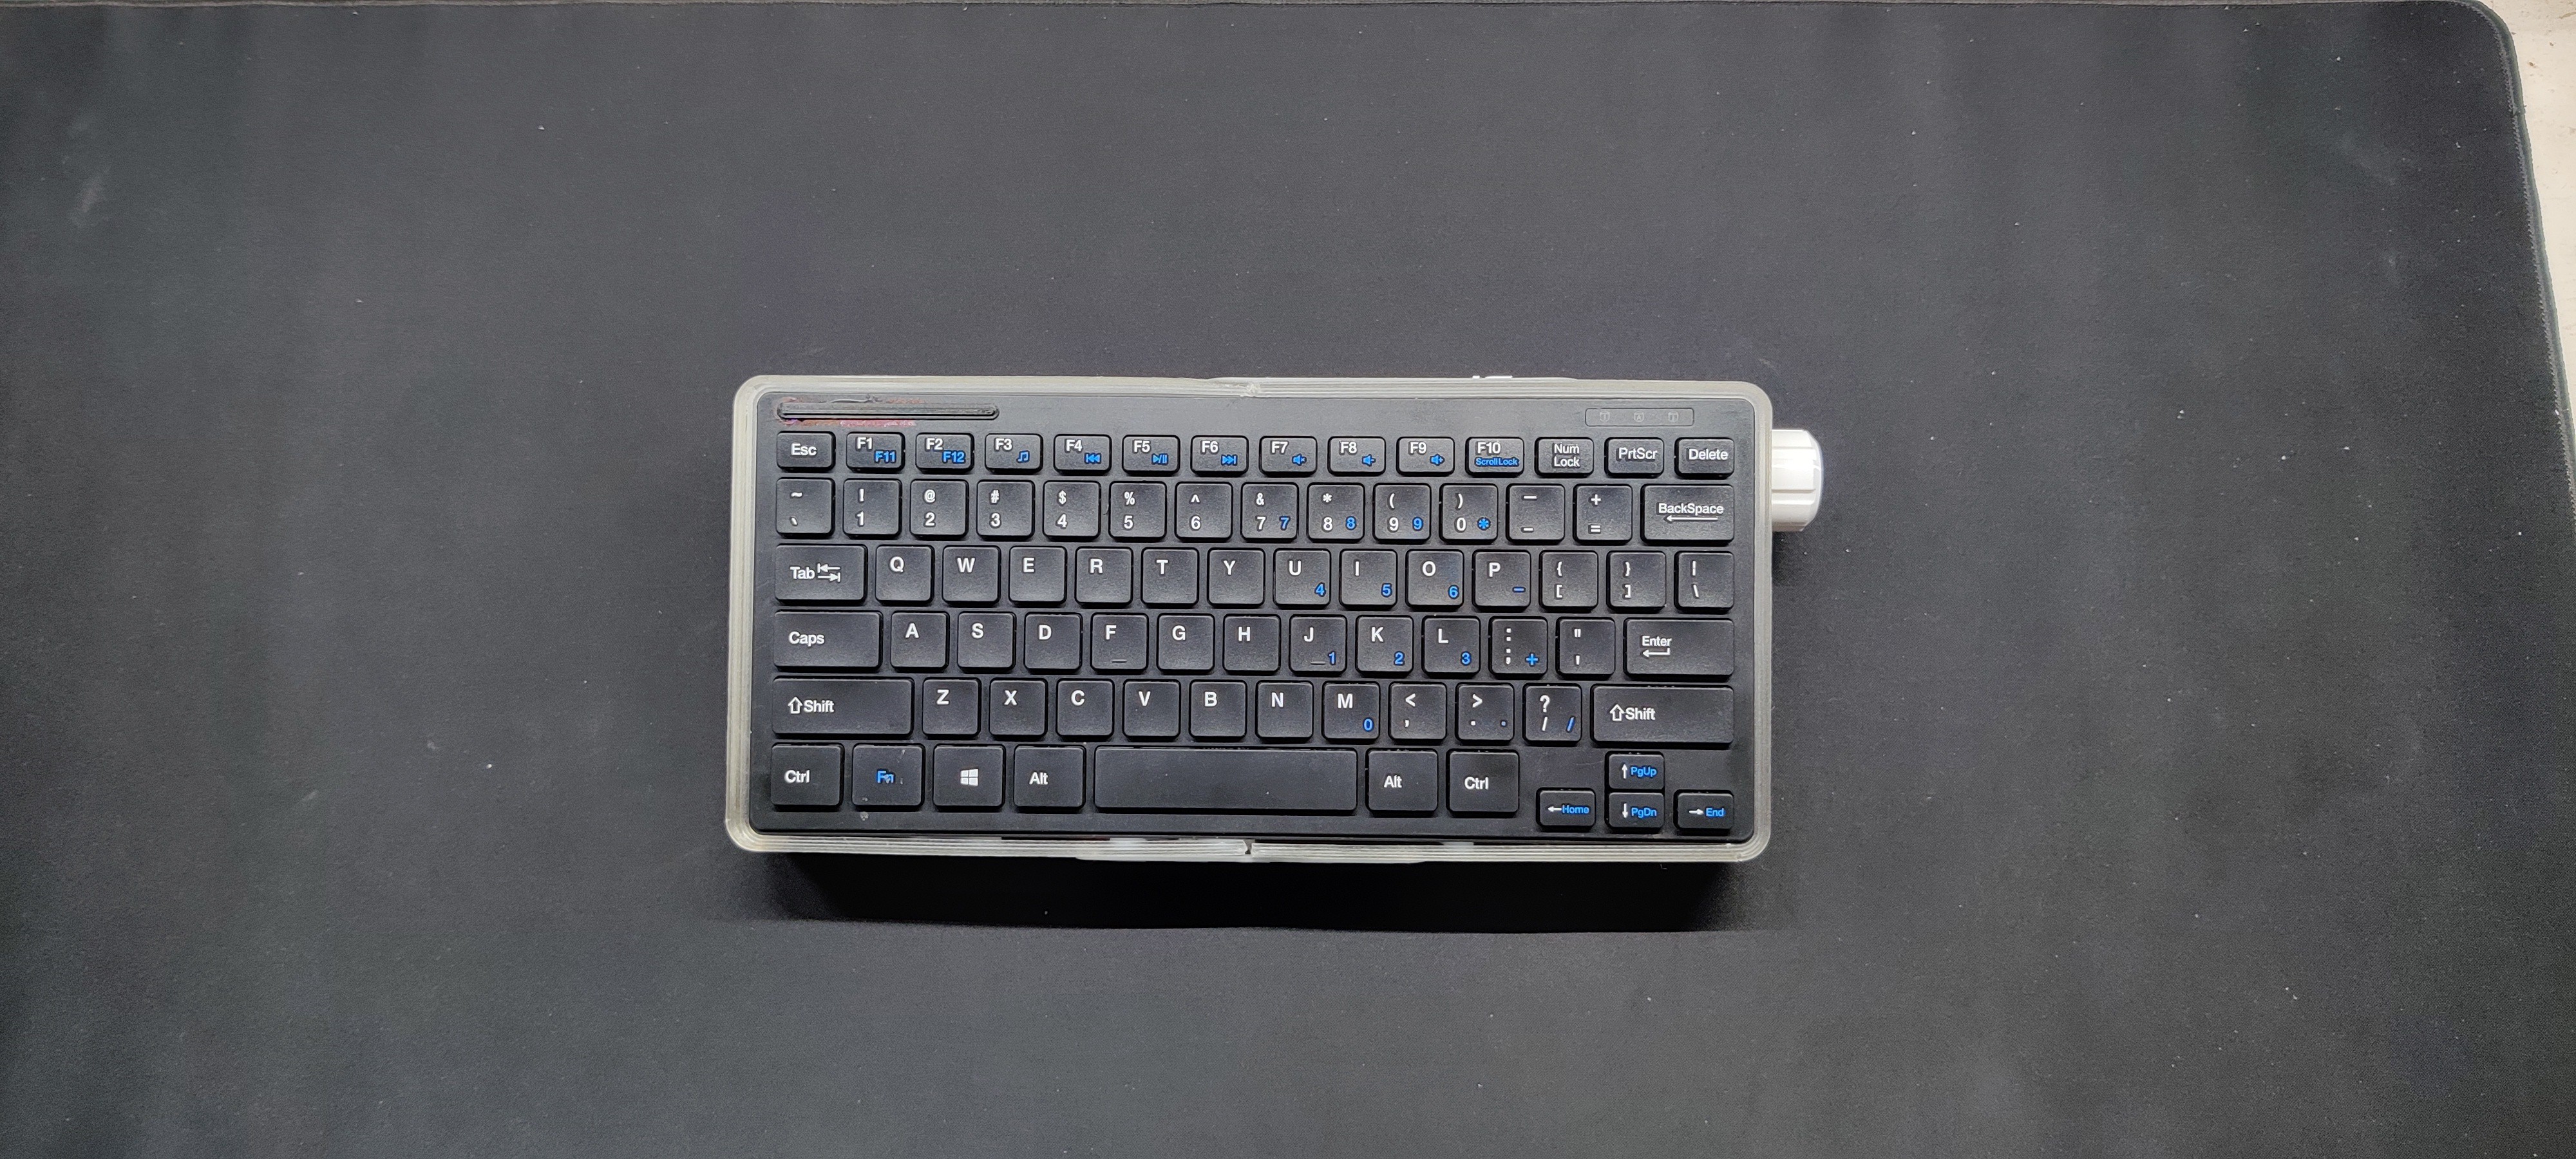
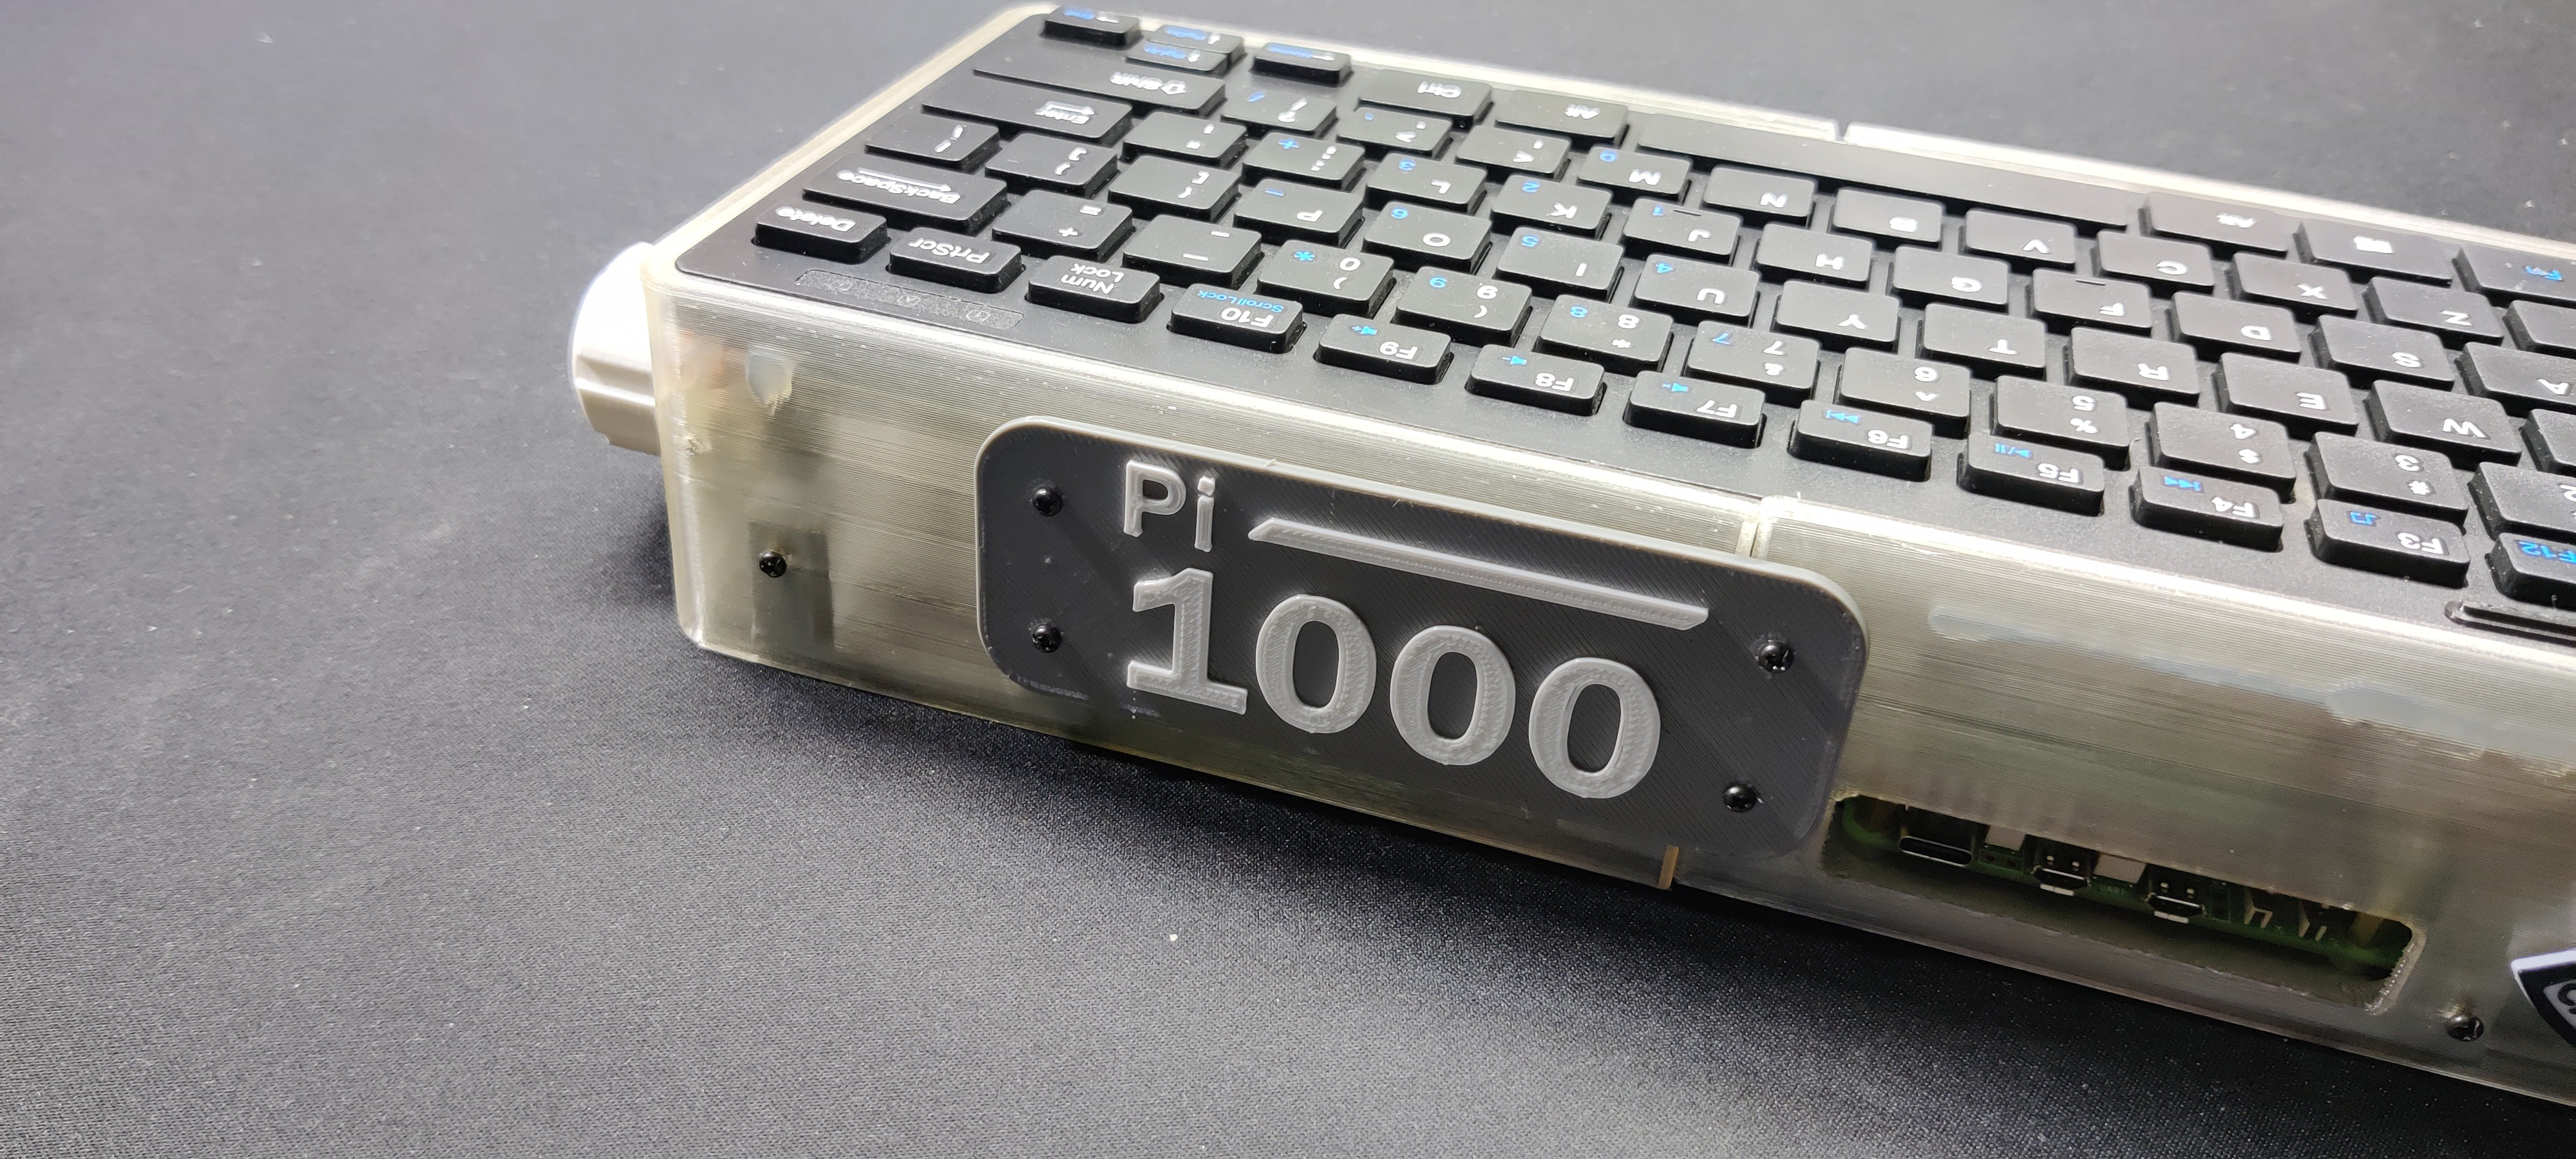
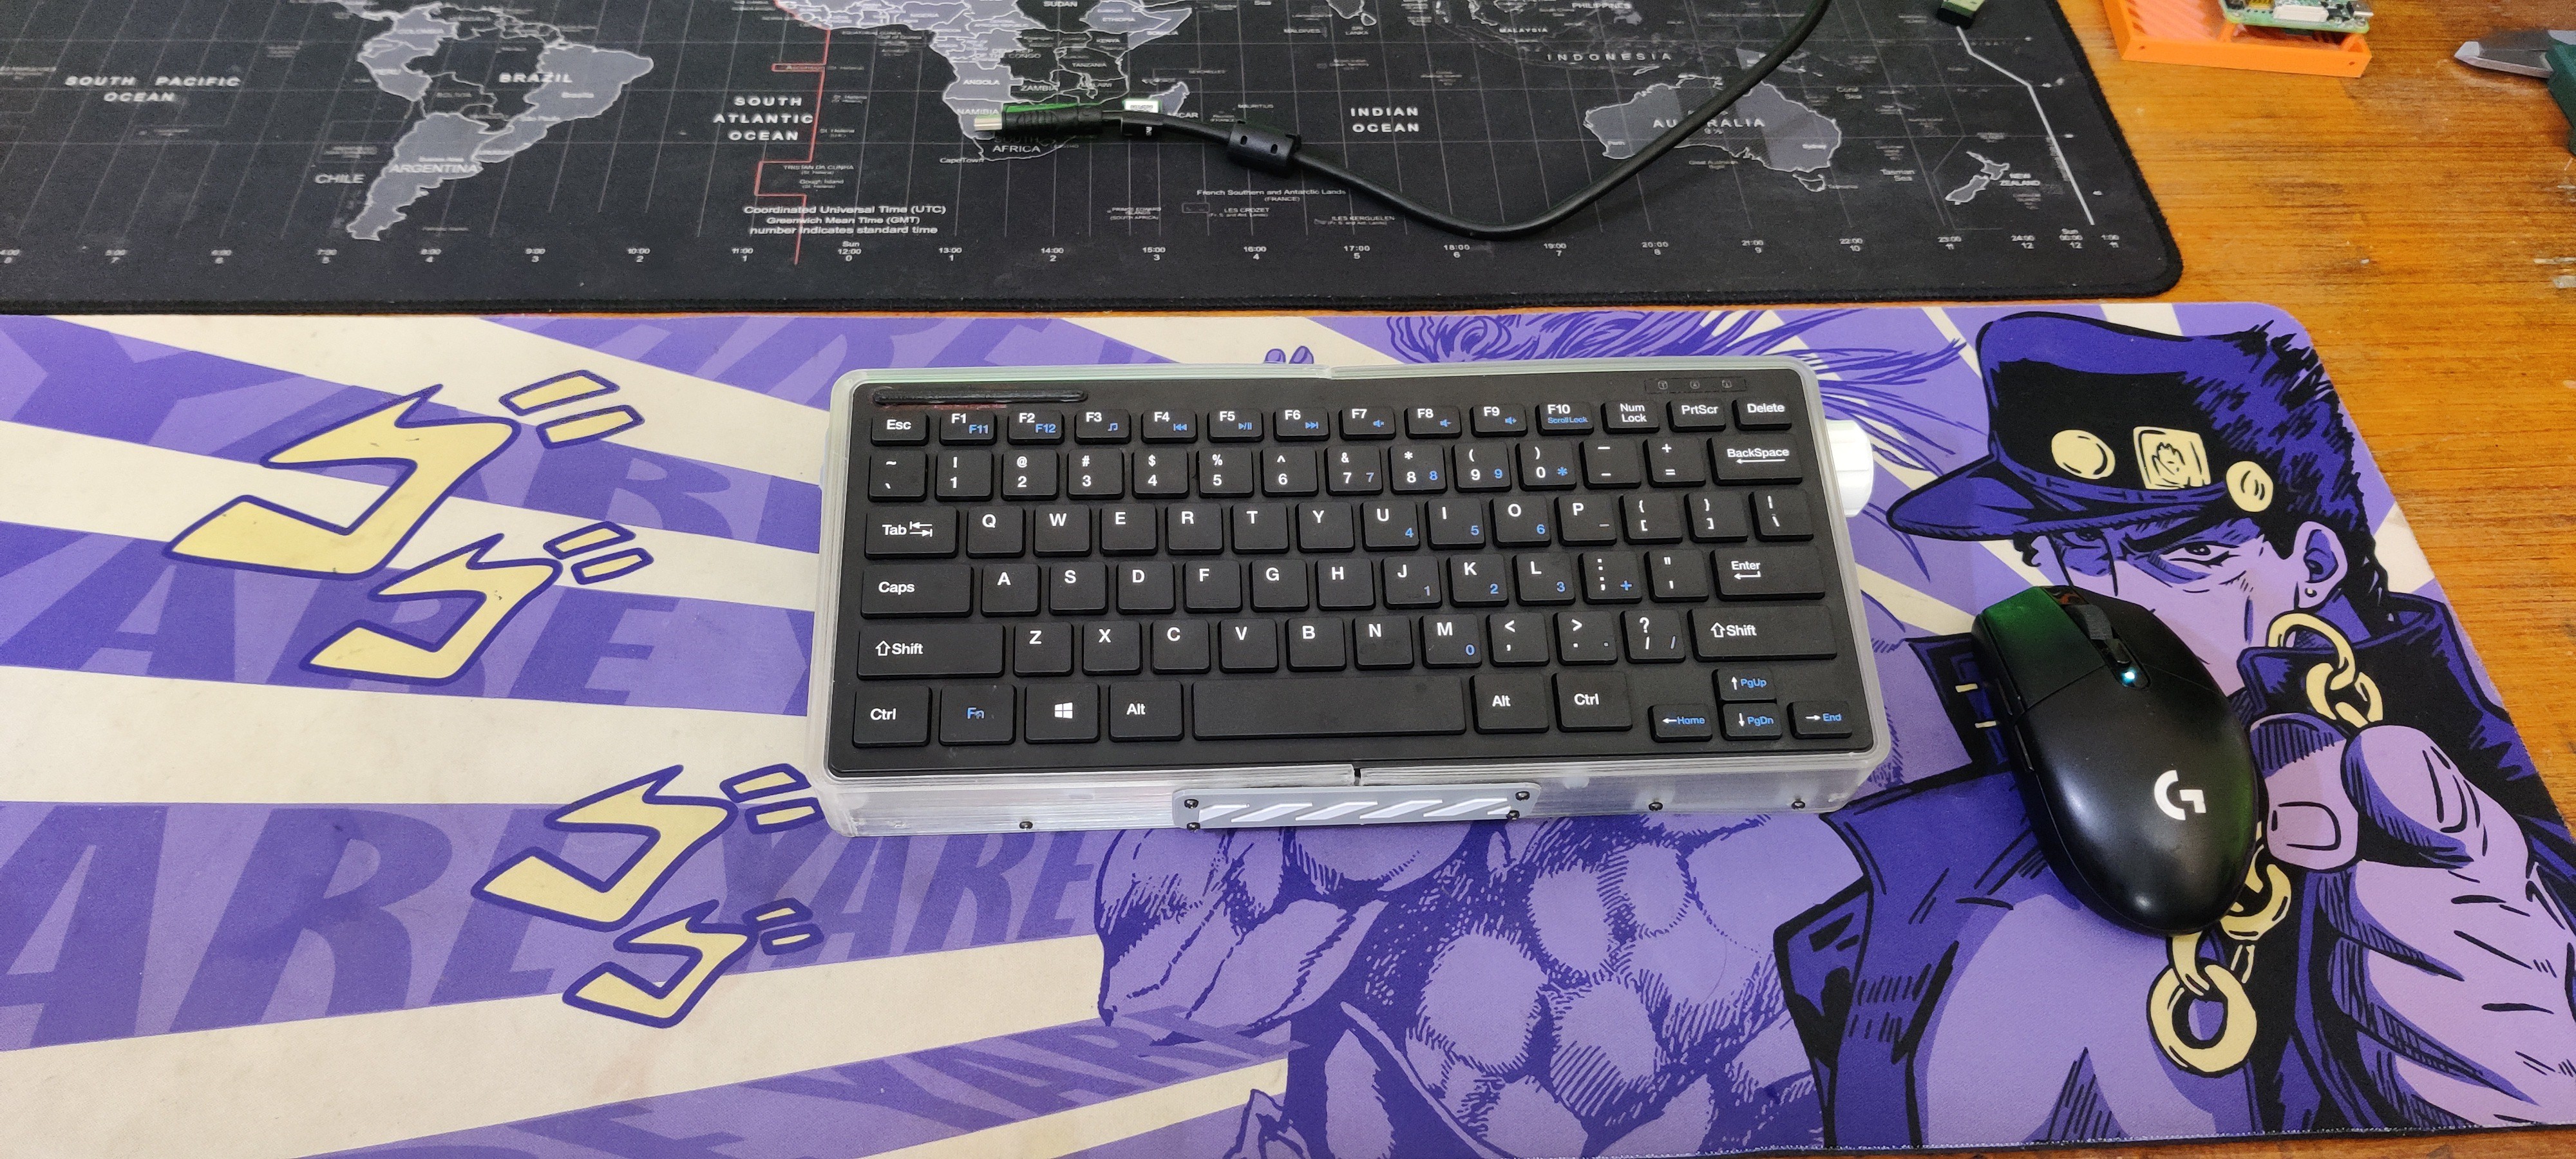
This is the end result of our straightforward build: a functional Raspberry Pi PC encased inside a keyboard that runs Raspberry Pi OS. Our setup is faster than the current Raspberry Pi 400 Keyboard PC because it includes a Raspberry Pi 5.
Here, we created the frame from scratch using a keyboard that we bought from the market. We then added the necessary modifications to the keyboard and integrated it into our model. Here, the Raspberry Pi 5 is directly connected to the keyboard, which also has a customized volume control PCB that makes use of an XIAO Samd21 microcontroller.
Our Raspberry Pi now runs much faster than it did with a standard SD card, thanks to the addition of an NVME SSD.
-
14Benchmarks: Geekbench 6 Score
![]()
Installing and running geekbench6 was the initial step in this process, so we could see a general overview of our Pi5 NVME setup.
We use Pi apps to install Geekbench, which is an app store with apps optimized and configured for Pi
You can install Pi apps from this script.
wget -qO- https://raw.githubusercontent.com/Botspot/pi-apps/master/install | bash
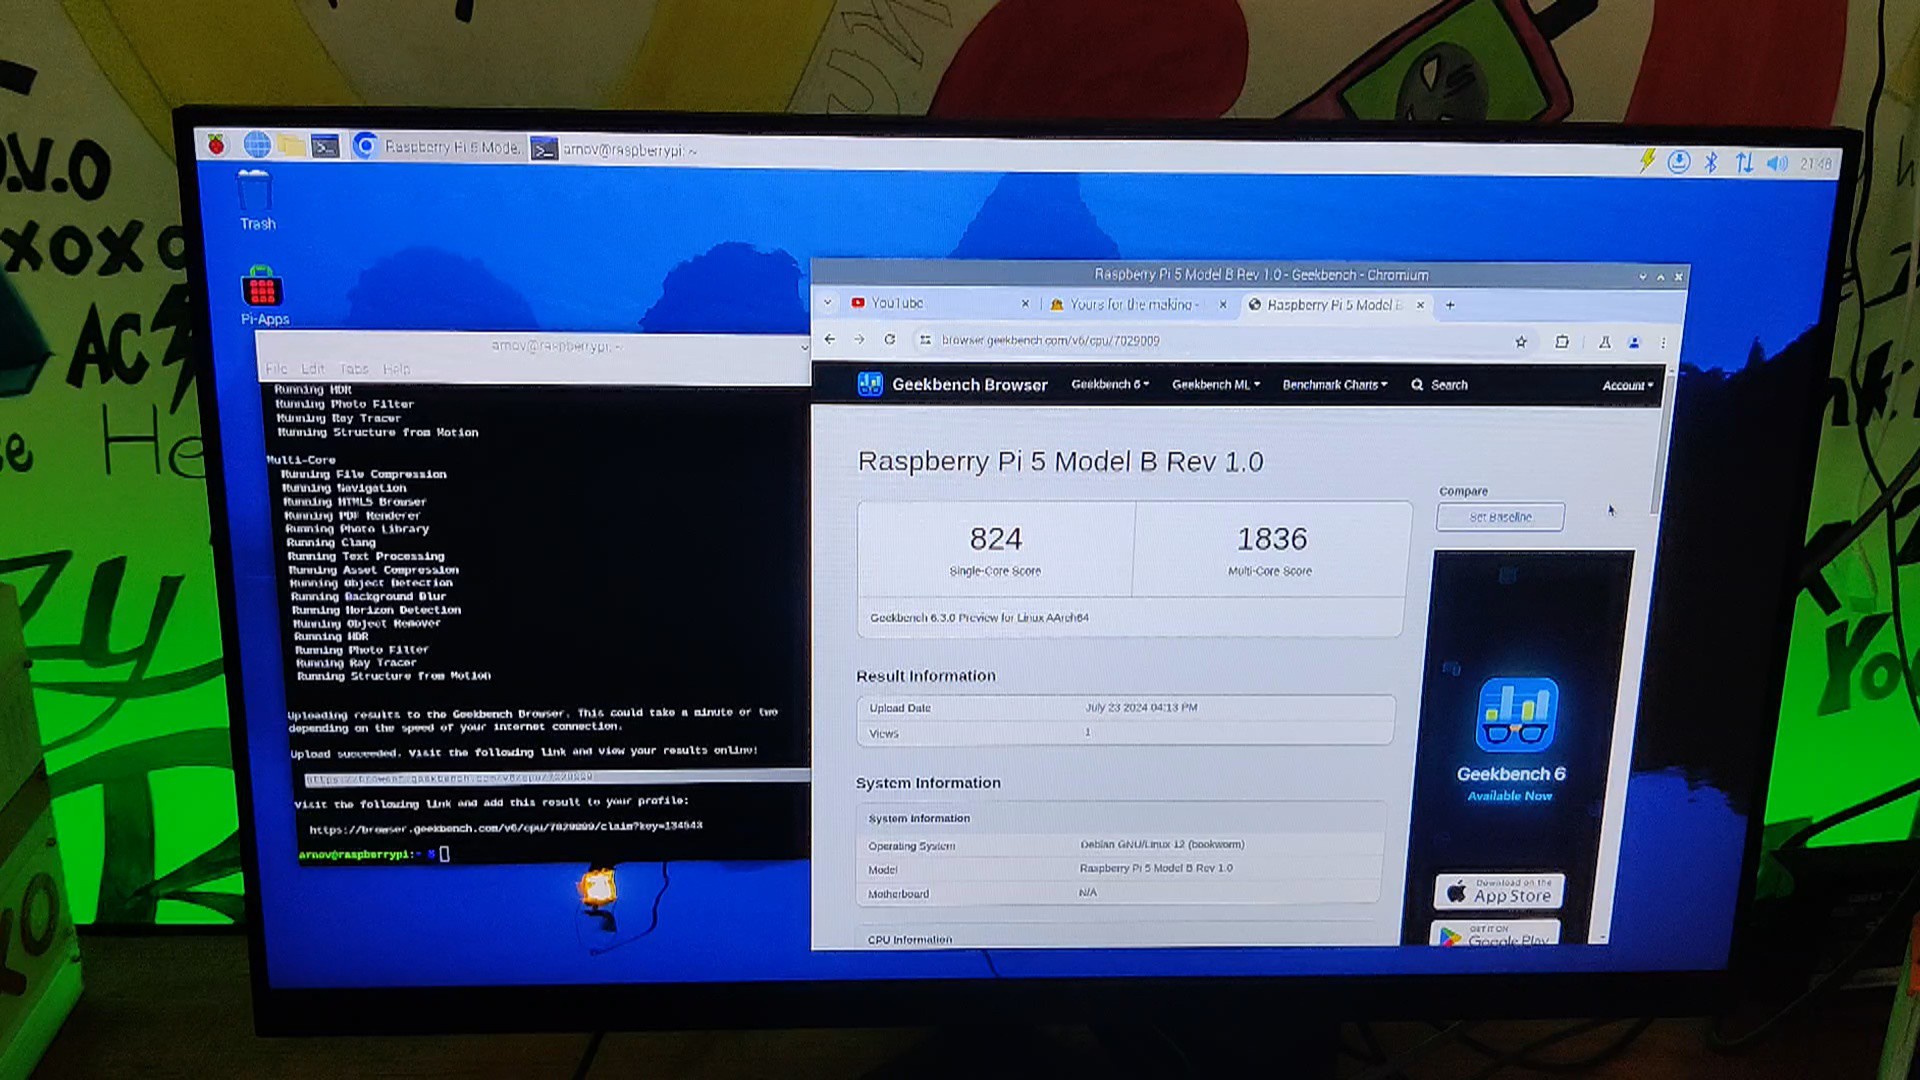
Geekbench 6 was installed and then ran in terminal.
We obtained some interesting data after running it for a while, which consisted of a single-core score of 824 and a multi-core score of 1836. The score was alright, as this is a low-powered SBC.
https://browser.geekbench.com/v6/cpu/7029009
While our Pi's ARMv8 processor only has one core and four threads, the Intel i9-13900KS receives a single-core score of 3106 and a multi-core score of 21816. This is because the i9 is a 24-core, 32-threaded CPU.
The Radxa ROCK 5A, an ARMv8-based SBC with 1 core and 8 threads, has a single-core score of 878 and a multi-core score of 3082 when comparing chips with the same specifications. This is somewhat better than the Pi5 in single core and quite a bit better in multi-core.
-
15Games : Minecraft
![]()
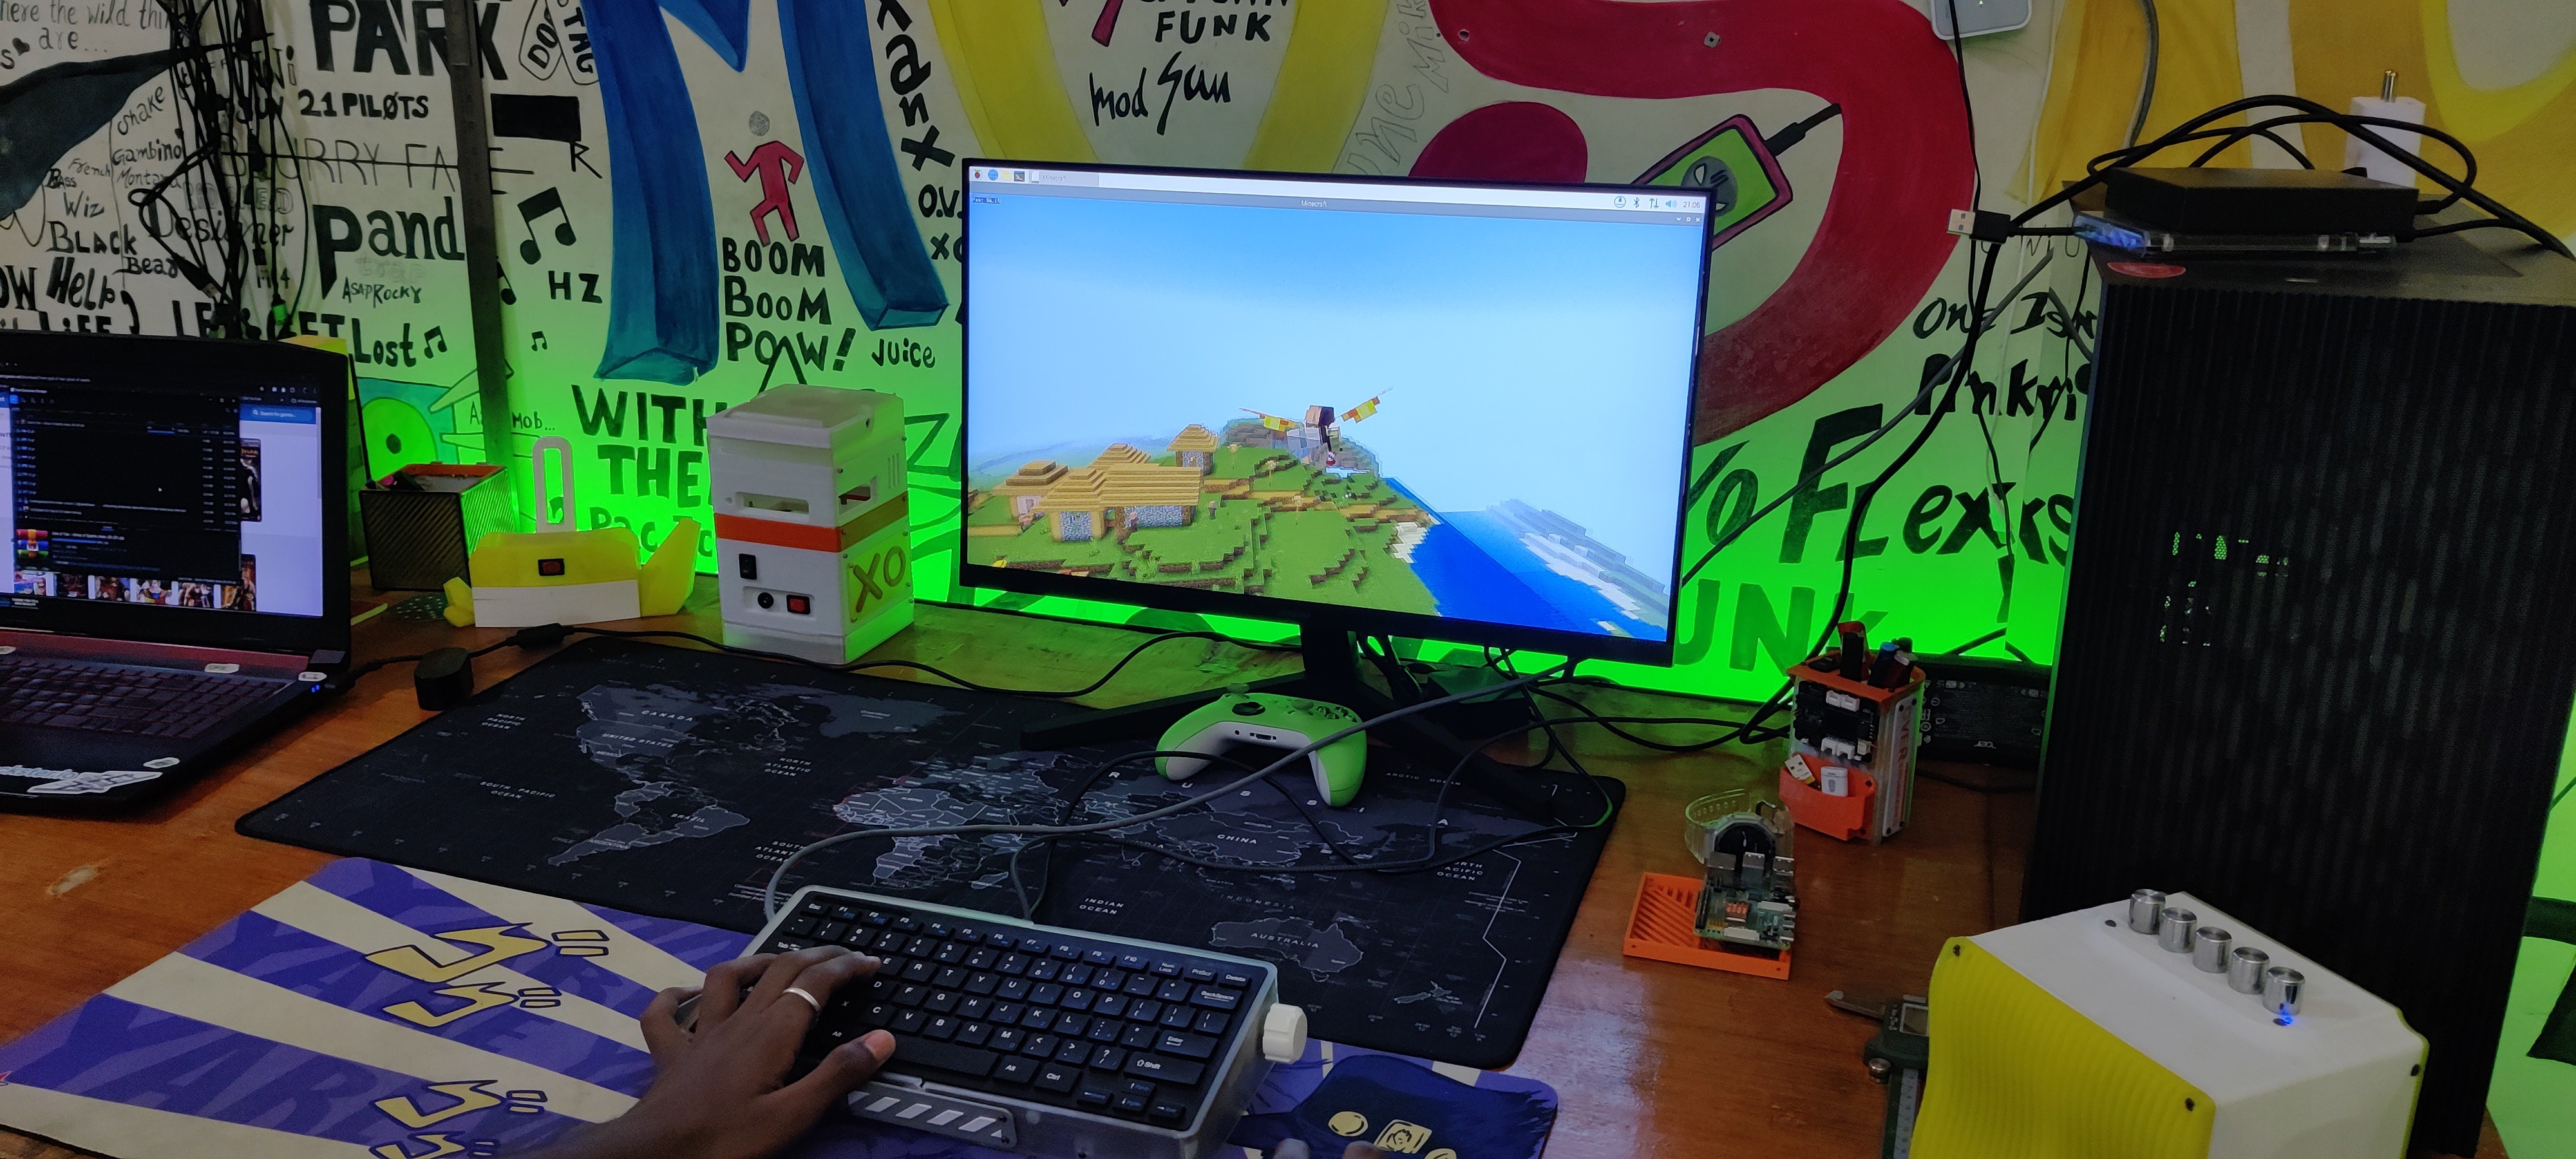
Aside from the Geekbench score, we installed and ran the Minecraft Bedrock edition on the Pi 5 at a consistent 60–65 frames per second.
Considering we were running the game on a single-board Linux computer, it was operating incredibly smoothly and pretty well.
The Minecraft experience was excellent due to the game's overall quickness and fluid framerate.
-
16Emulation : PSP
![]()
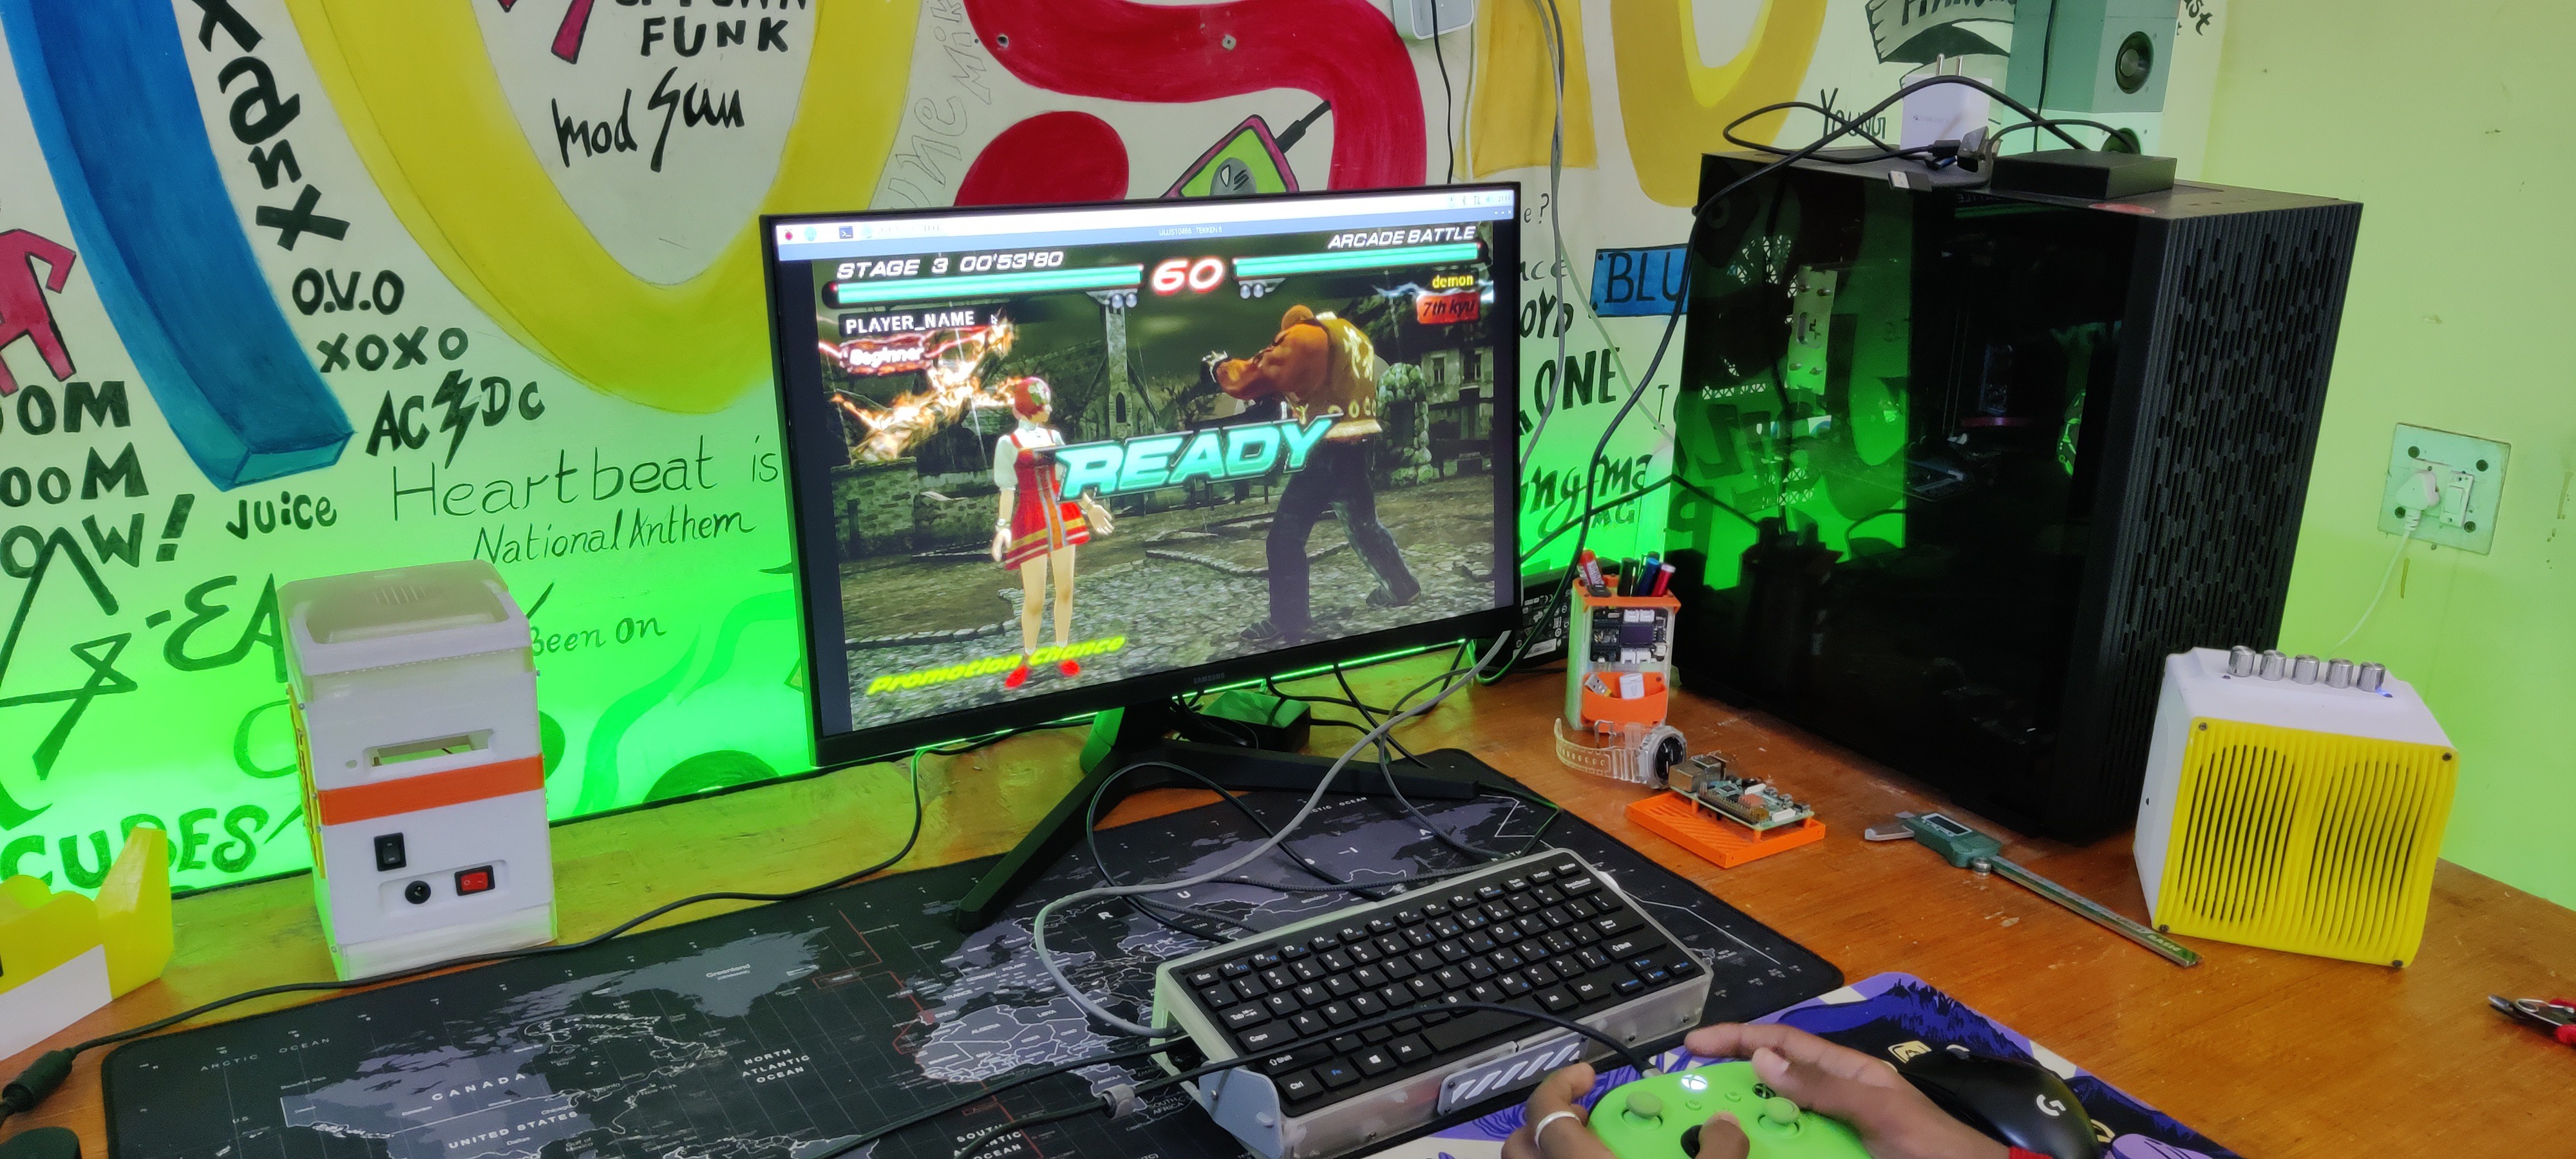
We used the PI apps to install the PPSSPP emulator after playing Minecraft. We then launched Tekken 6 in the emulator and played it nonstop for an hour due to how smoothly it worked. We connected our Xbox controller to the Pi so that we could use the PPSSPP emulator to play games. Although there was a problem attaching the controller via Bluetooth, we were able to use it by using a USB cable instead.
Tekken 6 performed quite well on the PI.
-
17Conclusion and version 2
![]()
Ultimately, we launch Chrome, play a 4K YouTube video, and verify that the CPU utilization is less than 20%. The VideoCore VII GPU on the Raspberry Pi 5 is more advanced and offers better 3D graphics performance. We can clearly see the performance of the Raspberry Pi 5, which is running anything we throw at it, as an improvement over the VideoCore VI GPU in the Pi 4.
In comparison to the Raspberry Pi 4 and previous models, the Raspberry Pi 5 offers a major advancement in terms of performance, connectivity, and features, making it a more capable and versatile platform for a wide range of applications.
The outcome of our project is a functional Pi5-based PC encased inside a keyboard; all it needs is power and display output to function.
A couple of the project's CONs will be tackled in the next iteration, such as the thick frame that resulted from design-related mechanical problems.
Version 2 will have a thinner form because we are making the keyboard from scratch, minimizing space.
If you are interested in Pi-related projects, do checkout my previous work-
https://www.hackster.io/Arnov_Sharma_makes/cyber-py-zero-three-9e93ae
https://www.hackster.io/Arnov_Sharma_makes/the-pvm-panda-69cdfa
https://www.hackster.io/Arnov_Sharma_makes/gameboy-xl-bb64d3
Leave a comment if you need any help regarding this project. This is it for today, folks.
Thanks to Seeed Studio Fusion for supporting this project.
You guys can check them out if you need great PCB and stencil service for less cost and great quality.
And I'll be back with a new project pretty soon!
 Arnov Sharma

Discussions
Become a Hackaday.io Member
Create an account to leave a comment. Already have an account? Log In.