I designed, fabricated, and installed the motion system components!
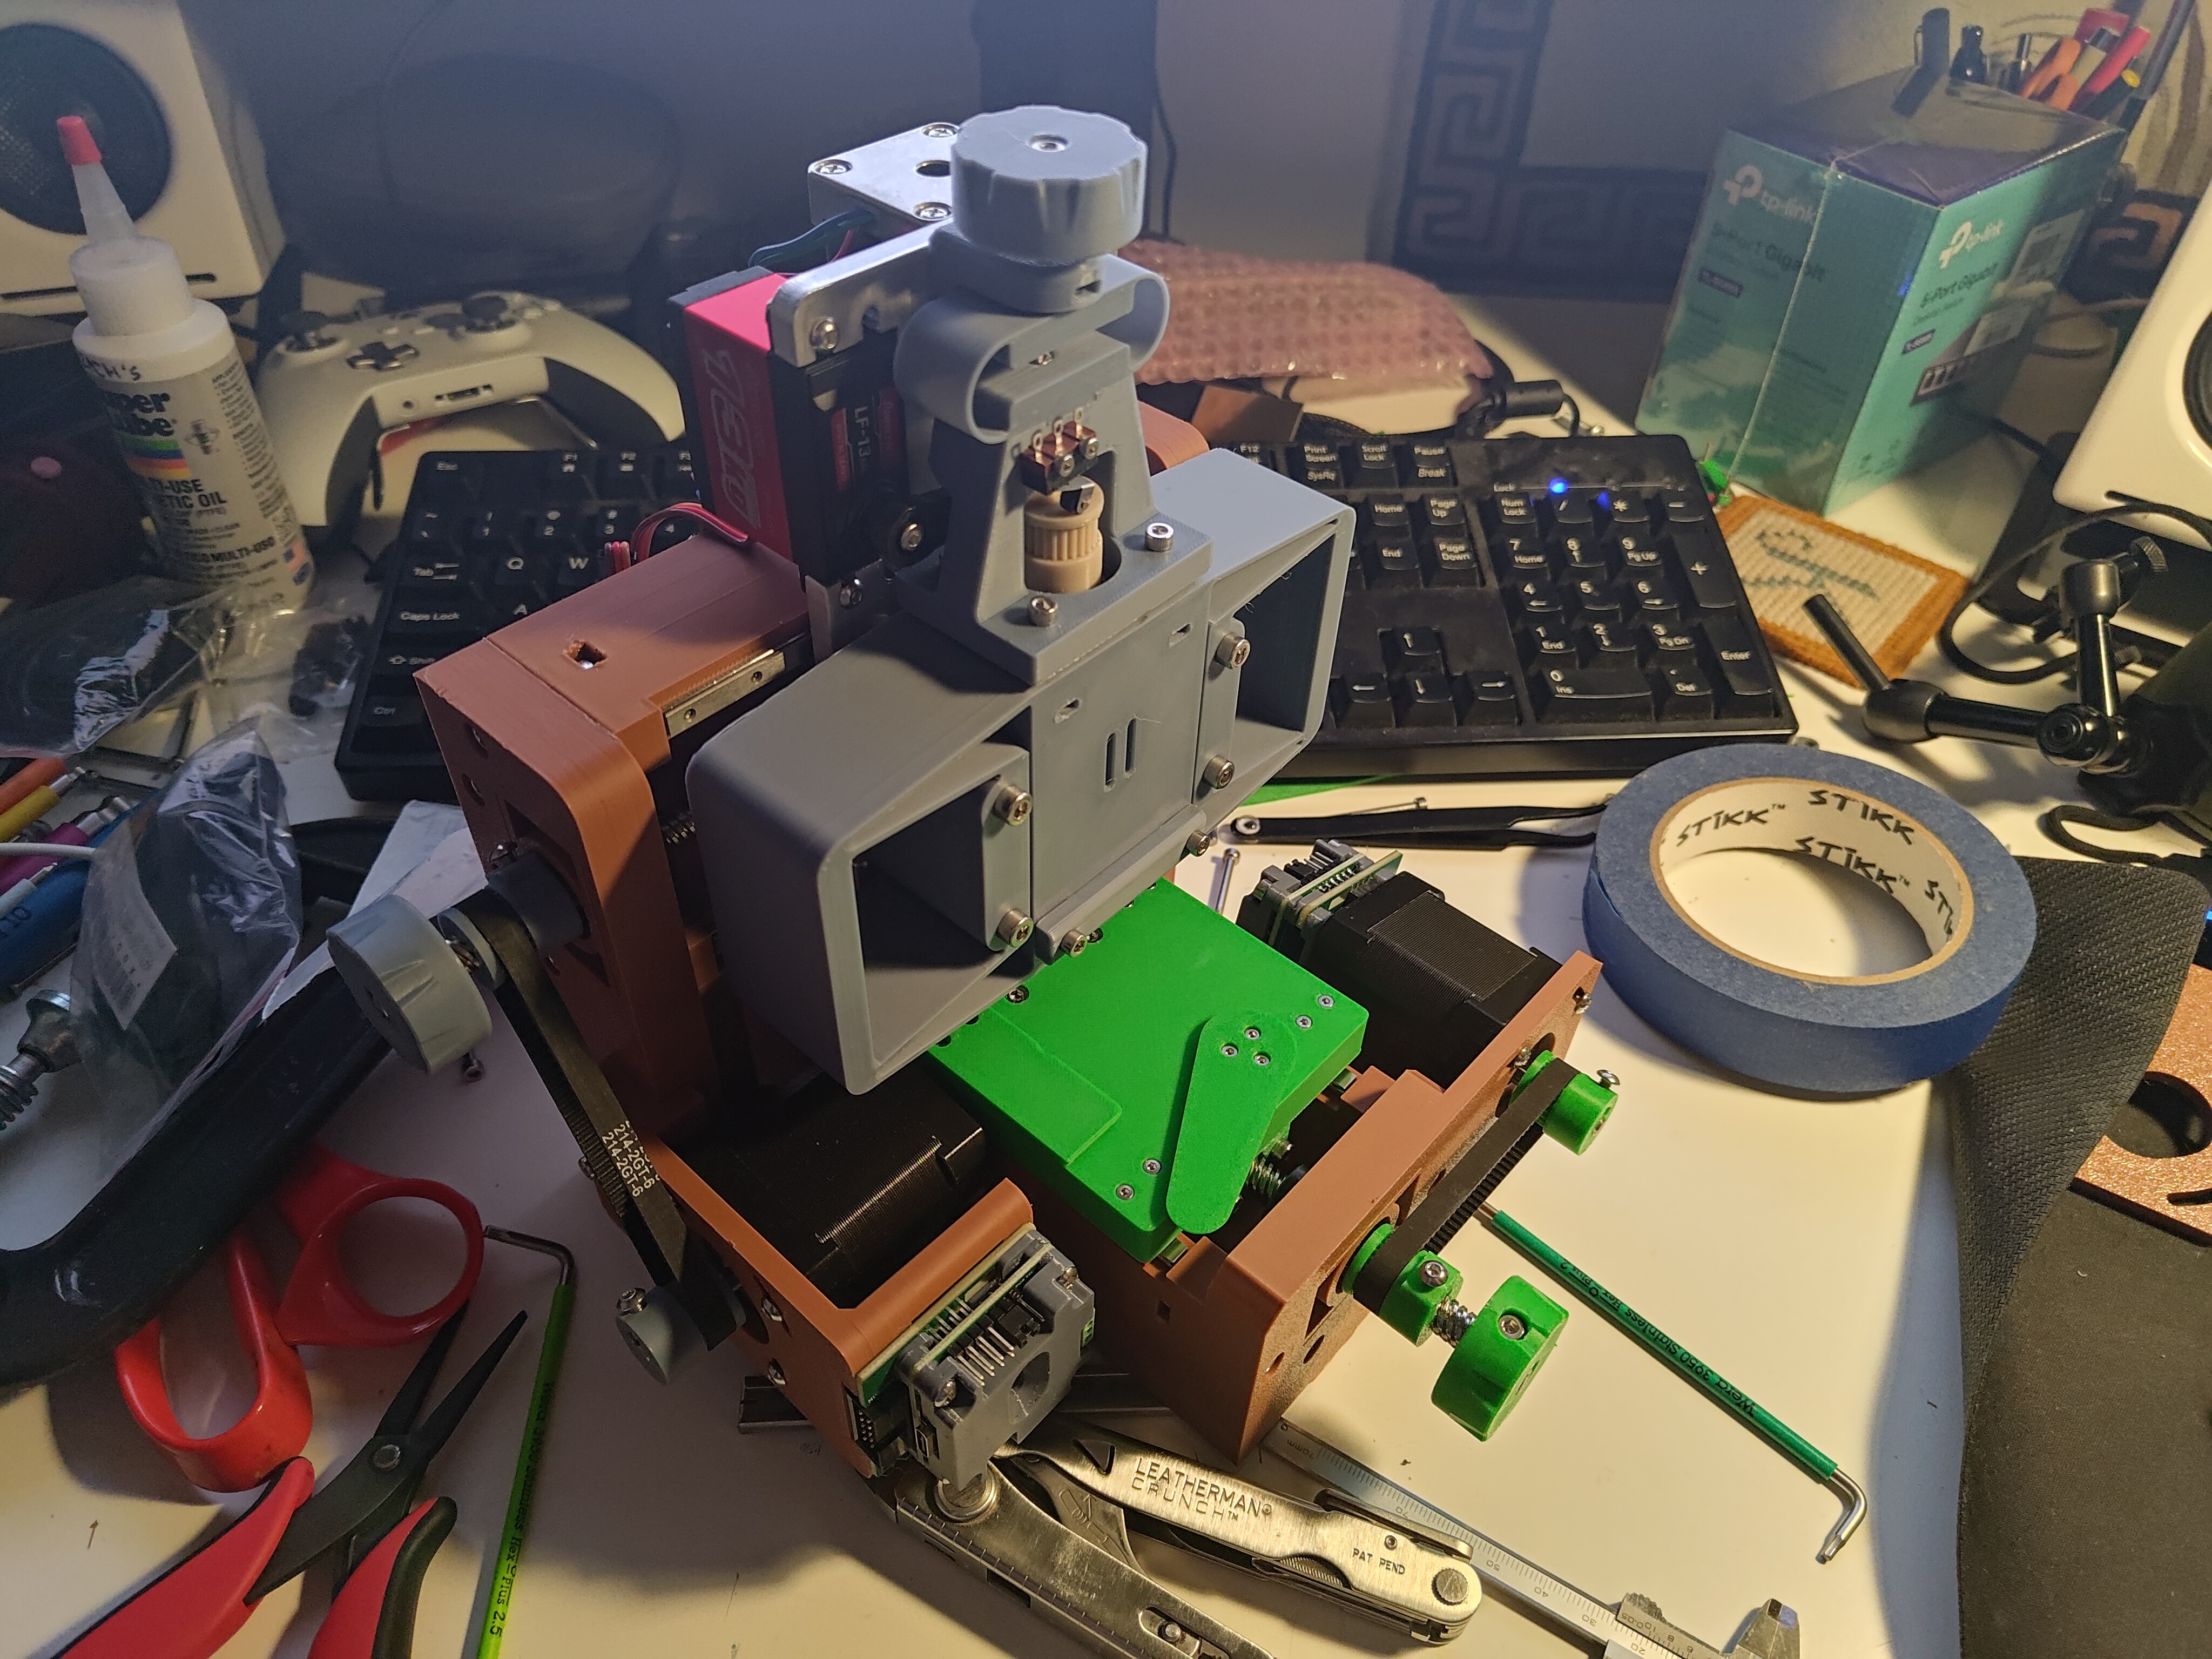
Plenty of new parts today: stepper pulleys (3), lead screw pulleys (2), and lead screw knobs. I also revisedboth stepper brackets: the R-axis motor bracket, which needed hole updates, and the X-axis motor bracket, to which I added a modularthings board mount since it won't fit on the back of the motor. Lots of minor adjustments, a few re-prints, and a few assembly cycles. Most of the bolts are pretty accessible, but I do think it might be time to make a lead screw axial tensioning tool to help with collar tightening:

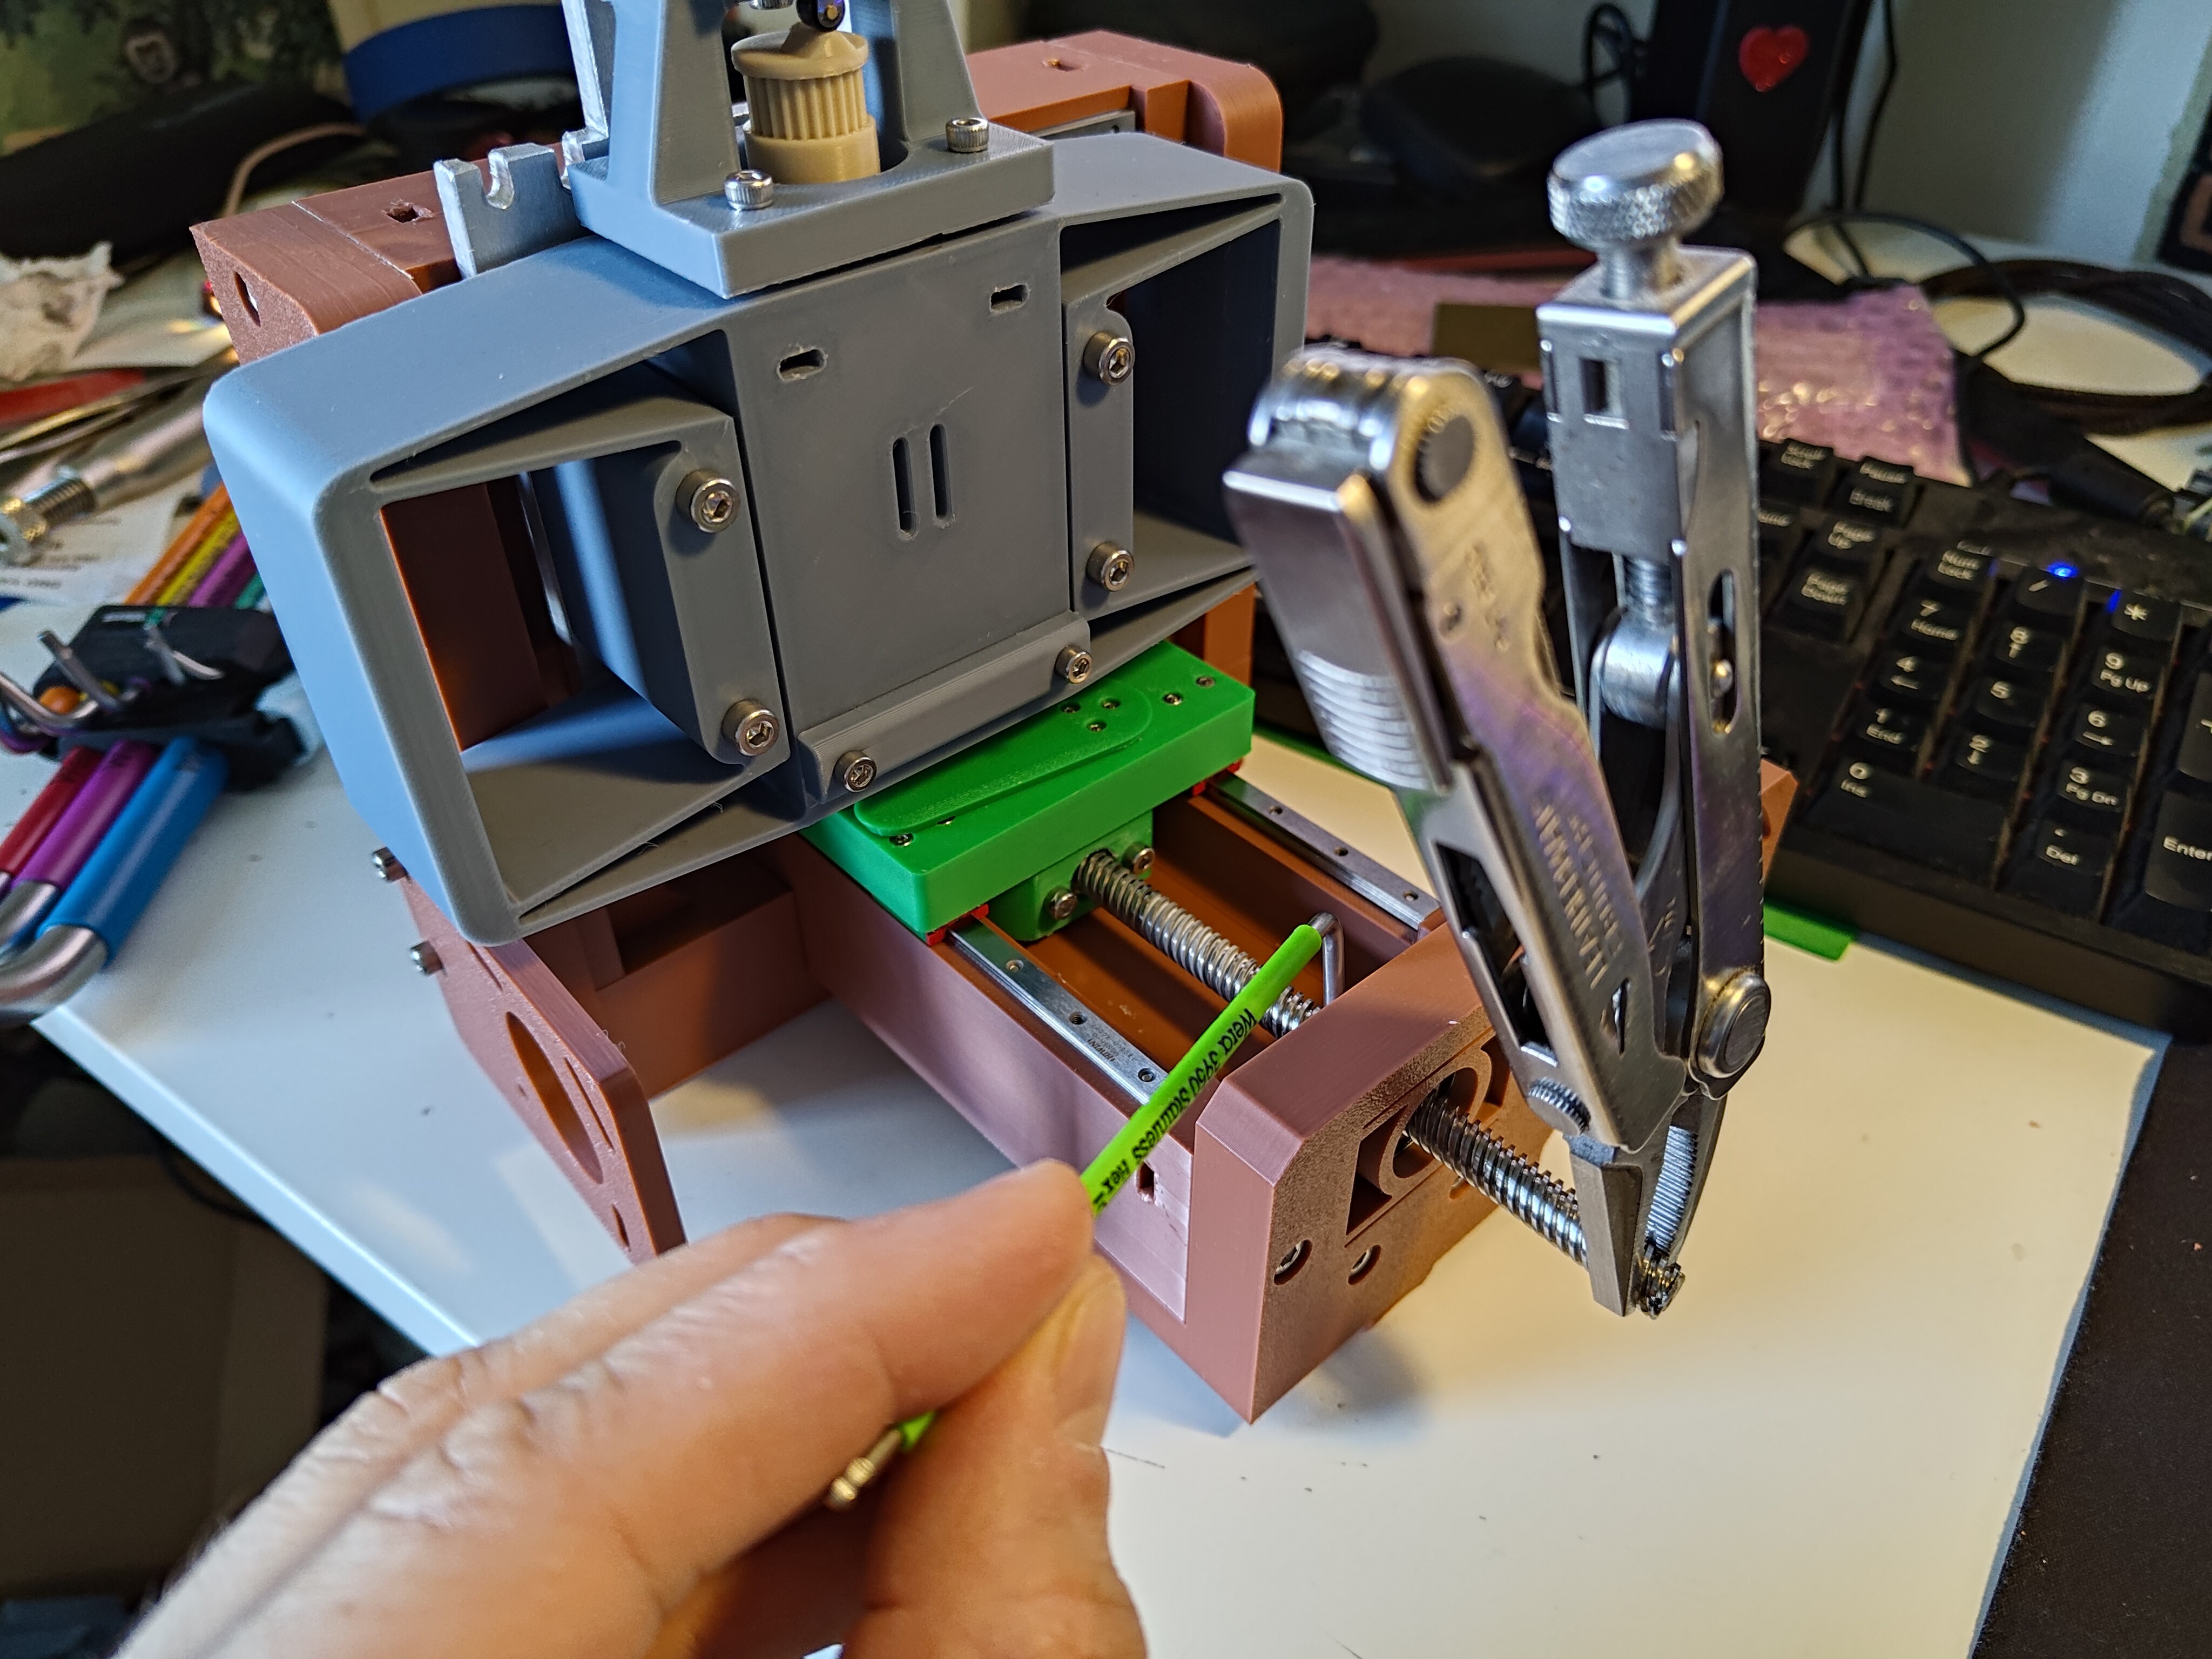
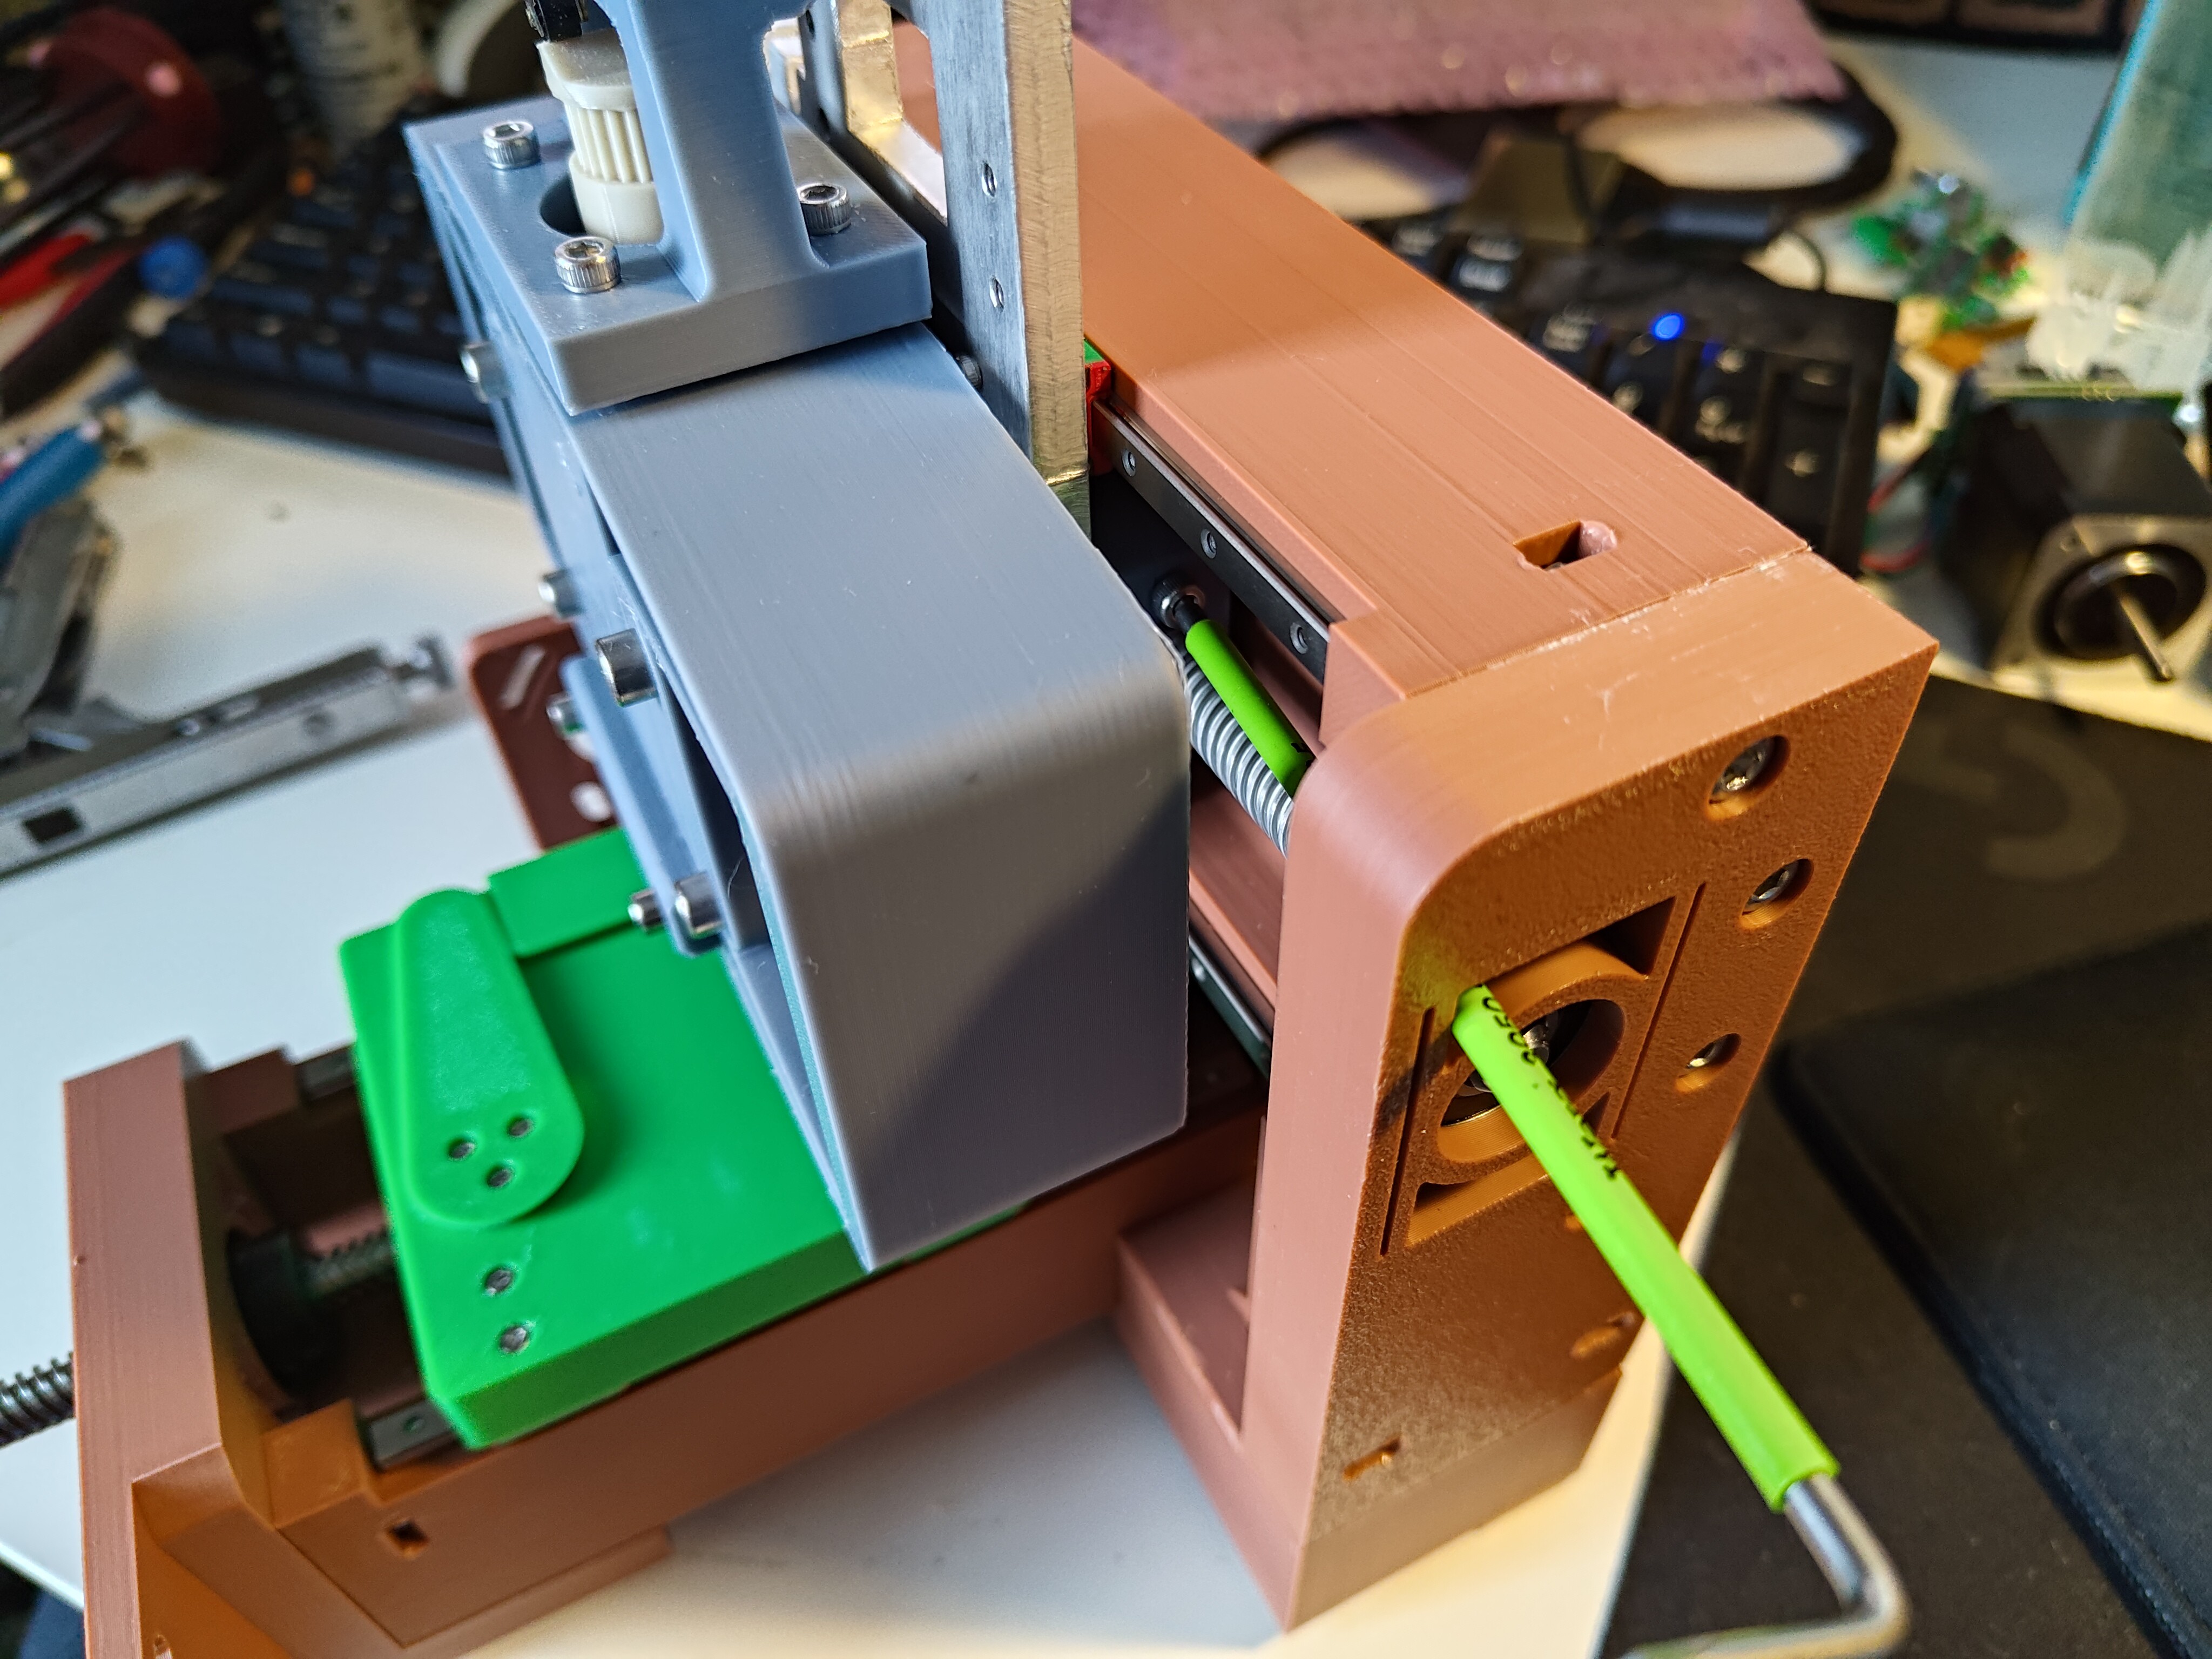
Oh, and I cut one 400 mm lead screw in half! They stick out a little far but the knobs help take that up, and only doing one cut felt great. I ground flats onto the lead screw shortly after cutting and deburring, but ended up hand-filing additional flats later for the pulleys. I guess the lead screws aren't hardened, which is a good thing here:
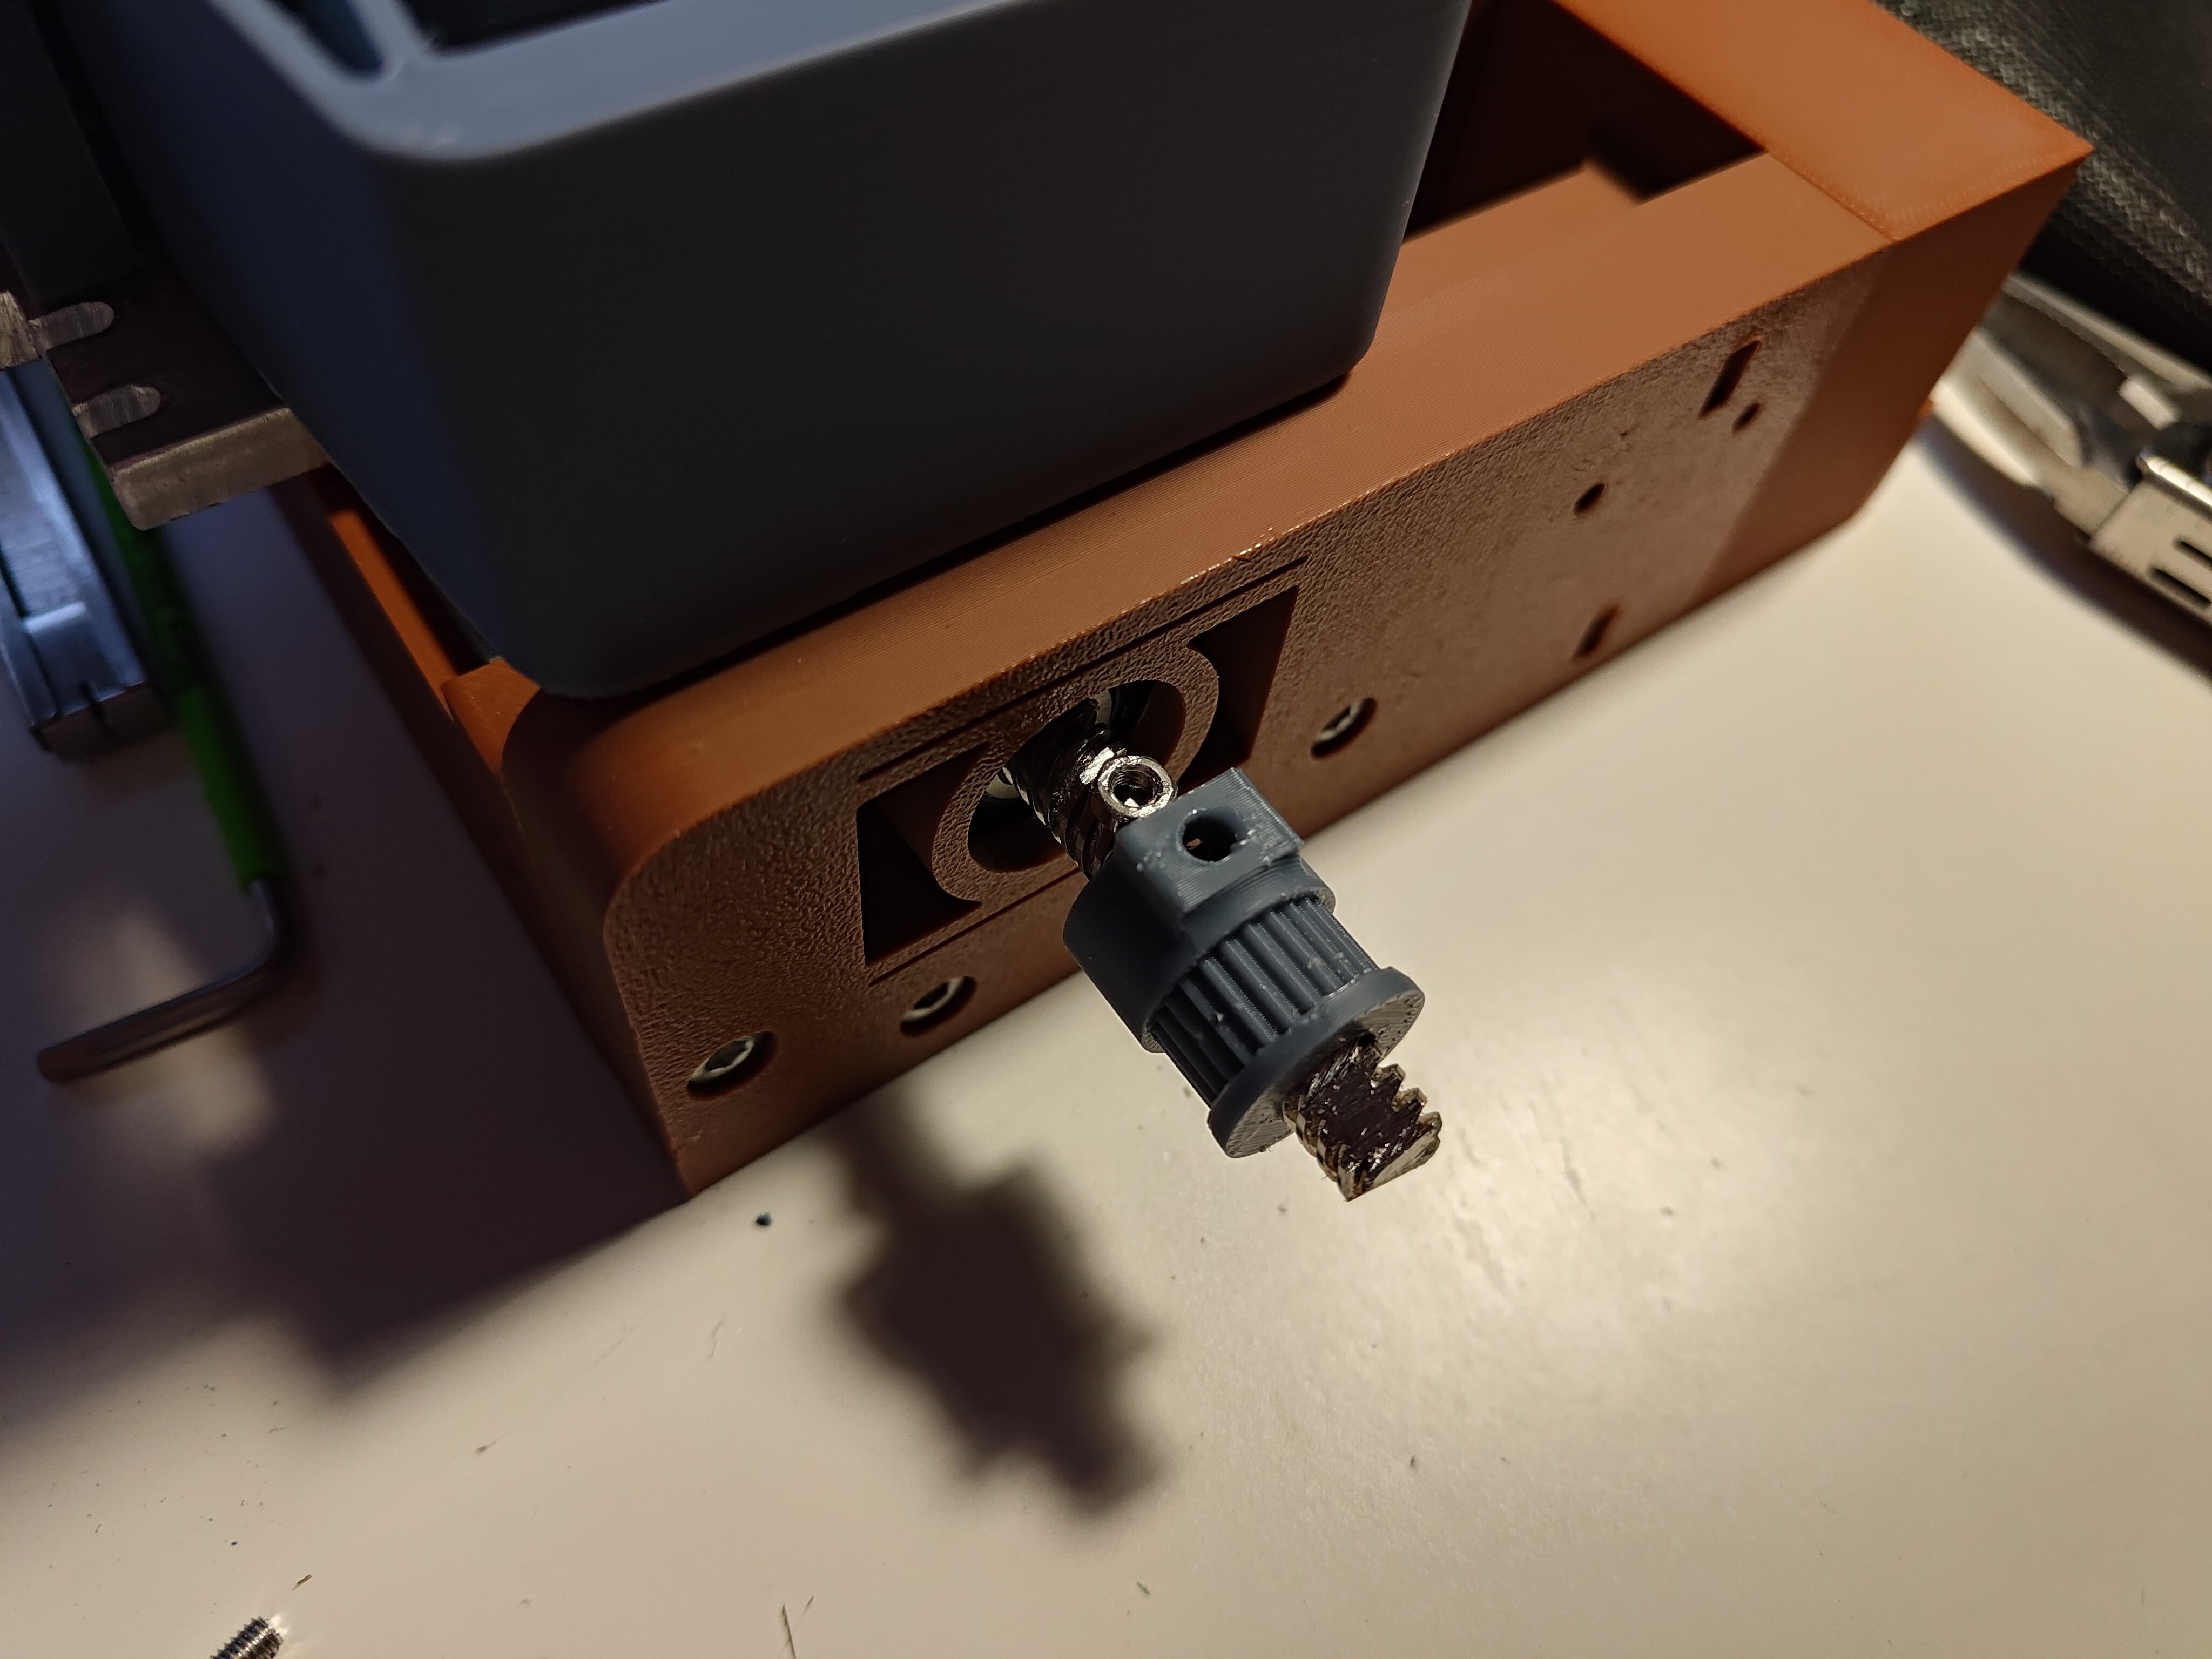
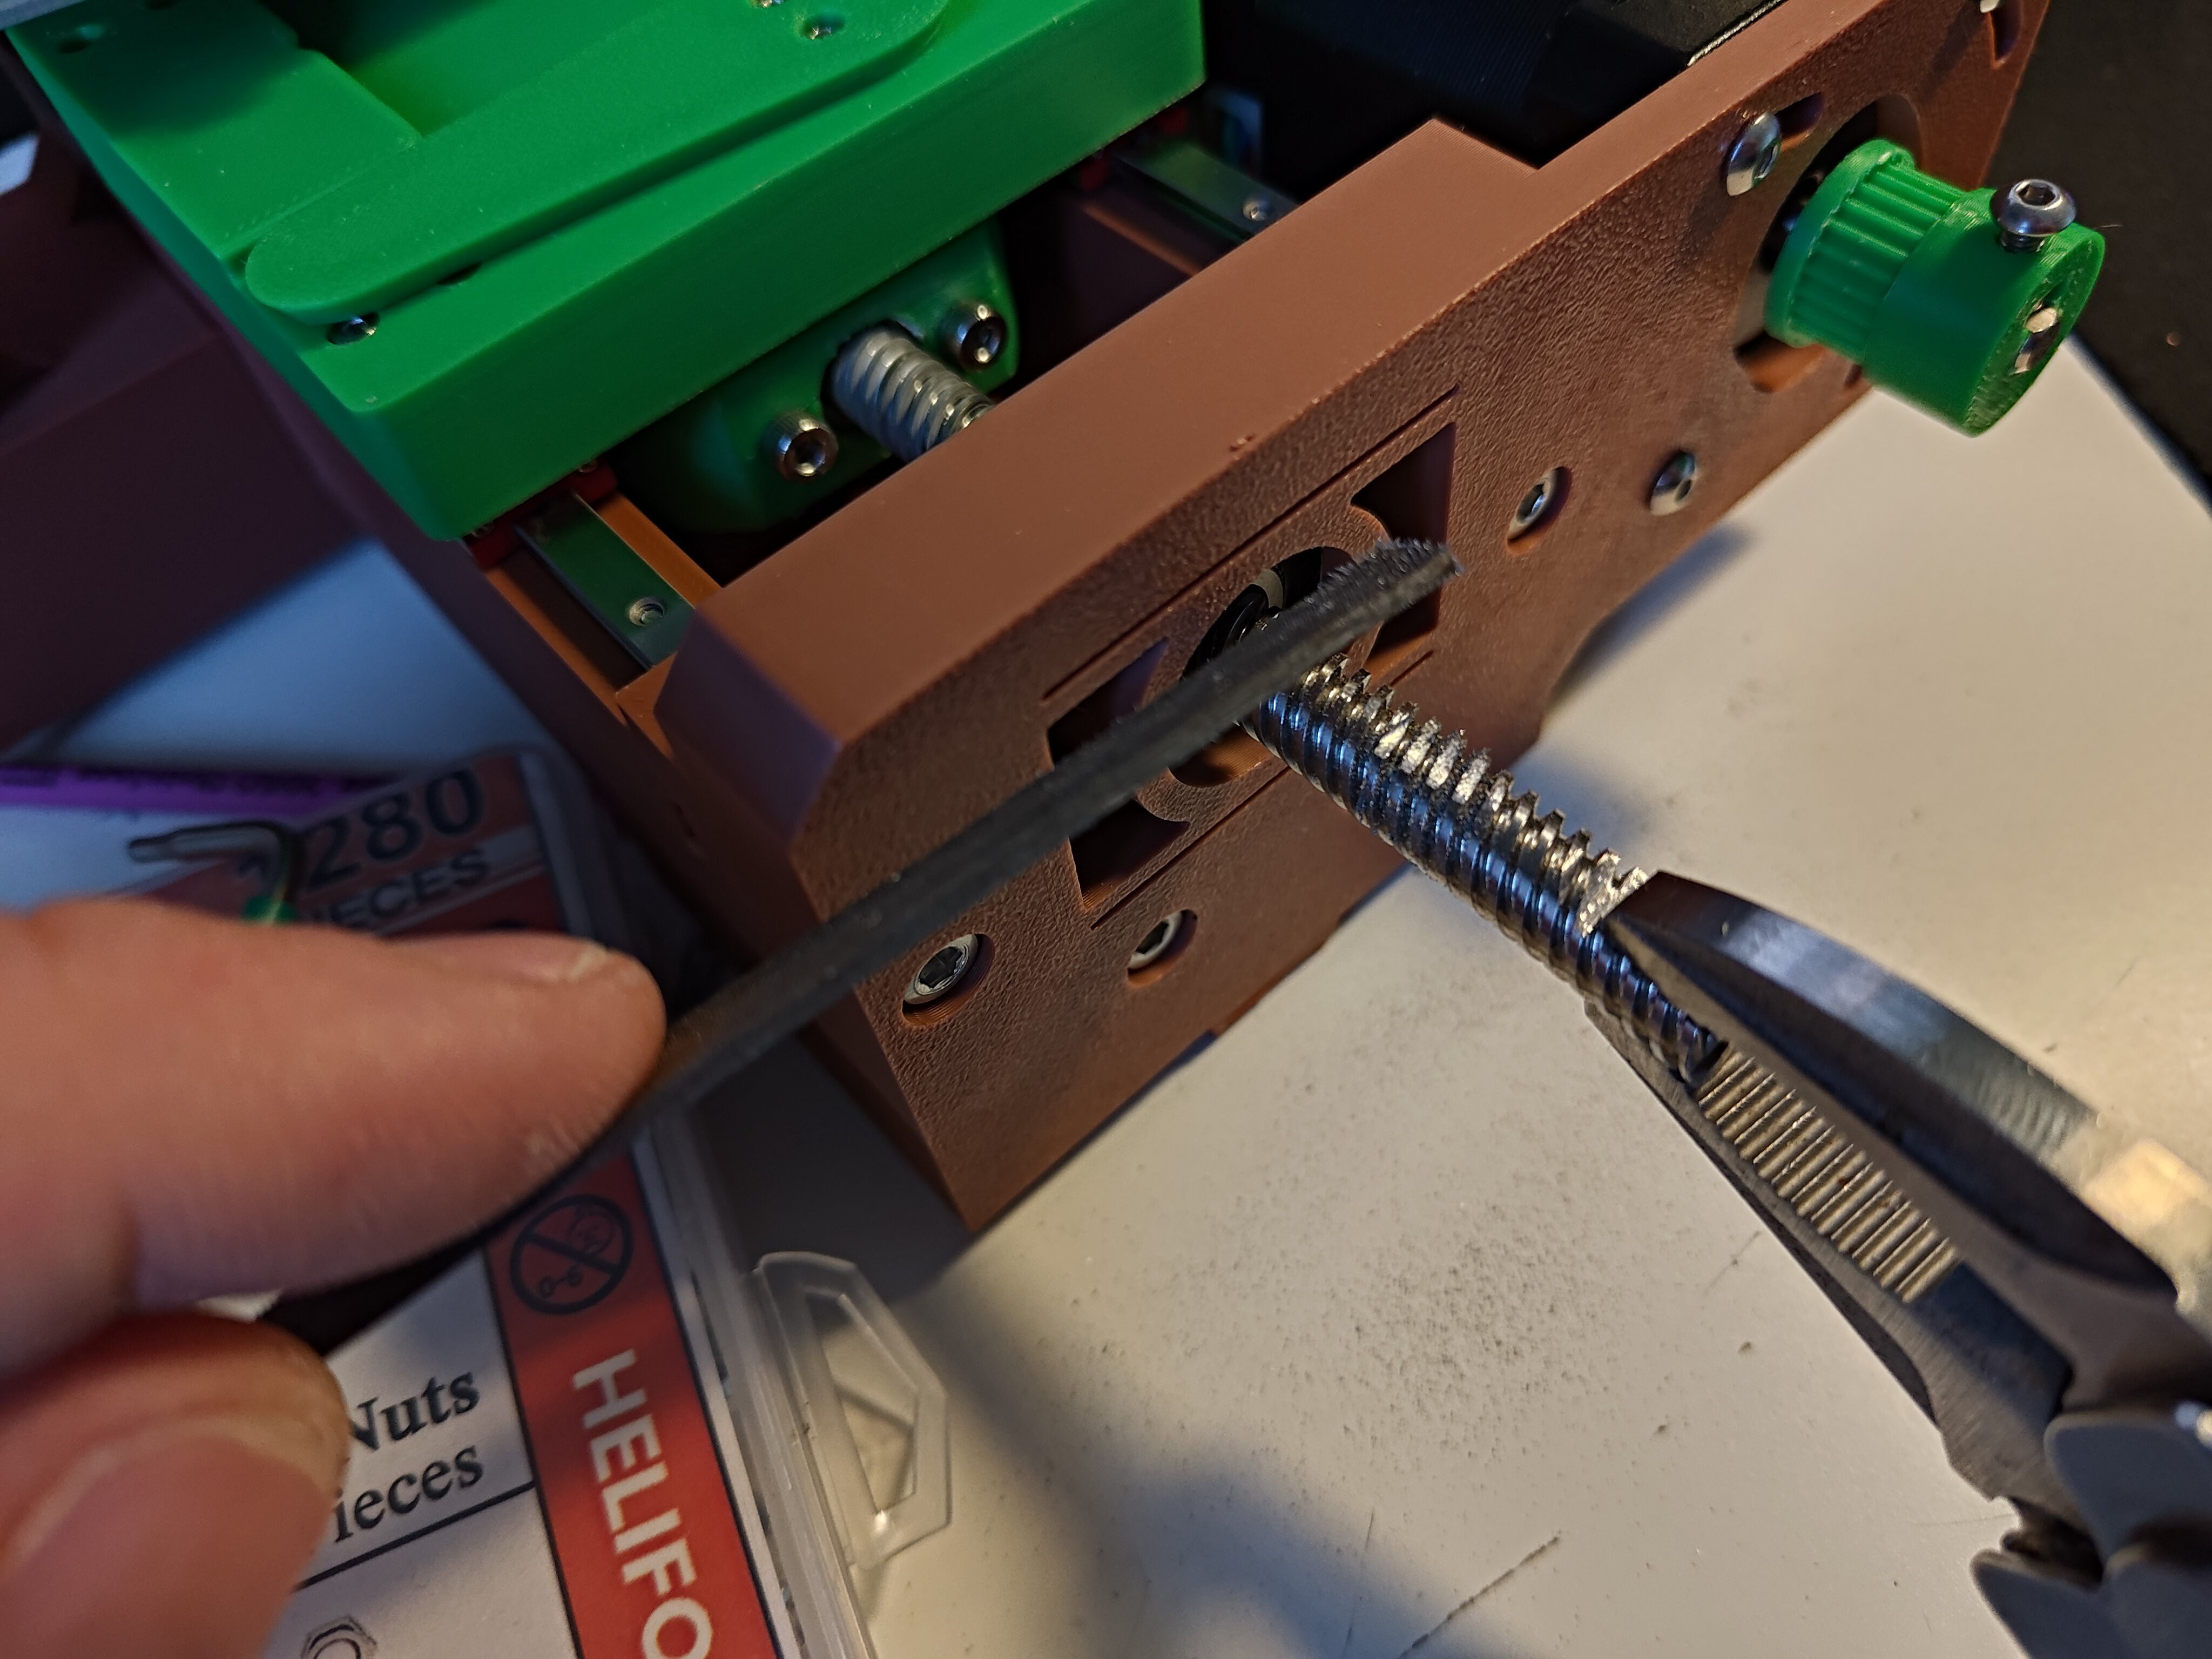
I think that's it for tonight; tomorrow, I need to perhaps adjust the X-axis pulleys a bit, or maybe just lose a few millimeters of gantry travel:

Hahahaha ooops
I want to revise the R-axis bracket again, this time to hold the moularthings boards for both the R-axis stepper (it's a NEMA 14, so the PCB won't mount to the back) and the Z-axis servo. More bracketry! With any luck, motors spin tomorrow!!!
It's October! Slides are due soon. I spec'd but didn't order a travel case, since I'd like to bring the circuit graver to Supercon; I think it's going to be a Pelican 1507 air case. That will hold the machine, along with the cables, USB hub, spare parts, tools, and PCB blanks.
 zakqwy
Discussions
Become a Hackaday.io Member
Create an account to leave a comment. Already have an account? Log In.