Close
0%
0%

Super Simple Slowest Video Player - 7 Colors

A simpler version of the Slowest video player

Public Chat
Similar projects worth following
No Code, No Assembly. A simpler way to create a slowest video player - using a 7 color E-Paper display.

A 7-color E-Paper slowest video player that requires no assembly and little to no programming.

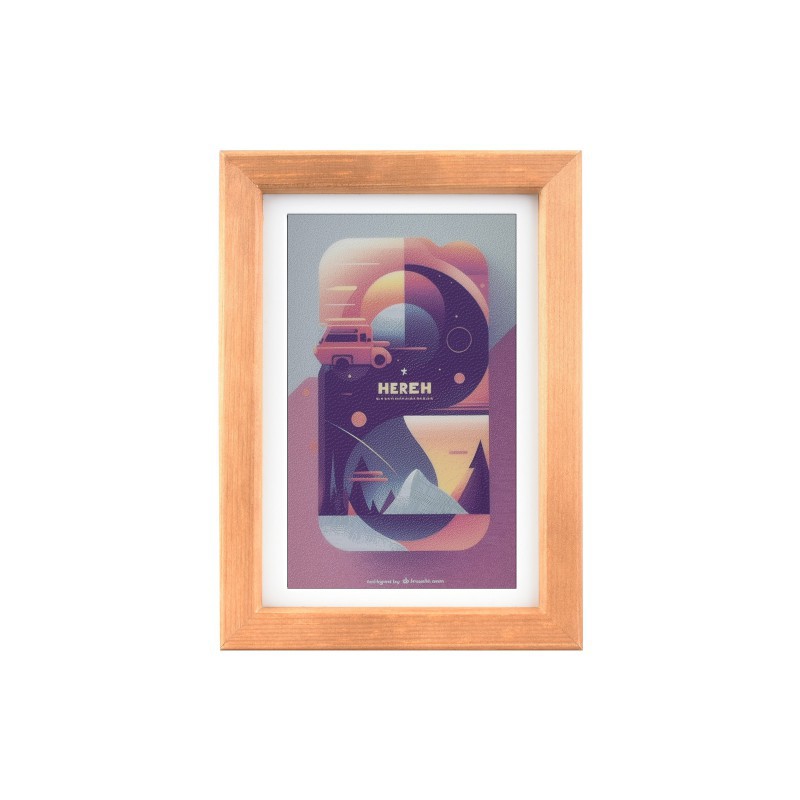
This project makes use of Waveshare's preassembled PhotoPainter display. The frame uses a Raspberry Pi Pico board and is fully opensource.
5min.uf2

Update the image every 5 minutes

uf2 - 592.50 kB - 08/13/2024 at 17:16

Download

10min.uf2

Update the image every 10 minutes

uf2 - 592.50 kB - 08/13/2024 at 17:16

Download

15min.uf2

Update the image every 15 minutes

uf2 - 592.50 kB - 08/13/2024 at 17:16

Download

20min.uf2

Update the image every 20 minutes

uf2 - 592.50 kB - 08/13/2024 at 17:16

Download

30min.uf2

Update the image every 30 minutes

uf2 - 592.50 kB - 08/13/2024 at 17:16

Download

View all 8 files

  • 1
    Slicing the Video

    This first step is to slice the video into individual images. This was done using FFmpeg. You only need to use FFmpeg to slice the video. You could also use it to make the images compatible with the screen, but we will use software by Waveshare for this E-Paper display to crop and recolor the frames.

    .\ffmpeg.exe -hwaccel auto -i .\Howls_Moving_Castle.mkv -vf "fps=4,crop=1920:1040" -q:v 2 .\test\%02d.jpg

    The following is a breakdown of each commands you can change.

    • -i .\some_video.mkv: set the input video to be sliced.
    • fps=4: Saves every 4th frame. You may want to change this to increase or decrease the amount of frames, based on how often you want to update the frame.
    • crop=1920:1040:  The video I used had black bars on the top and bottom. So I used crop to remove them - this can be removed if your images does not have the bars.
    • -q:v 2: Changes the quality of the outputted image. 2 is the highest and 32 is the lowest. I would keep it at 2 since we will lower the resolution of the images in a following step.
    • .\video_images\%04d.jpg: Sets the folder to save the images into and auto names the outputted images to #.jpg
  • 2
    Process the Images

    The next step is to process all the images to be able to be displayed on the E-Paper display. Waveshare supplies an application for the frame that will resize, recolor and apply a dithering algorithm to the images so that they work perfectly with the frame.

    -PhotoPainter - Waveshare Wiki

    Windows:

    1. Download the 7 Colors Dithering Pictures Convert Tool and unzip the folder.
    2. From the Windows folder copy the two files and paste then in the images folder created in the previous step.
    3. Double click the converterTo7color_all.cmd.
    4. Wait for all images to be converted - this will take a hour or so depending on the number of images.
    5. Once done move the converted photos to a folder named pic.

    Mac:

    1. Download the 7 Colors Dithering Pictures Convert Tool and unzip the folder.
    2. In a terminal cd to the downloaded folder and then the Mac folder.
    3. Change the  executable permission for both of the files in the folder.
    4. Once done move the converted photos to a folder named pic. 
      sudo chmod +x convert
      sudo chmod +x converterTo7color_all.sh 
    5. Then run the following to convert all of the images - this will take a hour or so depending on the number of images. 
      ./converterTo7color_all.sh

    Before:

    After:

  • 3
    Creating an image list

    For the frame to display the images it needs a file that contains a list of all the image names.

    To create the file you can use the python code or the .exe file in this GitHub repo - Honsl/PhotoPaperPrep (github.com).

    1. Place the .exe or .py file in the folder that contains the pic folder created in an earlier step. Then either run either of the files.
    2. Once it has run there will be a new file called fileList.txt. That contains a list of all of the photos in the pic folder.

    Example file contents:

    pic/100_image.bmp
    pic/101_image.bmp
    pic/102_image.bmp
    pic/103_image.bmp
    

View all 8 instructions

Enjoy this project?

Share

Discussions

Similar Projects

Does this project spark your interest?

Become a member to follow this project and never miss any updates