Close
0%
0%

Tiny PC (Nostalgia Edition)

A tiny miniature PC running Twister OS on a Pi4

Similar projects worth following
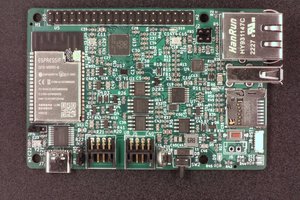
Inspired by the retro machines I grew up with during the 90s and early 00s, I decided to design and build a working tiny miniature PC to bring a little of that nostalgia to my desk. In this guide, I'll walk you through the entire process of building one, sharing detailed steps and tips to help you recreate this project.

Custom PCBs from PCB Way - (Get $5 New User Credit)

Bill of materials

  • Add-on pcb → BOM
  • Waveshare 4inch screen Amazon
  • Raspberry Pi 4 Amazon
  • Micro SD card Amazon
  • 15W USB-C Power Supply Amazon
  • Heatsink with PWM Controllable Fan Amazon
  • Hook-up wire Amazon
  • Dupont Connectors Amazon
  • JST-PH Compatible Connector Amazon
  • M2 Self-Tapping Screws Assortment Amazon
  • Rubber Feet Amazon
  • HDMI cable Adafruit - Aliexpress
  • 1 × Micro HDMI Plug Right Angle (R Bend)
  • 1 × Standard HDMI Plug Right Angle (R bend)
  • 1 × HDMI FFC cable (20cm)
  • Acrylic Primer Amazon
  • Airbrush Paint
  • GOLDEN High Flow Titan Buff Amazon
  • GOLDEN High Flow Transparent Shading Gray Amazon
  • GOLDEN High Flow Neutral Gray 5
  • Acrylic White
  • Airbrush Thiner

Tools

  • Resin Printing System Heygears
  • Soldering Station/Iron. Amazon
  • Helping hands Amazon
  • Precision Screwdriver Set Amazon
  • Airbrush Amazon
  • Wire stripper Amazon
  • Sanding Sponges Amazon
  • Crimping tools Amazon
  • Heat shrink tubing Amazon
  • Flux, Solder, Solder paste
  • Sandpaper Assortment
  • Flush cutters
  • Tweezers, pliers
  • Hot glue

Affiliate links may be included in this list. I may receive a small commission at no additional cost to you.

Add-on for Pi4.zip

Zip Archive - 220.54 kB - 08/07/2024 at 14:28

Download

Micro SD card adapter.zip

Zip Archive - 28.40 kB - 08/07/2024 at 14:28

Download

Front Bezel.stl

Standard Tesselated Geometry - 1.43 MB - 08/07/2024 at 14:28

Download

Back Shell.stl

Standard Tesselated Geometry - 3.61 MB - 08/07/2024 at 14:28

Download

Screen_core.stl

Standard Tesselated Geometry - 3.36 MB - 08/07/2024 at 14:28

Download

View all 10 files

  • 1
    Step 1: Watch the Build

    Before you begin, watch the full build video to get an overview of the project. It will give you a visual understanding of each step and how all the pieces come together.

  • 2
    Step 2: 3D Printing

    You can find the enclosure STLs in the project’s GitHub repo, or you can export other formats from the embedded Fusion design provided under this section.

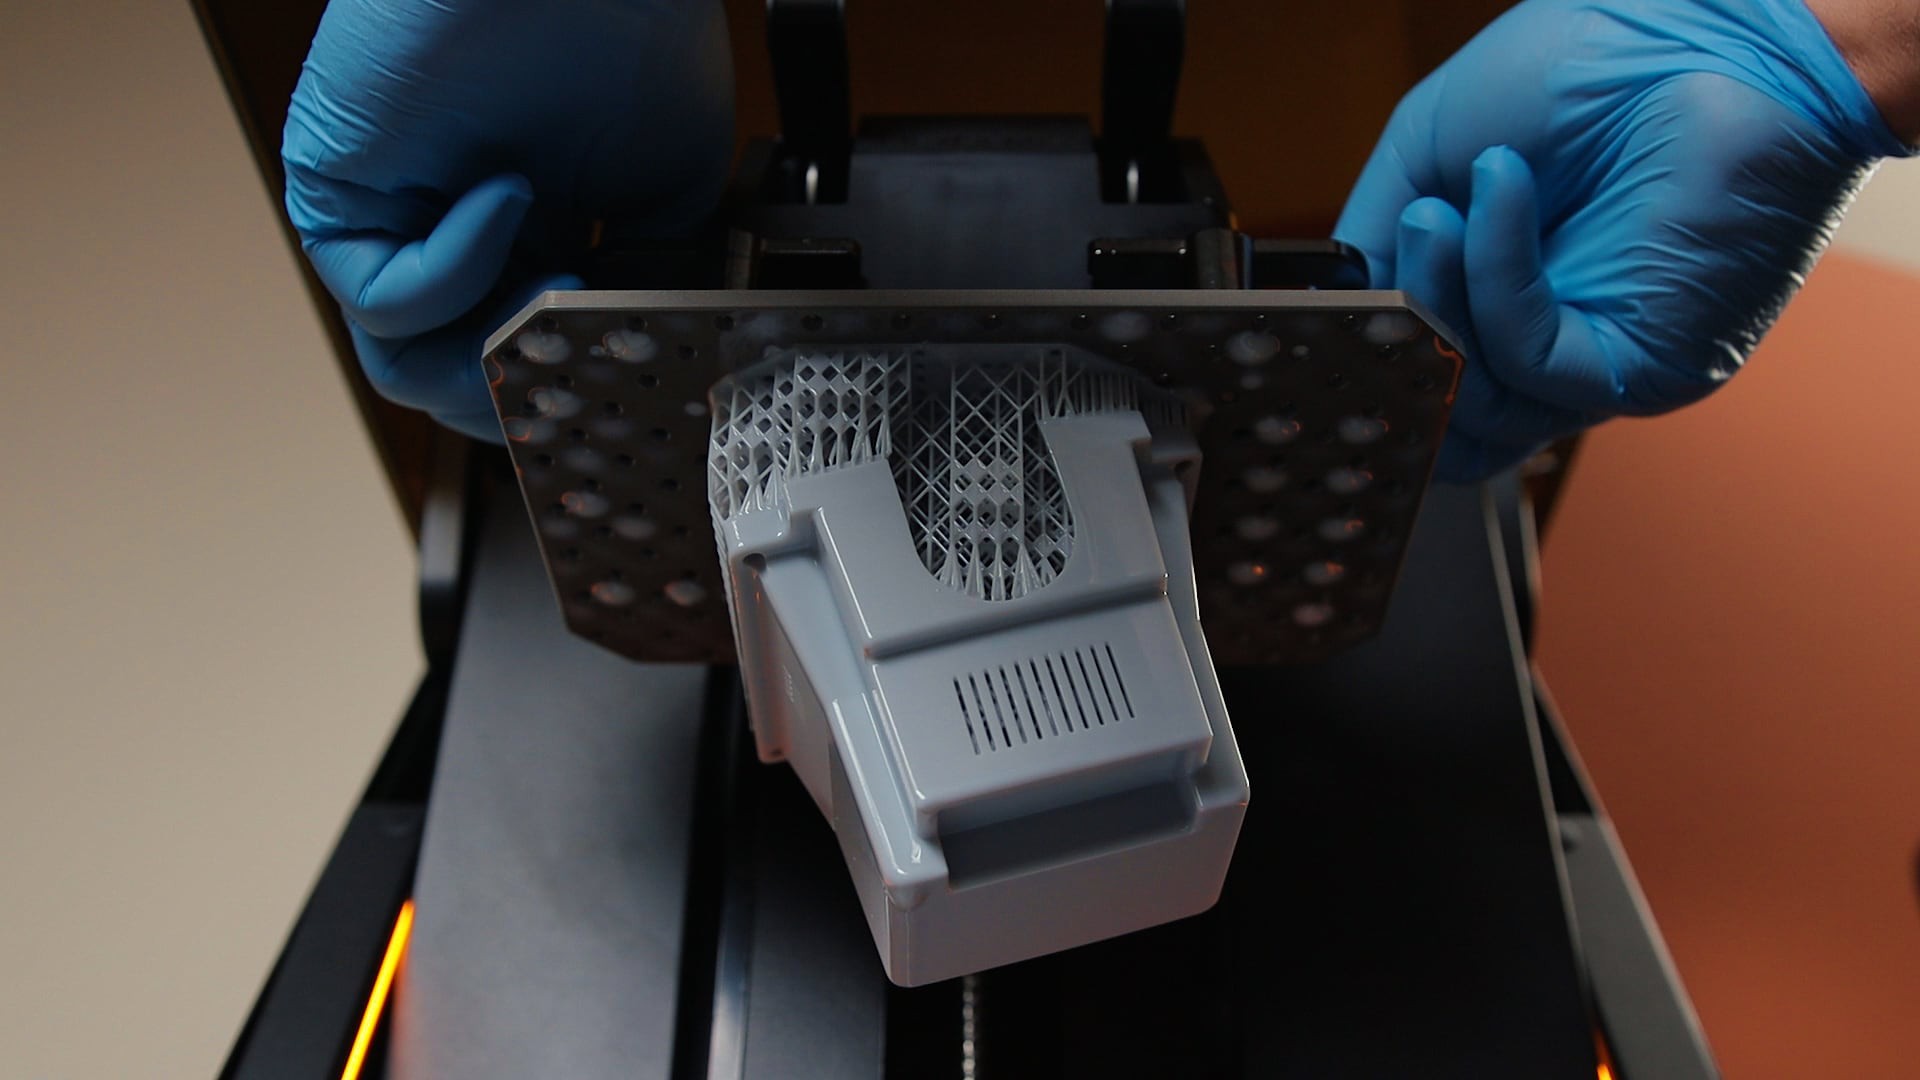
    I printed all the enclosure parts (at 50-micron resolution) on the Ultra-Craft Reflex from Heygears using the PAU10 Resin. However, any resin printer with decent dimensional accuracy will do. I tried to support the parts in a way that reduces post-processing and ensures minimal to no supports on the visible sides.

    One thing to note is that the bottom base has a thin shell. I made the mistake of curing that part after removing the supports, which caused it to warp a bit. I was able to reform it back to its intended shape, and the two holes for the add-on PCB help pull back the front panel, restoring the intended shape.

  • 3
    Step 3: Post-processing

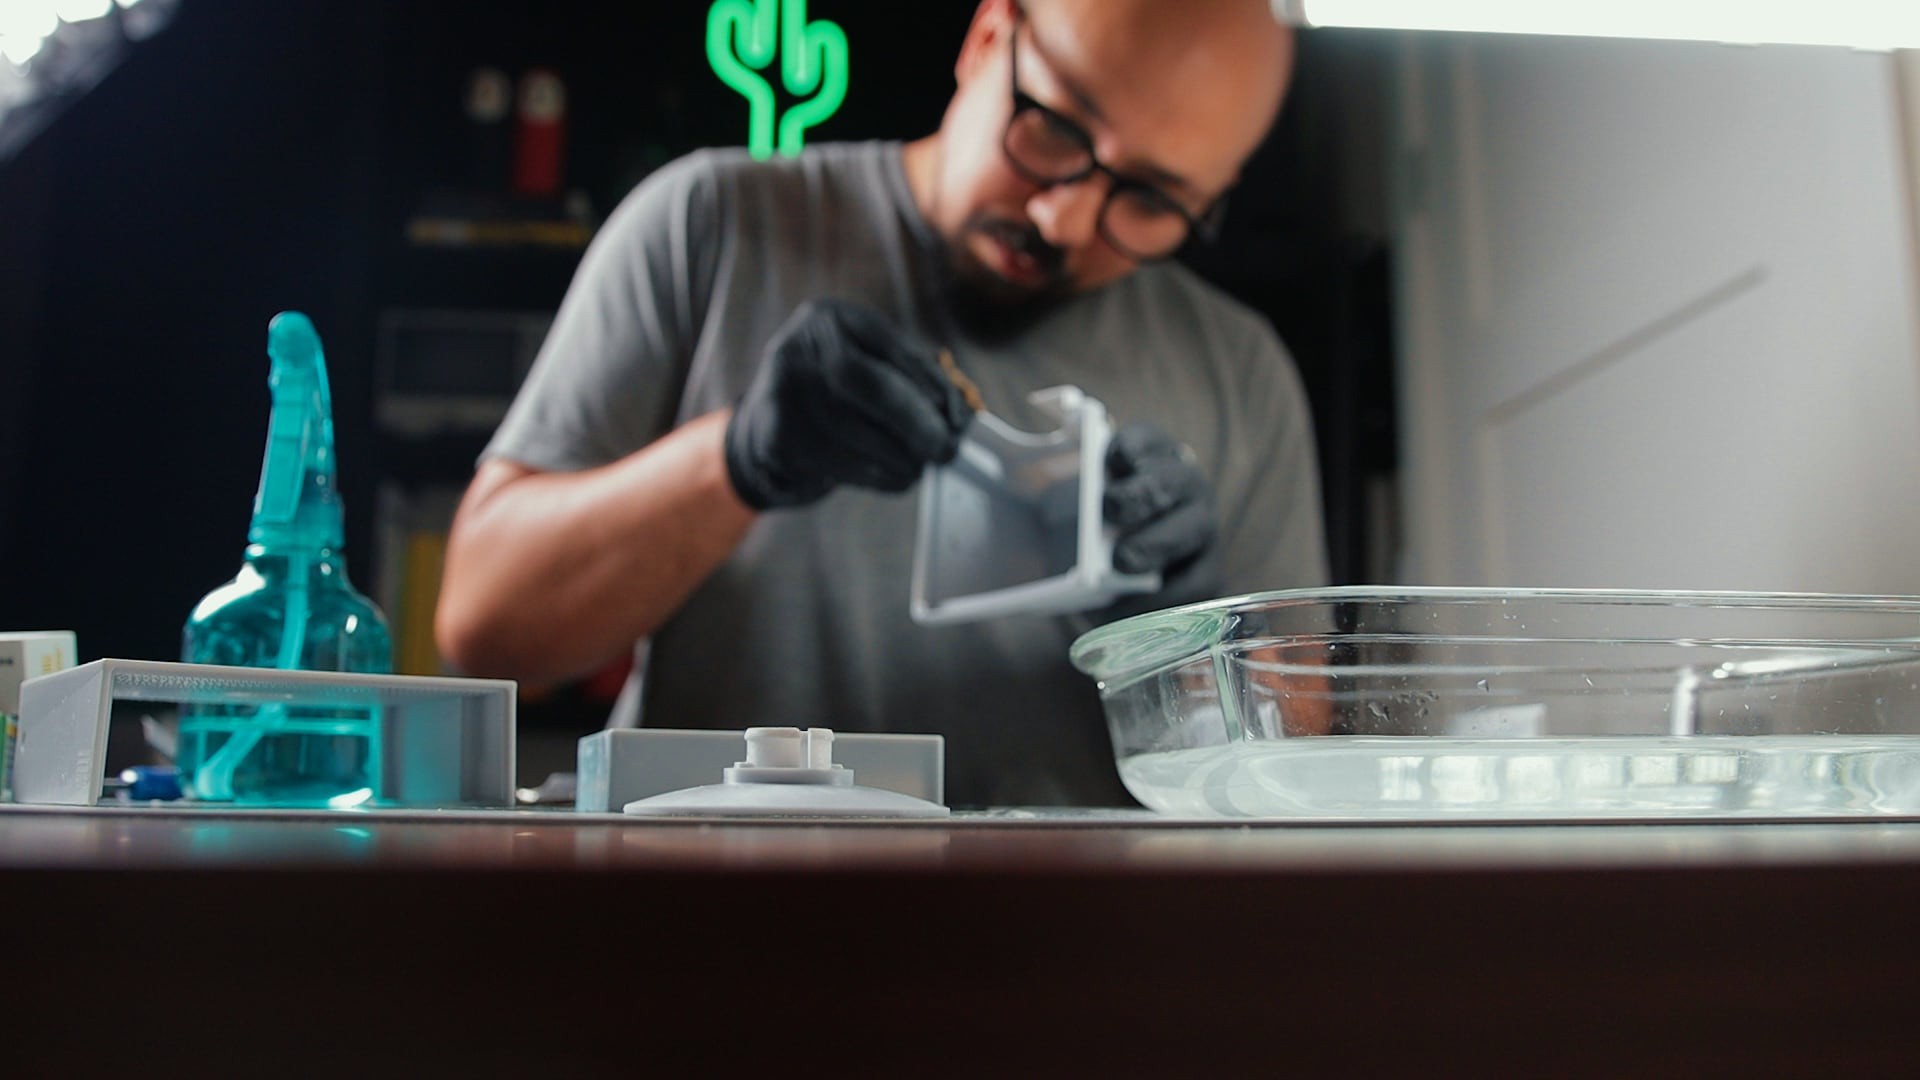
    After all the parts were printed, washed, and cured, I began the post-processing.

    First, I used an X-Acto knife to remove any protrusions from the models. Then, I wet sanded the visible sides that had support marks and the printing stair effect until I achieved a smooth surface.

    I took special care not to remove any of the details on the miniature. For the very tiny areas, I used 1000-grit foam strips to gently smooth them out as well.

    I repeated this process until I was satisfied with all the parts. After that, I cleaned them with soap and water and let them air dry.

View all 12 instructions

Enjoy this project?

Share

Discussions

Similar Projects

Does this project spark your interest?

Become a member to follow this project and never miss any updates