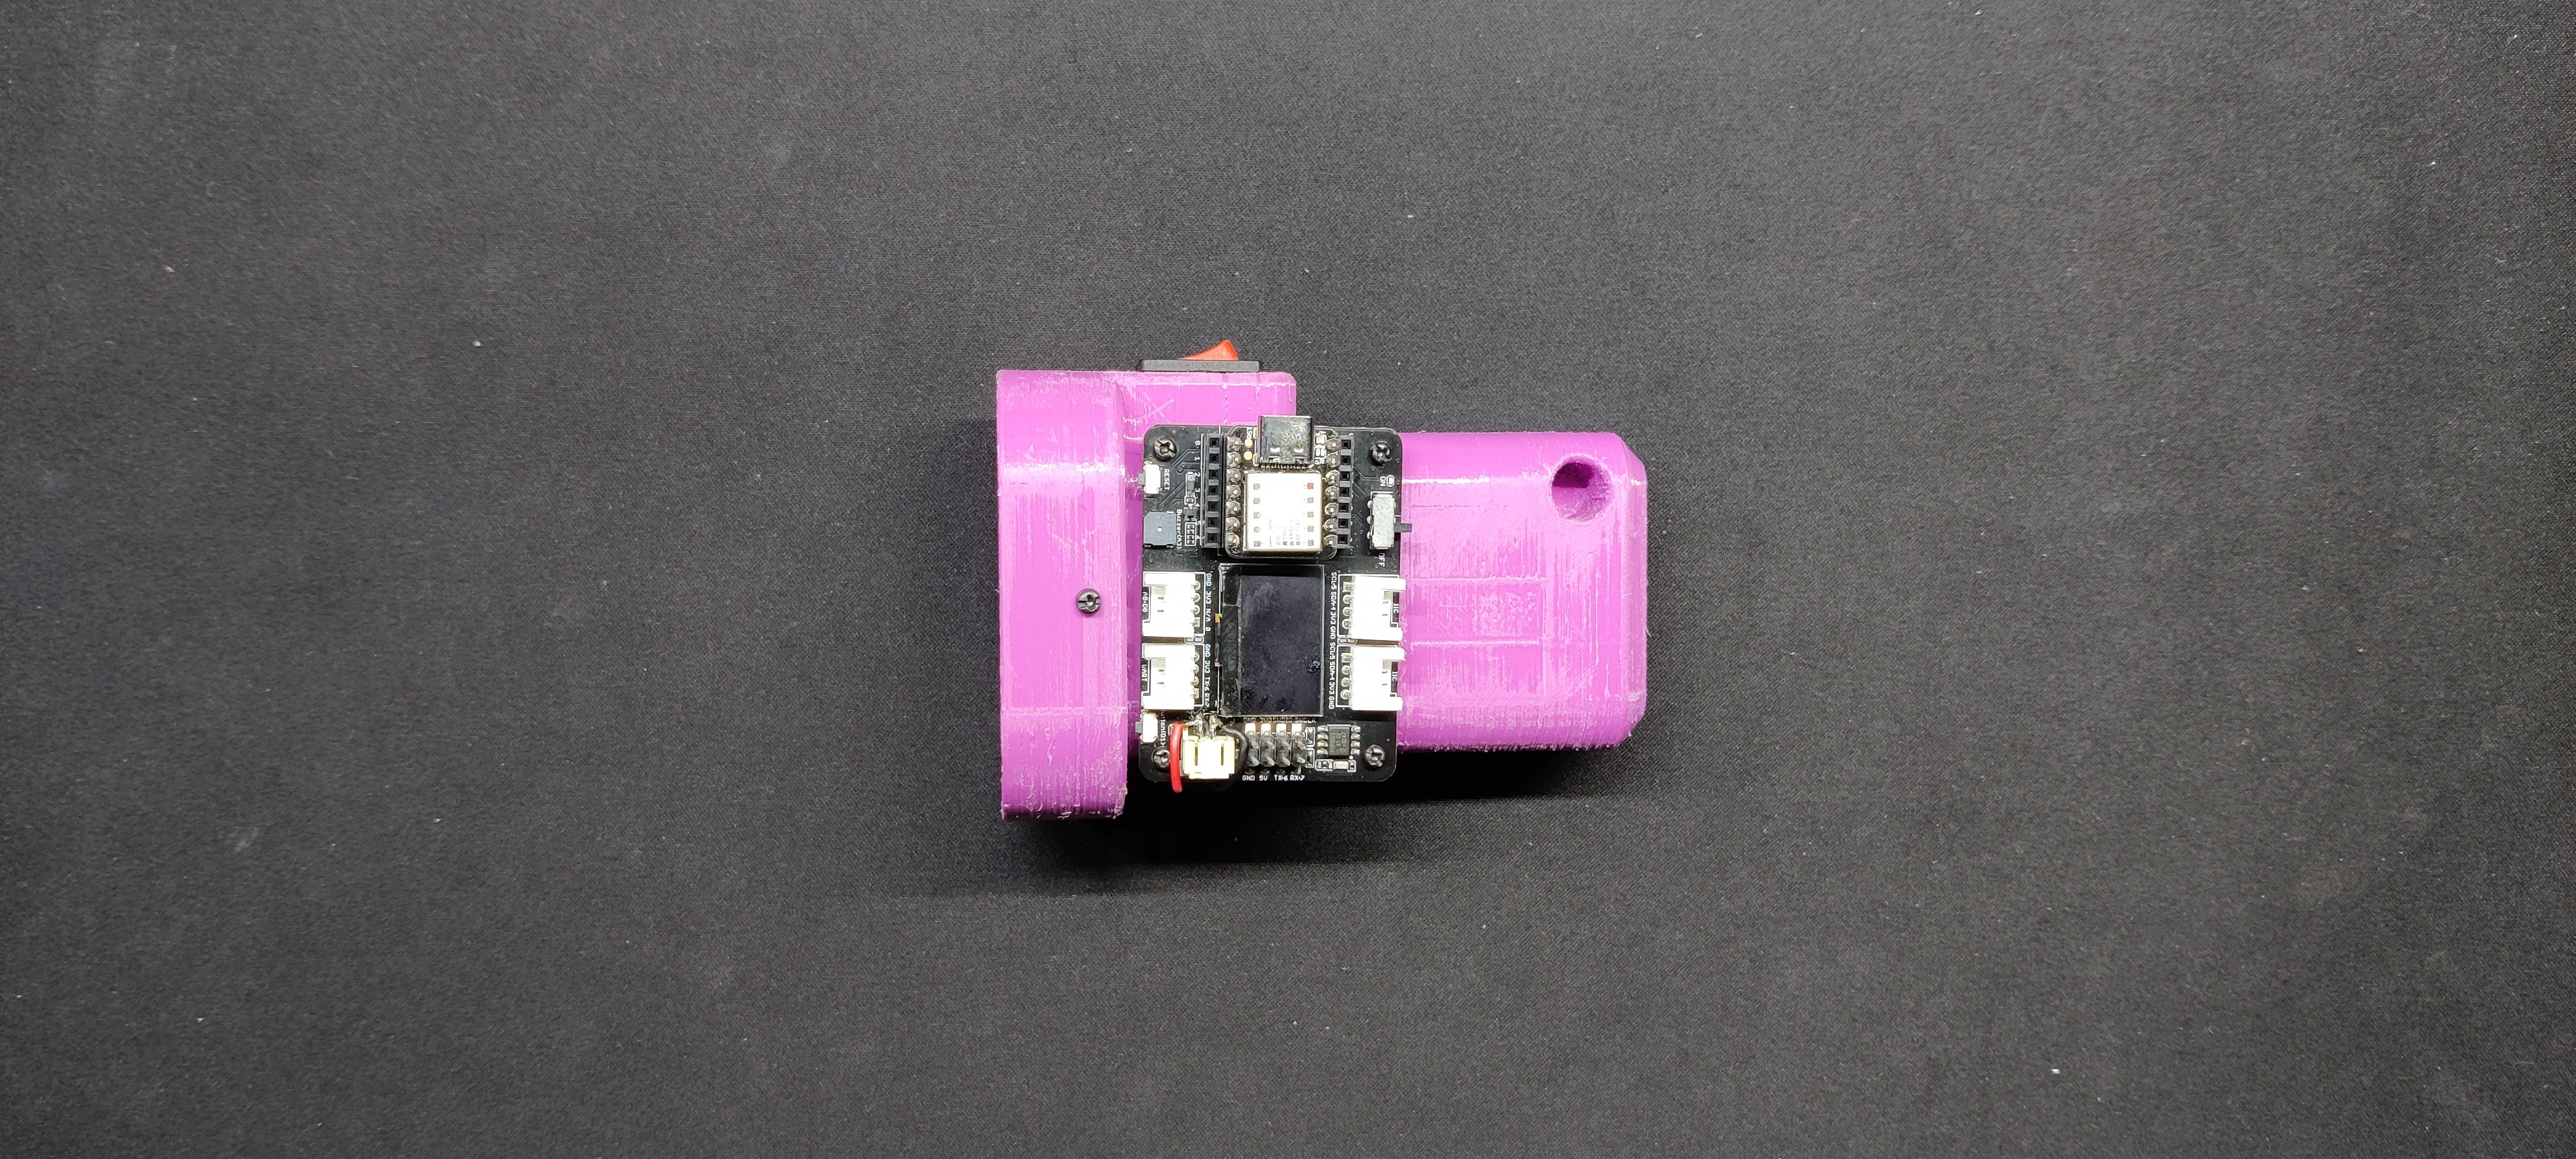
This device was created since I will soon be departing on a camping trip and needed a few camping essentials. A flashlight with wide coverage is one of these essentials. Regretfully, I was unable to find an adequate flashlight, so I aim to build one myself.
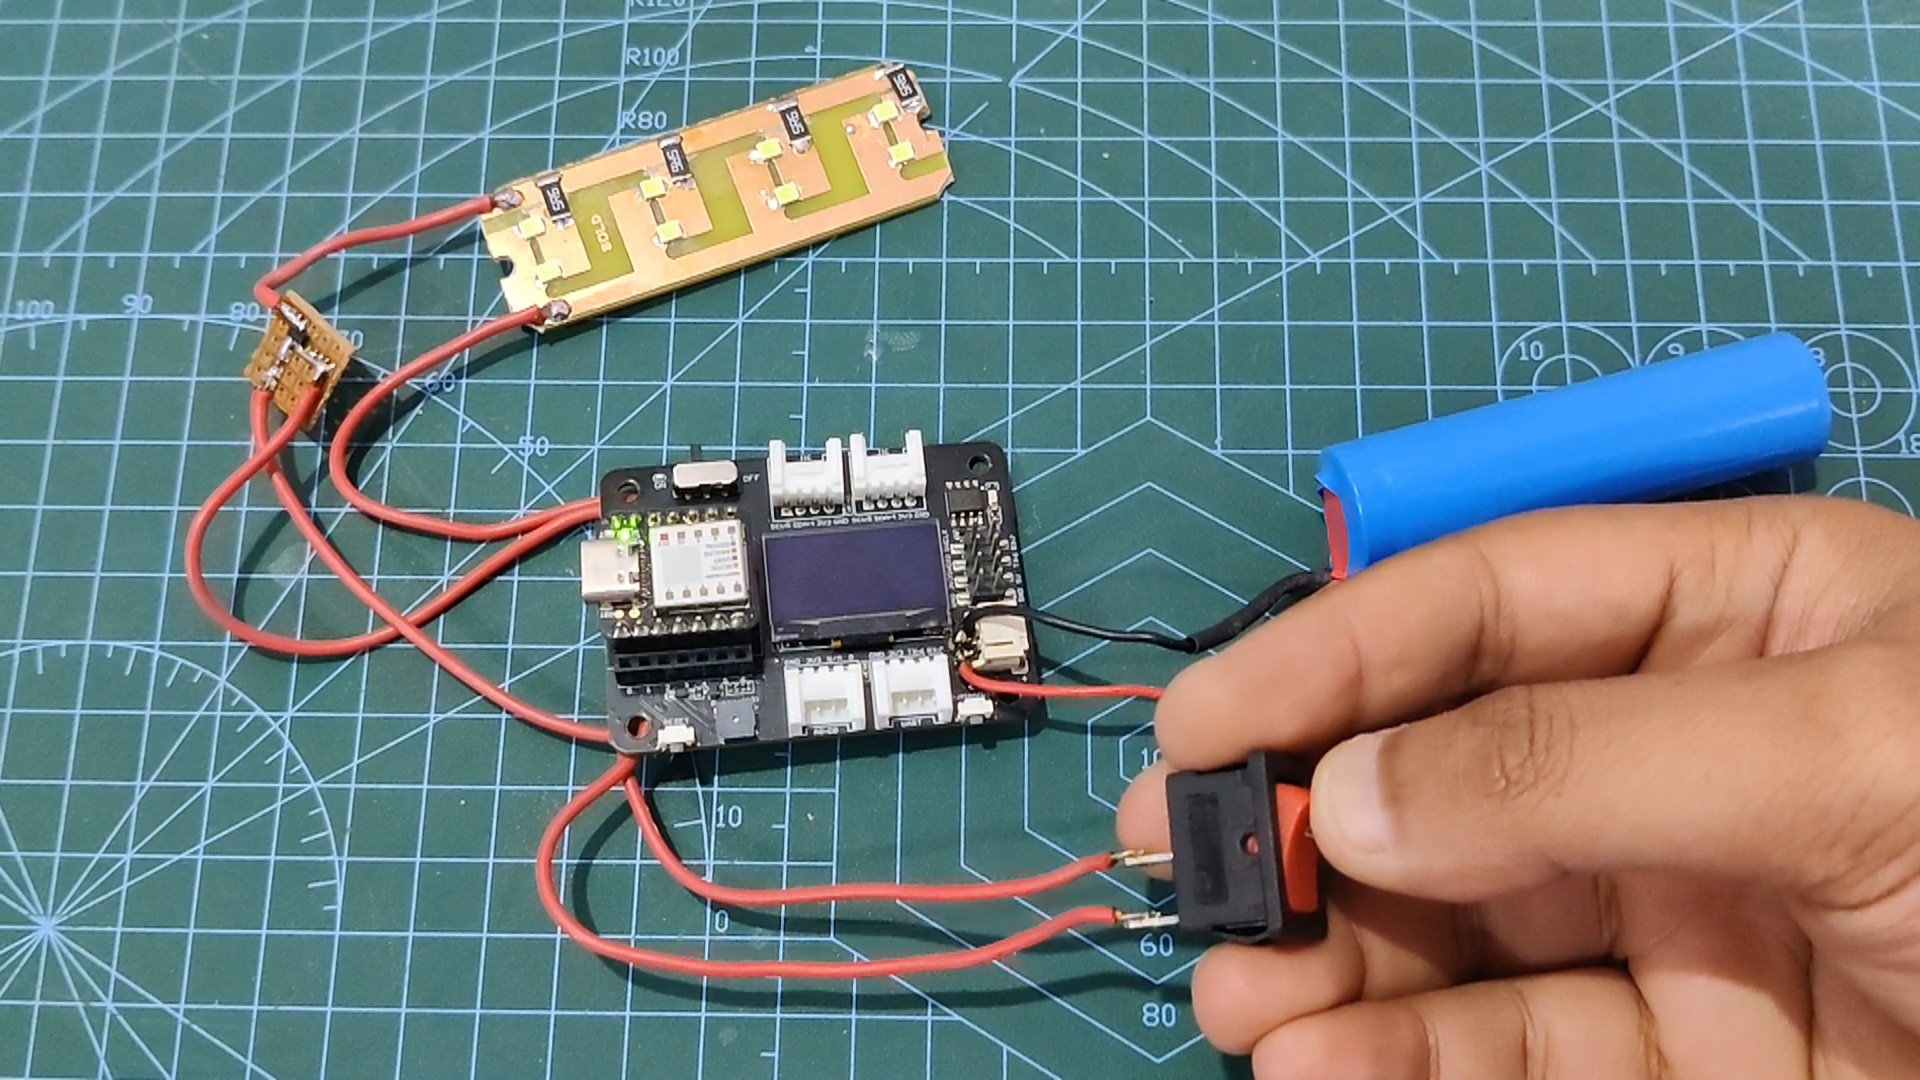
The idea was to use the XIAO expansion board, which has a circuit for charging lithium-ion batteries and is ideal for providing power to drive an LED load—in this case, a specially made copper-clad board that was etched.
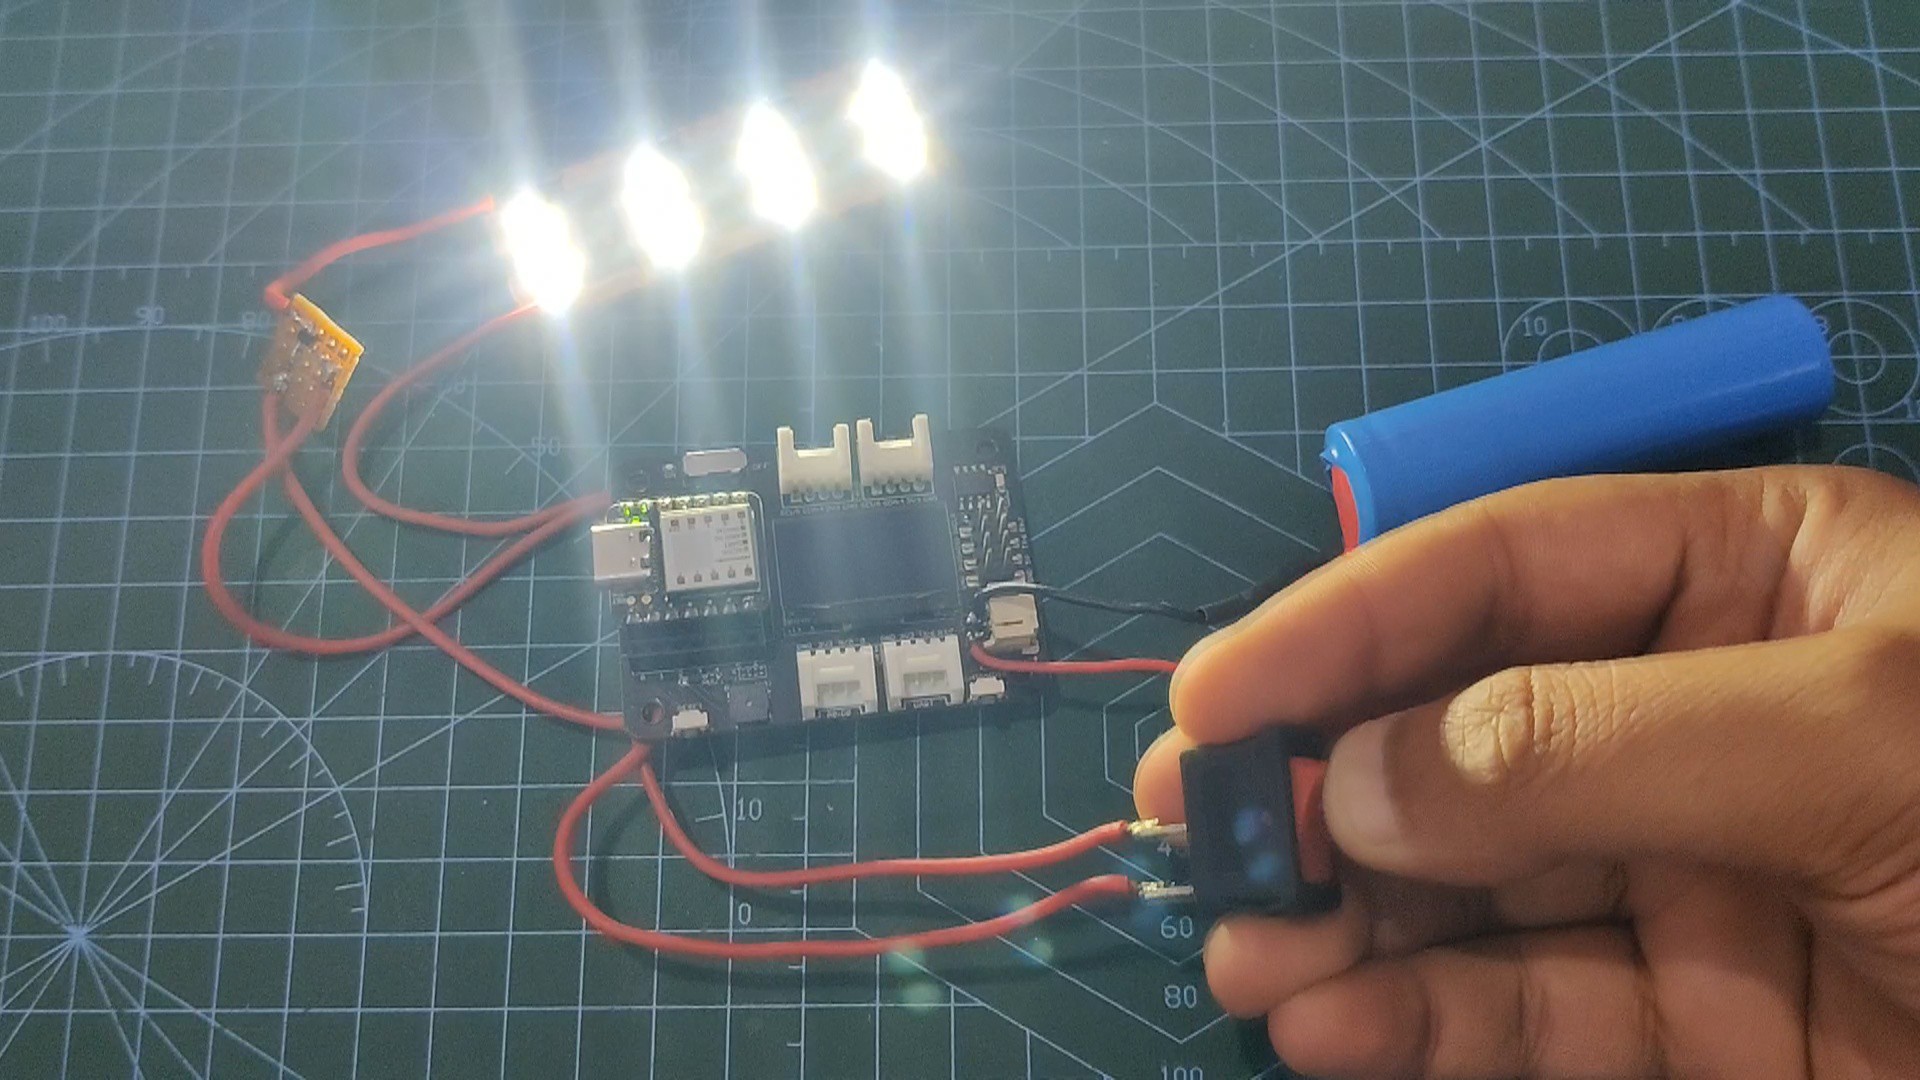
We are using the XIAO SAMD21 M0 microcontroller as the brain of this project, which is connected to a push-button-rocker switch, user can use this switch to change the state of the LED.
ELECTRONICS: XIAO SAMD21 with Expansion Board

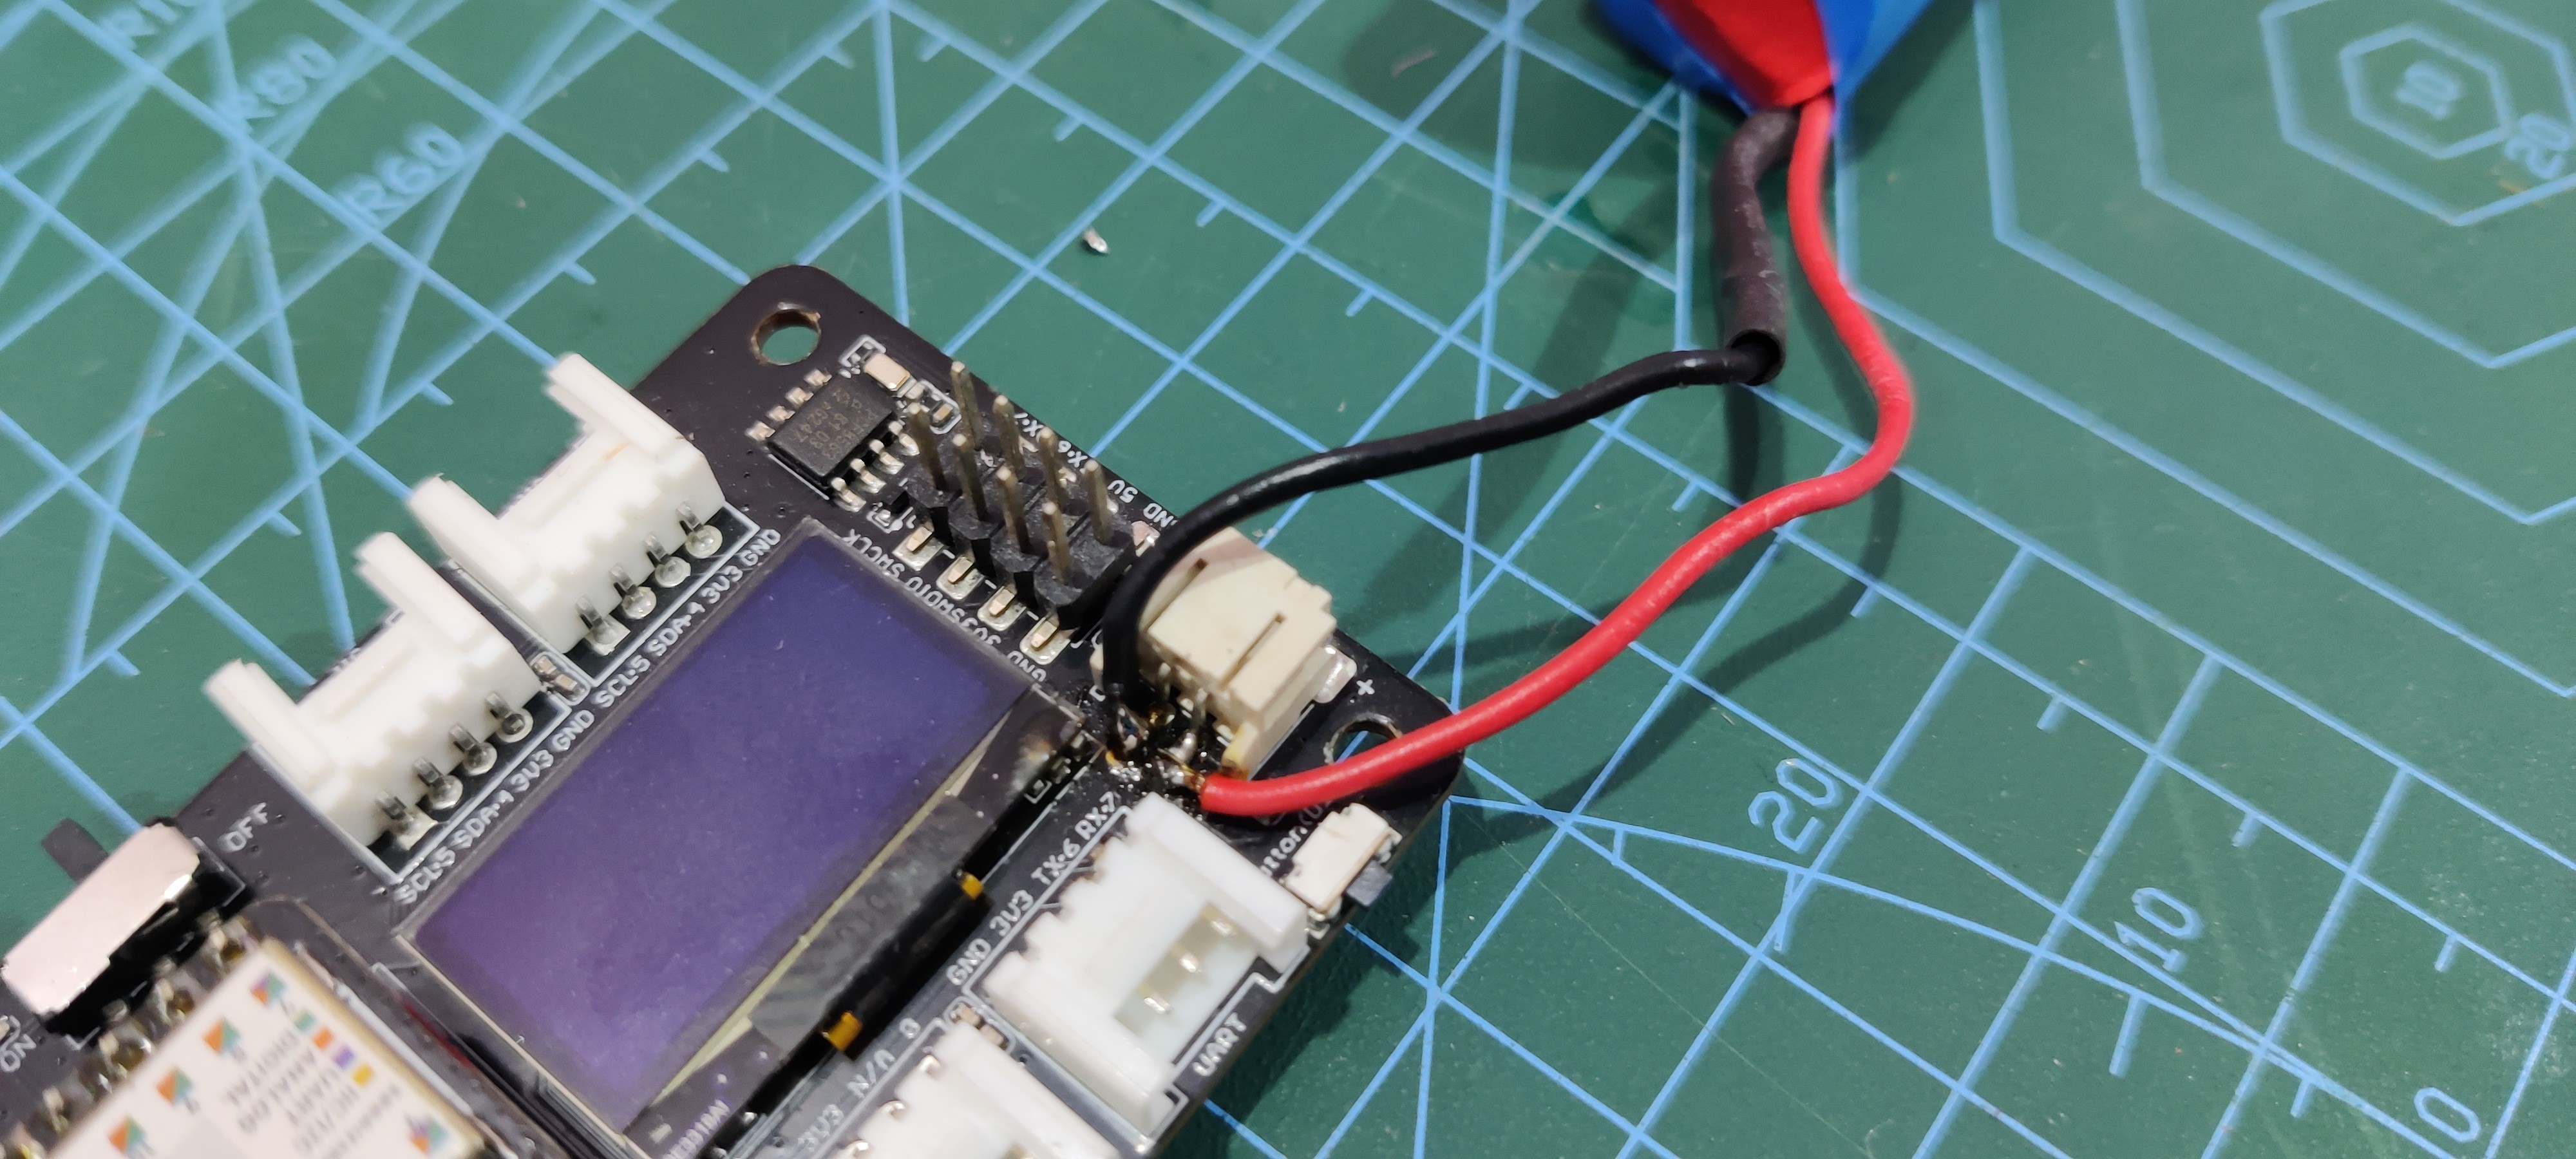
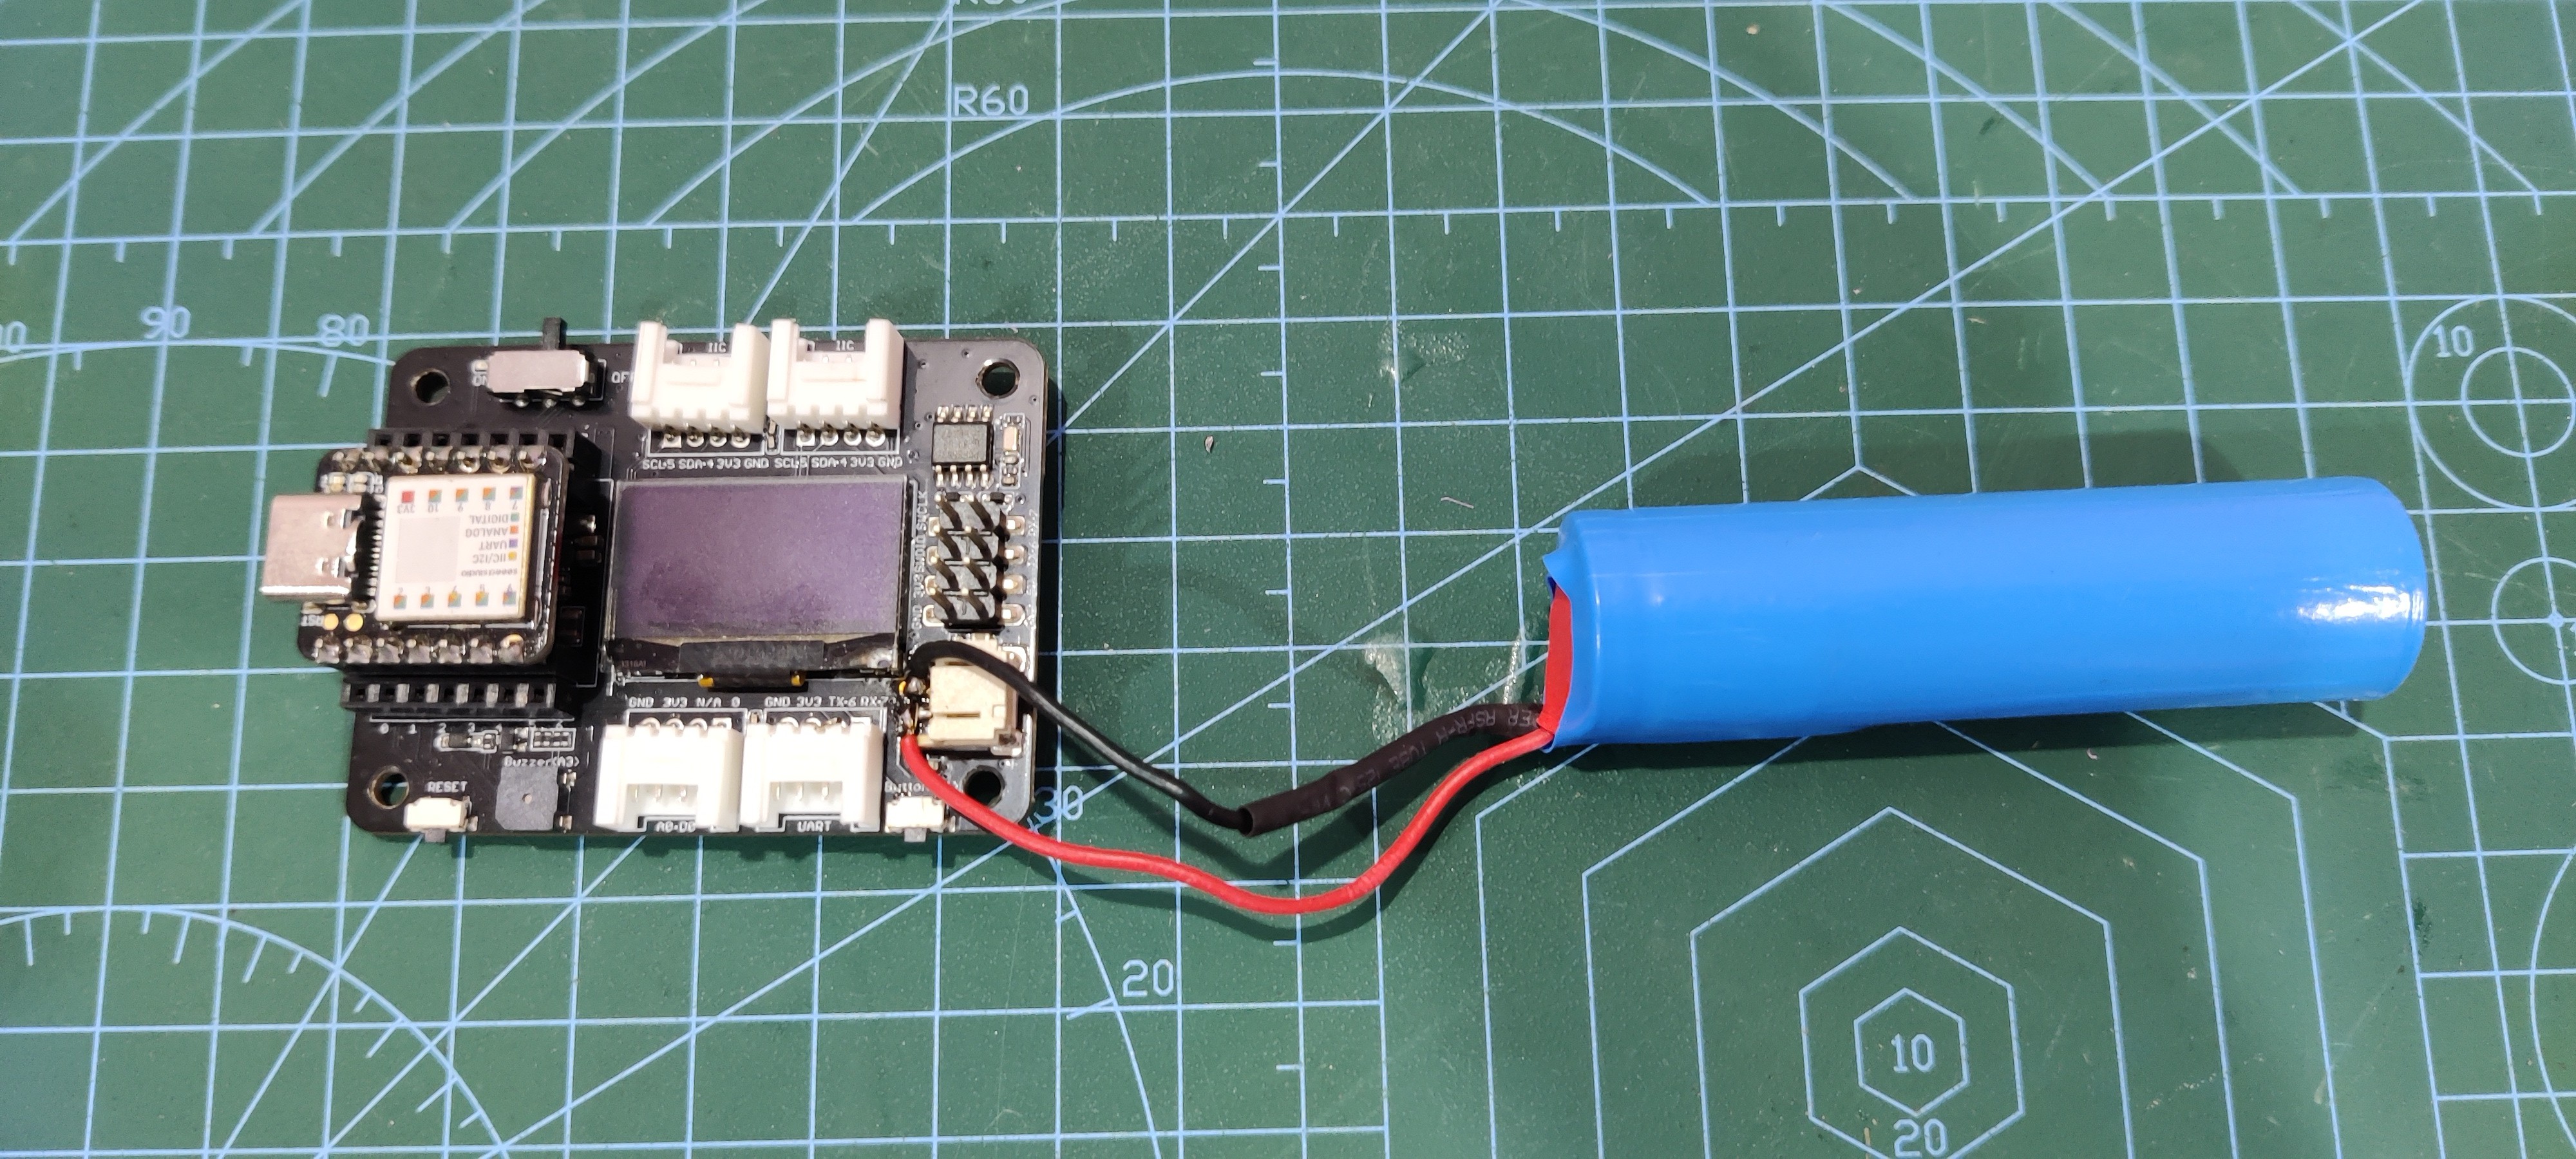
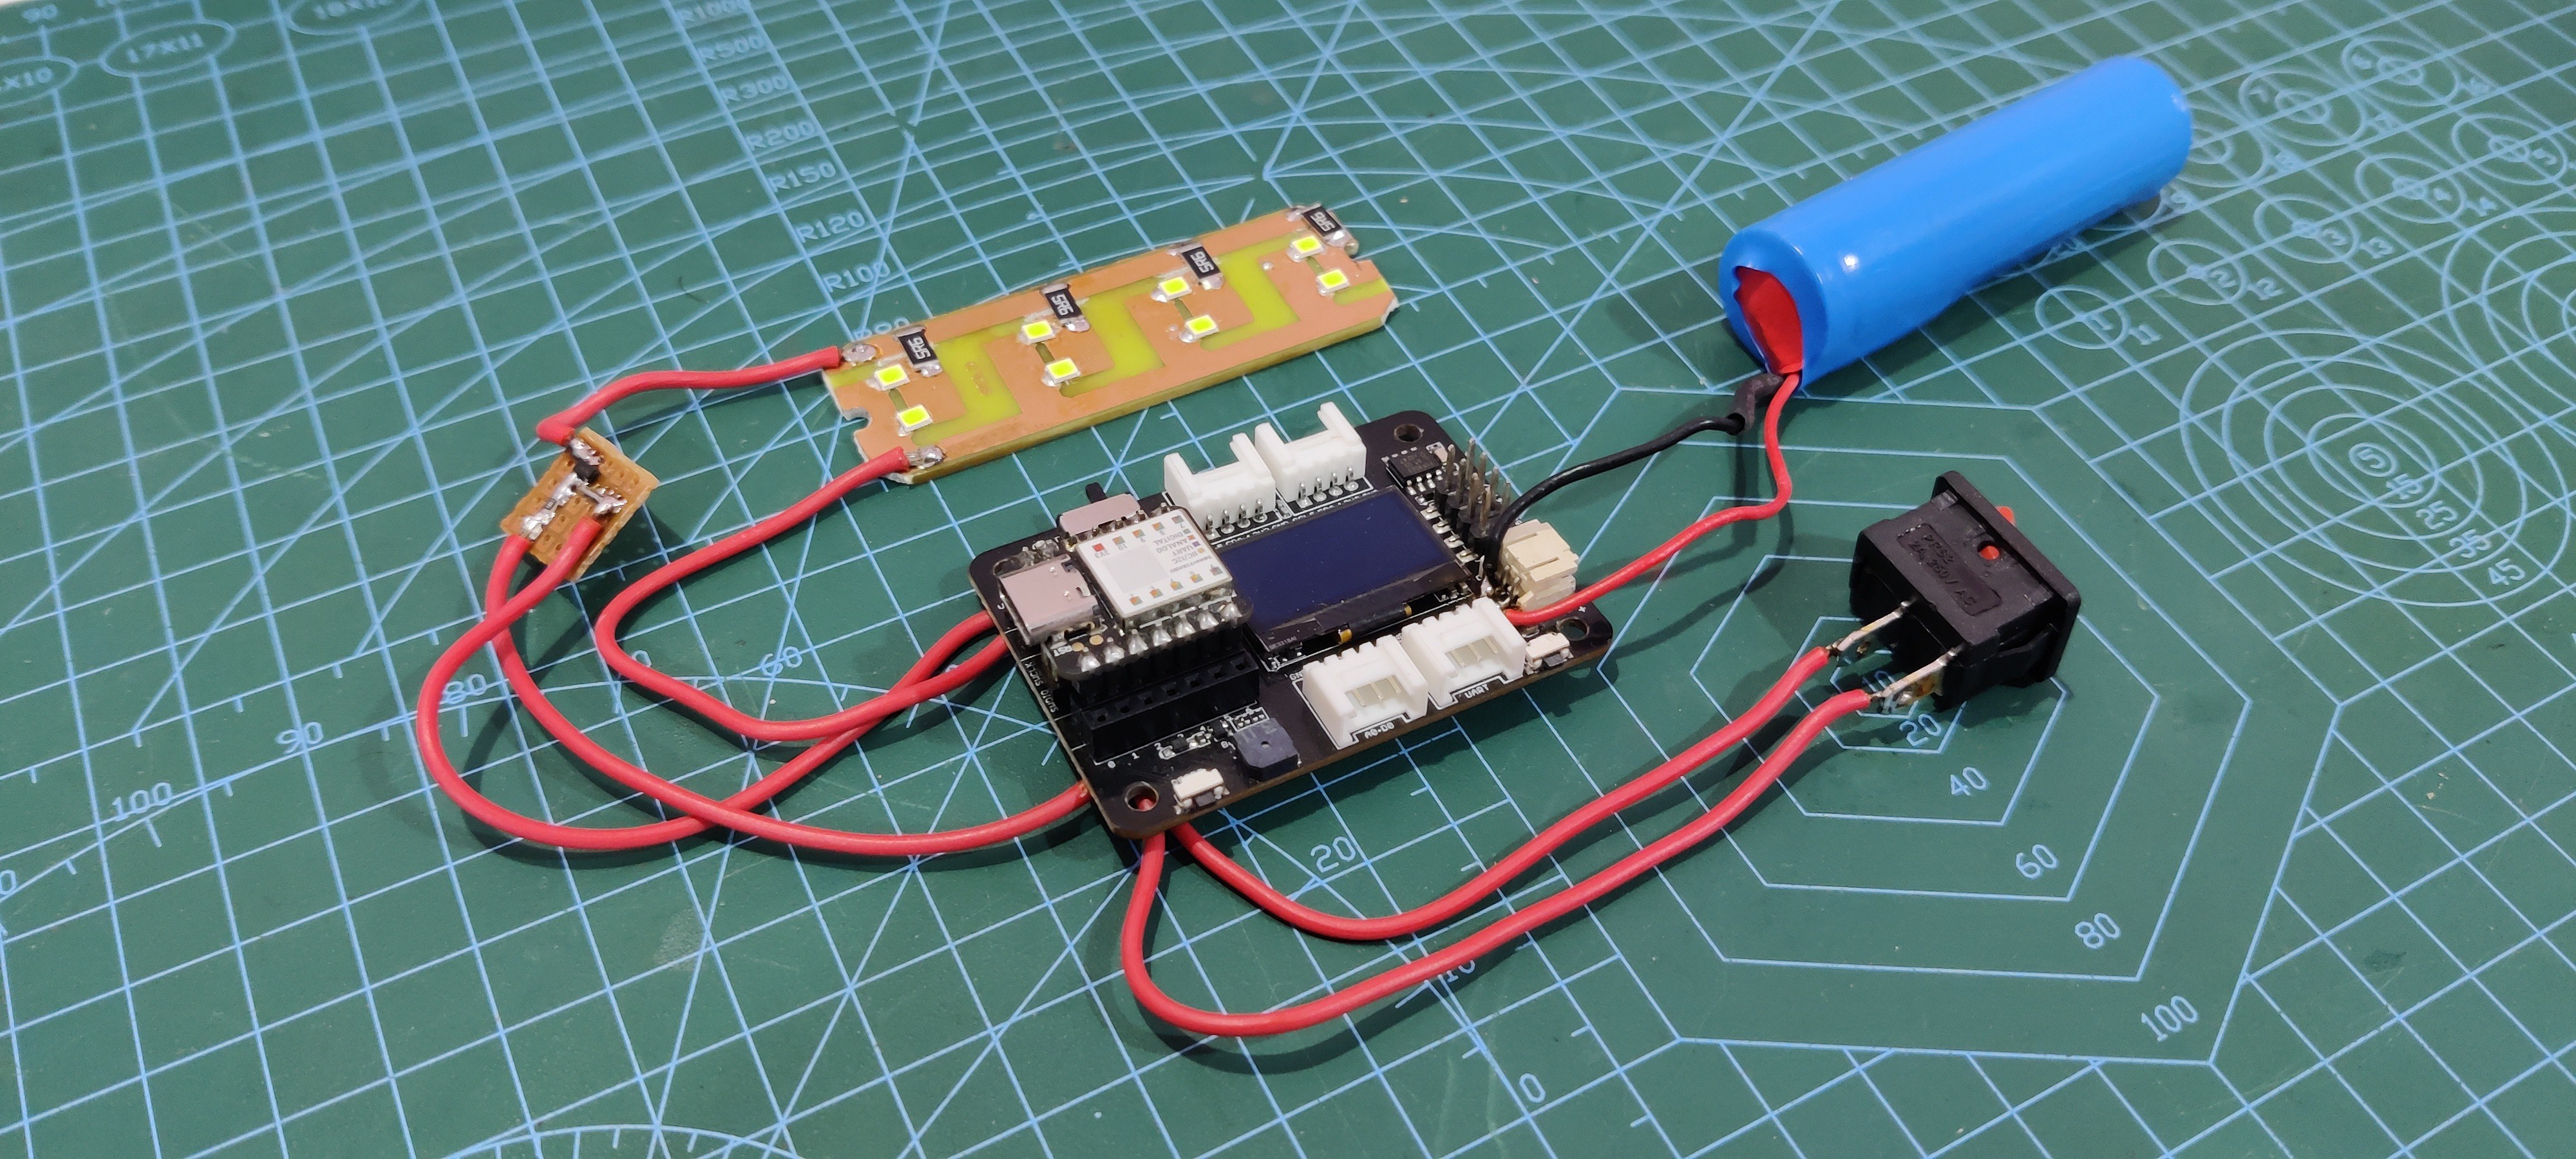
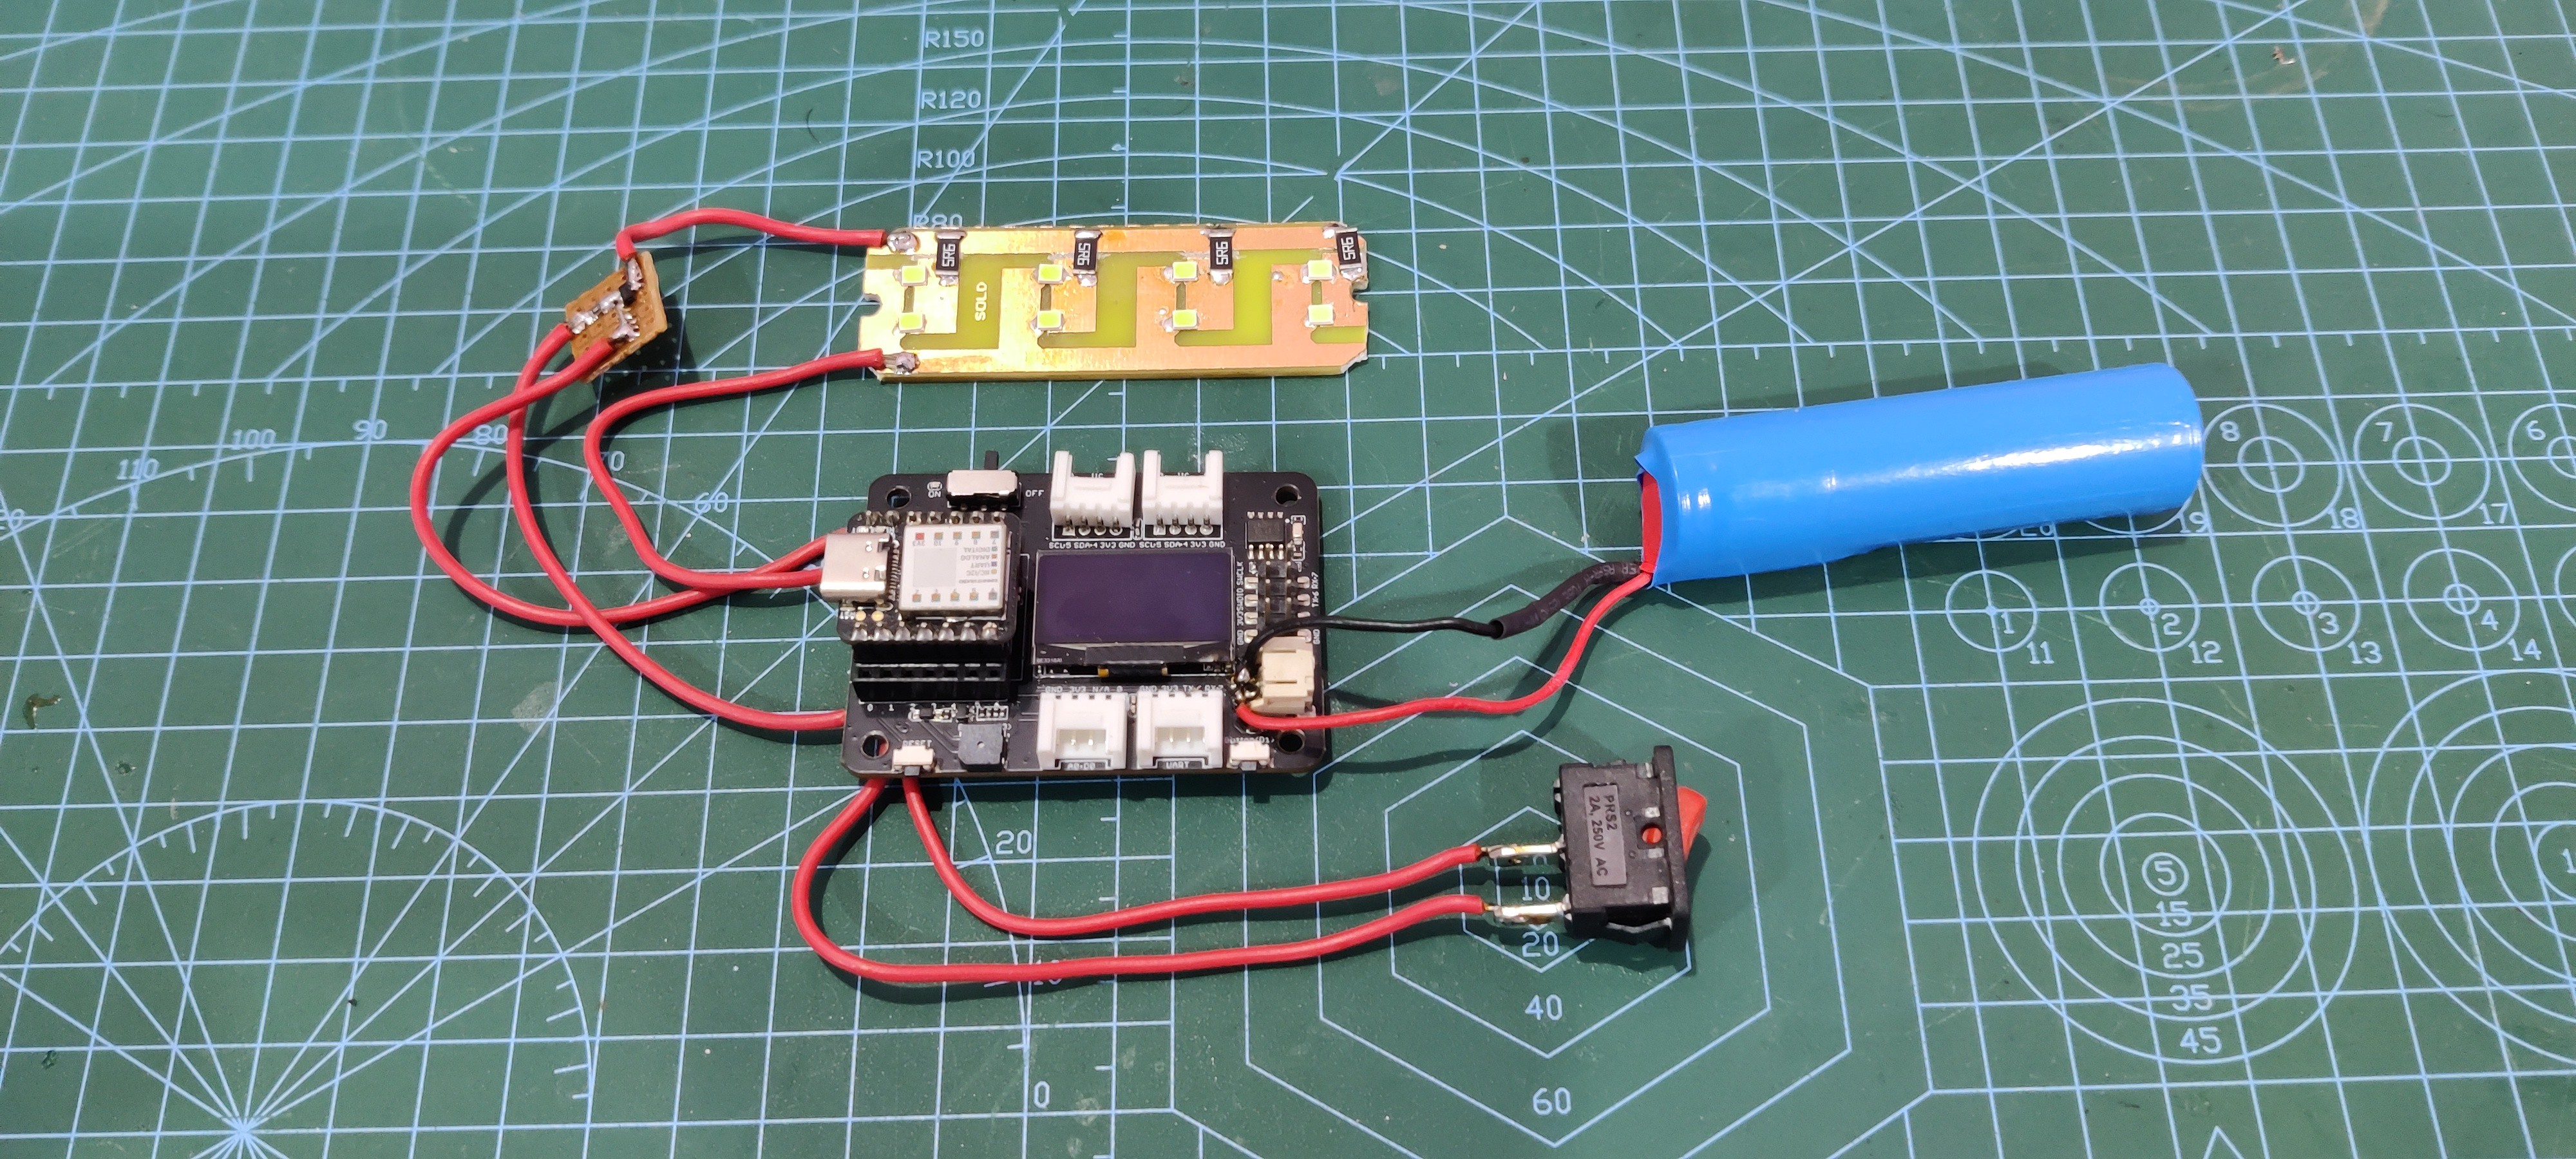
We're using the XIAO SAMD21 M0 Development Board, which, paired with the XIAO extension board manufactured by Seeed Studio, is the heart of this project.
We are using the OLED display and battery charging IC of the XIAO Expansion board, to which we have connected a 2000mAh 3.7V Li-ion battery.
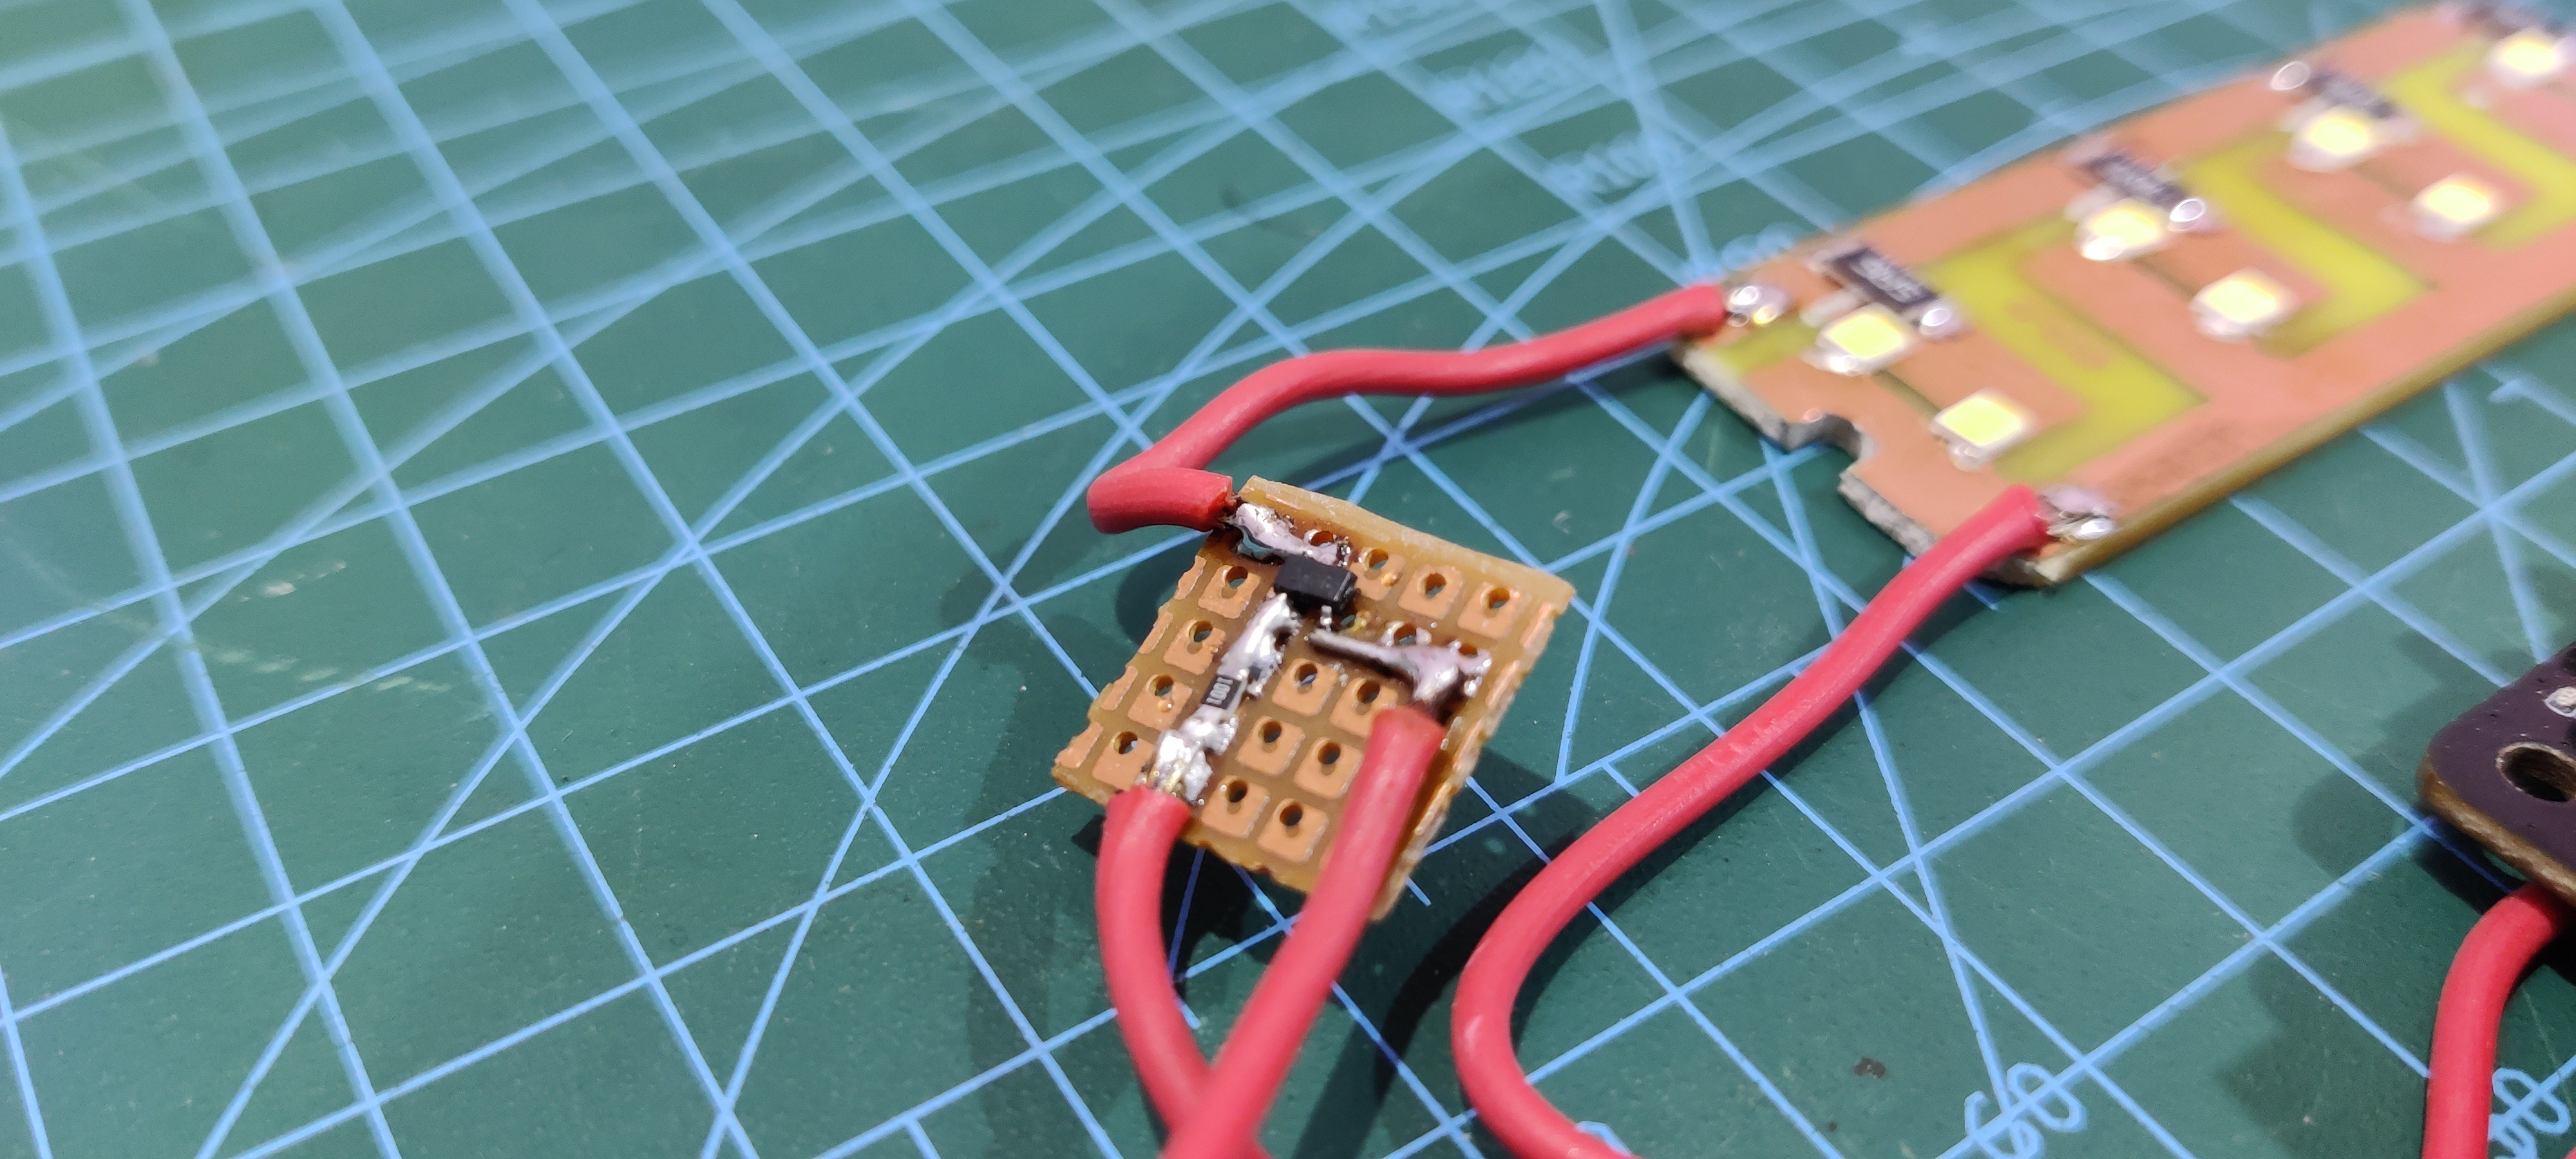
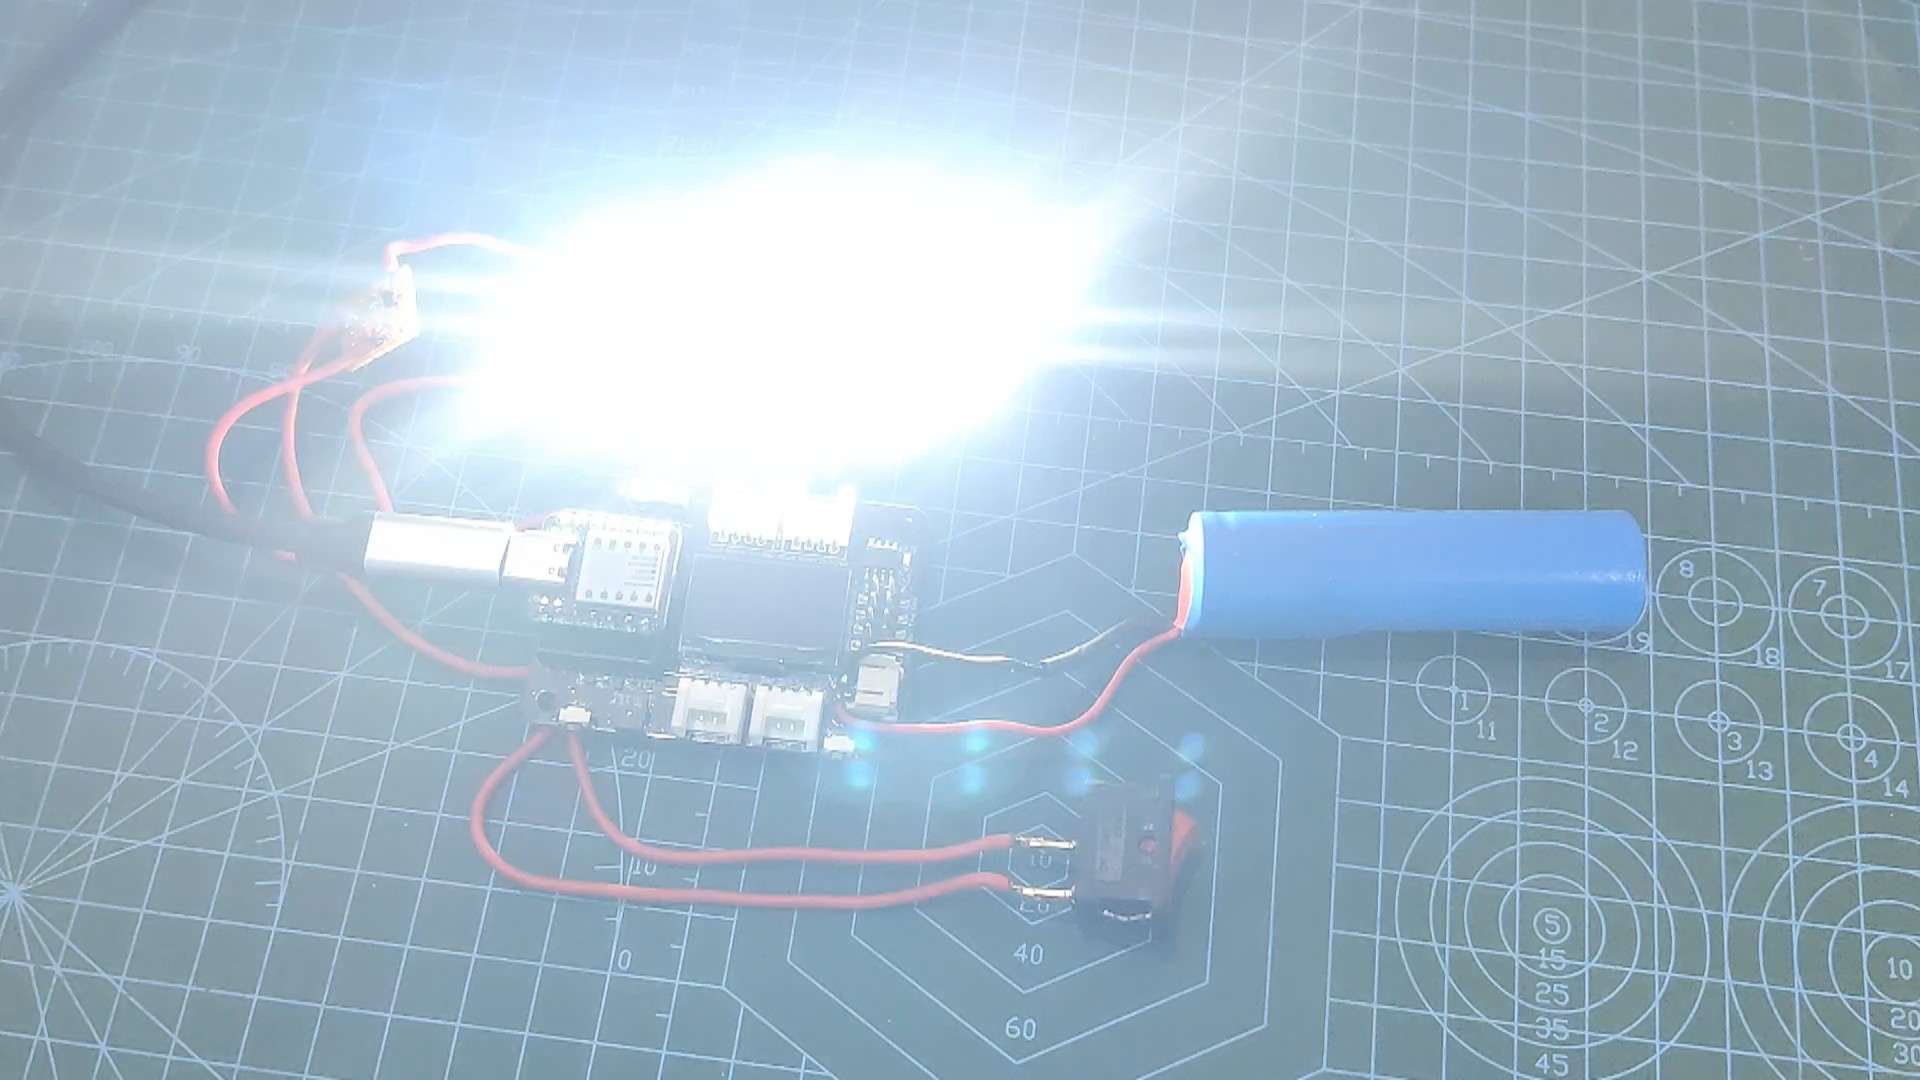
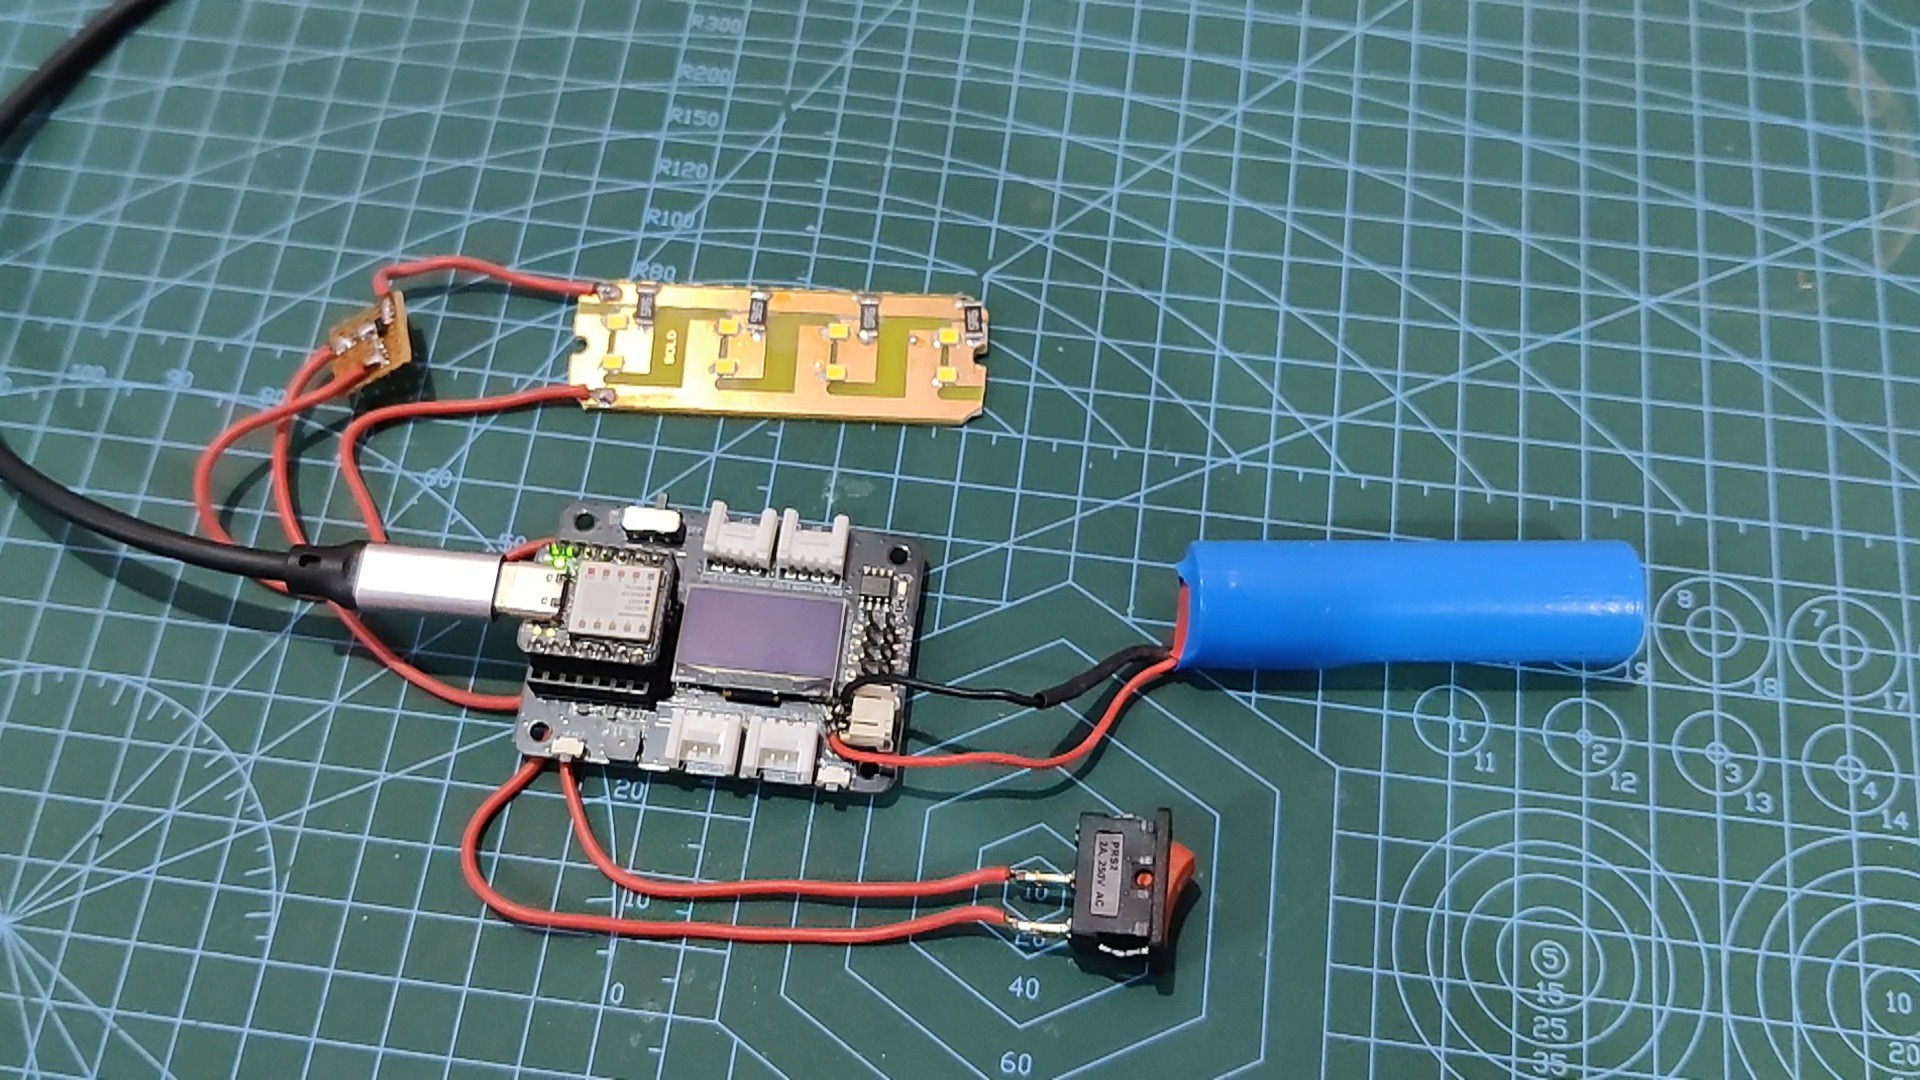
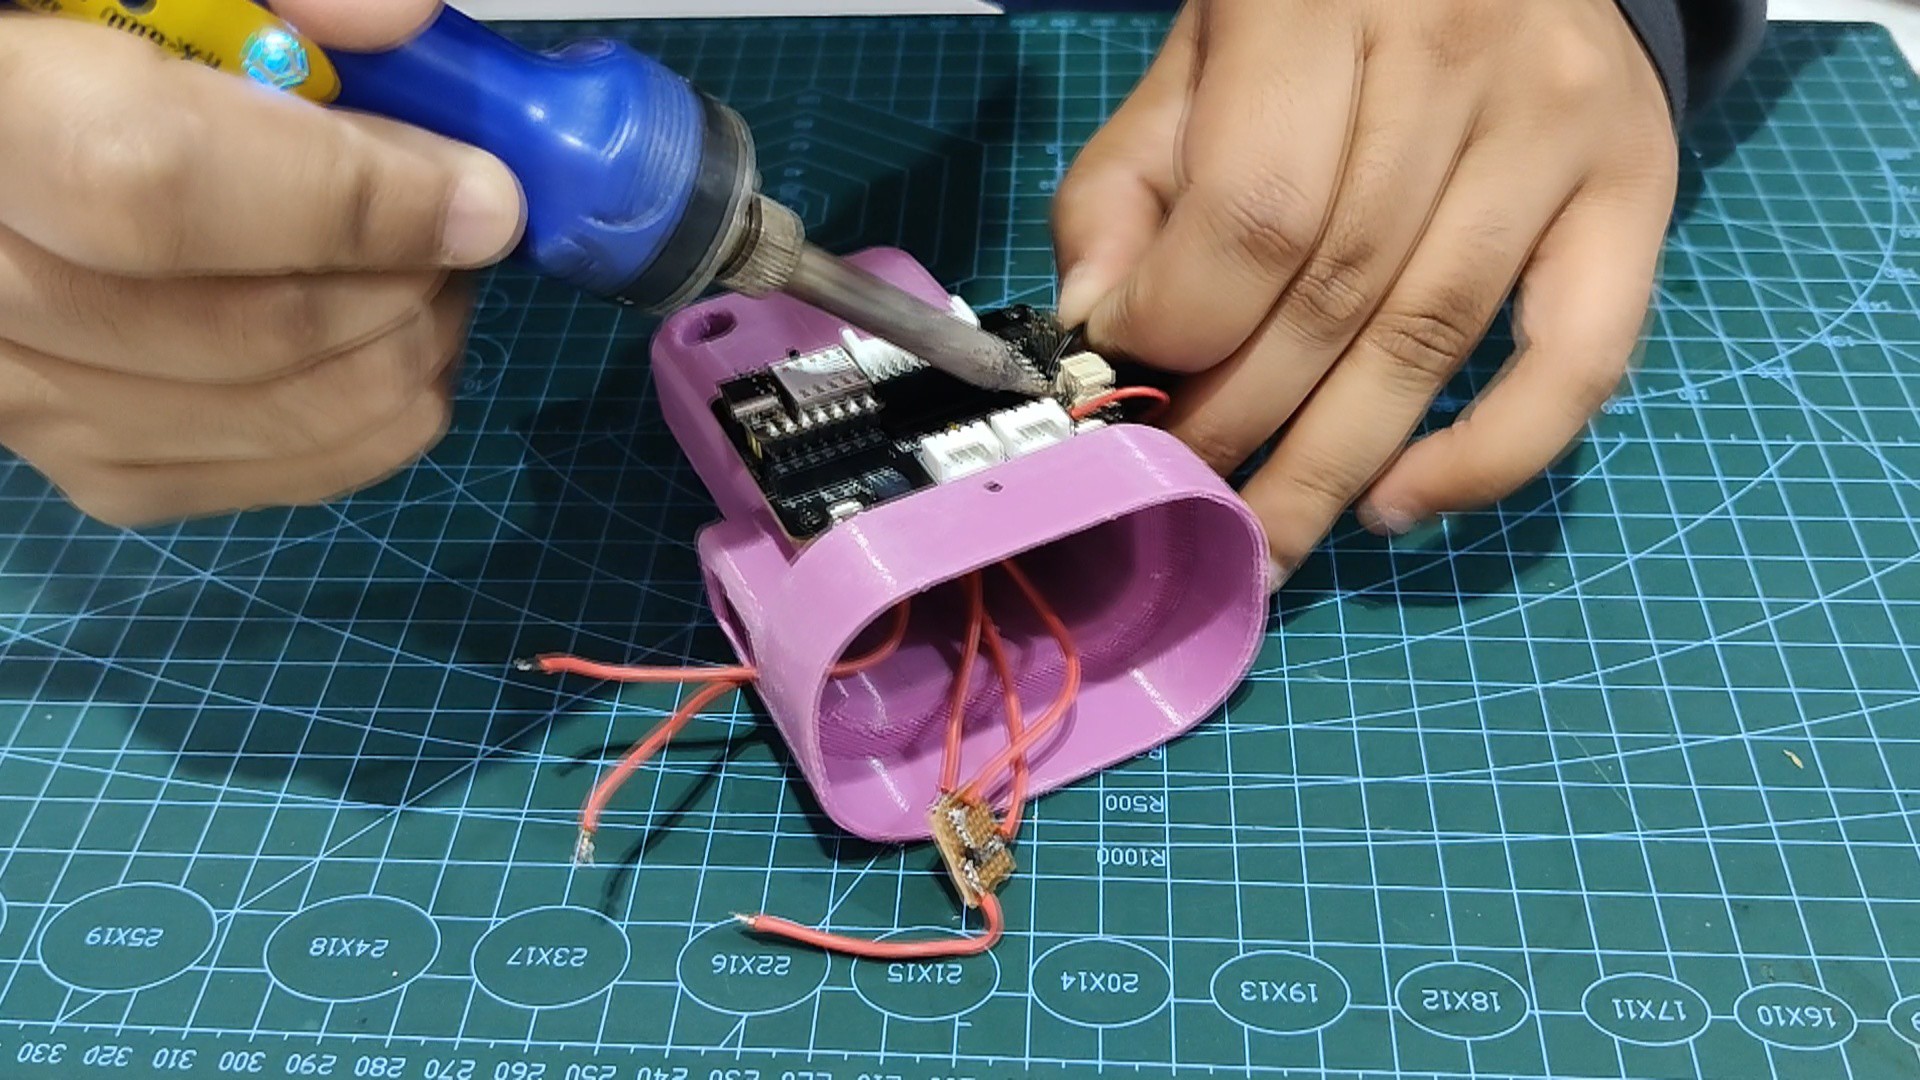
In order to link everything together, we connected the LED load, the Mosfet switch configuration, and the XIAO expansion board using the wiring schematic that was provided.
With the help of a 10K resistor, the gate of the AO3400 N channel Mosfet in the Mosfet Switch Section is connected to the D2 of the XIAO SAMD21 MCU.
The XIAO Expansion Board's 3V is linked to the LED load's positive terminal, while the mosfet's drain is connected to the LED load's negative terminal.
The source of the mosfet is connected to the GND of the expansion board.
One question: why are we using this particular mosfet switch setup? Why not directly connect the GPIO pins to the LED load? Why would it not operate with these SMD LEDs if it works with 5mm ones?
This is because, while the I/O pins of a microcontroller can drive an individual 20–30 mA LED, the high-power LEDs we are using can draw current of at least 200–500 mA each, and because they are connected in parallel, they can draw up to 2 A of current, which is not possible with regular I/O pins.
Using a Mosfet or even a transistor to connect the load directly through a power line—in this case, 3V—is one way to solve this problem. A Mosfet is similar to a switch in that it connects to the I/O pin of the microcontroller and, when voltage is supplied to the gate, allows current to flow from the drain to the source. Controlling the load is simple when one sends a PWM signal to the mosfet's gate.
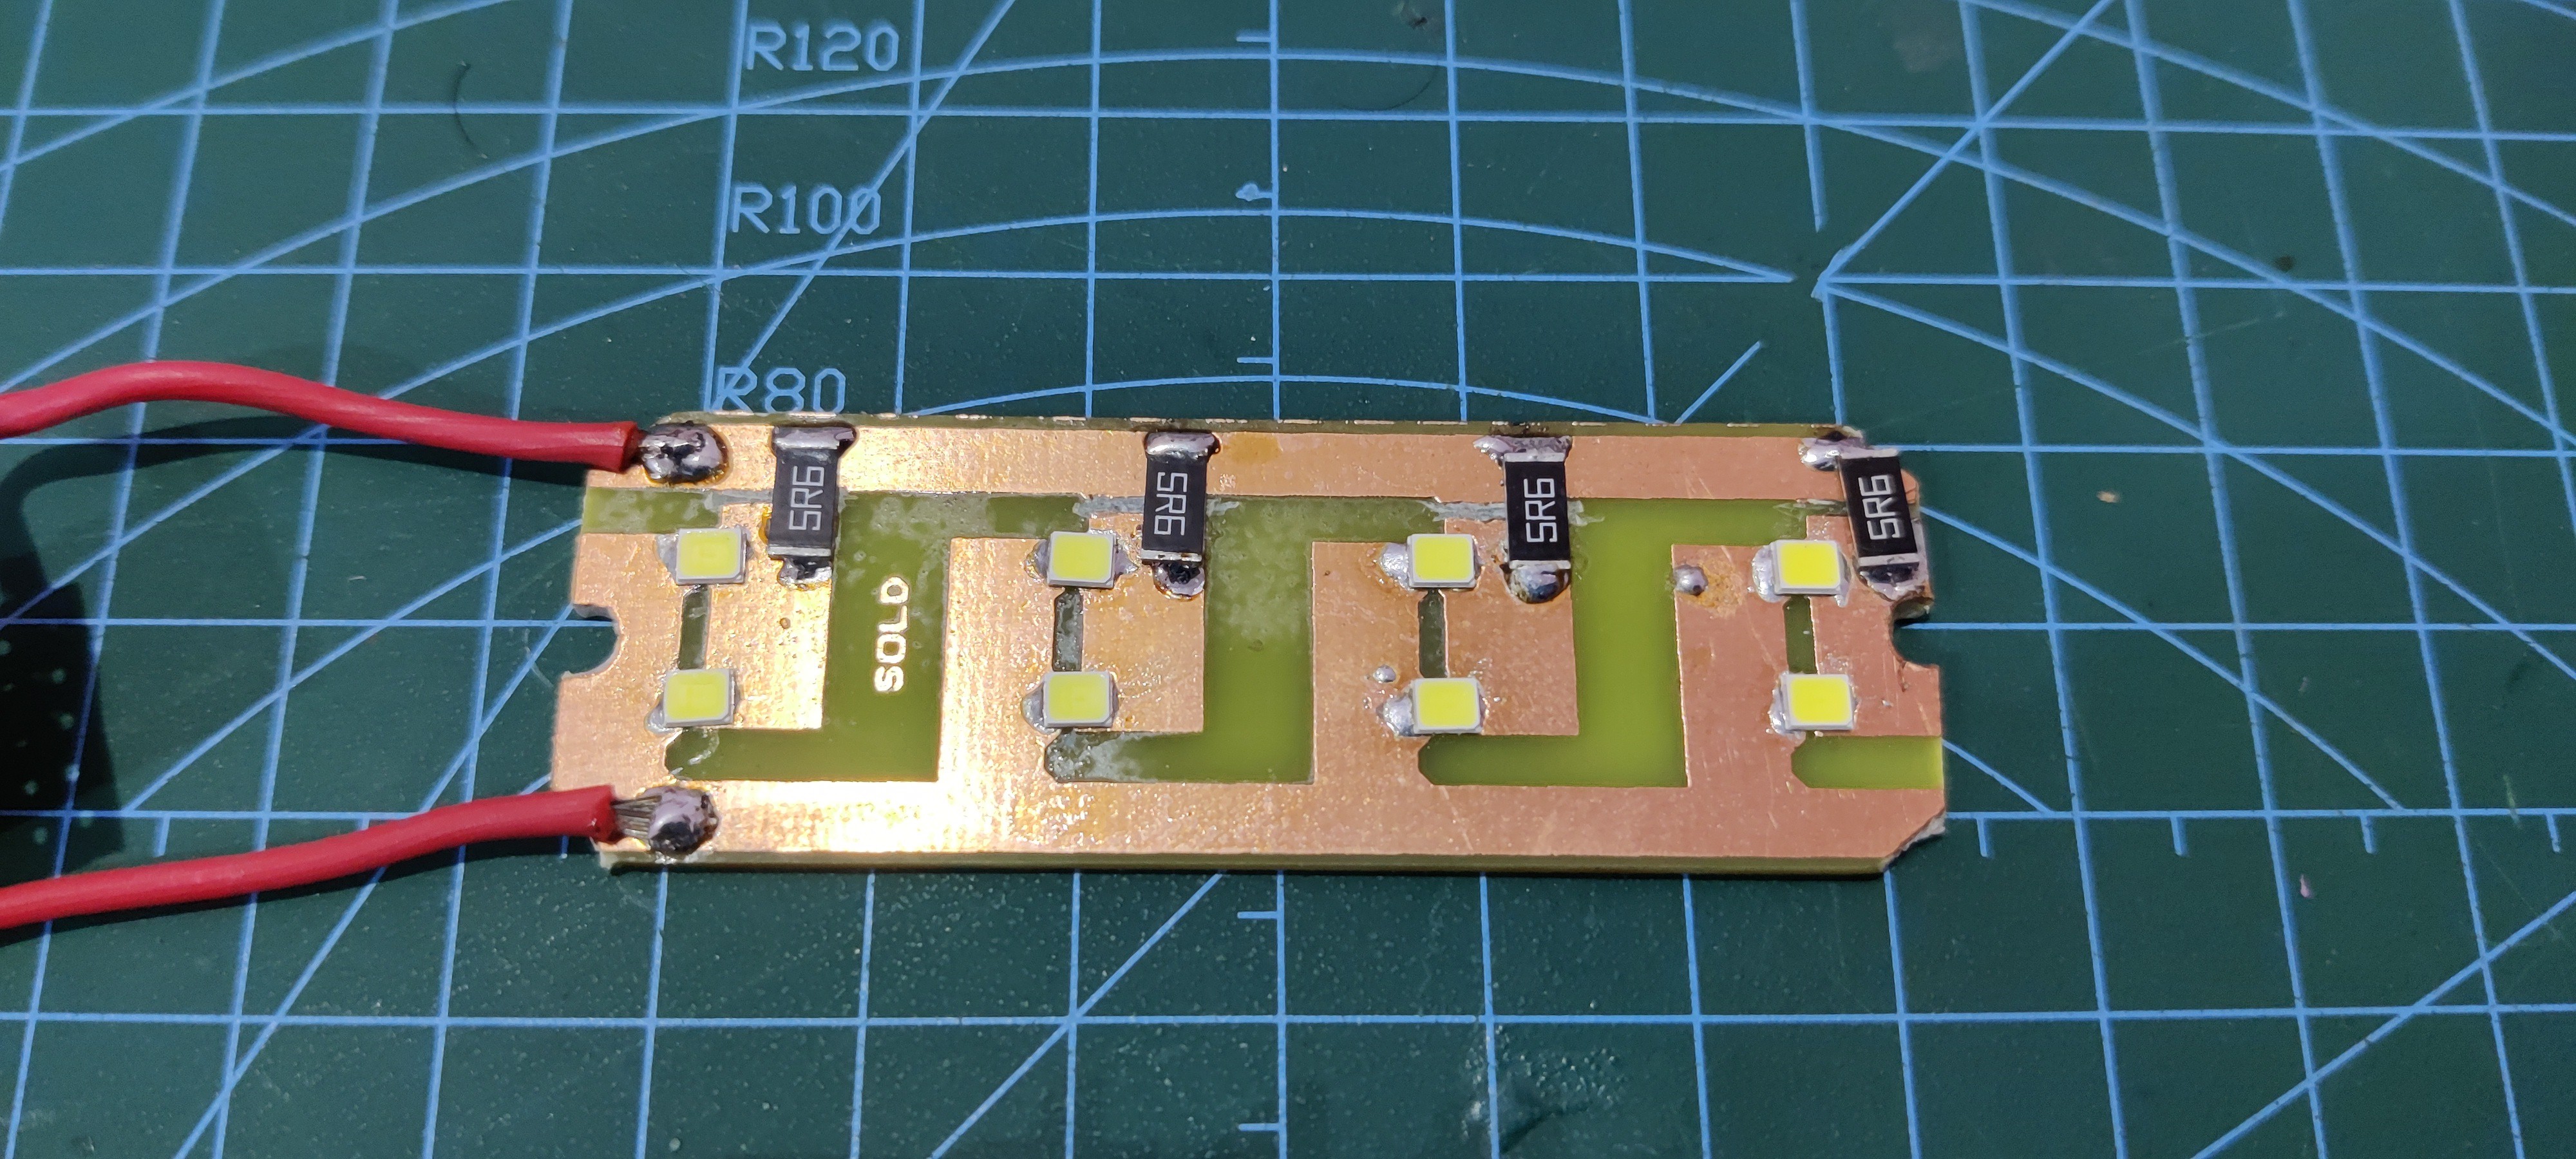
We are using a spare Etch LED board that I had lying around for the LED load.
It has eight 2835 LEDs connected in parallel. The current that flows through each pair of LEDs is limited by a 5.6 ohm resistor.
DESIGN
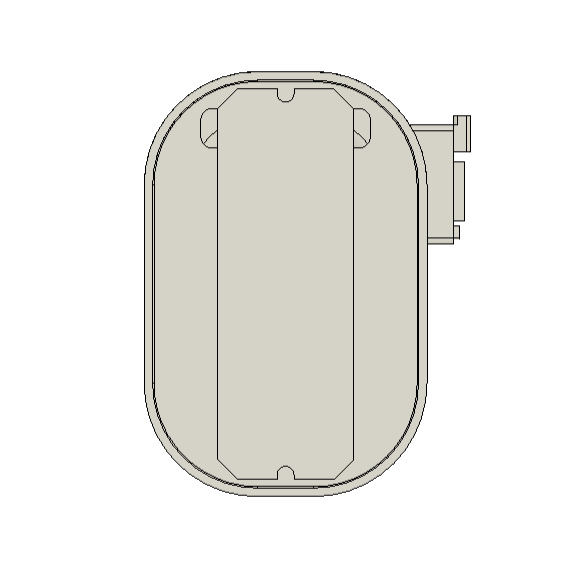
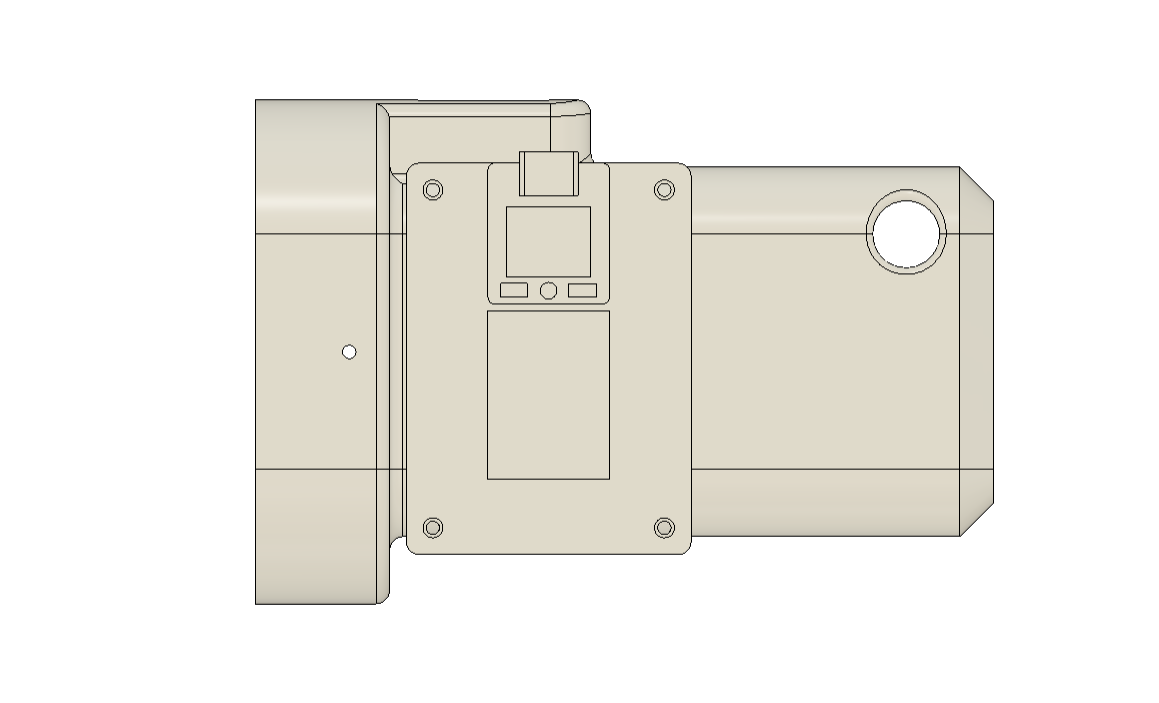
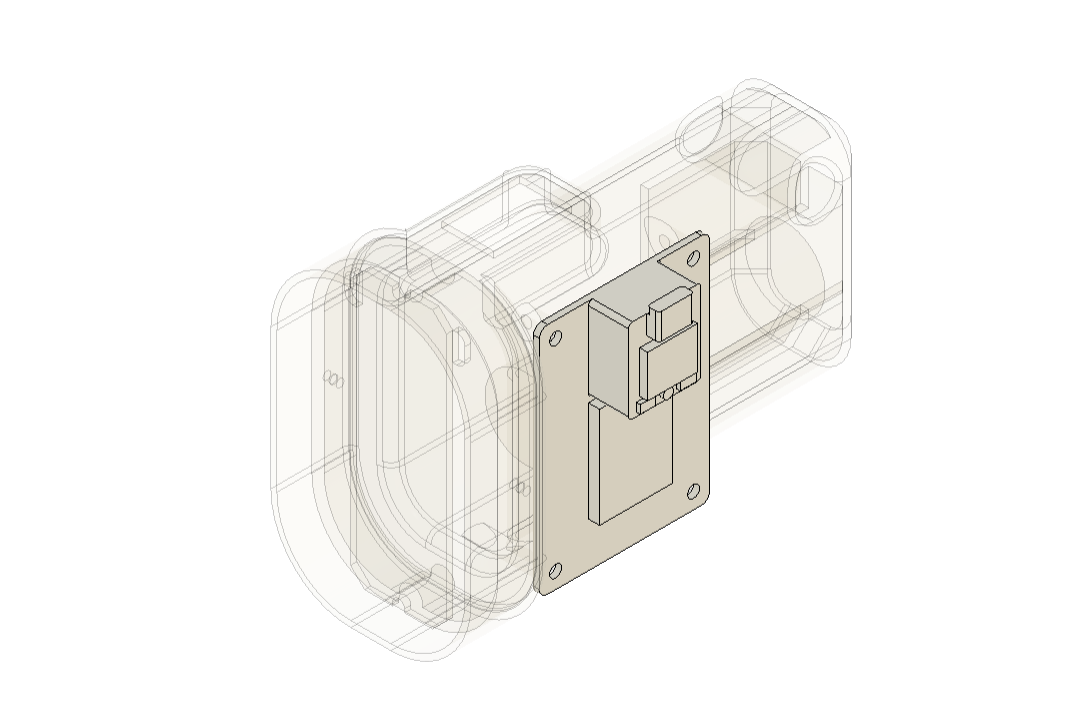
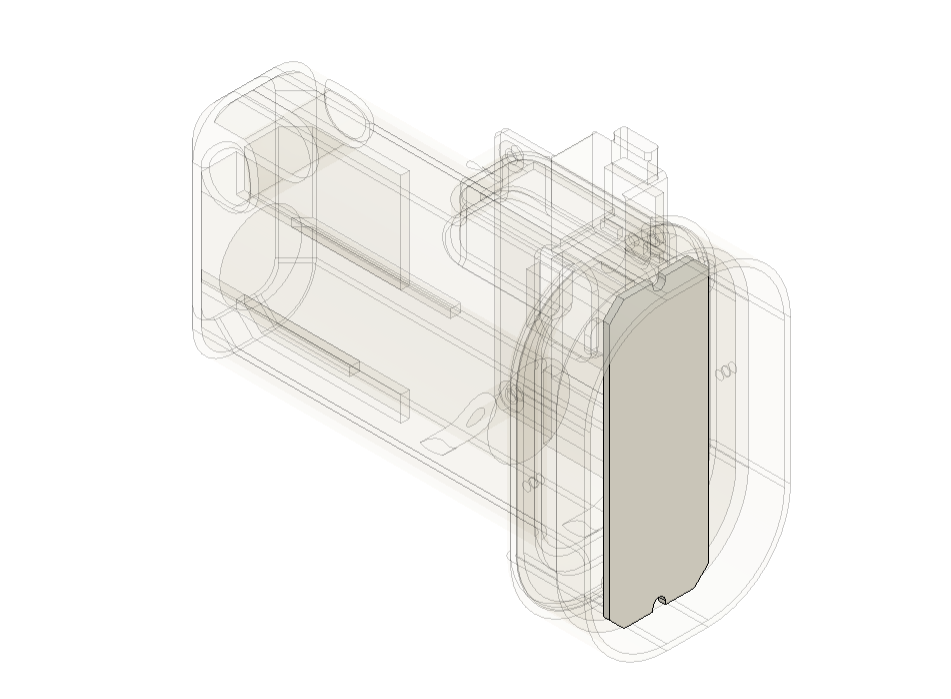
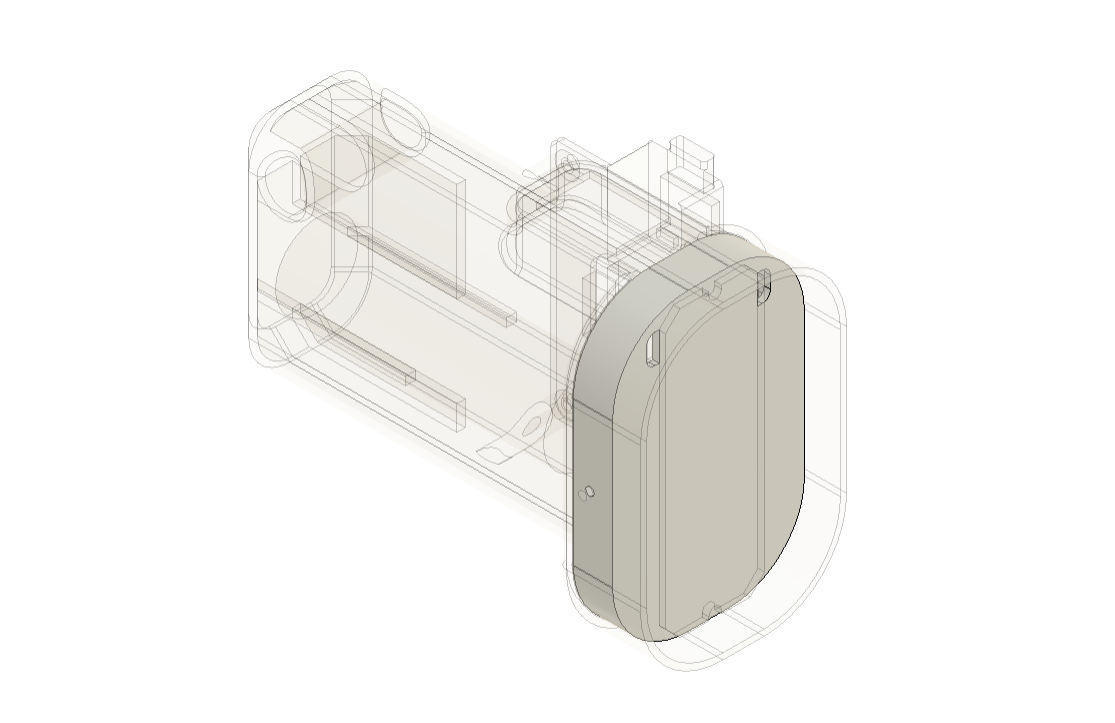
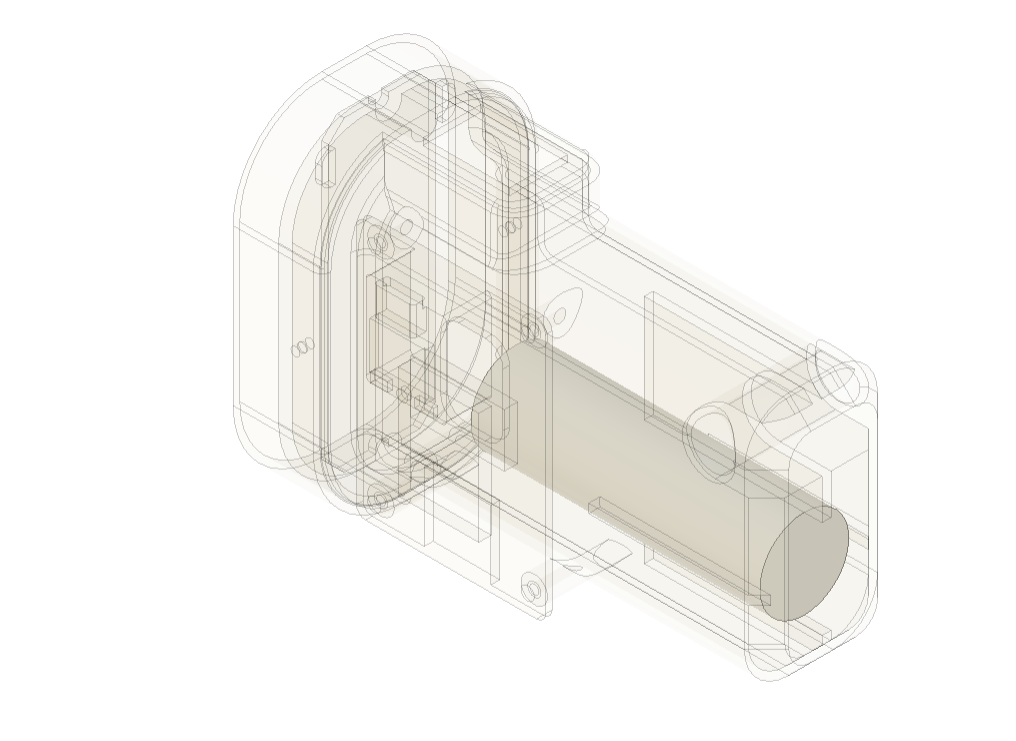
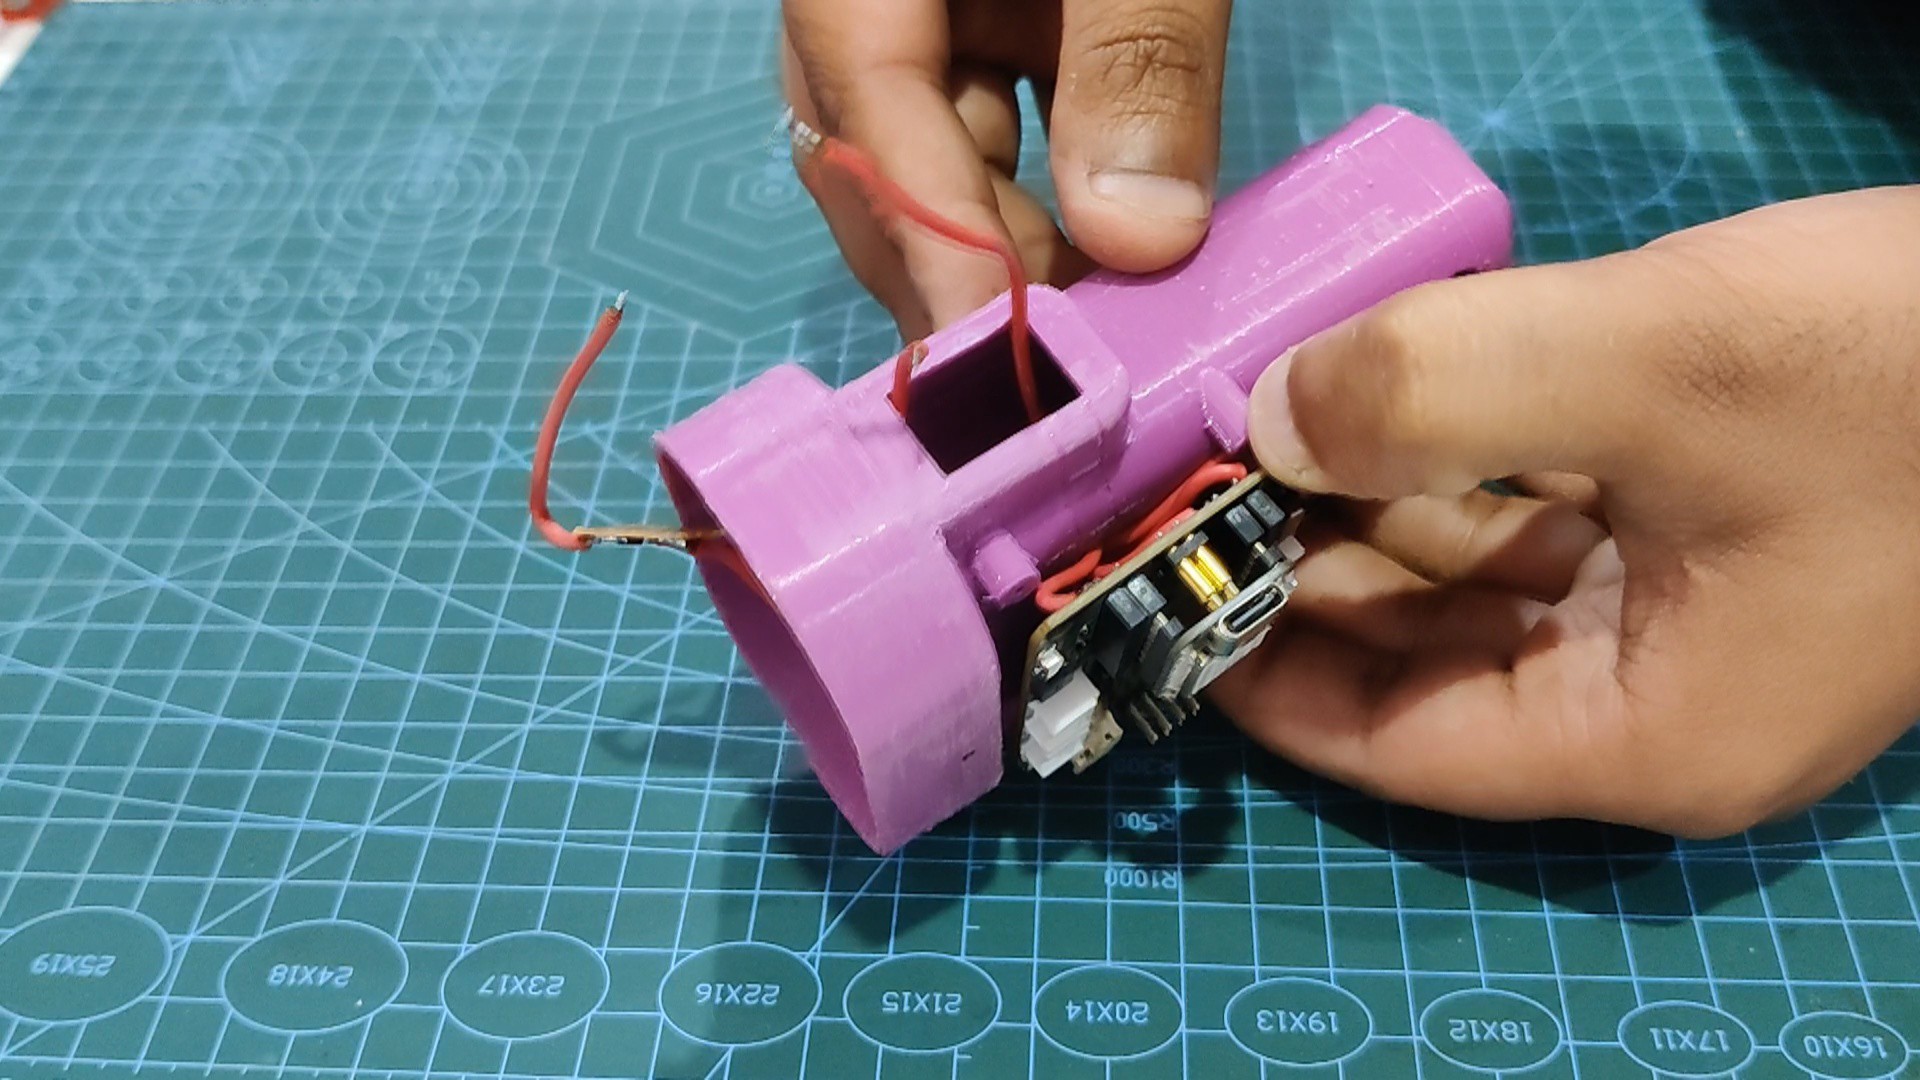
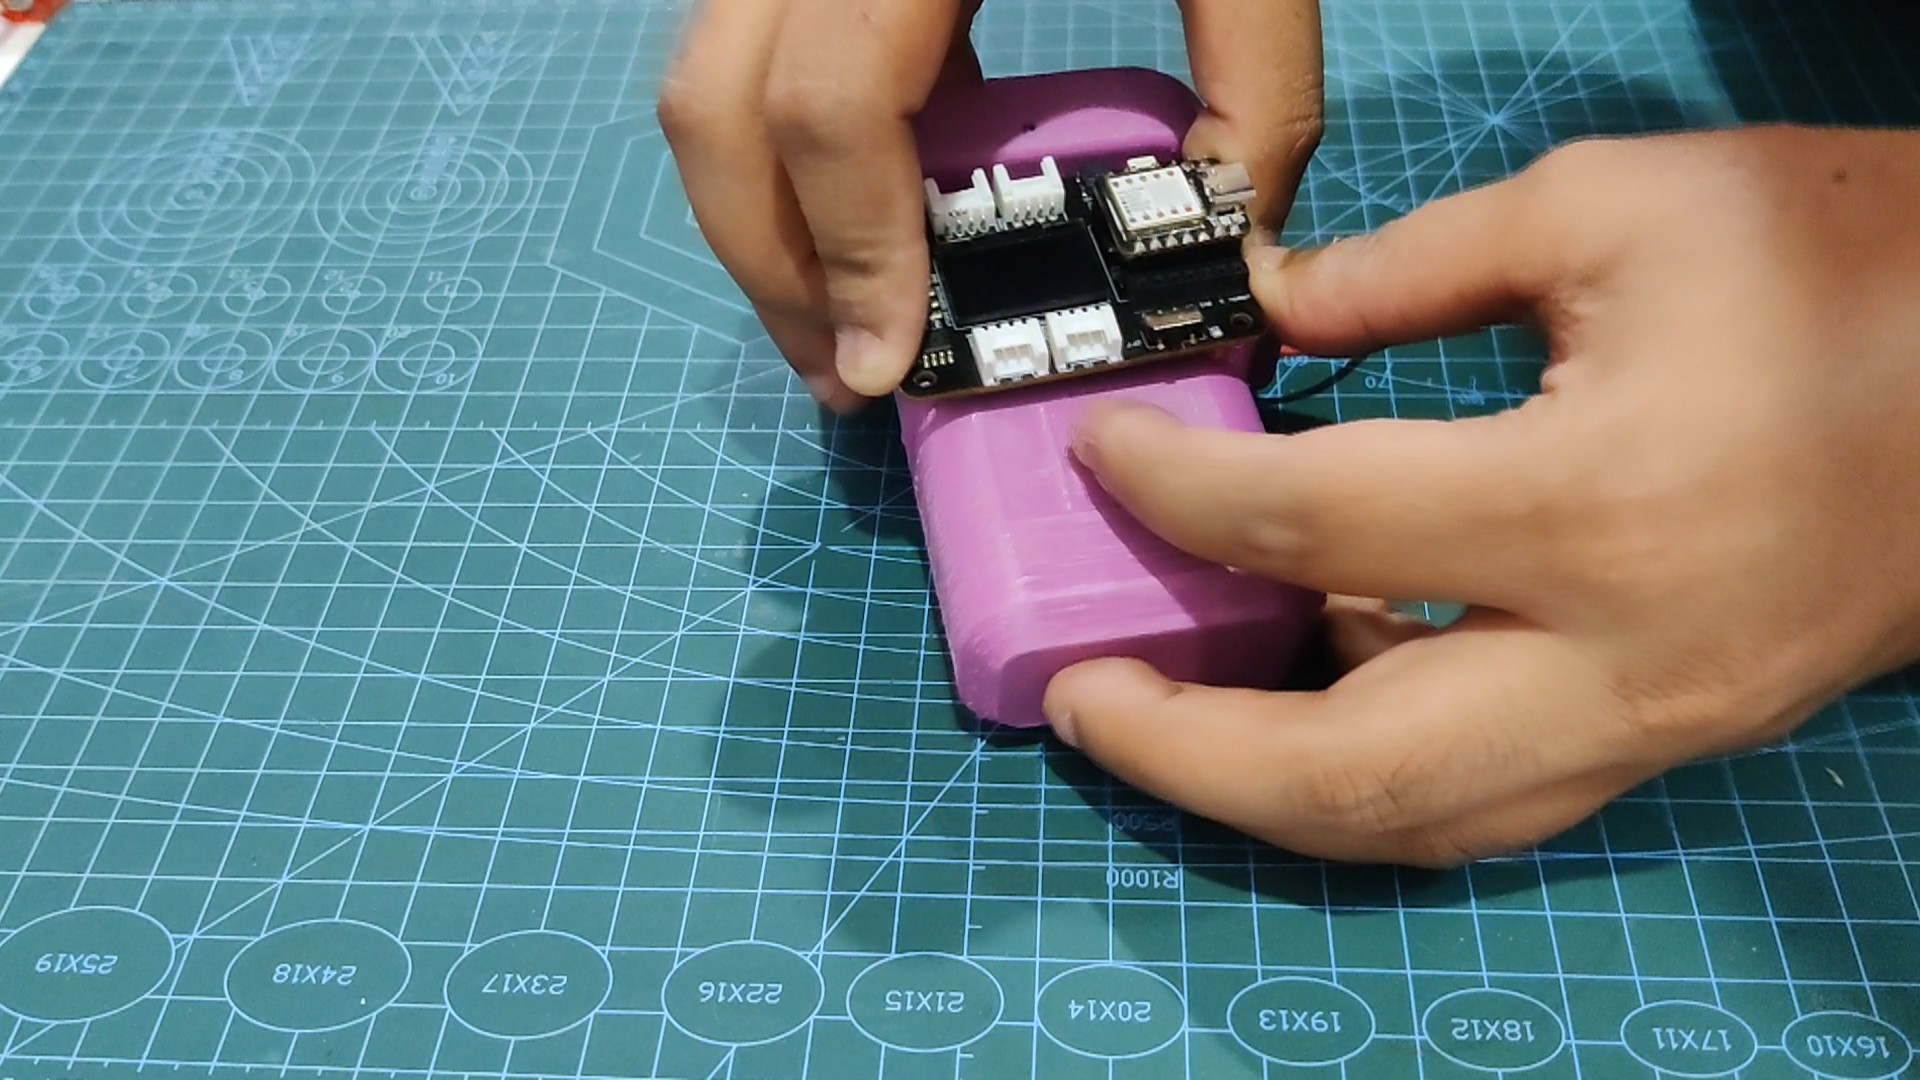
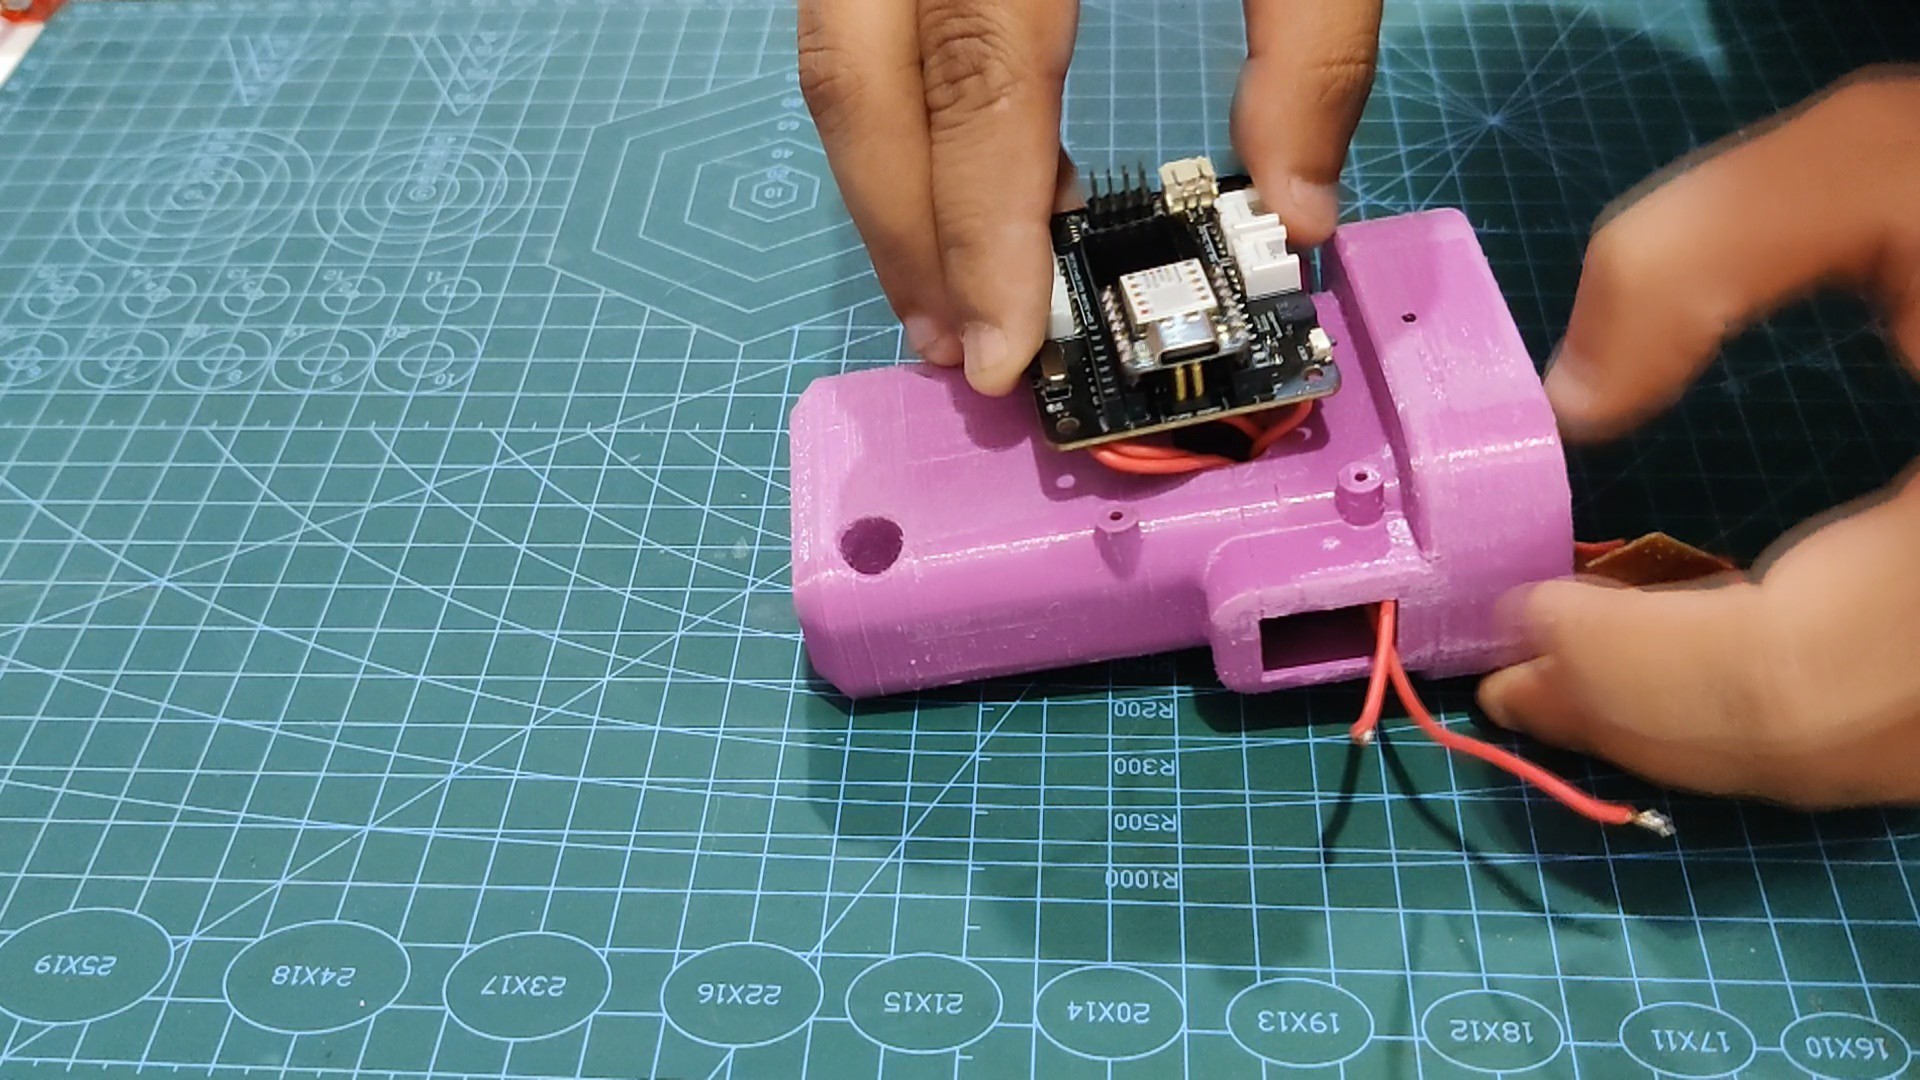
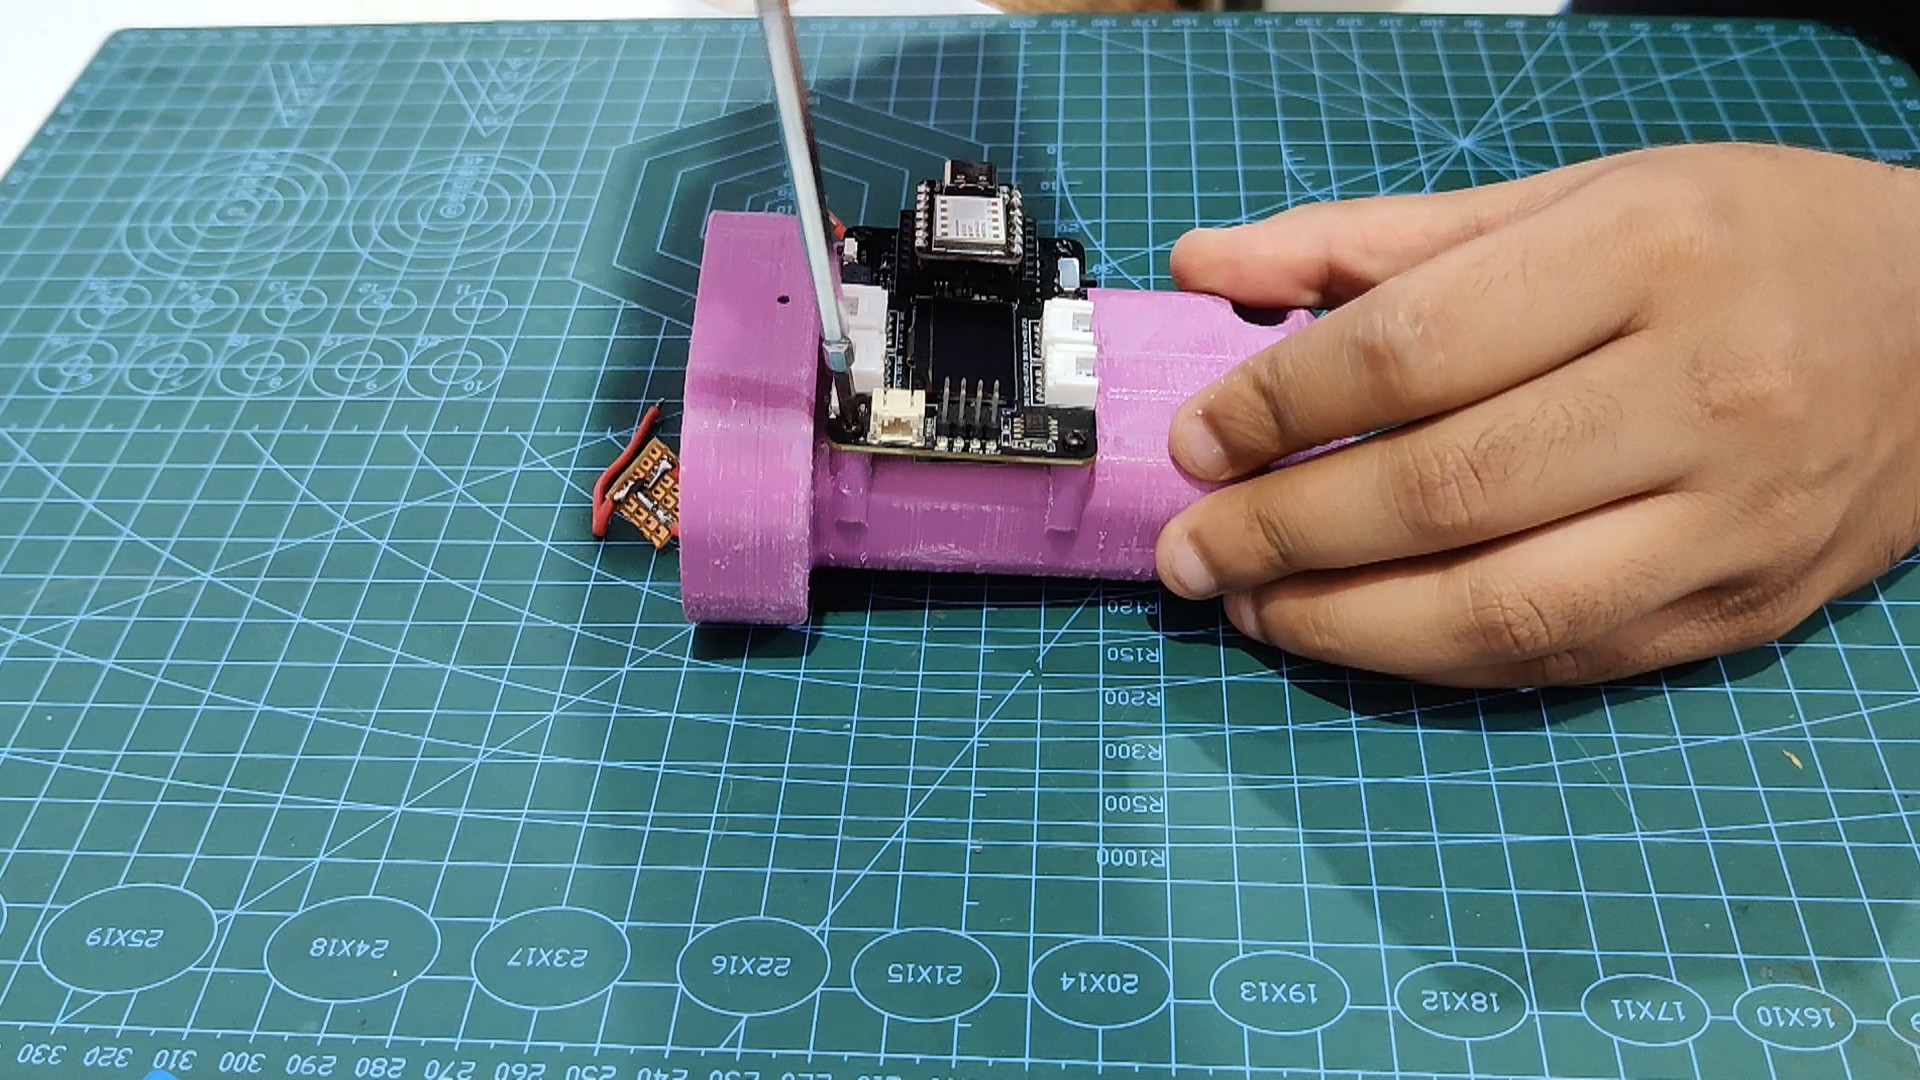
The design of the flashlight was prepared next, which included the model of the XIAO expansion board and battery, which we arranged in such a way that the expansion board was placed on the right face of the model and the battery was placed inside.
The model is composed of two parts: the main body, which houses the expansion board and battery, and the PCB holder, which is mounted to the front of the main body and on which the LED PCB is installed.
The rocker switch was positioned on the uppermost face of the model, which was designed so that the user could hold the body comfortably and press the switch without having to move their thumb too much.
Following the completion of the body, we exported the mesh files and used a 0.4mm nozzle with a 0.2mm layer height to print the main body in purple PLA and the LED holder in transparent PLA.
 Arnov Sharma
 DIY GUY Chris
 Bruce Land
 Sander van de Bor