The greenPAK designer seems to run very smoothly on this old laptop, even though it's well below the recommended specs. Could it be that this software is lean and have no bloat? The makers seem to have put some love into this software.
The greenPAK designer is very easy to use, now I just have to learn more about all the stuff packed inside the SLG46826V. Before making the design for the keypad scanner, I have to make the software which sets the registers and later the NVRAM via the MCP2221A. I need to write to the device and read back everything to check that it was successfully written.

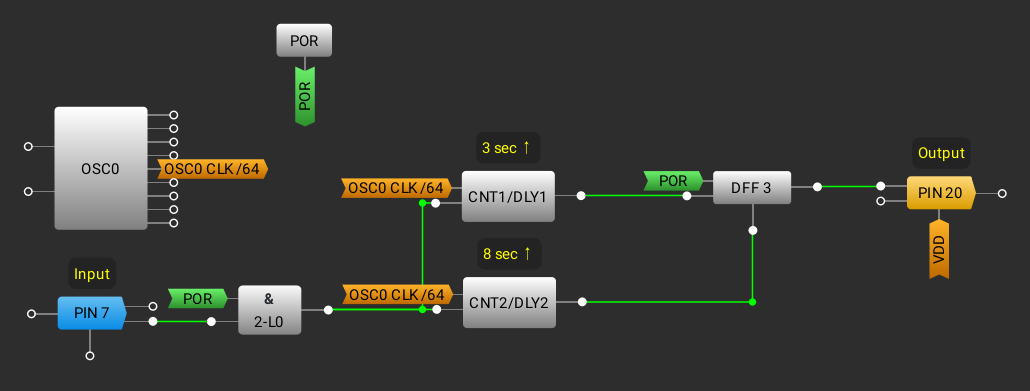
For testing I chose a design from the greenpak cookbook, a two event button press. It's a simple design, where a push button is used to turn on and off a LED based on the time it's held down. The original design was for another greenPAK device but I remade the design for the SLG46826V. I had to use 8 bit counters with a slower clock instead of the 16 bit ones in the original design, since the SLG46826V only has one 16bit counter. It should work just the same.

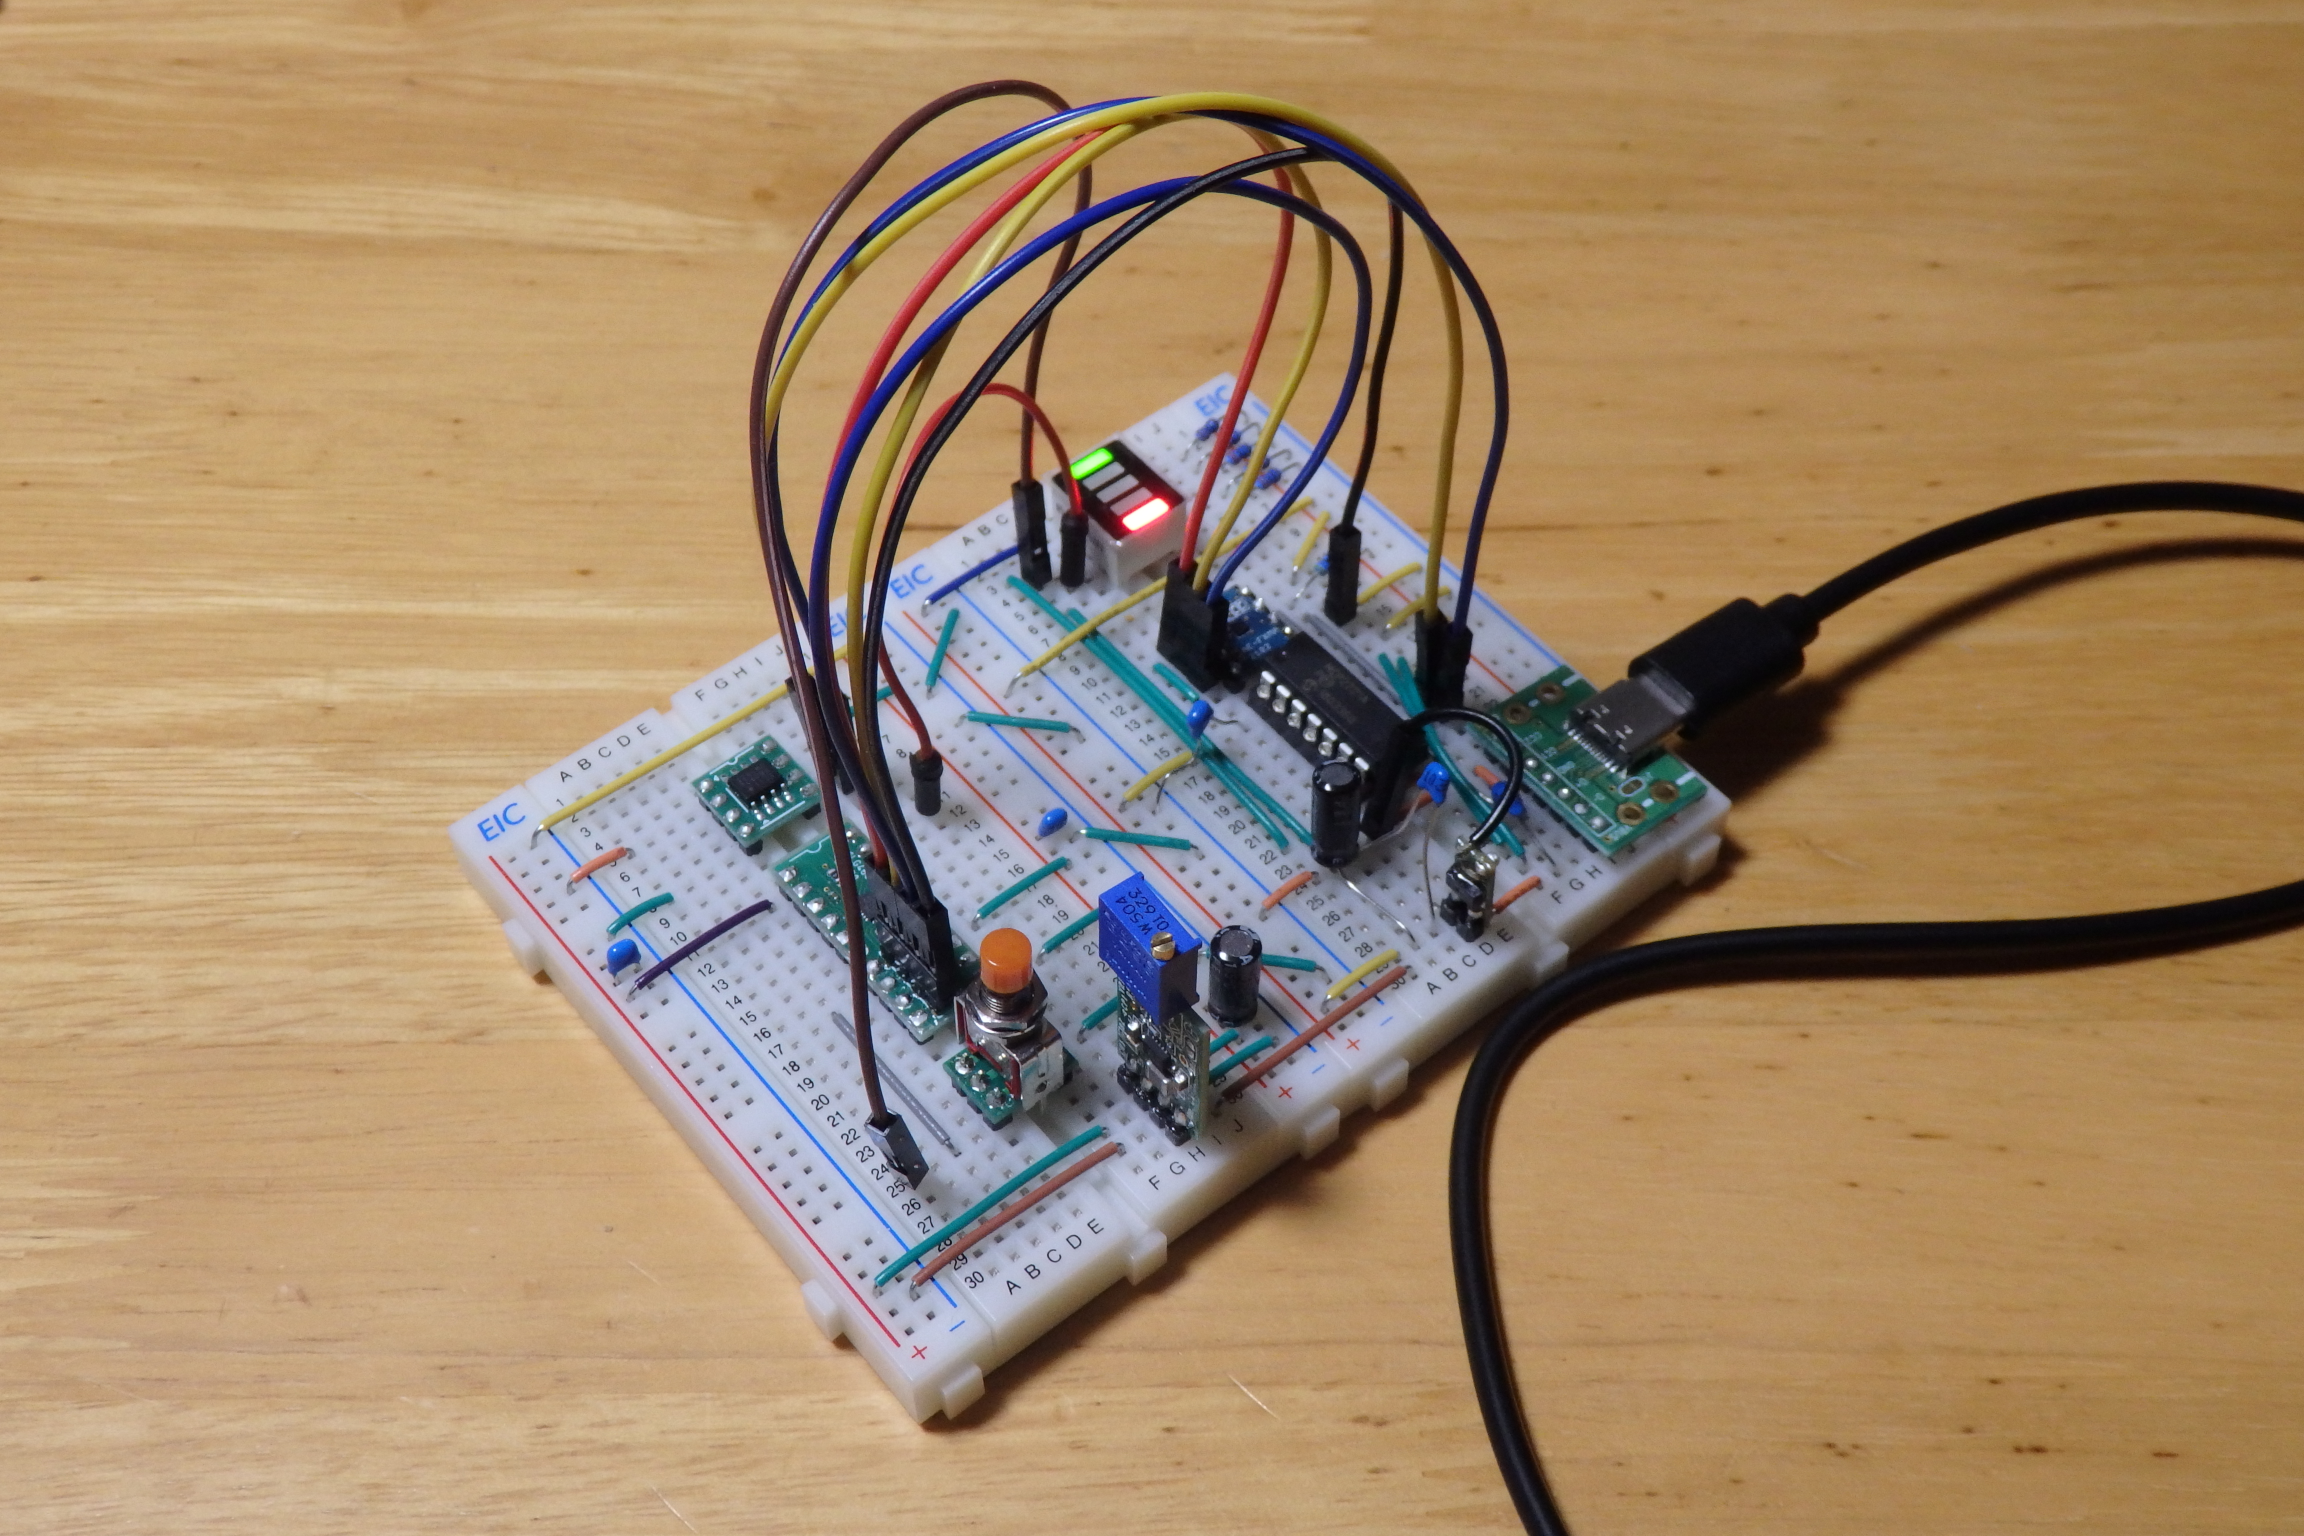
It's wired together on the breadboards and it looks like this (Sorry, for the bad picture). Not being sure that the small LDO could power both devices, I connected one of the adjustable power supplies set at 3.3 volts, to power the SLG46826V. I'm using the two free LEDs on the bargraph for the SLG46826V output and the push button, so I can tell when I'm pressing the button. The push button I yanked from the main breadboard, it's connected to the SLG46826V as well, with the pin is set up as a pull down, with 1M ohm resistance using a schmitt trigger. It's the original settings for the input, it should probably work fine.
Now for programming the SLG46826V via I2C, I found an example of using an arduino to program it. It contained important information I didn't know, even though I've read through the datasheet several times. You have to write in 16 byte pages or the device will reject the data.
But first to be able to write you must be able to read, actually that is a lie, you have to first write which address you want to read from before reading, nevermind.
I've implemented a function for random read from the SLG46826V and then I implemented a sequential read of all registers. If I alter the control byte I can also read the NVRAM and E-EEPROM. The sequential read command will be used to check that all register data is successfully written to the device.
Before I start writing I need to implement some safety features. I do not want to lock up the device under any circumstances thus when loading the register data from the greenPAK project file, it will check the scary bits, if they are set it will panic.
Loading the data from the GreenPAK project file, is very easy since the greenPAK developers chose xml as the format for the project files. Simplifies everything, I'll just use an xml library to extract the needed data, which is the data inside the <nvmData> tag. No need to extract the data from a binary file or use the NVRAM export function in the greenPAK designer software. :) This is great! Thanks a lot!
 Anders Helgesson
Discussions
Become a Hackaday.io Member
Create an account to leave a comment. Already have an account? Log In.