Close
0%
0%

SAO Nunchuck Adapter

Add an ergonomic user interface to your project!

Similar projects worth following
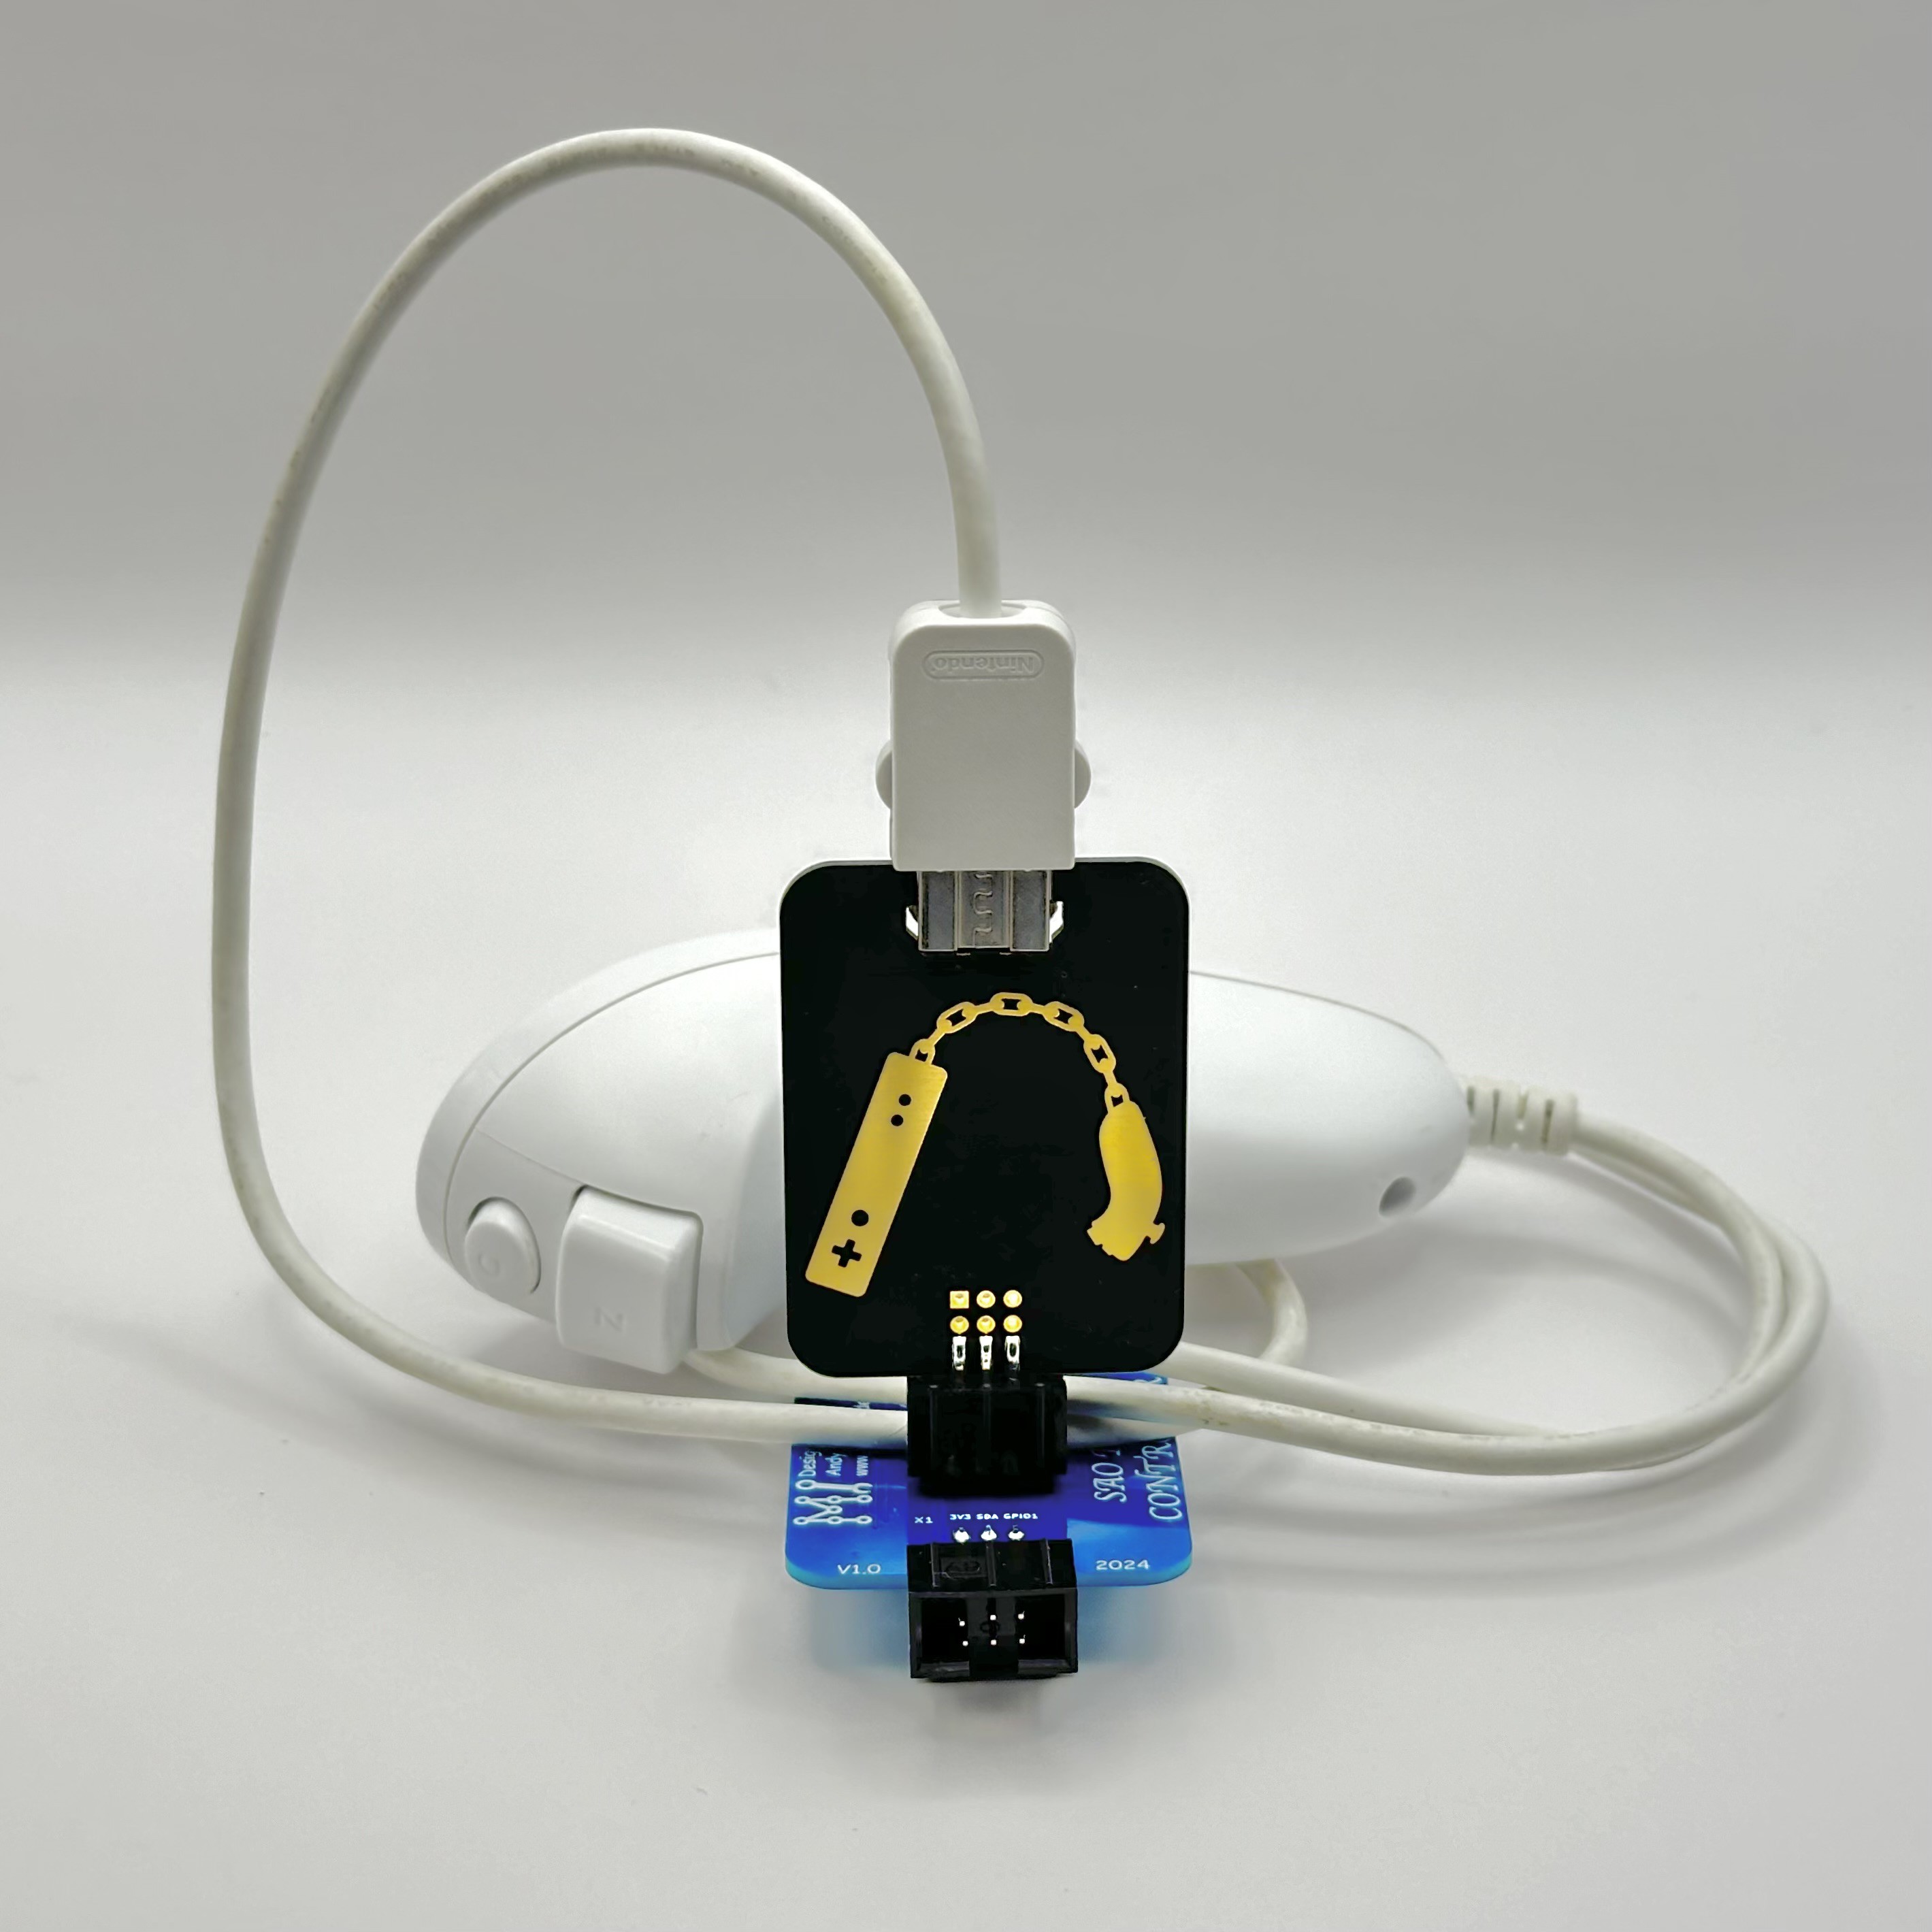
Connect a Wii Nunchuck (0x52) or Wii Classic Controller to your project with I2C through an SAO port. There are two QWIIC/STEMMA QT ports for those ecosystems as well.

Libraries available to access these controllers are:
https://github.com/dmadison/NintendoExtensionCtrl
https://github.com/madhephaestus/WiiChuck/

Allows for vertical and/or horizontal installation of the shrouded SAO header.

ENIG and a matte black solder mask from PCBX.COM make this SAO stand-out on it's own!

Please let me know what you build with this SAO - I'd love to see the results.

This SAO makes it easy to connect a Wii Nunchuck (or wired classic) controller to your badge or SAO compatible device. The I2C bus is used to read the state of the buttons, accelerometer, and direction joystick. The Nunchuck is found at 0x52 on the bus.

Features:

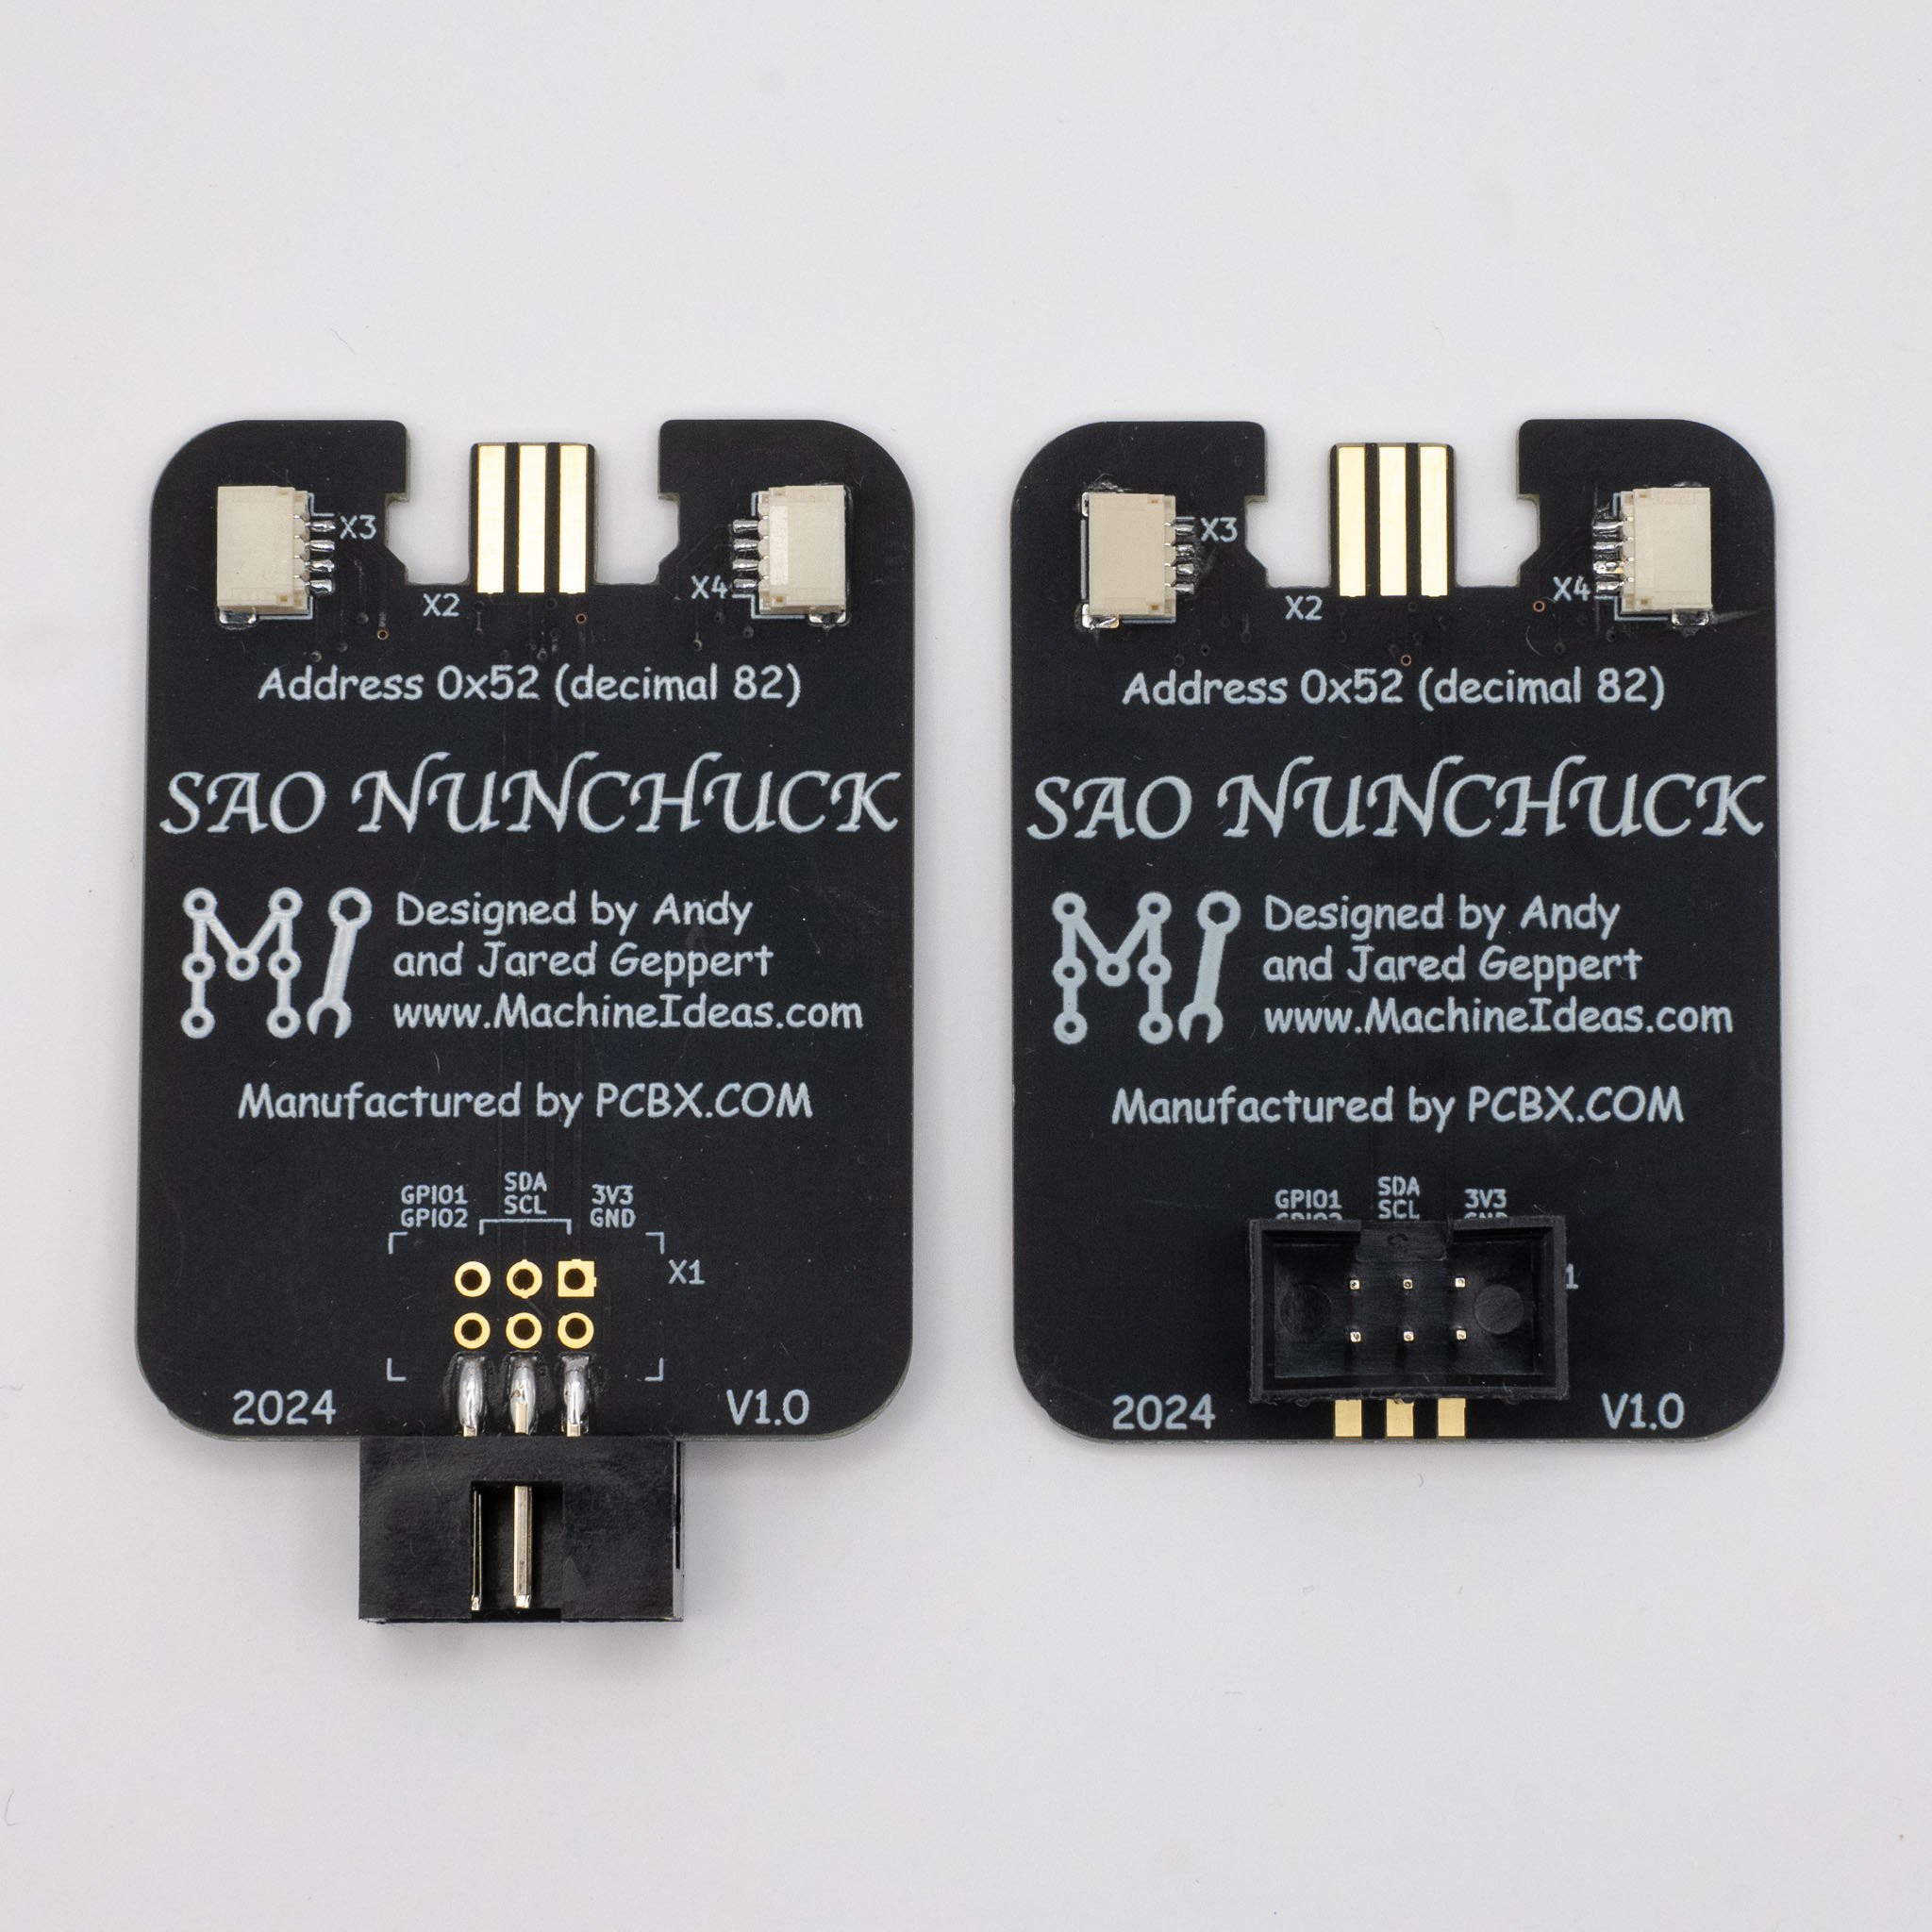
  • SAO pin header can be installed from the bottom side of the board, or along the bottom edge for two different mounting options.
  • Wii Nunchuck (and clones) is connected directly to the PCB on the top edge.
  • Two QWIIC/STEMMA QT ports are provided on the back side of the board.
  • All signals are 3.3V.

Learn more about the possibilities and find sample code:

https://github.com/madhephaestus/WiiChuck/

https://learn.adafruit.com/adafruit-wii-nunchuck-breakout-adapter/

https://www.sparkfun.com/products/retired/18039

https://bootlin.com/labs/doc/nunchuk.pdf


Learn about QWIIC and Stemma QT compatible connections (I2C):

https://www.sparkfun.com/qwiic

https://learn.adafruit.com/introducing-adafruit-stemma-qt


Thank you to PCBX.COM for reaching out to me with their services for this project! The first batch of prototypes was sponsored by PCBX.COM. I chose the [new-to-me] MATTE BLACK SOLDER MASK option to help accentuate the ENIG finish. The combo turned out well. The downside is that the matte finish picks up scuffs easily, so you need to minimize the handling to keep it looking as good as it can. I plan to try the standard black silkscreen for the next batch, and I expect that will be a more durable finish. The ordering process was simple, production+delivery was snappy, and the board quality is solid with the white silkscreen. I recommend giving PCBX.COM a try.  They are a relatively new contender in the low-volume and hobbyist PCB realm.

SAO_Nunchuck_V1_Schematic.pdf

SAO Nunchuck V1 Schematic

Adobe Portable Document Format - 67.15 kB - 10/14/2024 at 03:28

Preview

  • 1 × SAO Nunchuck PCB
  • 2 × QWIIC Socket
  • 1 × SAO Shrouded Header 2x3

  • Two SAO Connector Positions

    Andy Geppert10/14/2024 at 03:14 0 comments

    This SAO features a footprint I created to allow vertical or horizontal connection of the edge connector:

  • A Nice Fit

    Andy Geppert10/14/2024 at 02:33 0 comments

    Whew. No mistakes in the traces! It's a simple board, and it works well.

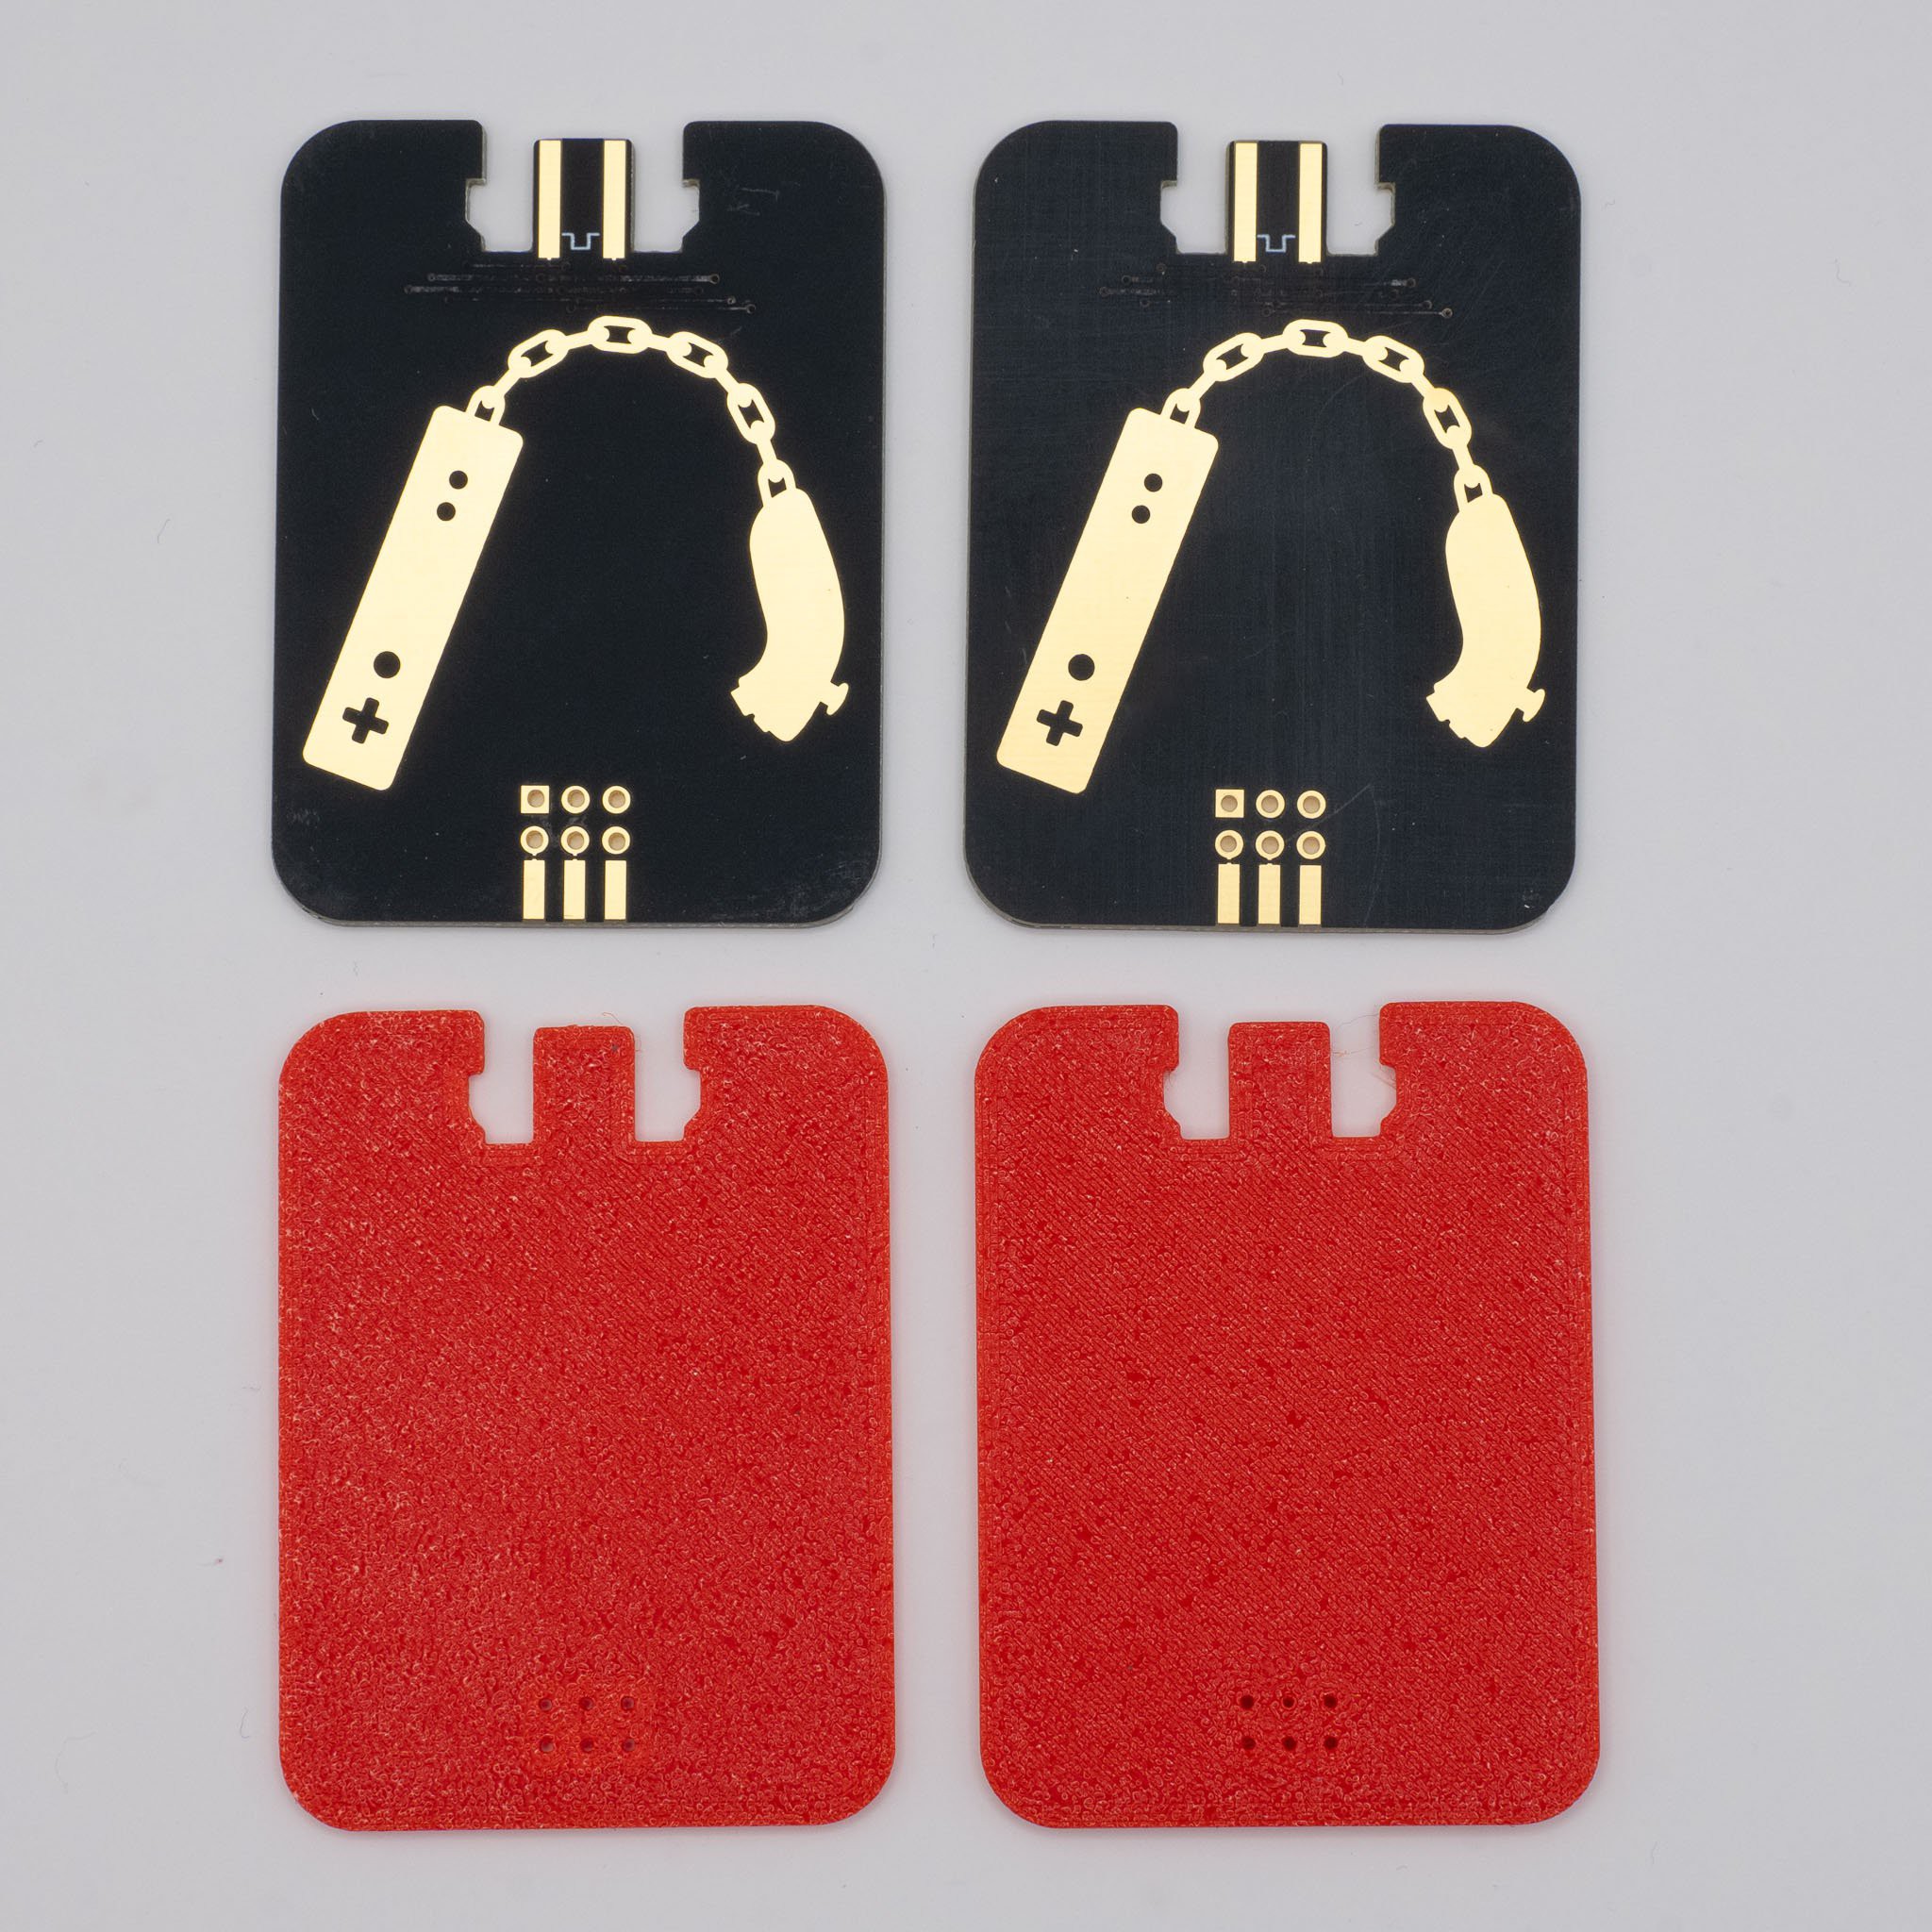
    I tried to dial-in the fit of the connector to be as crisp as possible by 3D-Printing mock-ups of the PCB to use for test fitting. The standard 1/16" FR4 was a good fit.

    There is a great library for this controller and several others at: https://github.com/madhephaestus/WiiChuck/

  • Design Ready

    Andy Geppert10/09/2024 at 16:18 0 comments

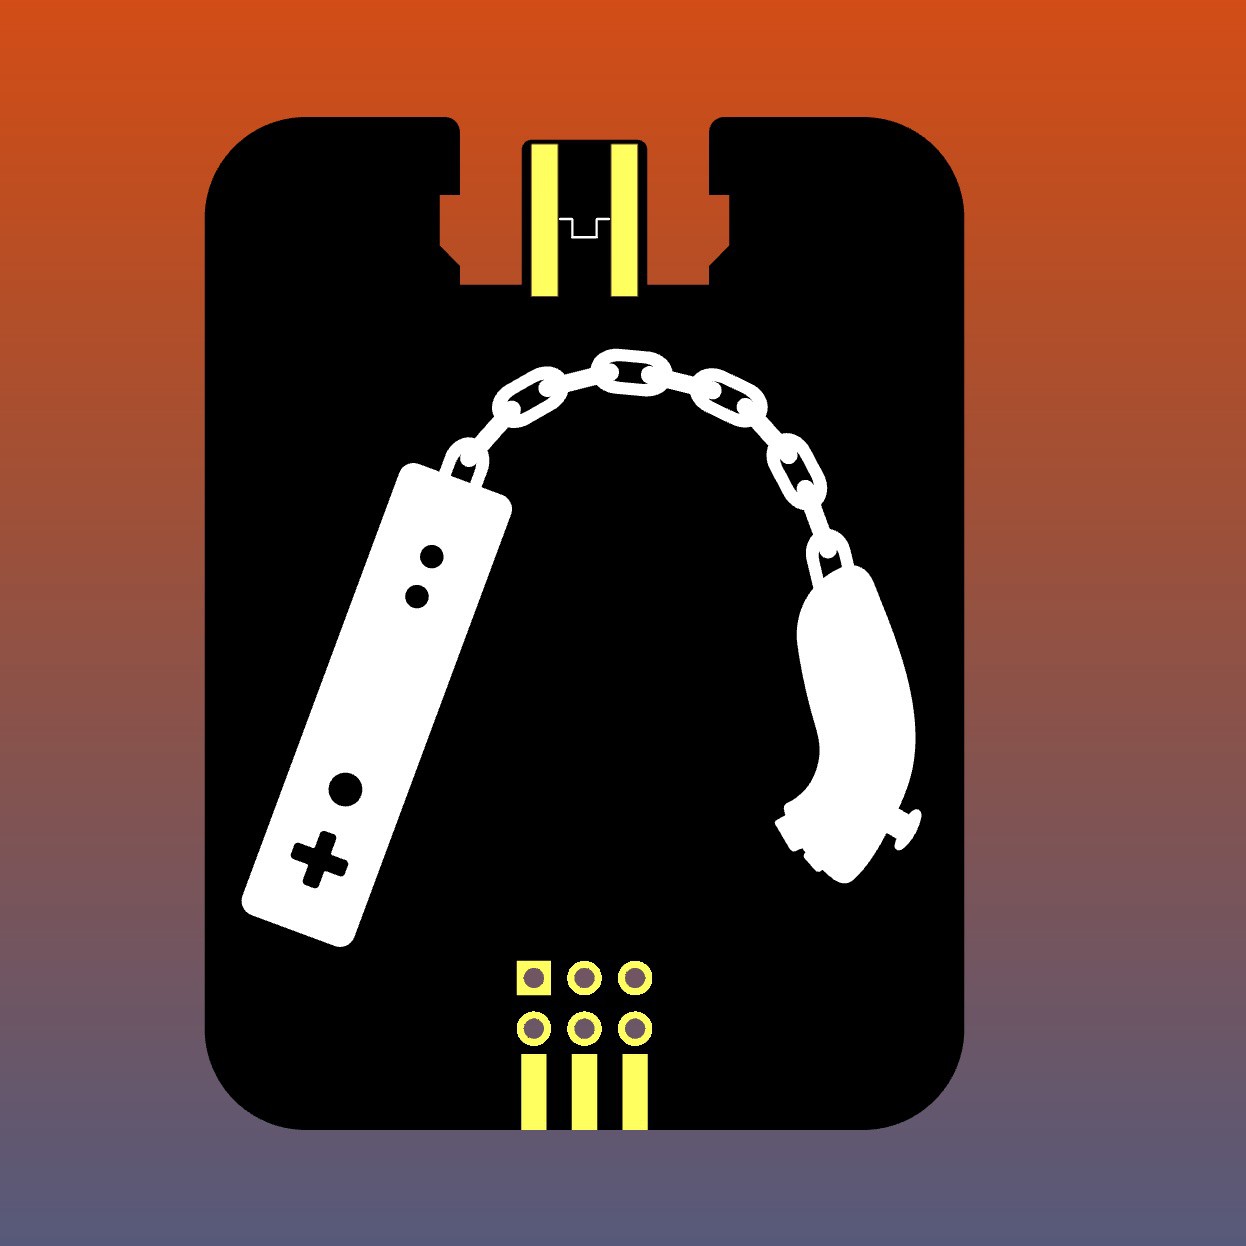
    This is a very simple design. More of a mechanical and aesthetic focus than electrical. The artwork is original, and I created it with Inkscape. The SVG is in the github repo for this project.

    Looking forward to trying out the services of www.PCBX.com who is sponsoring this prototype build!

    These will be done with matte black solder mask, and ENIG for the Nunchuck.

View all 3 project logs

Enjoy this project?

Share

Discussions

Similar Projects

Does this project spark your interest?

Become a member to follow this project and never miss any updates