 Arnov Sharma
Design Process
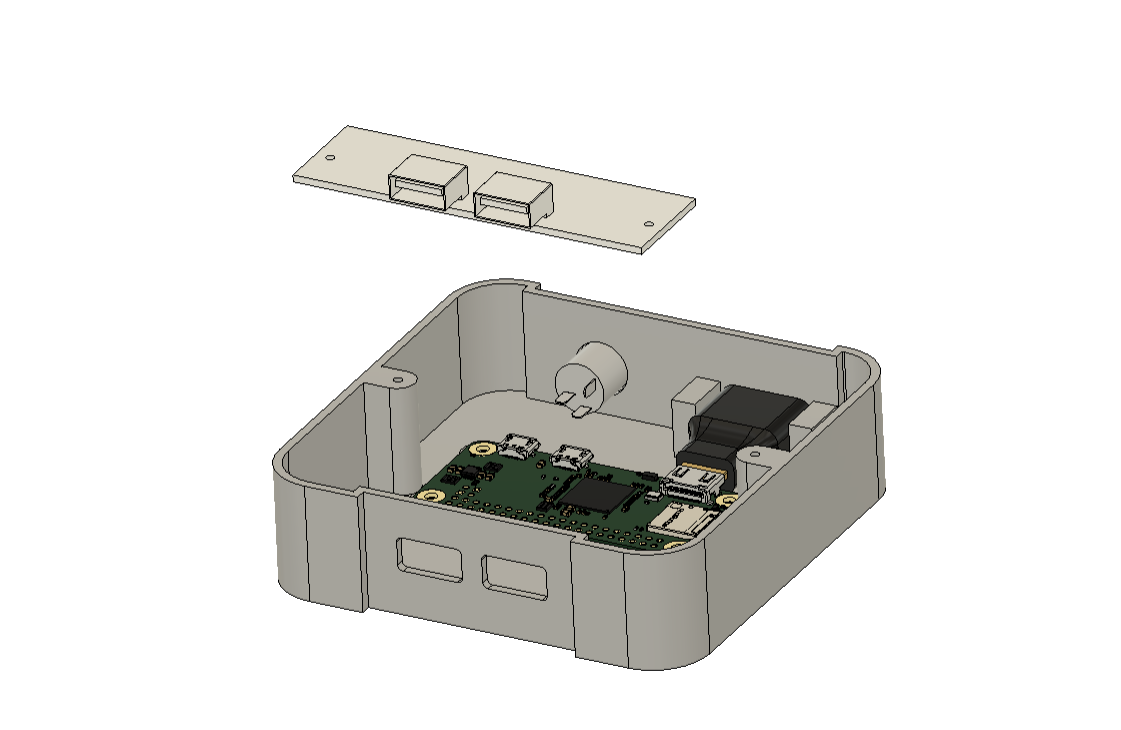
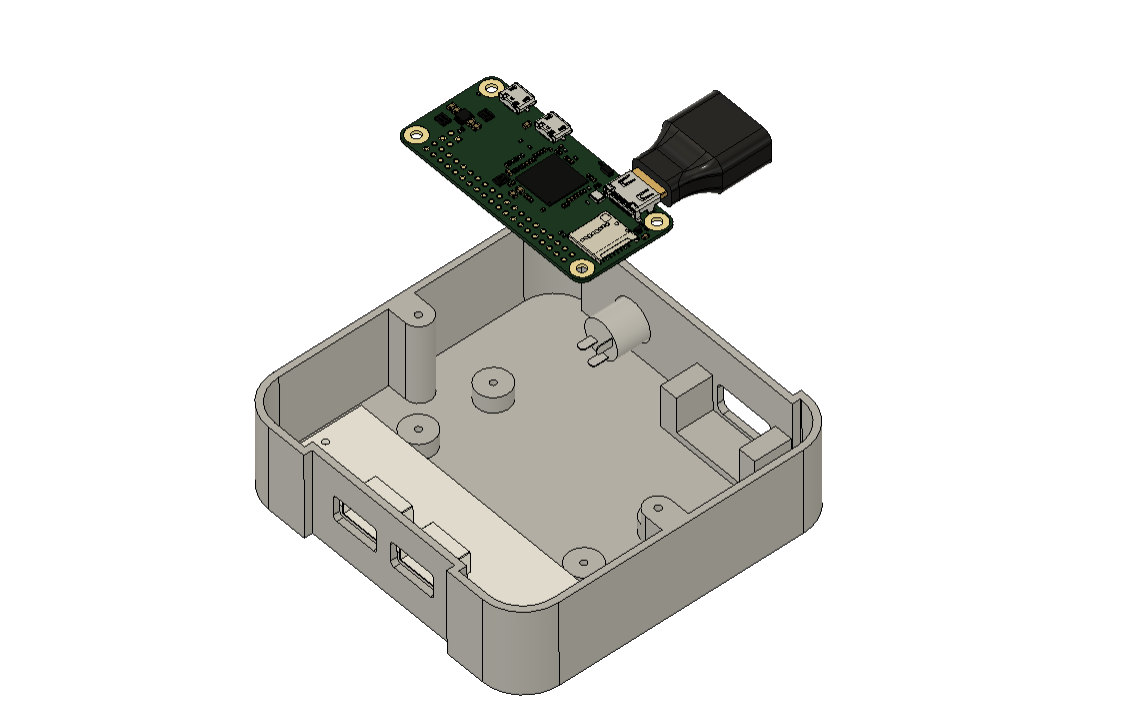
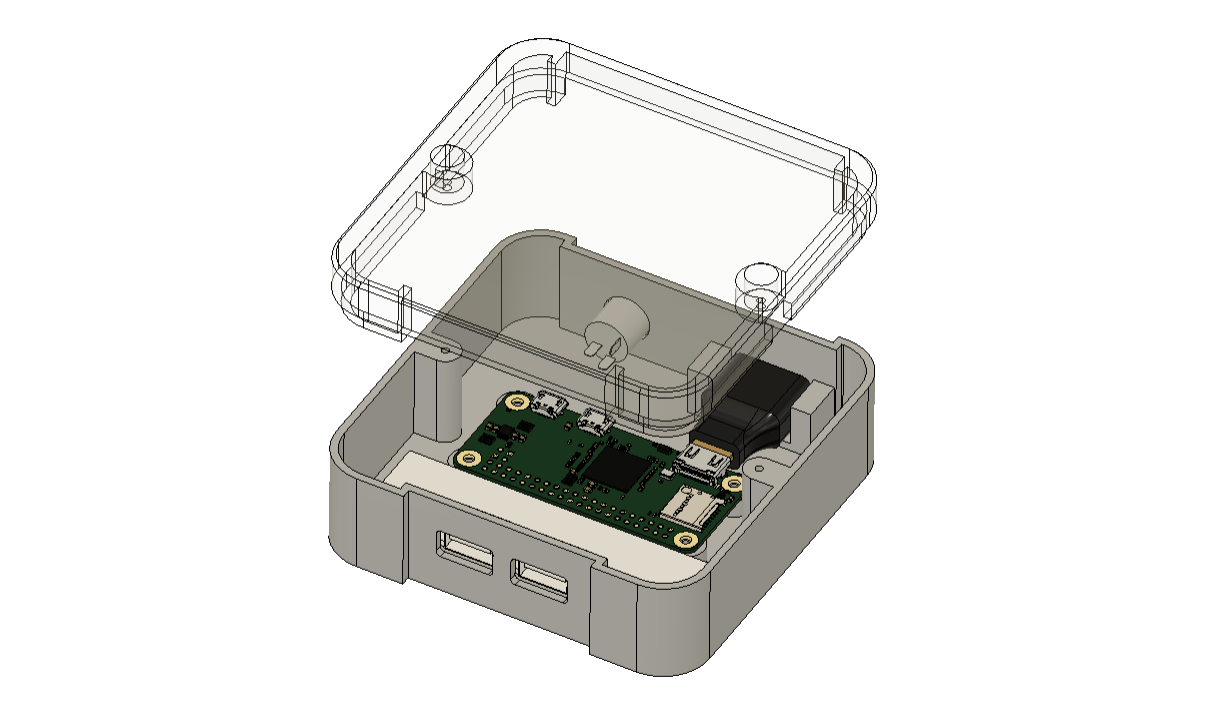
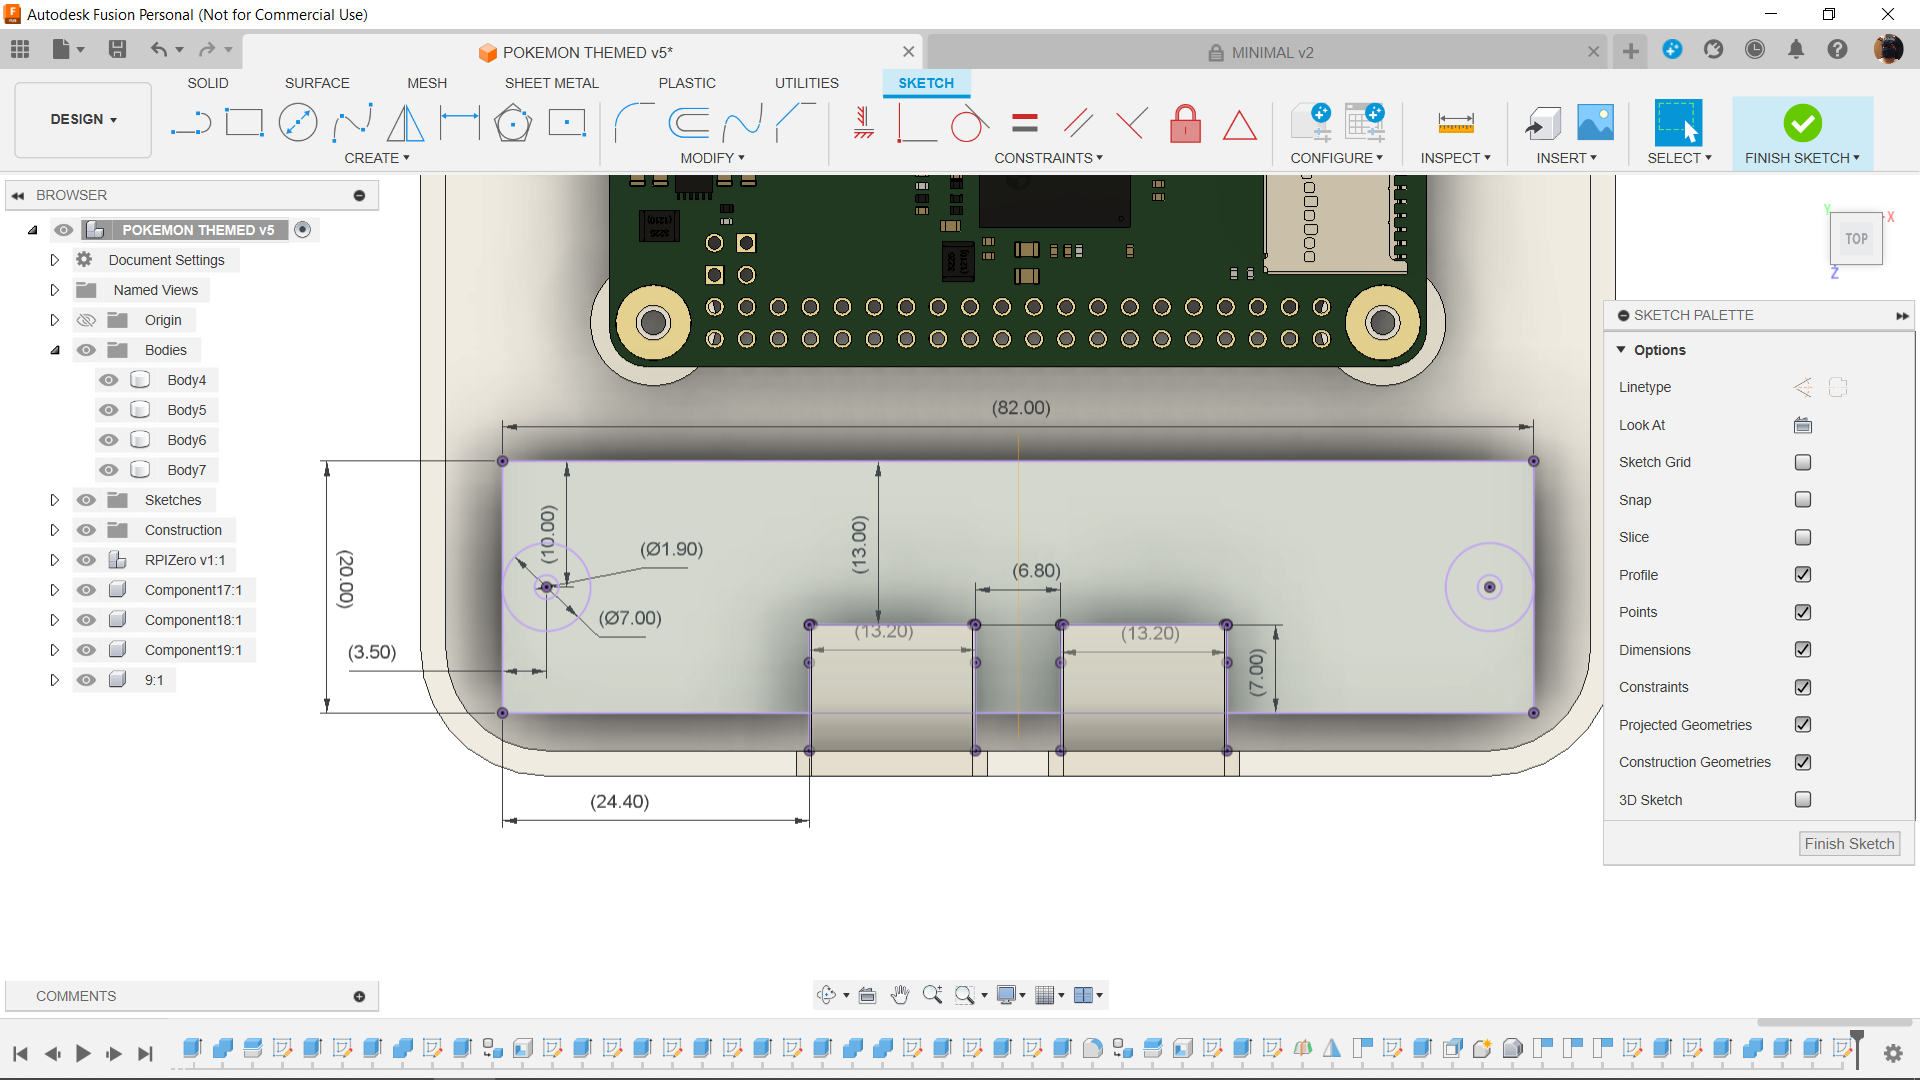
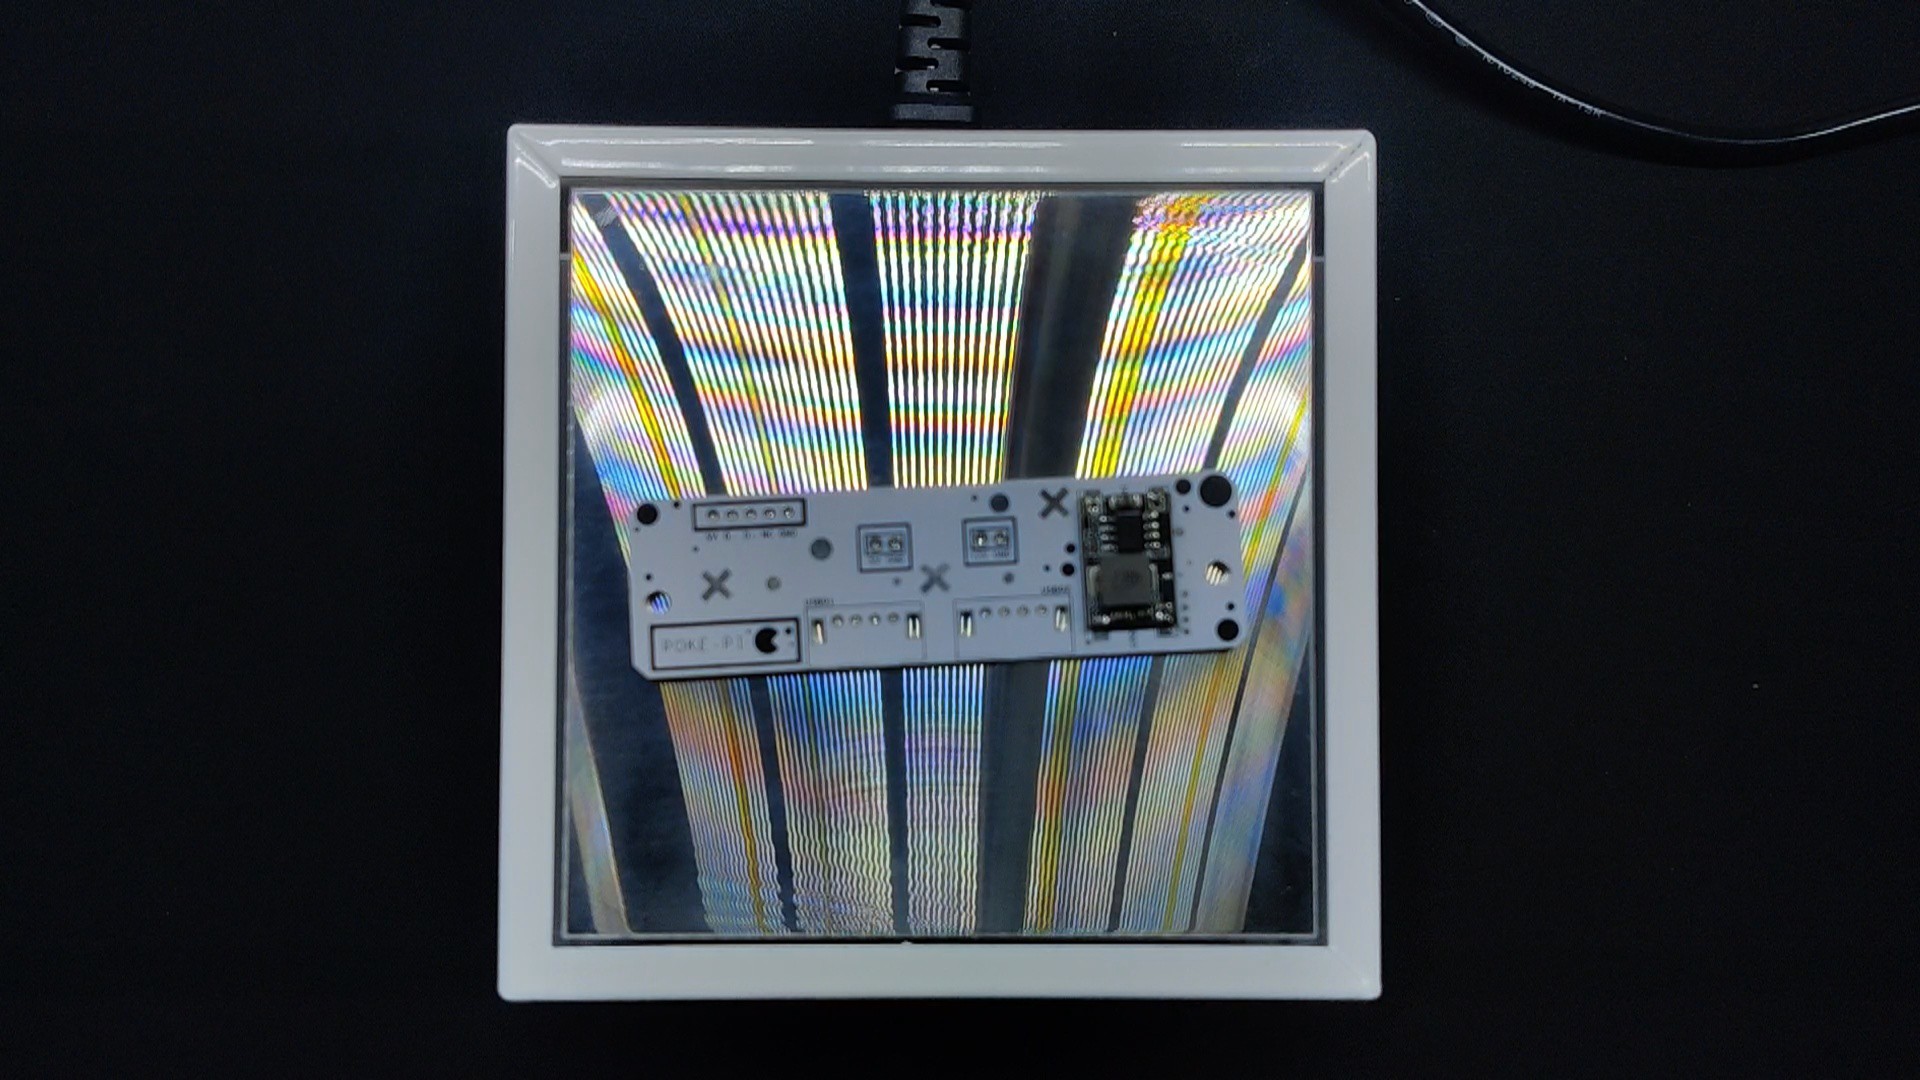
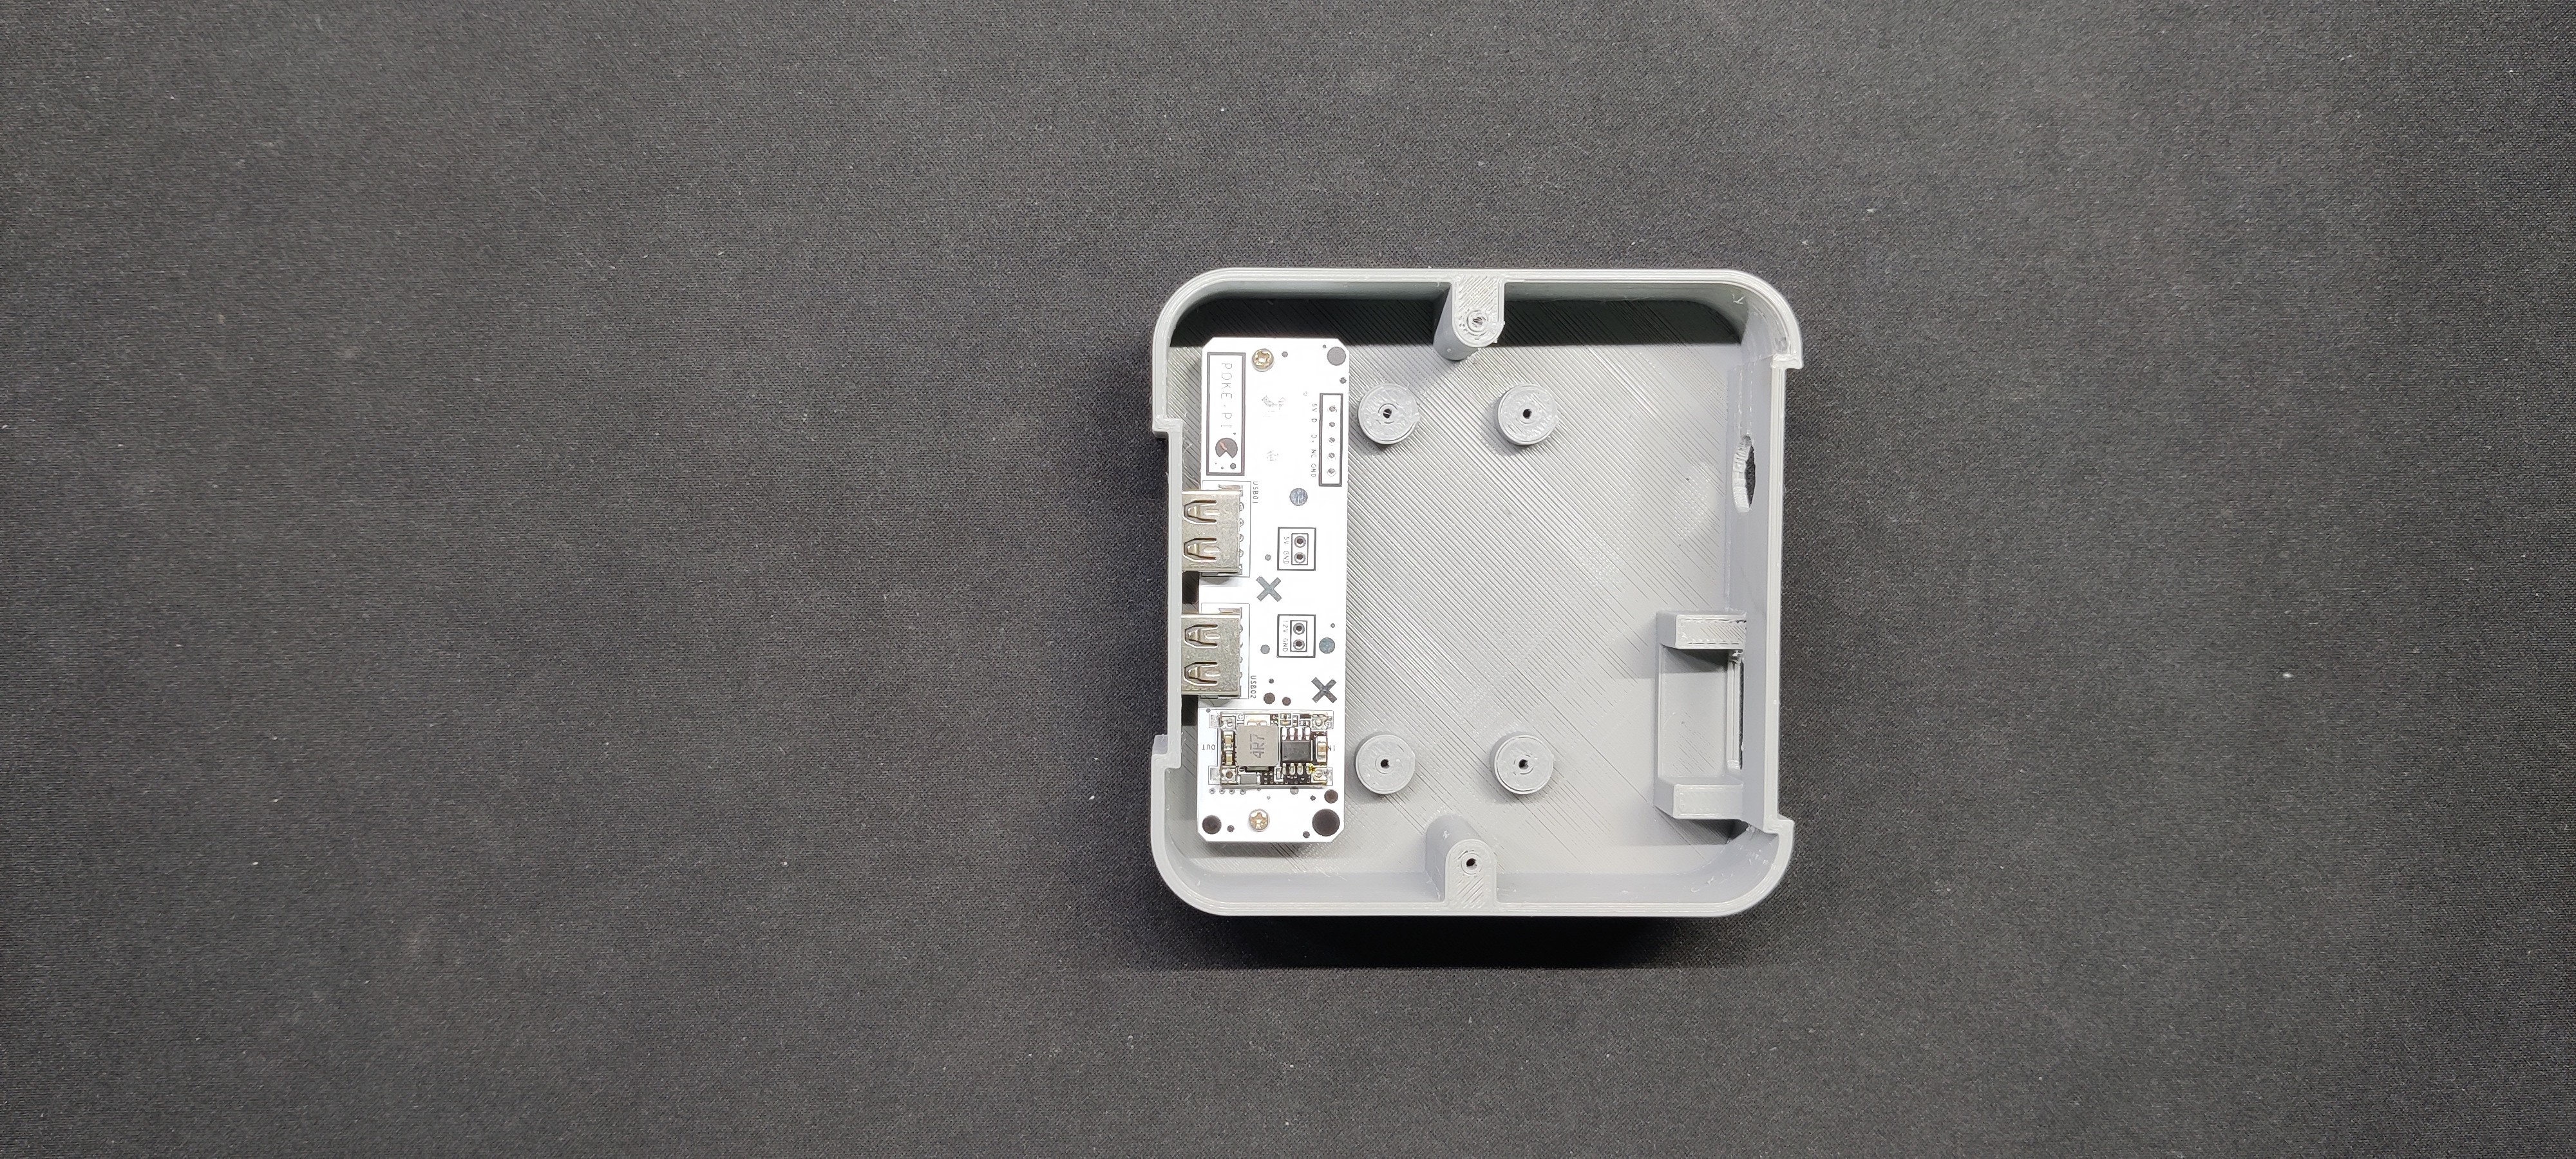
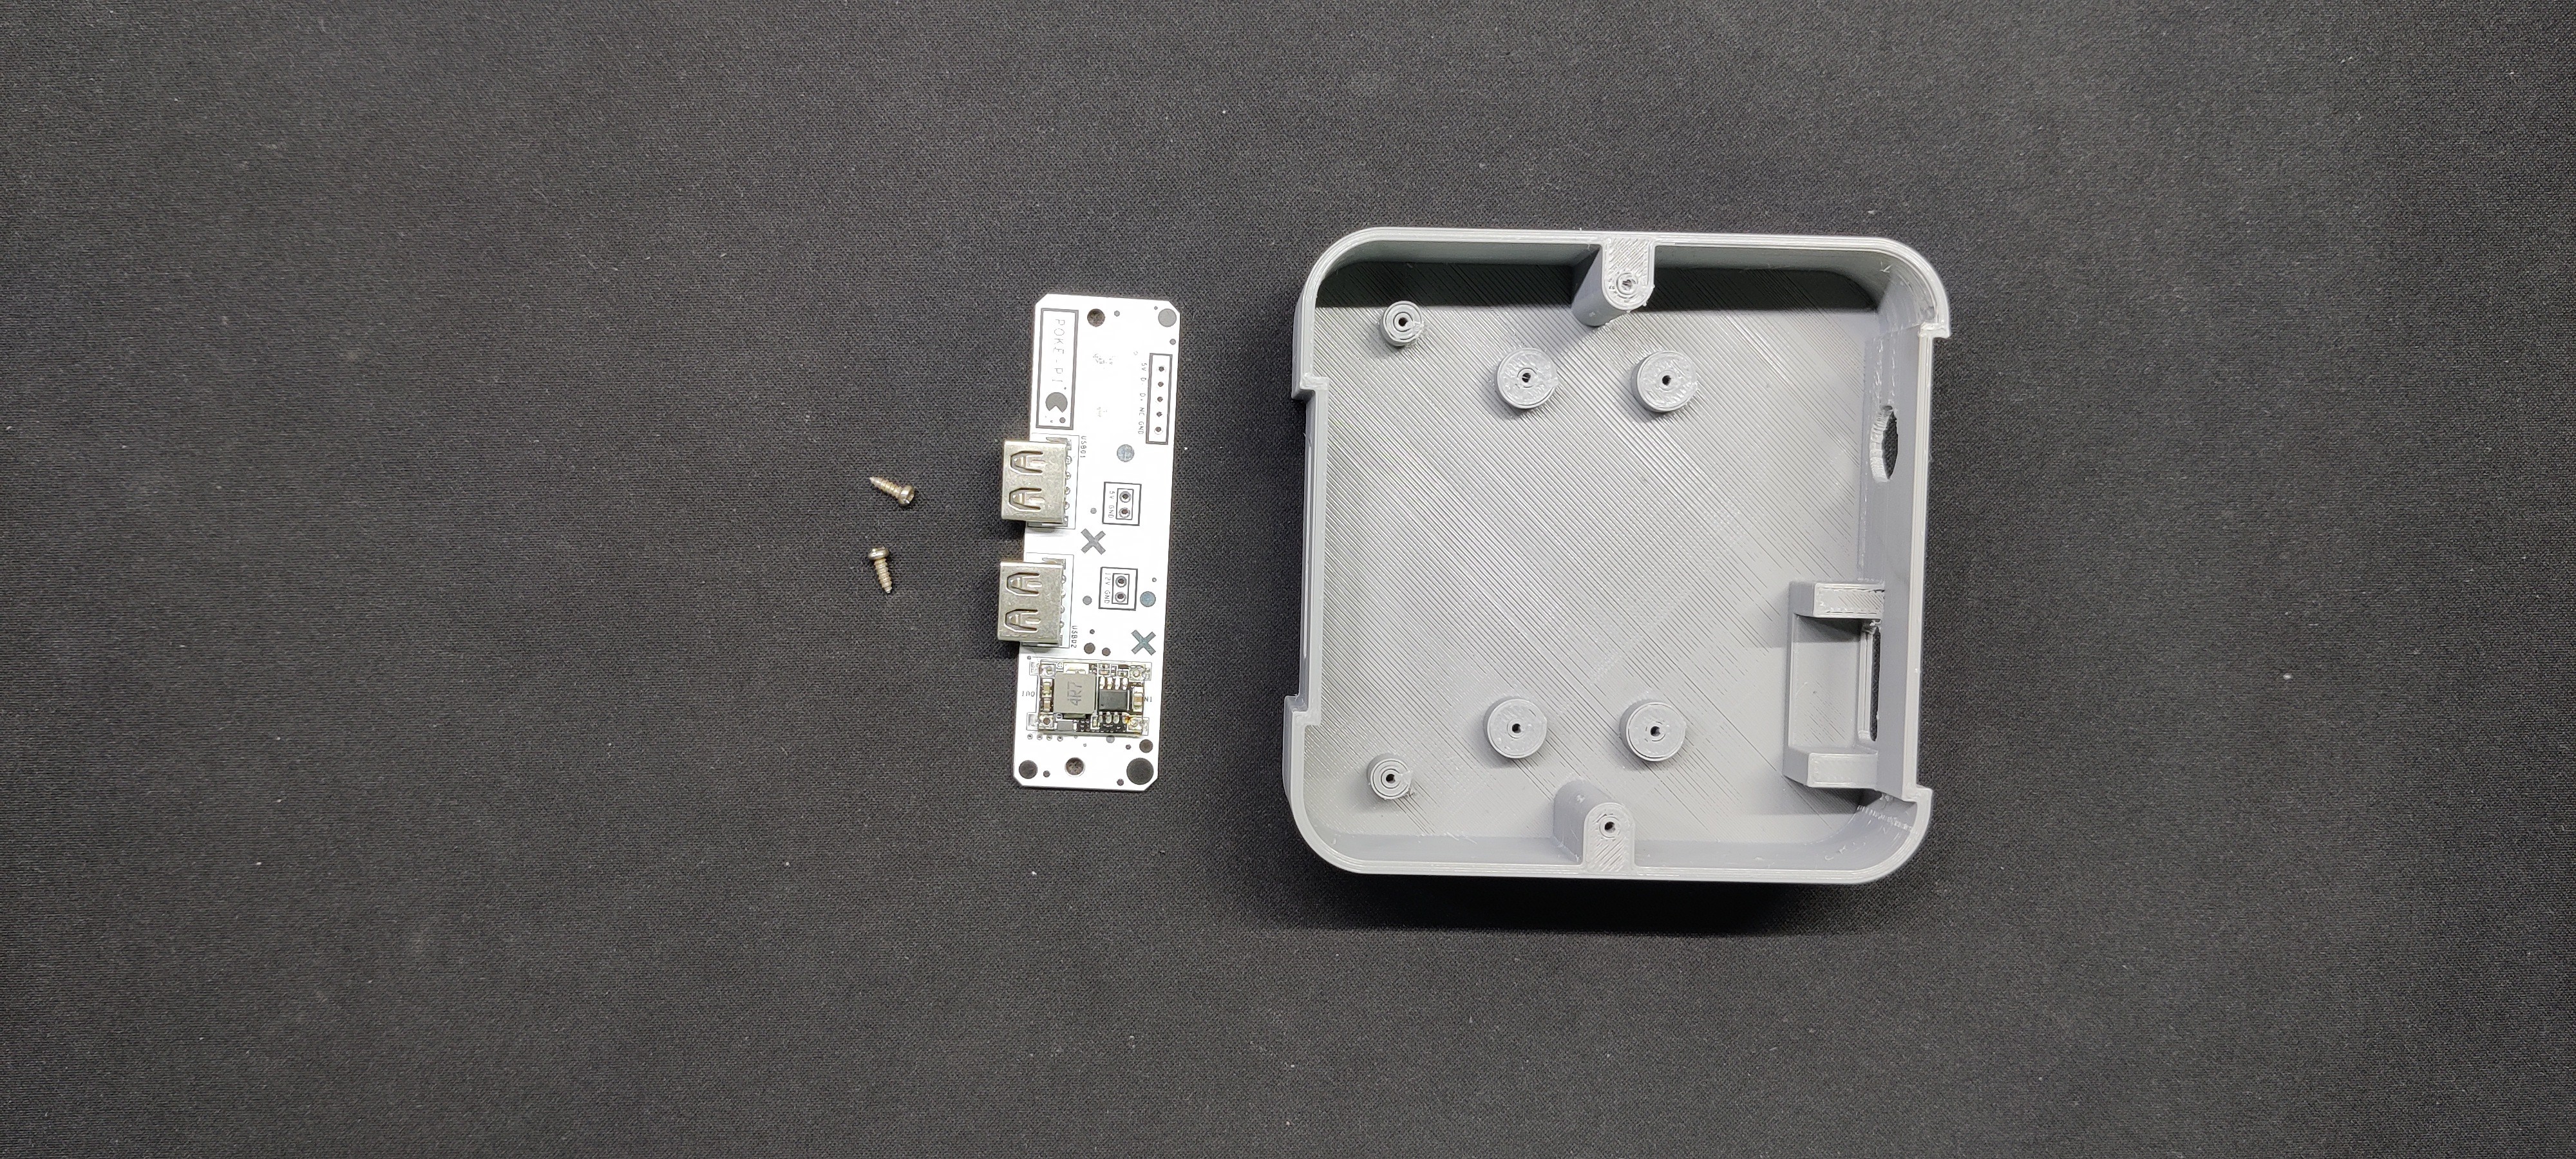
The custom USB breakout board and a basic enclosure with a place for the Raspberry Pi Zero are the main components of this project's design. Two USB ports have been added to the front face of the device, which are used to connect game controllers.
We have included an HDMI port opening and a DC barrel Jack for power supply on the back side.
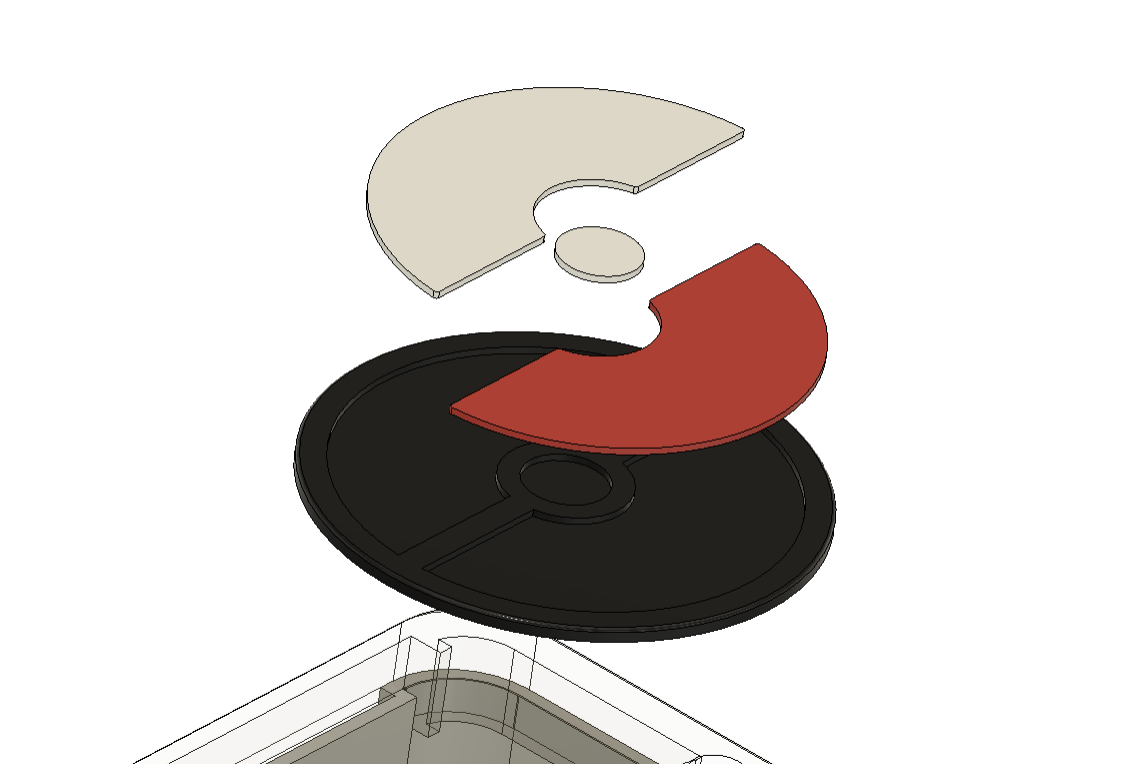
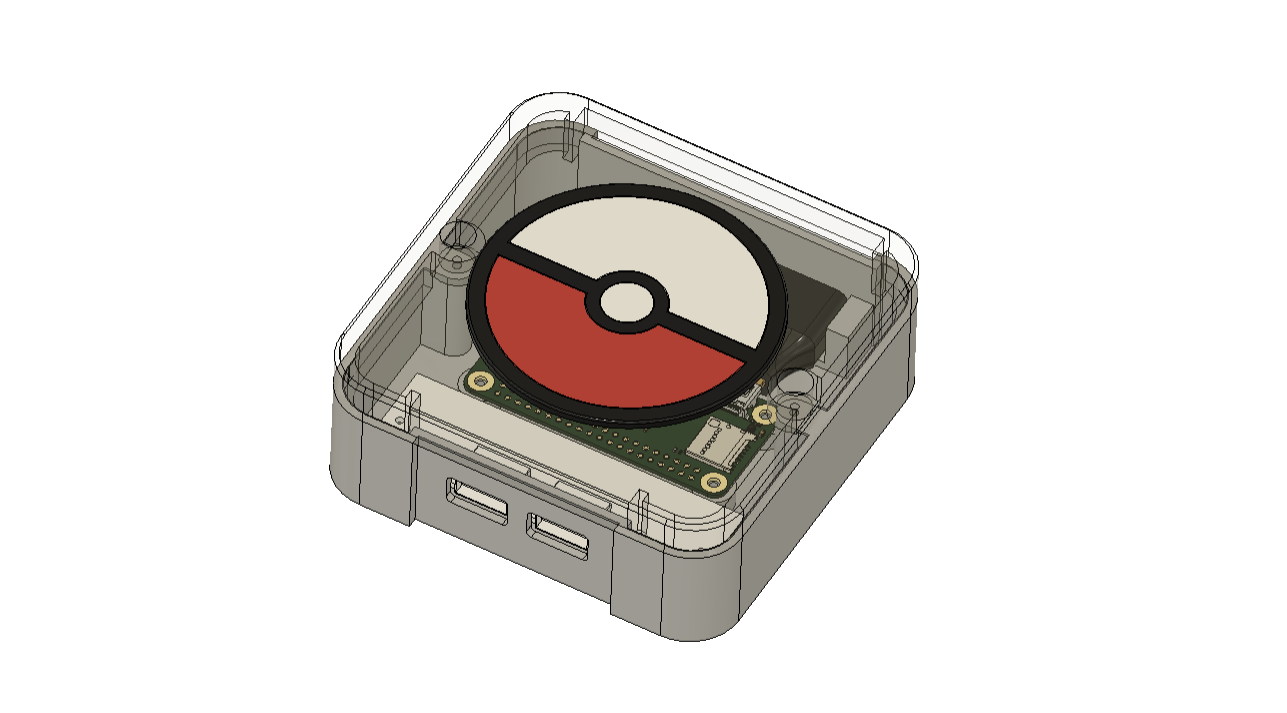
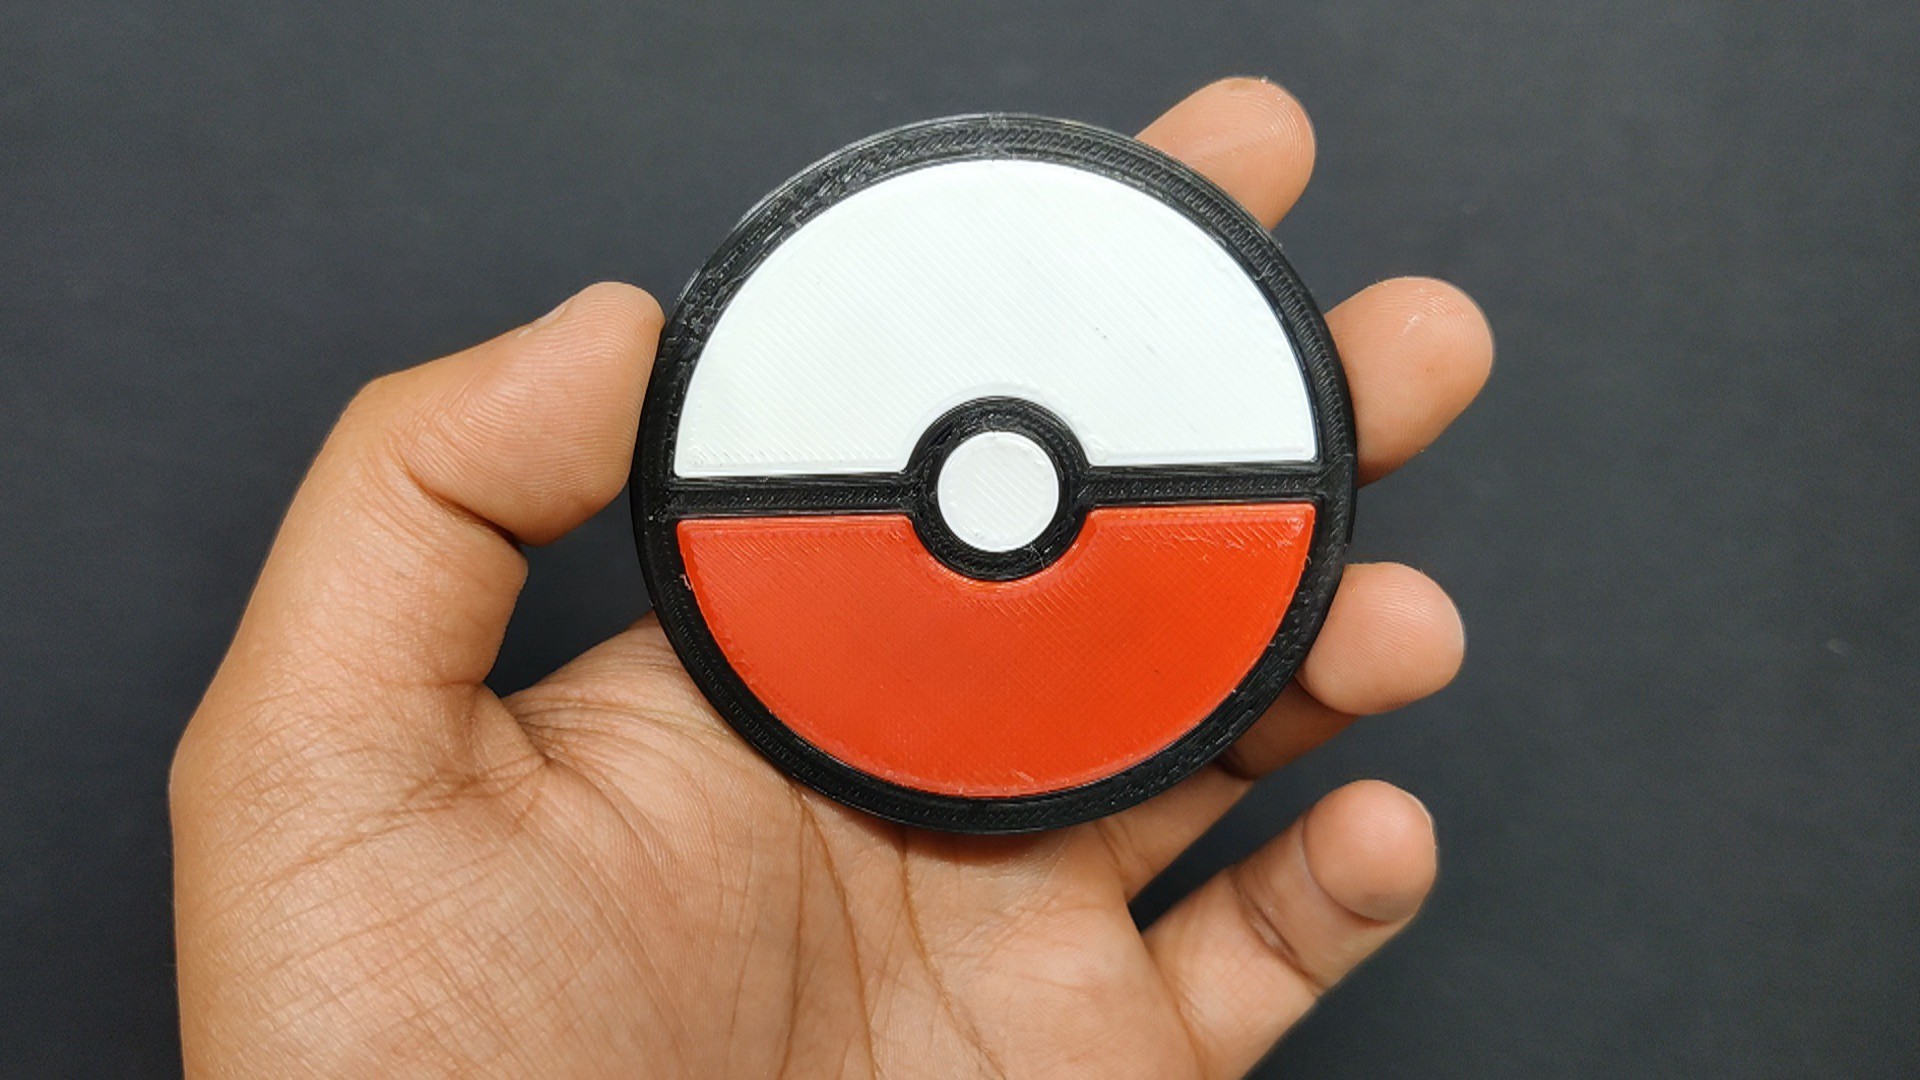
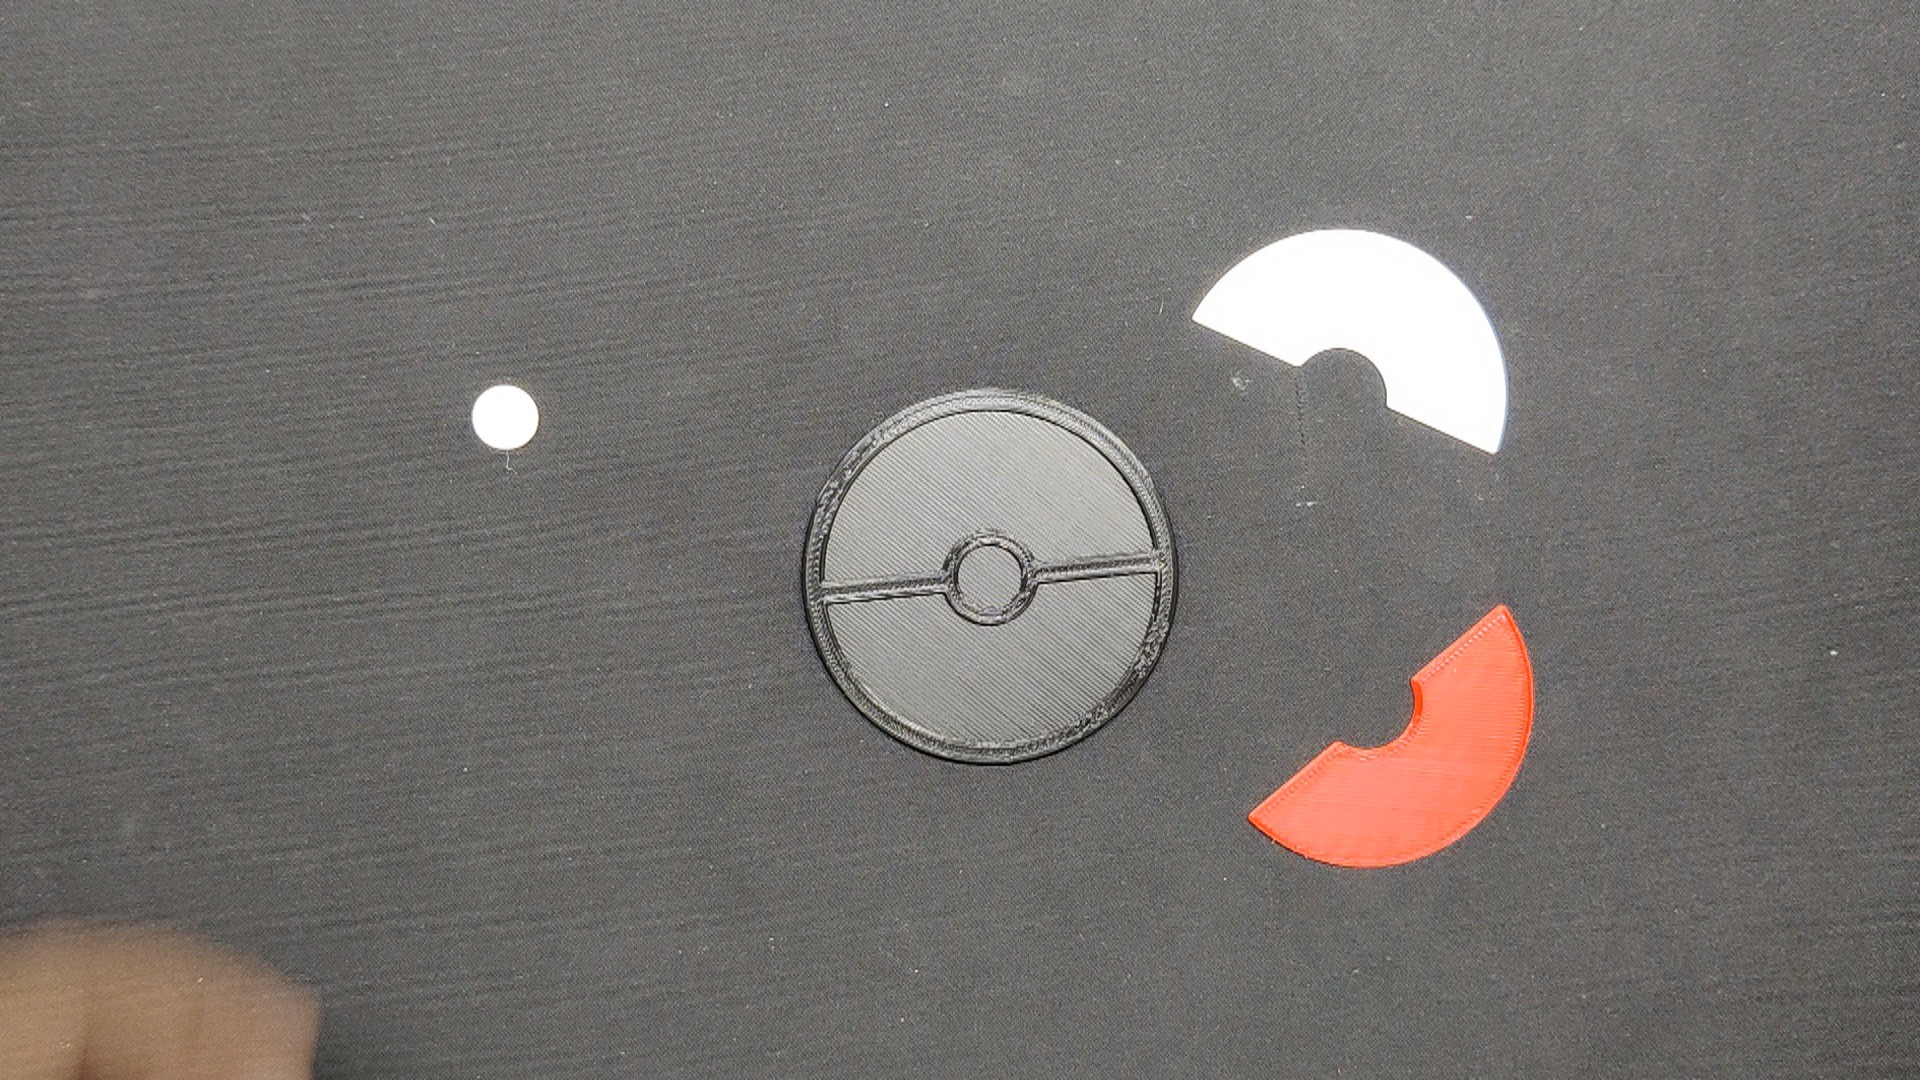
We have added a Pokeball logo to the top side of the model, which will be bonded with glue to the enclosure's lid. To create an accurate-looking pokeball, we additionally modeled the entire thing and printed it in the three shades of PLA RED, WHITE, and BLACK.
Two M2 screws are used to secure the lid with the main body.
Grey PLA was used to print the base body, and transparent PLA, was used to create the top lid. The same settings were used for both: a 0.4 mm nozzle, a 0.2 mm layer height, and 20% infill.
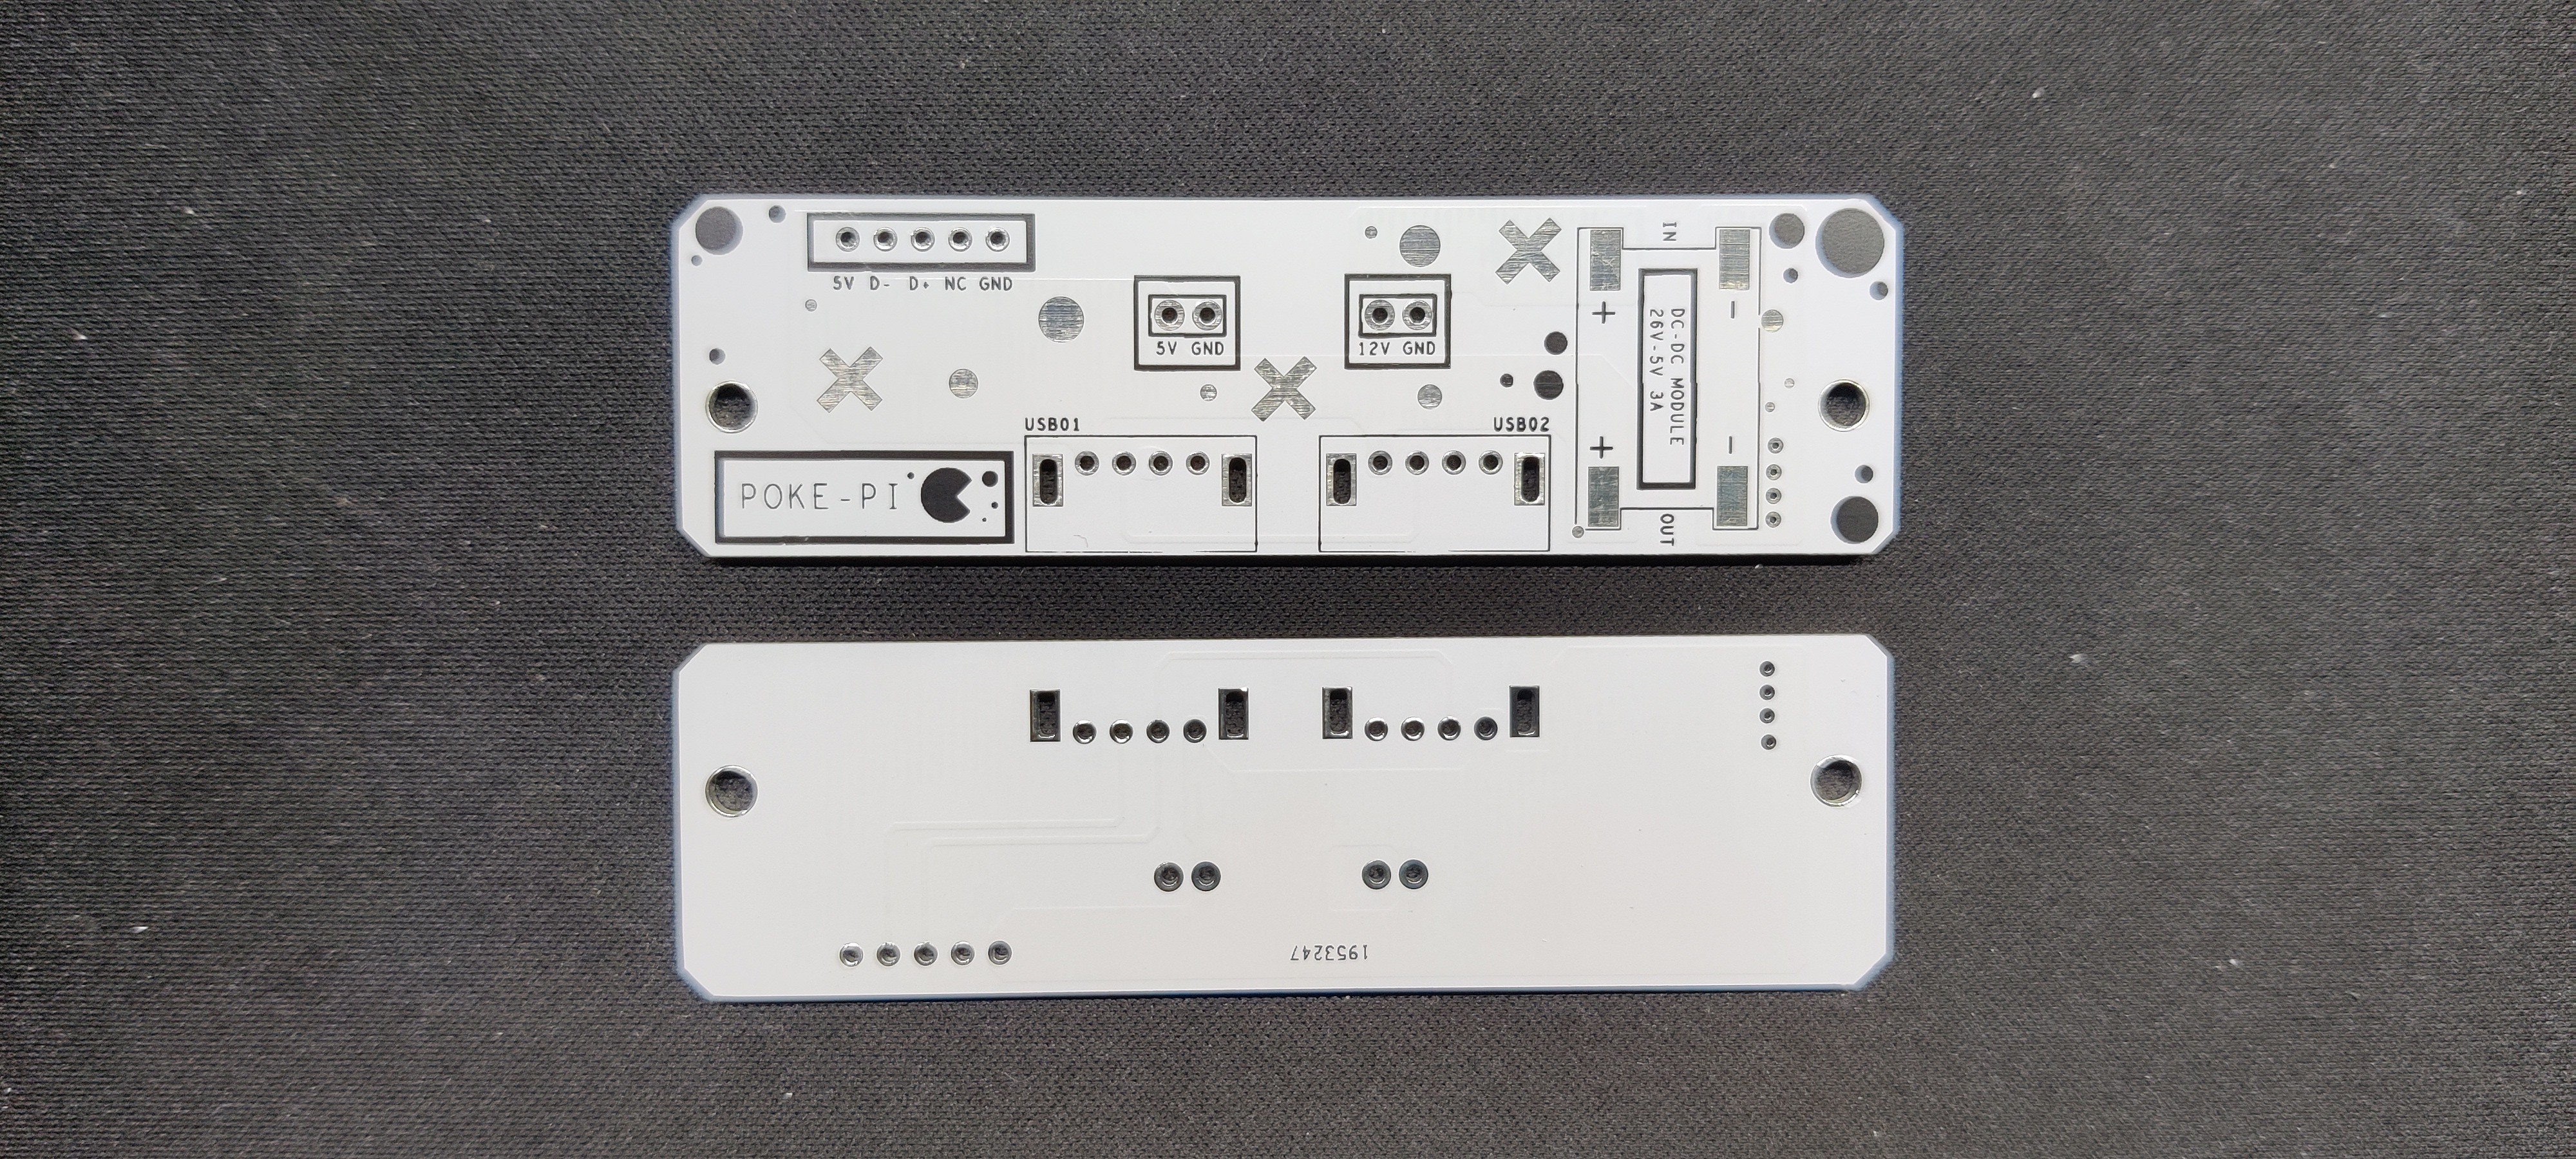
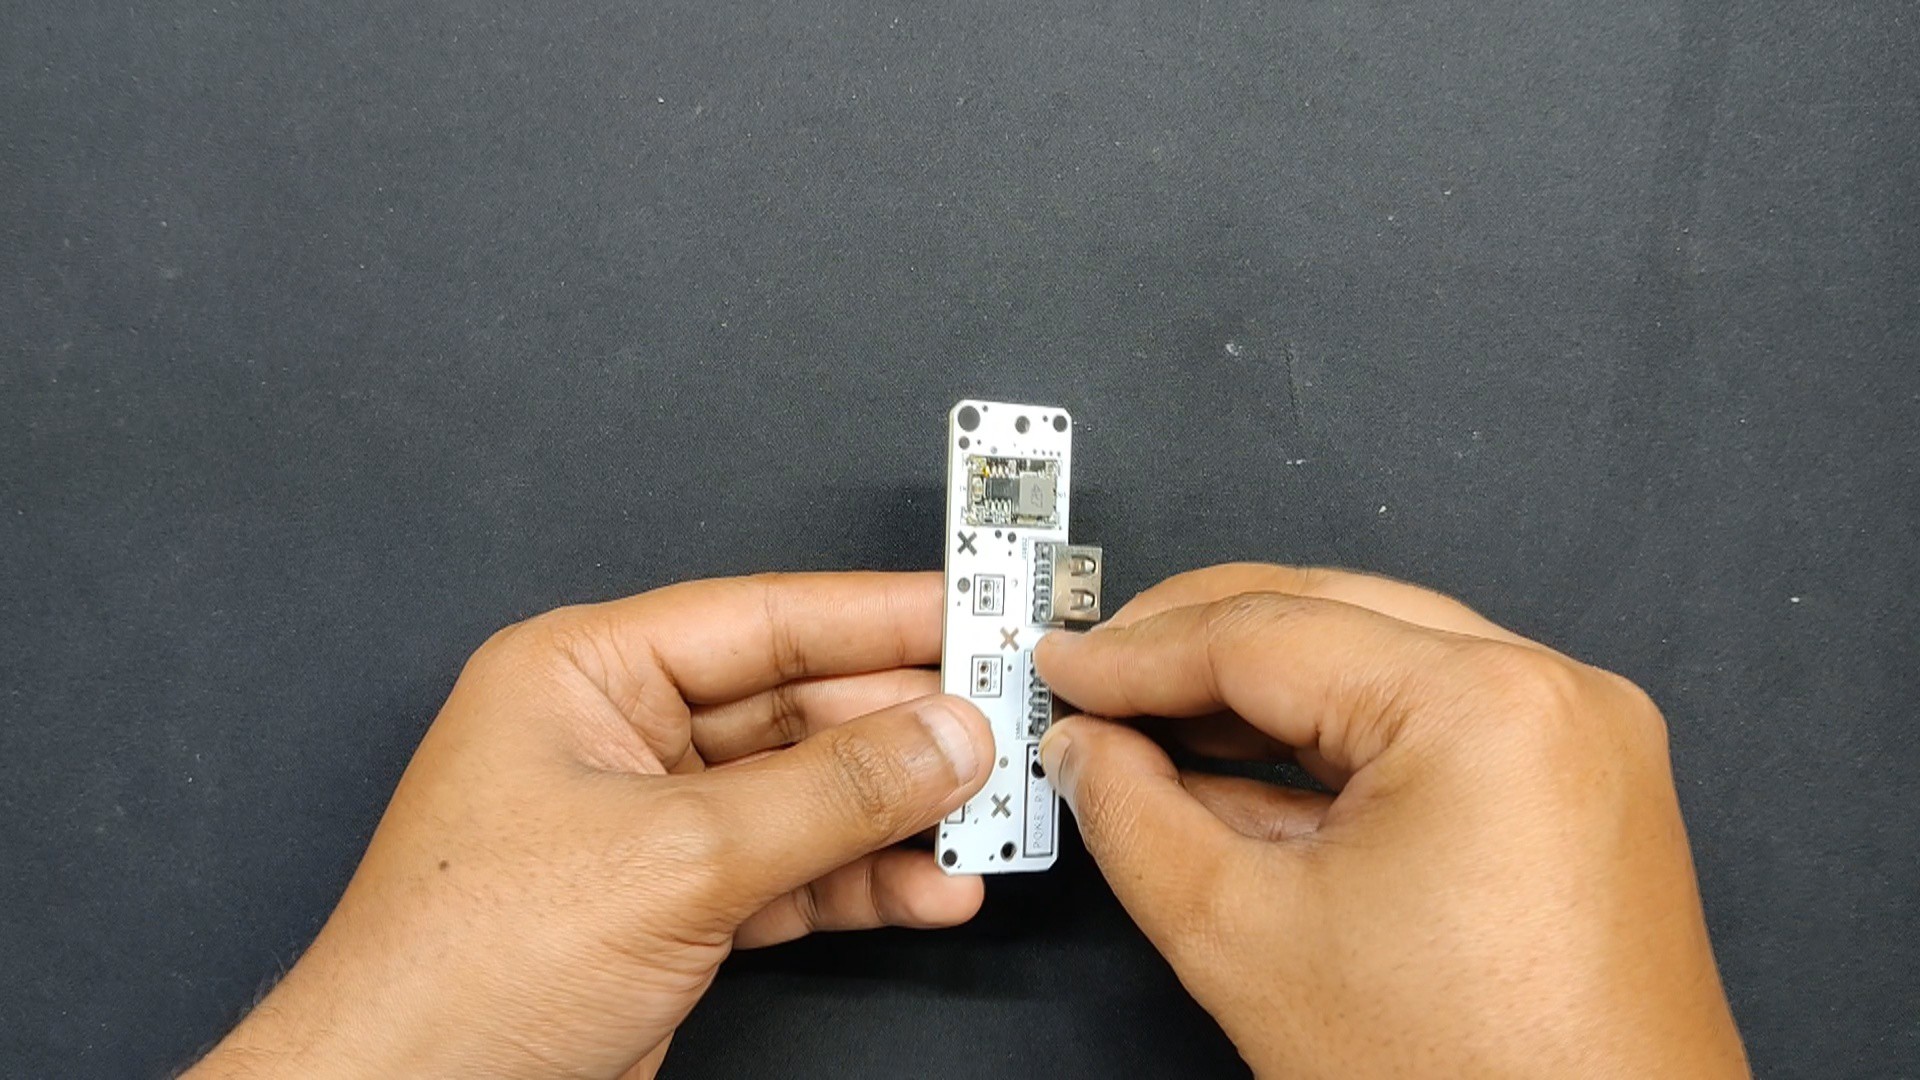
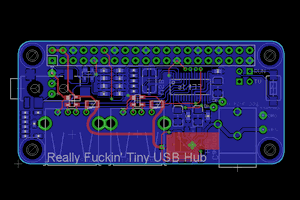
Custom USB breakout Board
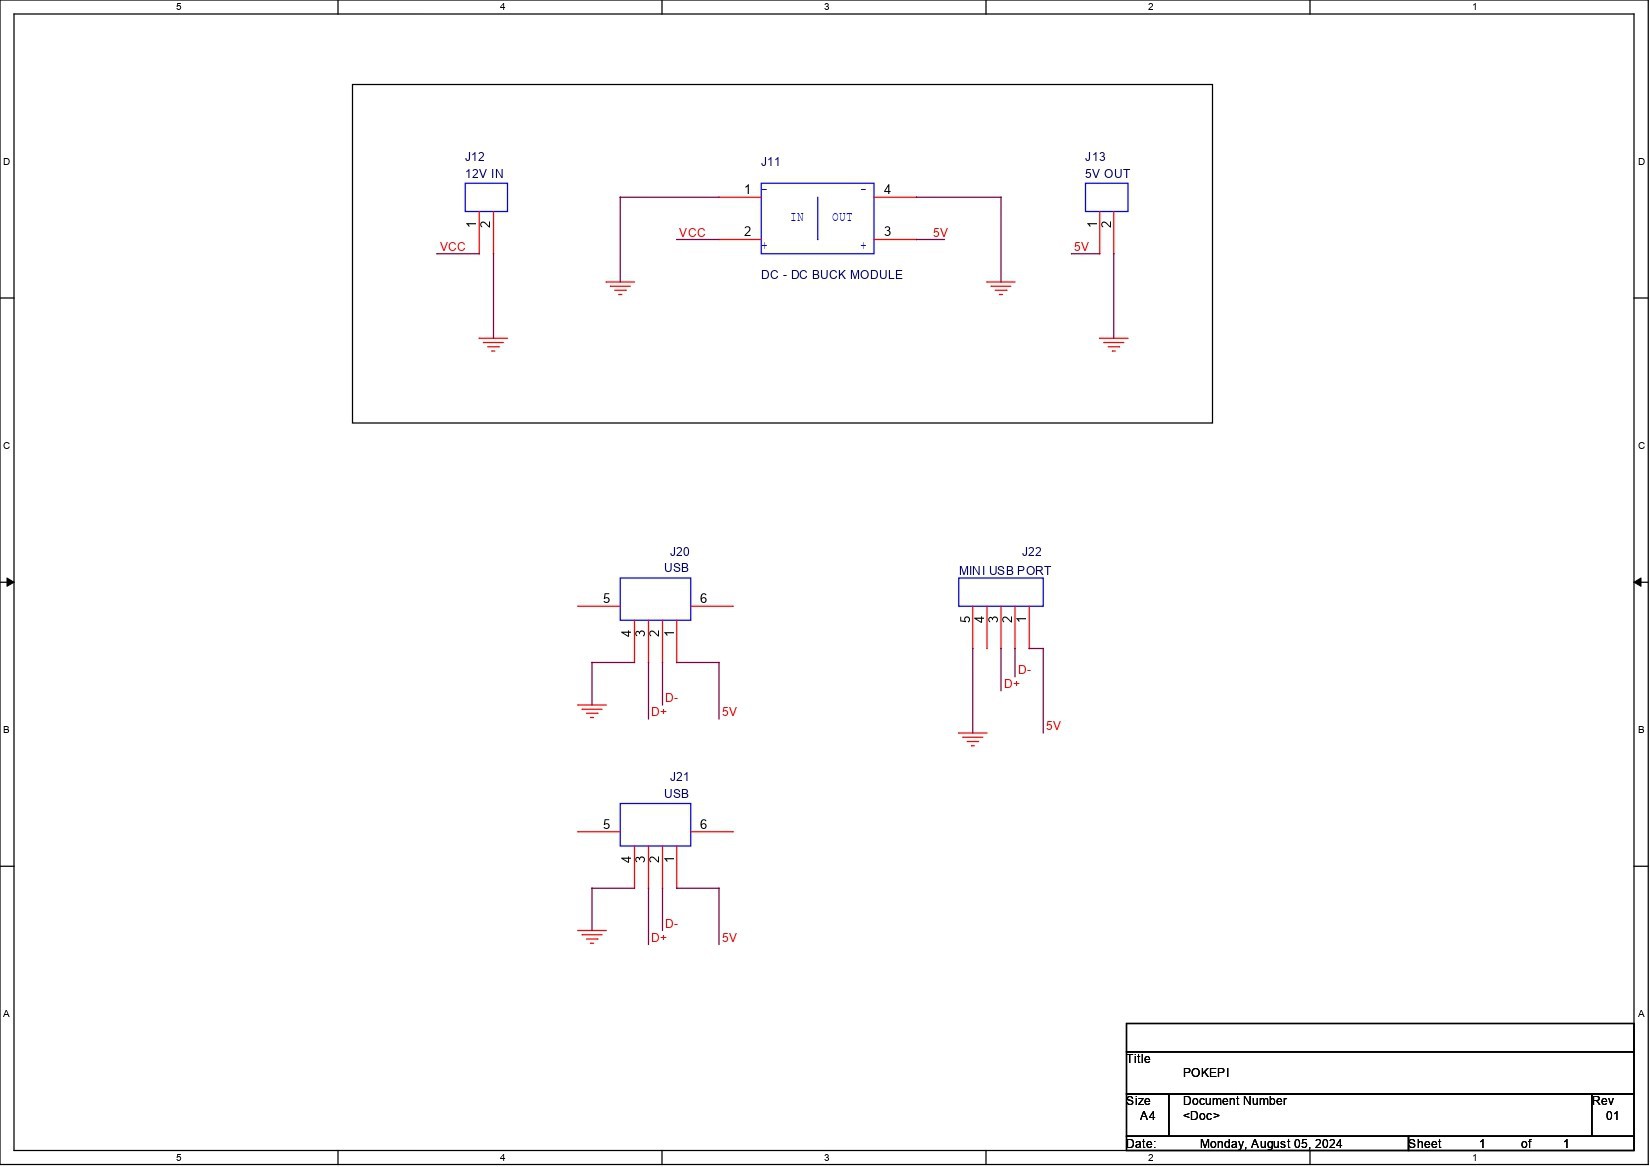
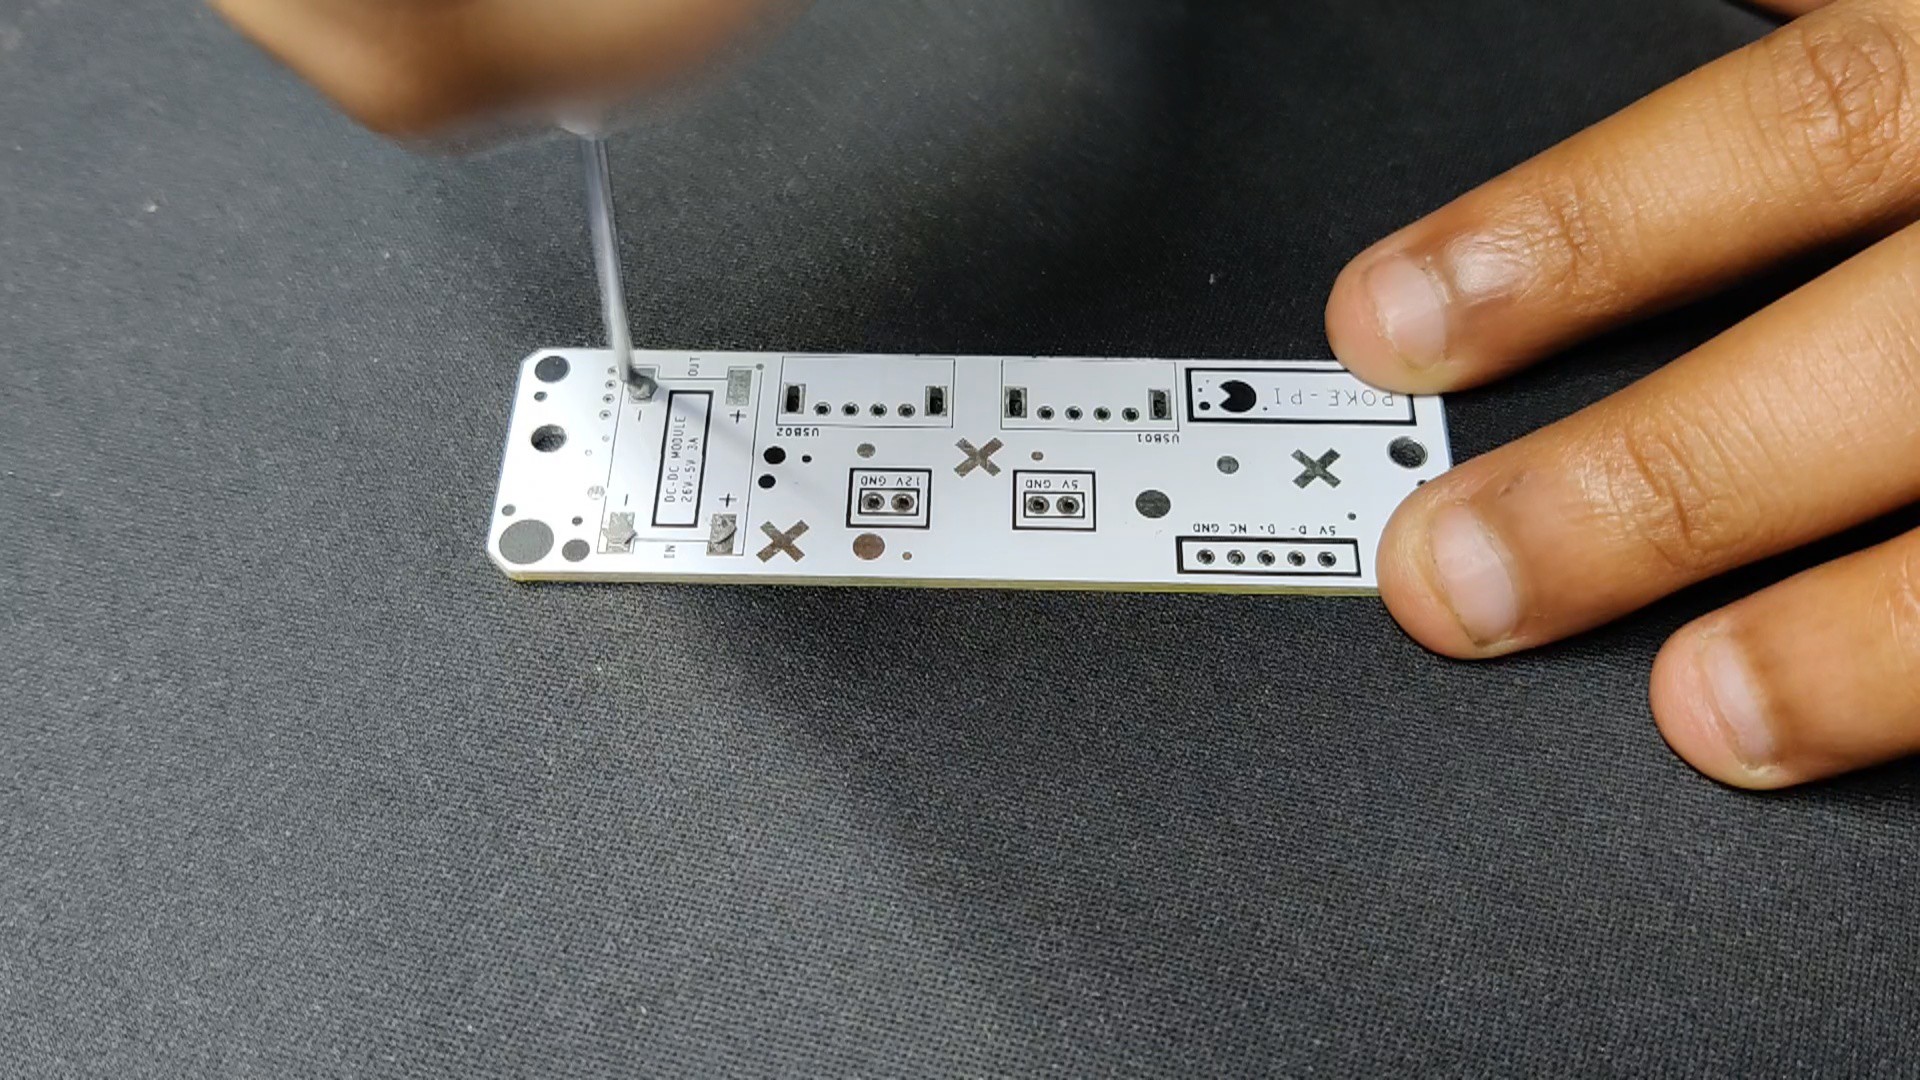
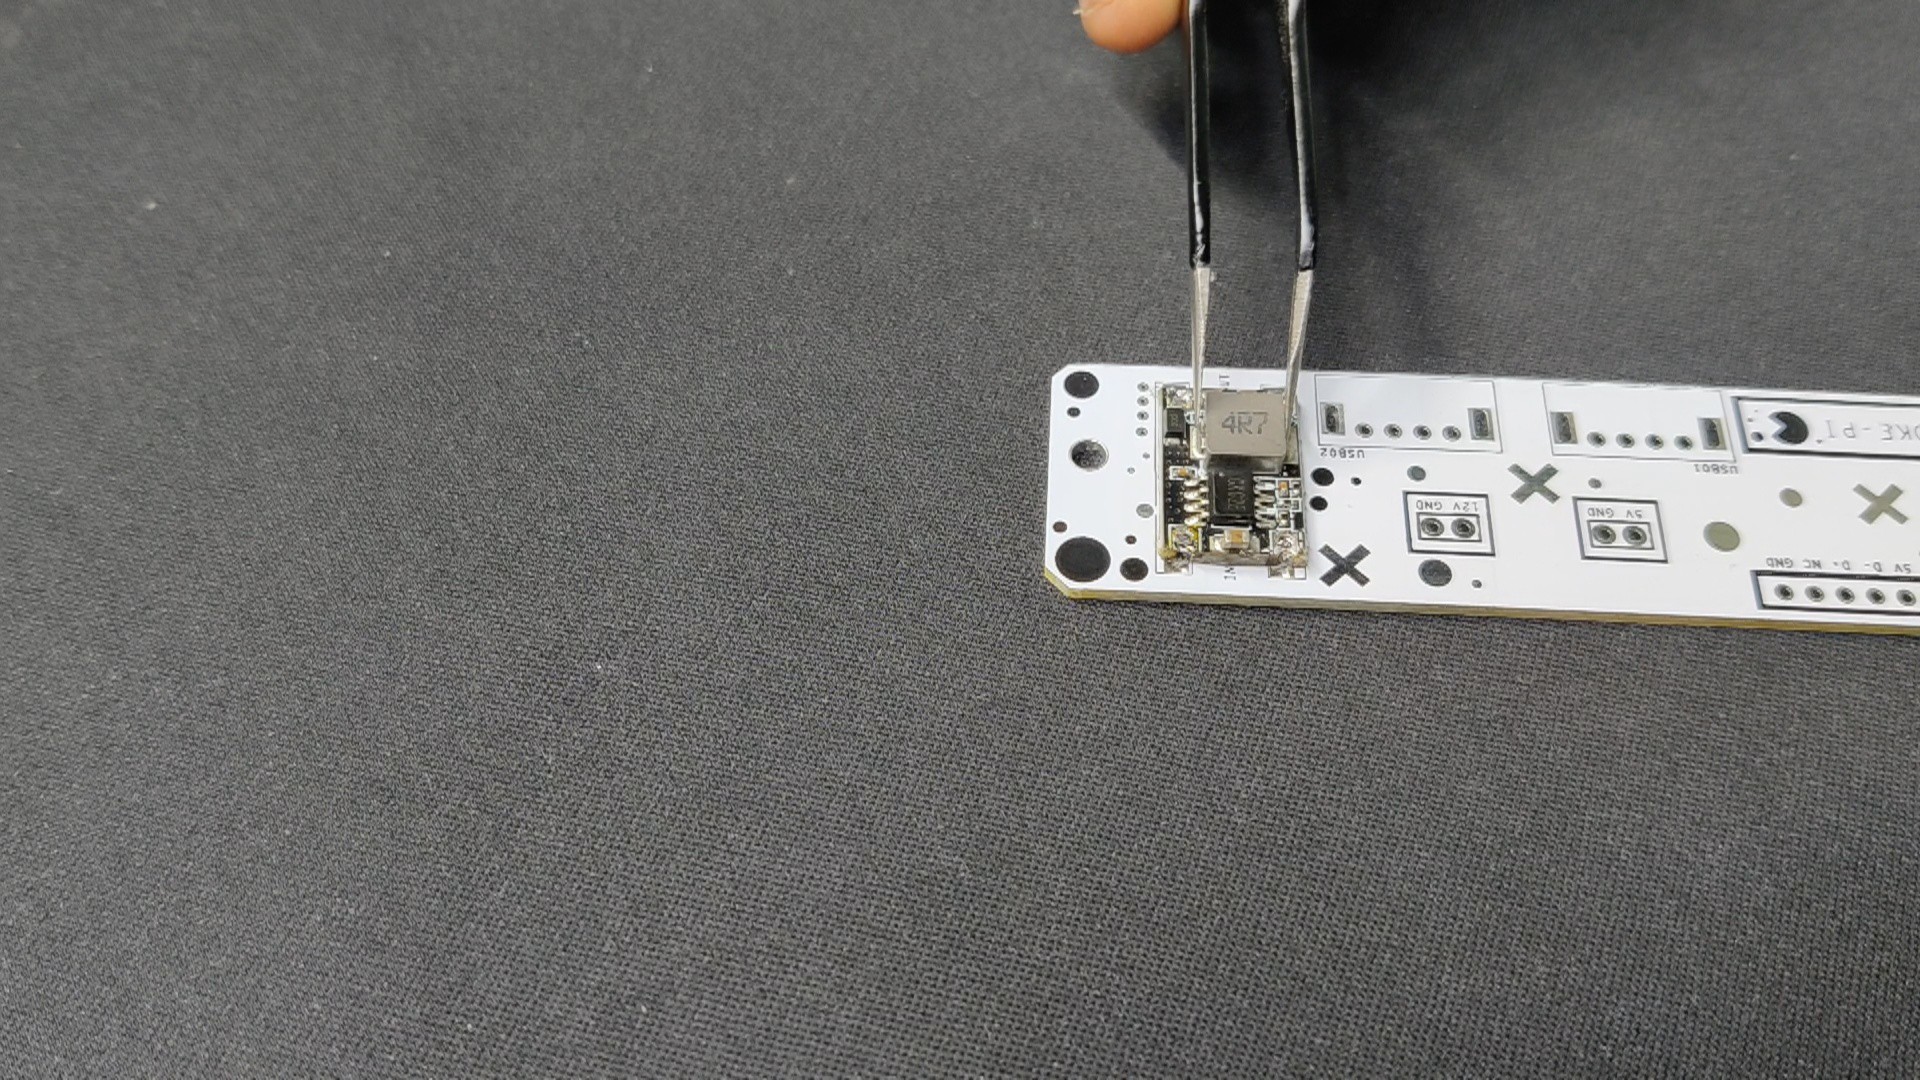
We began by creating the schematic for the USB breakout board PCB, which was divided into two sections: the USB breakout part and the power section.
A DC DC converter module, which has connections to CON2 on both its input and output sides, is part of the power section. Here, the setup will be powered by a 12V adapter, and the DC converter will provide a steady 5V/3A supply to the Pi Zero.
The USB D+ and D-ports were connected in parallel before being joined with the CON5 header pin, making up the USB breakout section's two USB ports.
We will be manually connecting the USB OTG of the Pi Zero to the CON5 header pin.
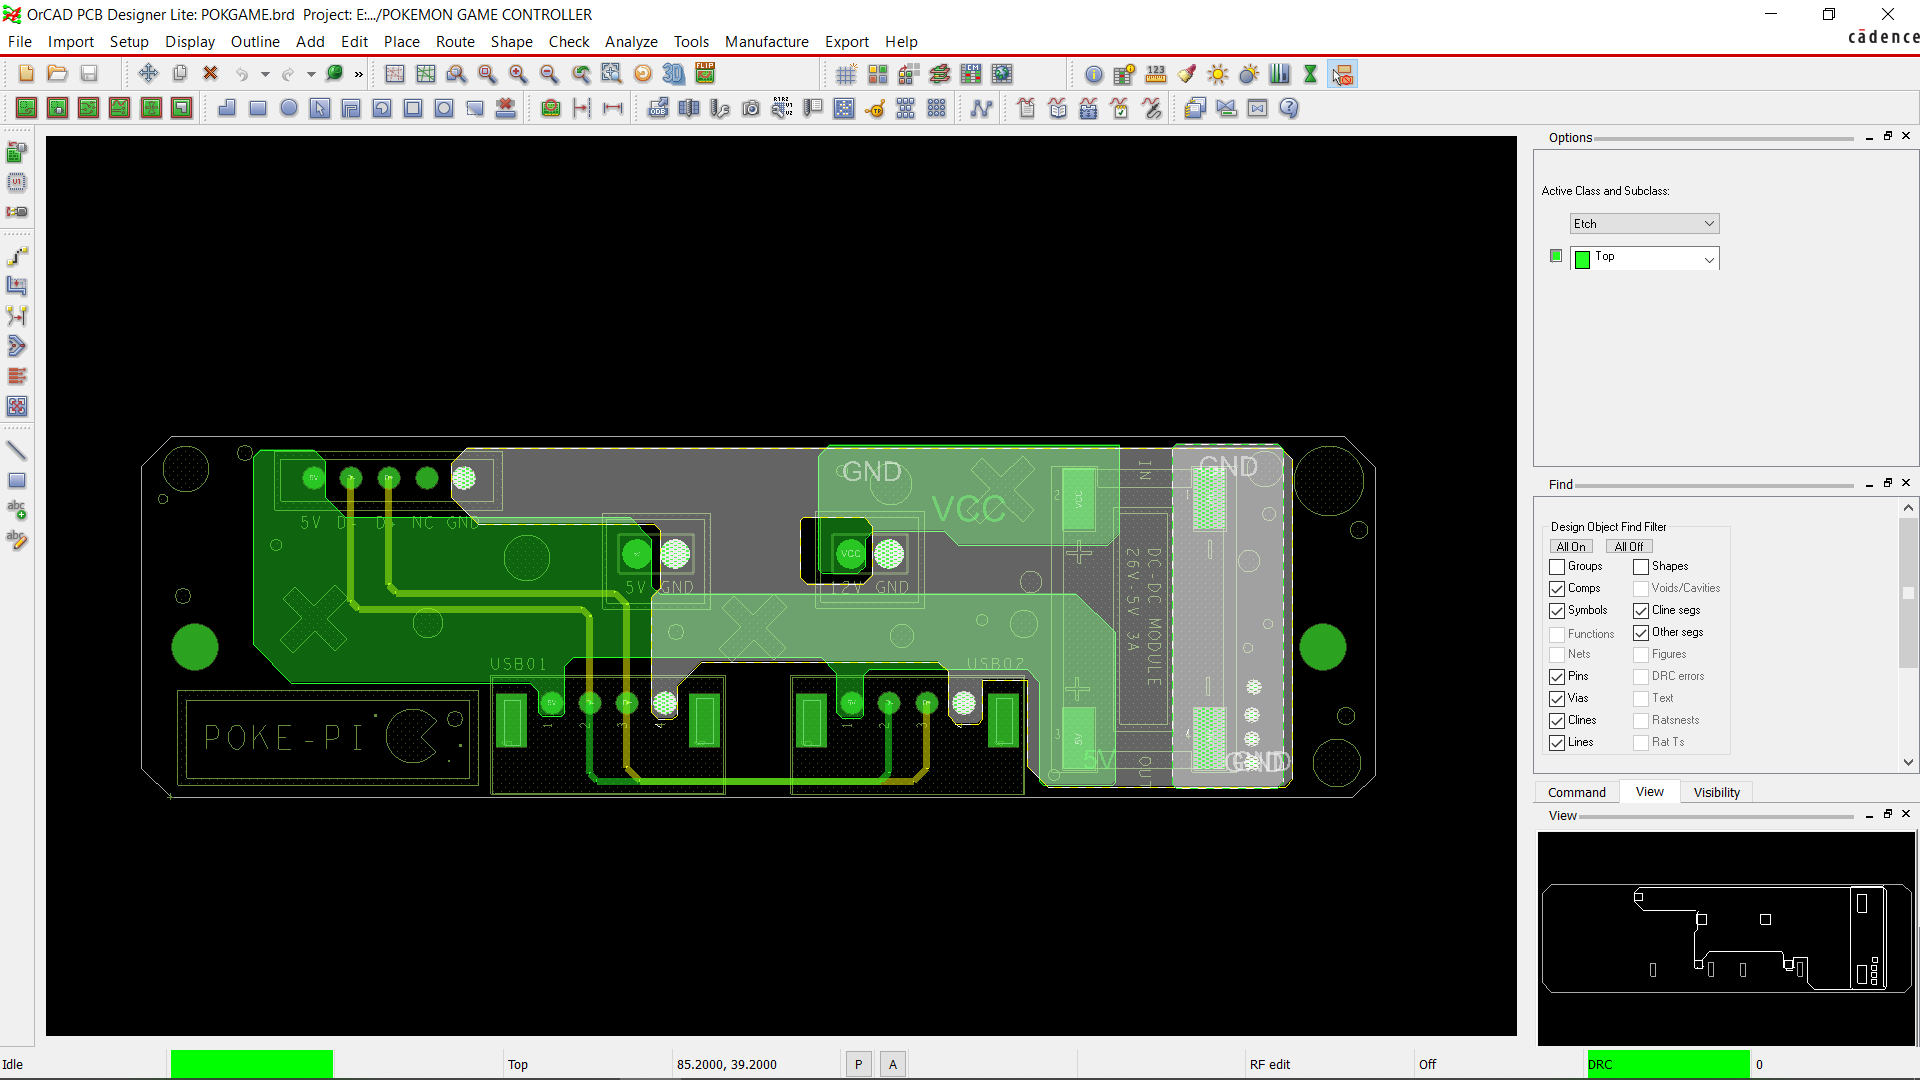
We modeled the PCB and positioned the USB ports correctly using the PCB layout from the design. We then completed the board file.
Raspberry Pi Zero W
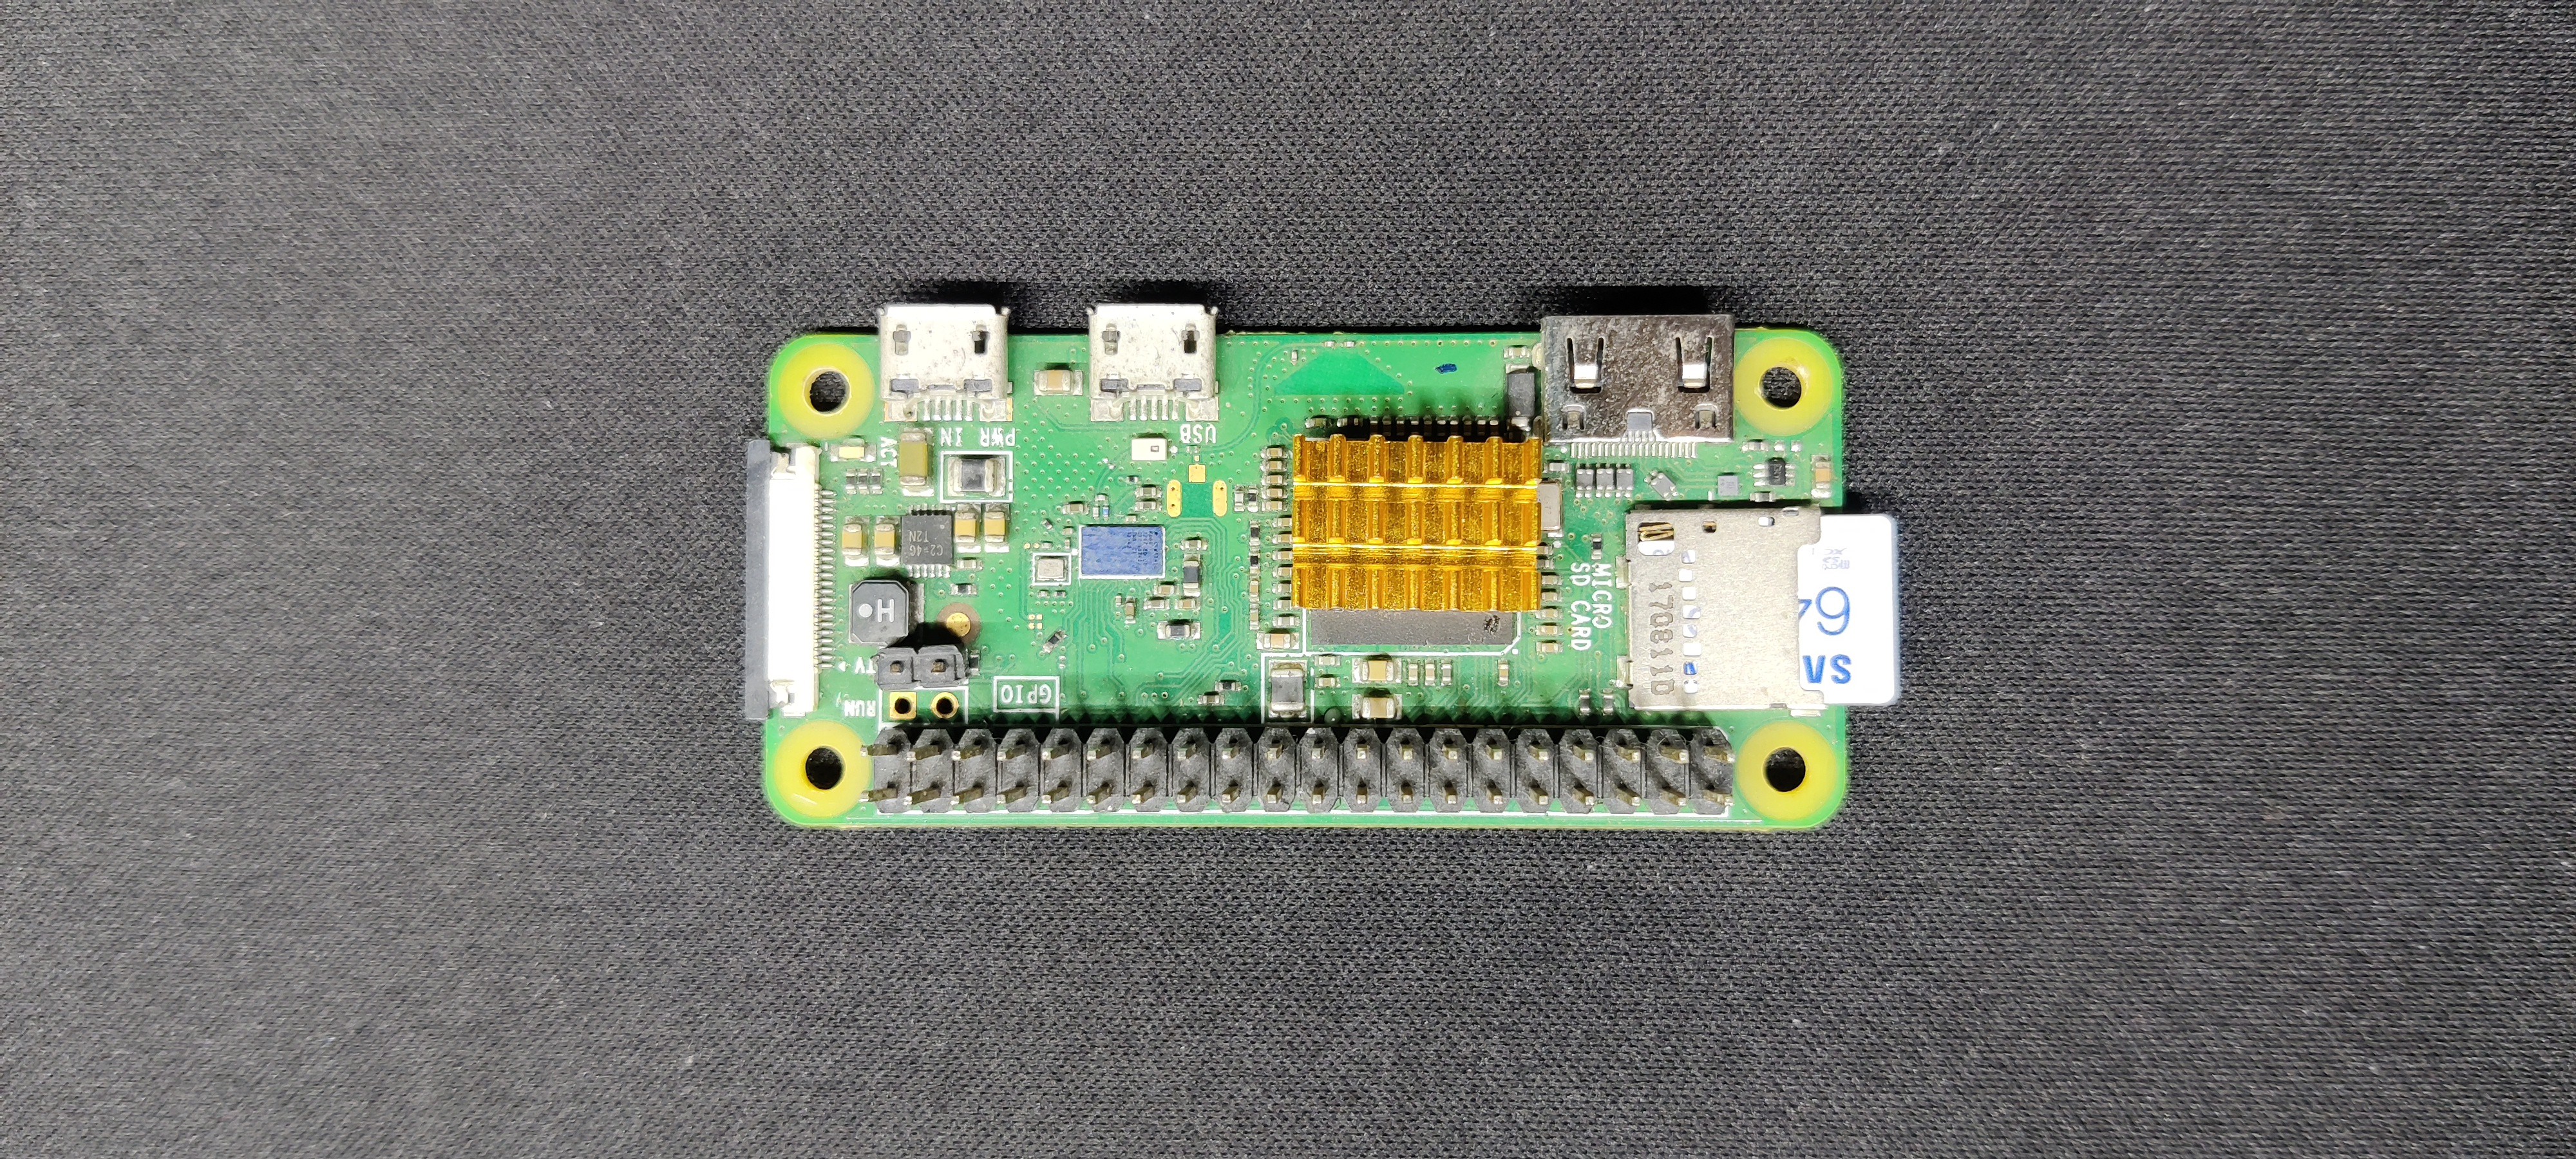
We are using the Raspberry Pi Zero W, a small and inexpensive single-board computer that expands the Pi Zero family with wireless LAN and Bluetooth capabilities, for this project.
Its a 1GHz single-core CPU with 512MB of RAM and Mini HDMI and a micro USB OTG port for connecting peripherals, which in our case will be a game controller.
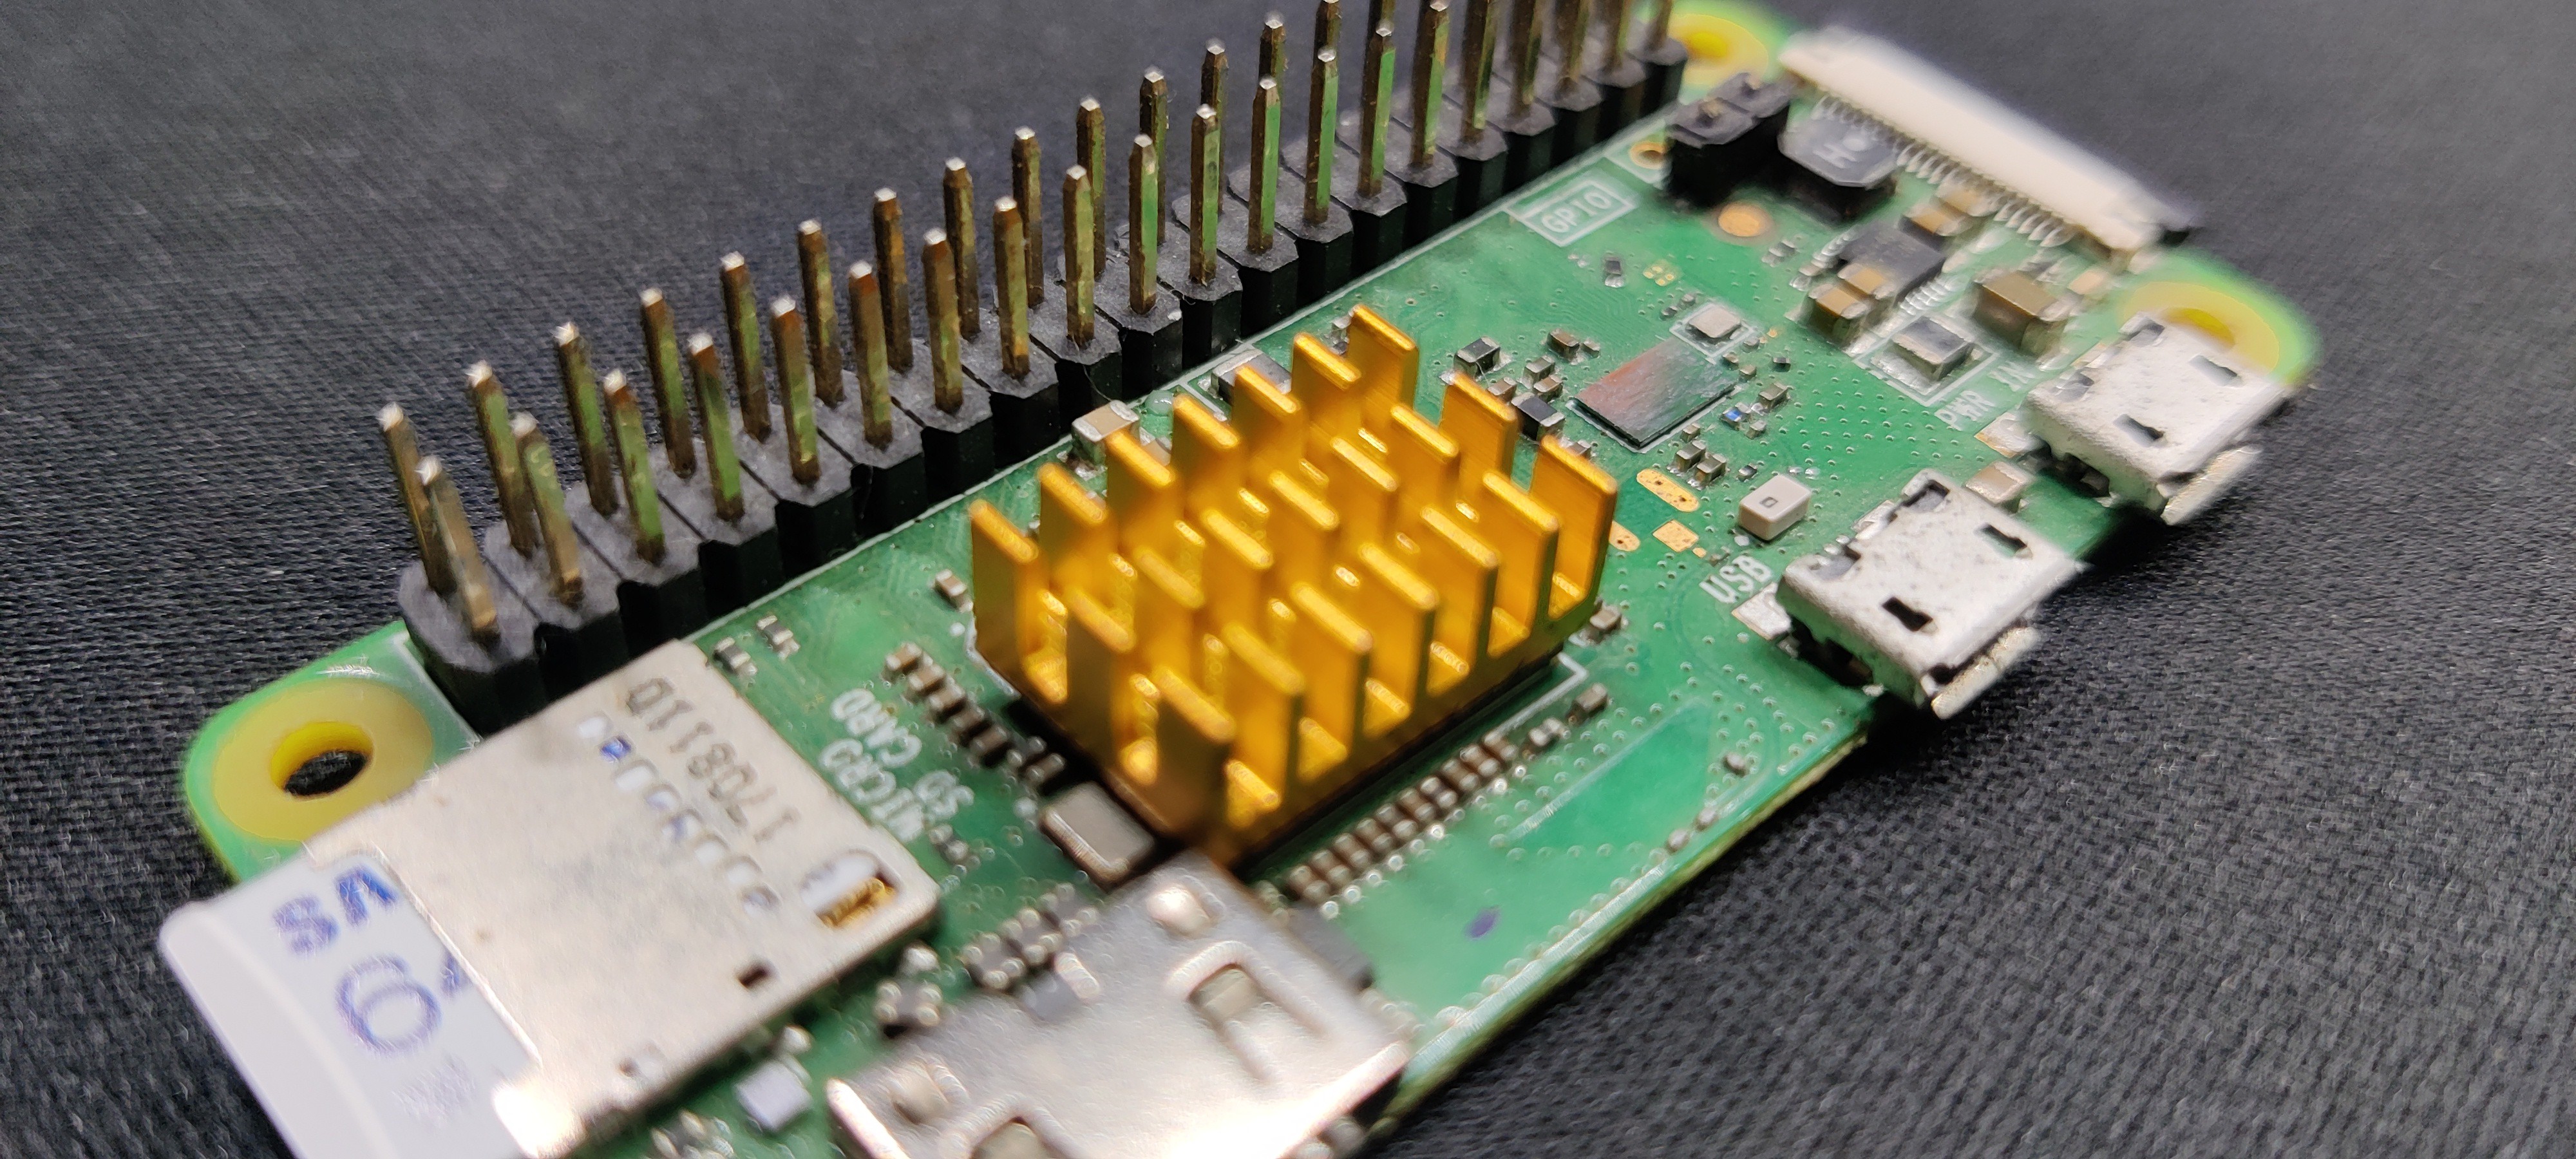
Additionally, to keep the processor cool, we added an aluminum heatsink on top of the processor.
We utilize an outdated USB Micro B breakout board, which has VCC, D-, D+, and GND points on it, to break out the USB OTG connection for an additional gaming controller device. This allows us to attach a USB PCB to the breakout board.
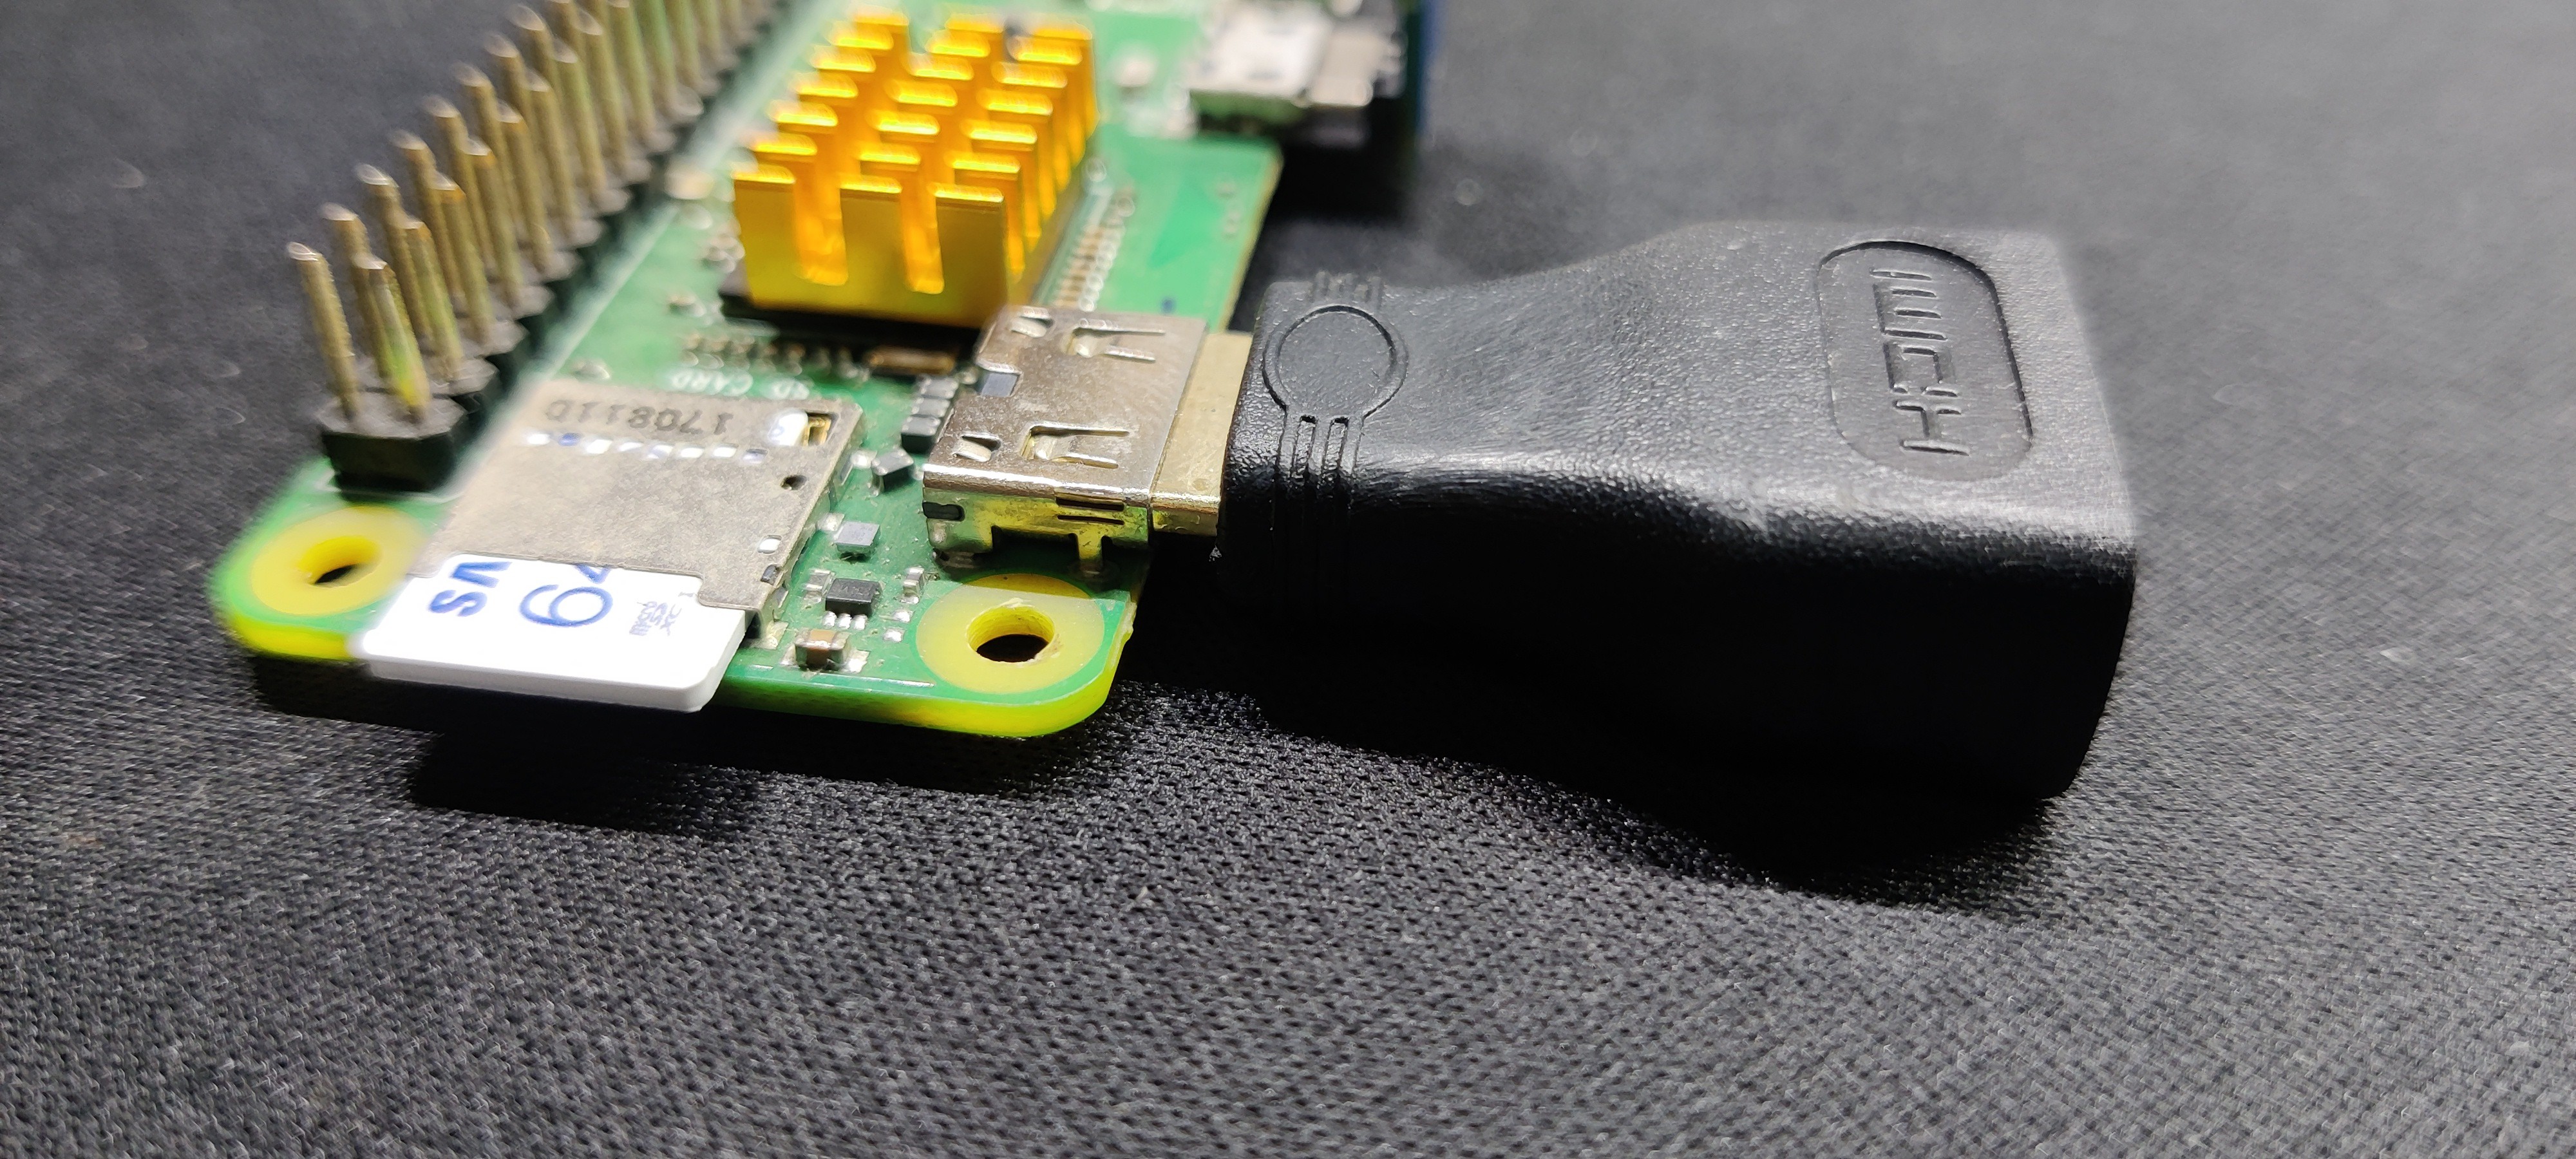
For the HDMI Port, we use a Mini HDMI Adaptor, which has a regular full-size HDMI Port on one side and a micro HDMI Port on the other.
Seeed Fusion PCB Service
After finalizing the PCB, we exported its Gerber data and sent them to Seeed Studio Fusion for samples.
An order was placed for White Soldermask PCB.
PCBs were received in a week, and their quality was super good considering the rate, which was also pretty low.
Seeed Fusion PCB Service offers one-stop prototyping for PCB manufacture and PCB assembly, and as a result, they produce superior-quality PCBs and fast turnkey PCBAs within 7 working days.
Seeed Studio Fusion PCB Assembly Service takes care of the entire fabrication process, from Seeed Studio Fusion Agile manufacturing and hardware customization to parts sourcing, assembly, and testing services, so you can be sure that they are getting a quality product.
After gauging market interest and verifying a working prototype, Seeed Propagate Service can help you bring the product to market with professional guidance and a strong network of connections.
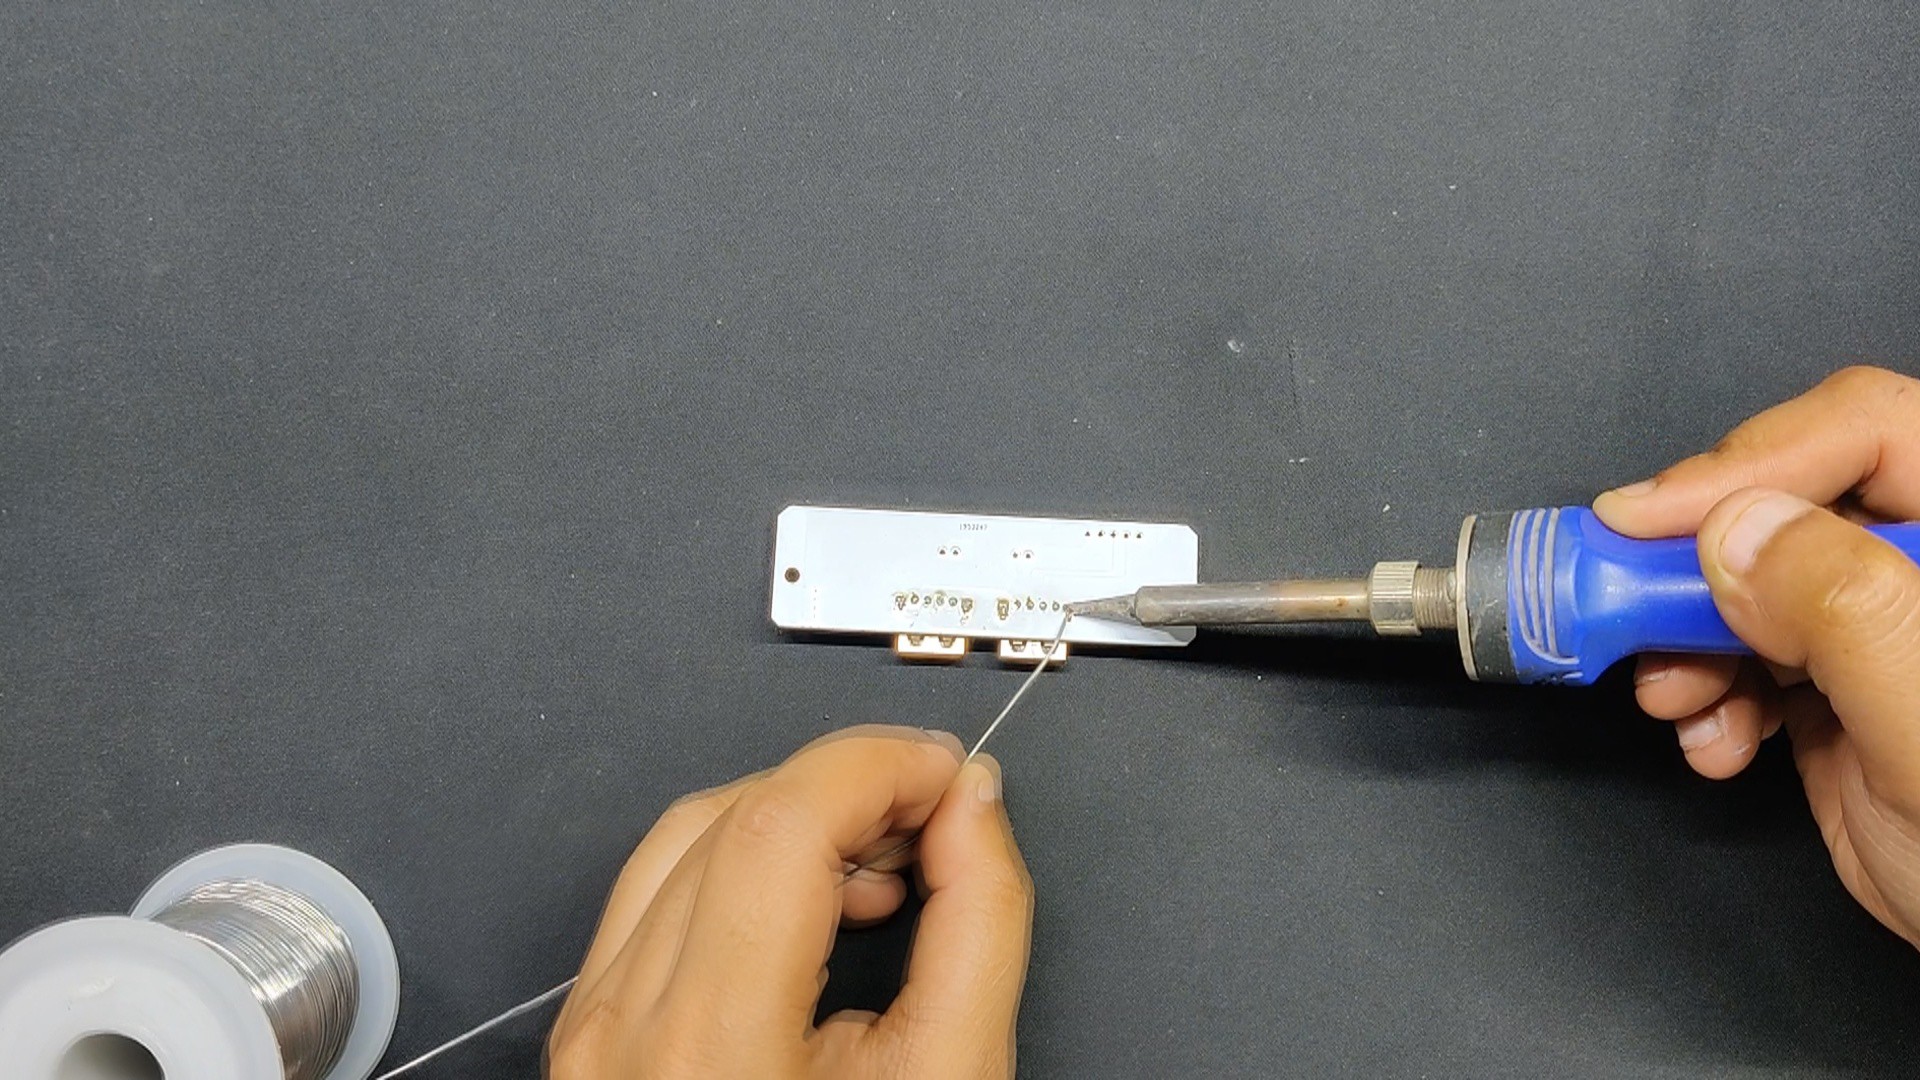
Next is the PCB assembly process.

 Benchoff
 Solderking
I am also concerned about how the problem of heating during long-term operation is solved?"