Addressing the Leakage Problem
In this log, we’ll explore how we managed the leakage issue in our 3D-printed valve (and the pump) to prevent fluid from spilling everywhere.
Understanding the Problem
Due to the inherent porosity of 3D-printed parts, especially under pressure, fluid inevitably seeped through the layer lines of the valve. This made it impossible to maintain a completely sealed system.
Instead of investing significant time and effort into perfecting a non-leaking 3D-printed valve, we opted for a more practical approach.
Our Solution
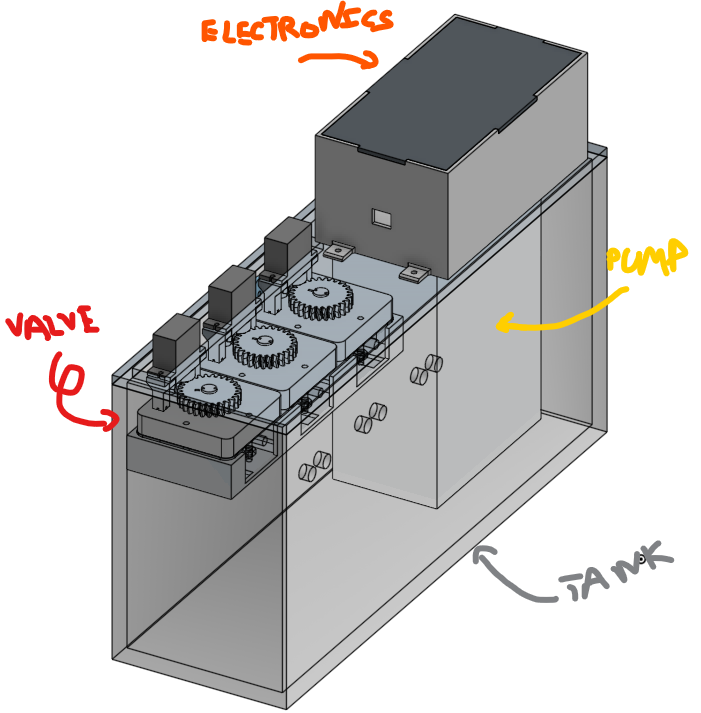
We designed an acrylic hydraulic tank to enclose the valve and pump. This way, any leaks would remain contained within the tank, preventing fluid from spilling externally.
- CAD :

This tank would:
- Contain both the valve and pump (the pump also leaked).
- Ensure that leakage wouldn’t affect the overall system operation.
Fabrication Process
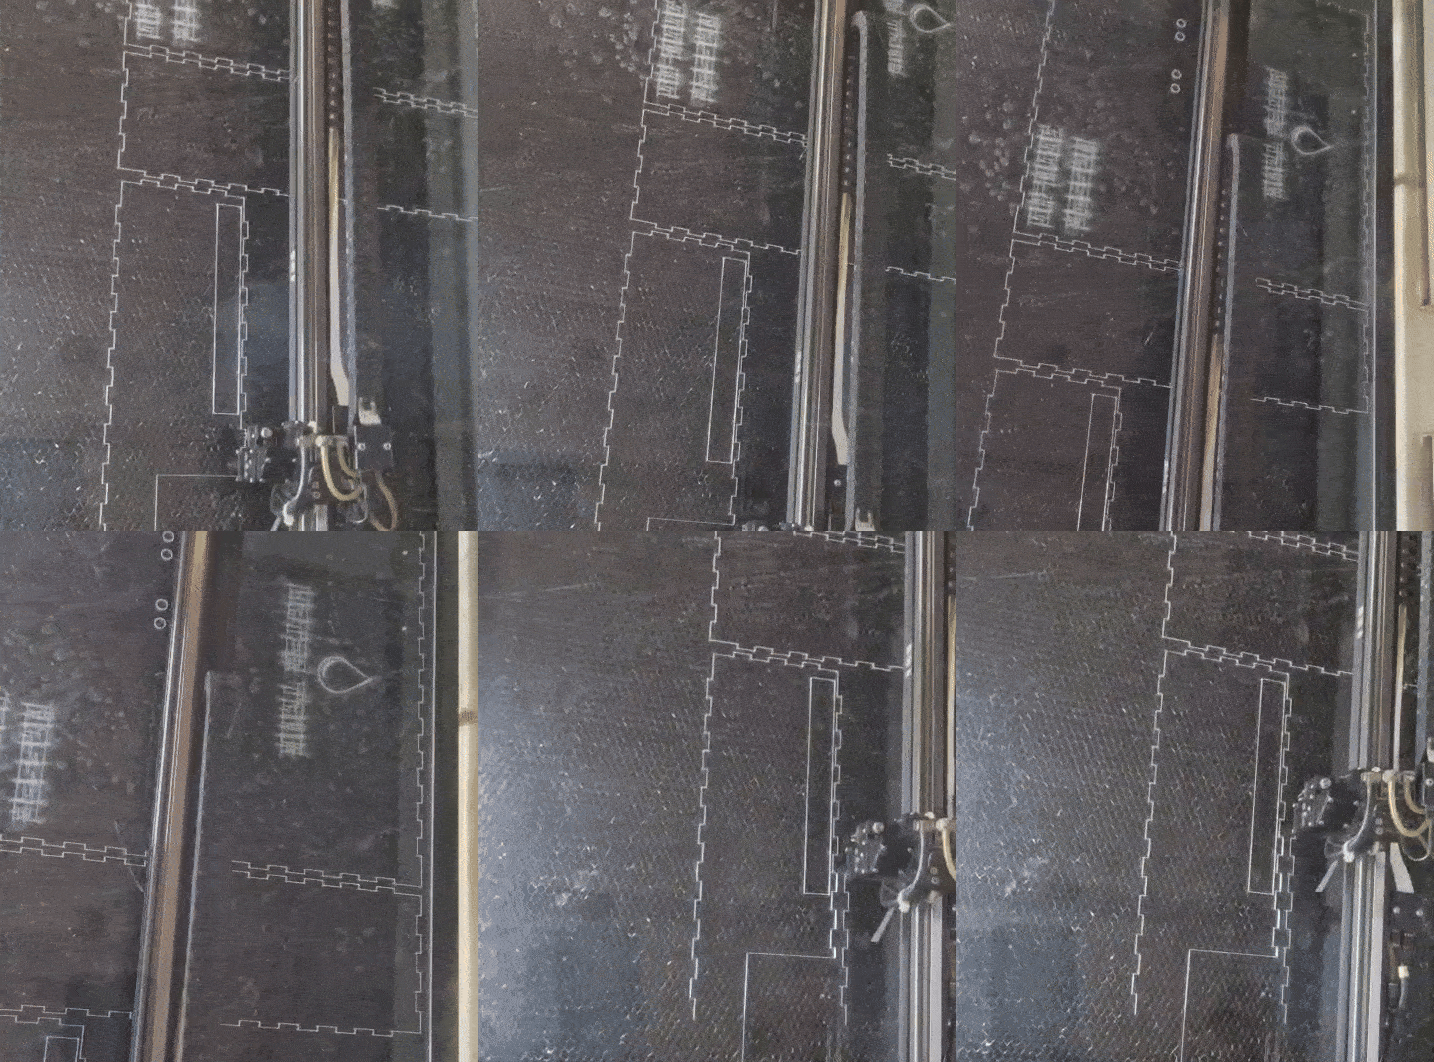
- Laser Cutting
- We laser-cut the acrylic sheets for the hydraulic tank.

- Assembly
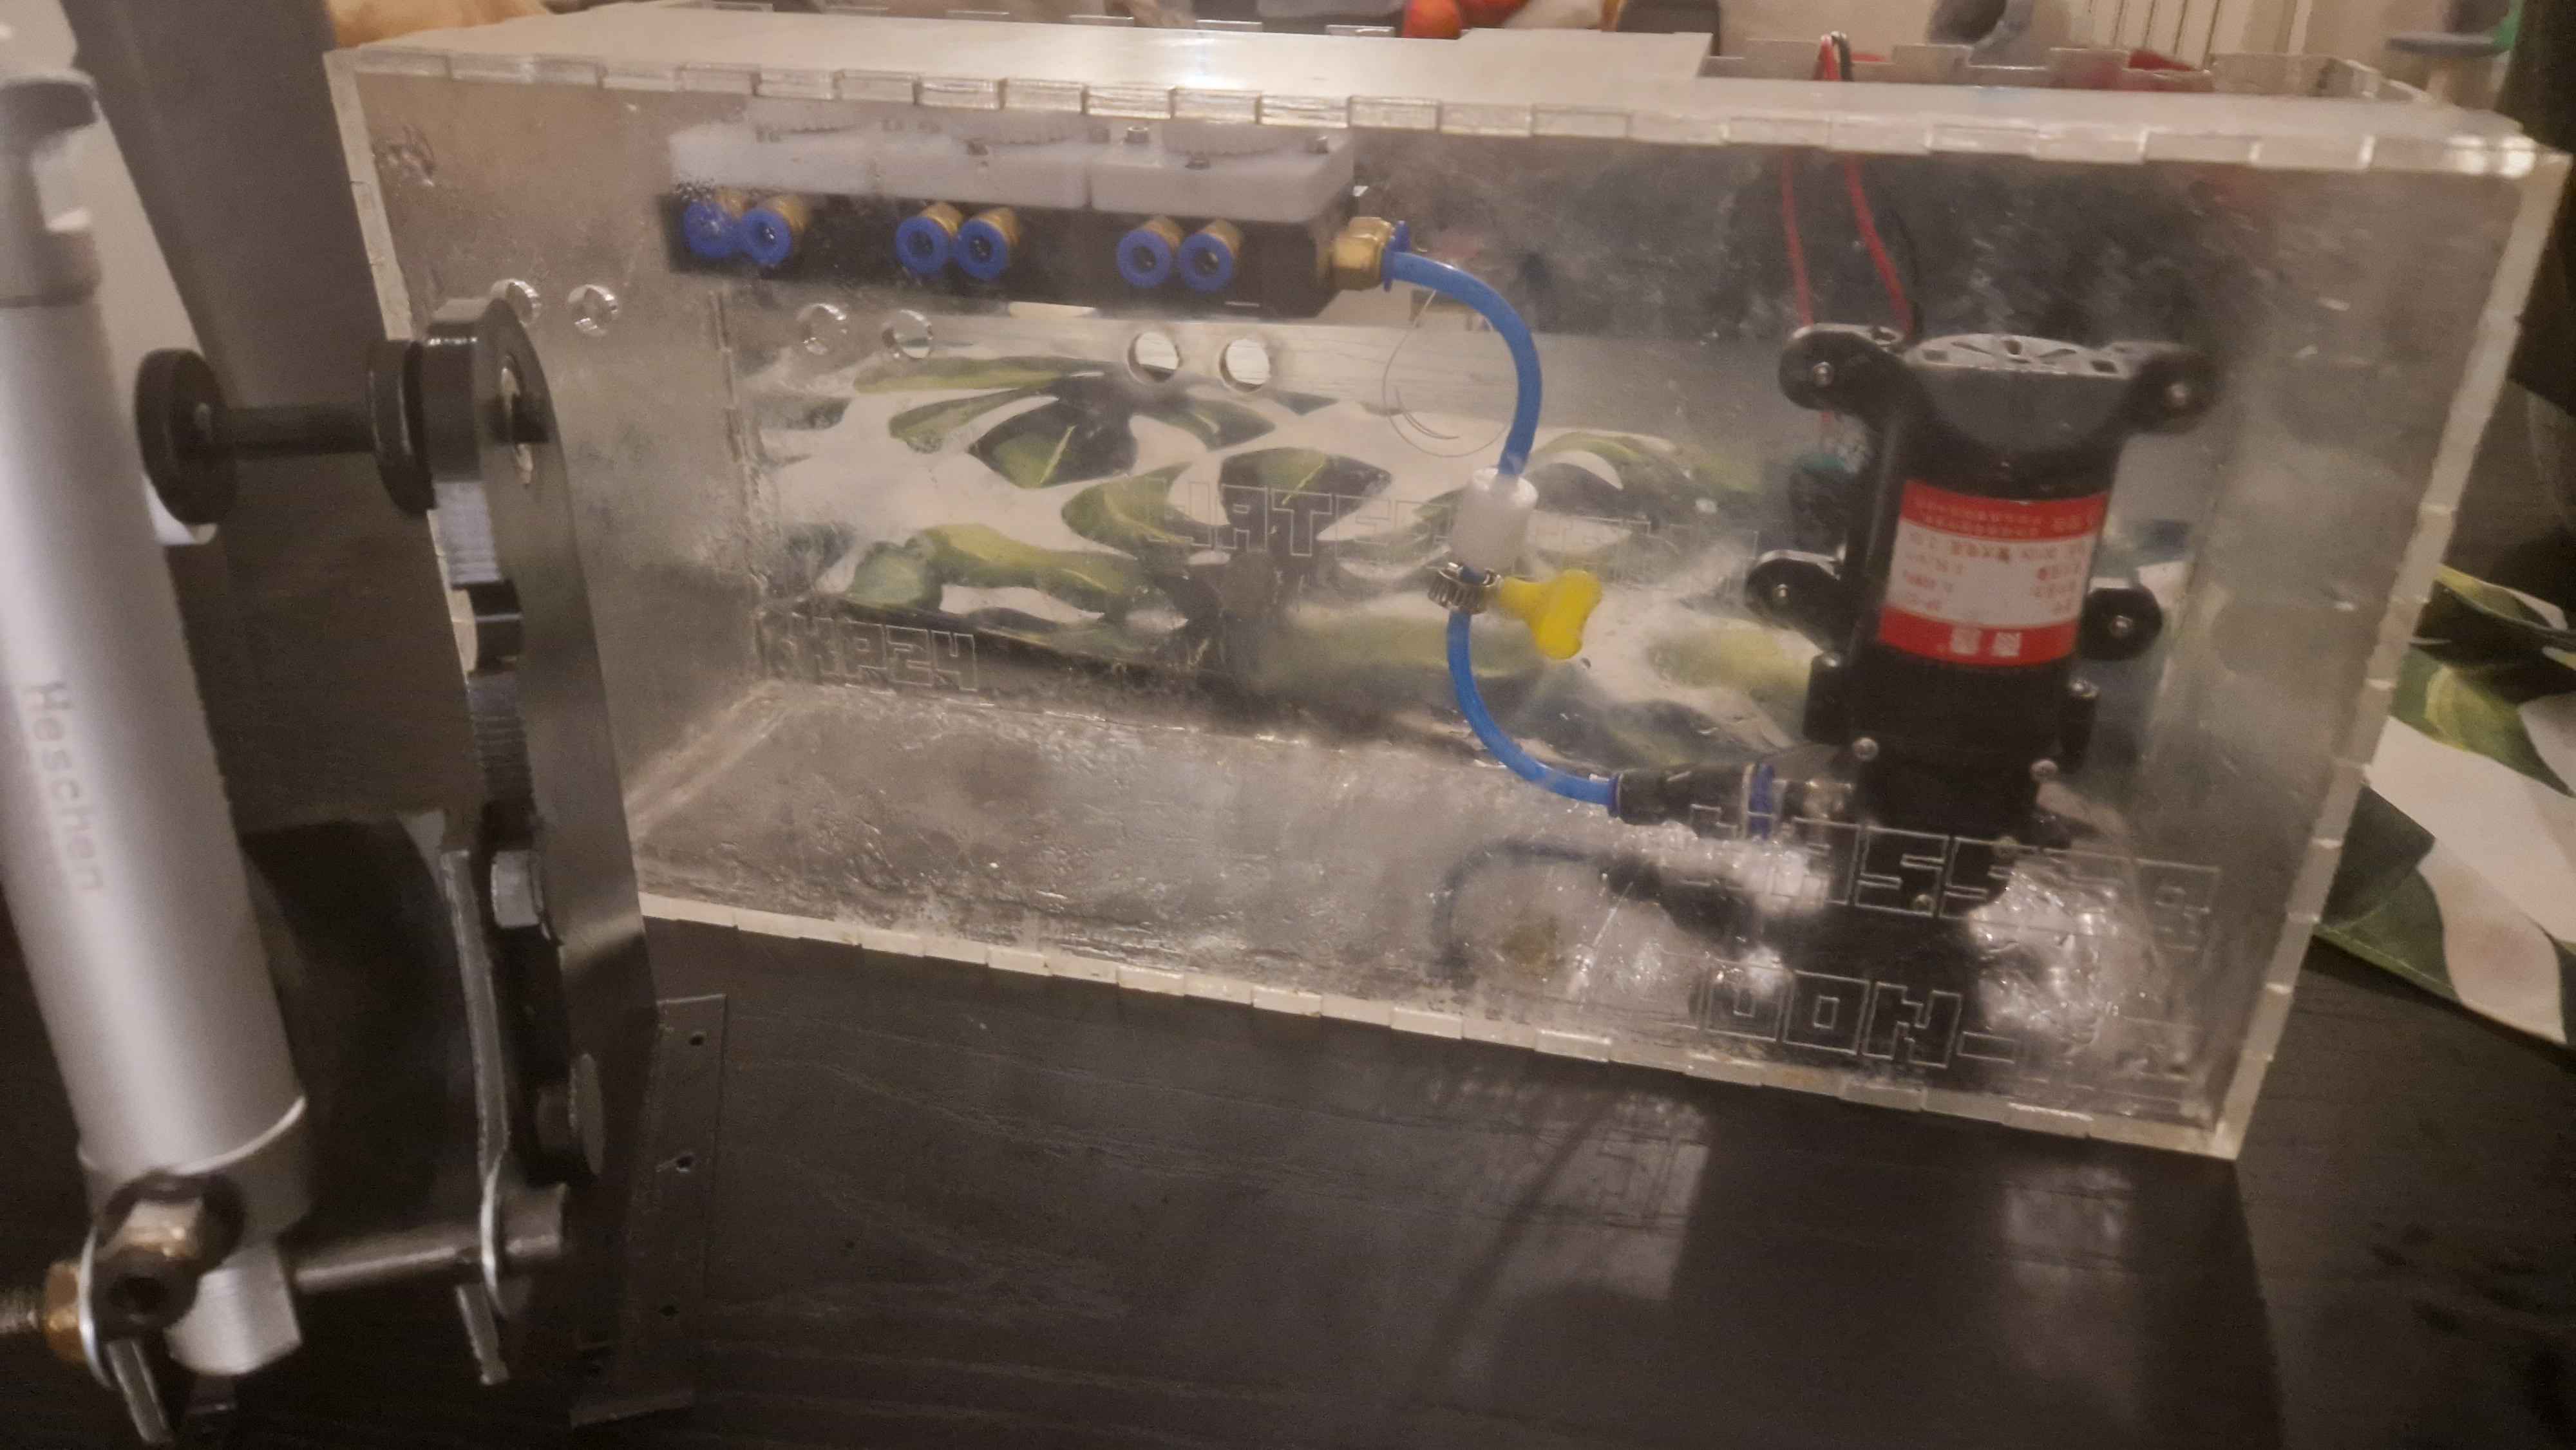
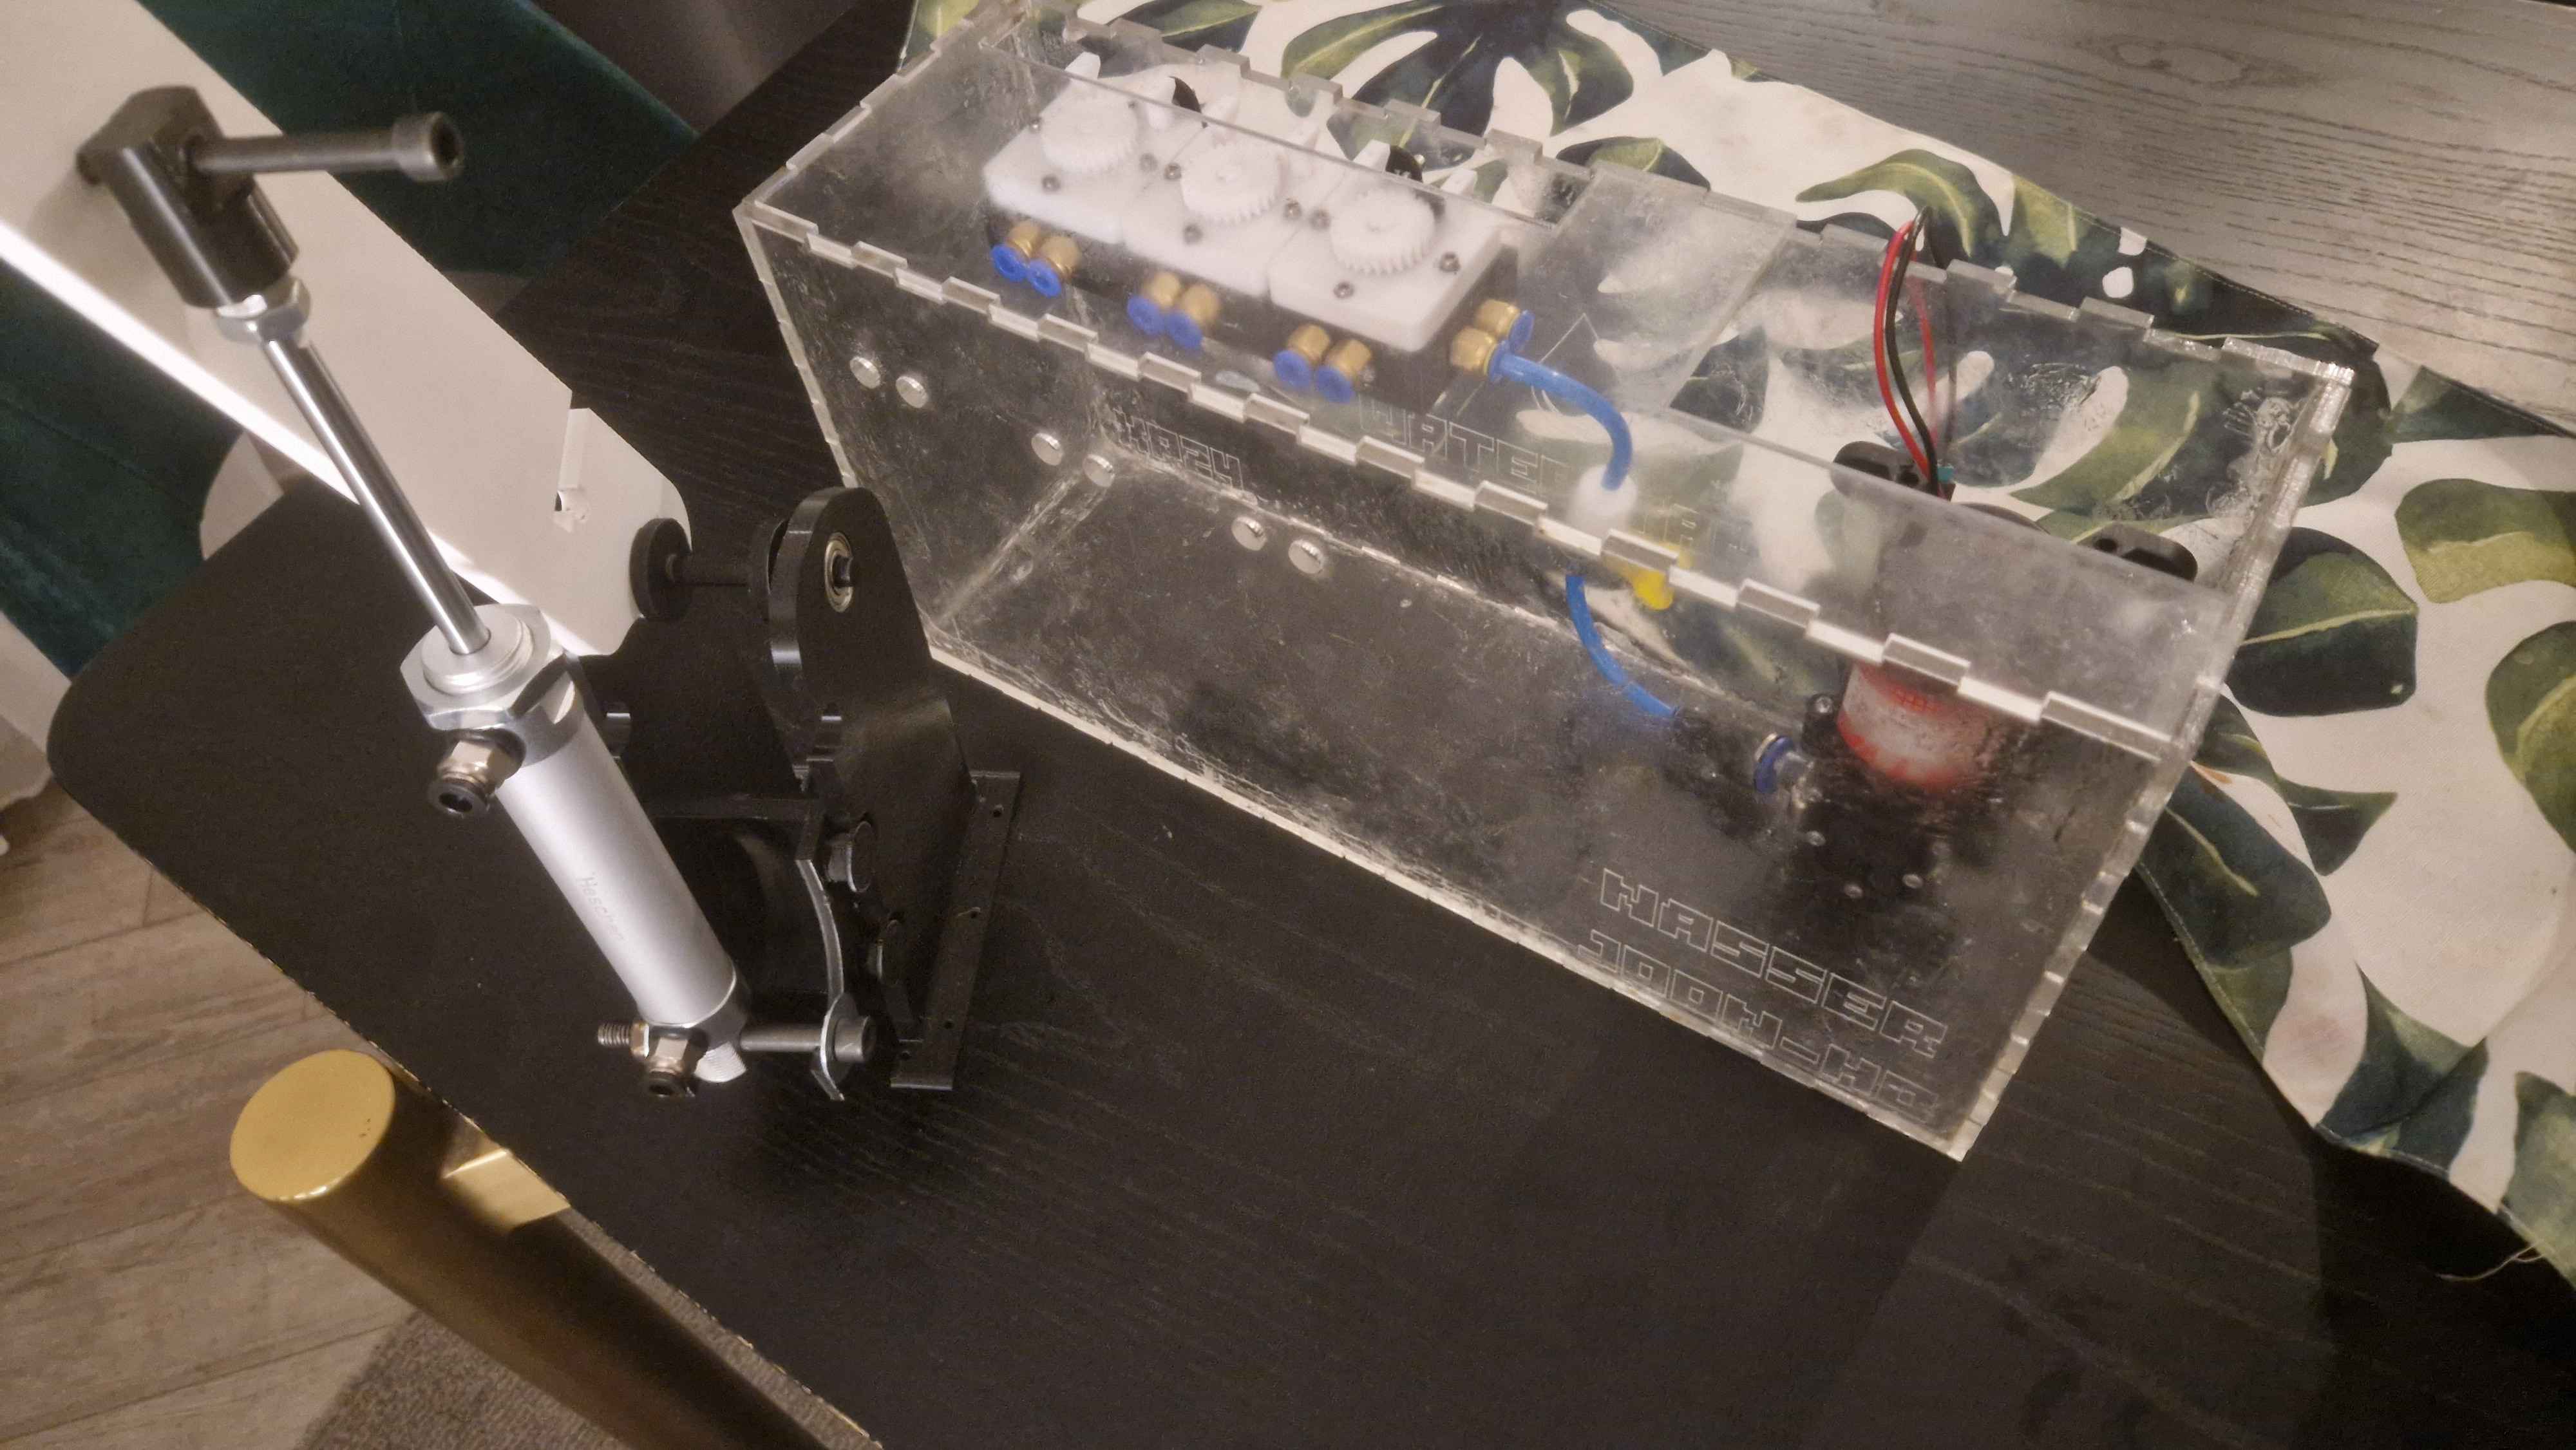
- The tank was assembled and glued together using epoxy glue.
- Gluing was a challenging and messy process, and achieving a watertight seal required significant effort.
- Assembled Tank:


Lessons Learned
After completing the assembly, we realized that using laser-cut acrylic sheets may not have been the best approach.
What We’d Do Differently:
- Instead of laser-cutting and assembling the tank, we would recommend finding a pre-made plastic container with approximate dimensions.
- A ready-made container would have been more reliable, easier to seal, and much less time-consuming.
 Nasser
Discussions
Become a Hackaday.io Member
Create an account to leave a comment. Already have an account? Log In.