-
Finally Finished!
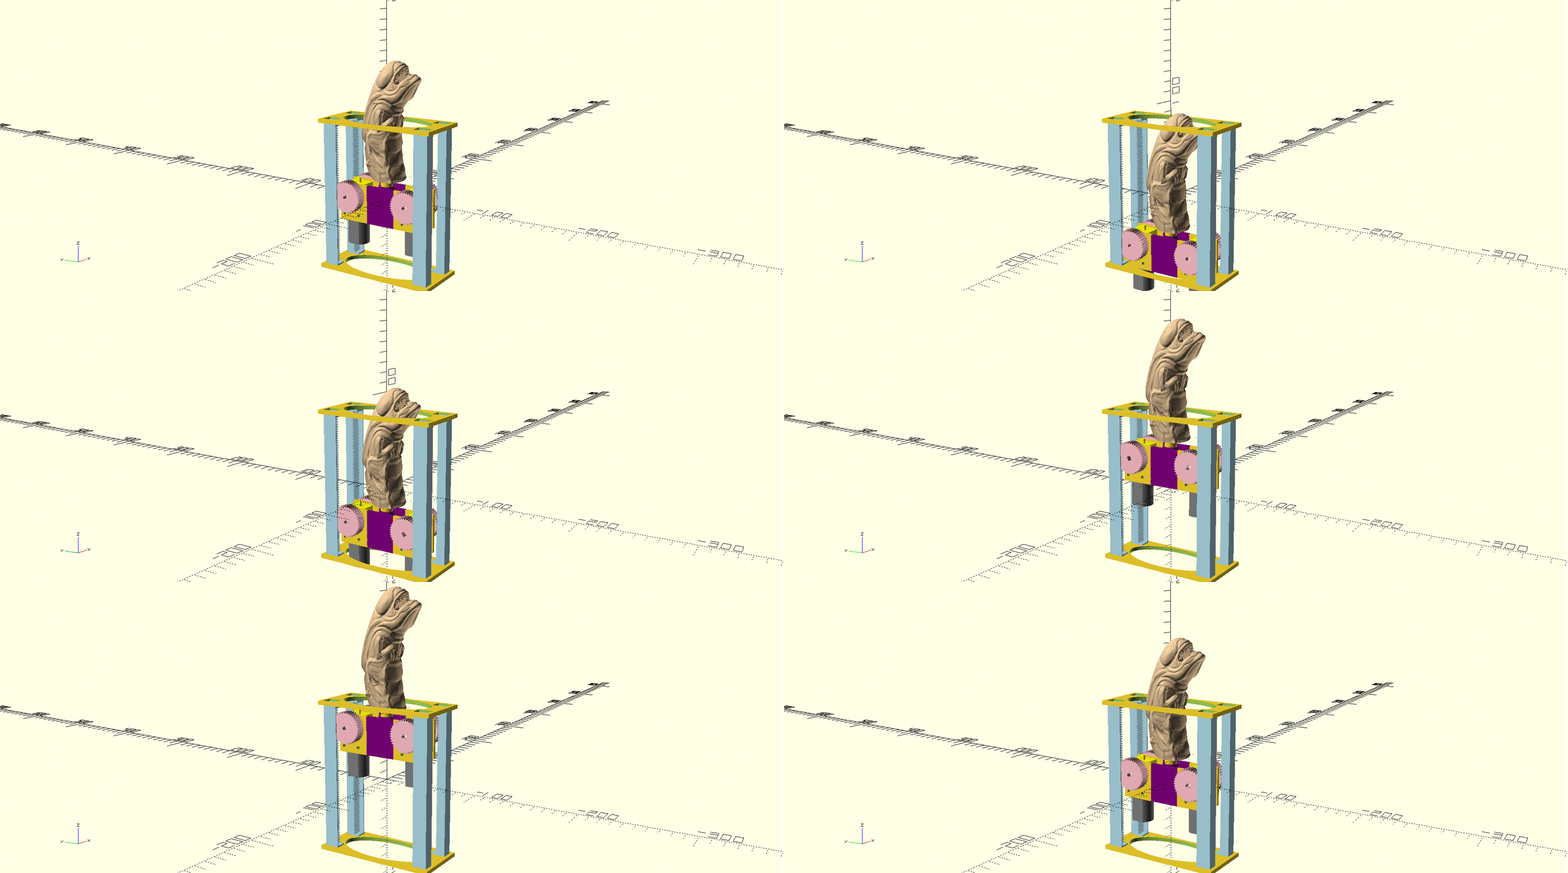
03/07/2017 at 04:12 • 0 commentsAnd with everything assembled the project is finished! There was a small amount of coding involved, but it was pretty simply and mostly self explanatory. The Arduino sketch can be found here on my GitHub. It's really just a combination of the Arduino ToneMelody example, Adafruit DS1307 example, and my custom L9110S llibrary that I wrote for OpenADR. And without further ado, the final video!
-
Putting it All Together
03/07/2017 at 03:17 • 0 commentsFacehugger
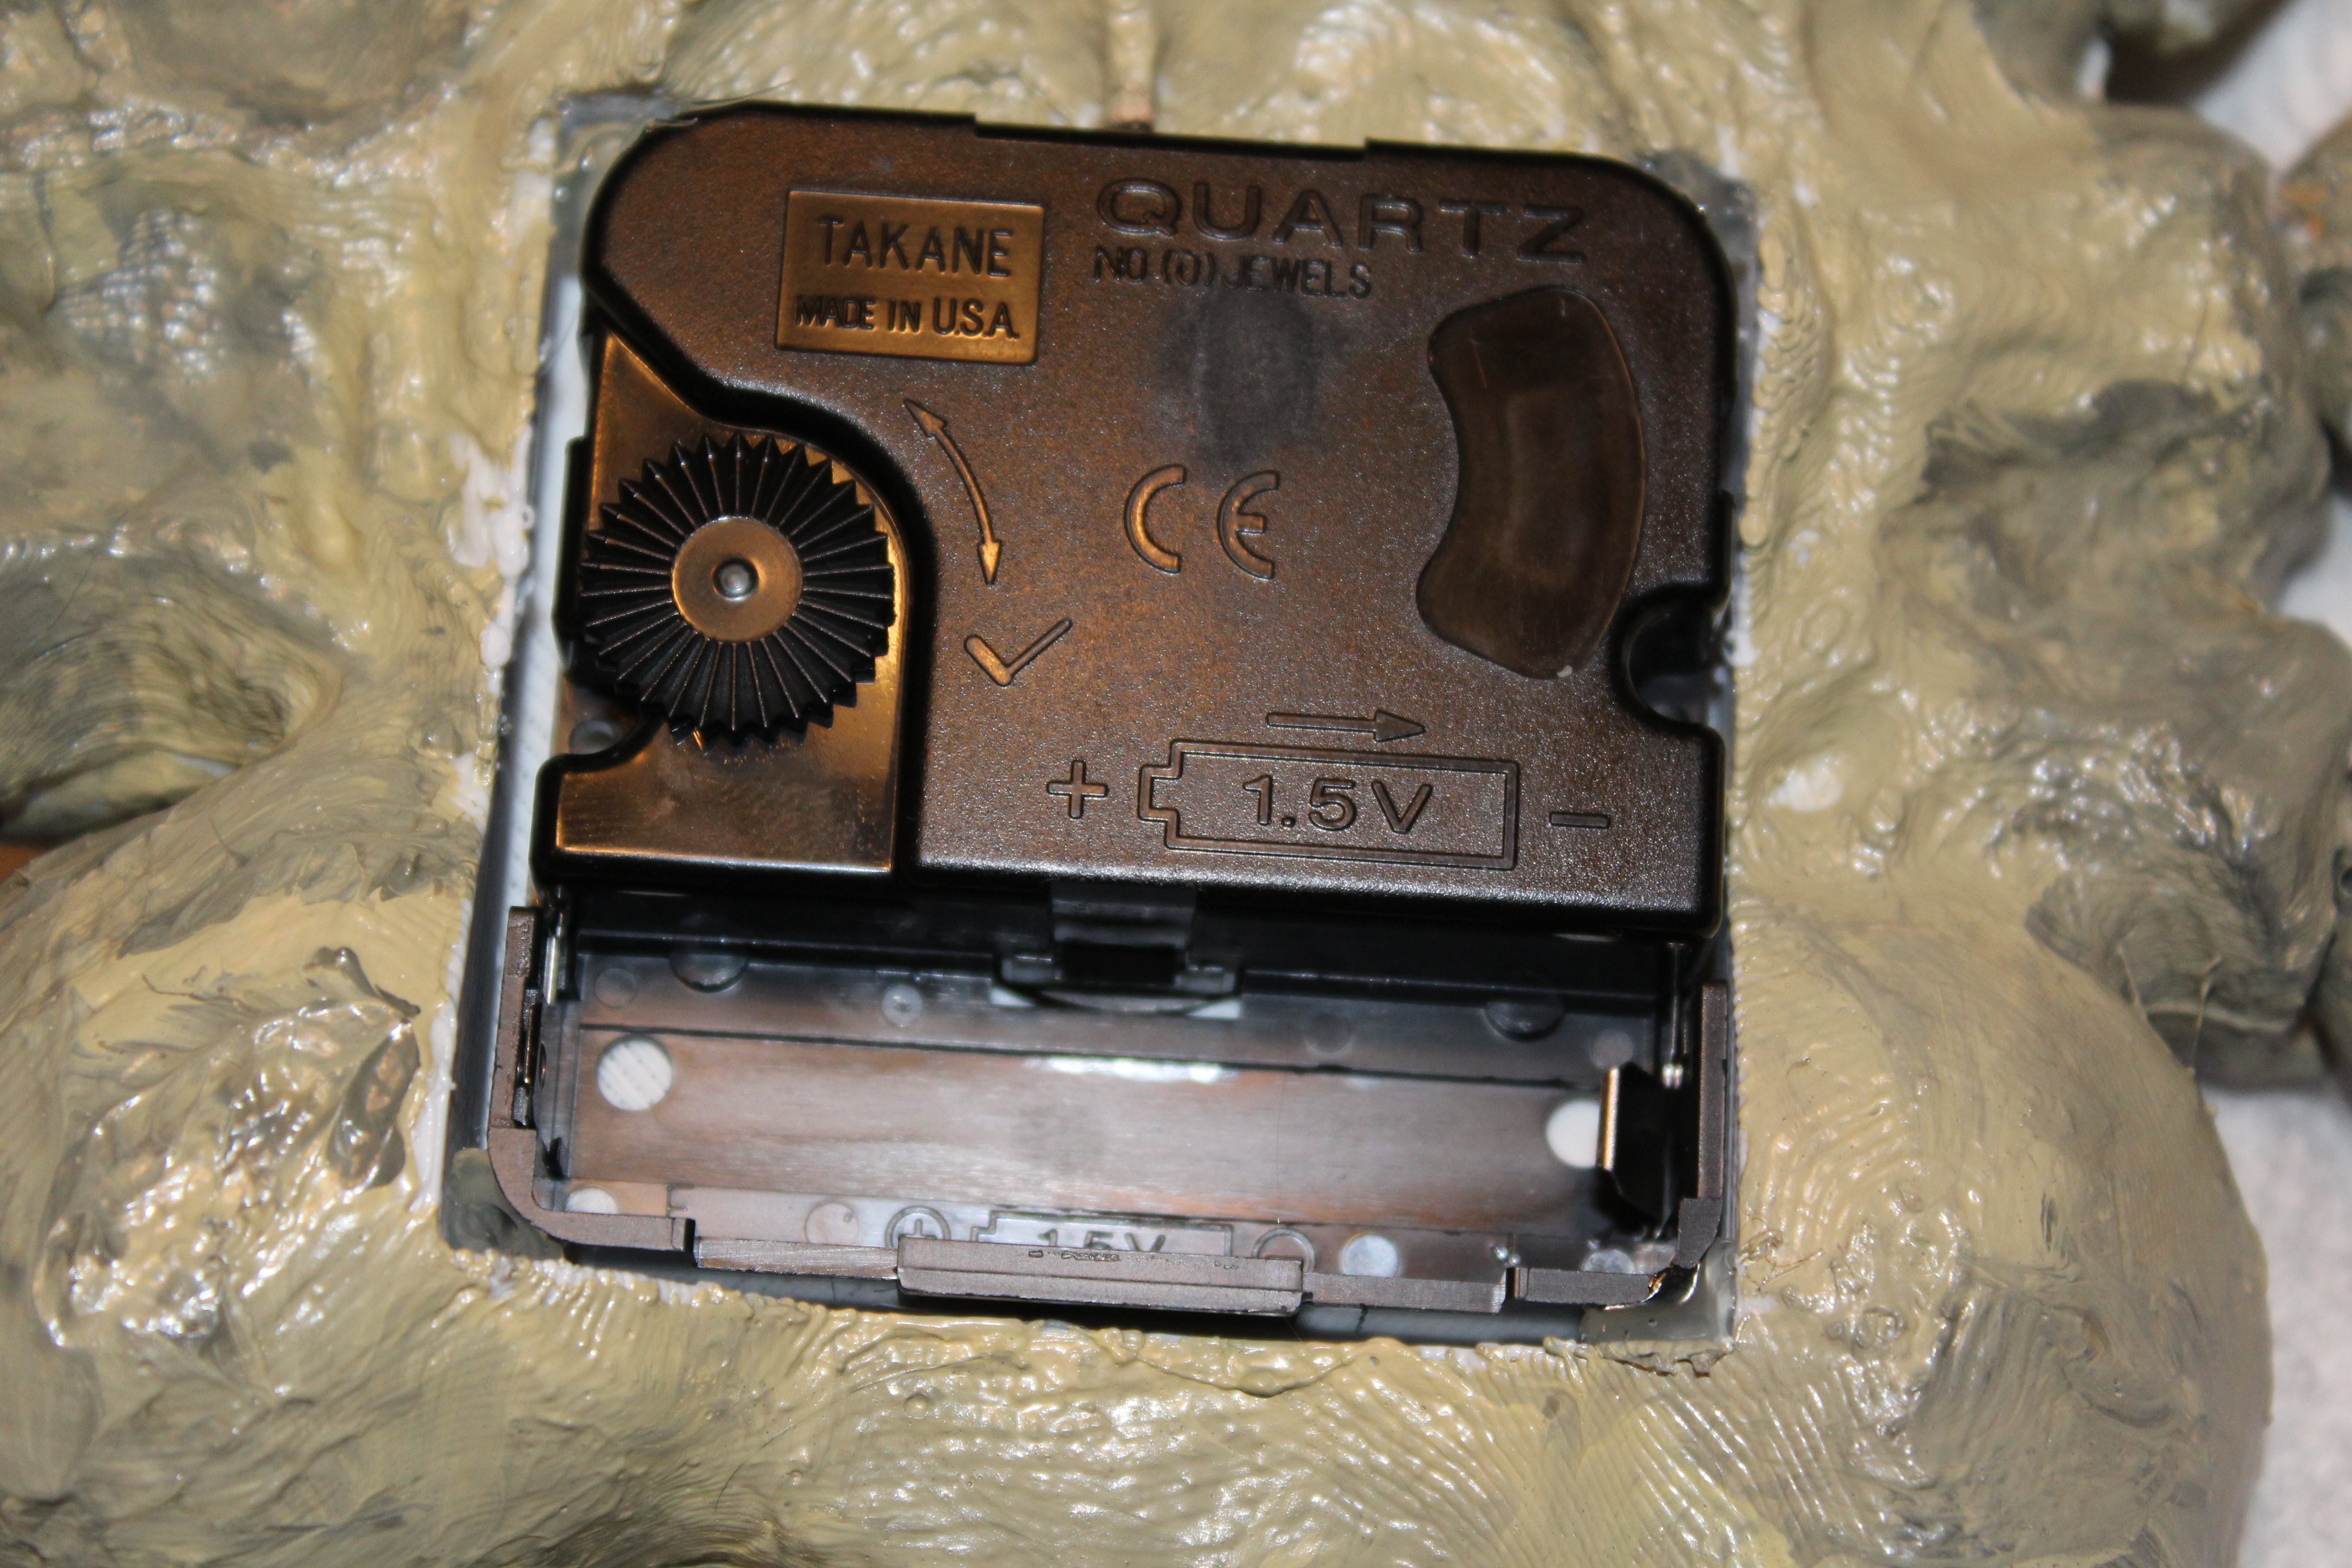
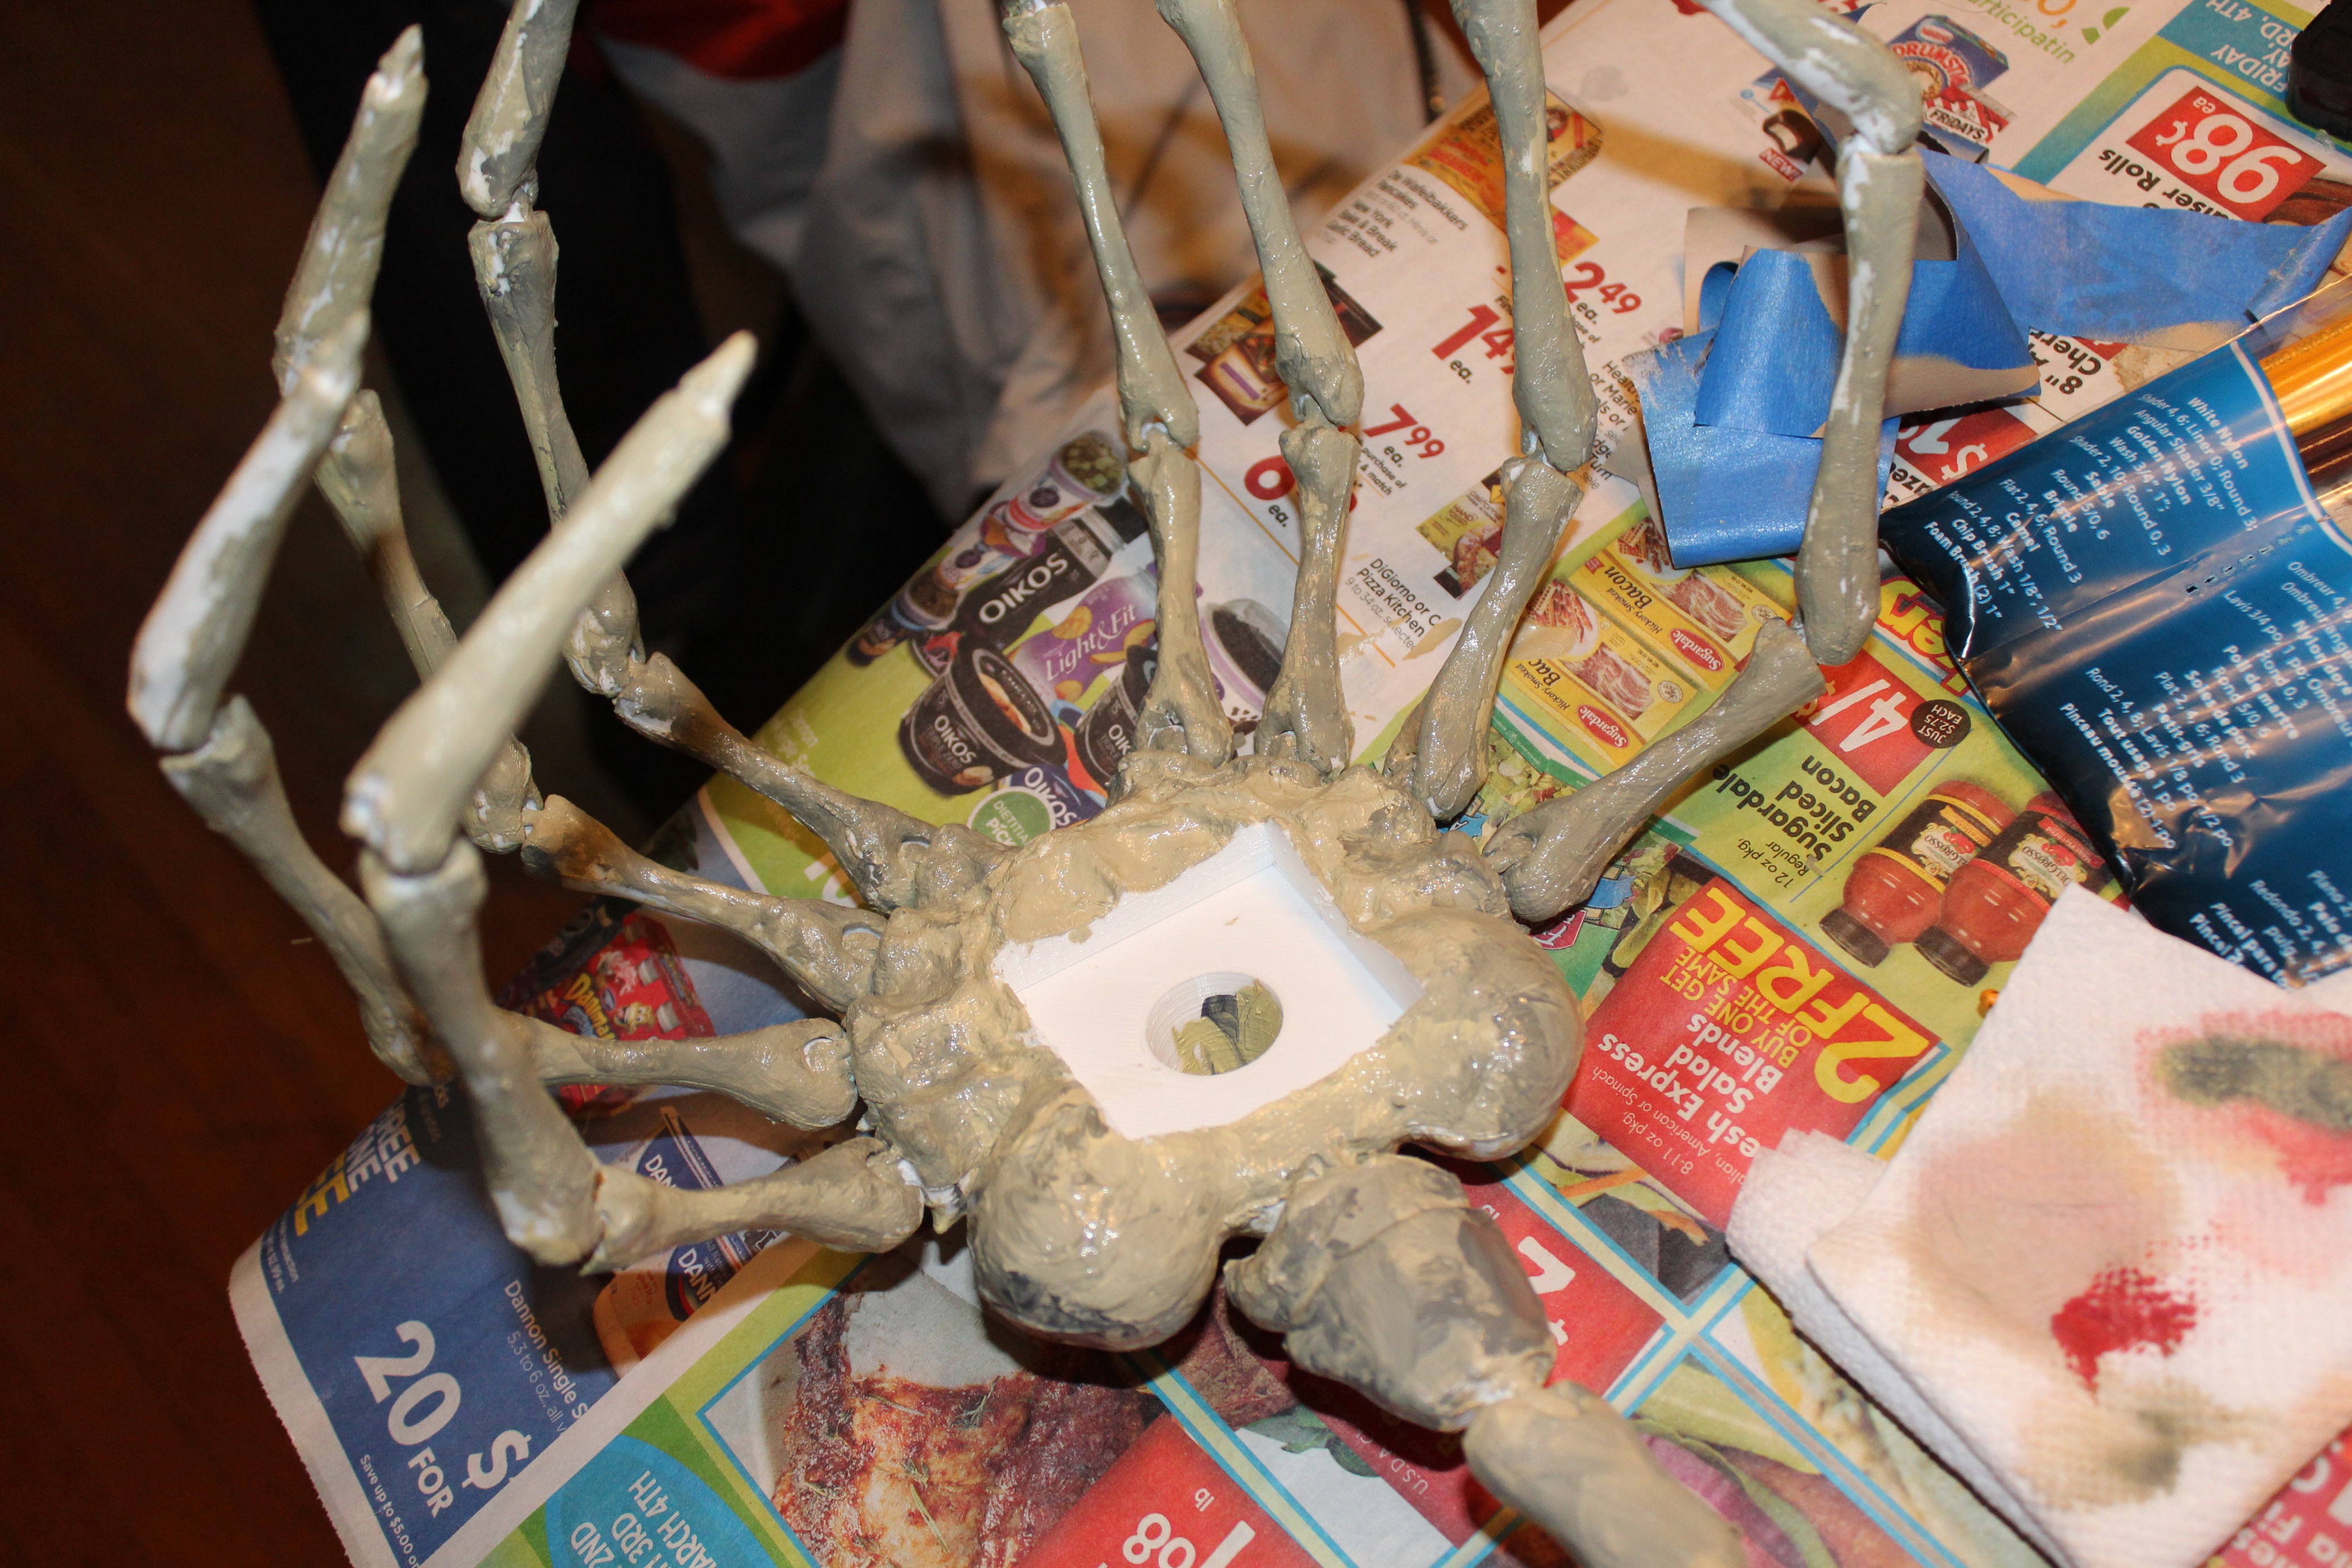
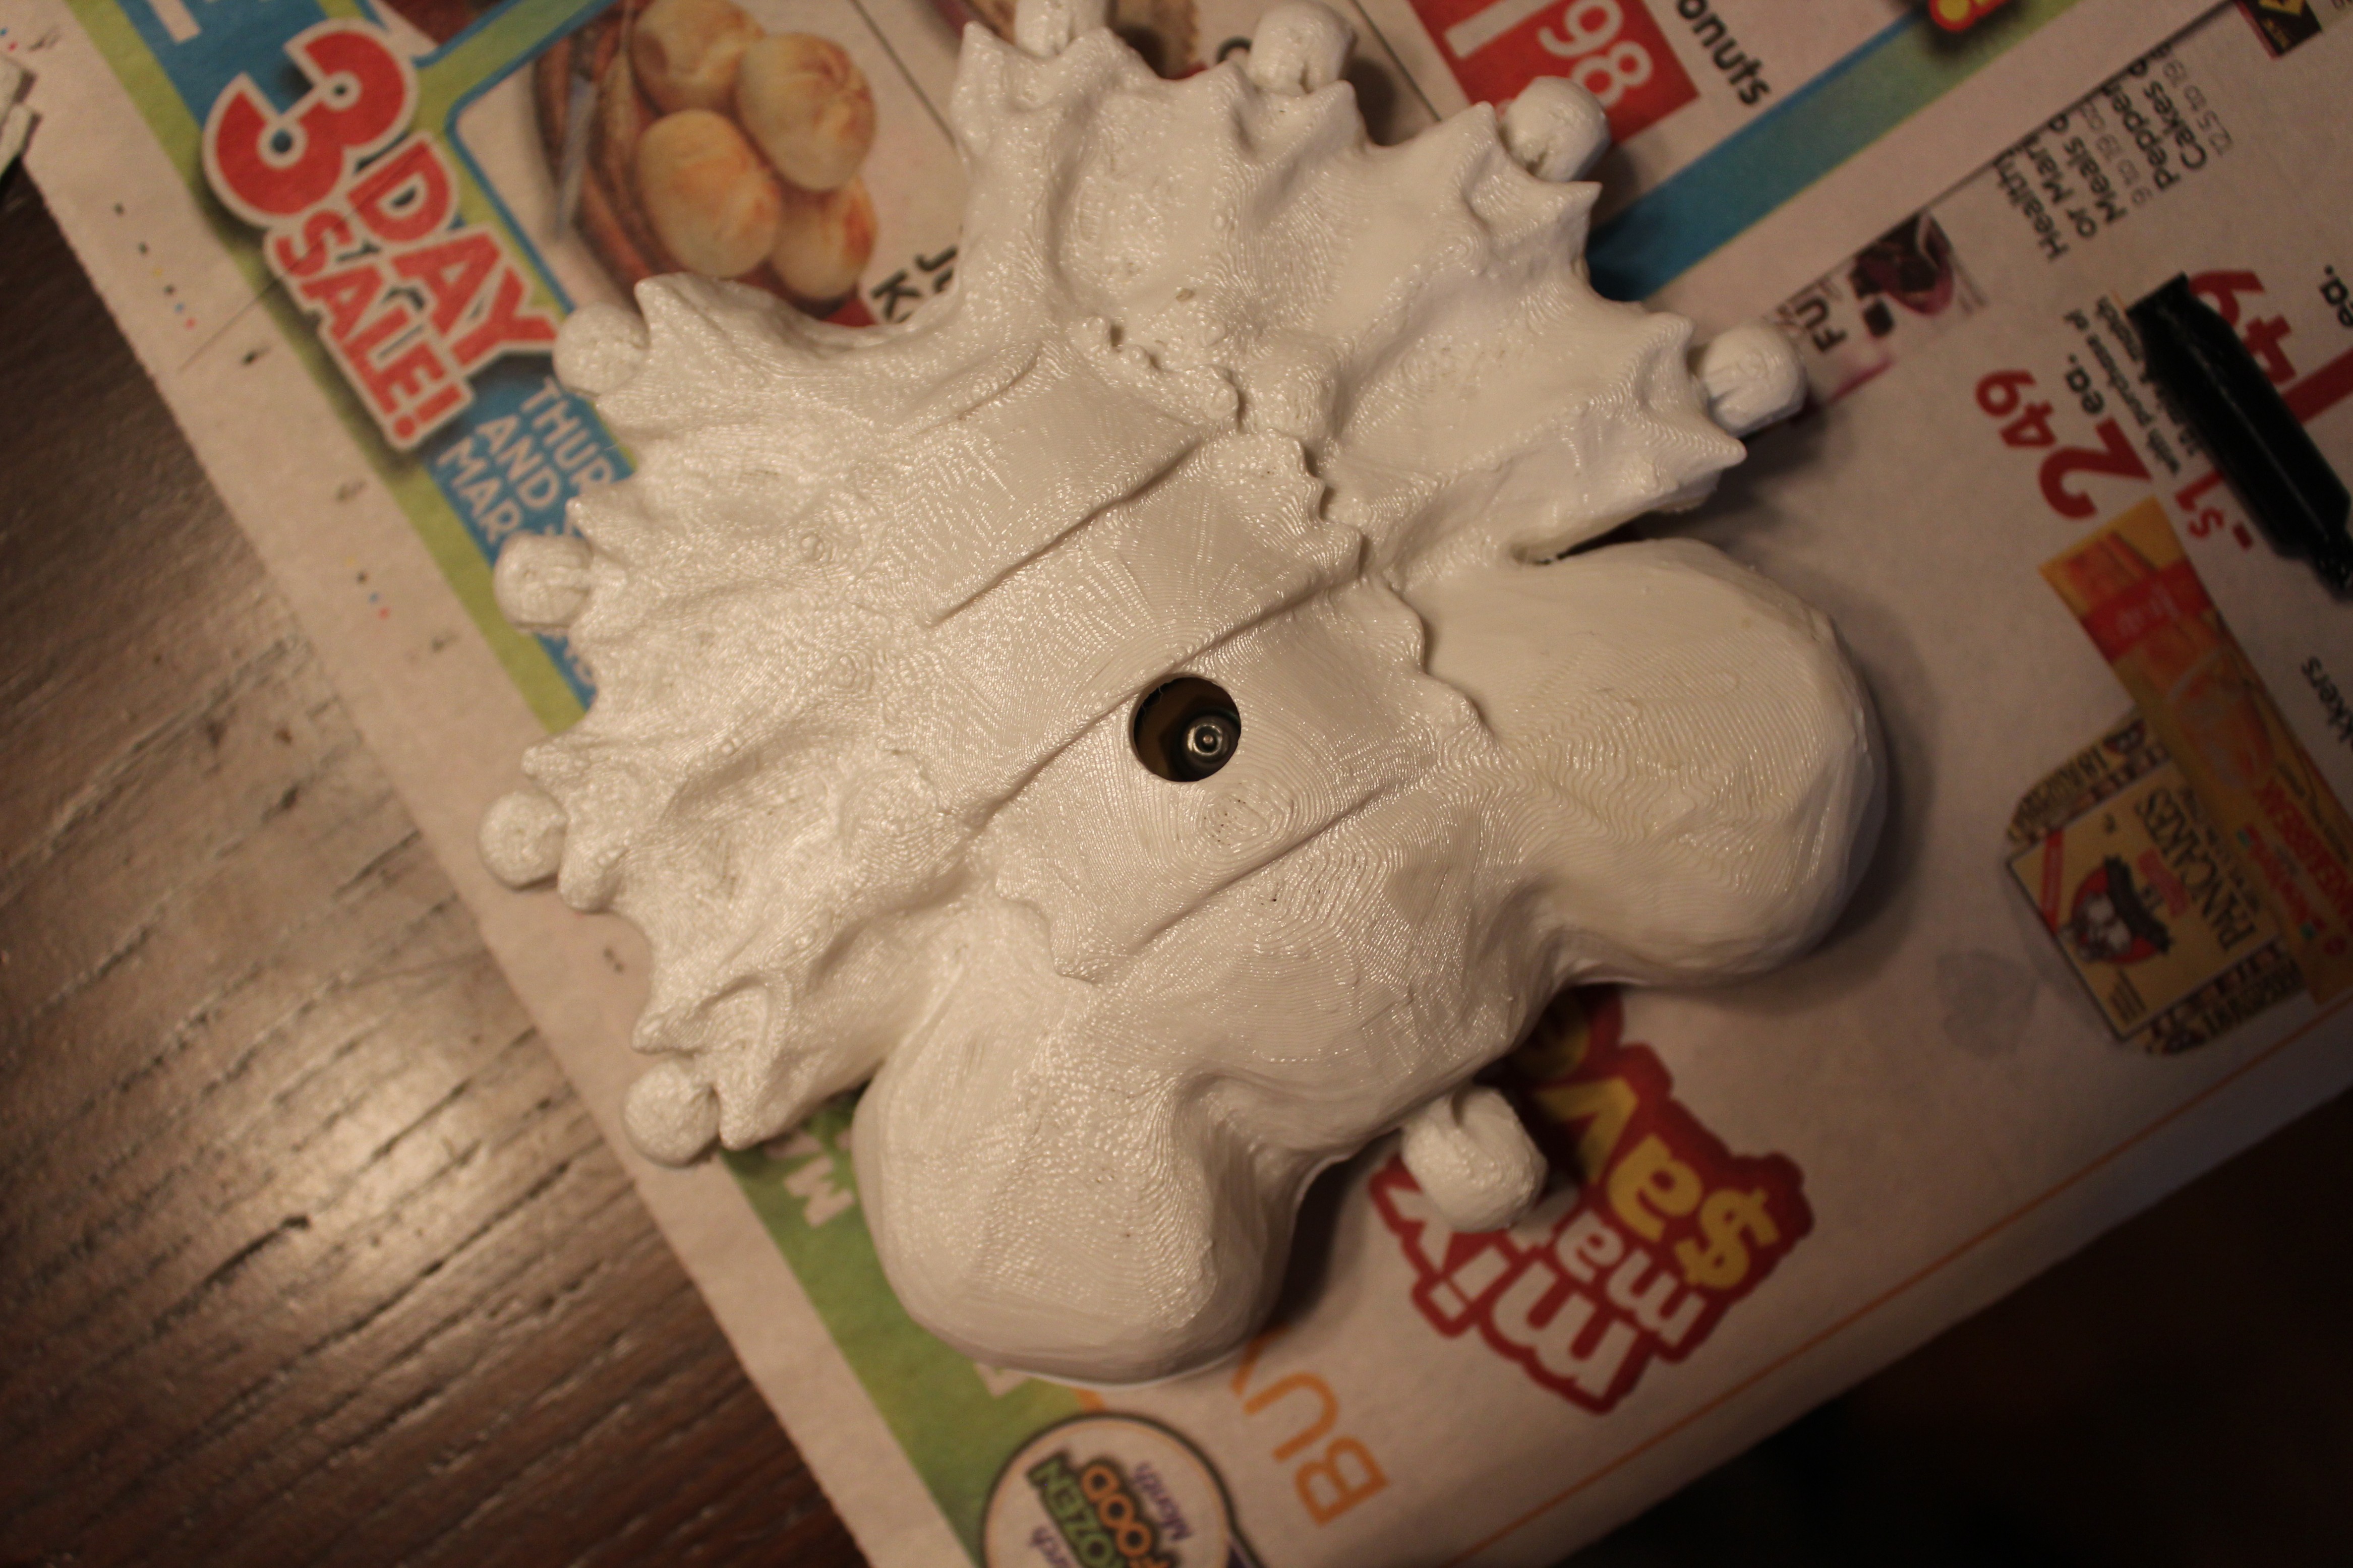
I hot glued the clock mechanism into its place on the back of the Facehugger. The Facehugger won't be too tight against the face so the dial will still be reachable.
With the mechanism in place, I just had to slight the hands onto the shafts protruding from the center hole.
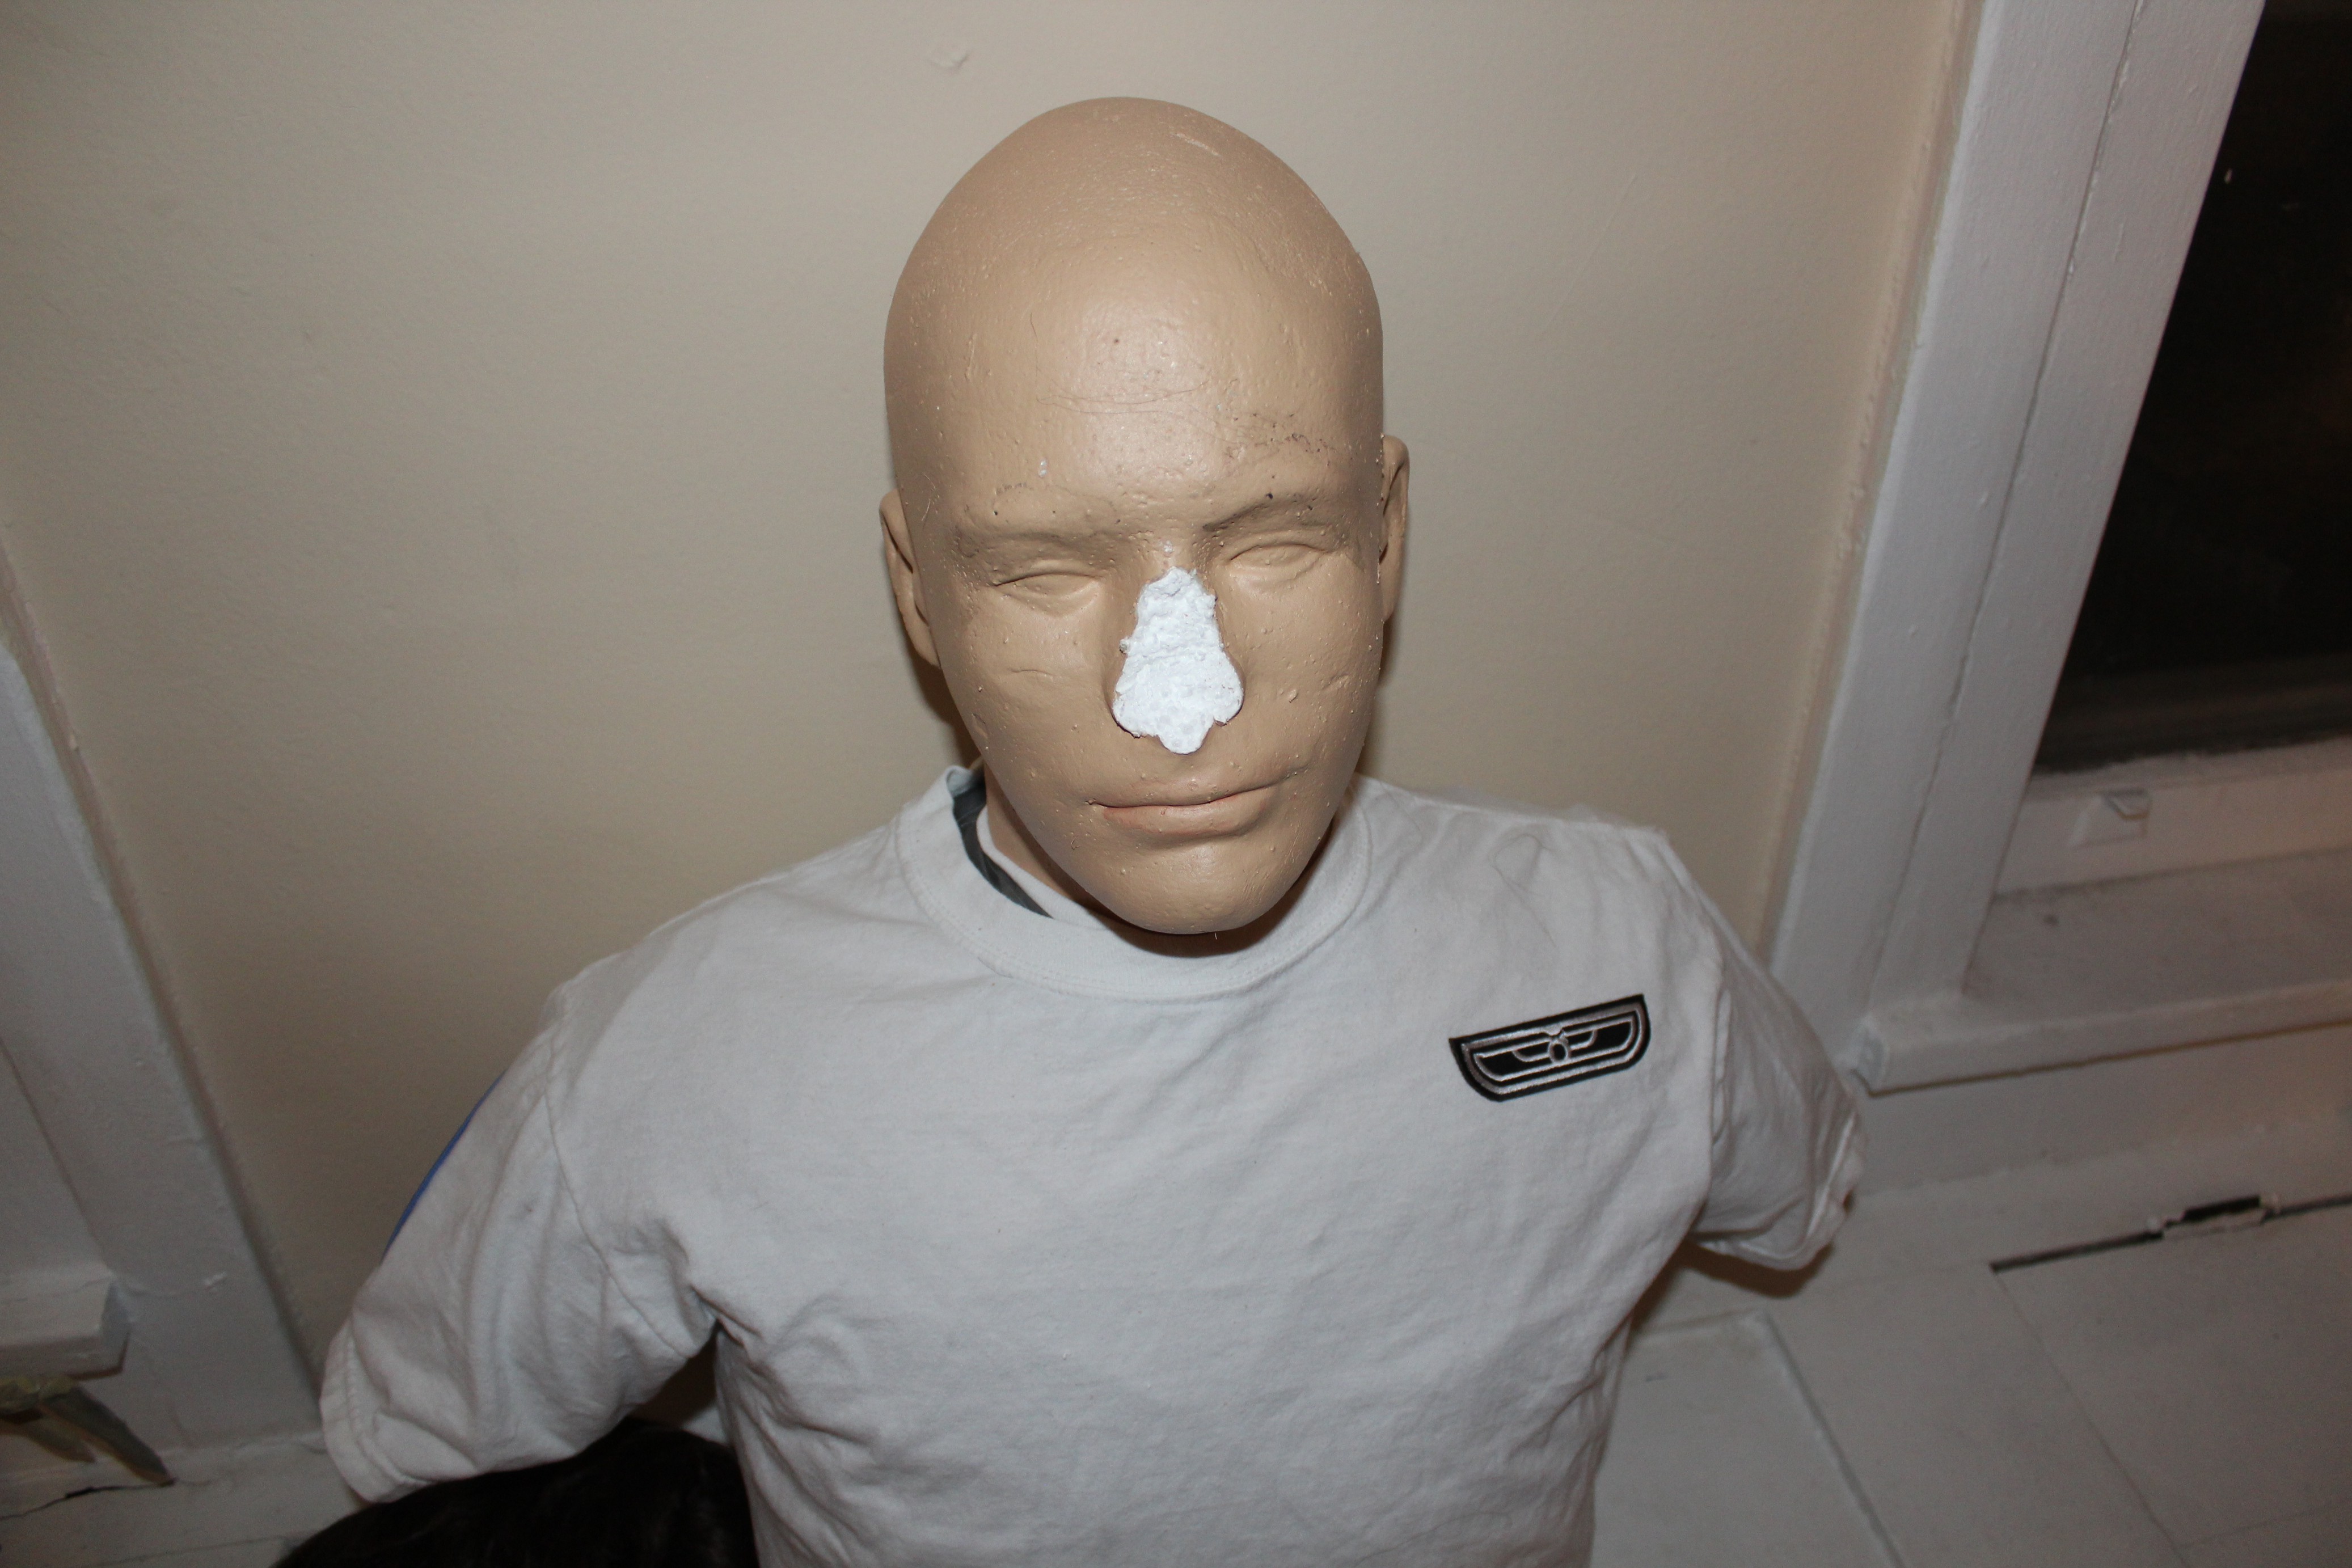
Unfortunately the addition of the mechanism didn't leave space for Kane's nose, so it had to go.
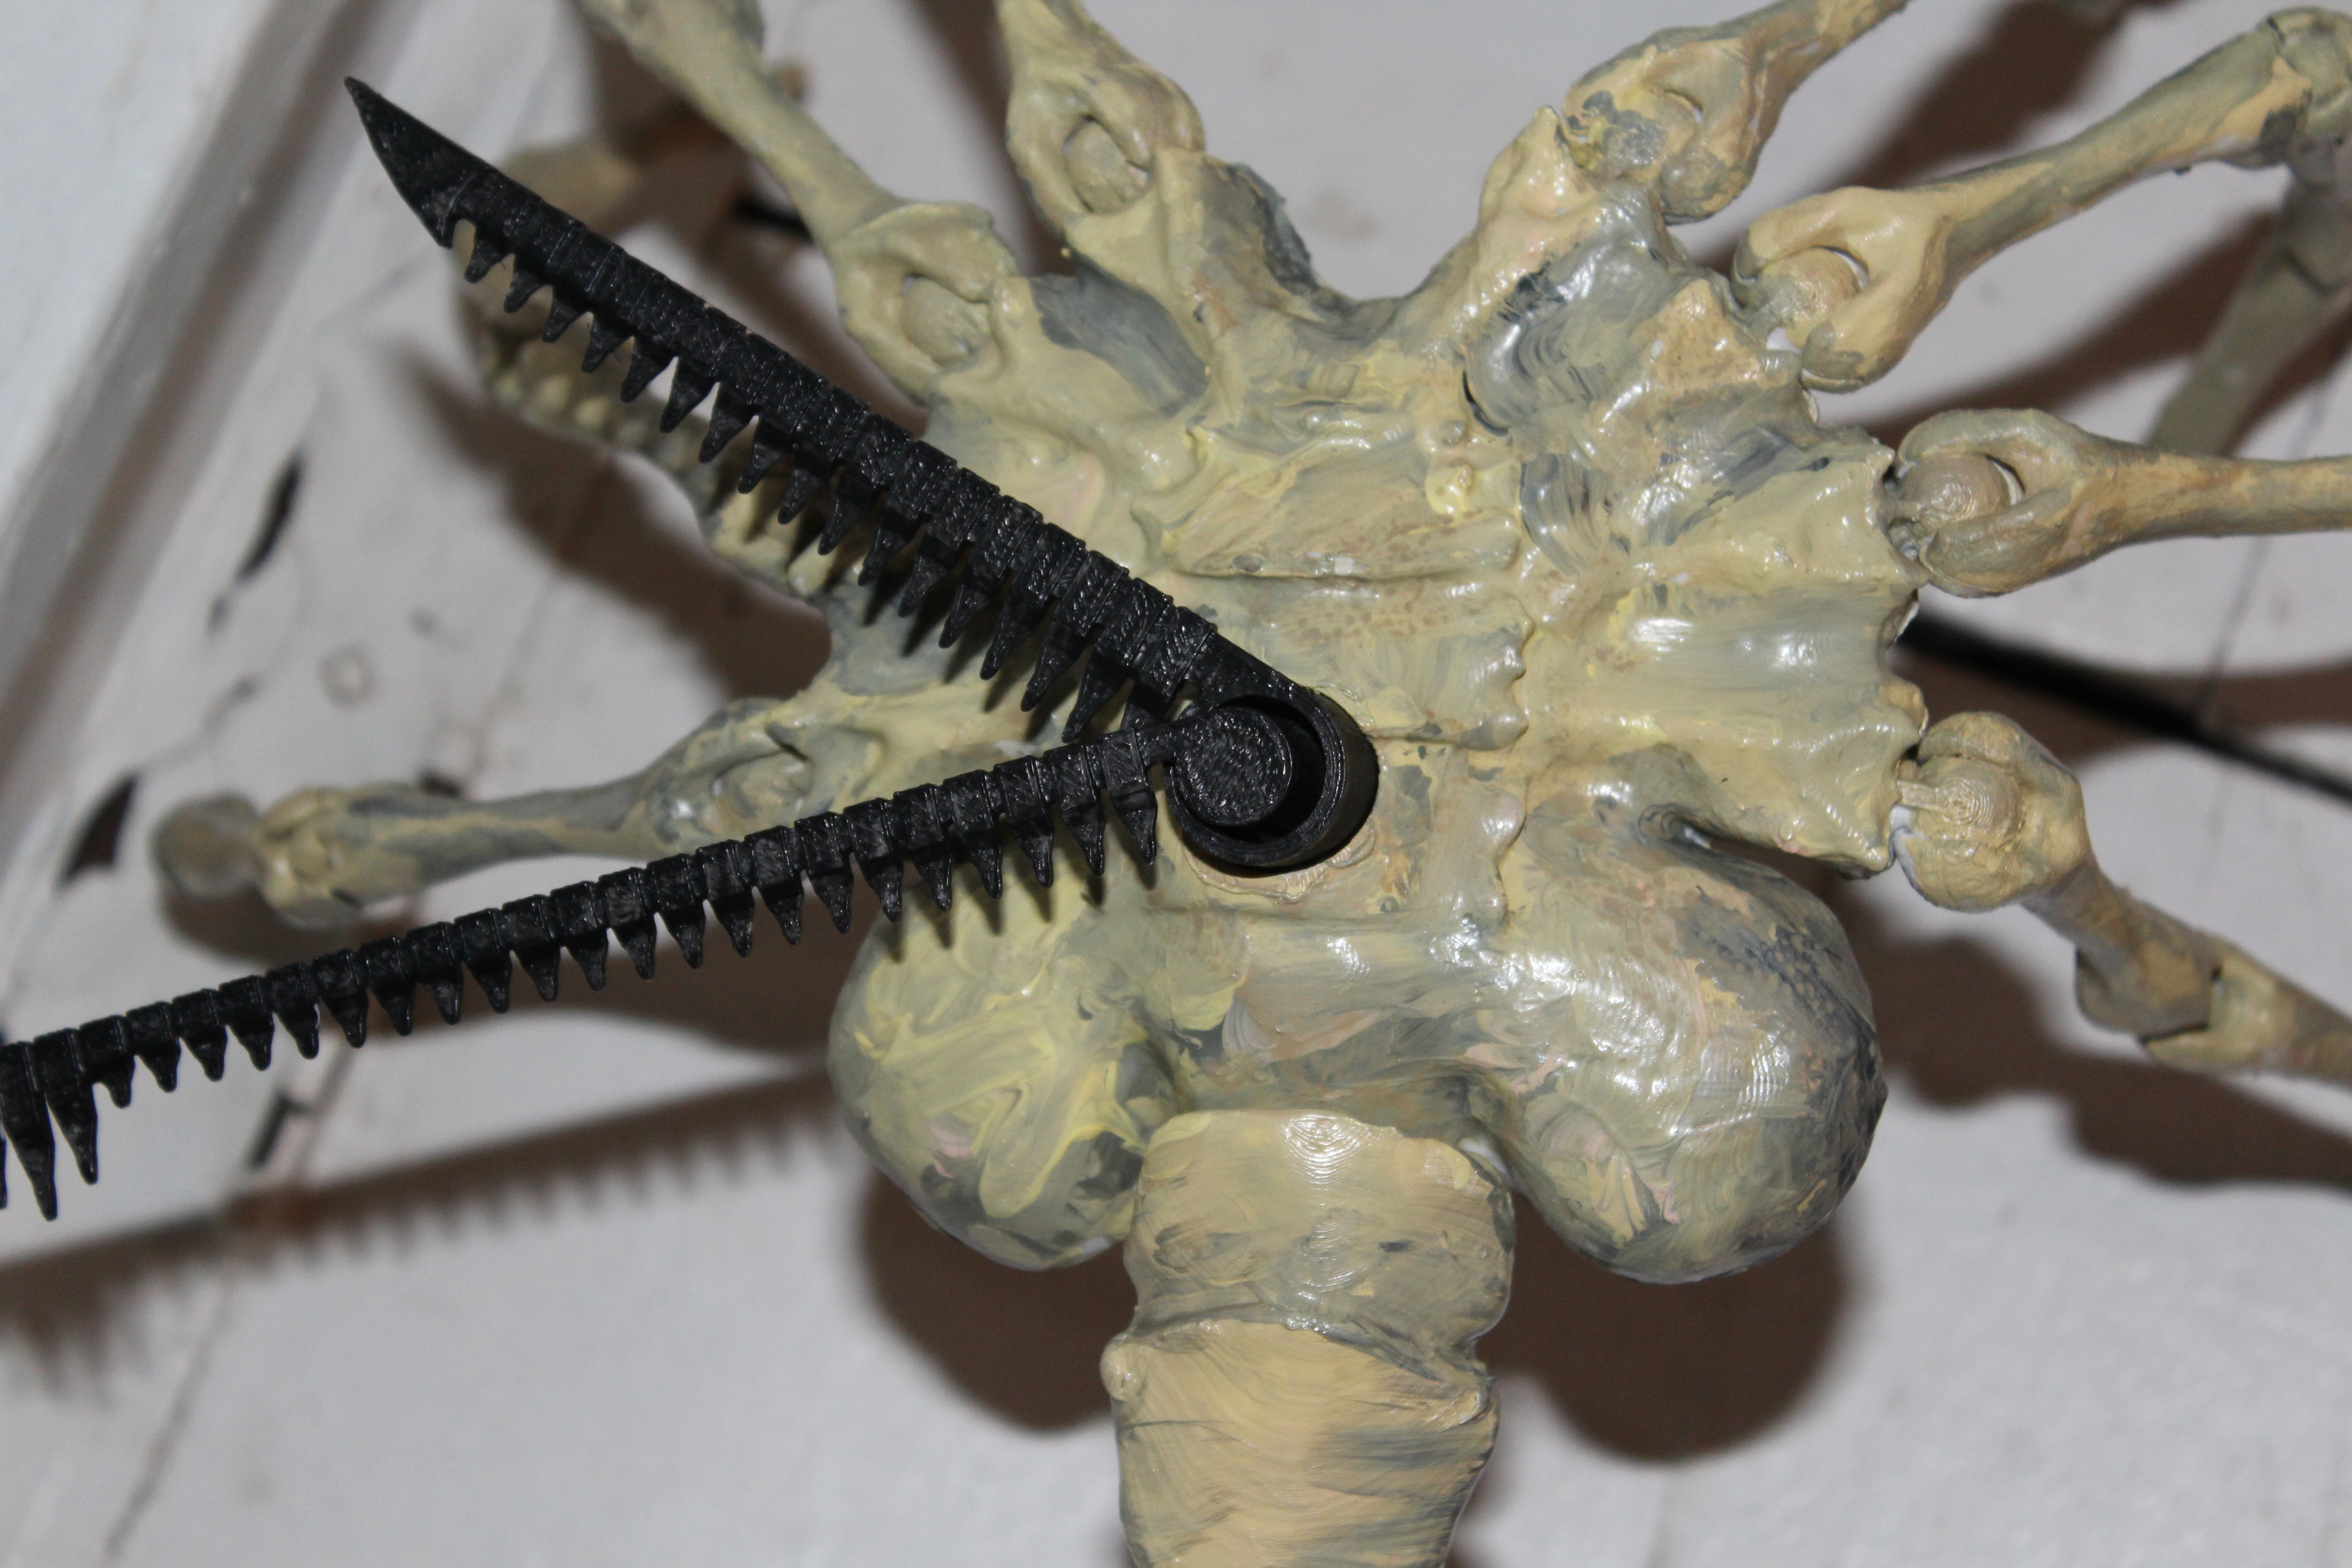
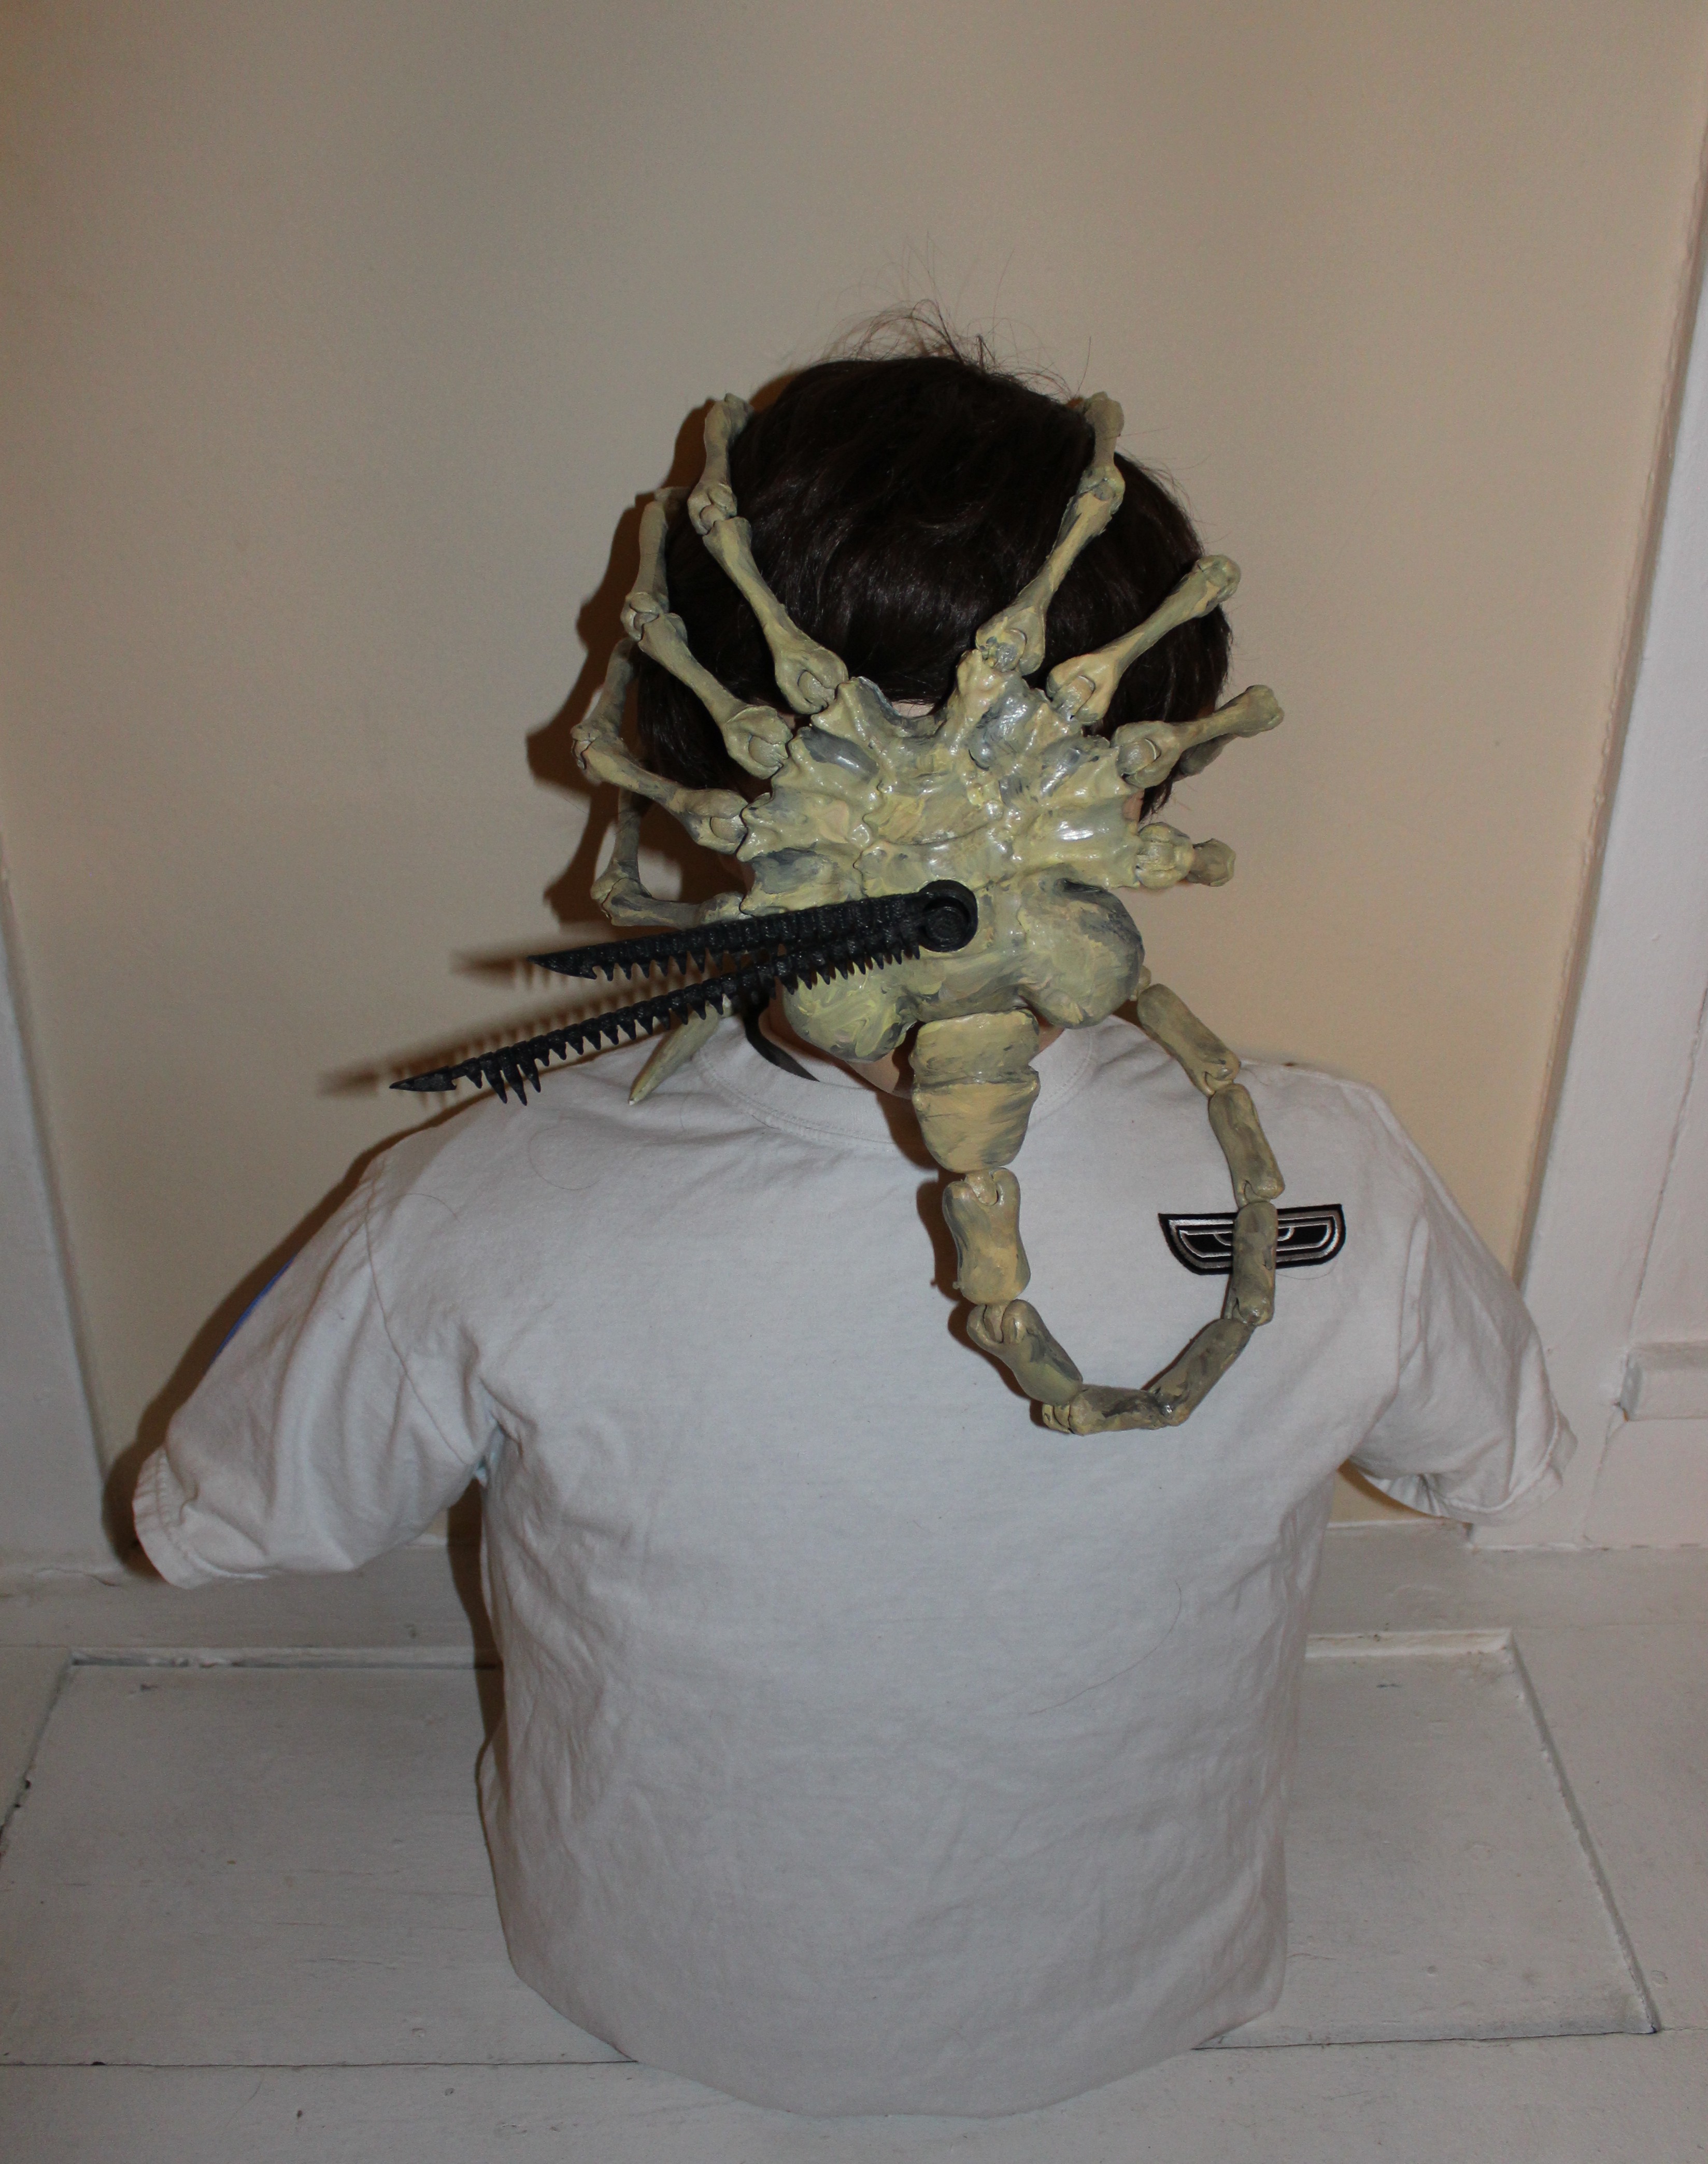
And lastly the Facehugger was attached! The legs provide a pretty good grip when bent around the head but for additional security I drove a metal rod partway through the mannequin's head and hung Facehugger on the protruding bit.
Chestburster
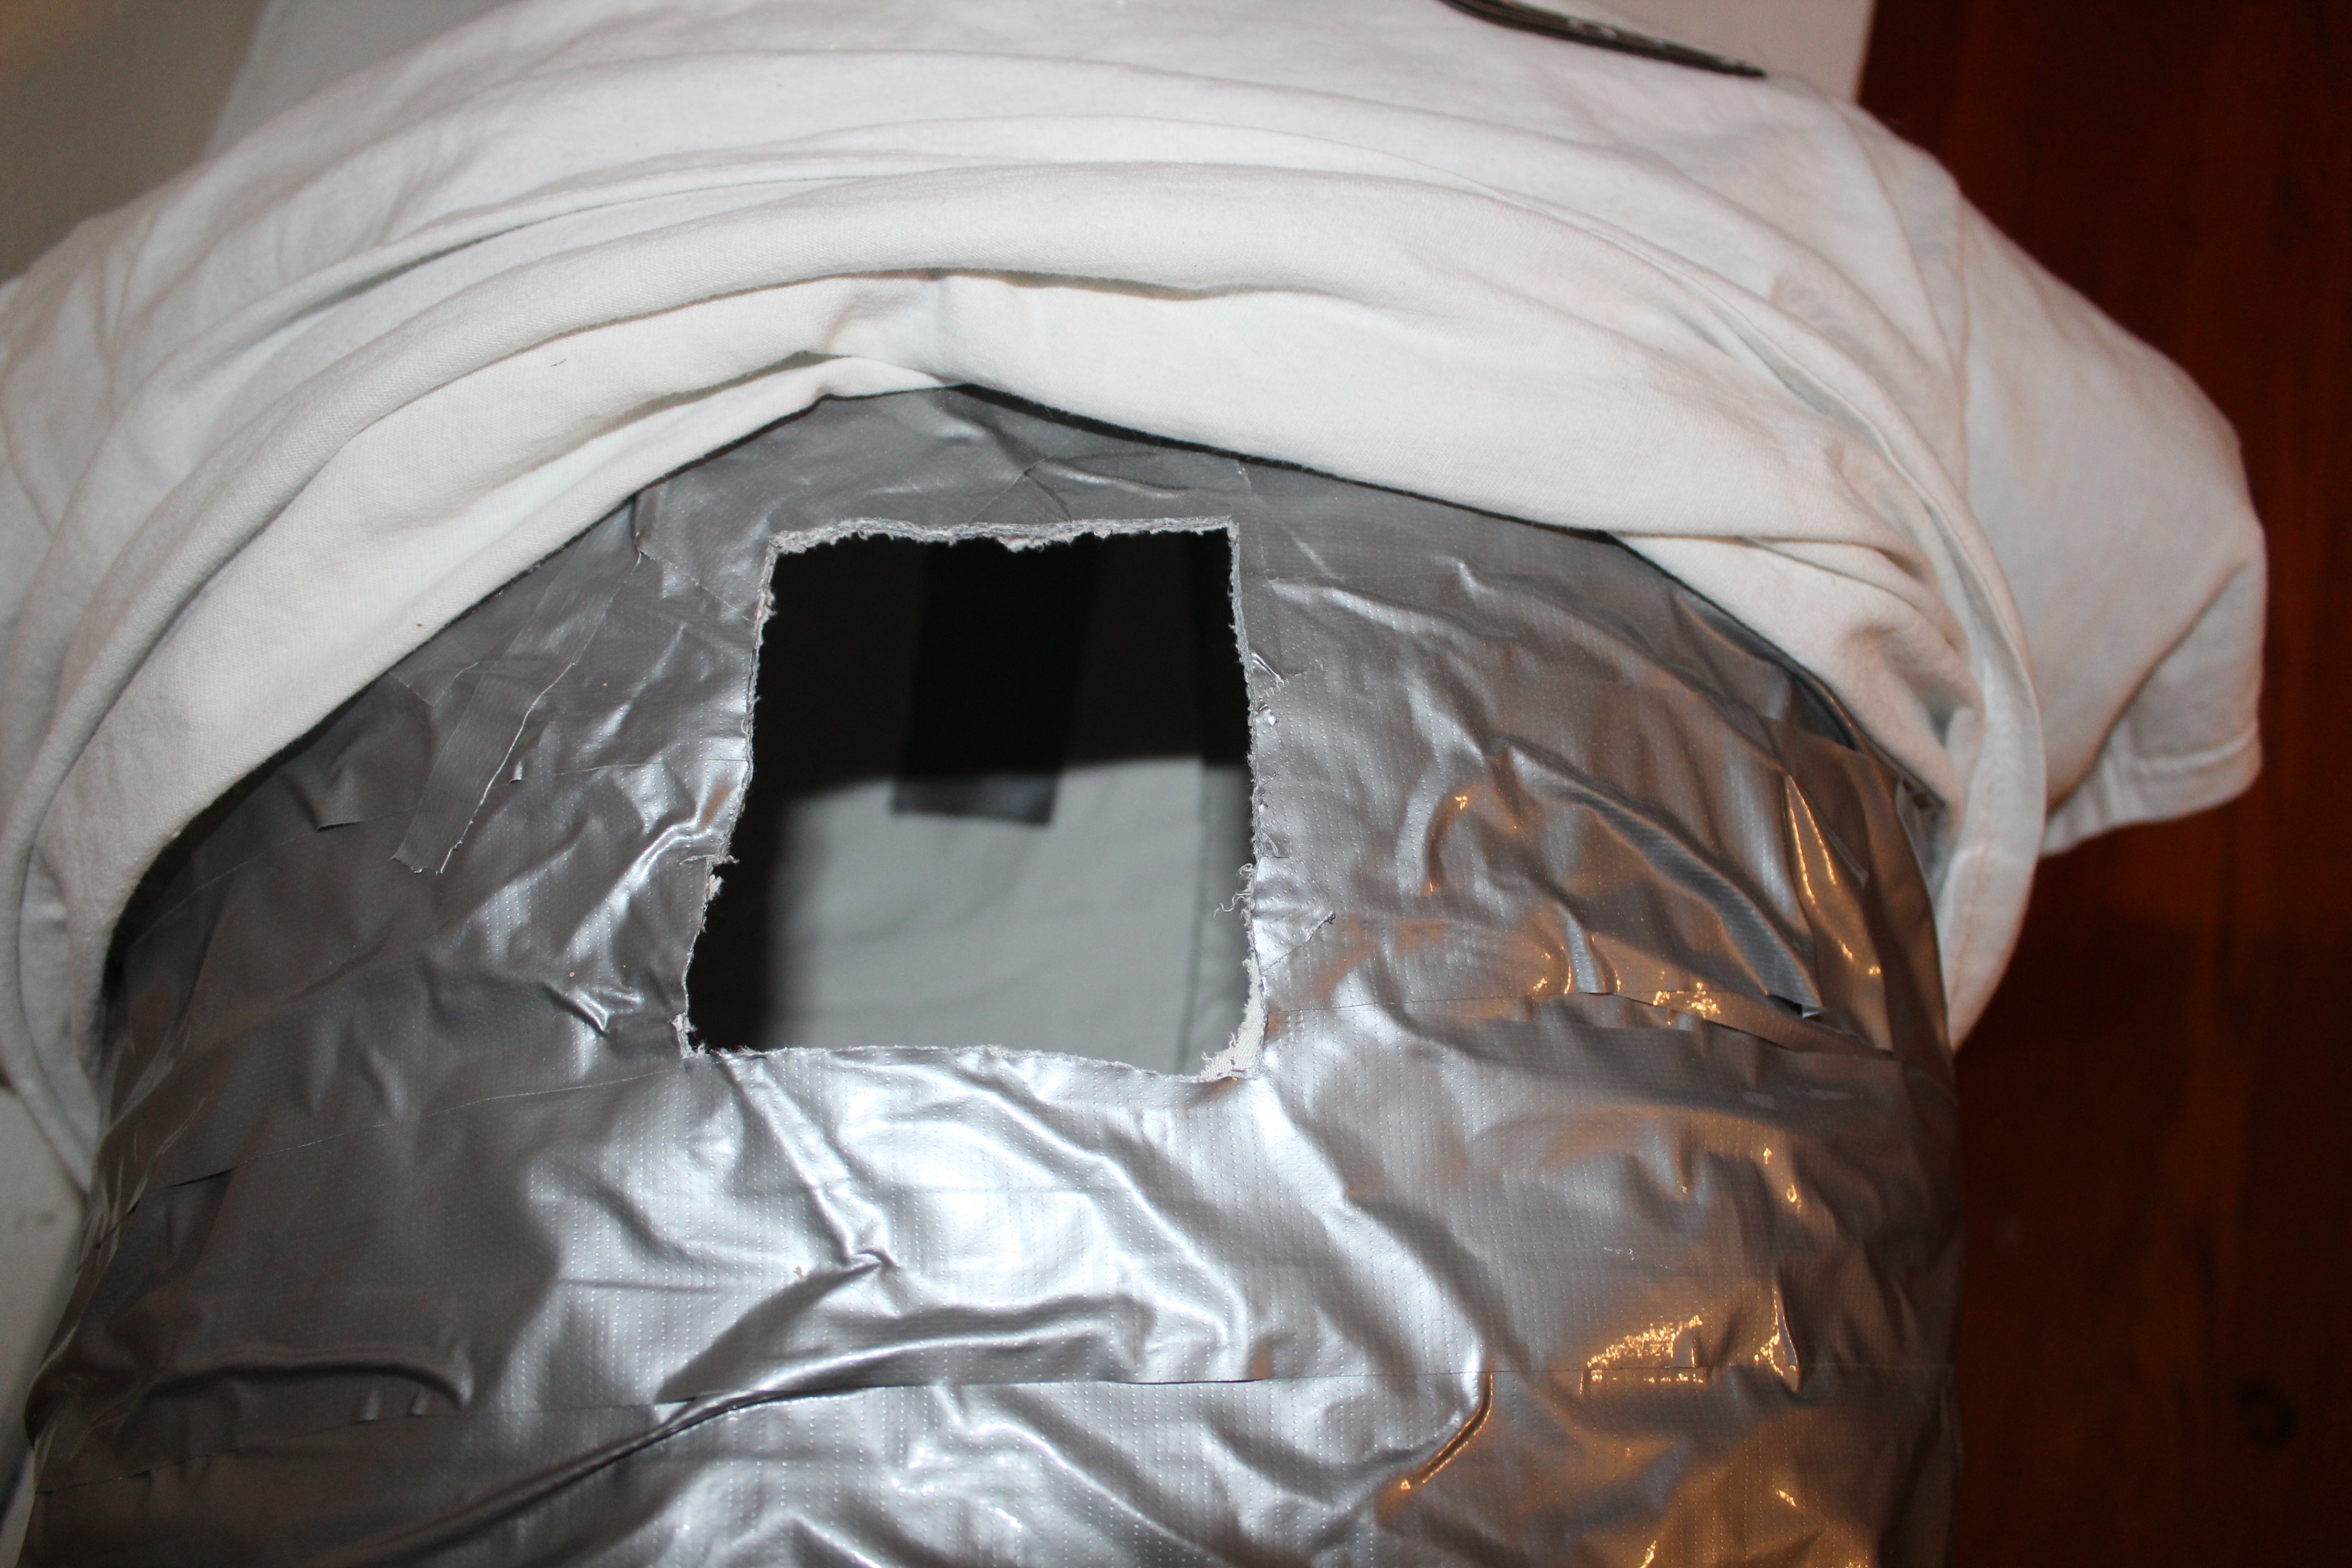
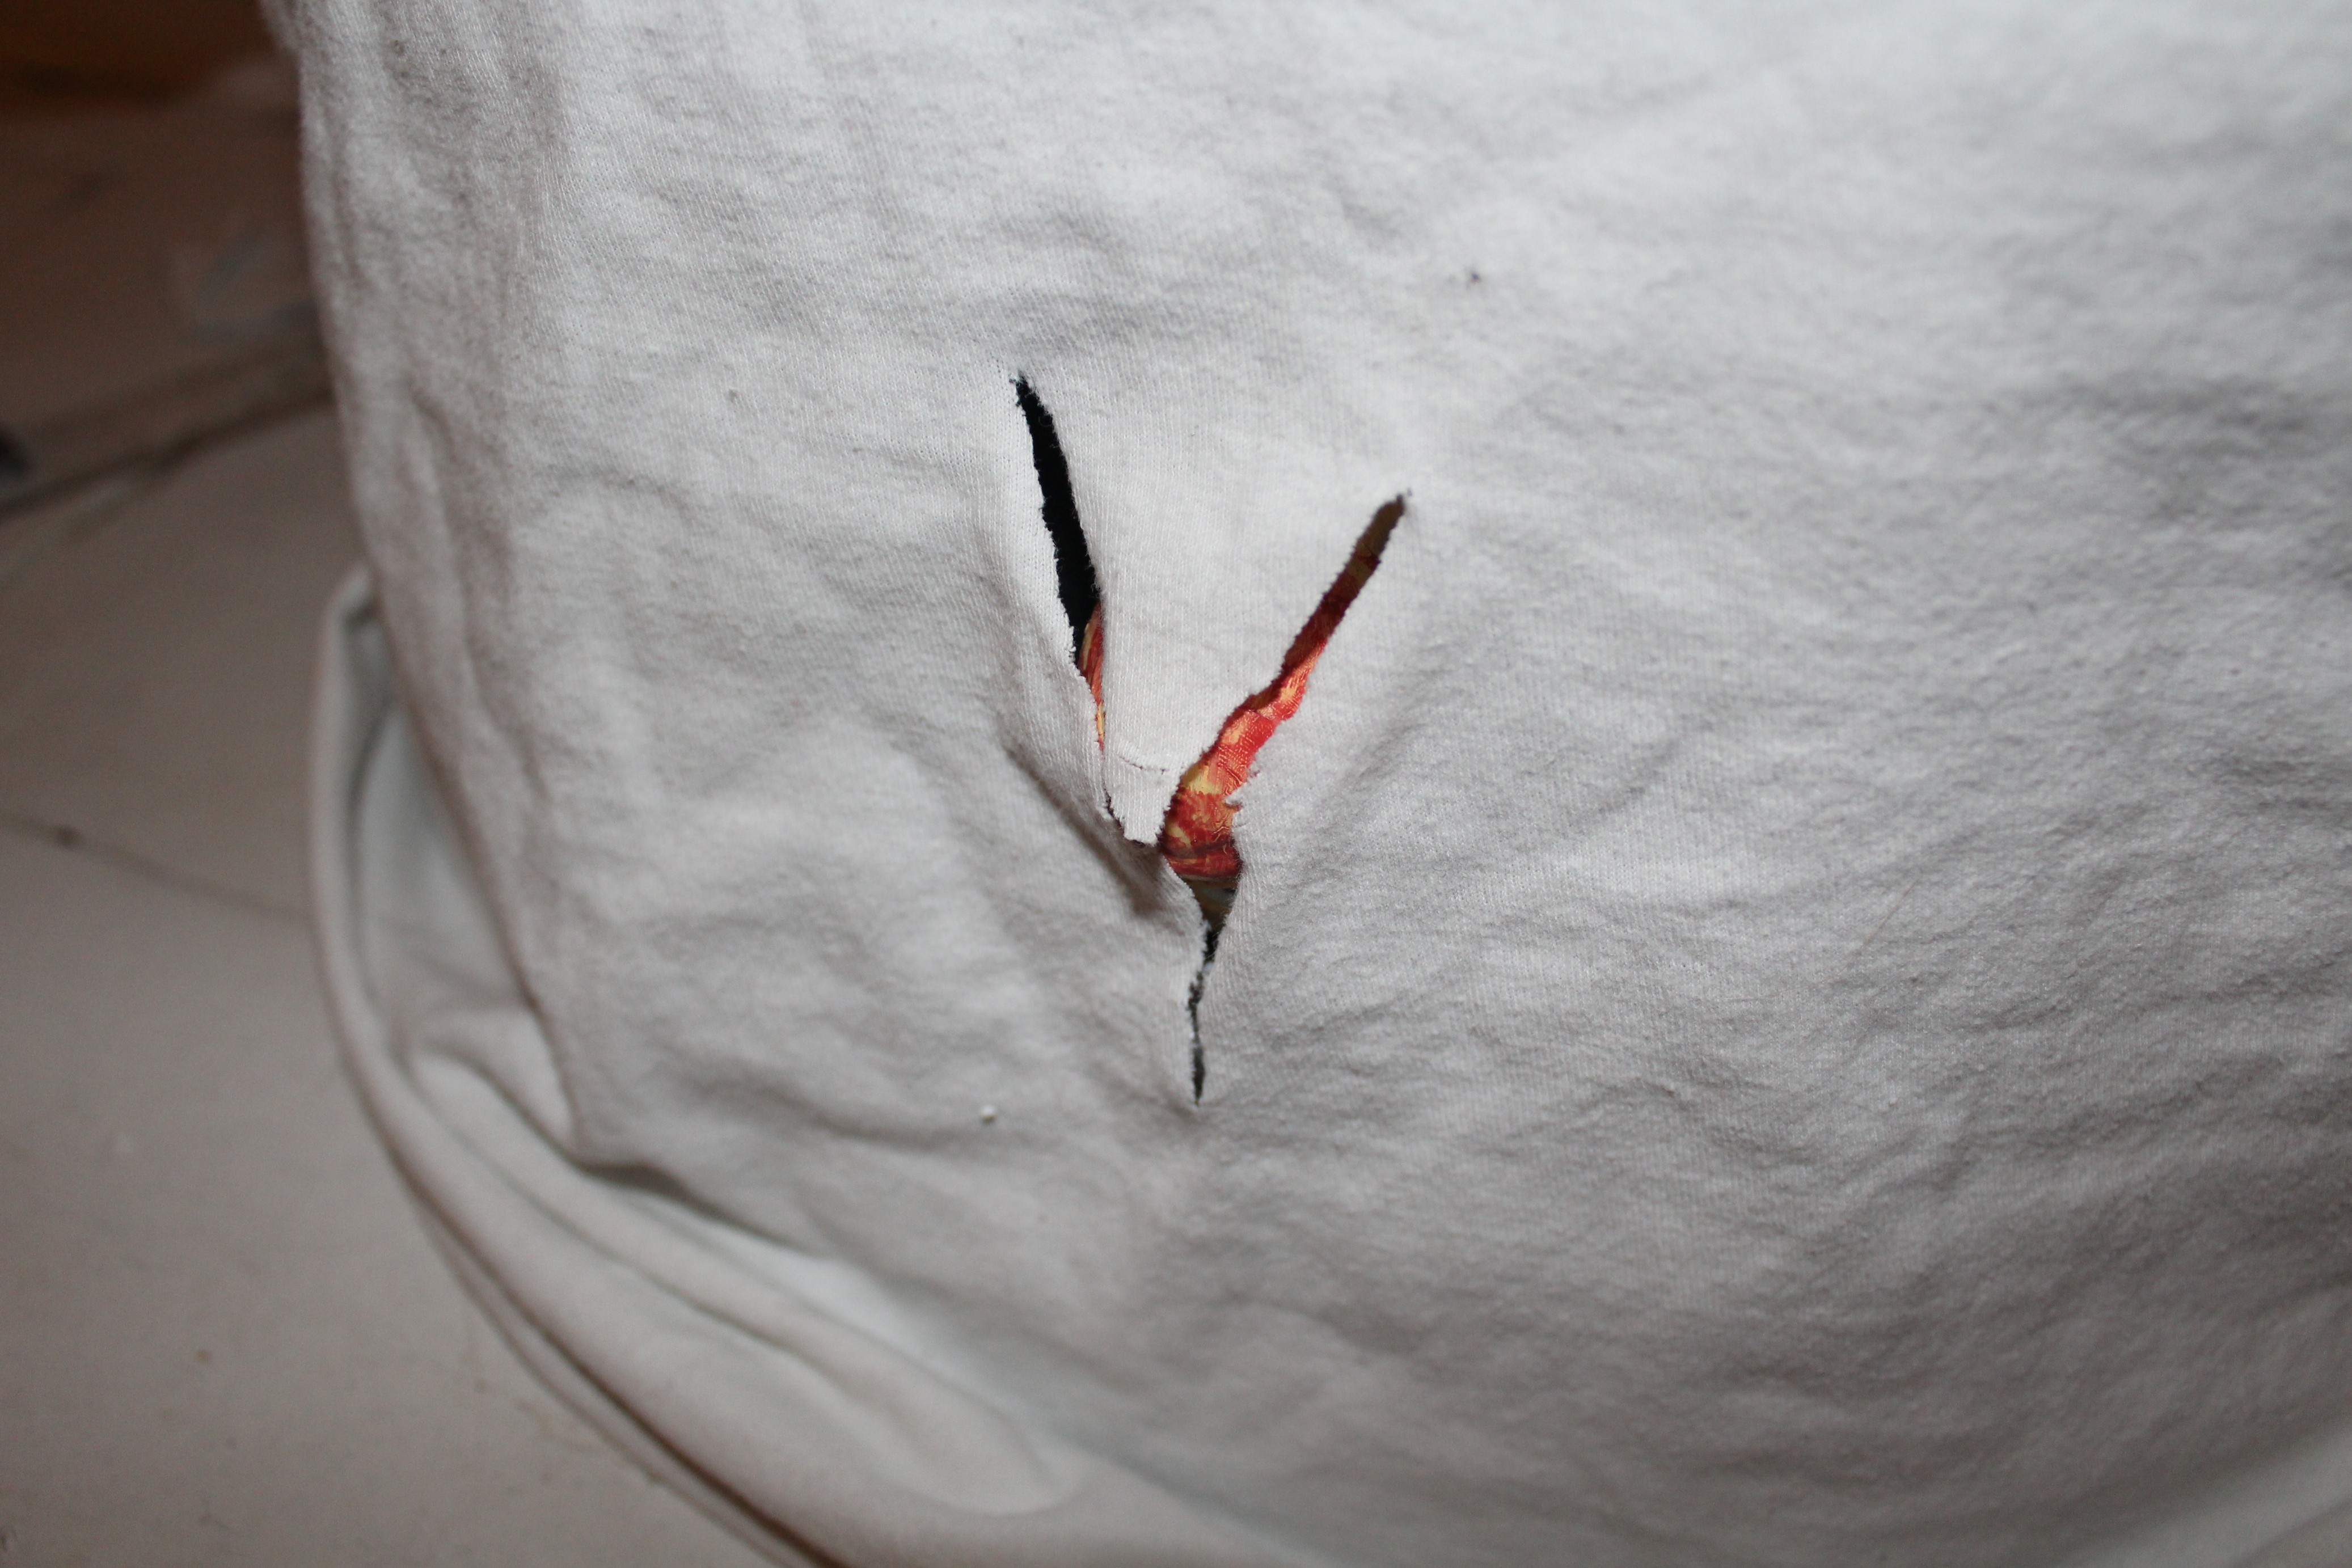
I cut a hole in the duct tape roughly where the Alien juvenile burst from Kane's chest in the movie.
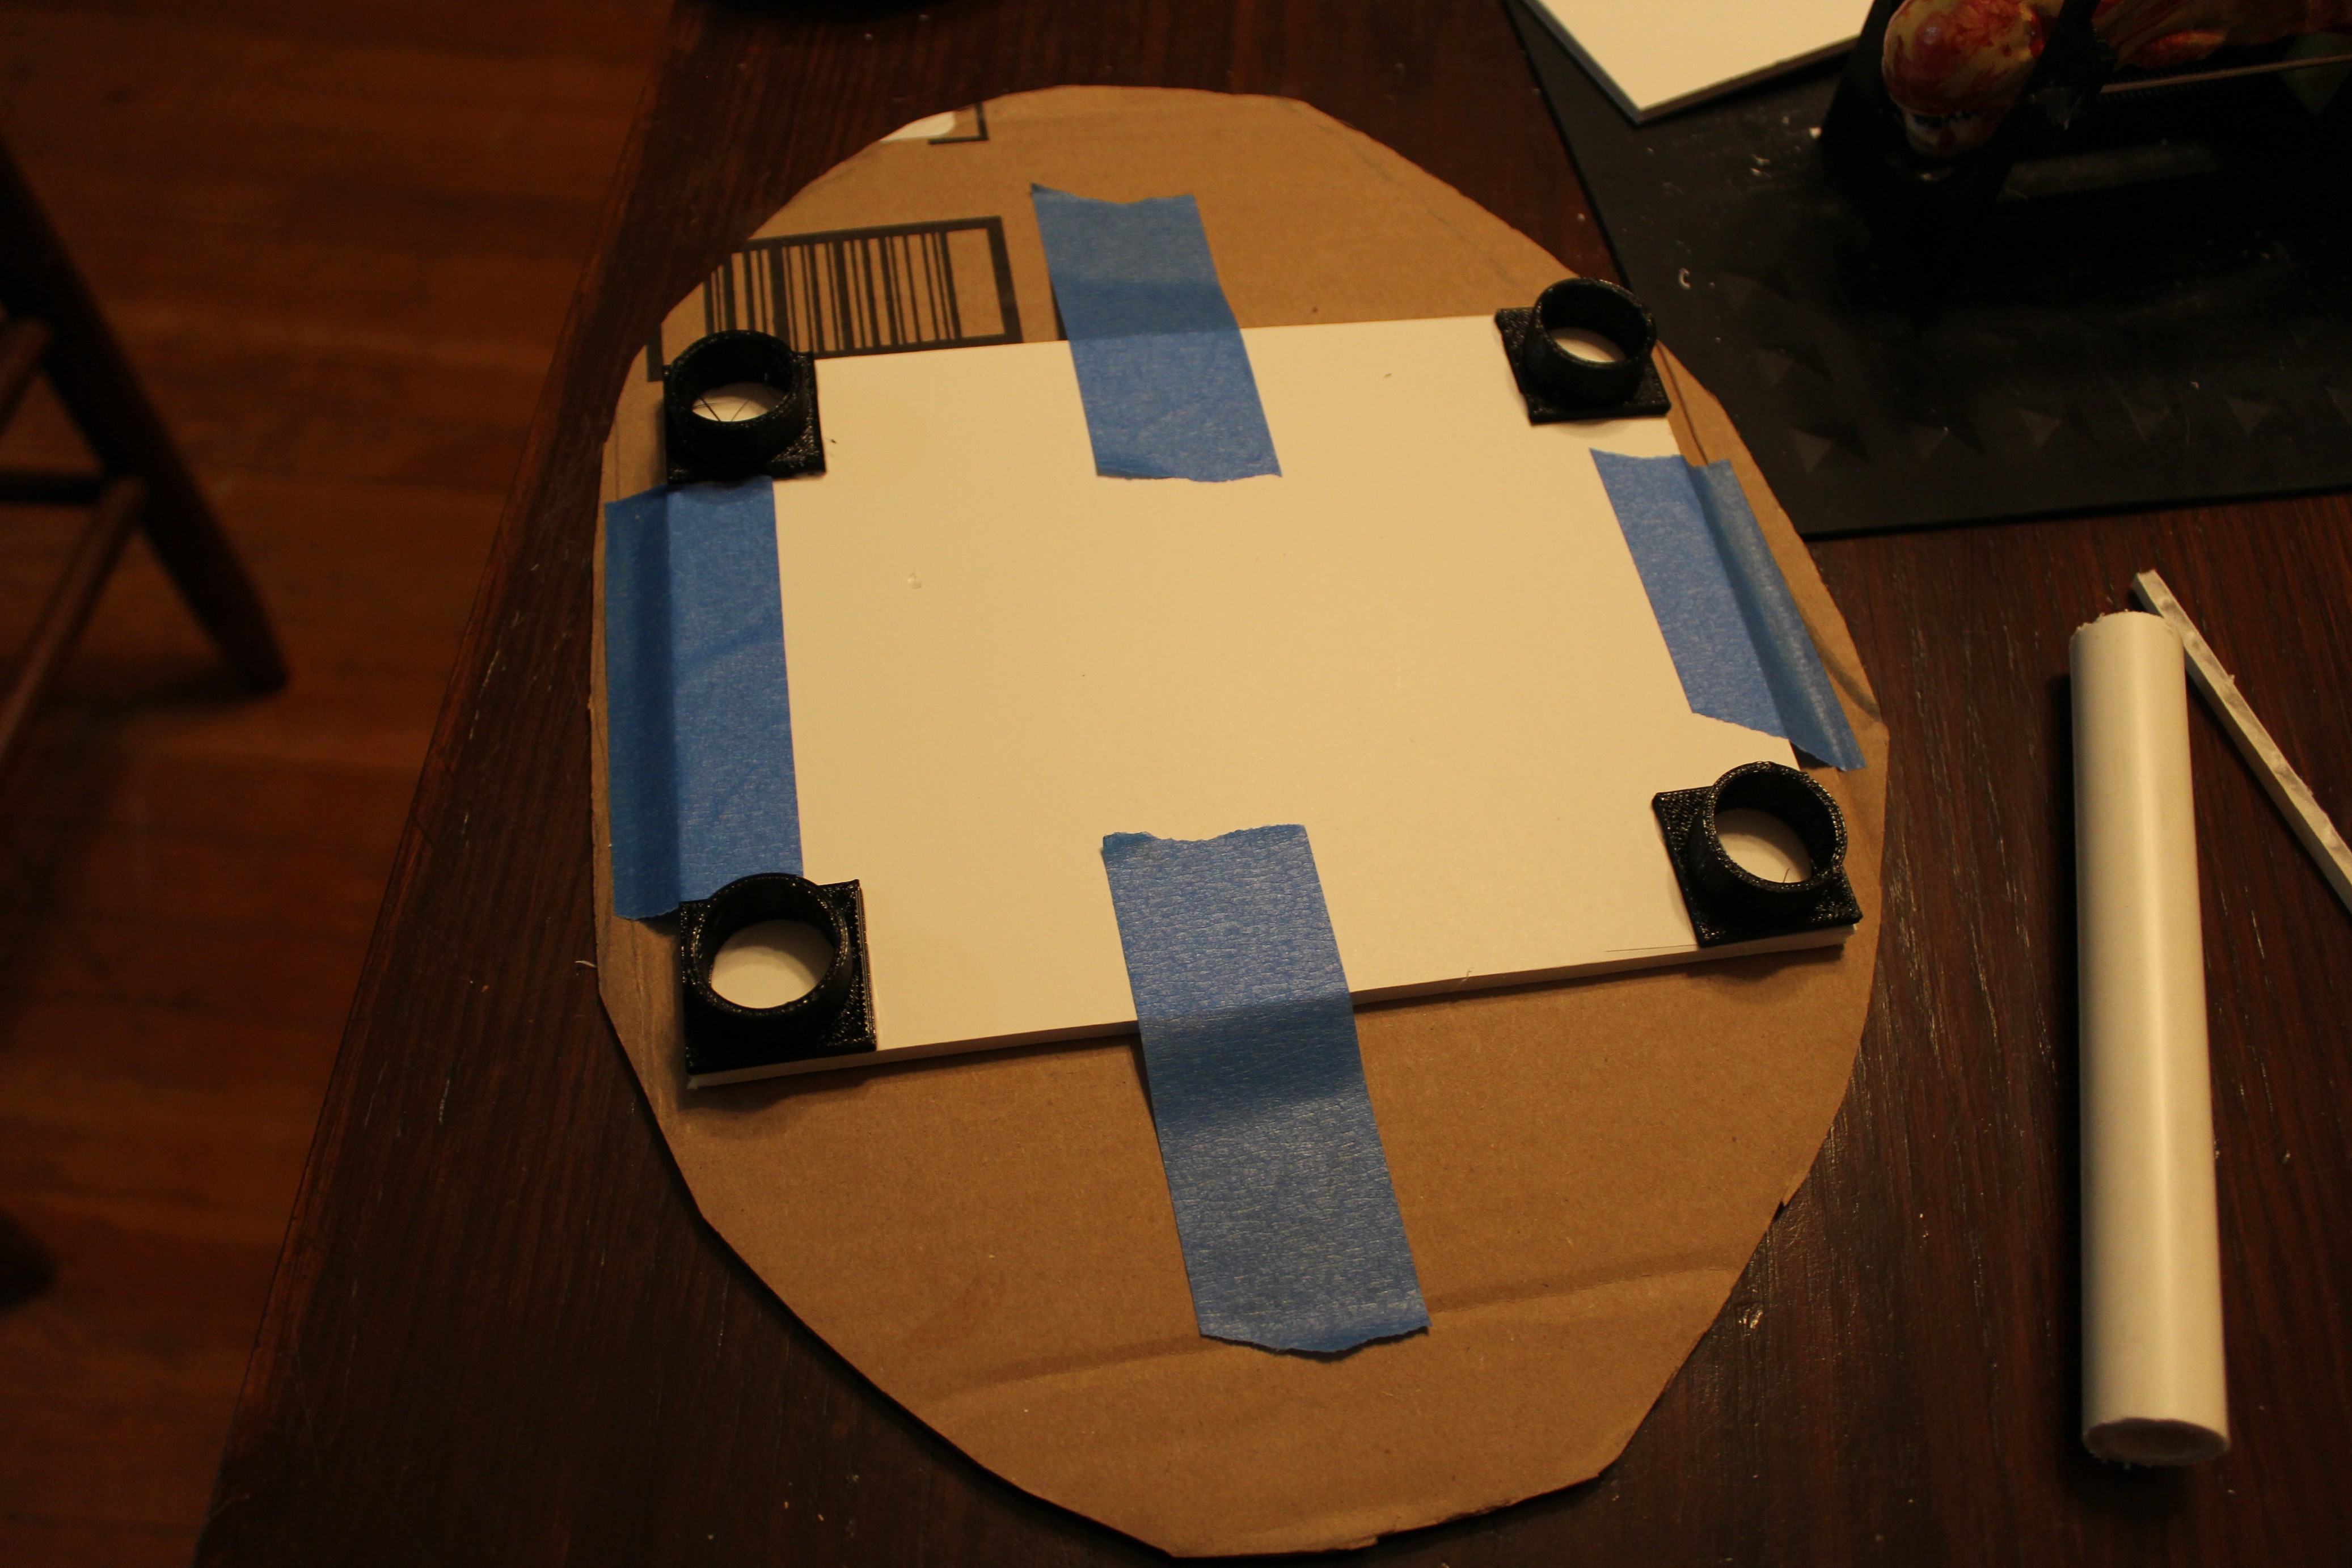
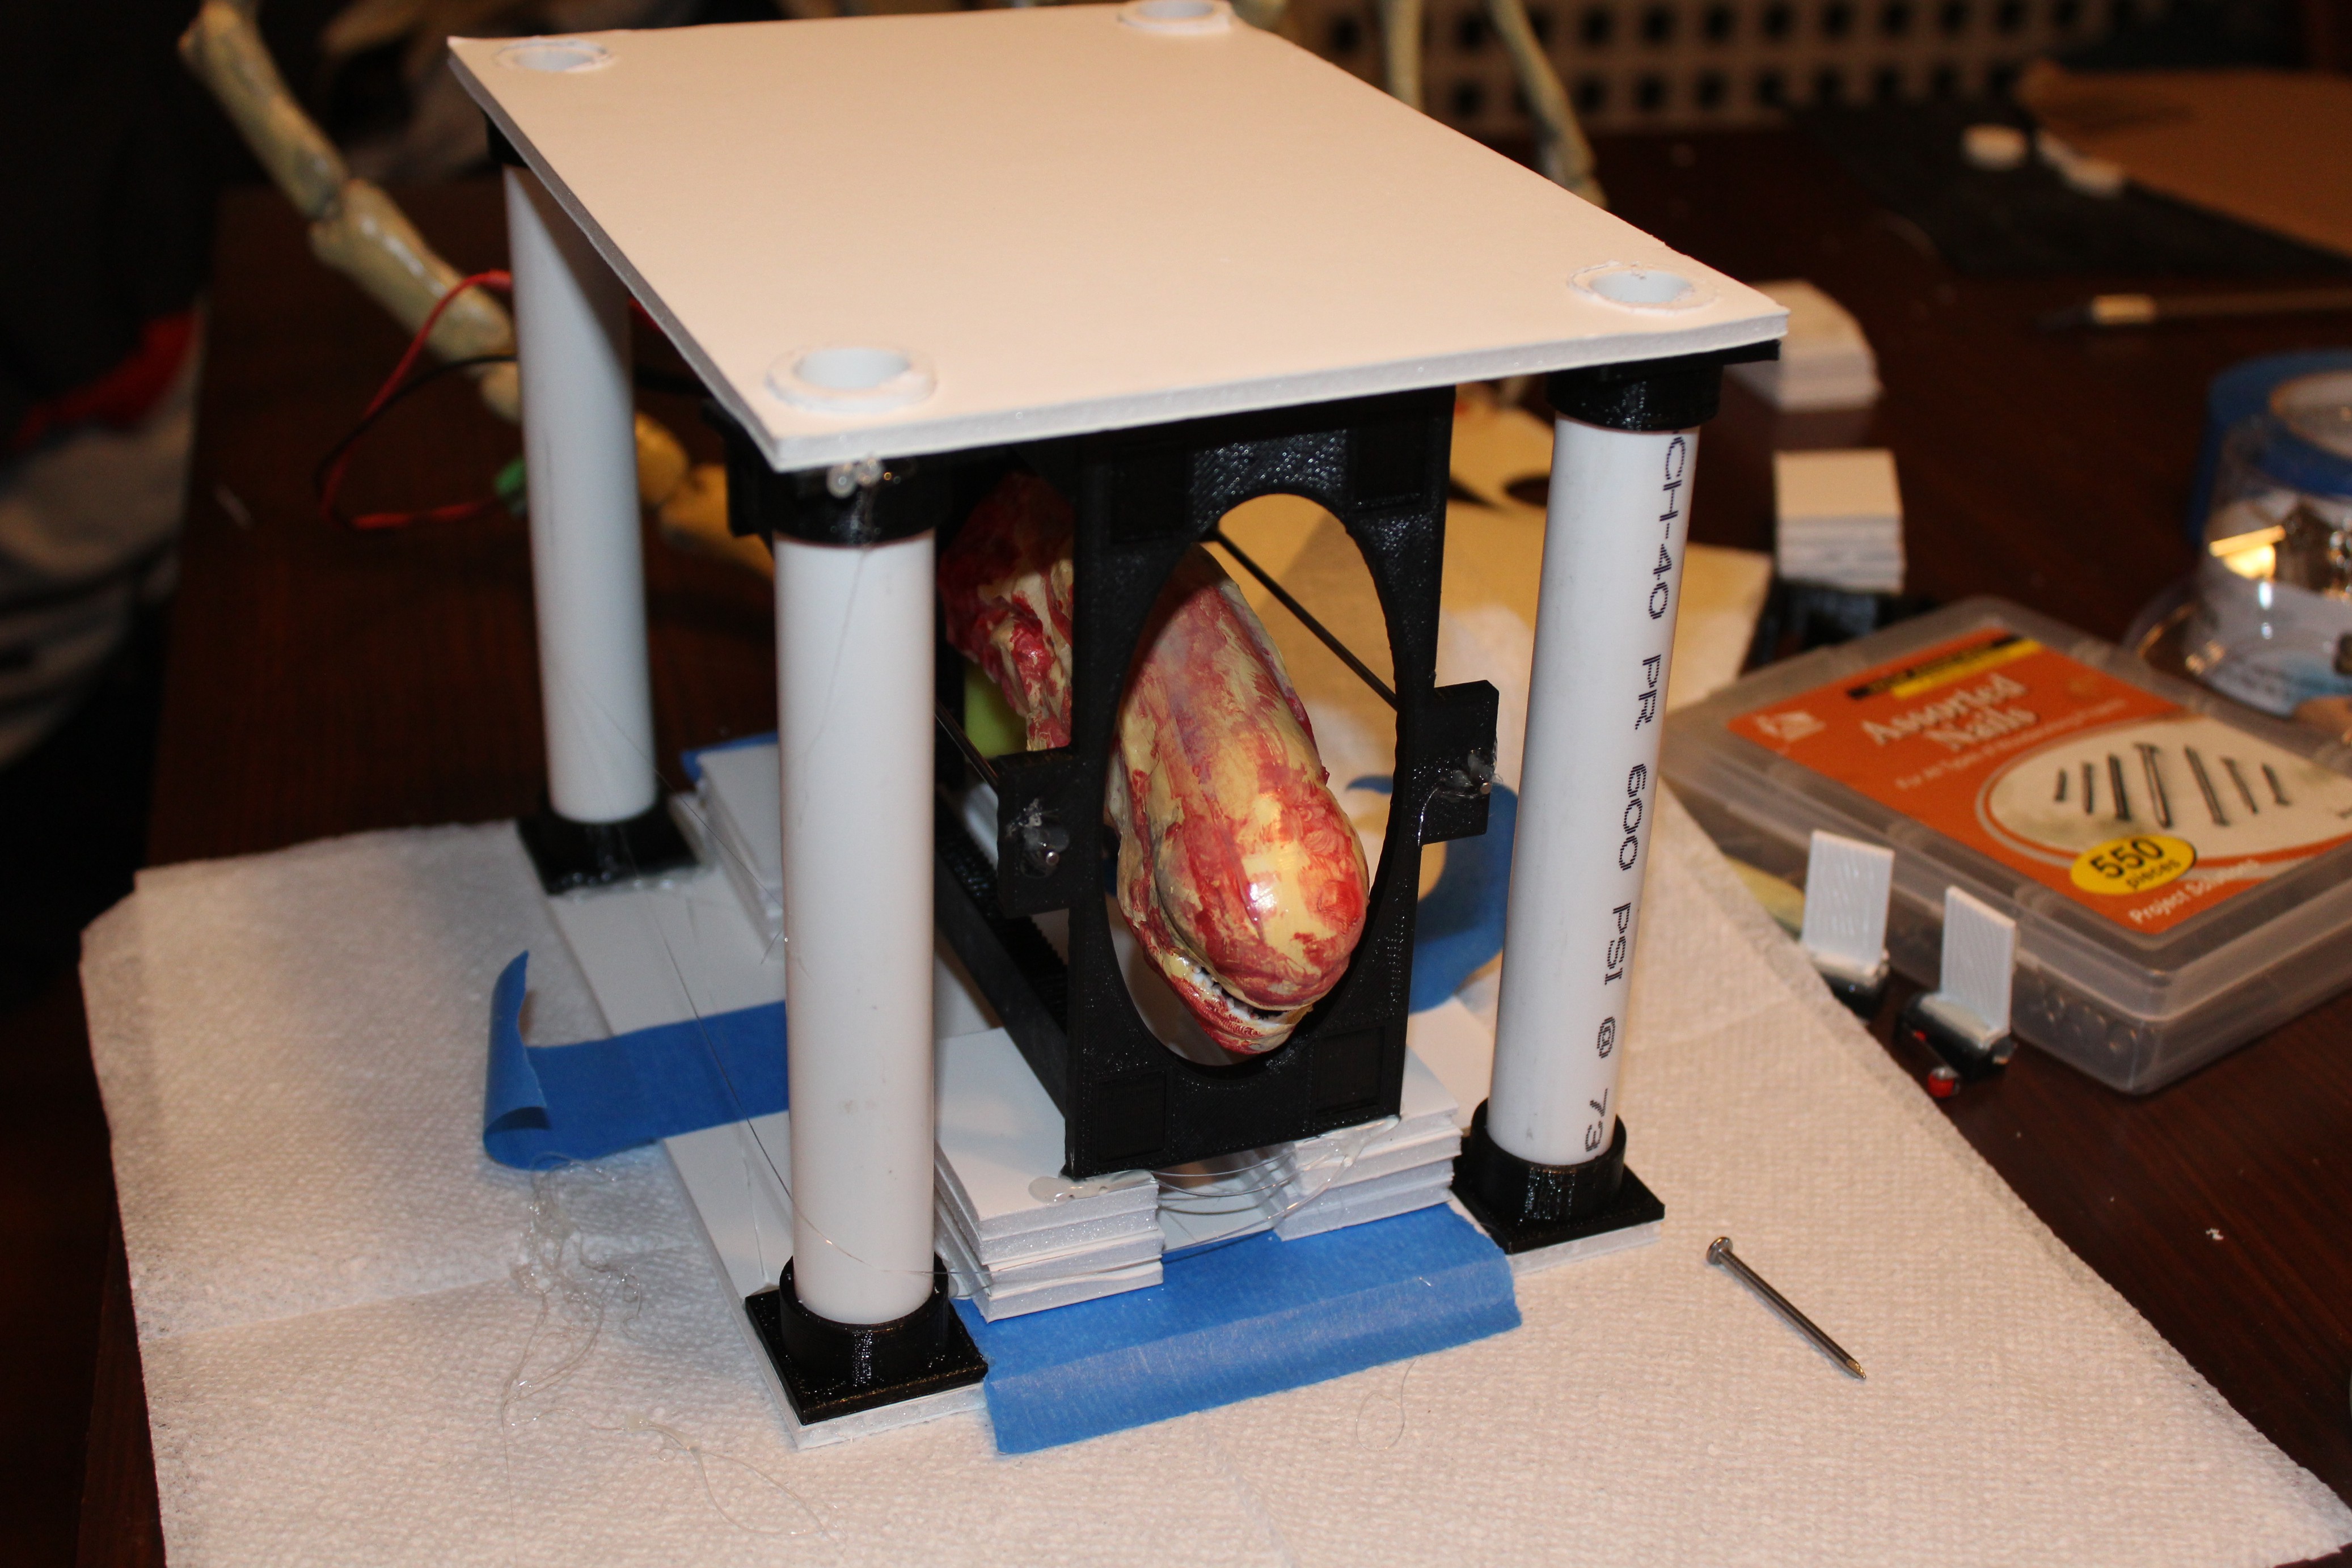
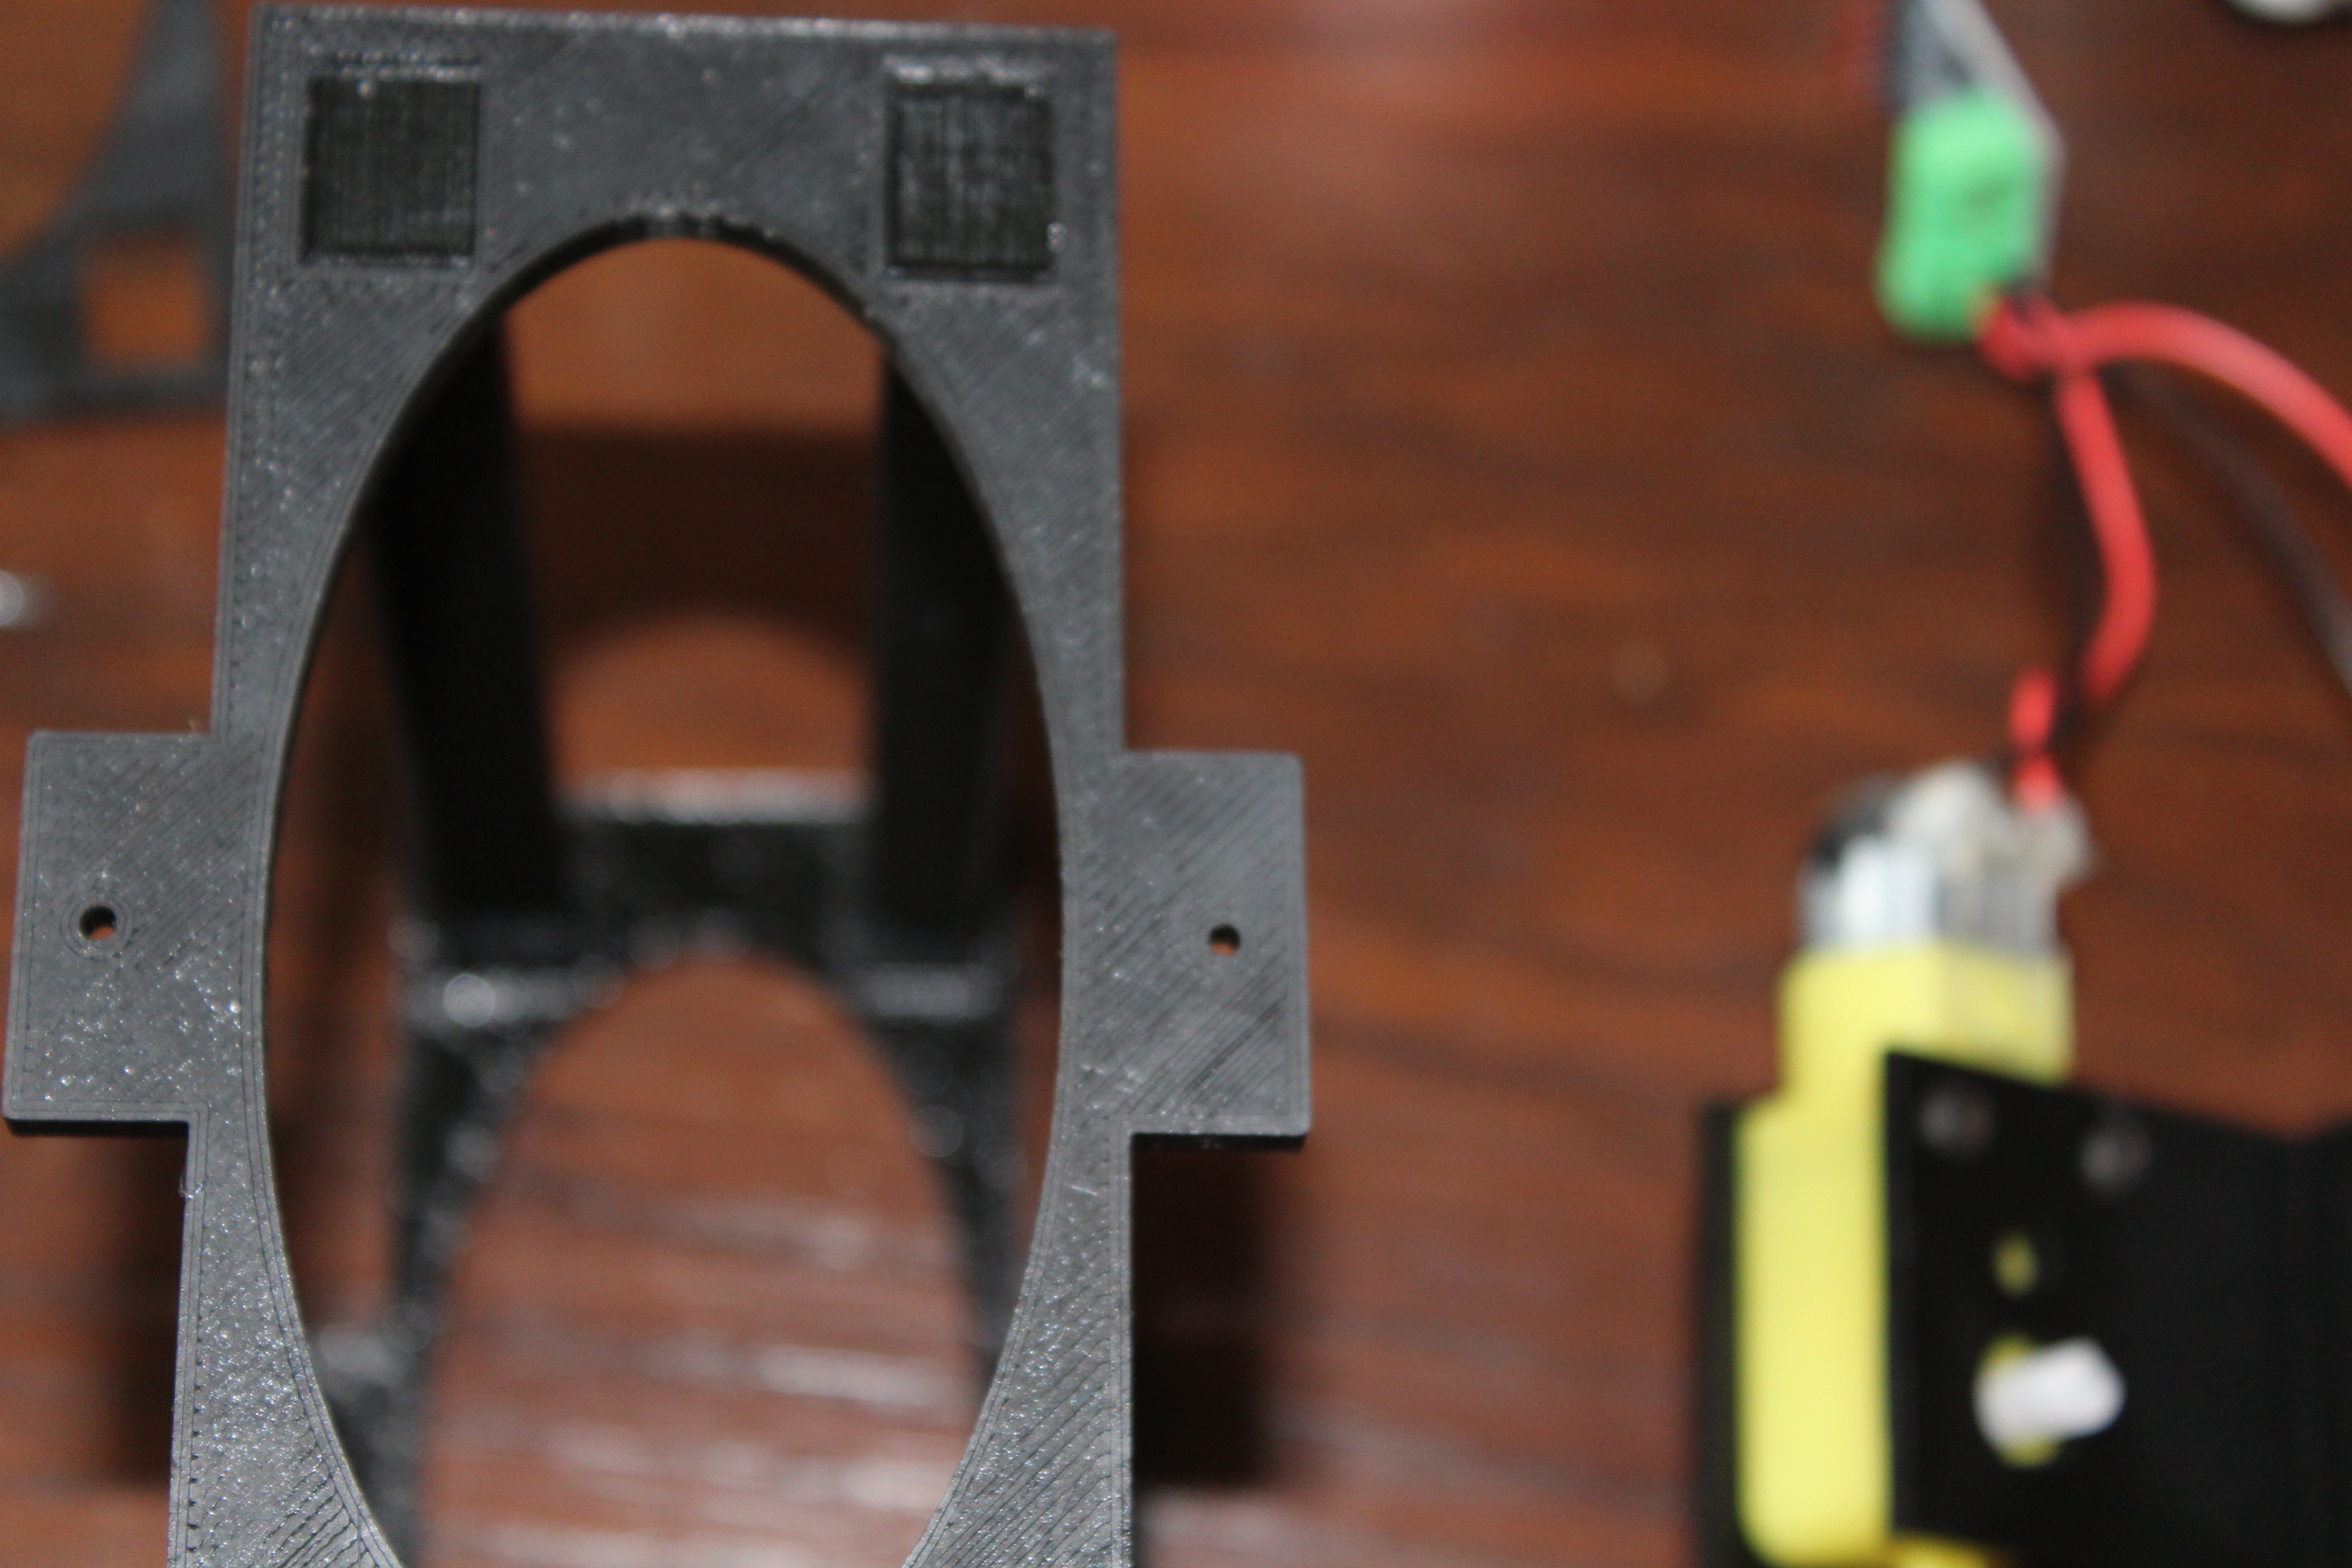
I used a combination of foam-core board and cardboard to give the bottom of the mannequin shape. I also 3D printed holders for PVC piping to make a structure to hold the Chestburster mechanism.
The final Chestburster mechanism mounted to the base.
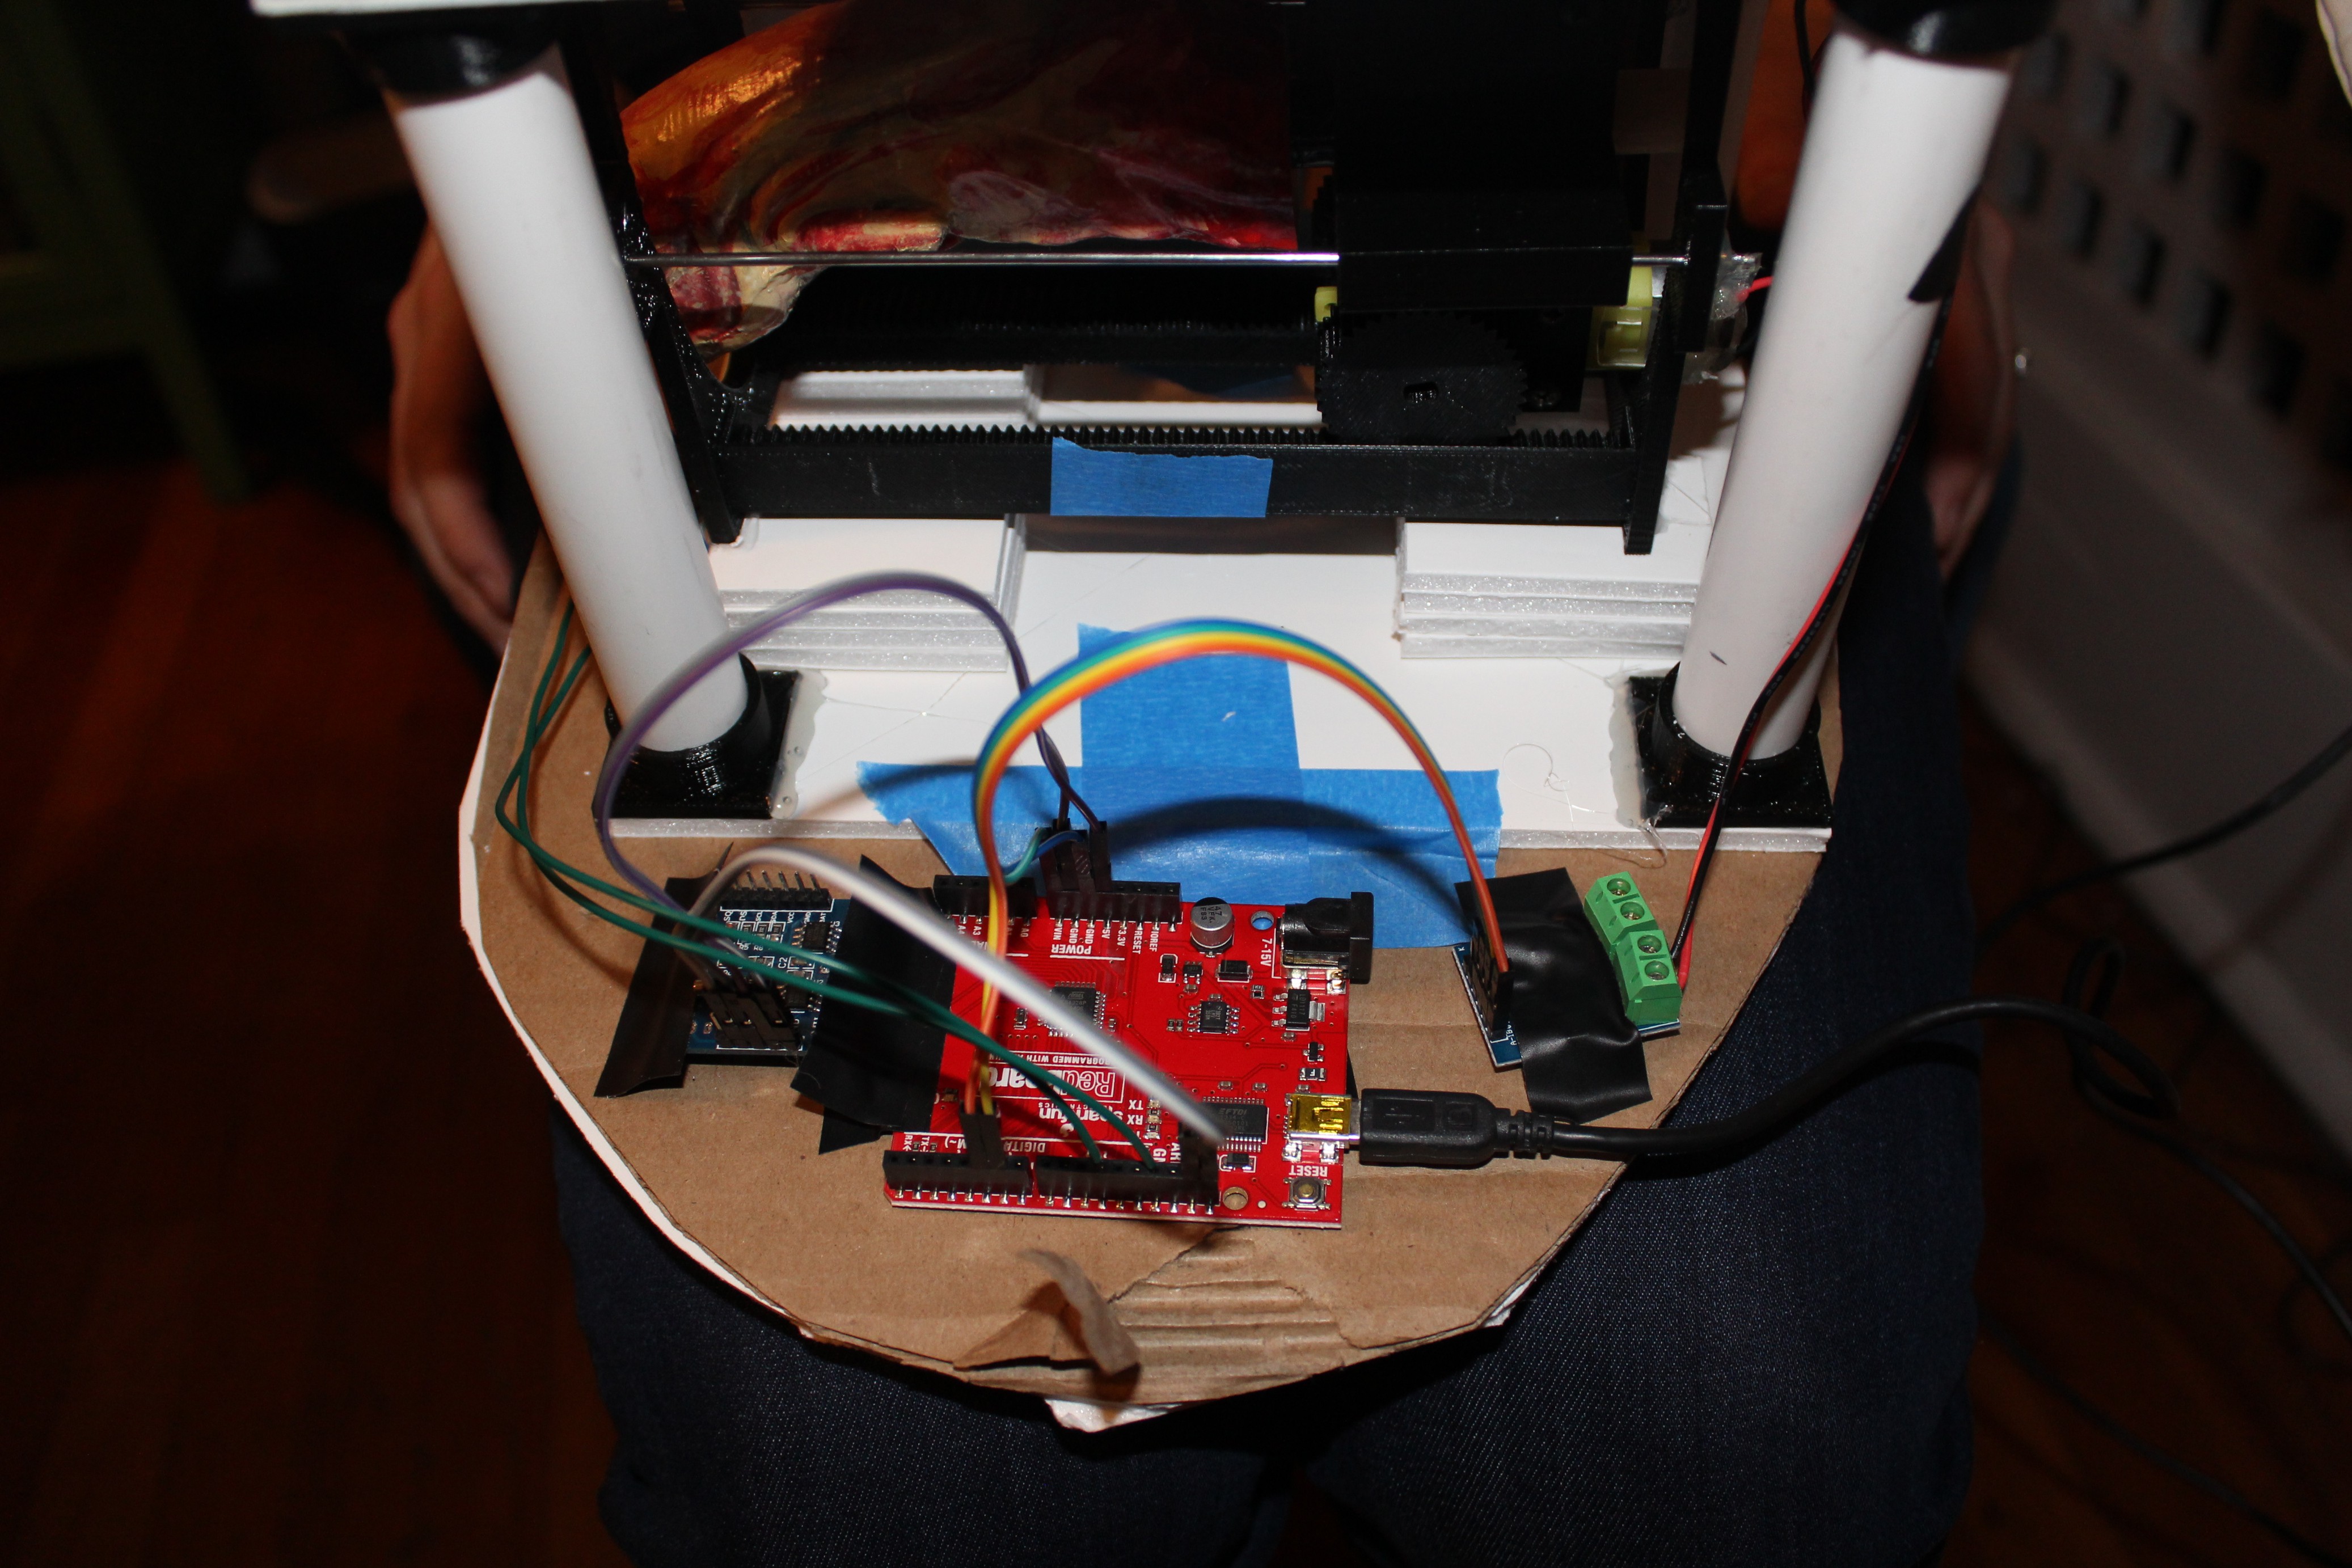
The mounted electronics consist of a Sparkfun Redboard, L9110S motor controller, and DS1307 RTC.
Lastly was to cut a hole in the shirt so that the Chestburster was mostly concealed but not restricted in movement.
-
Updated Chestburster Mechanism
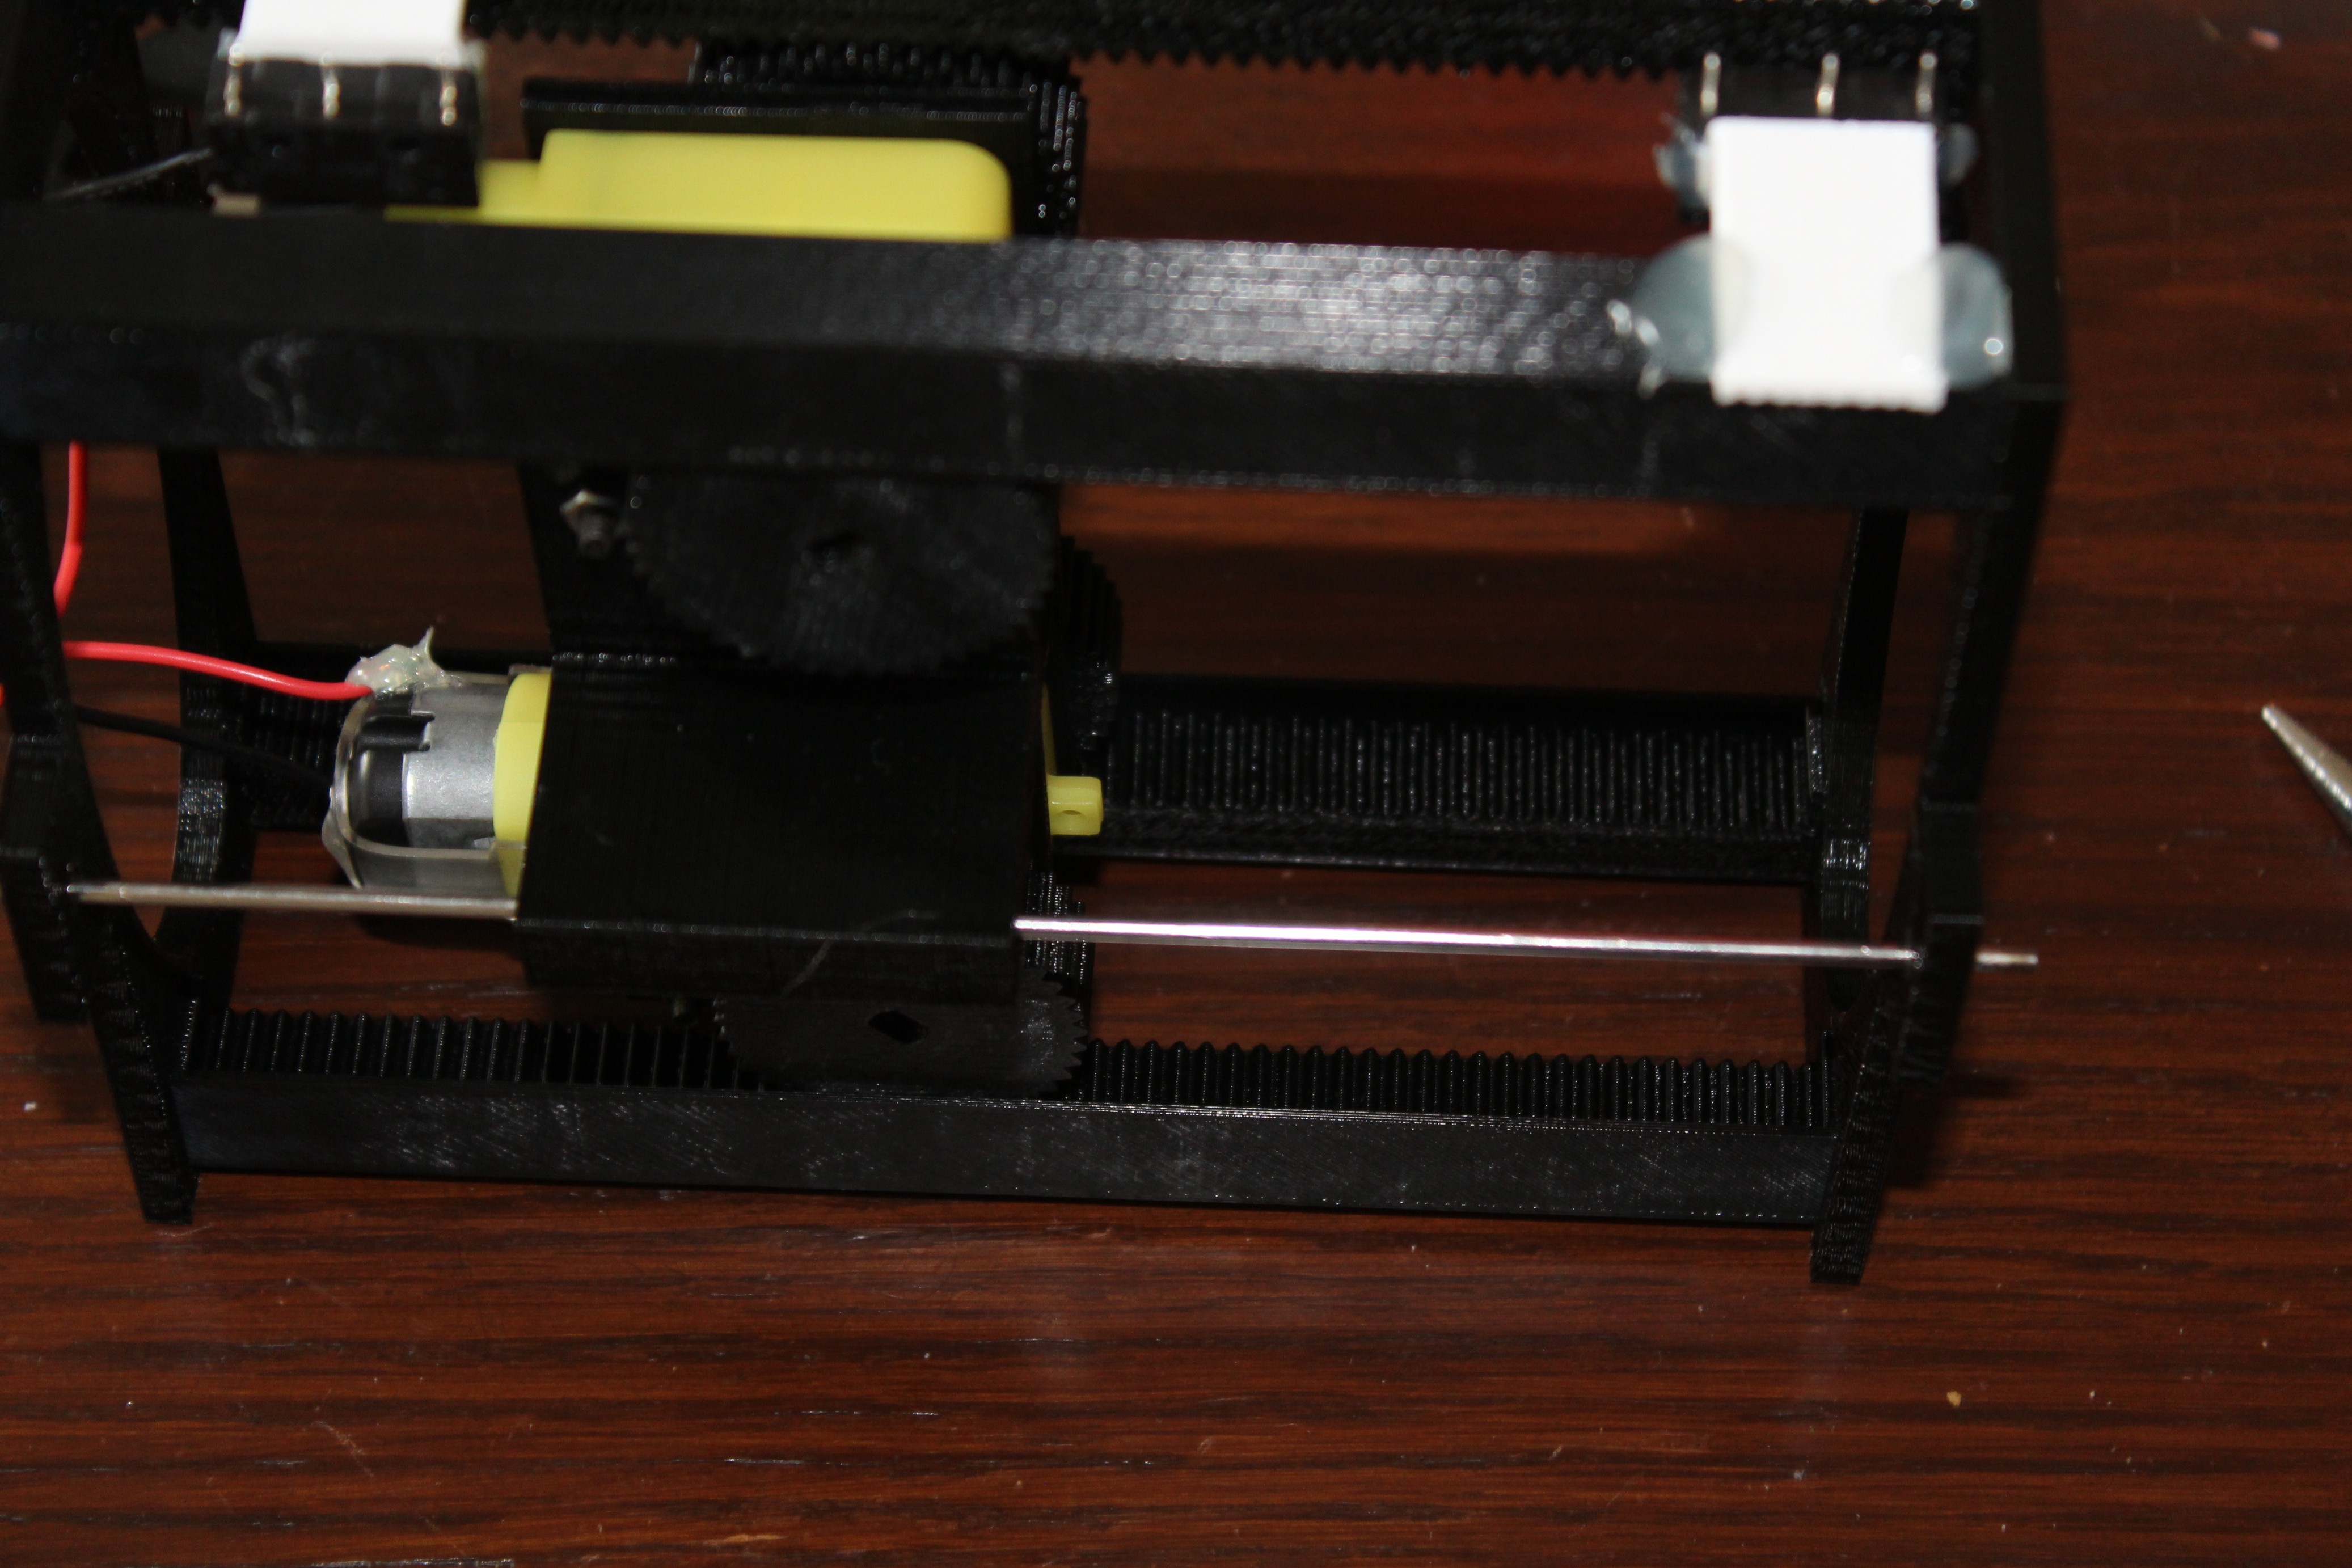
03/07/2017 at 03:06 • 0 commentsAs mentioned in my post on the Chestburster mechanism, the two motors aren't mechanically linked, causing a problem where one motor would crawl ahead of the other. To play it safe, I devised a method of avoiding this problem. I reprinted a few of the parts and added 2mm steel rods to act as guides for the motor carriage.
The metal rods are attached to the ends of the whole mechanism.
The rods are threaded through wings on the carriage to keep it straight.
And here's a pic of the new assembly.
-
Painting All the Things!
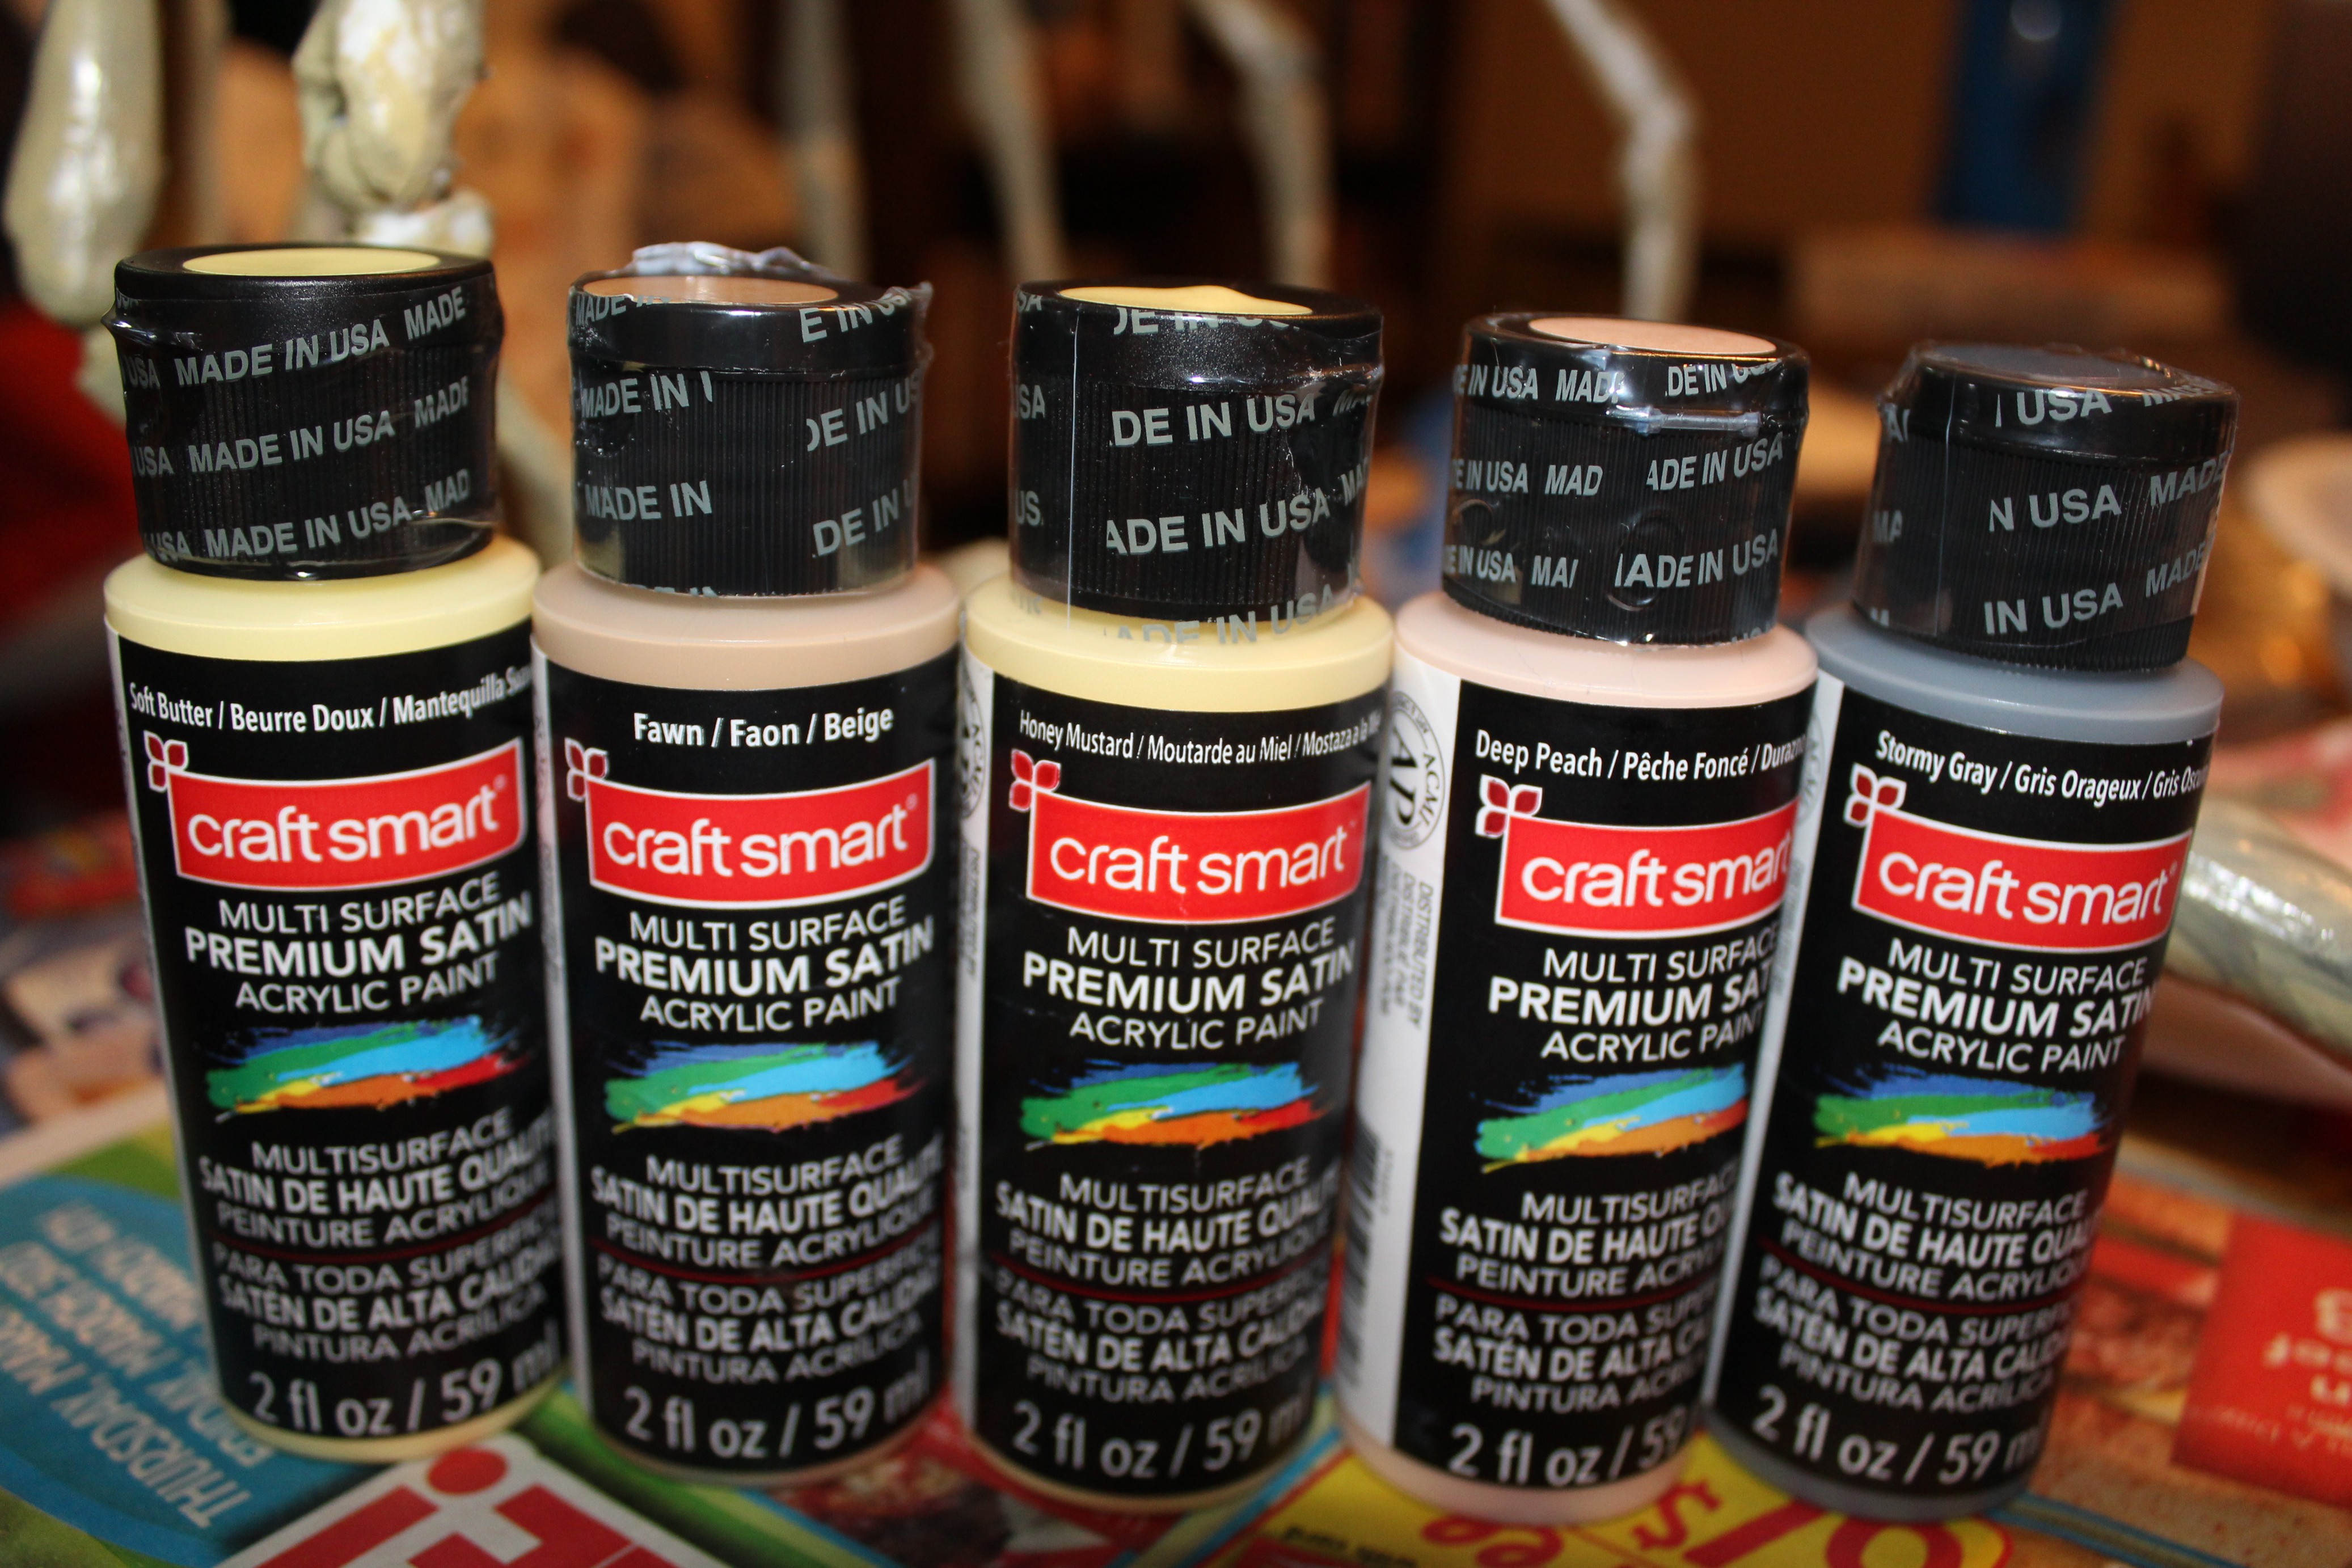
03/05/2017 at 19:18 • 0 commentsSo rather than make individual posts for painting each of the pieces, I decided to lump everything together. The Xenomorph design has varied a lot between depictions, so really there were no specific requirements for coloring and design. I wanted something similar enough to the original designs to be recognizable, but I wasn't that concerned about fine details.
Disclaimer: Since I don't have an artistic bone in my body, my wife was kind enough to do most of the painting for me. She did a far better job than I ever could have and everything turned out wonderfully!
Prior to painting, I coated all the prints and the styrofoam head in liquid latex, which was an interesting experience. The bottle I purchased advertised that it was good for monster make up or making scars on faces, but it was difficult to work with to make a smooth surface. Luckily, the dried latex peeled off really easily, which was convenient in the case of mistakes but also sometimes peeled off too easily. After several tries, however, all the pieces had a nice matte finish and fleshy look to them.
Facehugger
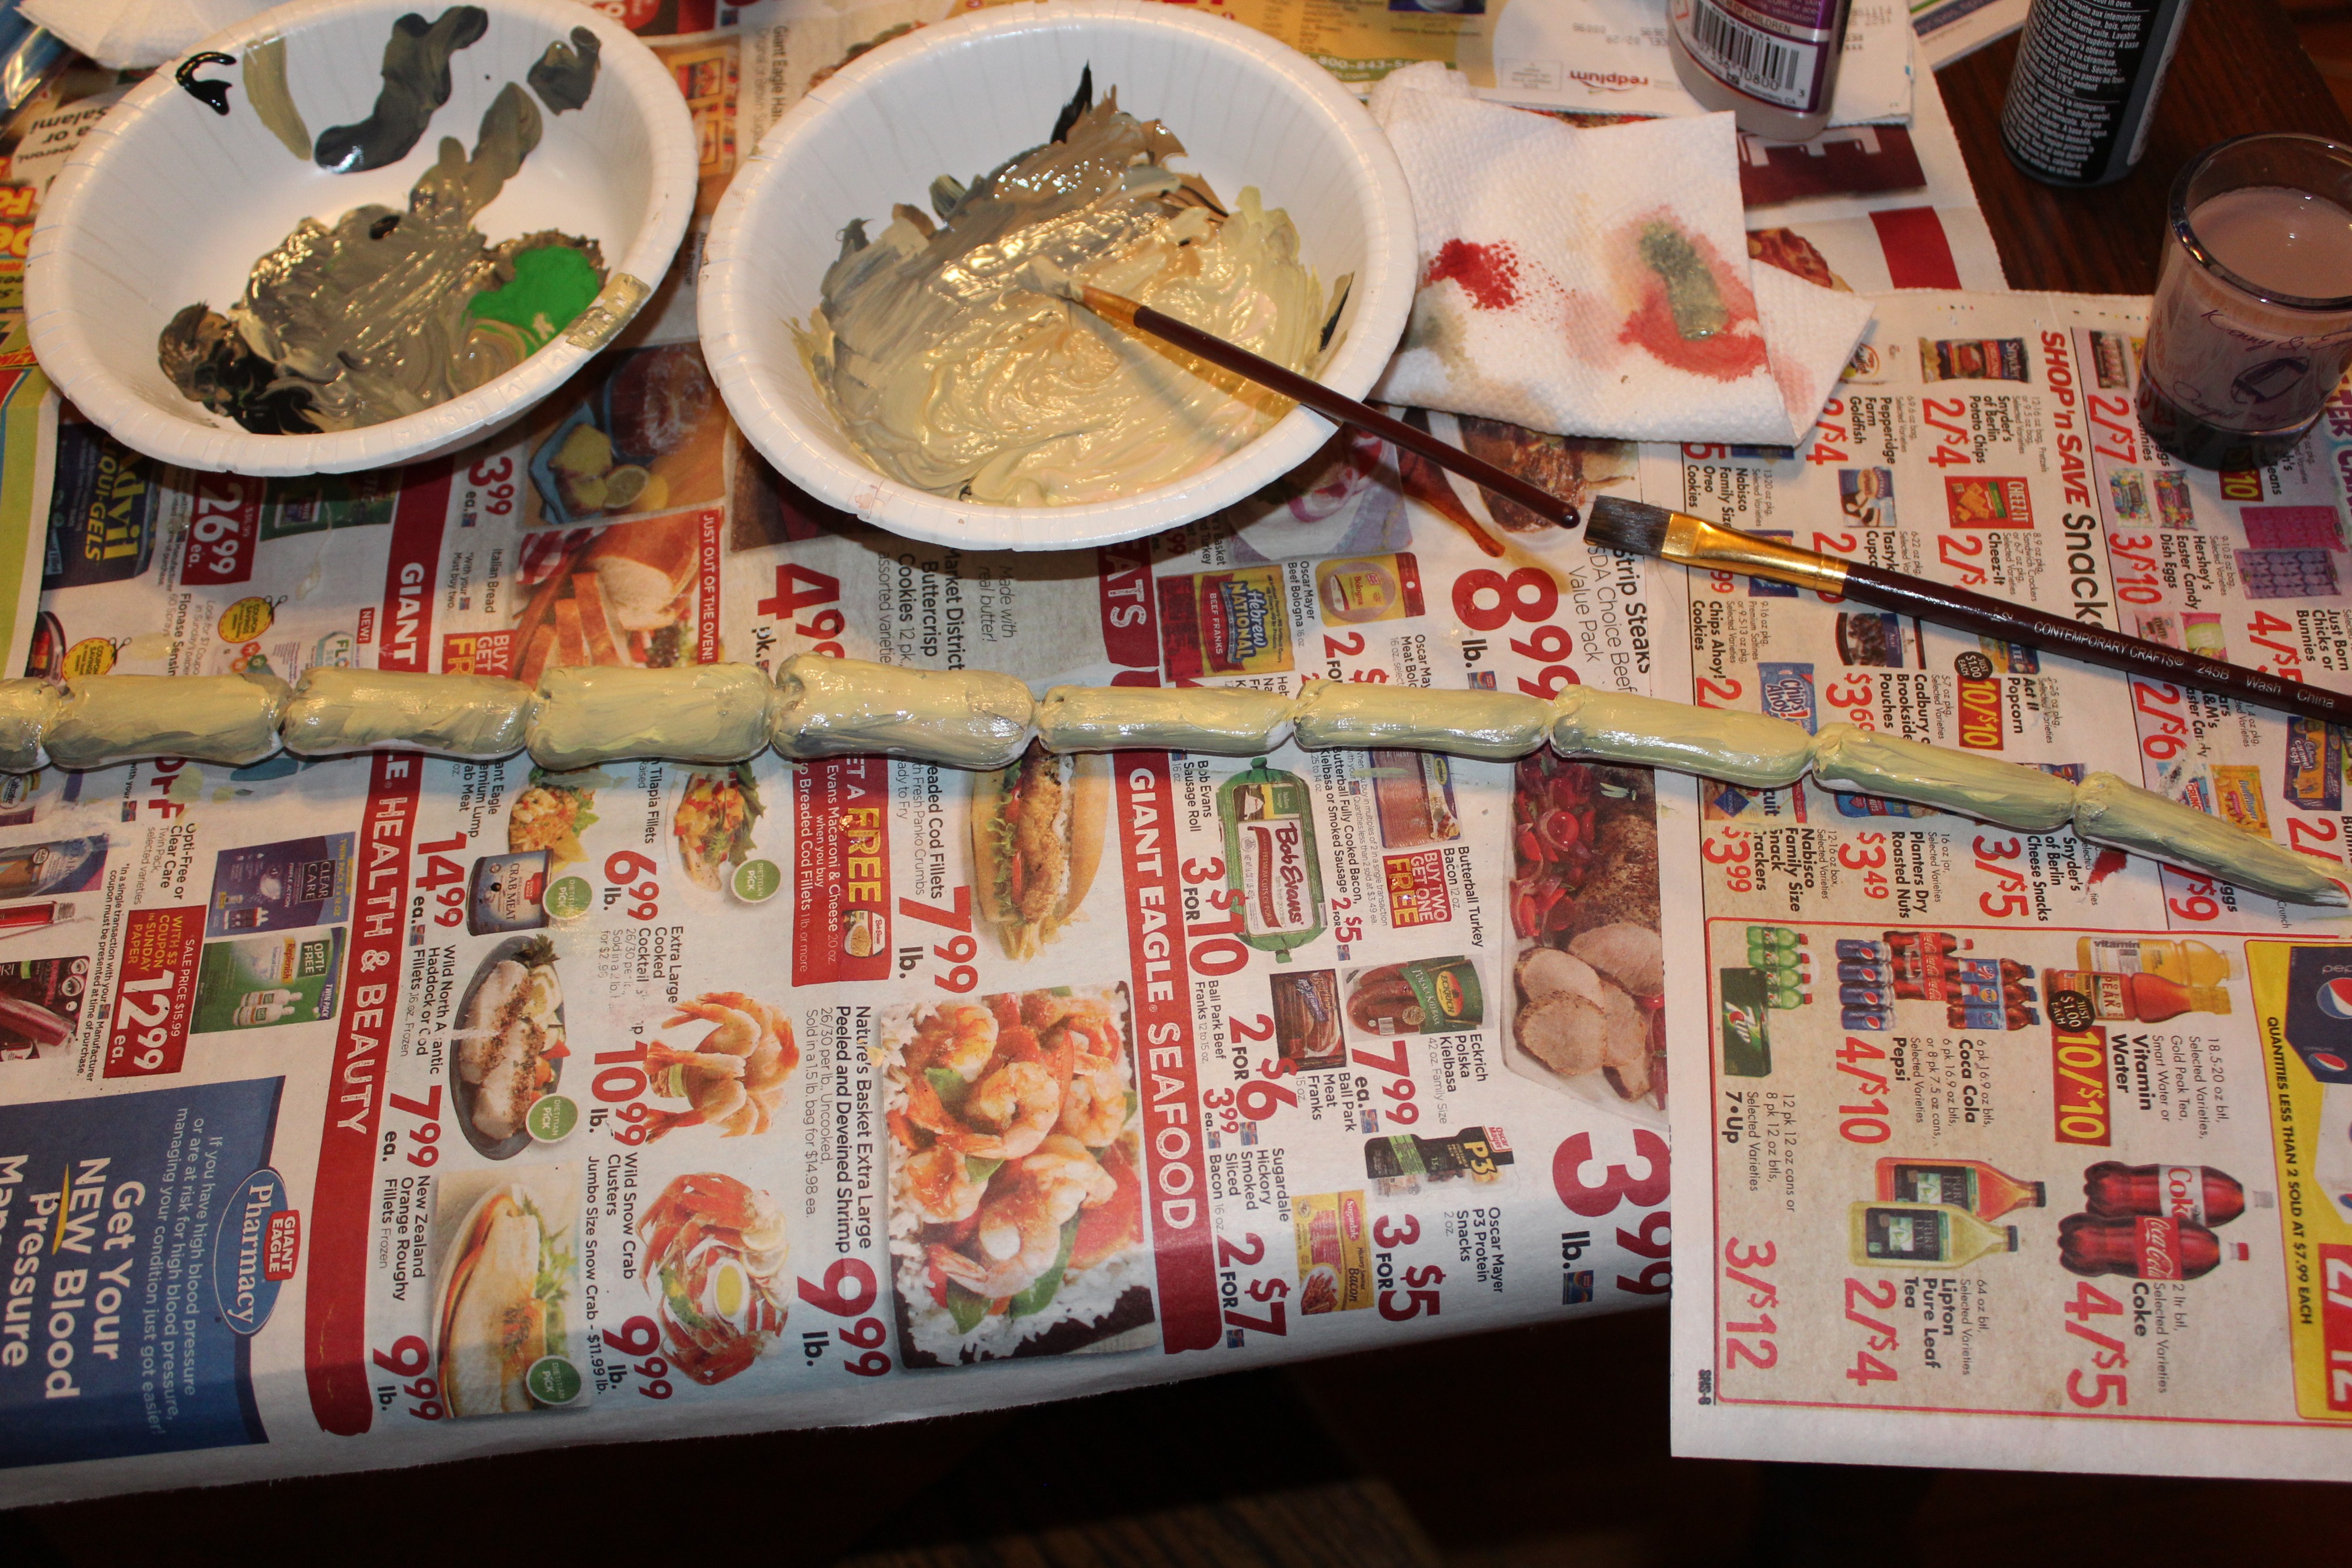
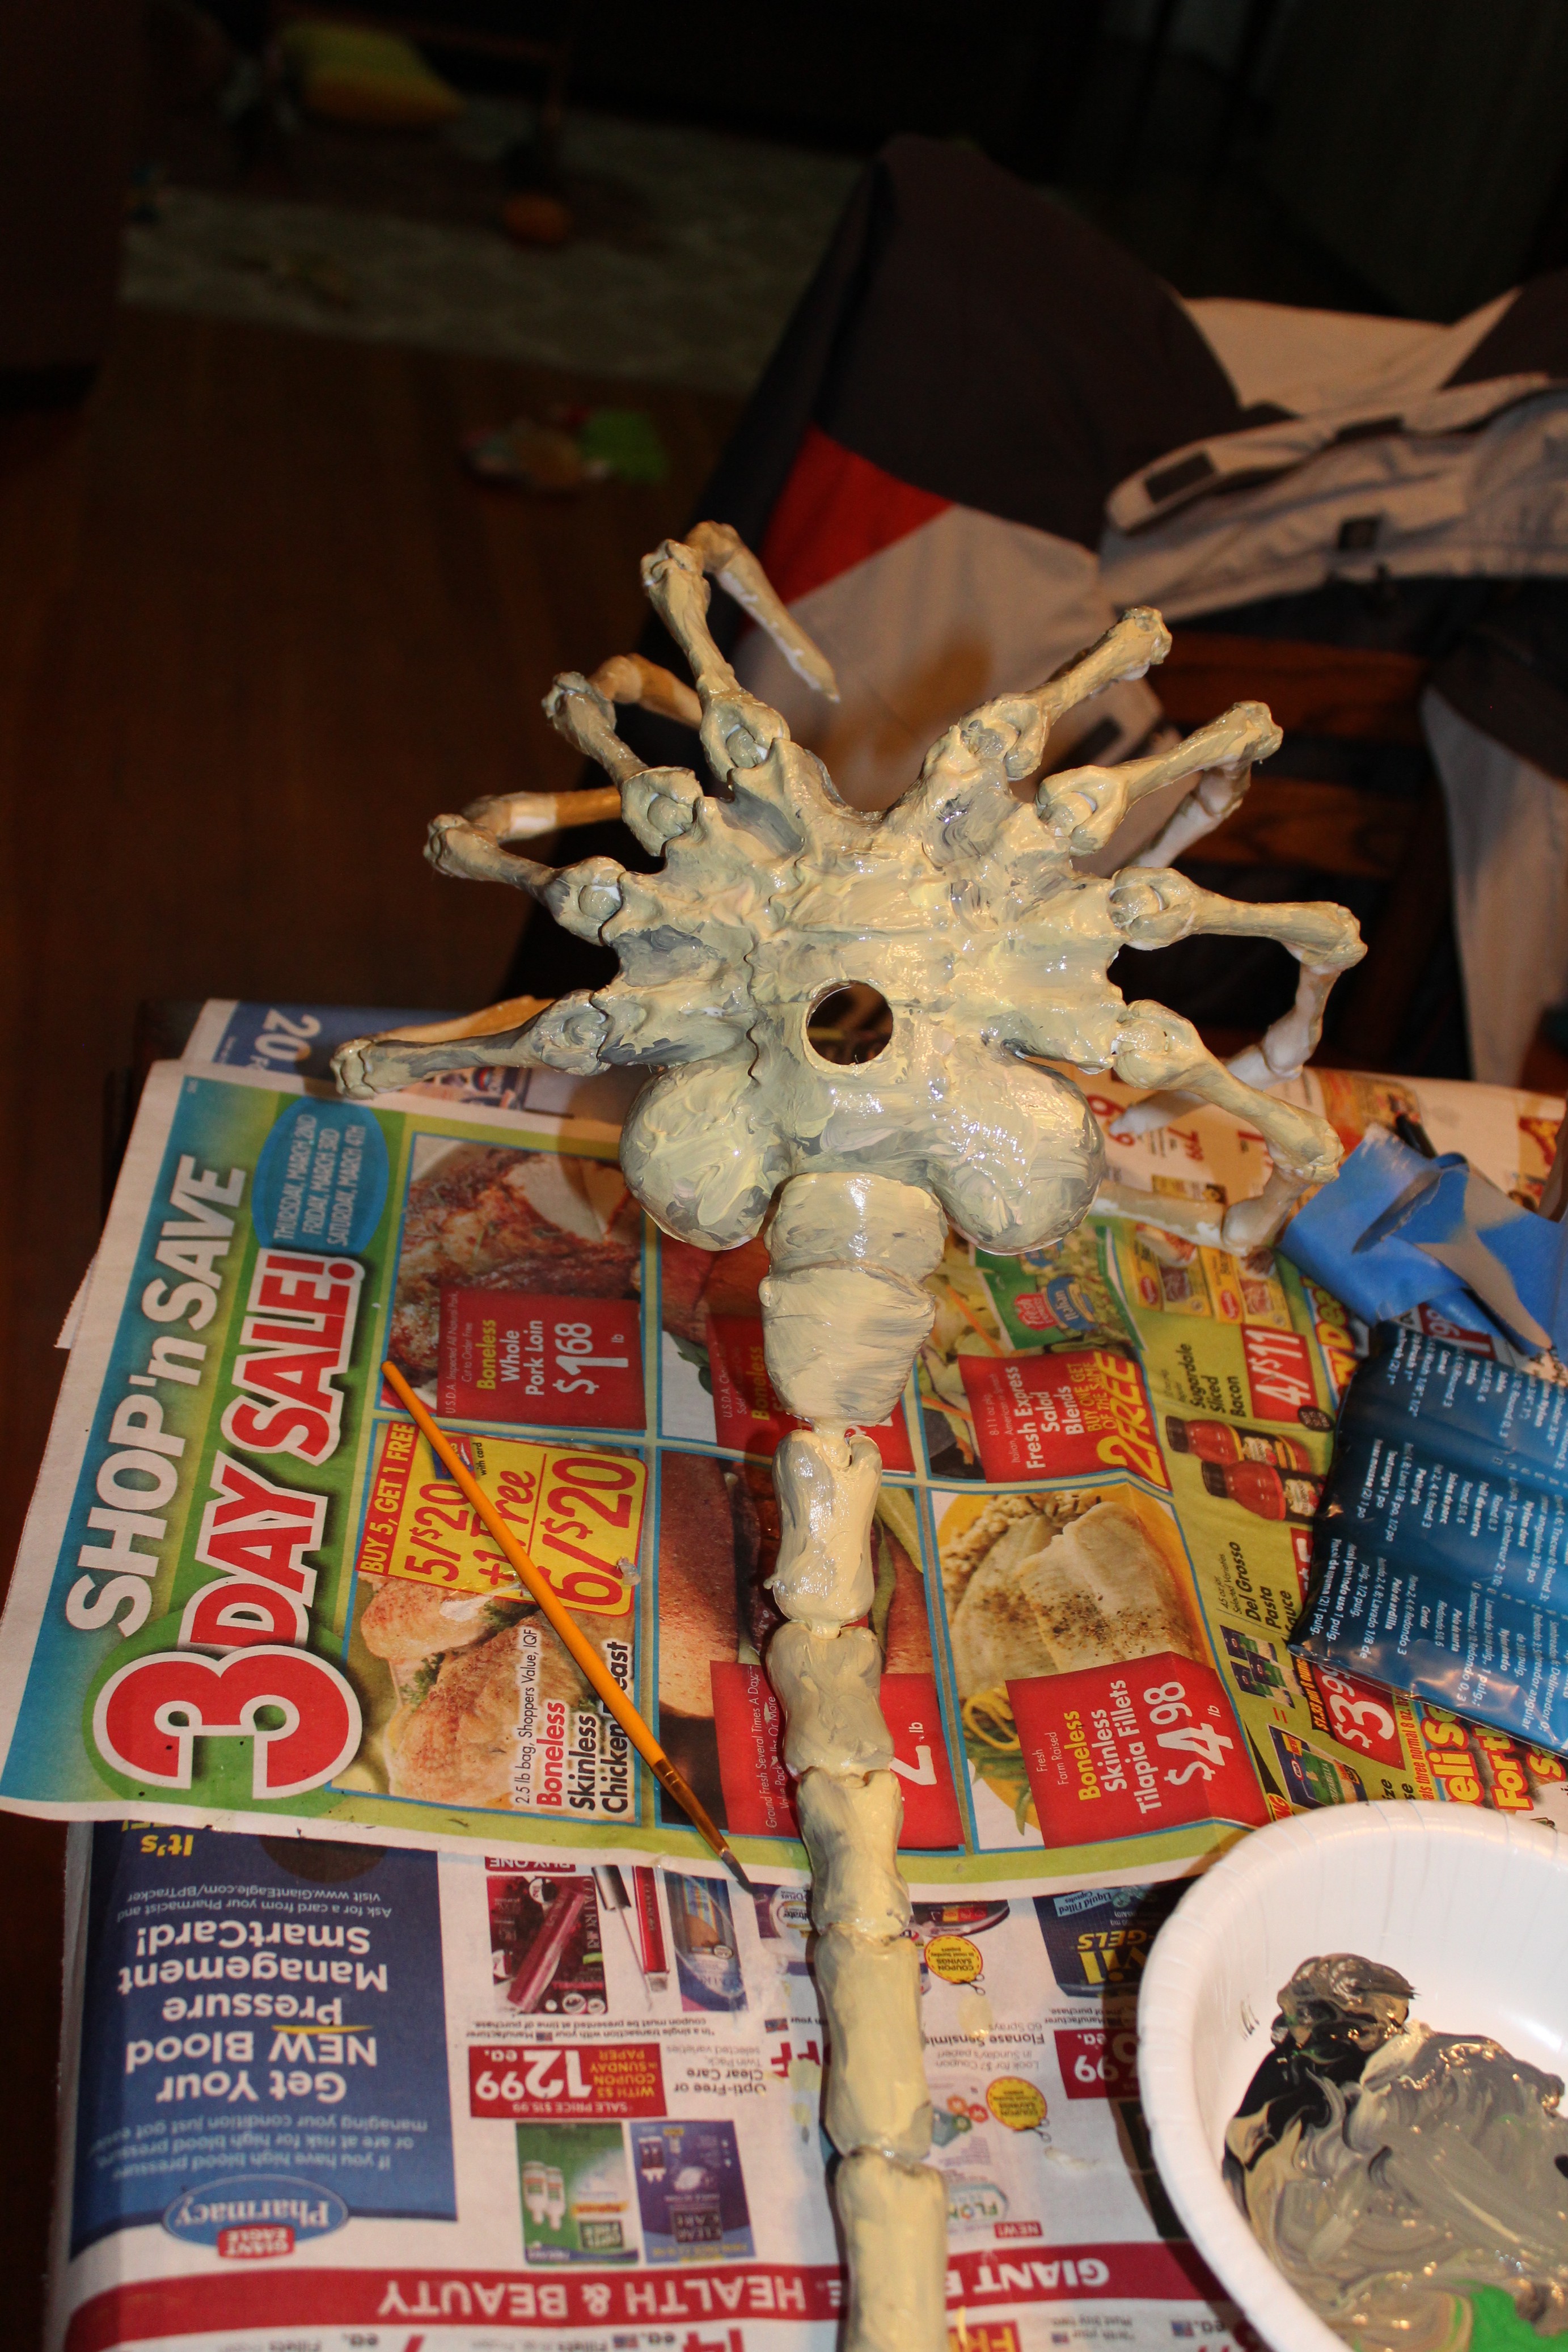
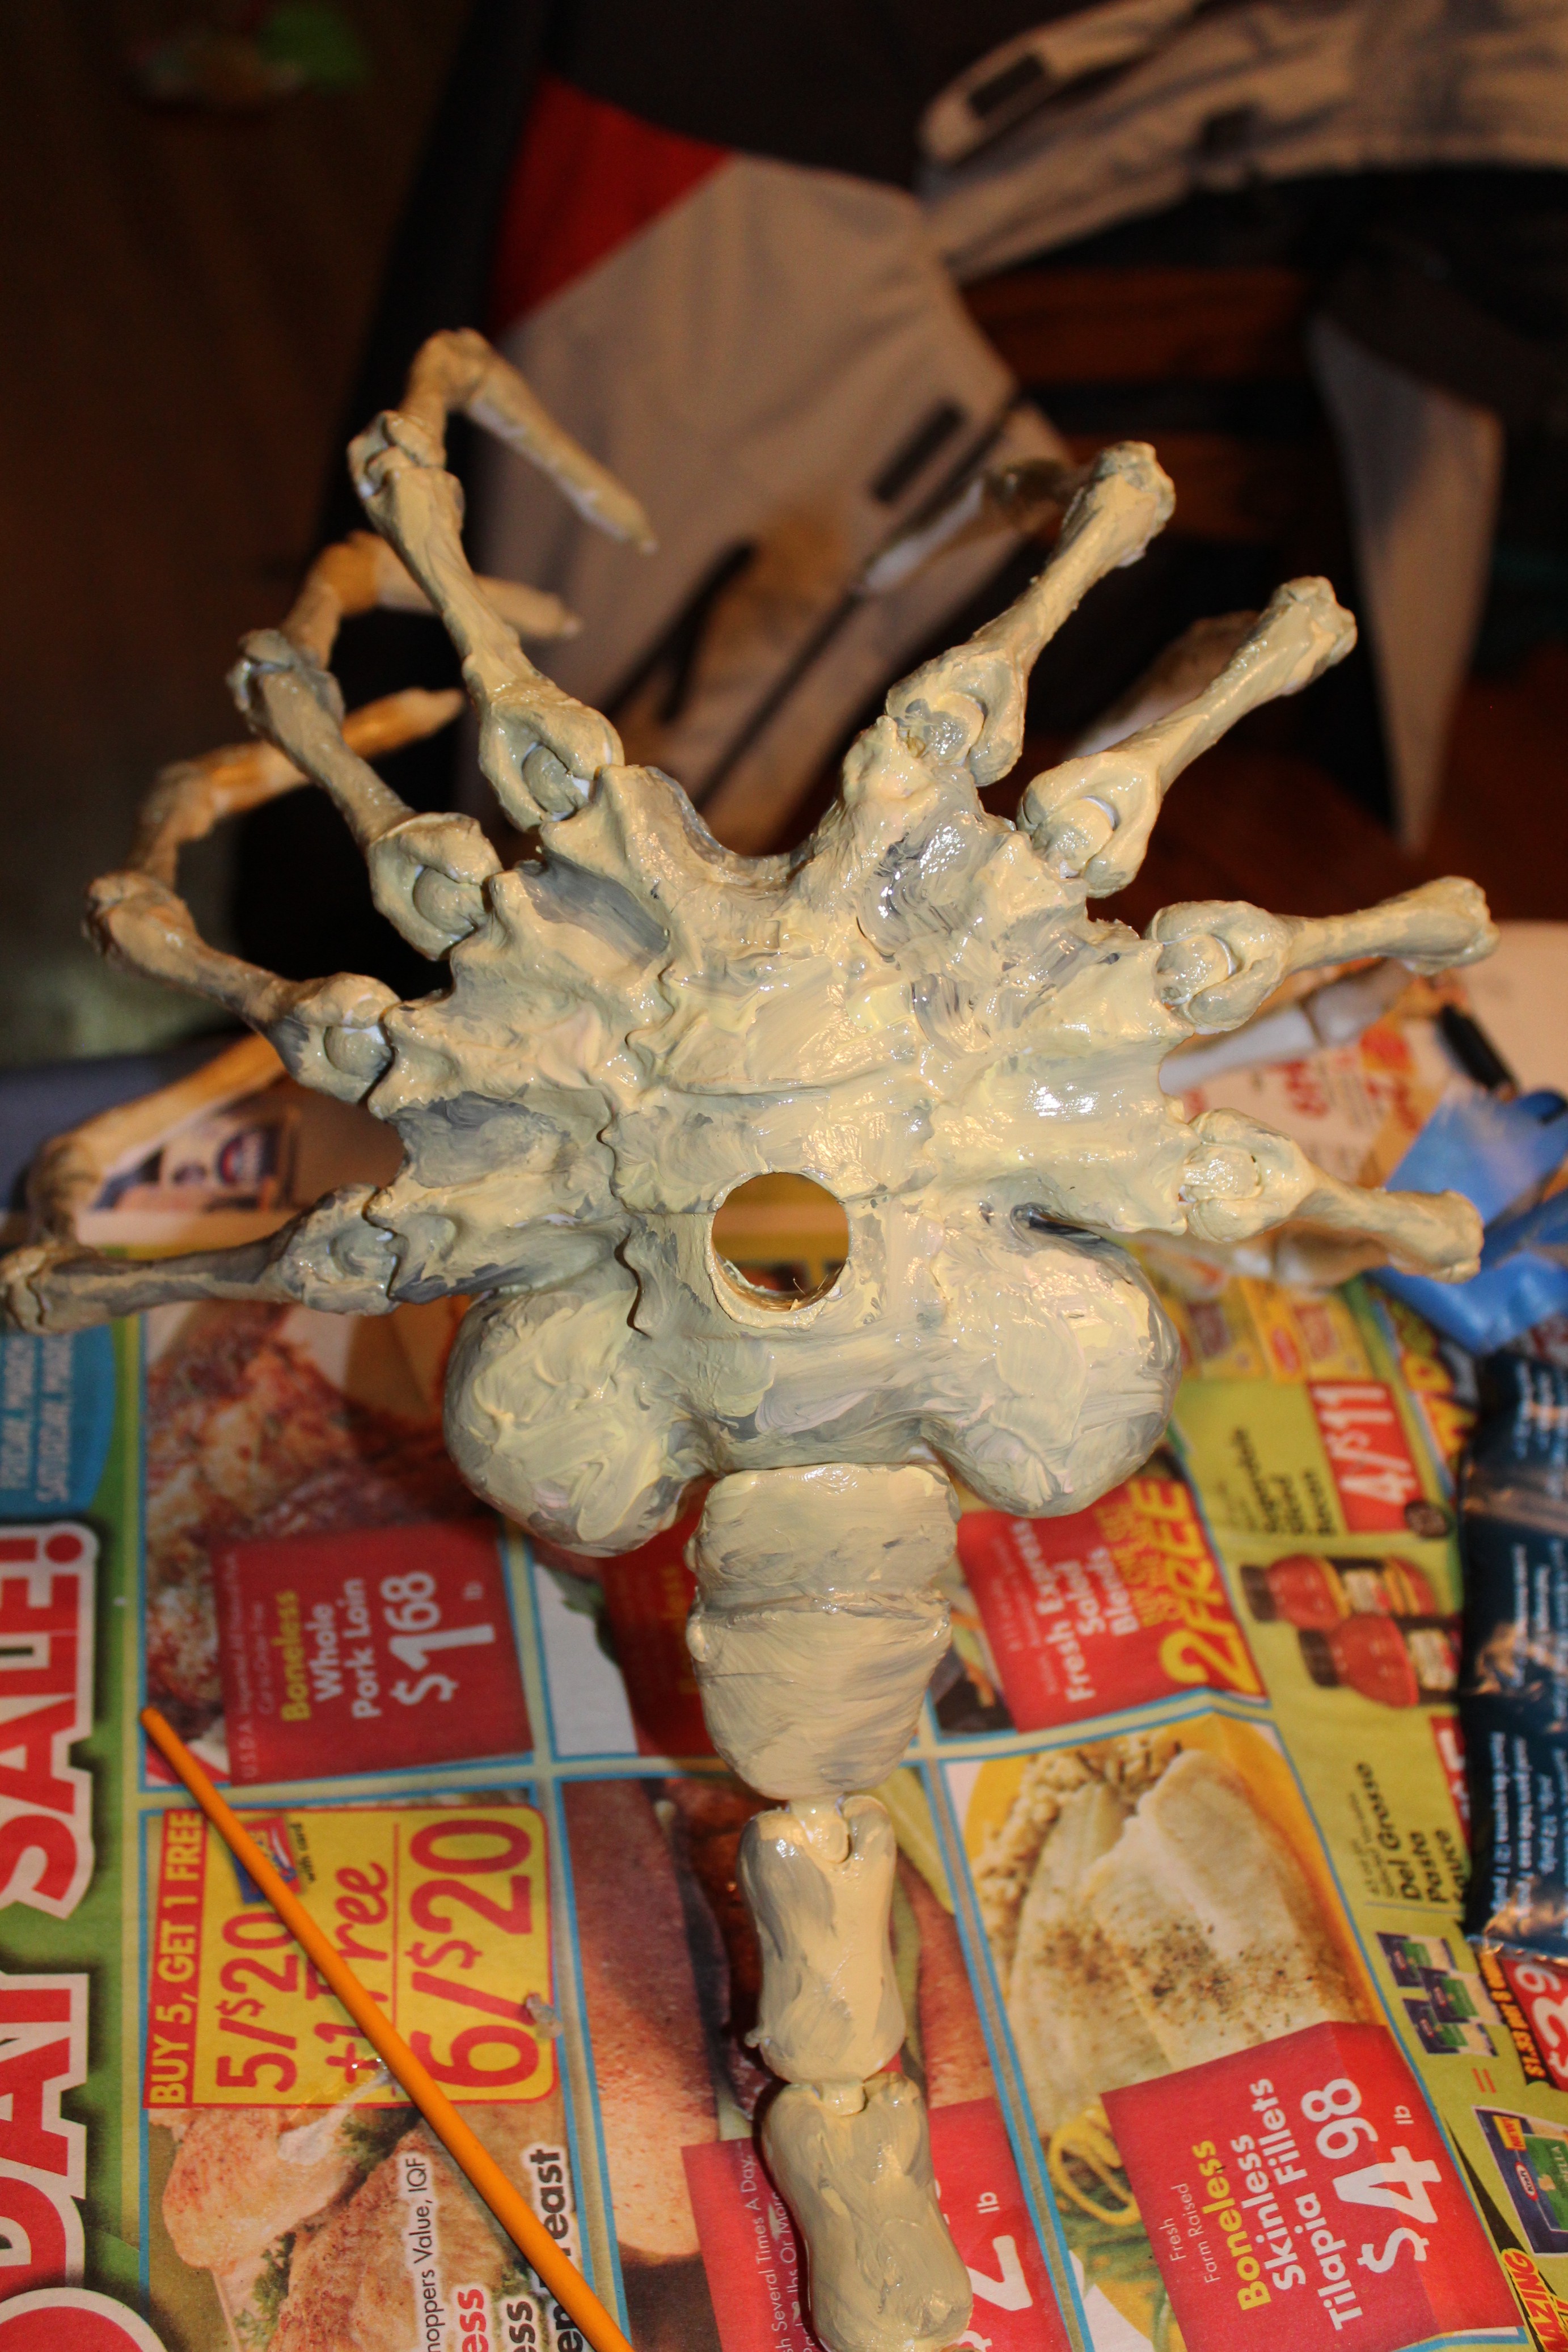
Since Freddie the facehugger is so large, we were a little concerned about keeping the color scheme constant if we went with the same messy approach used for Charlie. Instead, she mixed a ton of light yellowy greenish gray (again, technical terms!) as well as a darker, browner version and a deeper dark gray/brown for shadows. She coated the whole thing with the lightest shade and then contoured the edges and details with the darker colors. This approach was less detailed than mixing small amounts of each creepy bloody shade for Charlie, but it was the easiest way to keep this consistent from the tail all the way out to the arms. One extra challenge with Freddie was all the joints. We wanted to cover as much of the white PLA as possible while still allowing some flexibility. To solve this problem, we used a very watered down paint that was more translucent but soaked into the joints better and did a good job of covering all the visible white sections.
Chestburster
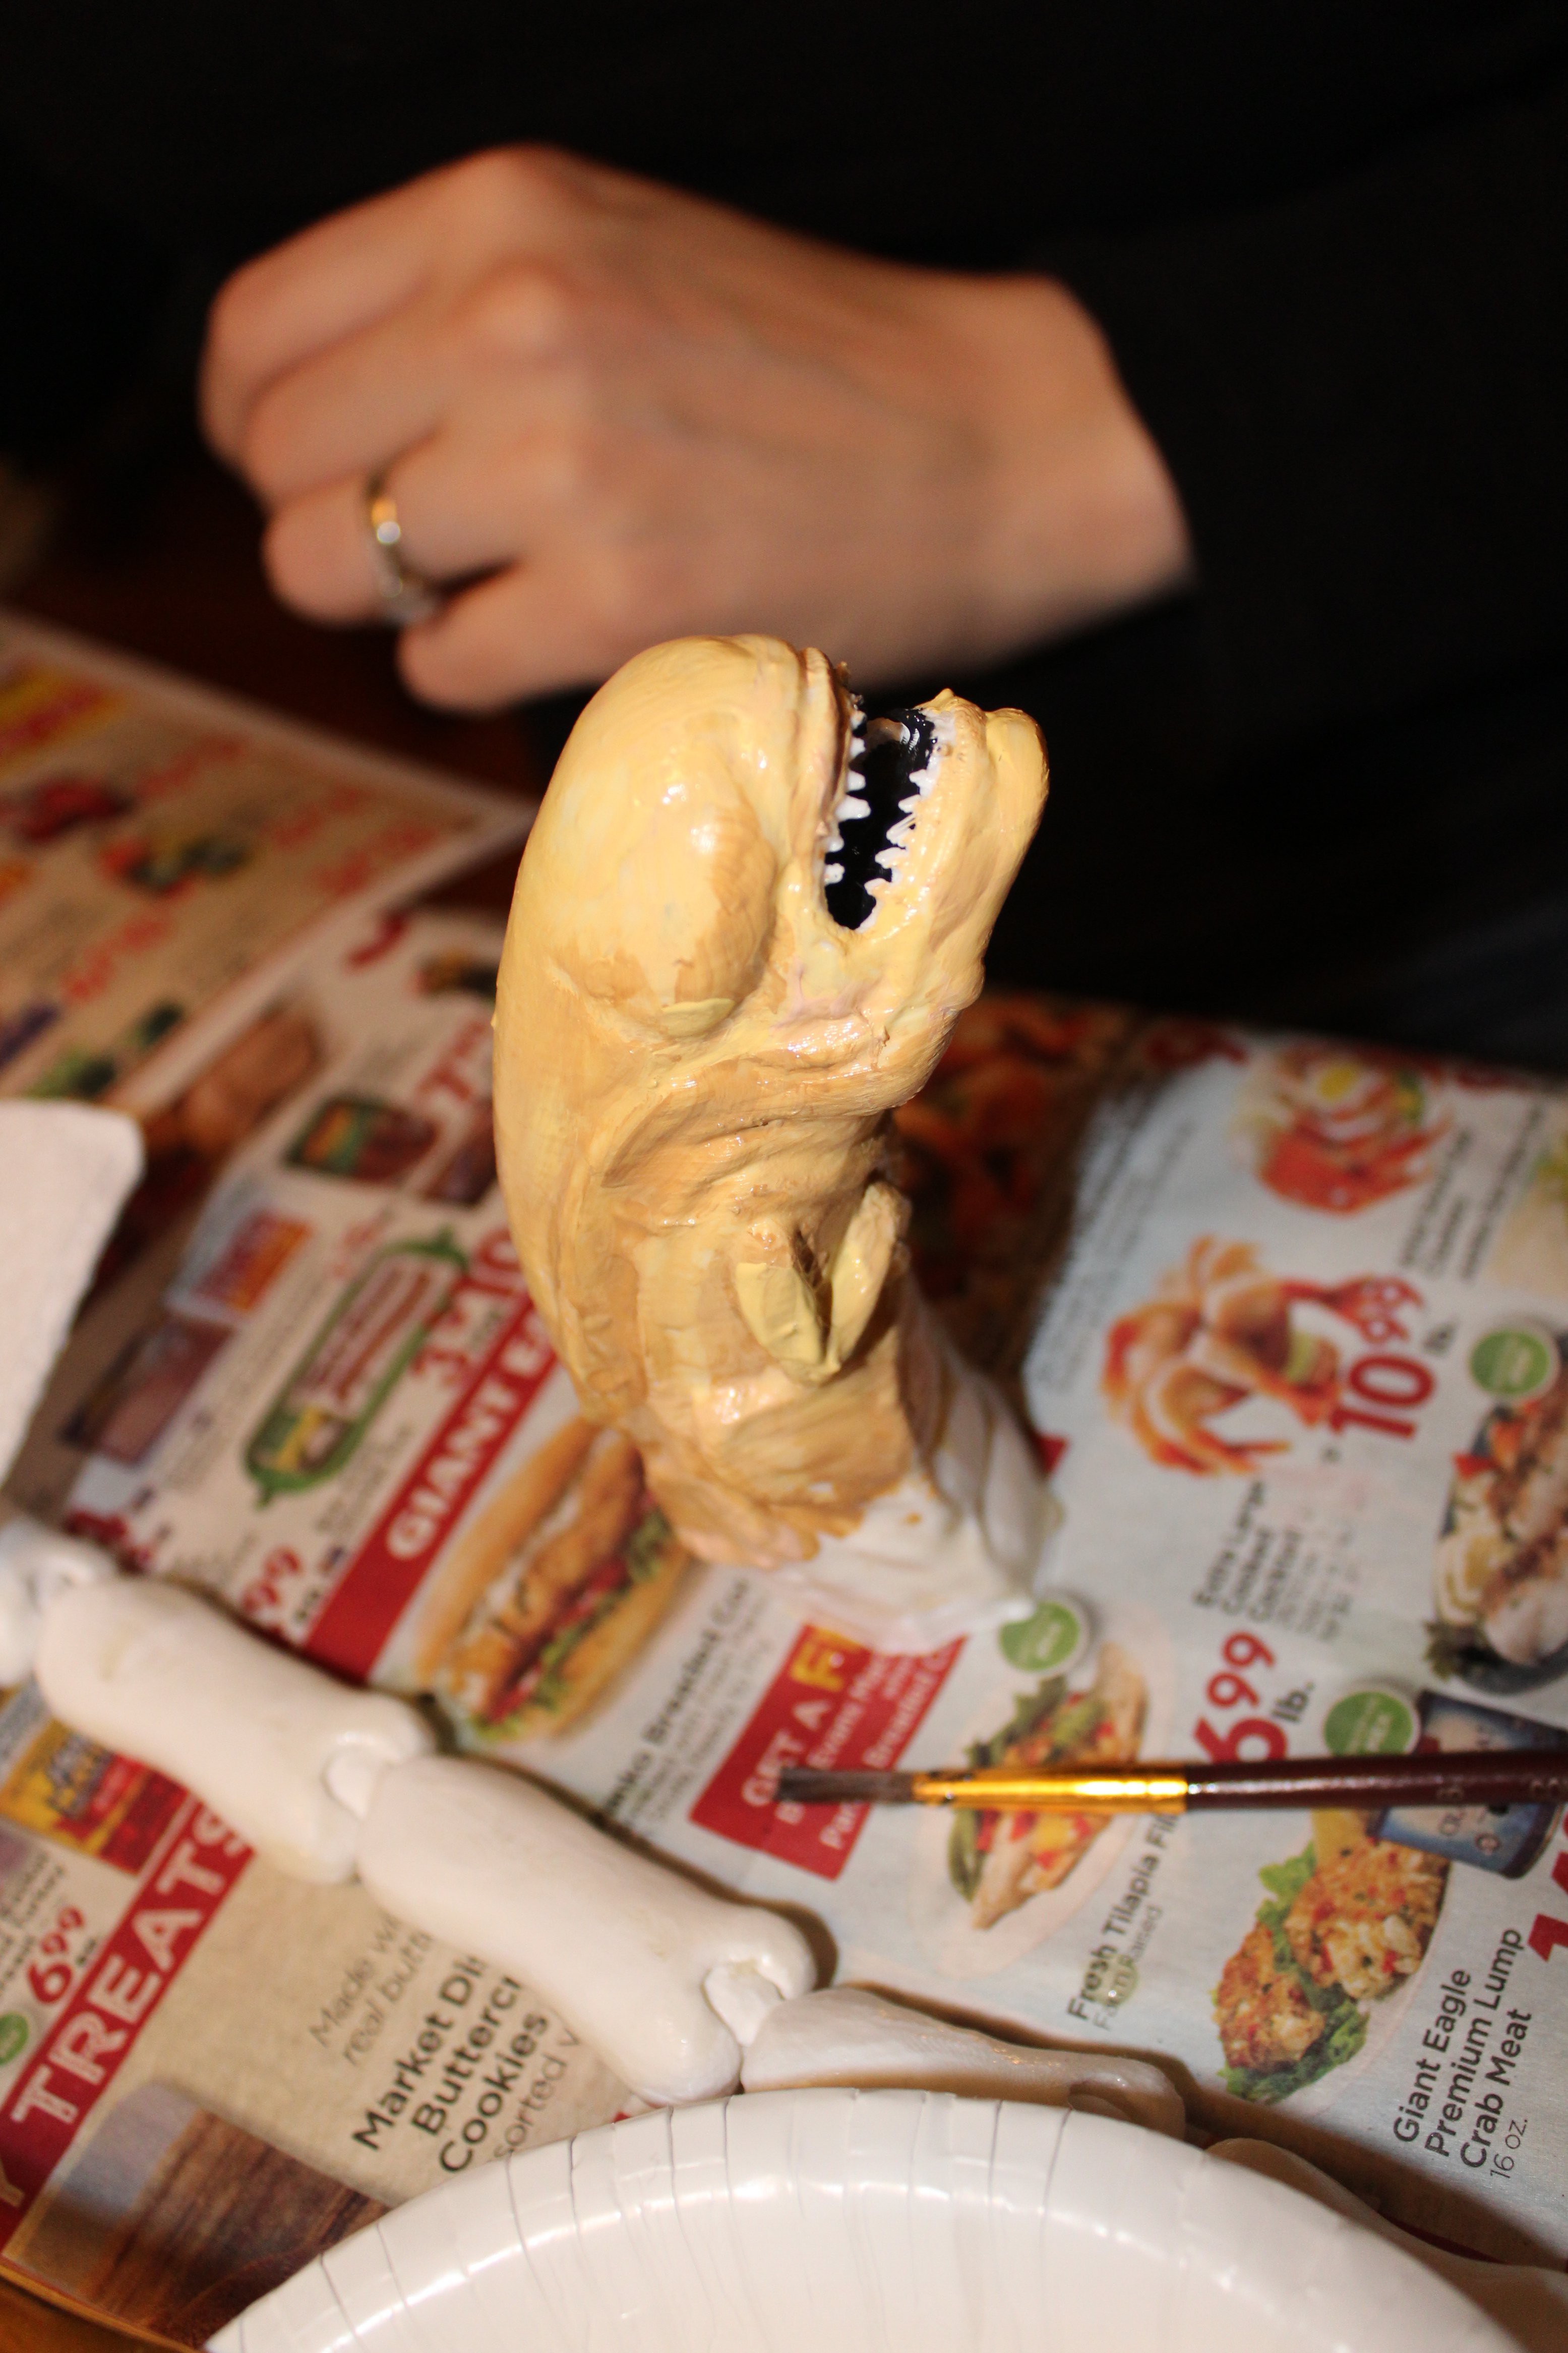
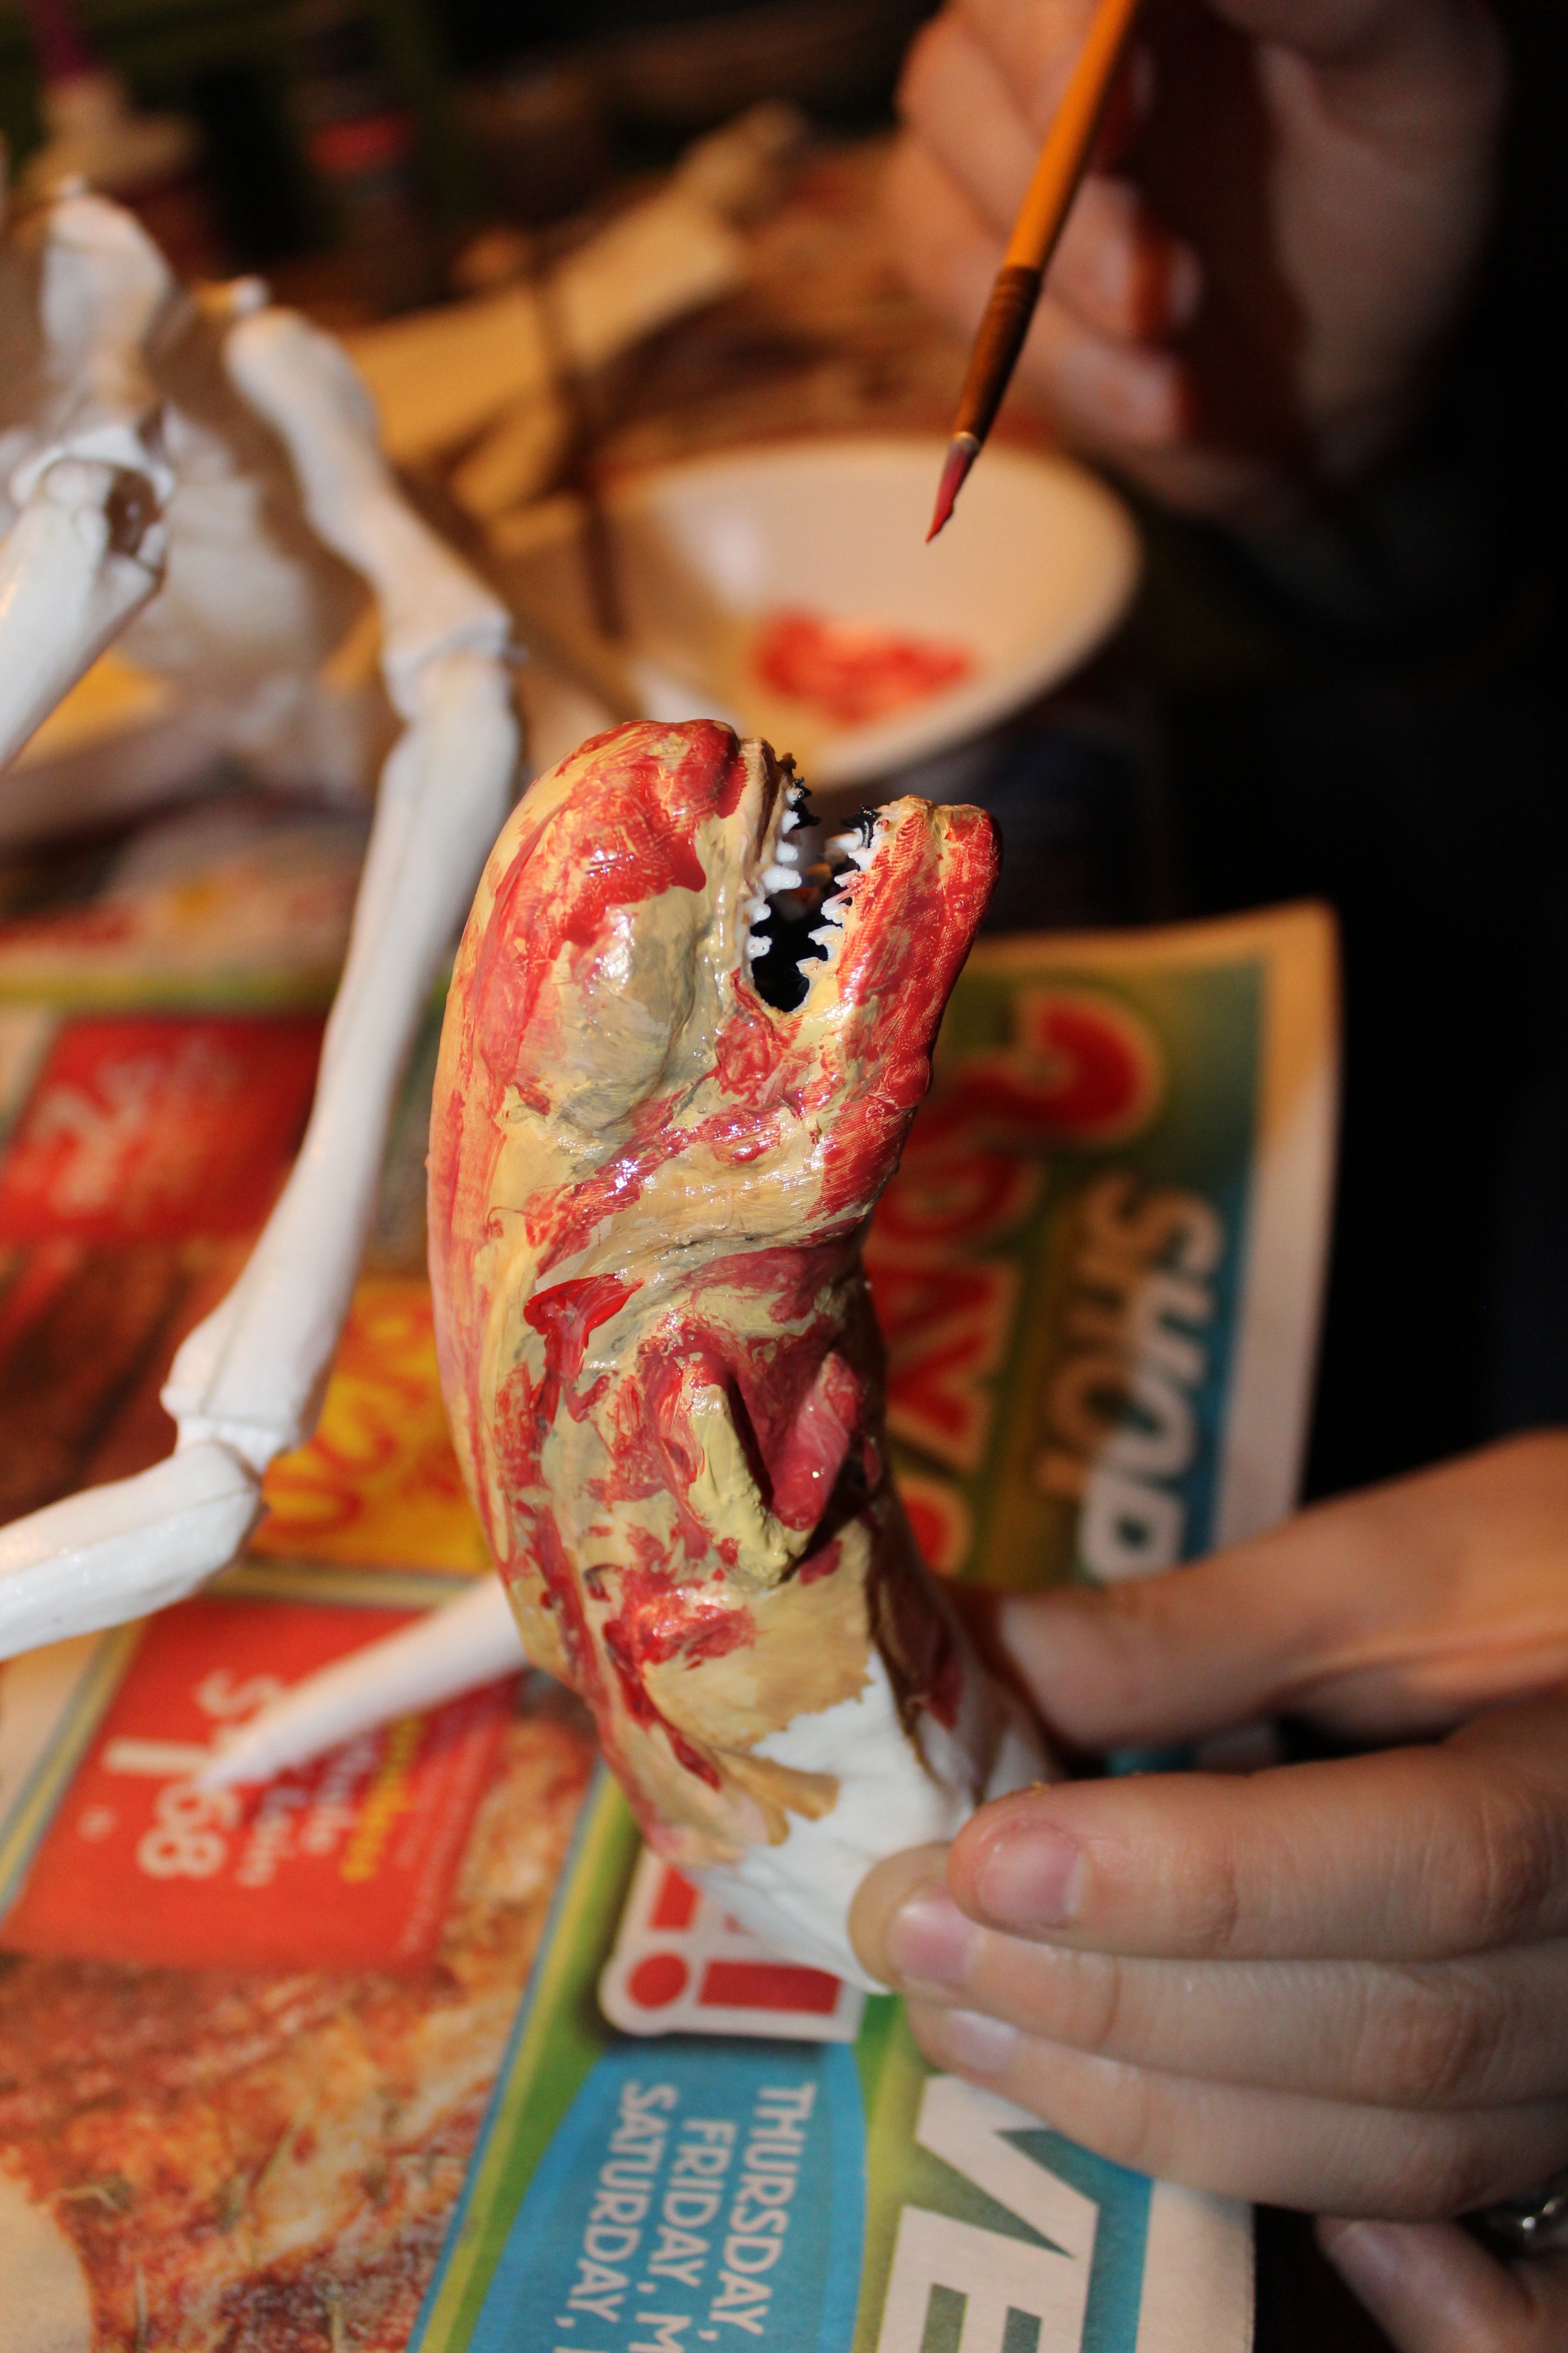
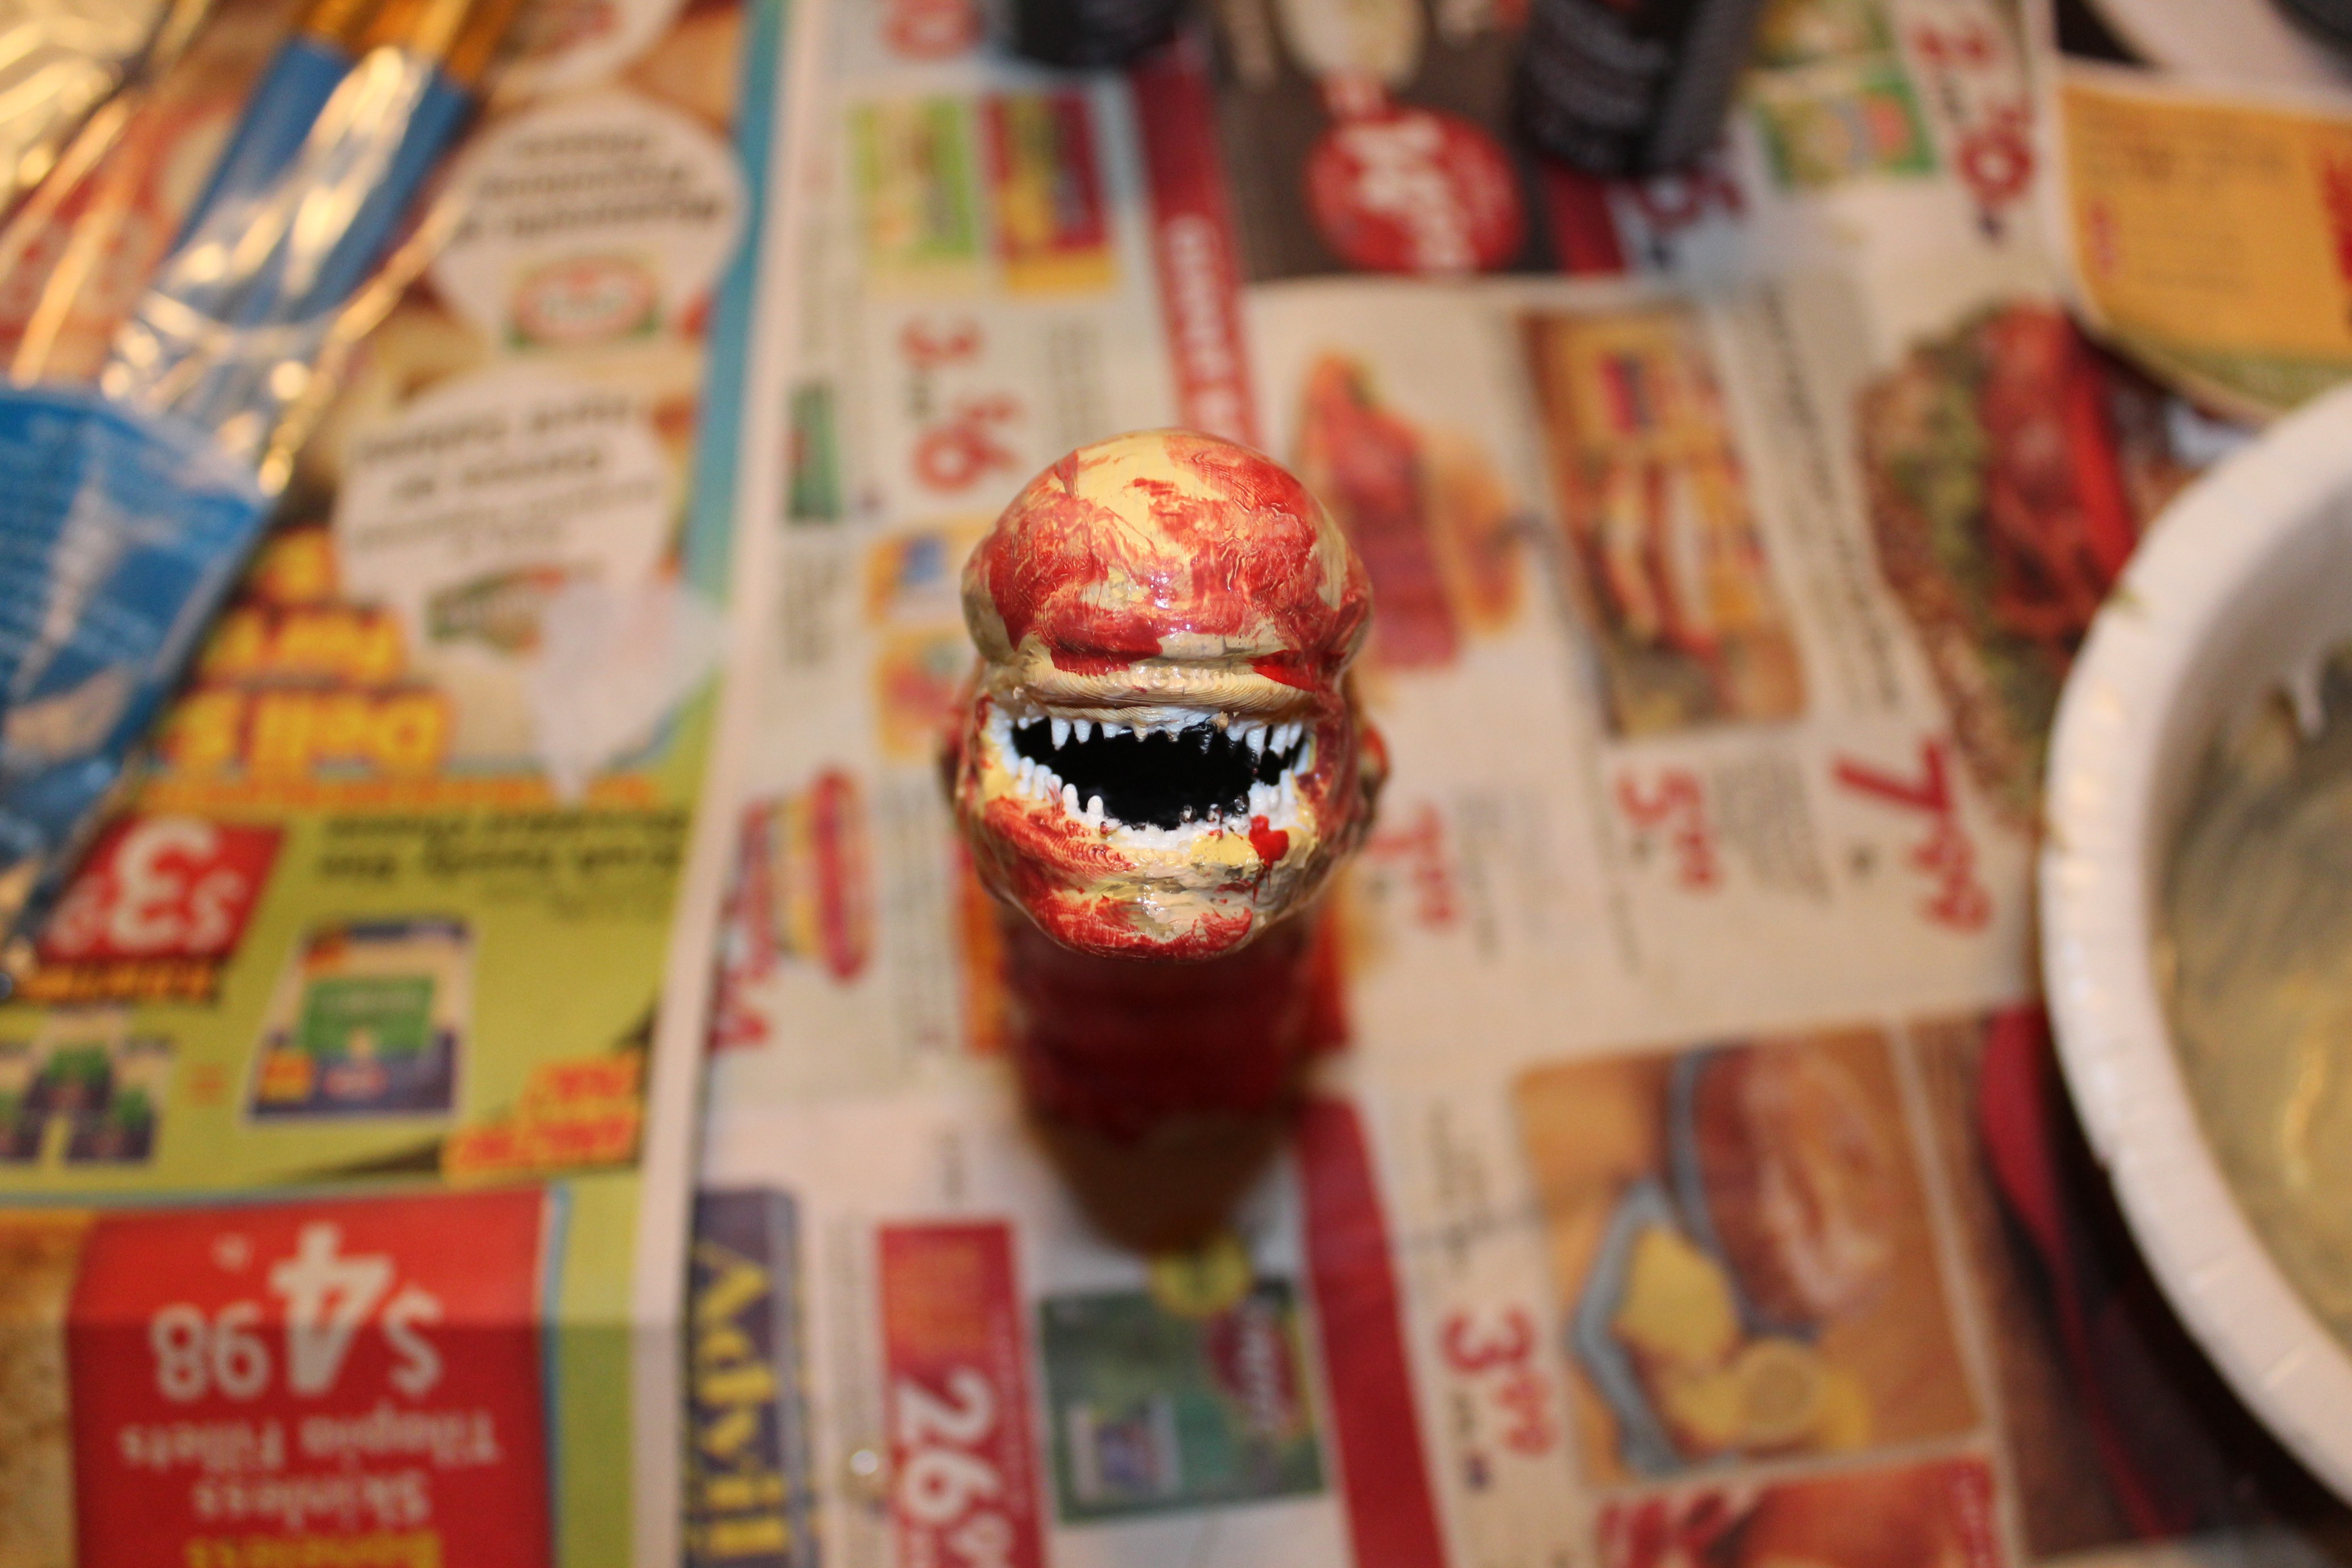
For Charlie the Chestburster, she painted a base coat of yellowish peachish brown (that is the technical term for it, I believe) with some gray mixed in for texture and then added darker gray to the shadows and details to help define them. For the blood, she mixed a bright red paint with black, brown, and green to get a deeper color and painted this on thick in splotches and also watered it down to stain other areas. This was a lot of just splashing paint around and hoping for the best, but the messy look really turned out well!
Mannequin
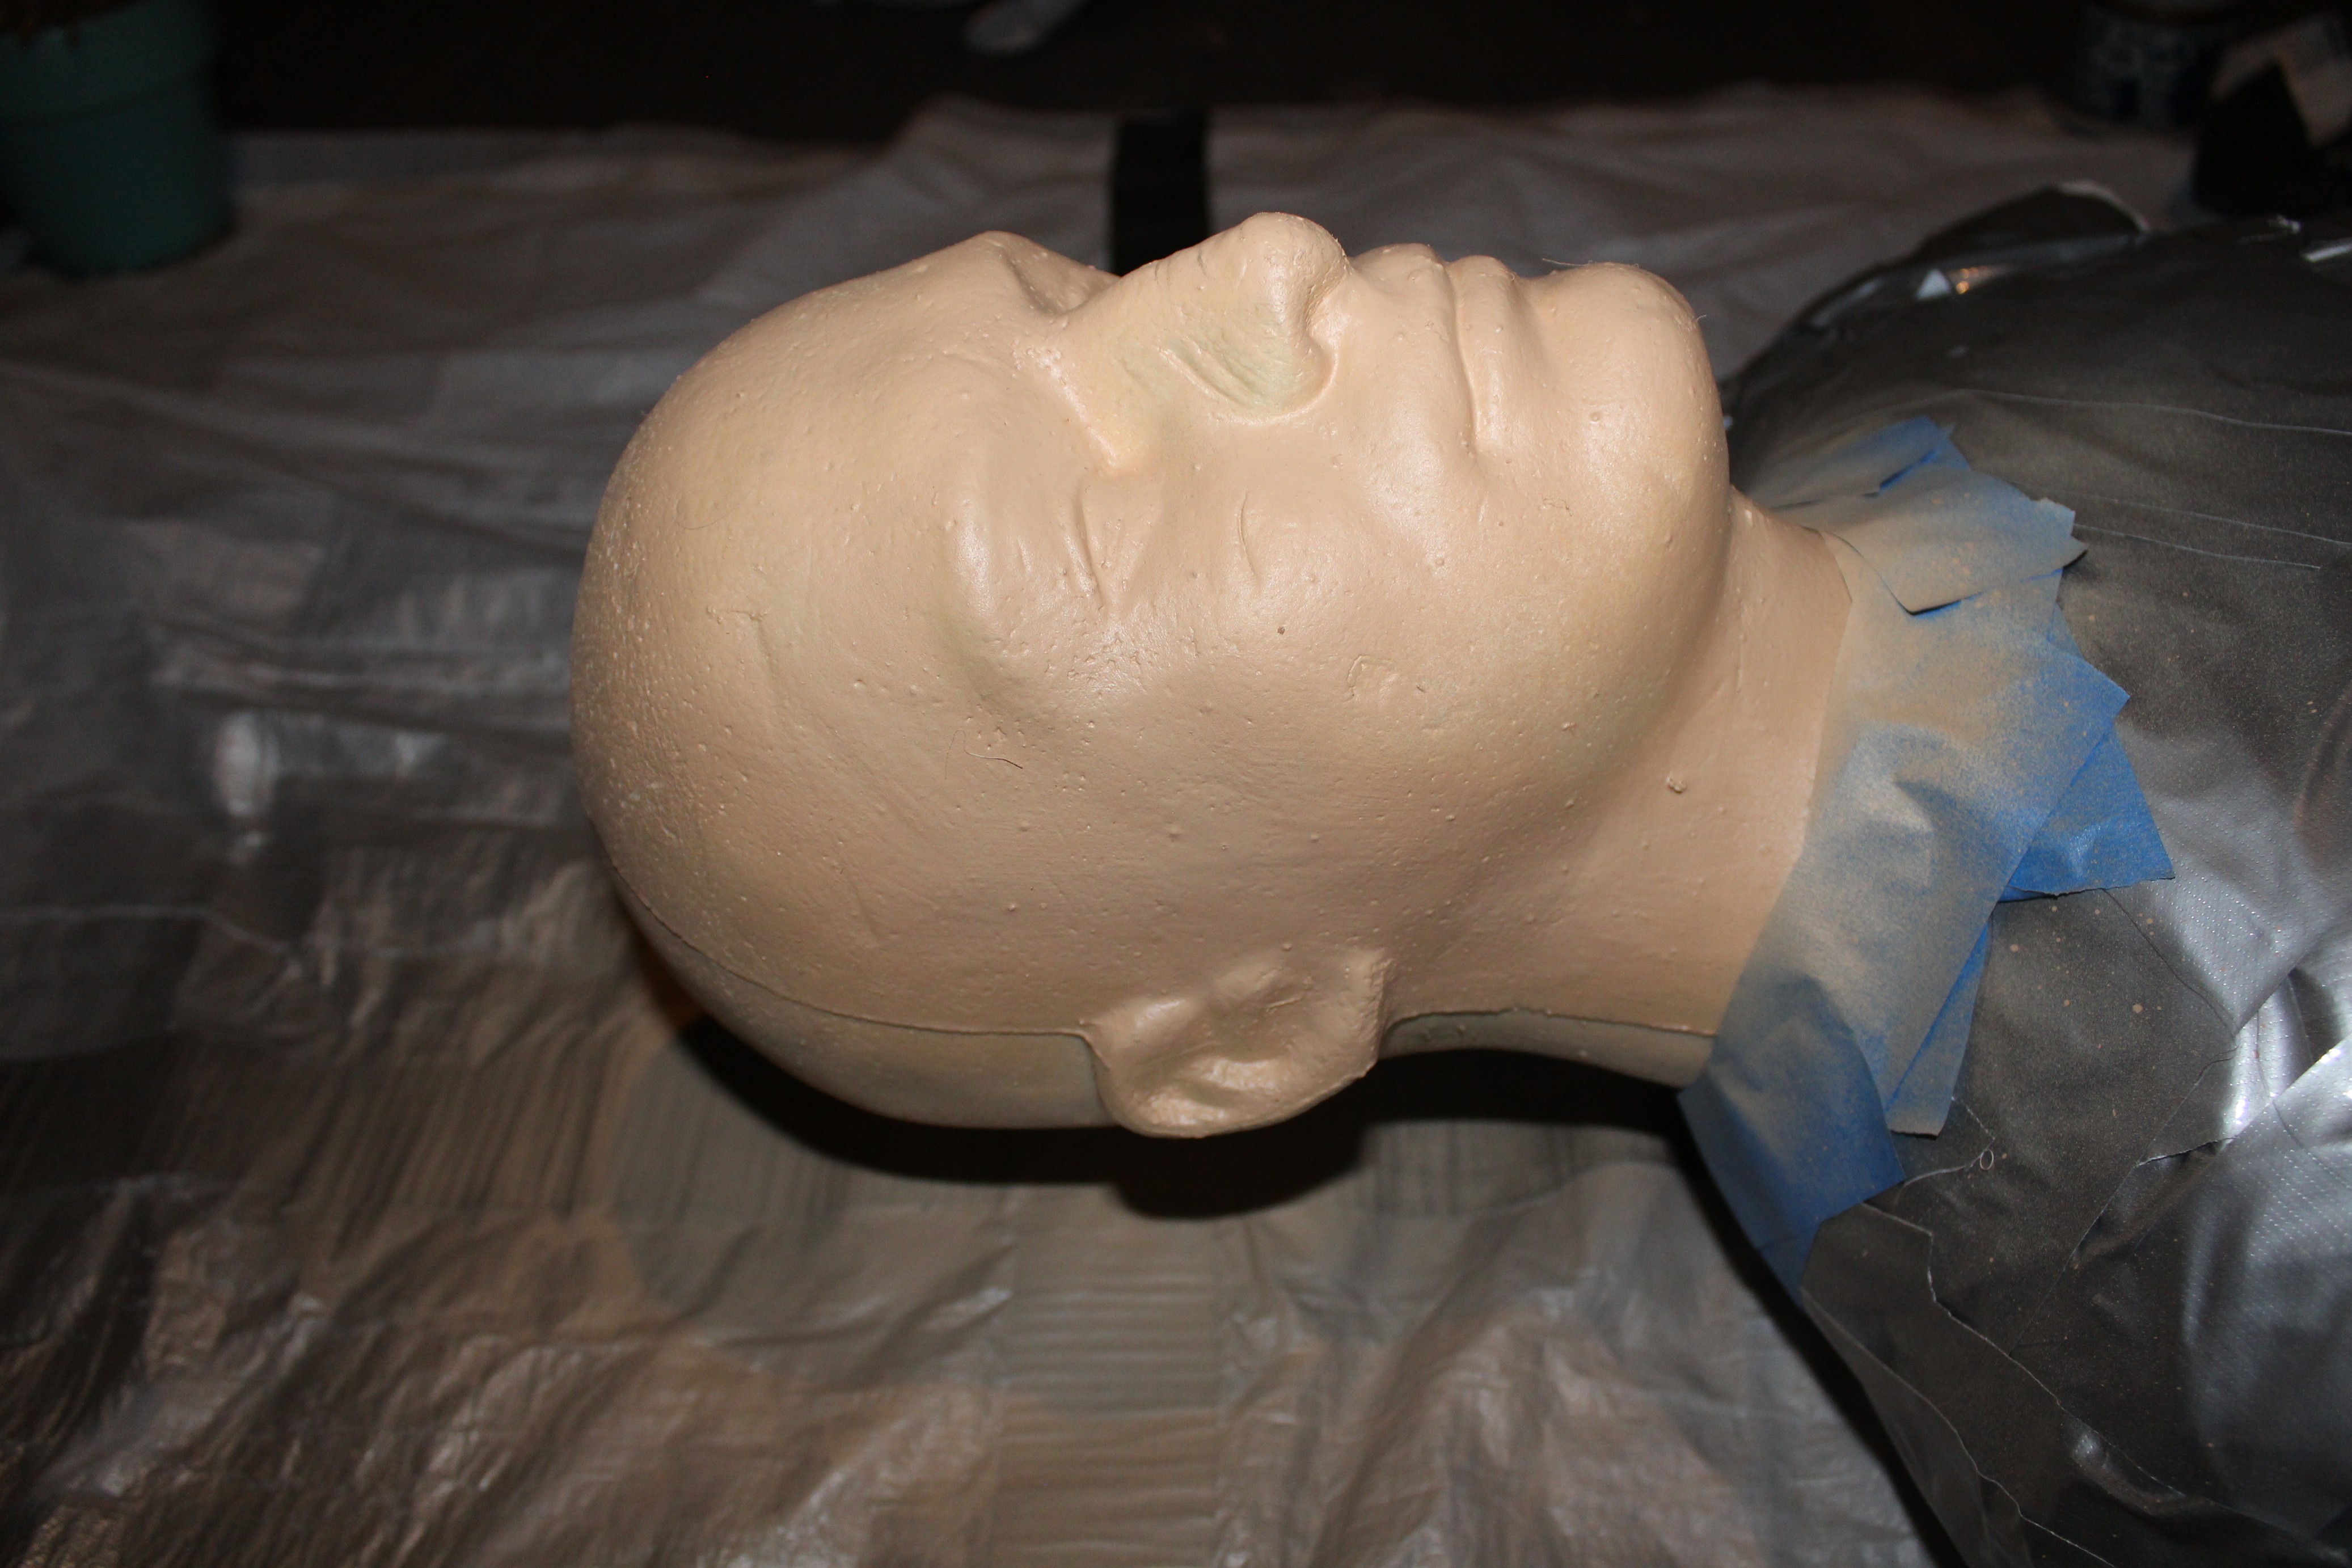
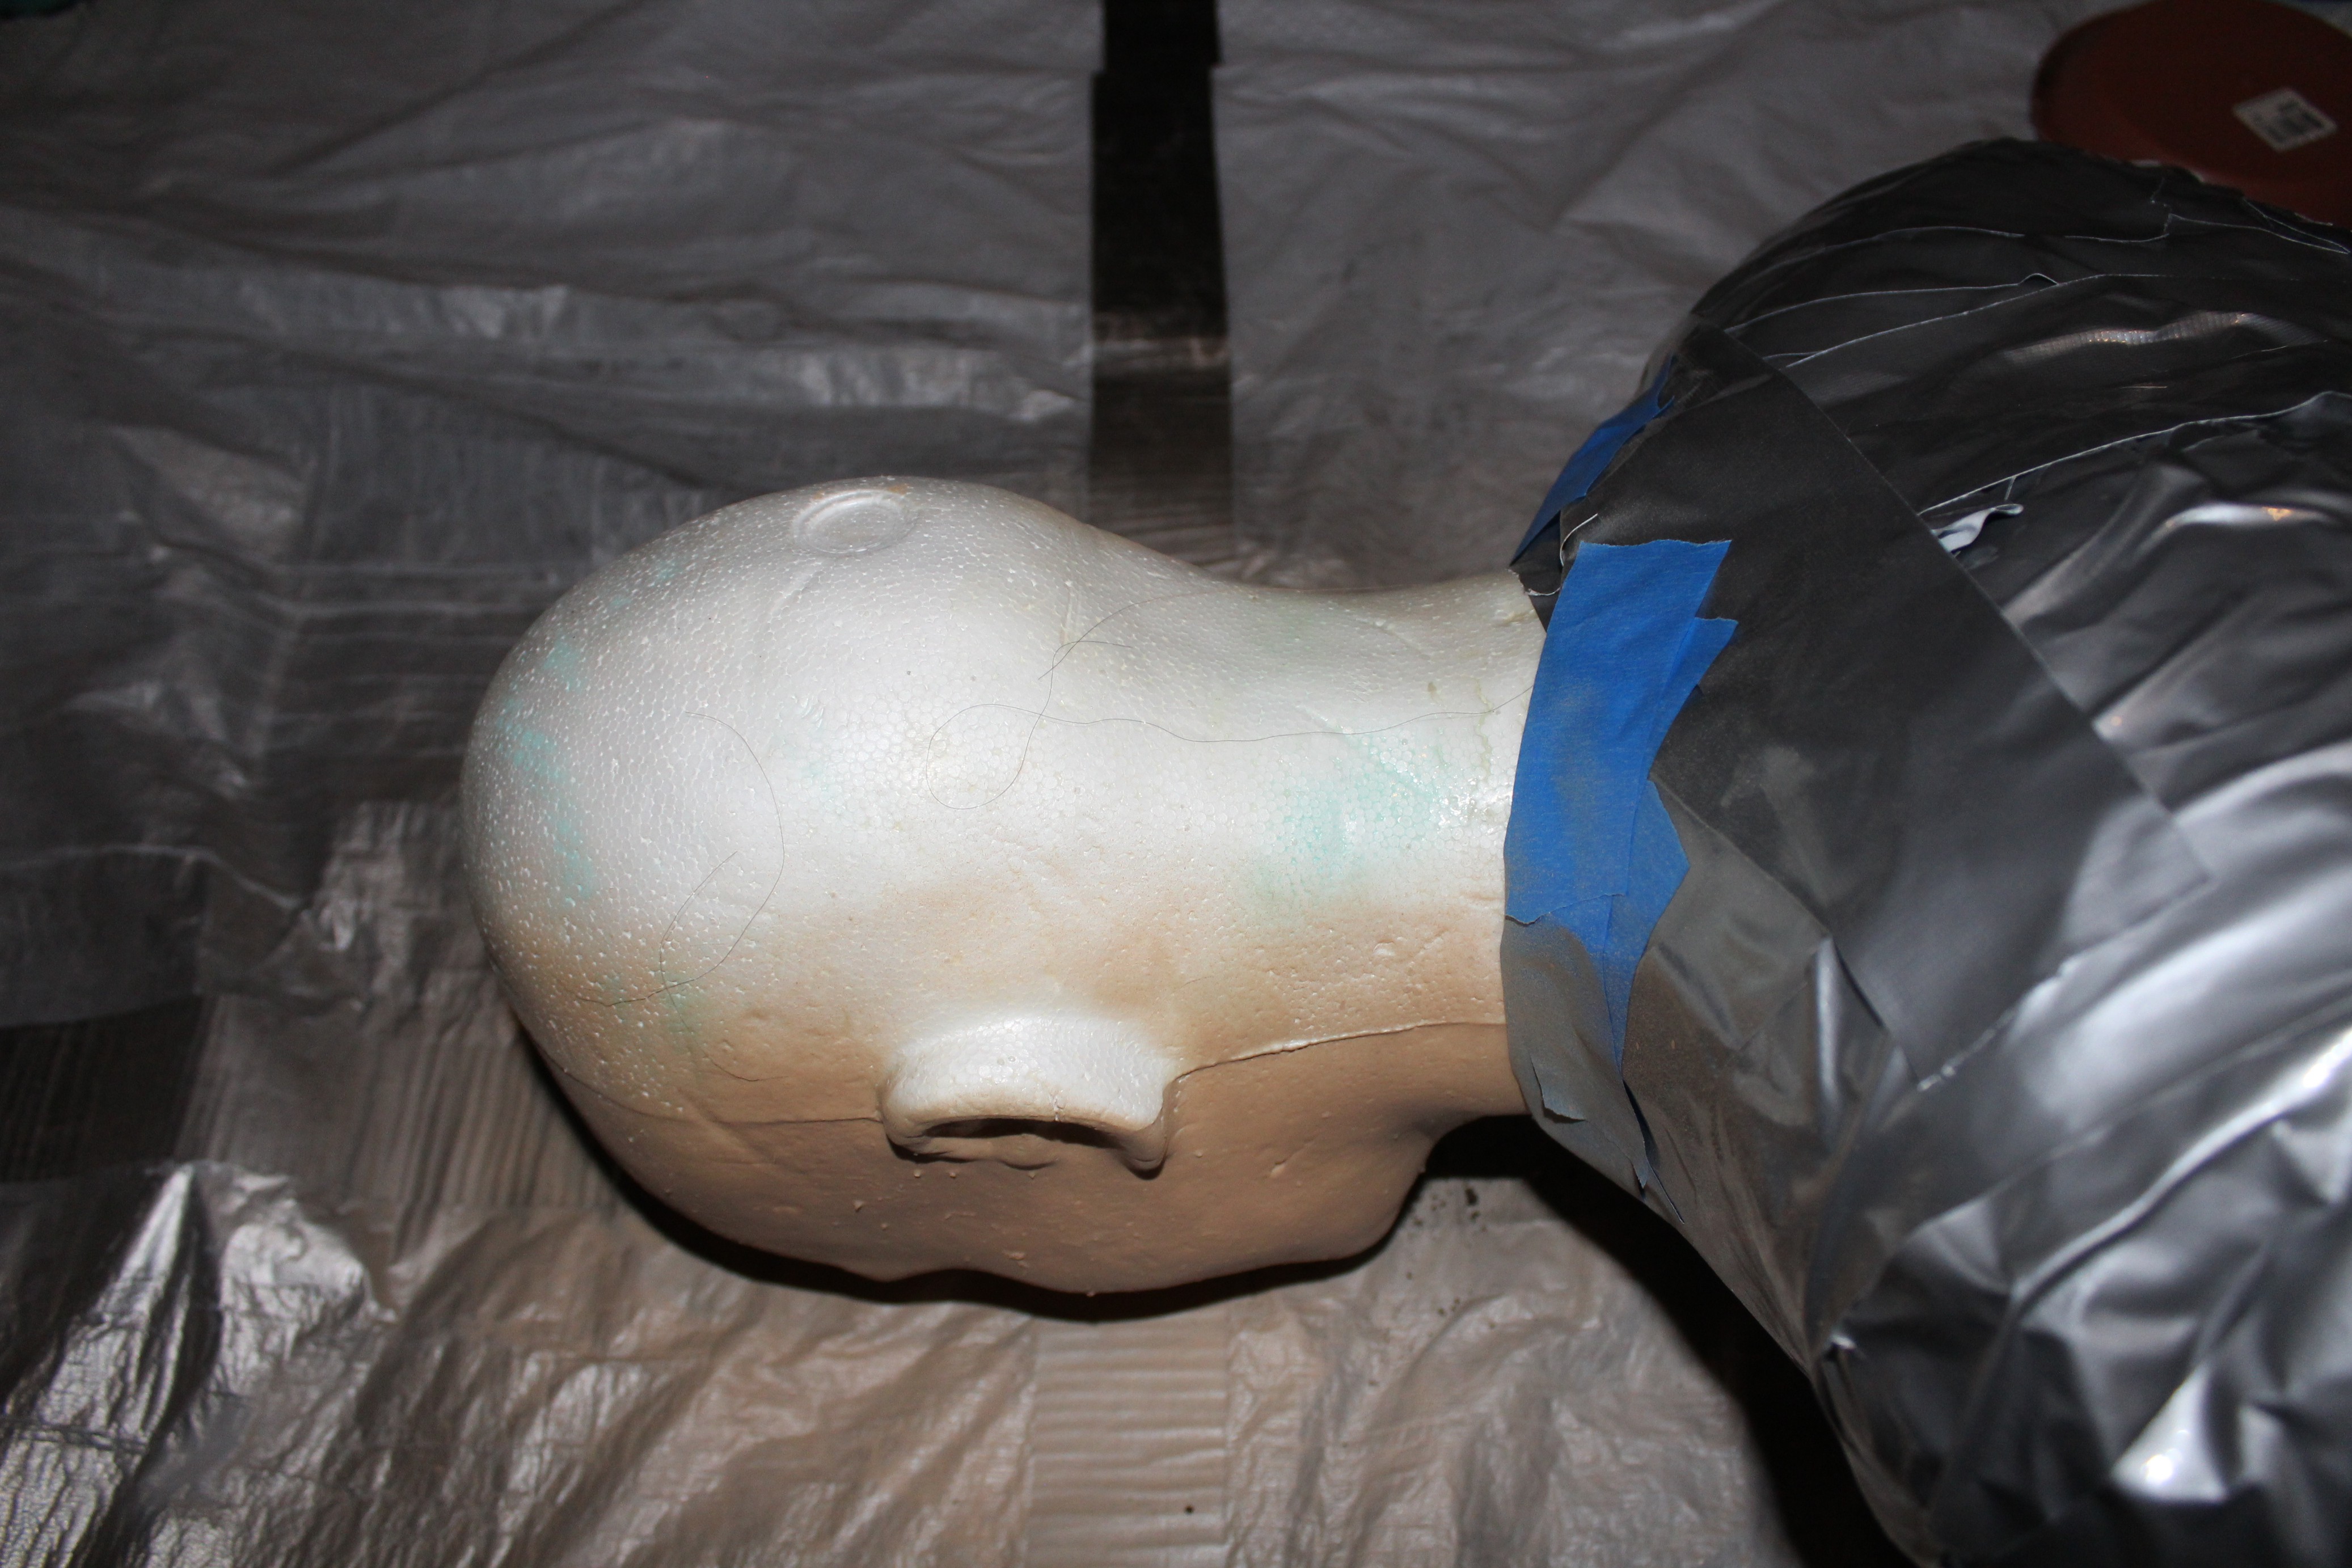
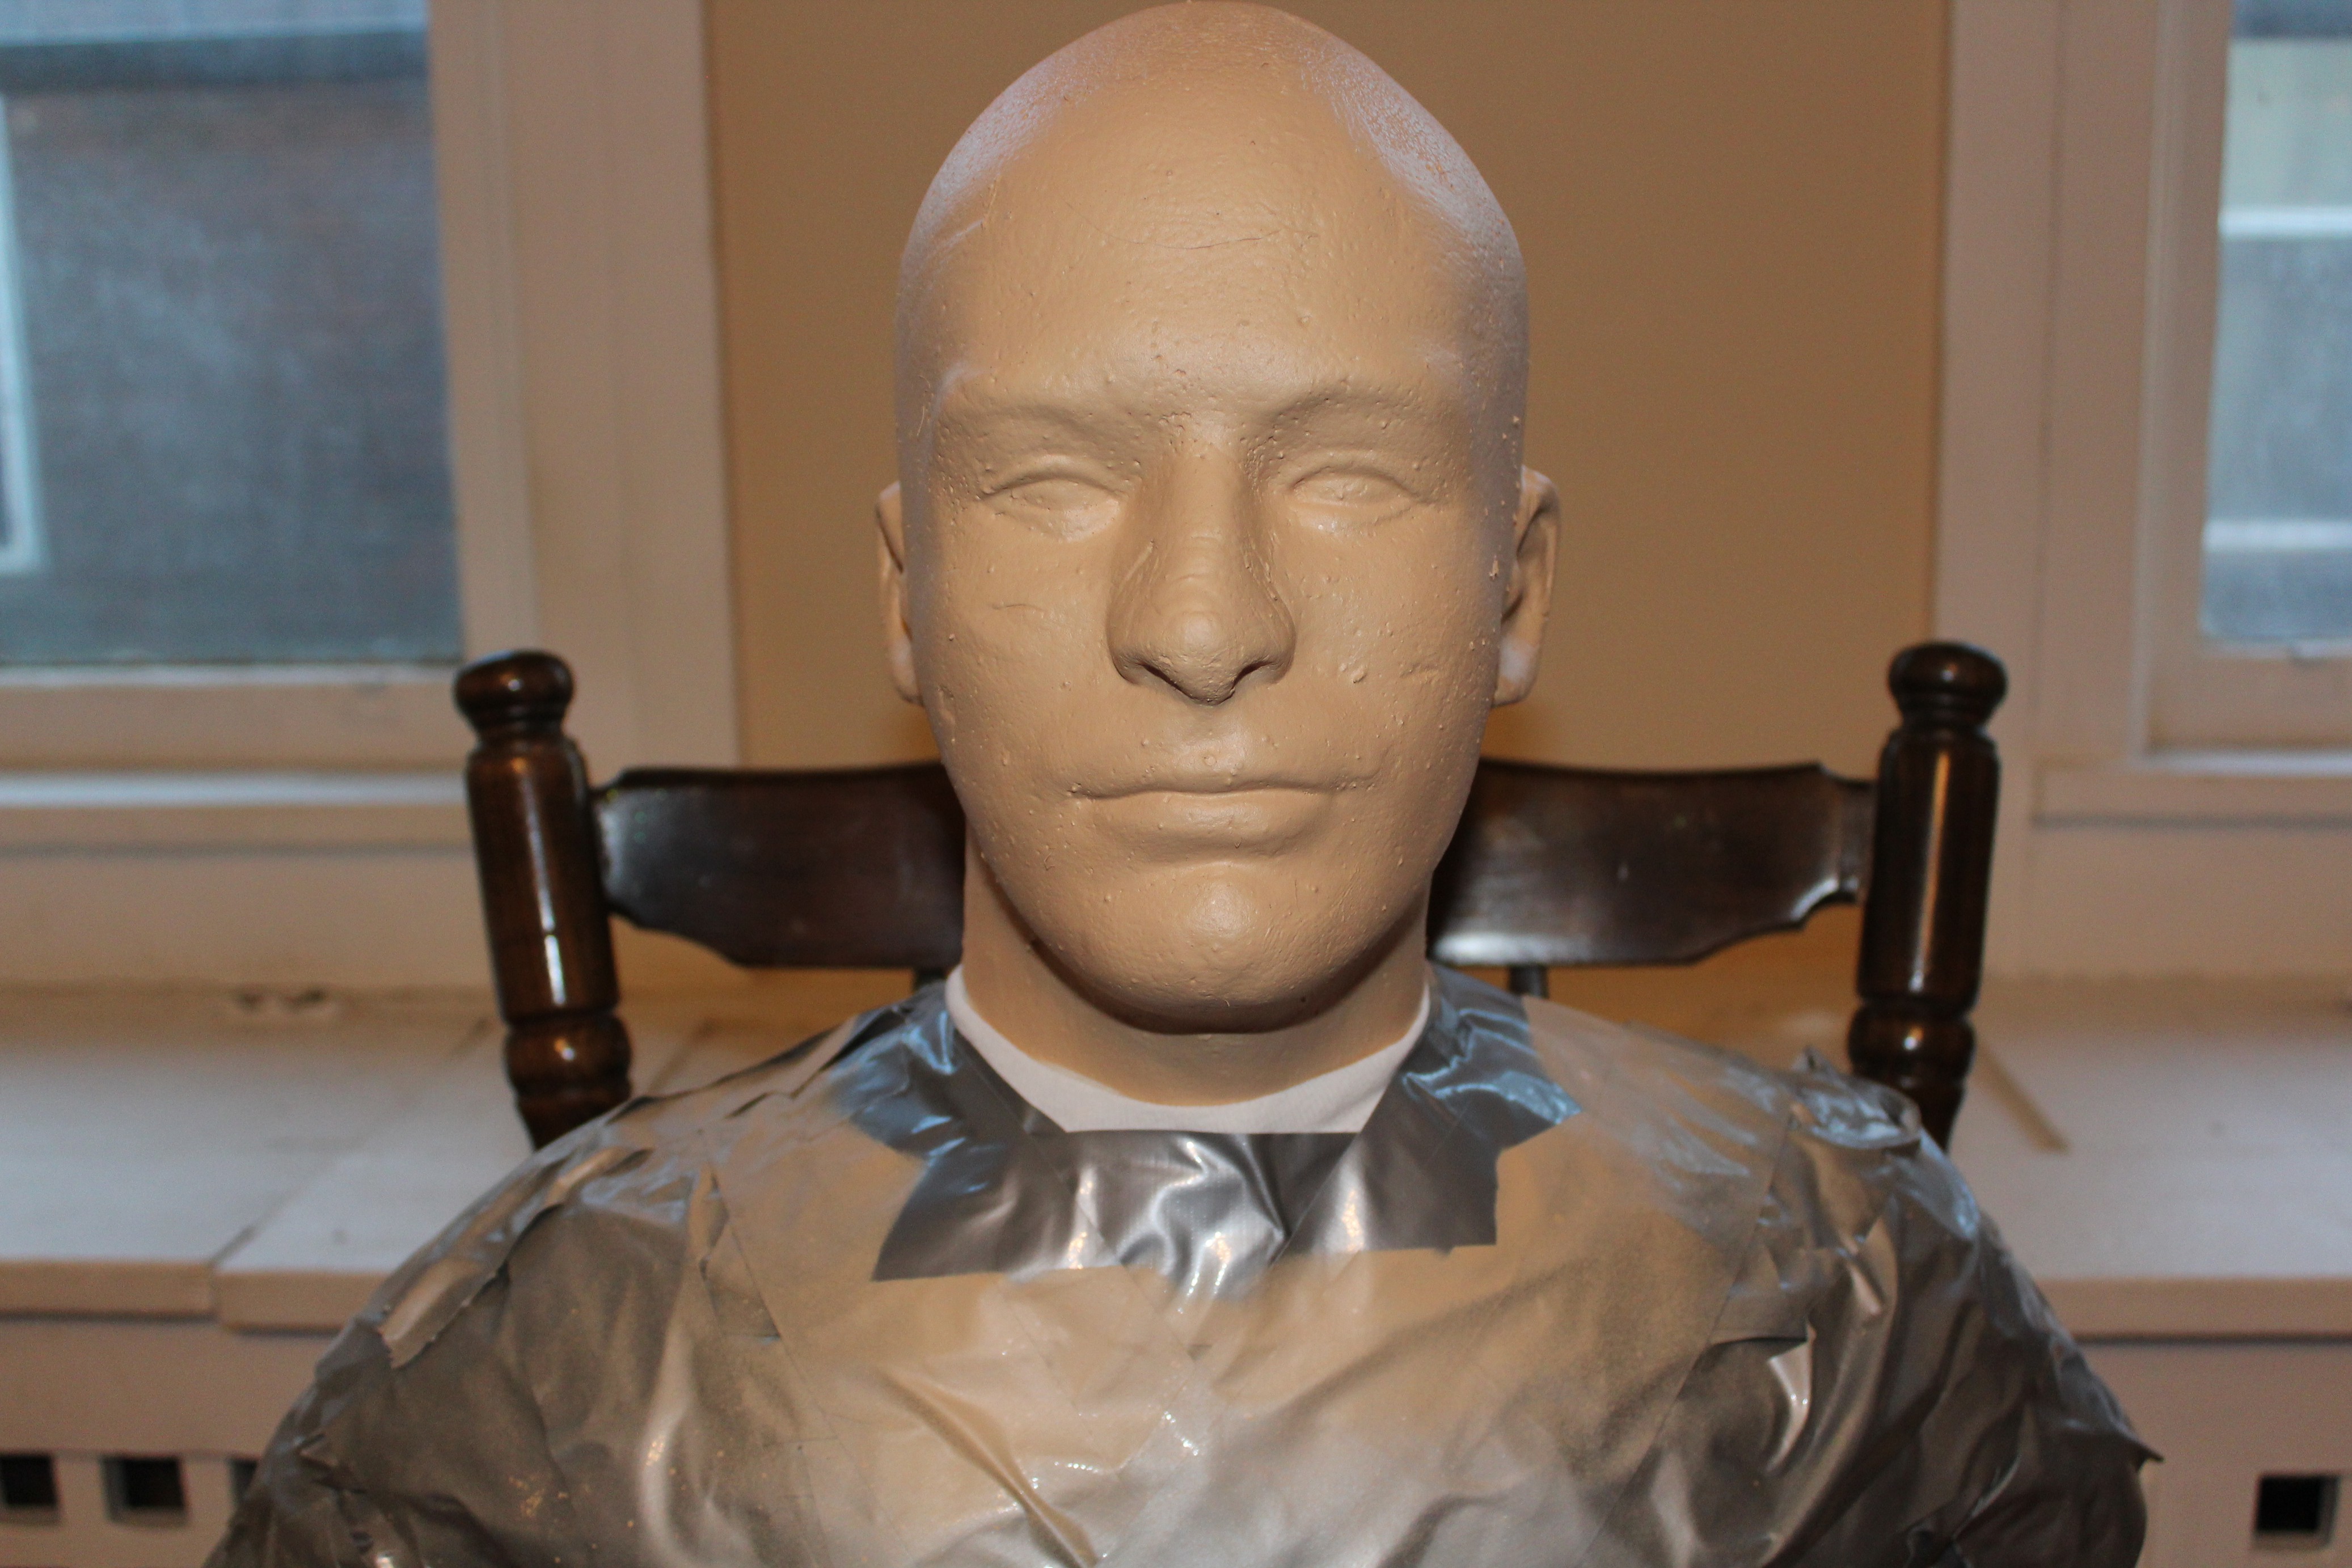
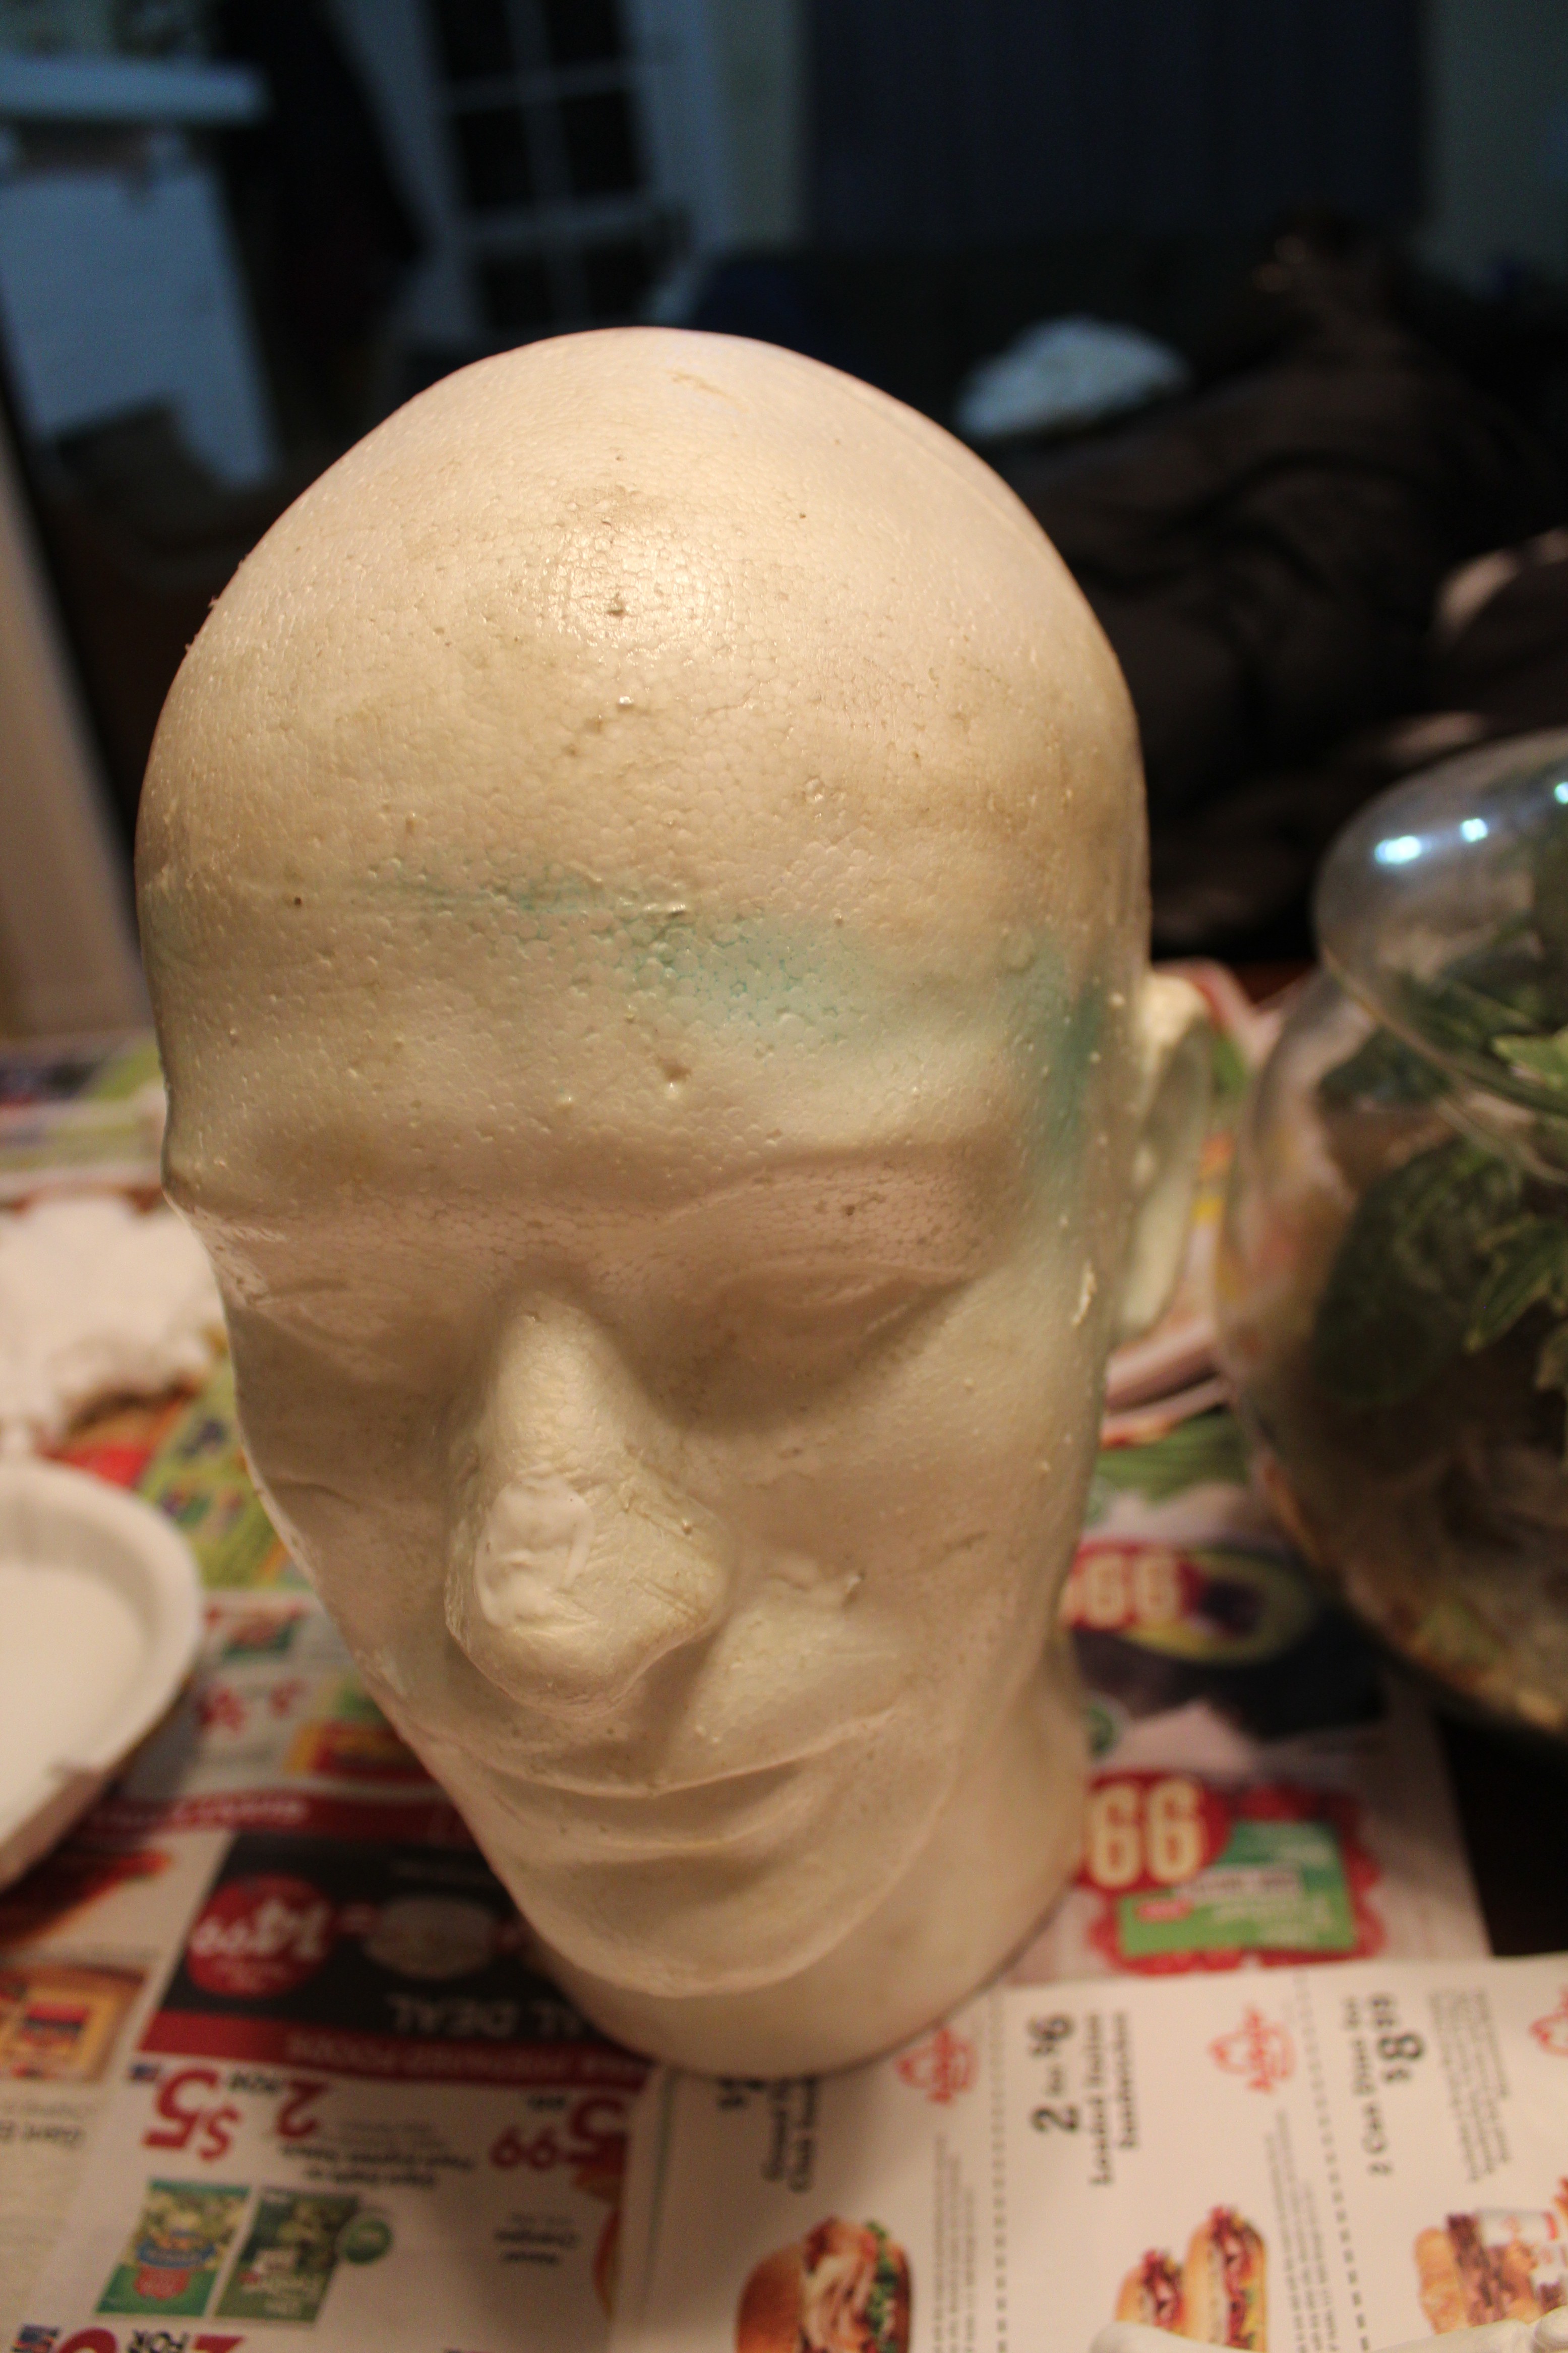
For the face itself, I just spray painted the styrofoam head model with two coats of "Skin colored" paint. The model had some stains and marks on it when I got it, but this really covered them up well. Plus, his face will be pretty much hidden anyway (poor guy).
Clock Hands
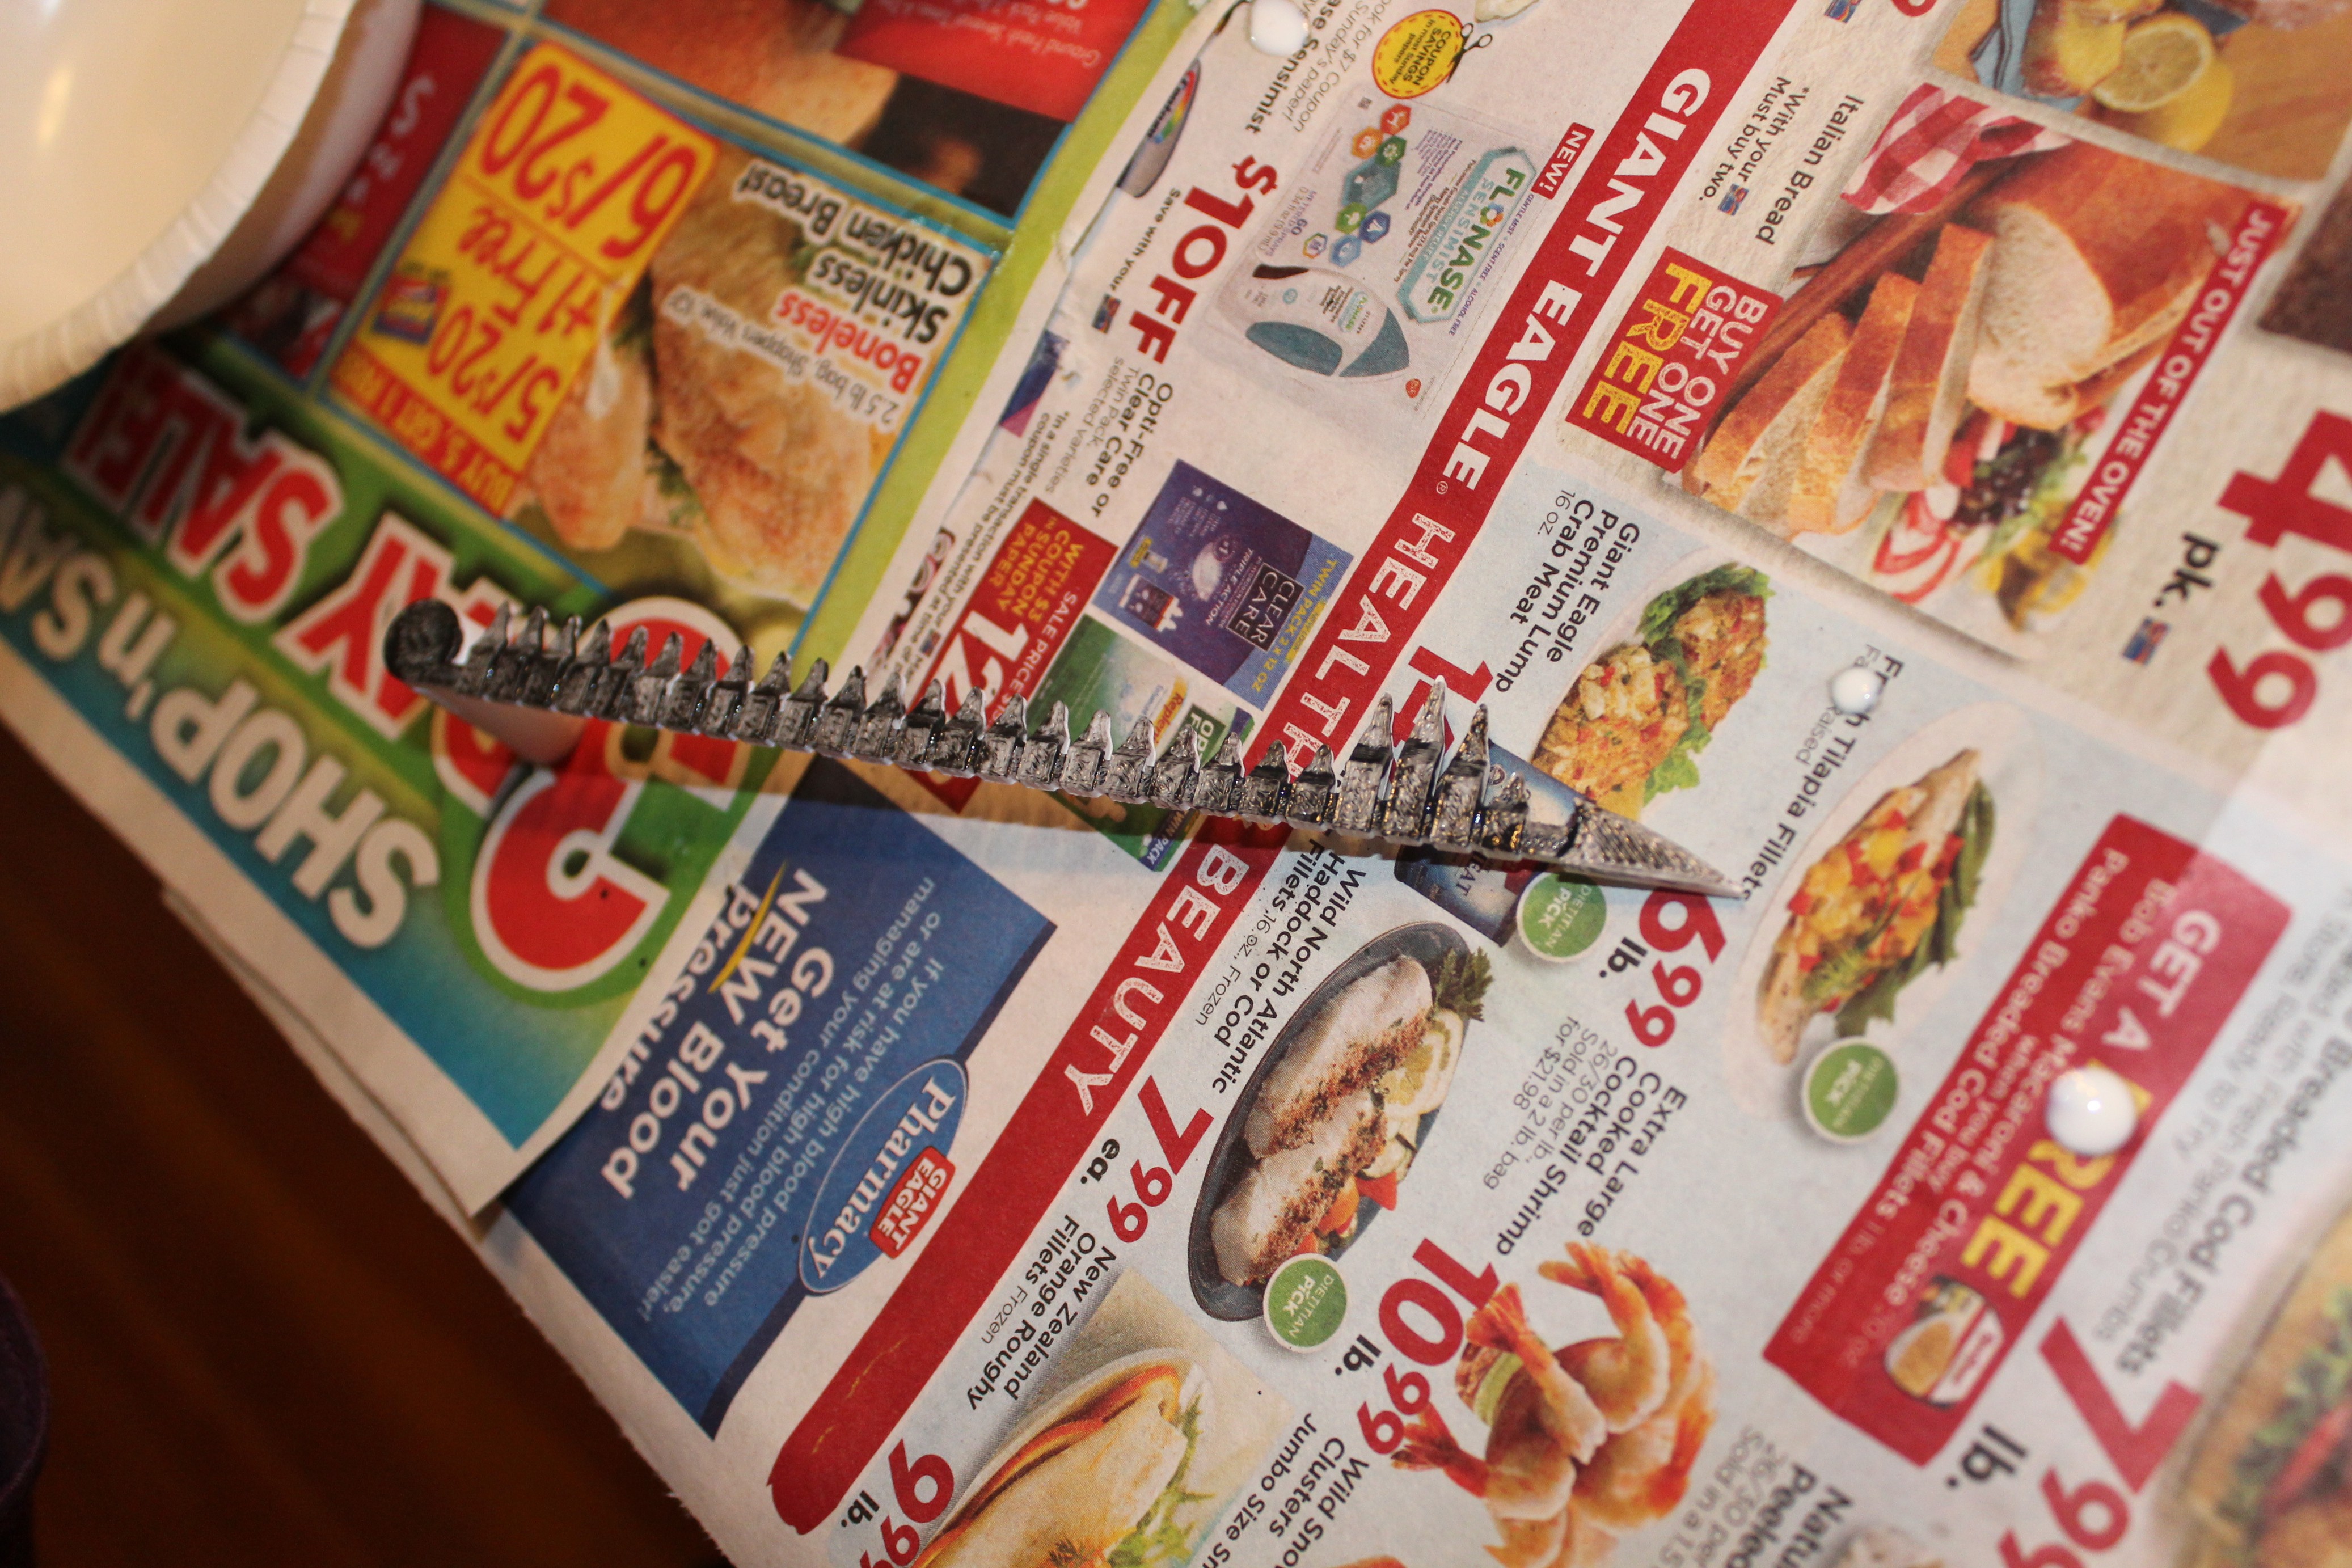
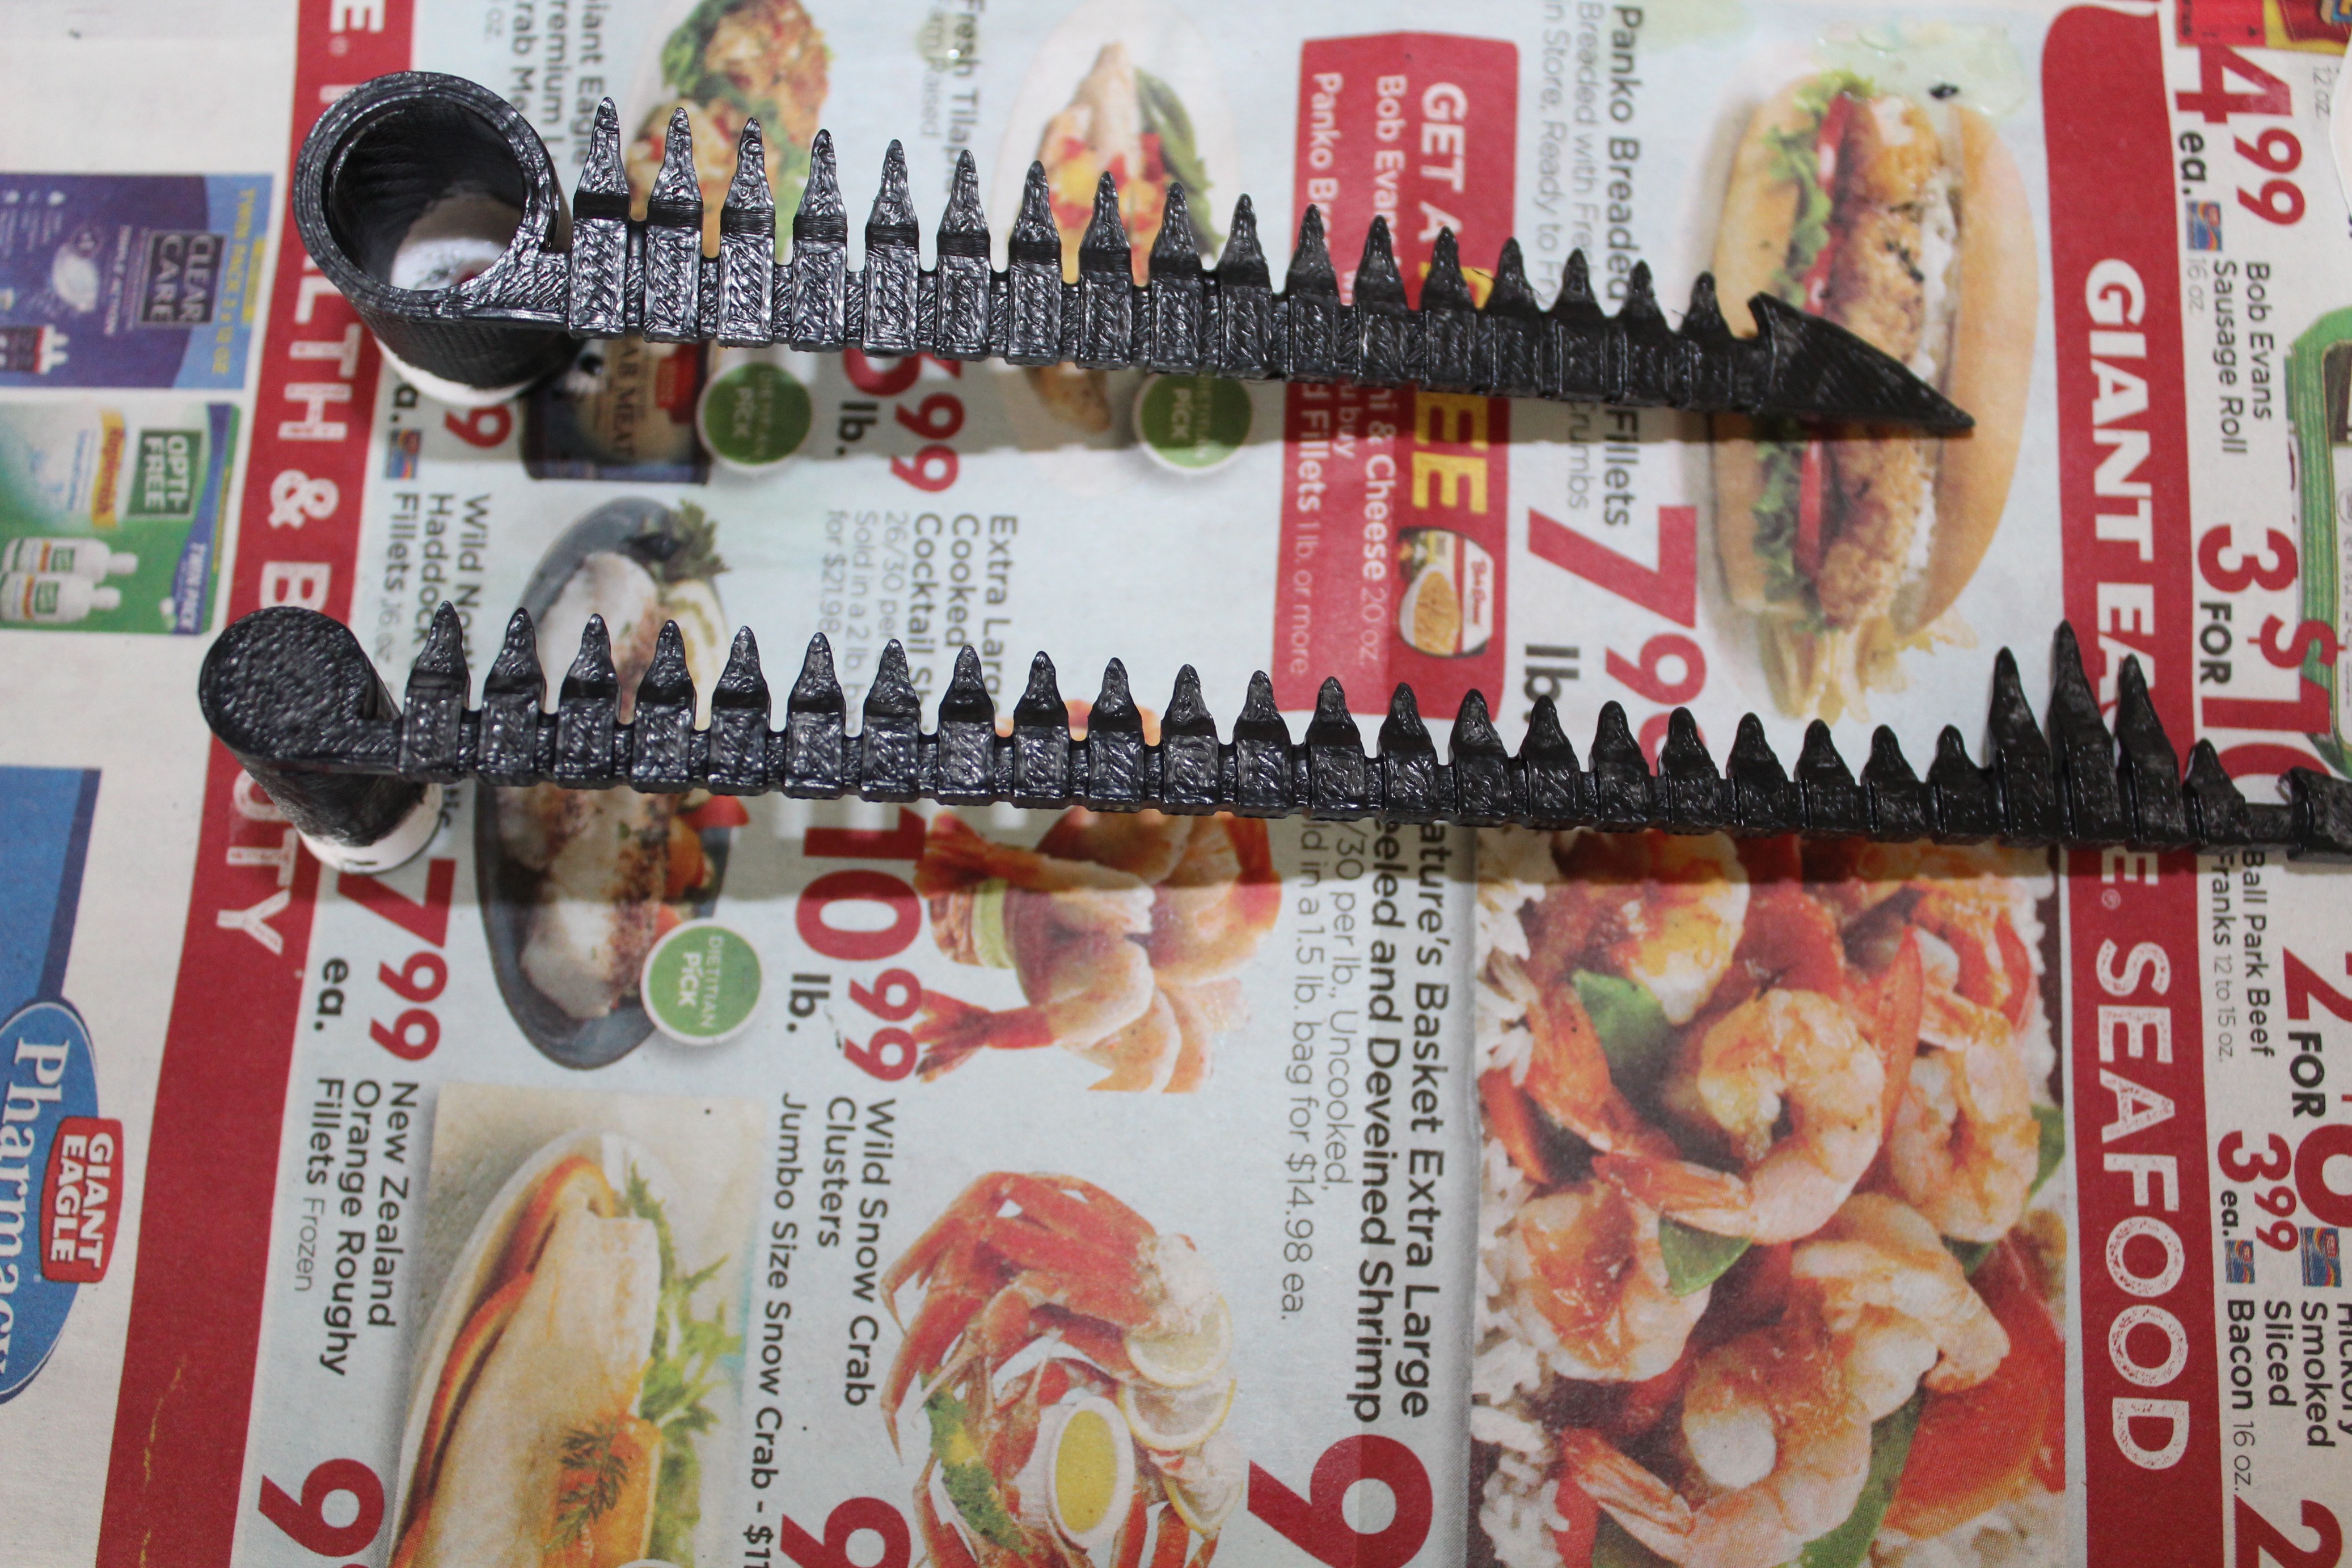
The clock hands were just black and gray paint mixed together. We had to do two coats to get in all of the grooves of the uncoated PLA. The benefit of this is that it lets some of the white plastic show through and gives the "tails" a more textured look.
-
Making Kane's Uniform
03/05/2017 at 02:15 • 0 commentsI decided to model the mannequin after Gilbert Kane, the first victim from the original Alien movie. In order to add some realism to the model, I decided to make his uniform from the infamous last supper scene.
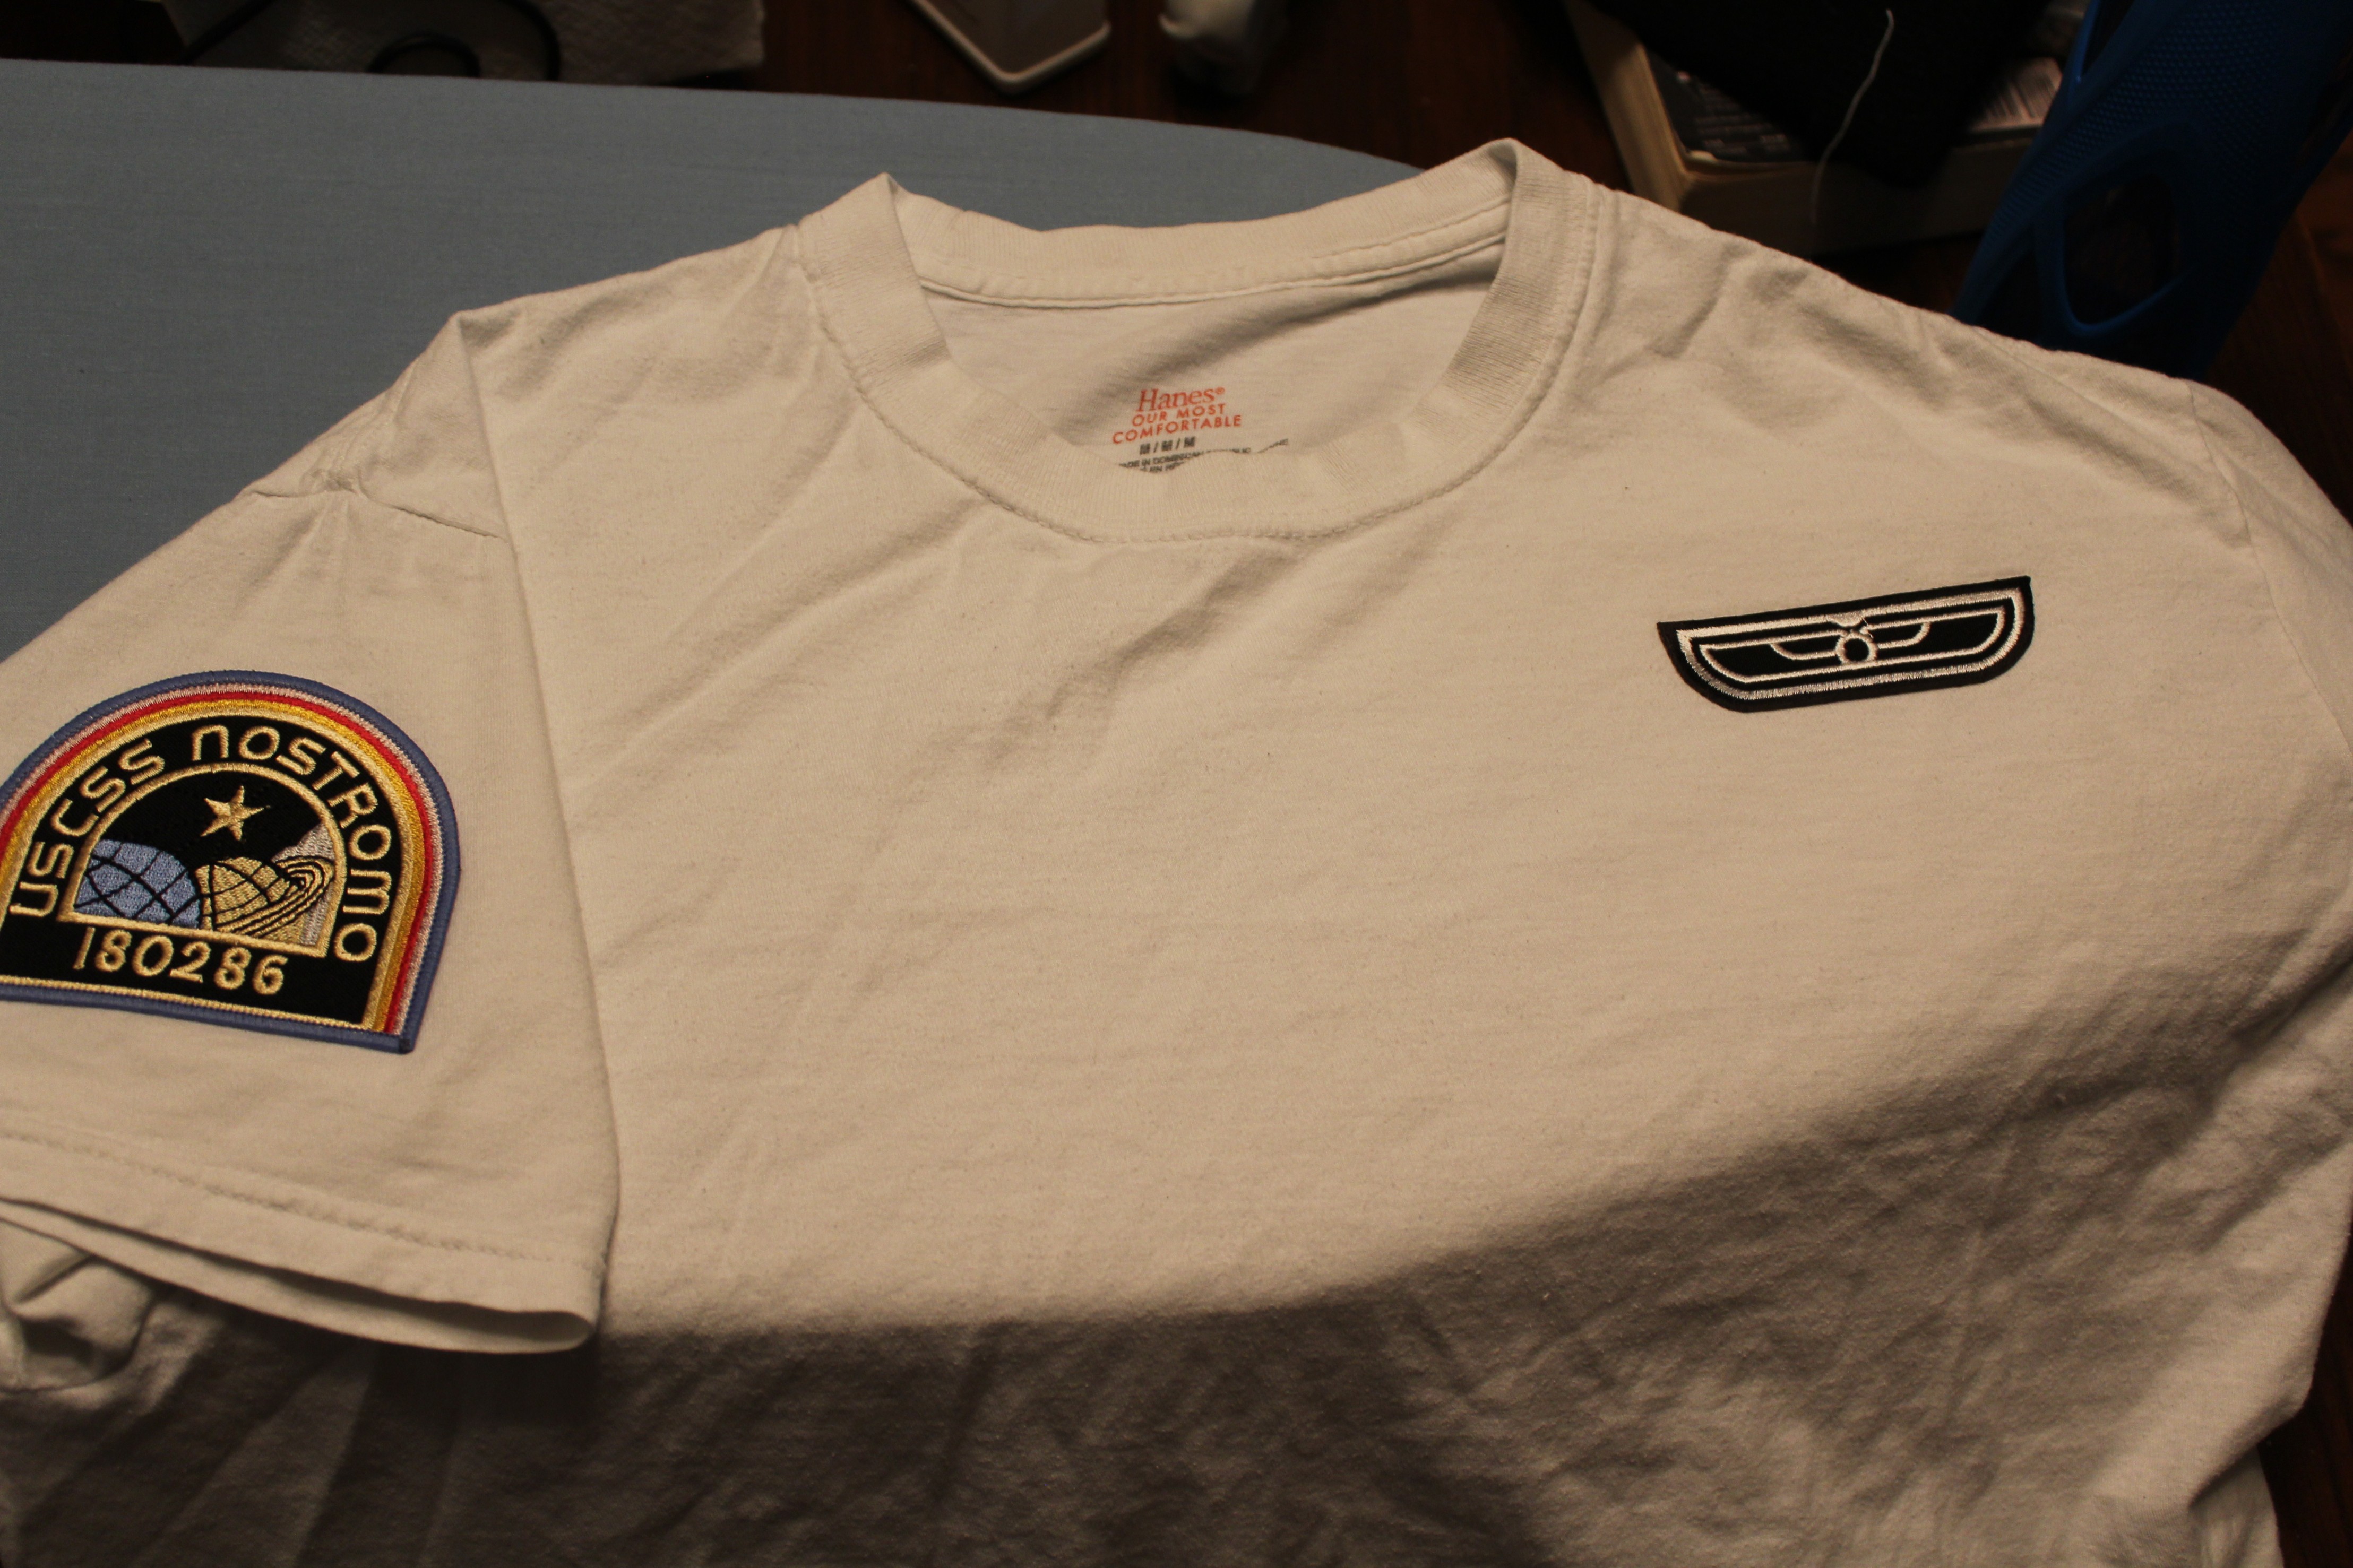
He has two patches on what looks like a white shirt. The shoulder patch is the Nostromo Crew patch and the breast patch is the Weyland-Yutani logo There appears to be a pocket and some other details on the shirt, but for my purposes I'll just use another one of my undershirts.
And luckily for me, the patches are readily available on Amazon, with the Nostromo one here and the Weyland-Yutani one here.
Both patches were iron-on so then went on easily.
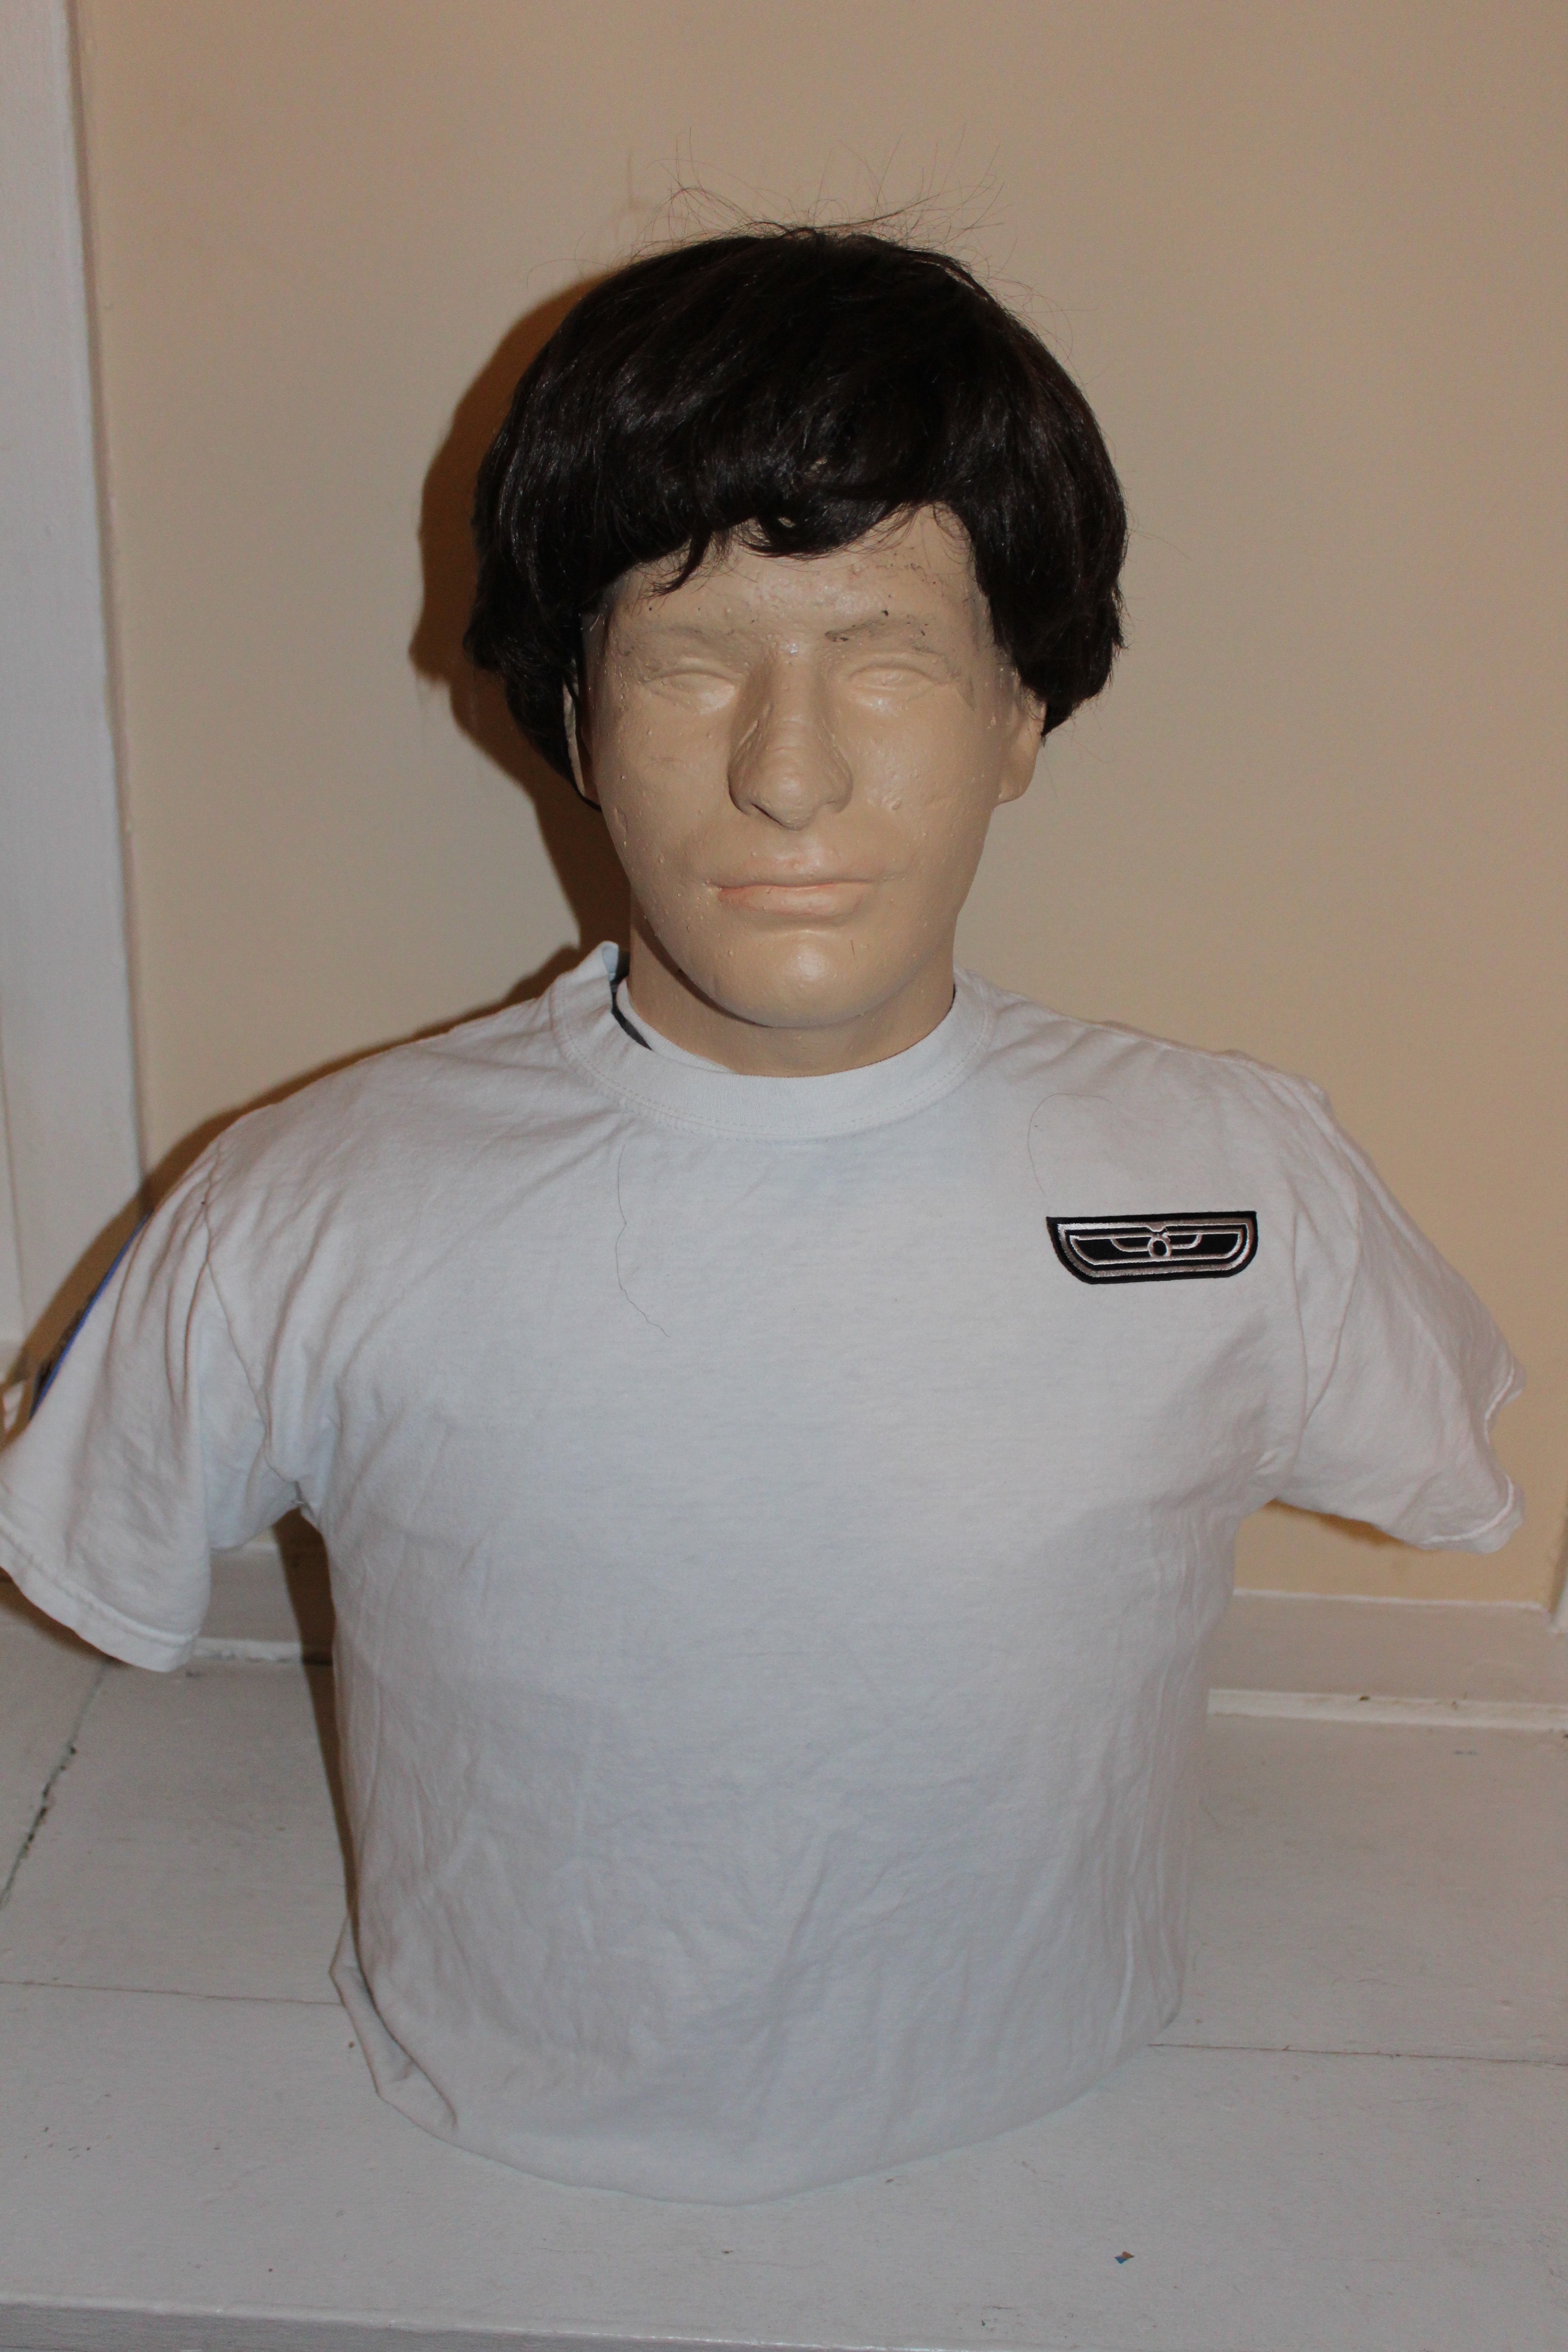
And with that, Gilbert is ready for his last meal!
-
Making the Mannequin
03/04/2017 at 19:08 • 0 commentsOriginally I was hoping to find a full mannequin body locally to use as the "host." Unfortunately I was unable the find anything and all of the online options seemed expensive with shipping.
Luckily, HackPGH had some spare, foam mannequin heads lying around that they let me use for my project. Still in need of a mannequin torso, I found this Instructable which provides instructions on how to make a mannequin of your own body using duct tape casting.
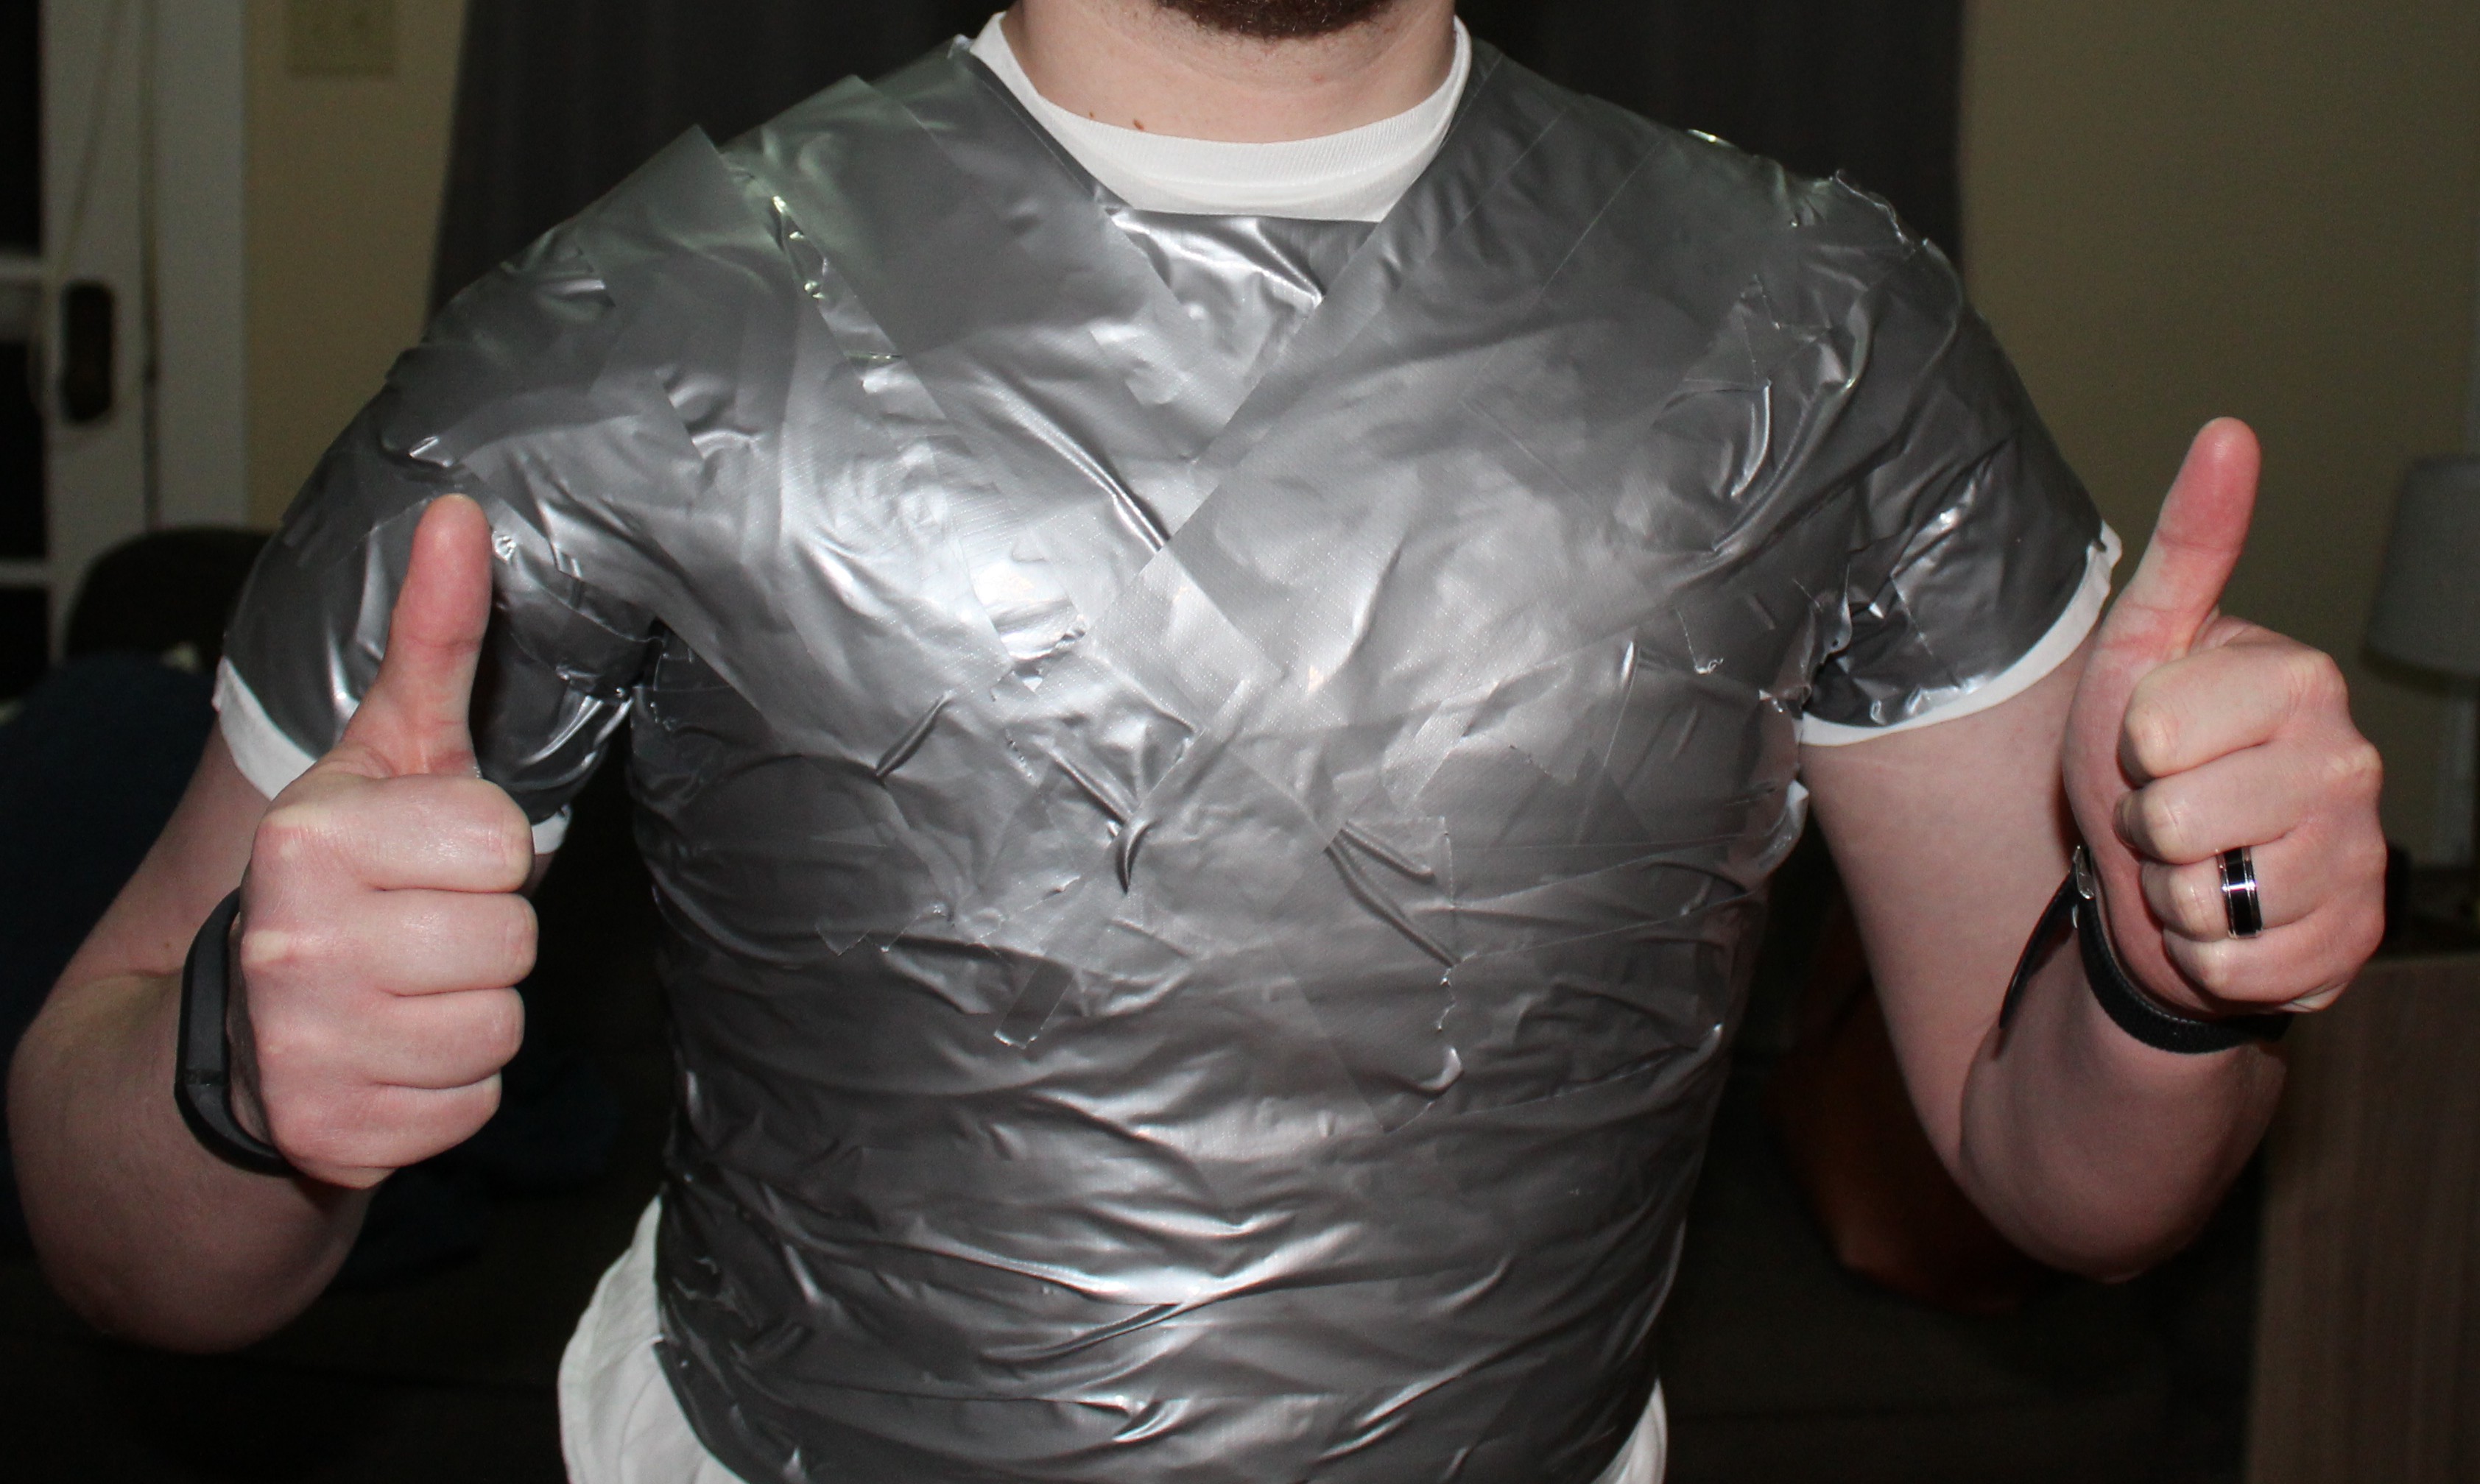
I used an undershirt as my scrap shirt and, because this project doesn't really need an entire mannequin upper body, I stopped duct taping at my navel. I only ended up using a single roll of duct tape, but would recommend more as more layers result in the final product being stiffer.
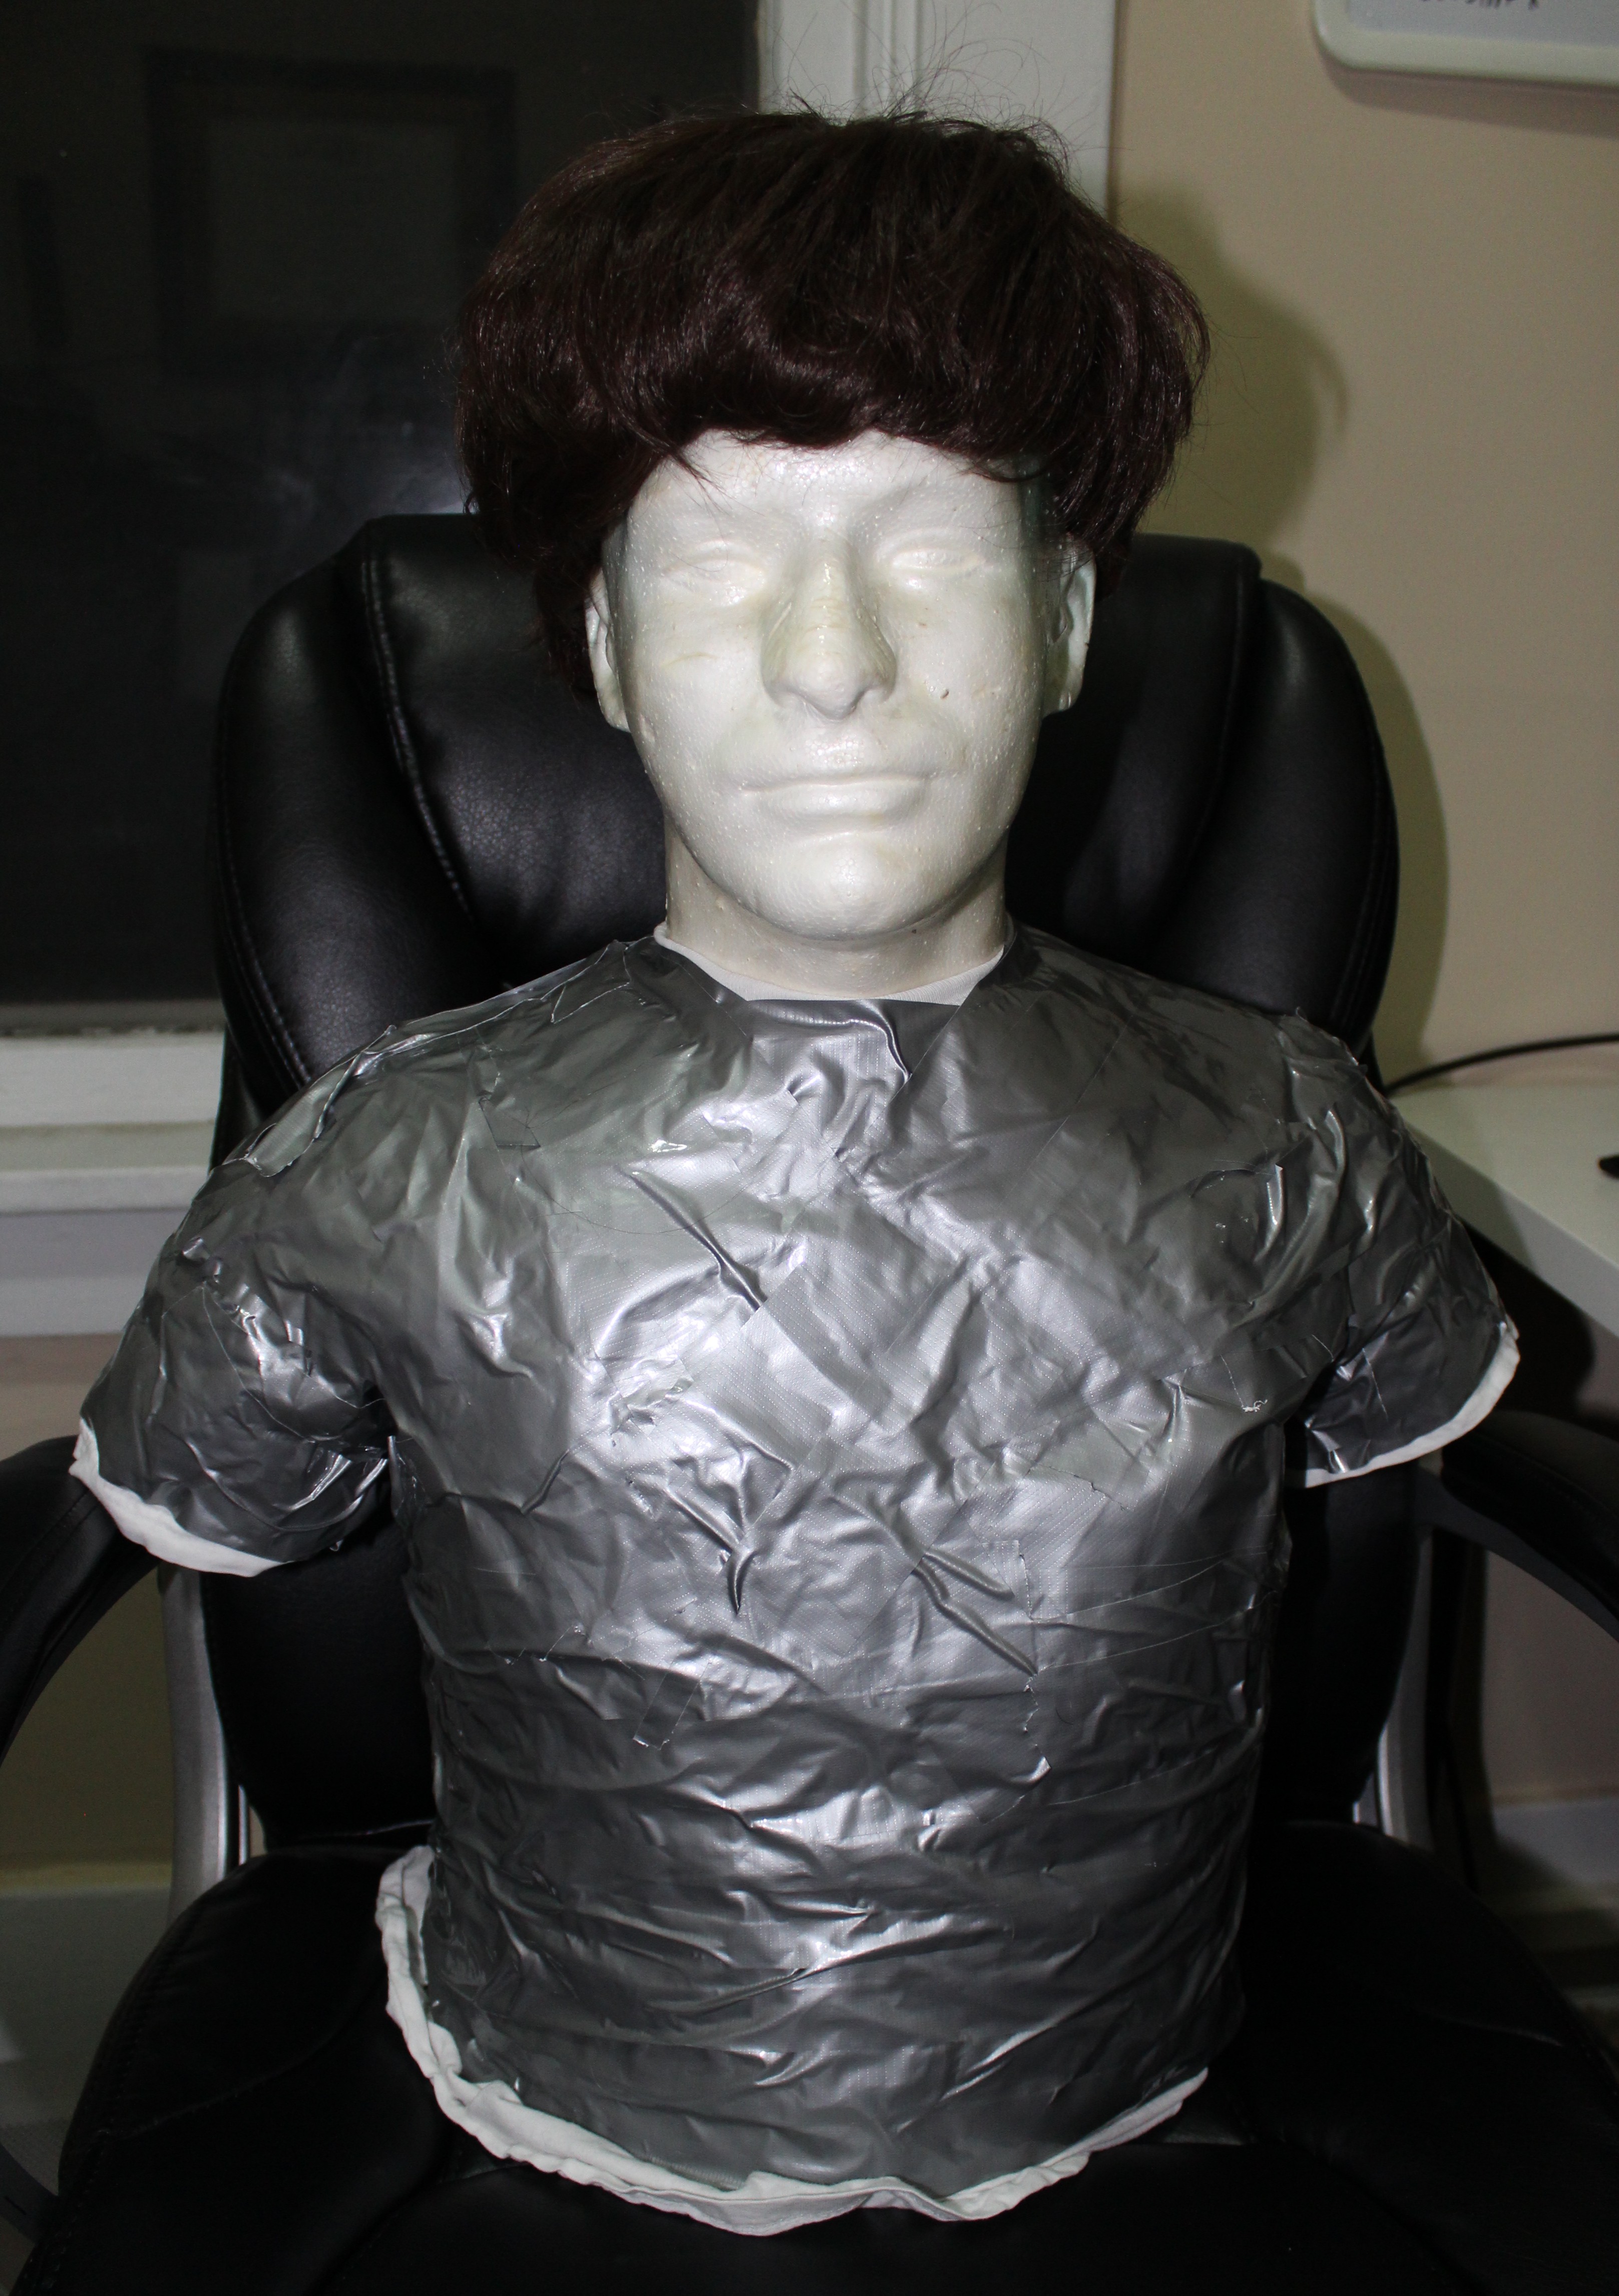
This is already the creepiest thing I've ever made, by farThe last step for the mannequin was attaching the head to the torso. The fit was already snug so a few strips of duct tape were all that was needed to attach the head.
![]()
The wig is something I picked up from Amazon. I'm hoping to style it after Kane's hair from the original movie.
-
Extending the Clock Hands
03/04/2017 at 02:02 • 0 commentsDespite the modifications I made to the Facehugger (adding a cutout for embedding the clock mechanism), the shaft of the mechanism doesn't quite reach all of the way through.
To remedy this, I attempted to design two nested tubes to extend the minute and hour shafts, which were 3.5mm and 5mm respectively, through the 8mm hole in the Facehugger. On top of these tubes I added keys so that the hands that came with the clock could still be used. Unfortunately, printing nested tubes accurate to 0.05mm while only 3mm thick, all with a 0.4mm nozzle is almost impossible.
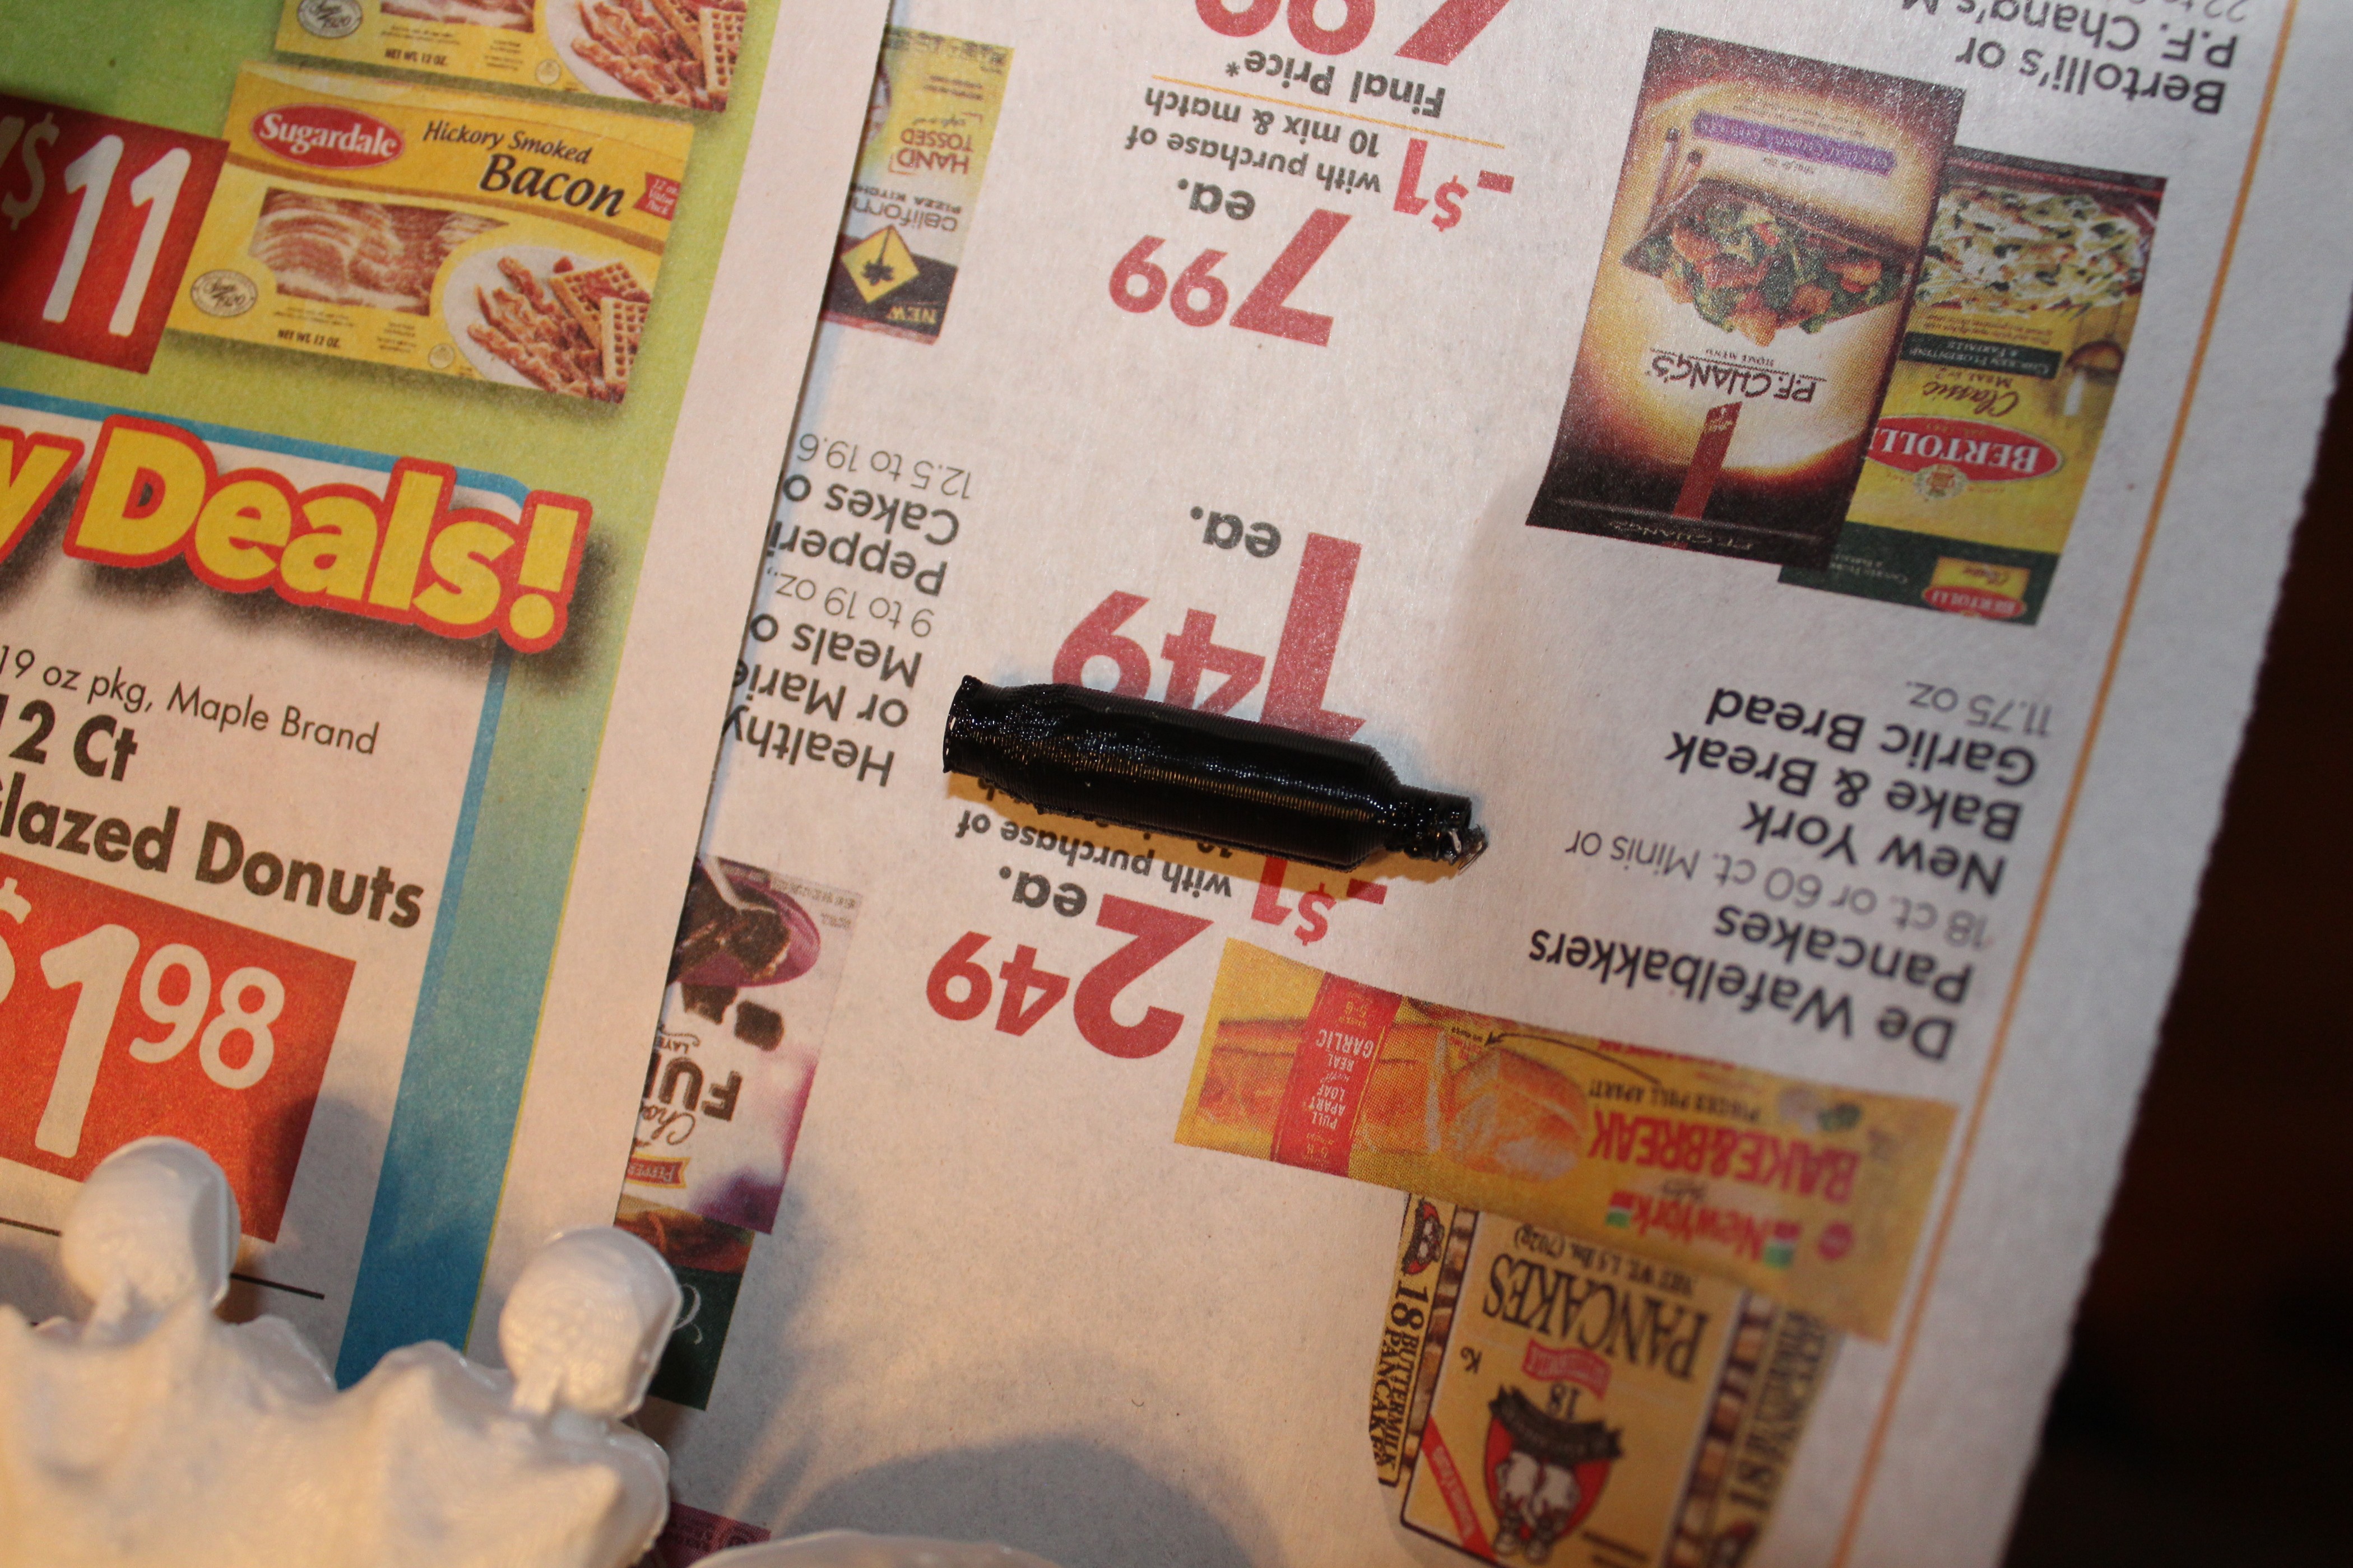
Above is a picture of the outer tube that extended the hour shaft. It doesn't look too awful, but some intense boogering is visible on the right side. This part is the key that would go in the original hour hand. The minute hand didn't turn out so well and was essentially one long 3D print blob. I briefly looked into buying a precision 0.2mm nozzle for my Printrbot, but with the ceramic tips currently out of stock I had to think up another way.
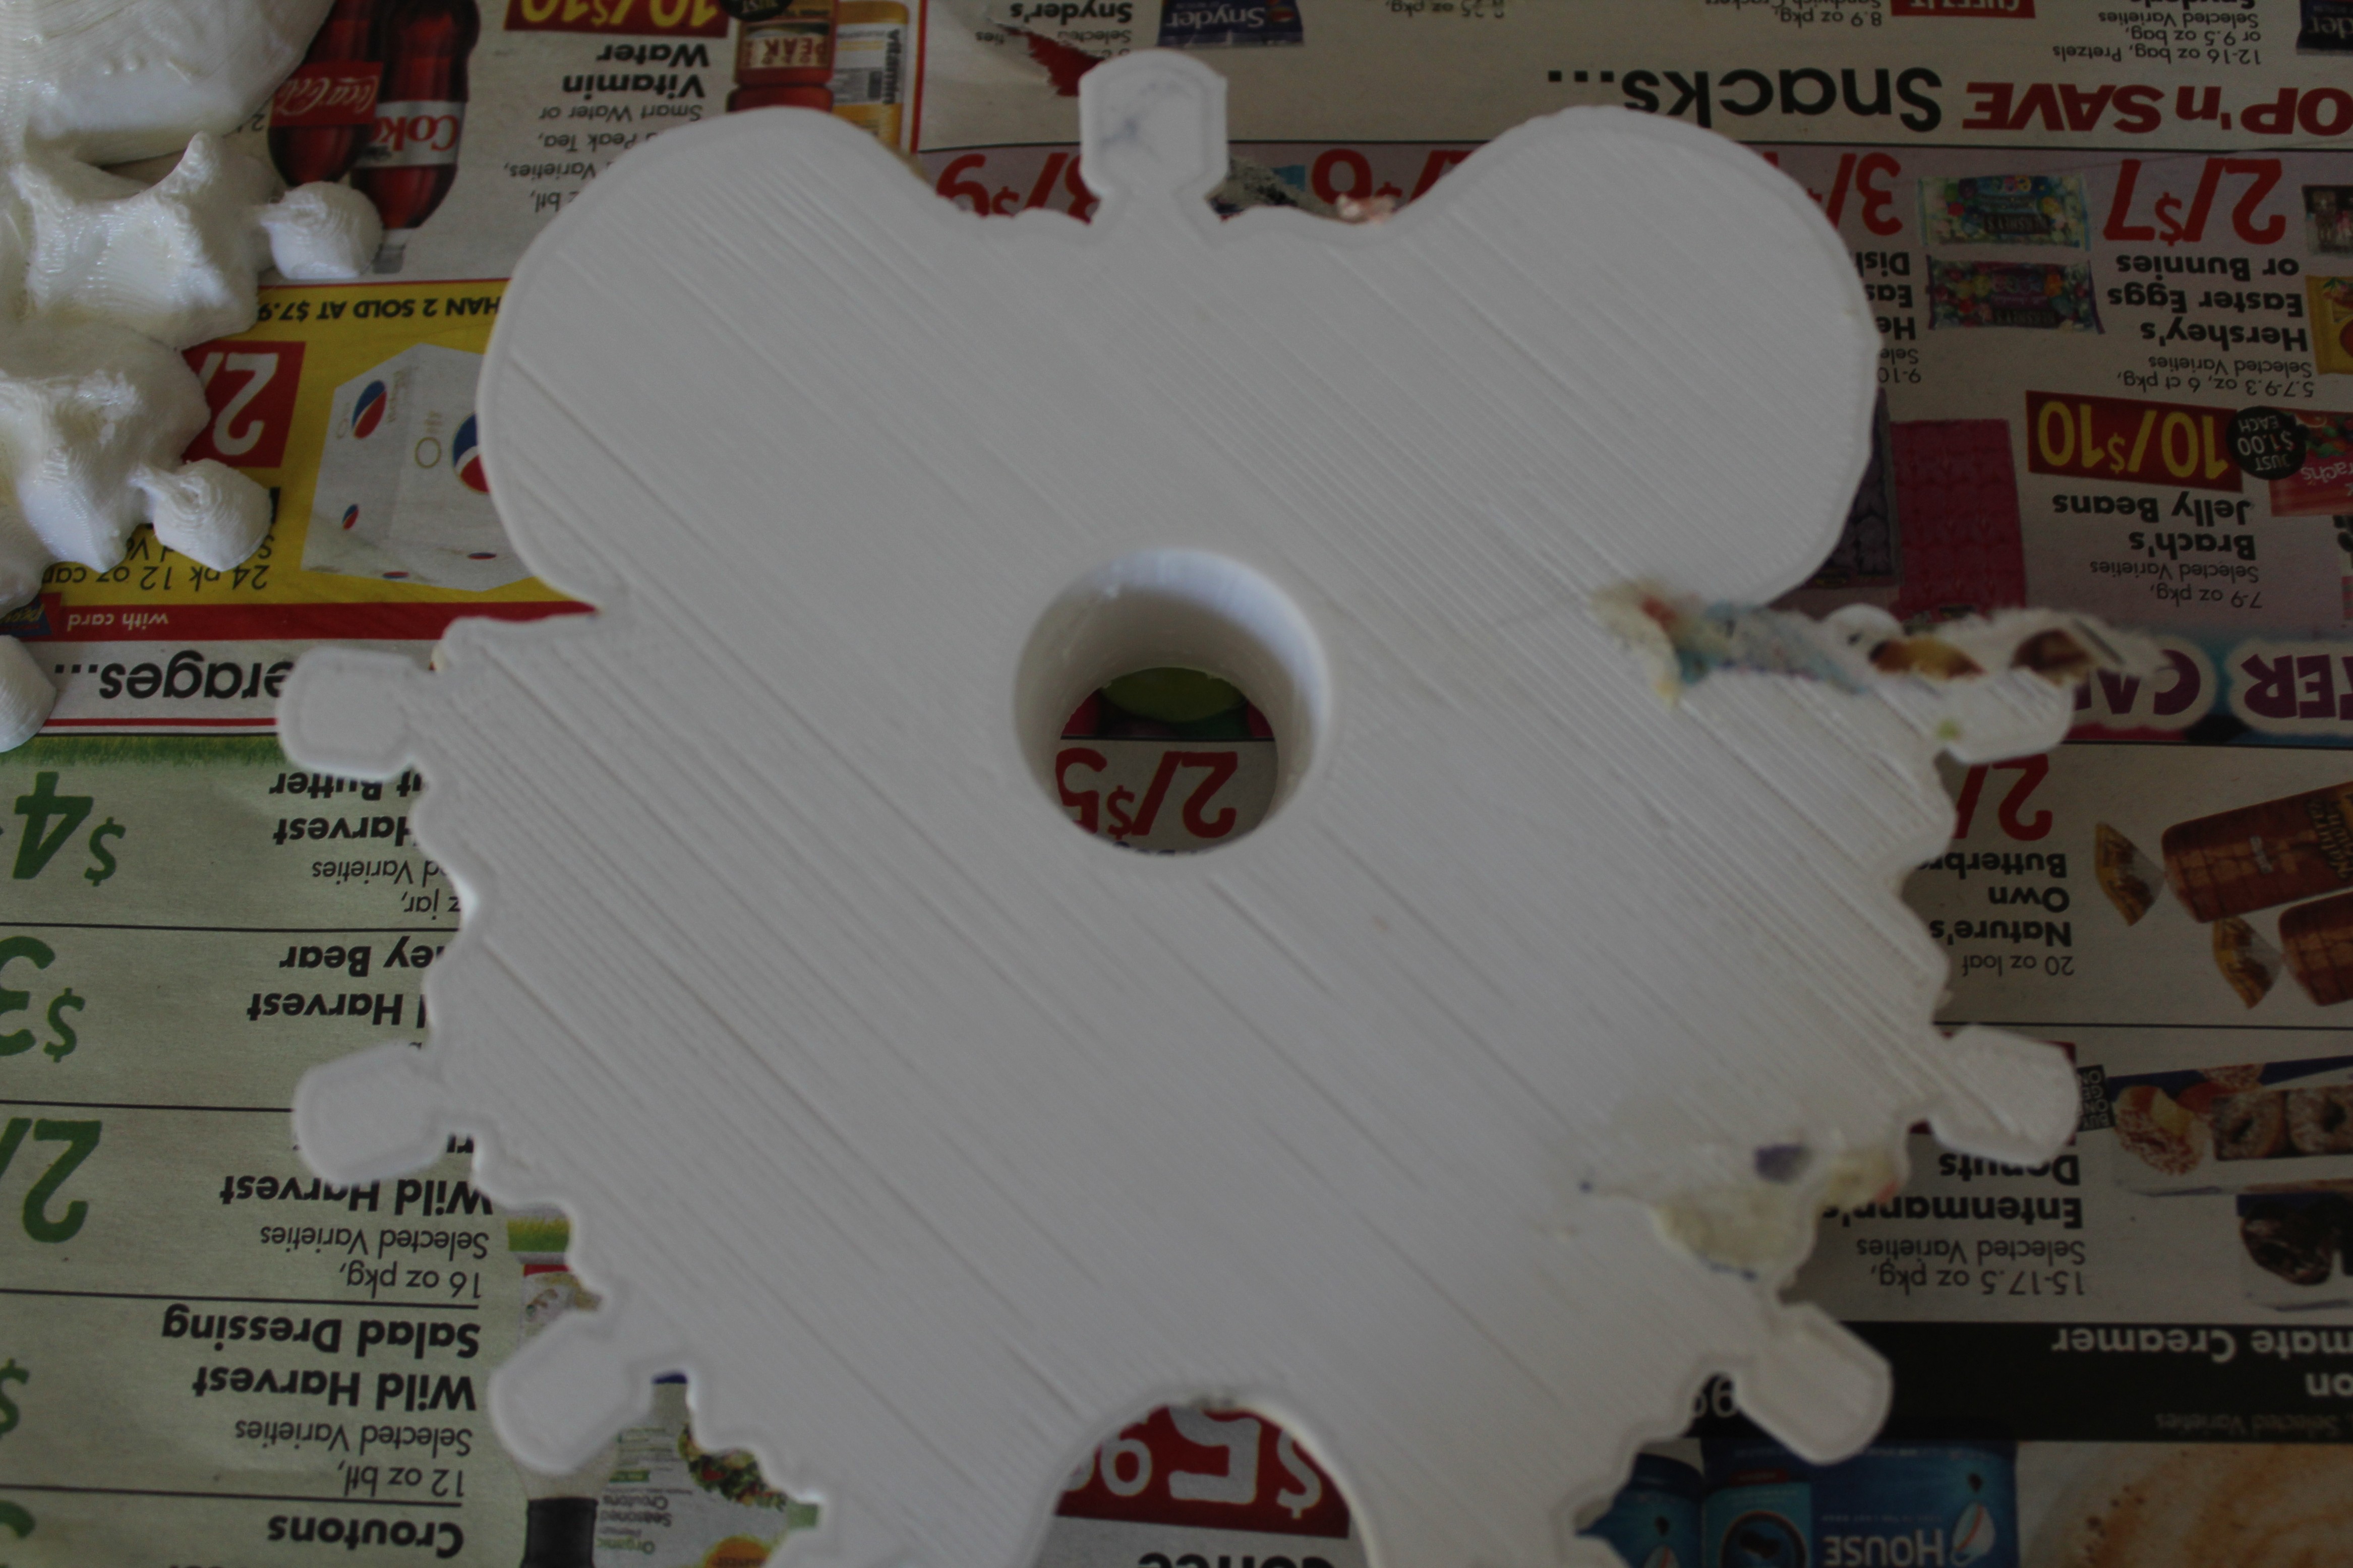
So keeping the trouble I had in mind, I reprinted the Facehugger with a 20mm diameter hole for the clock shaft instead of the original 8mm.
Then, taking advantage of the larger diameter, I designed wider extender shafts (19mm for the hour hand and 14mm for the minute hand). I was also able to make the walls of the shaft thicker, giving the printer more space to accurately print the piece. I also decided that, rather than reusing the hands provided with the clock mechanism and having to design an adapter from the extender shaft to the keyed holes in the hands, I'd design my own that were more in line with the aesthetic of the clock.
![]()
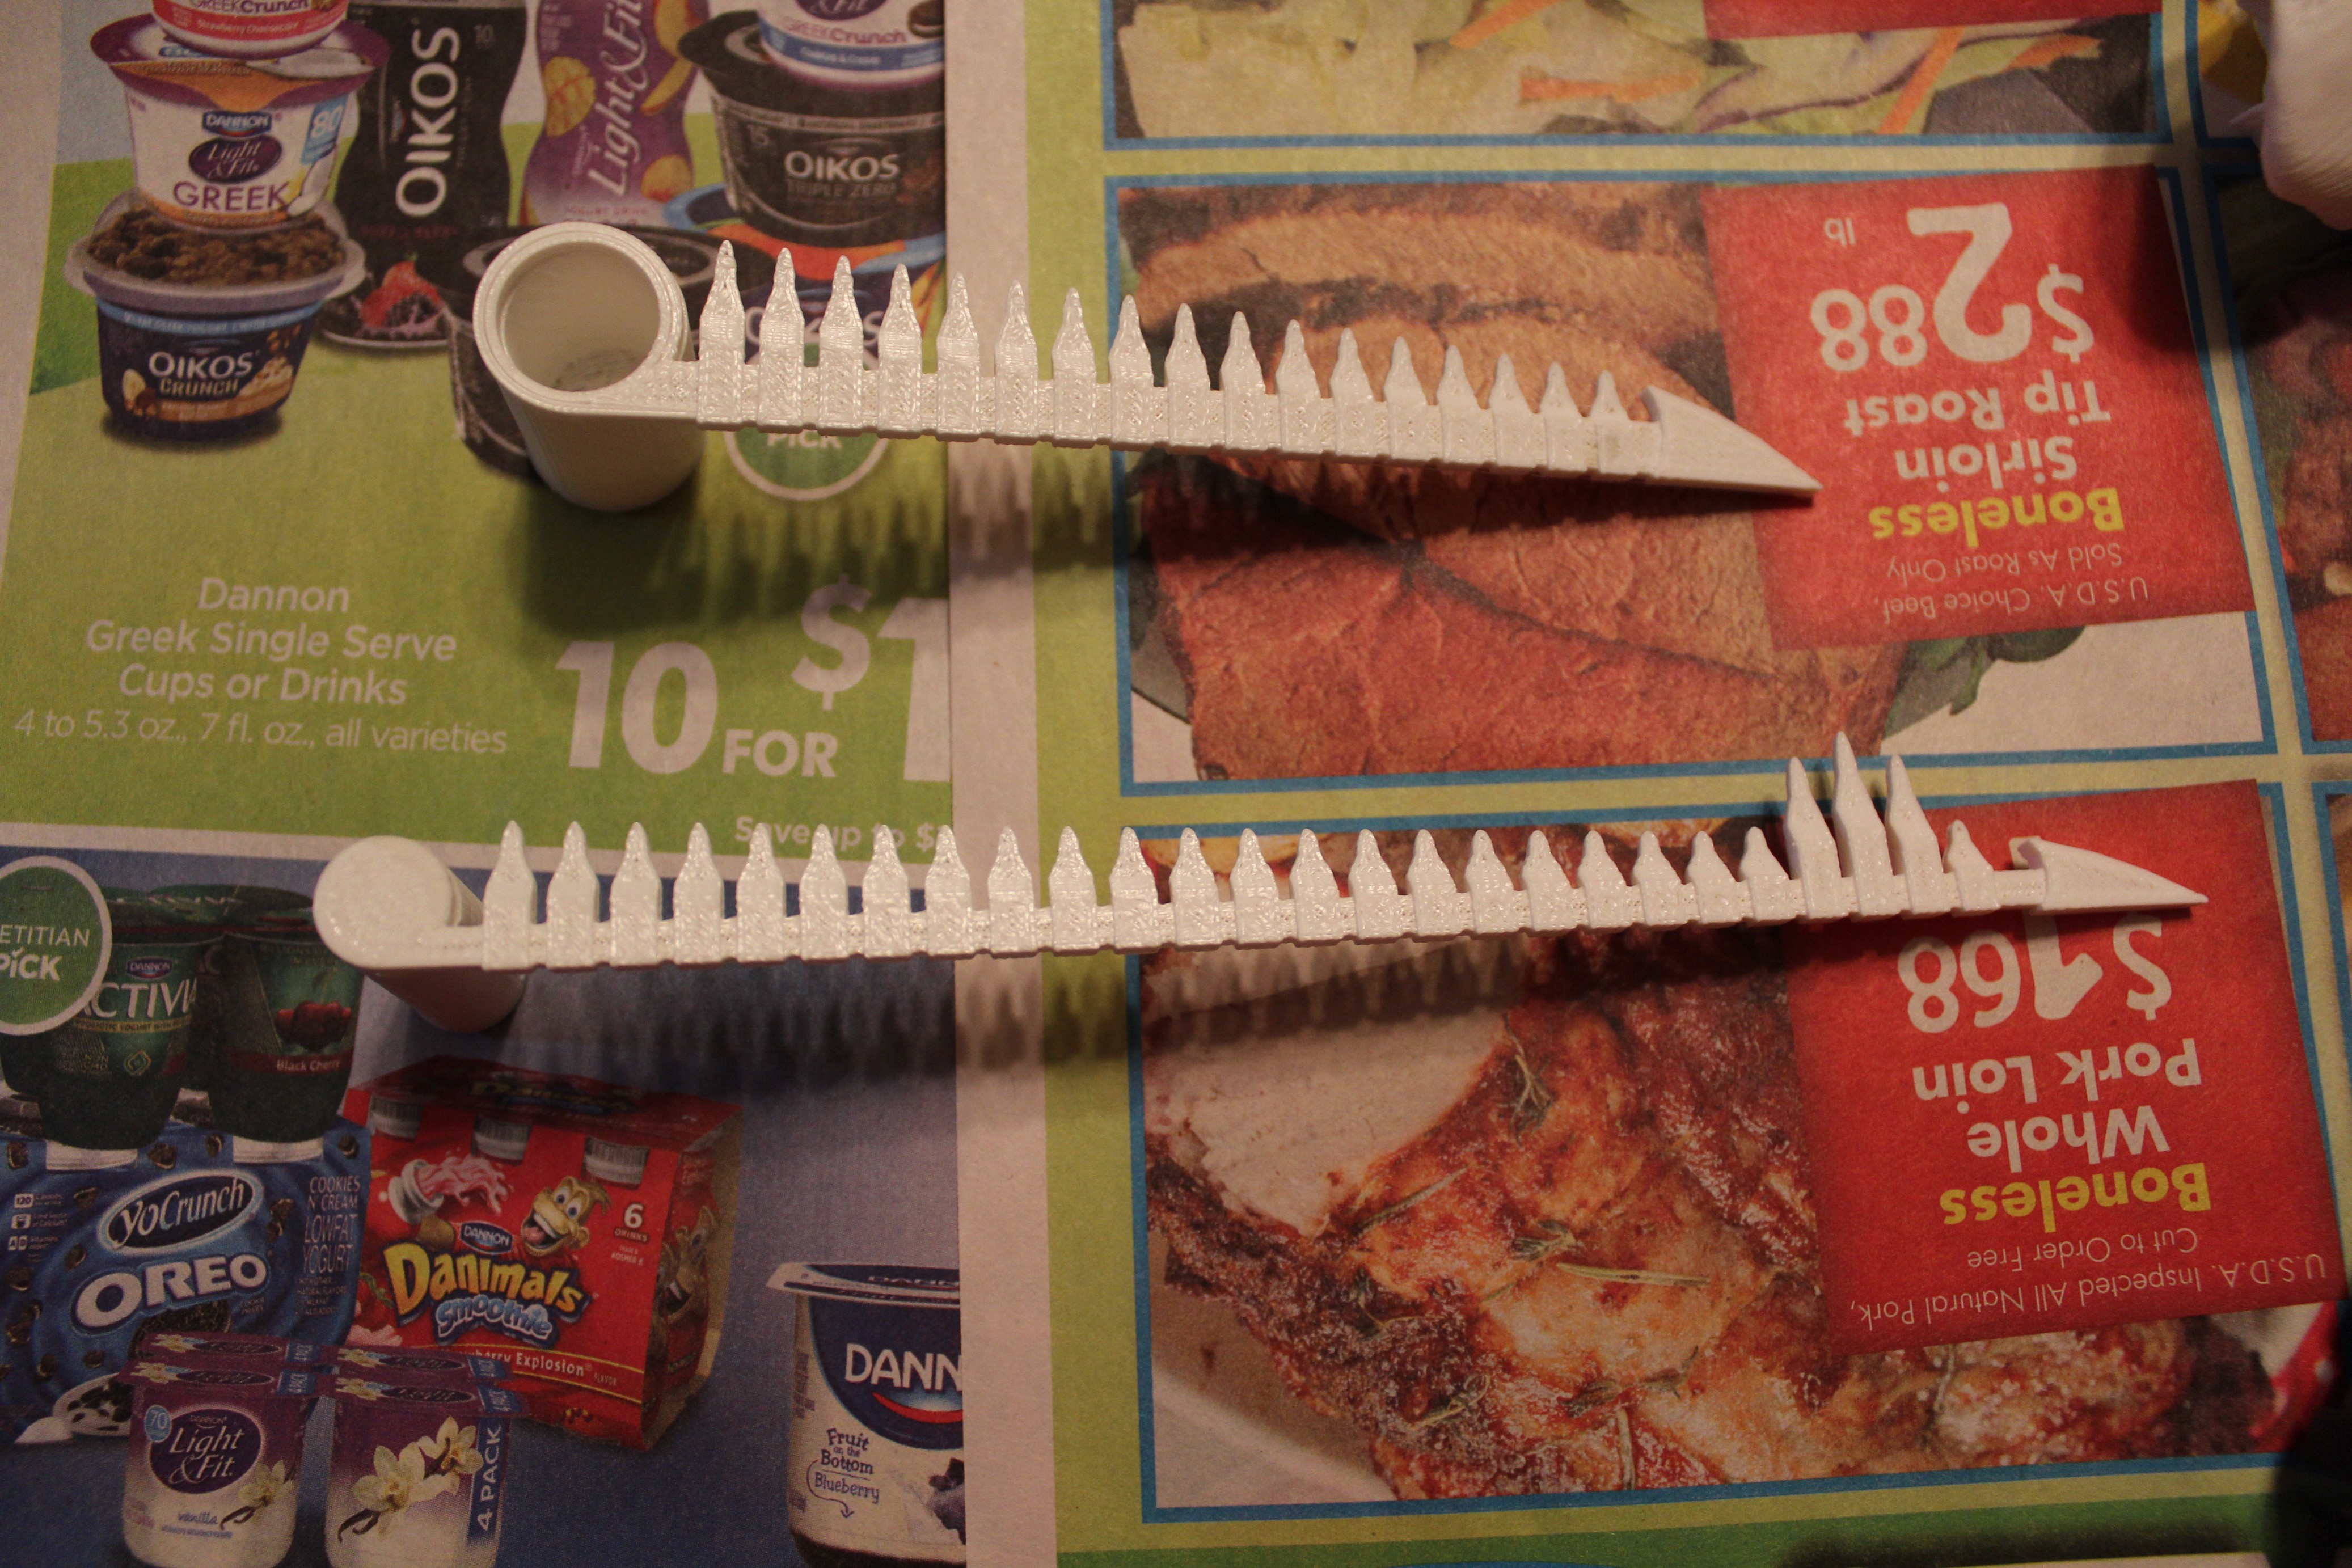
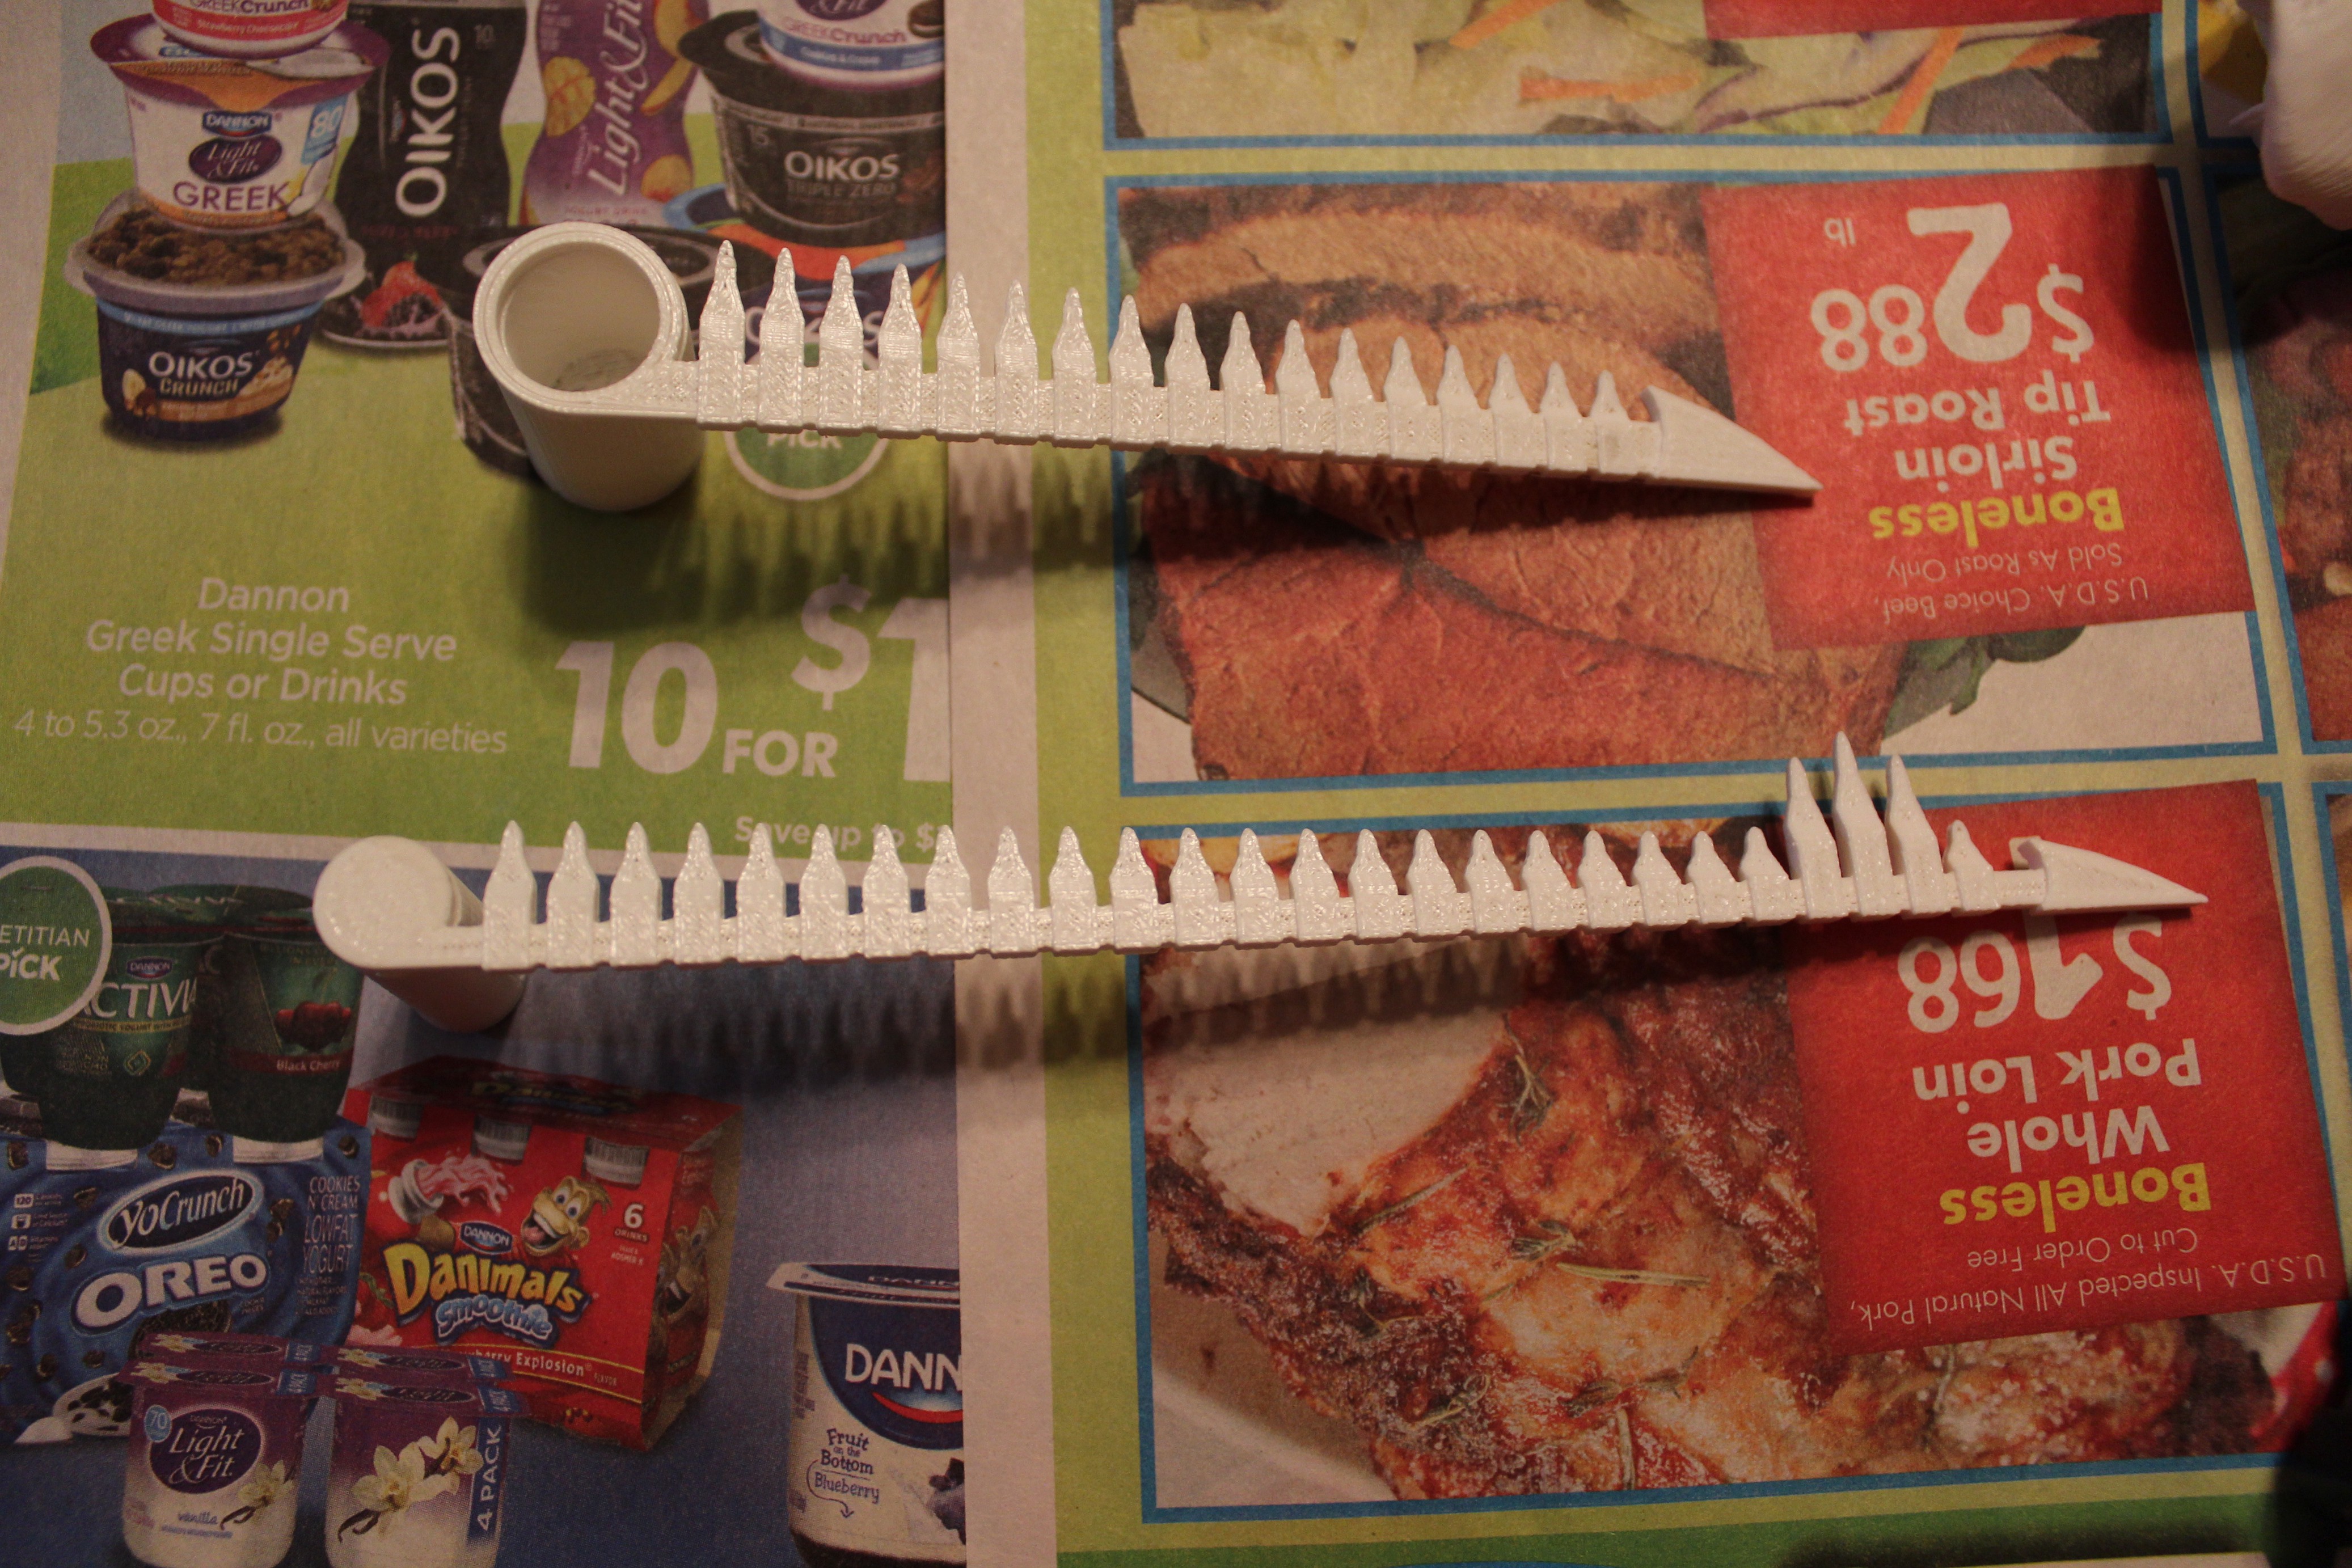
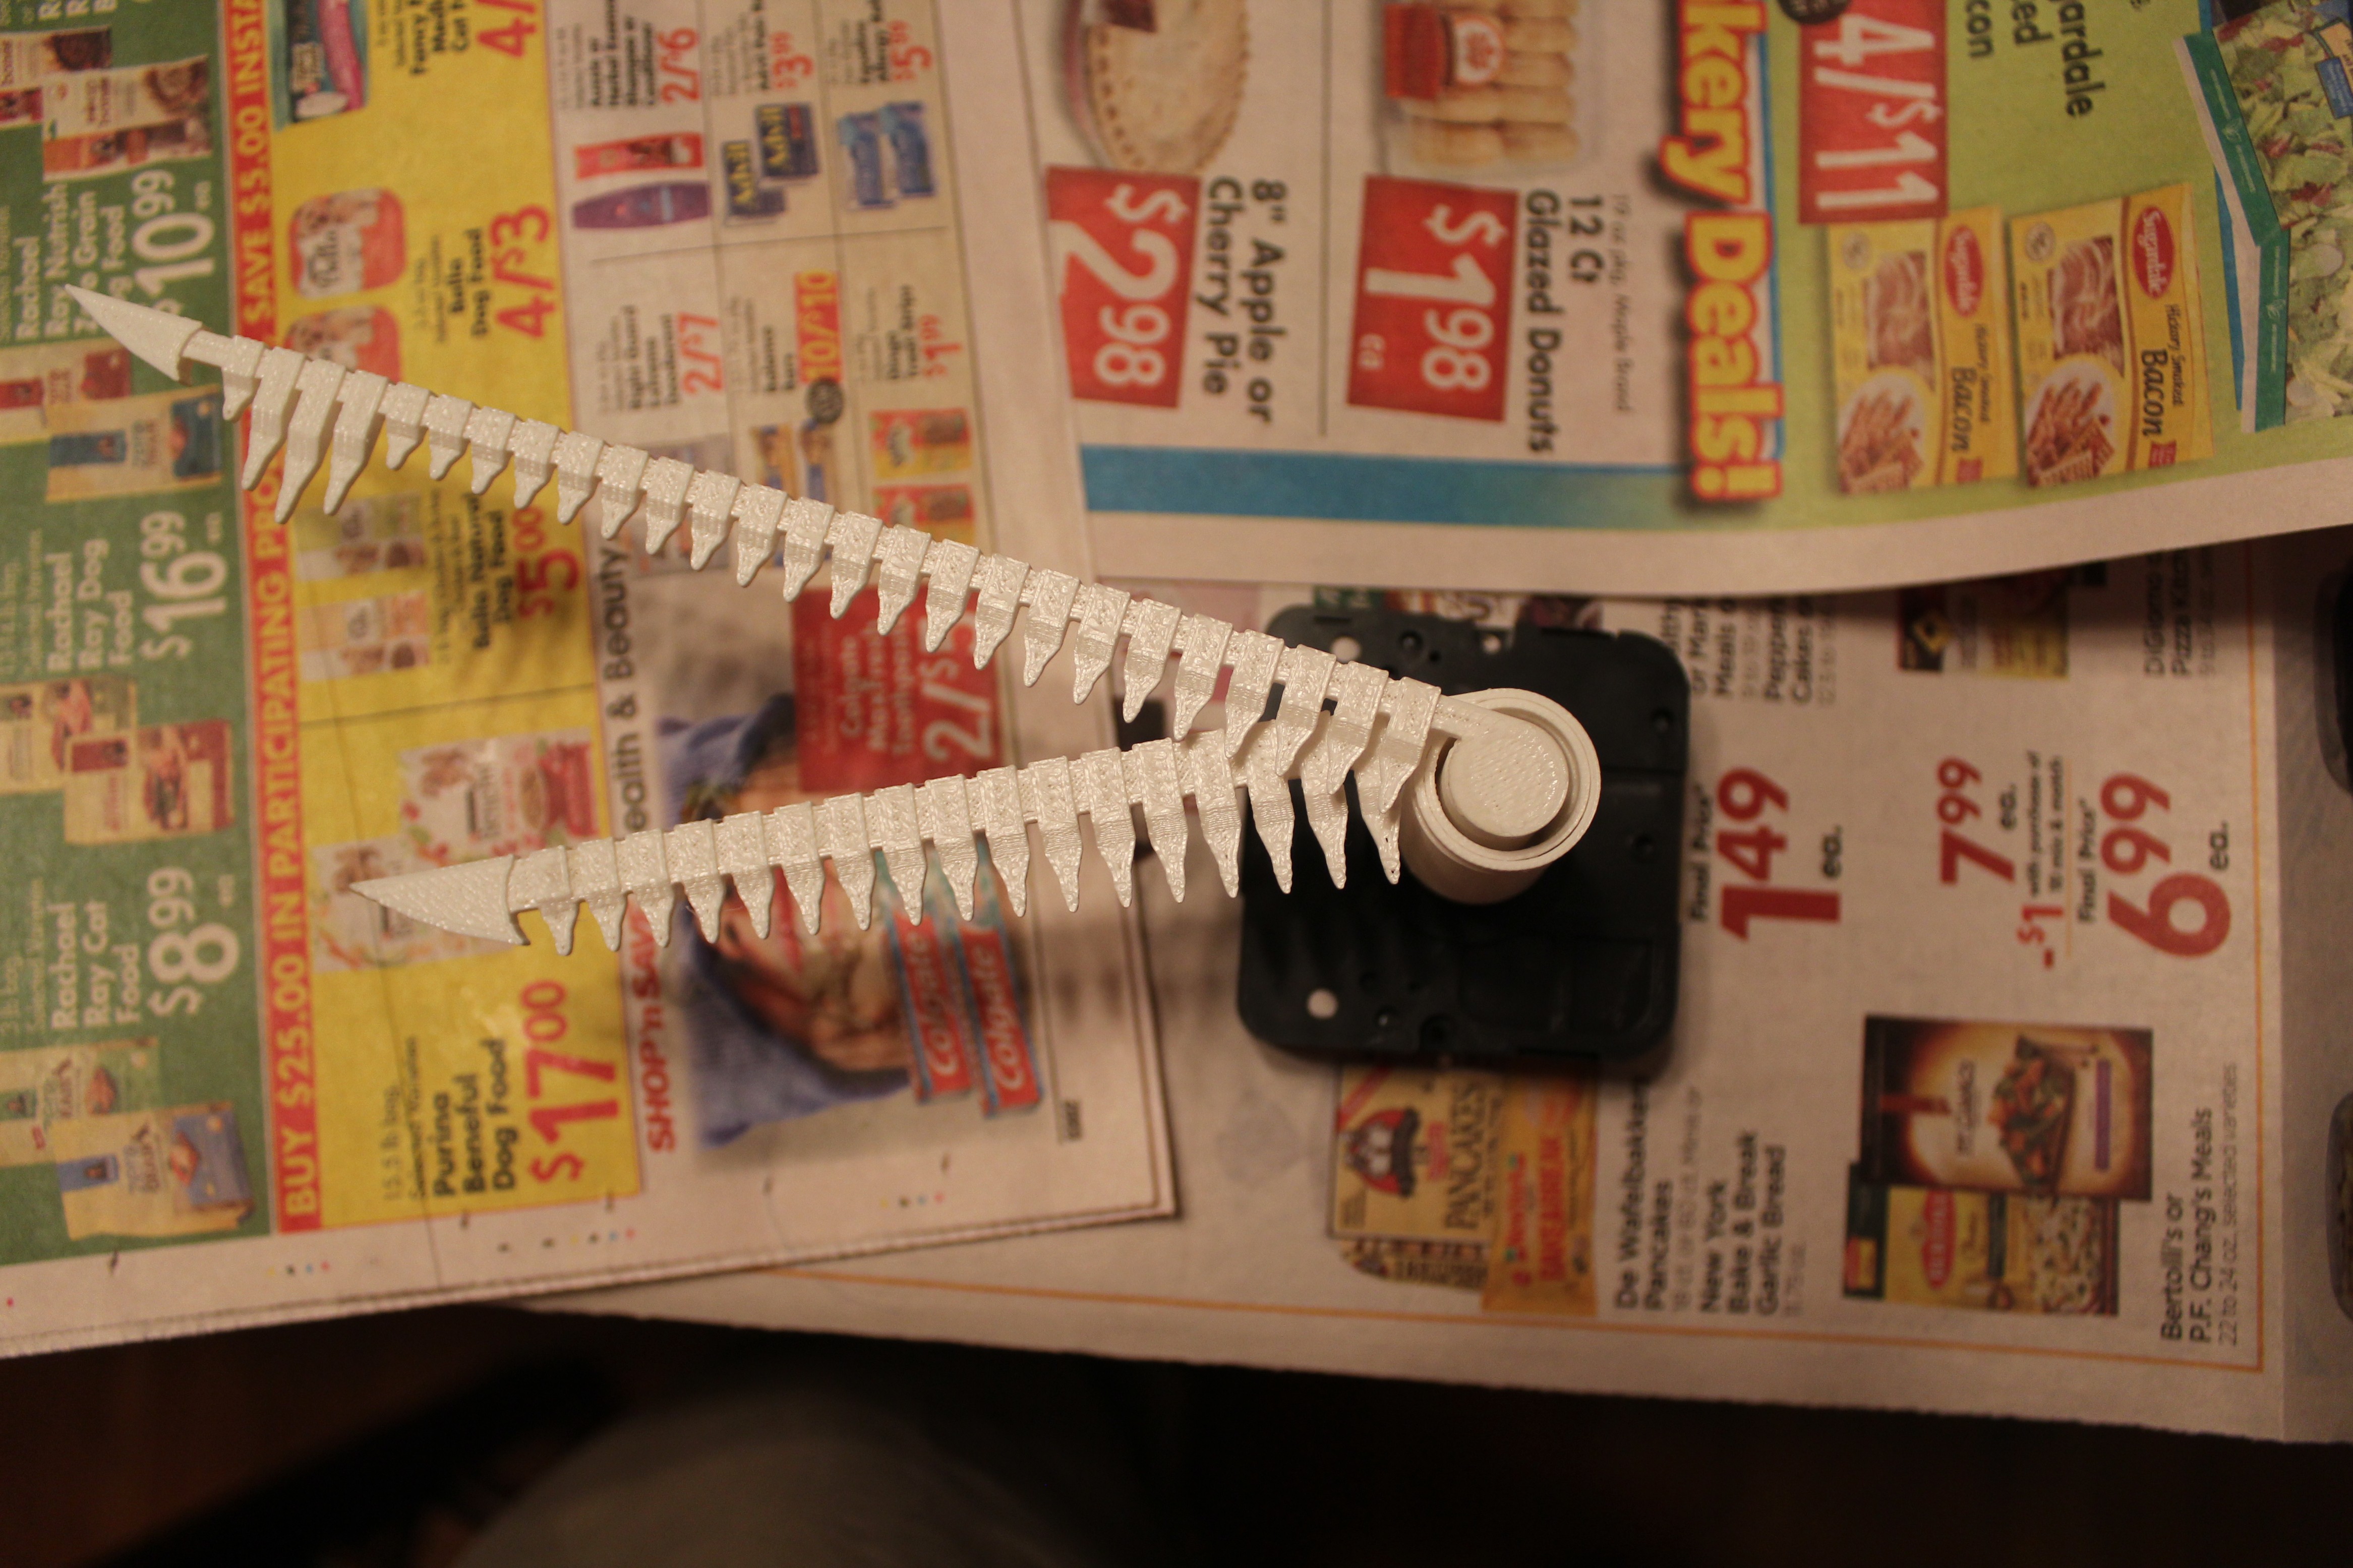
Using the grown Xenomorph tail as inspiration, I designed both clock hands.
As visible above, the Xenomorph tails look fairly accurate and fit perfectly! Because the 3D printed clock hands were roughly twice as heavy as the thin metal ones that came with the clock, I was a little worried that the clock wouldn't have enough torque to lift the hands. However, after some brief testing, the clock doesn't seem to have any trouble with the heavier hands.
-
Working Cuckoo Mechanism
03/01/2017 at 18:05 • 0 commentsThe cuckoo mechanism is done, and it works! Below is a description of each of the printed pieces and a video of the mechanism in action.
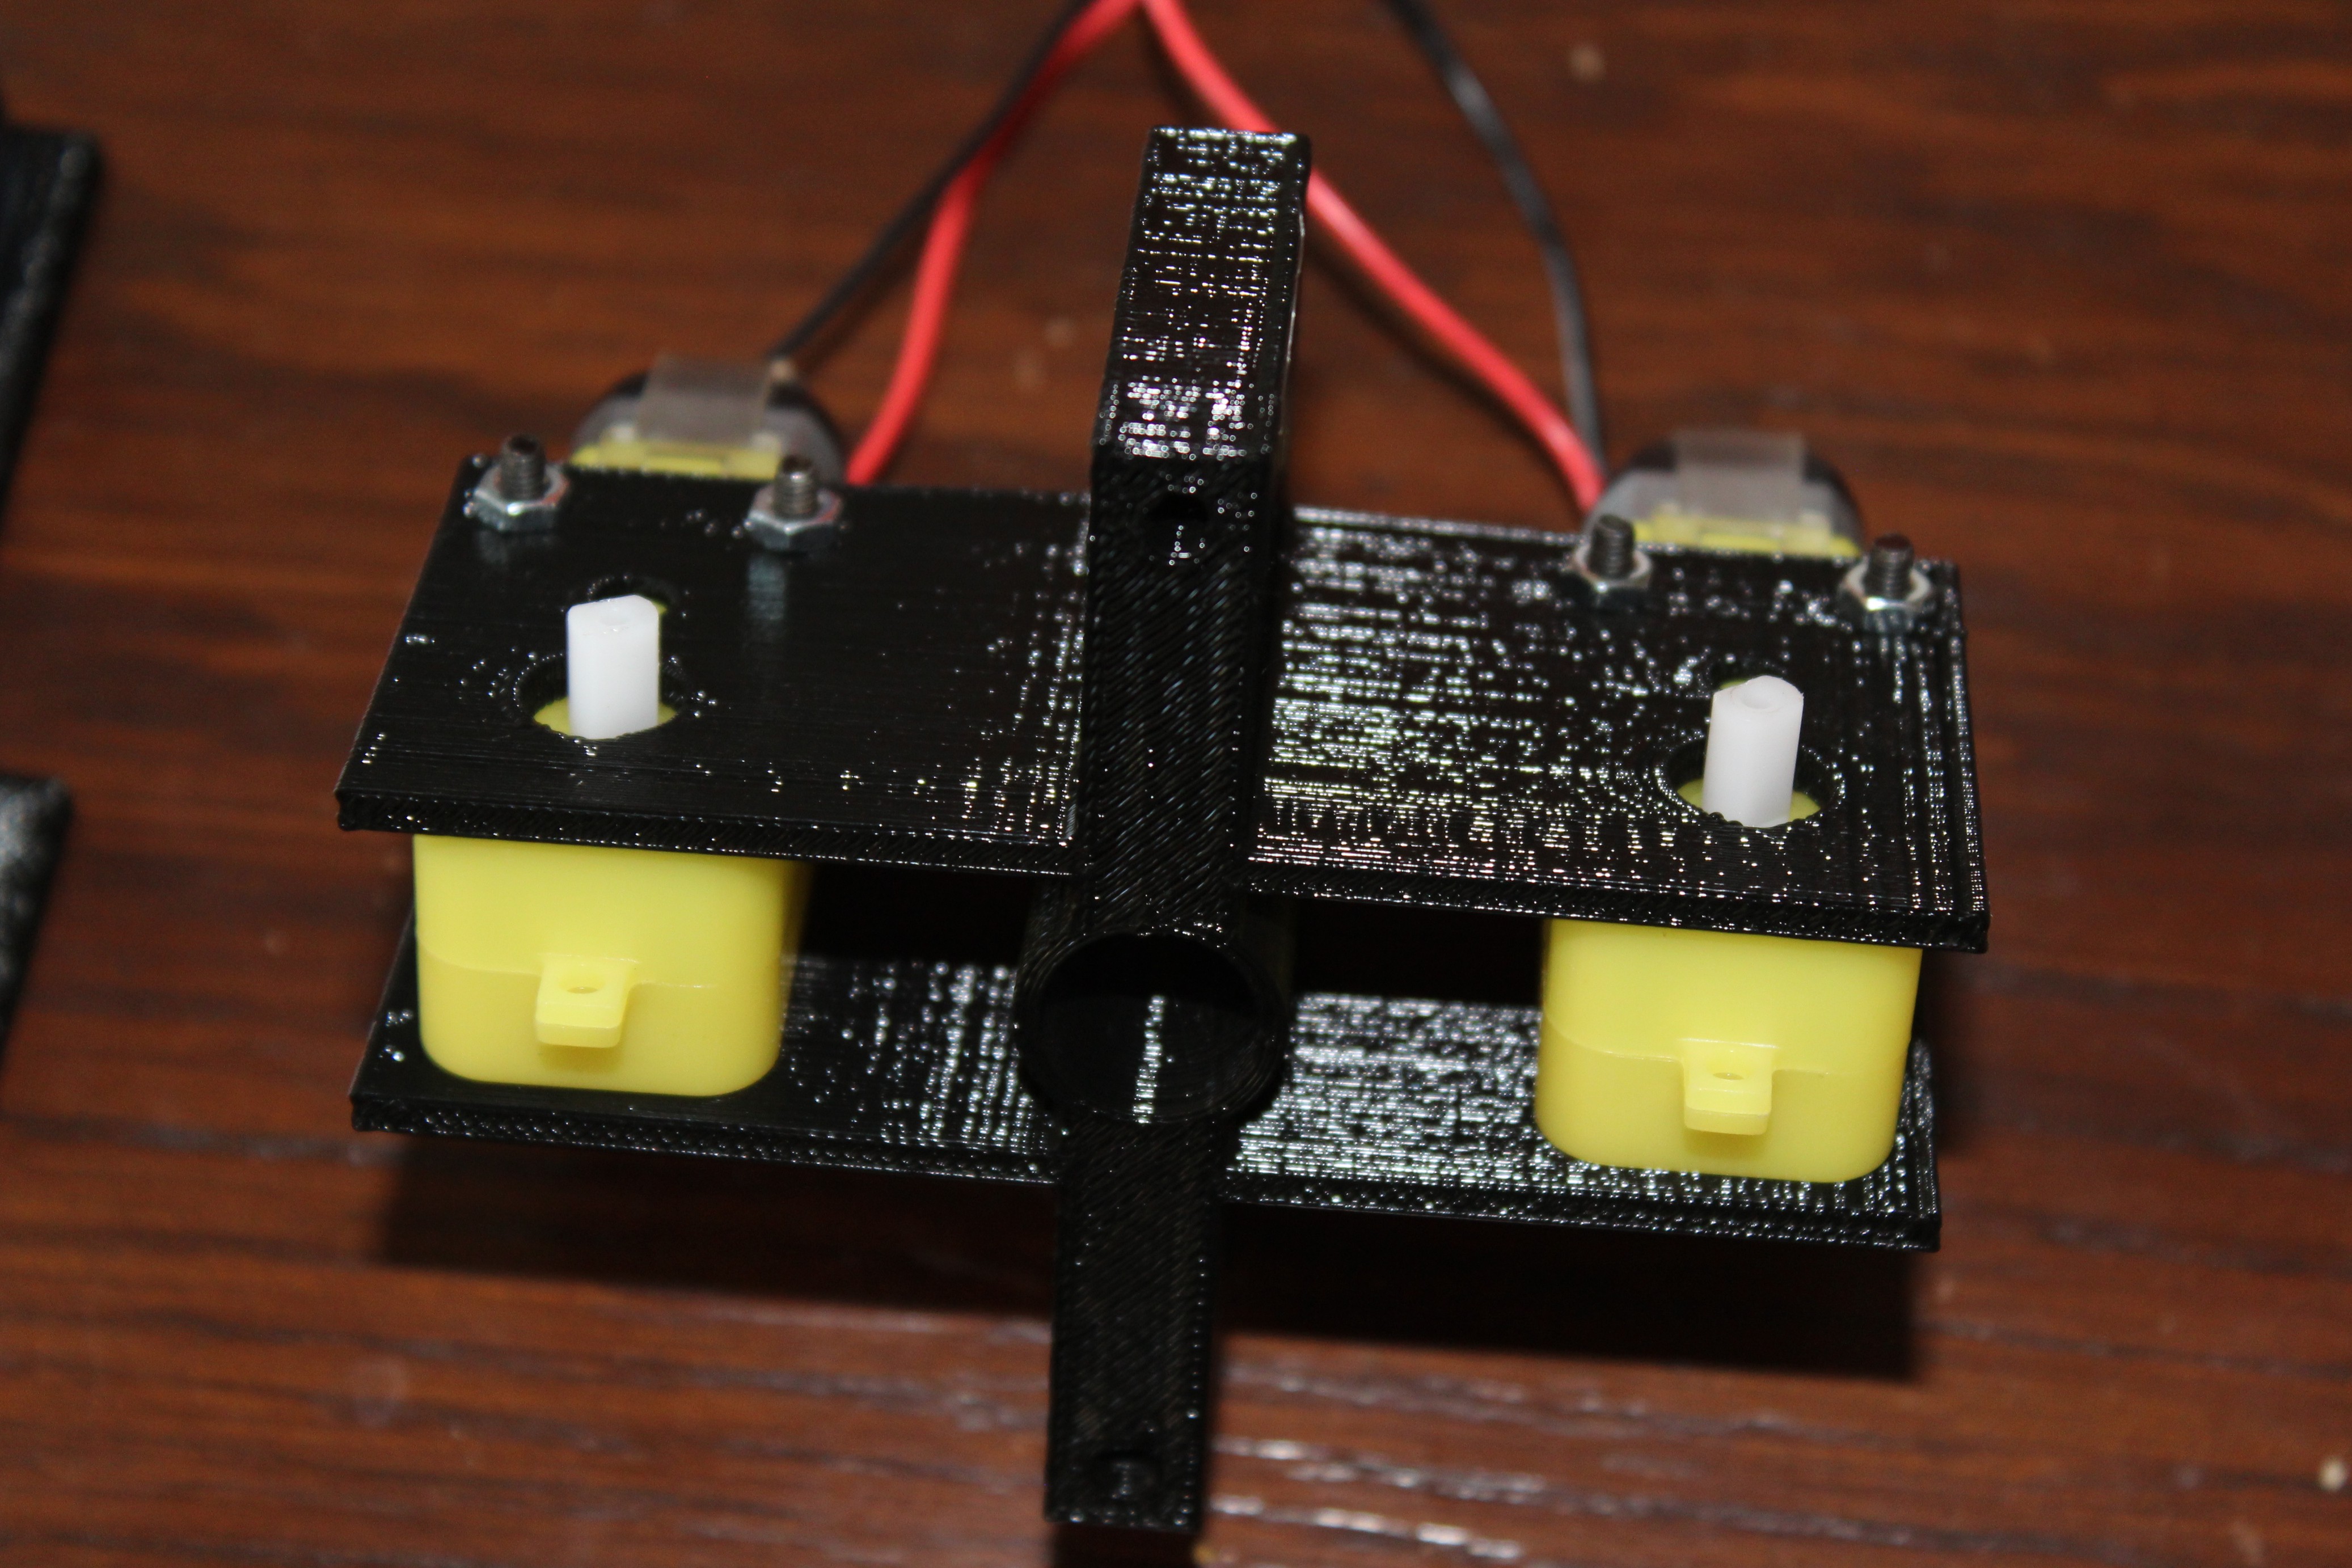
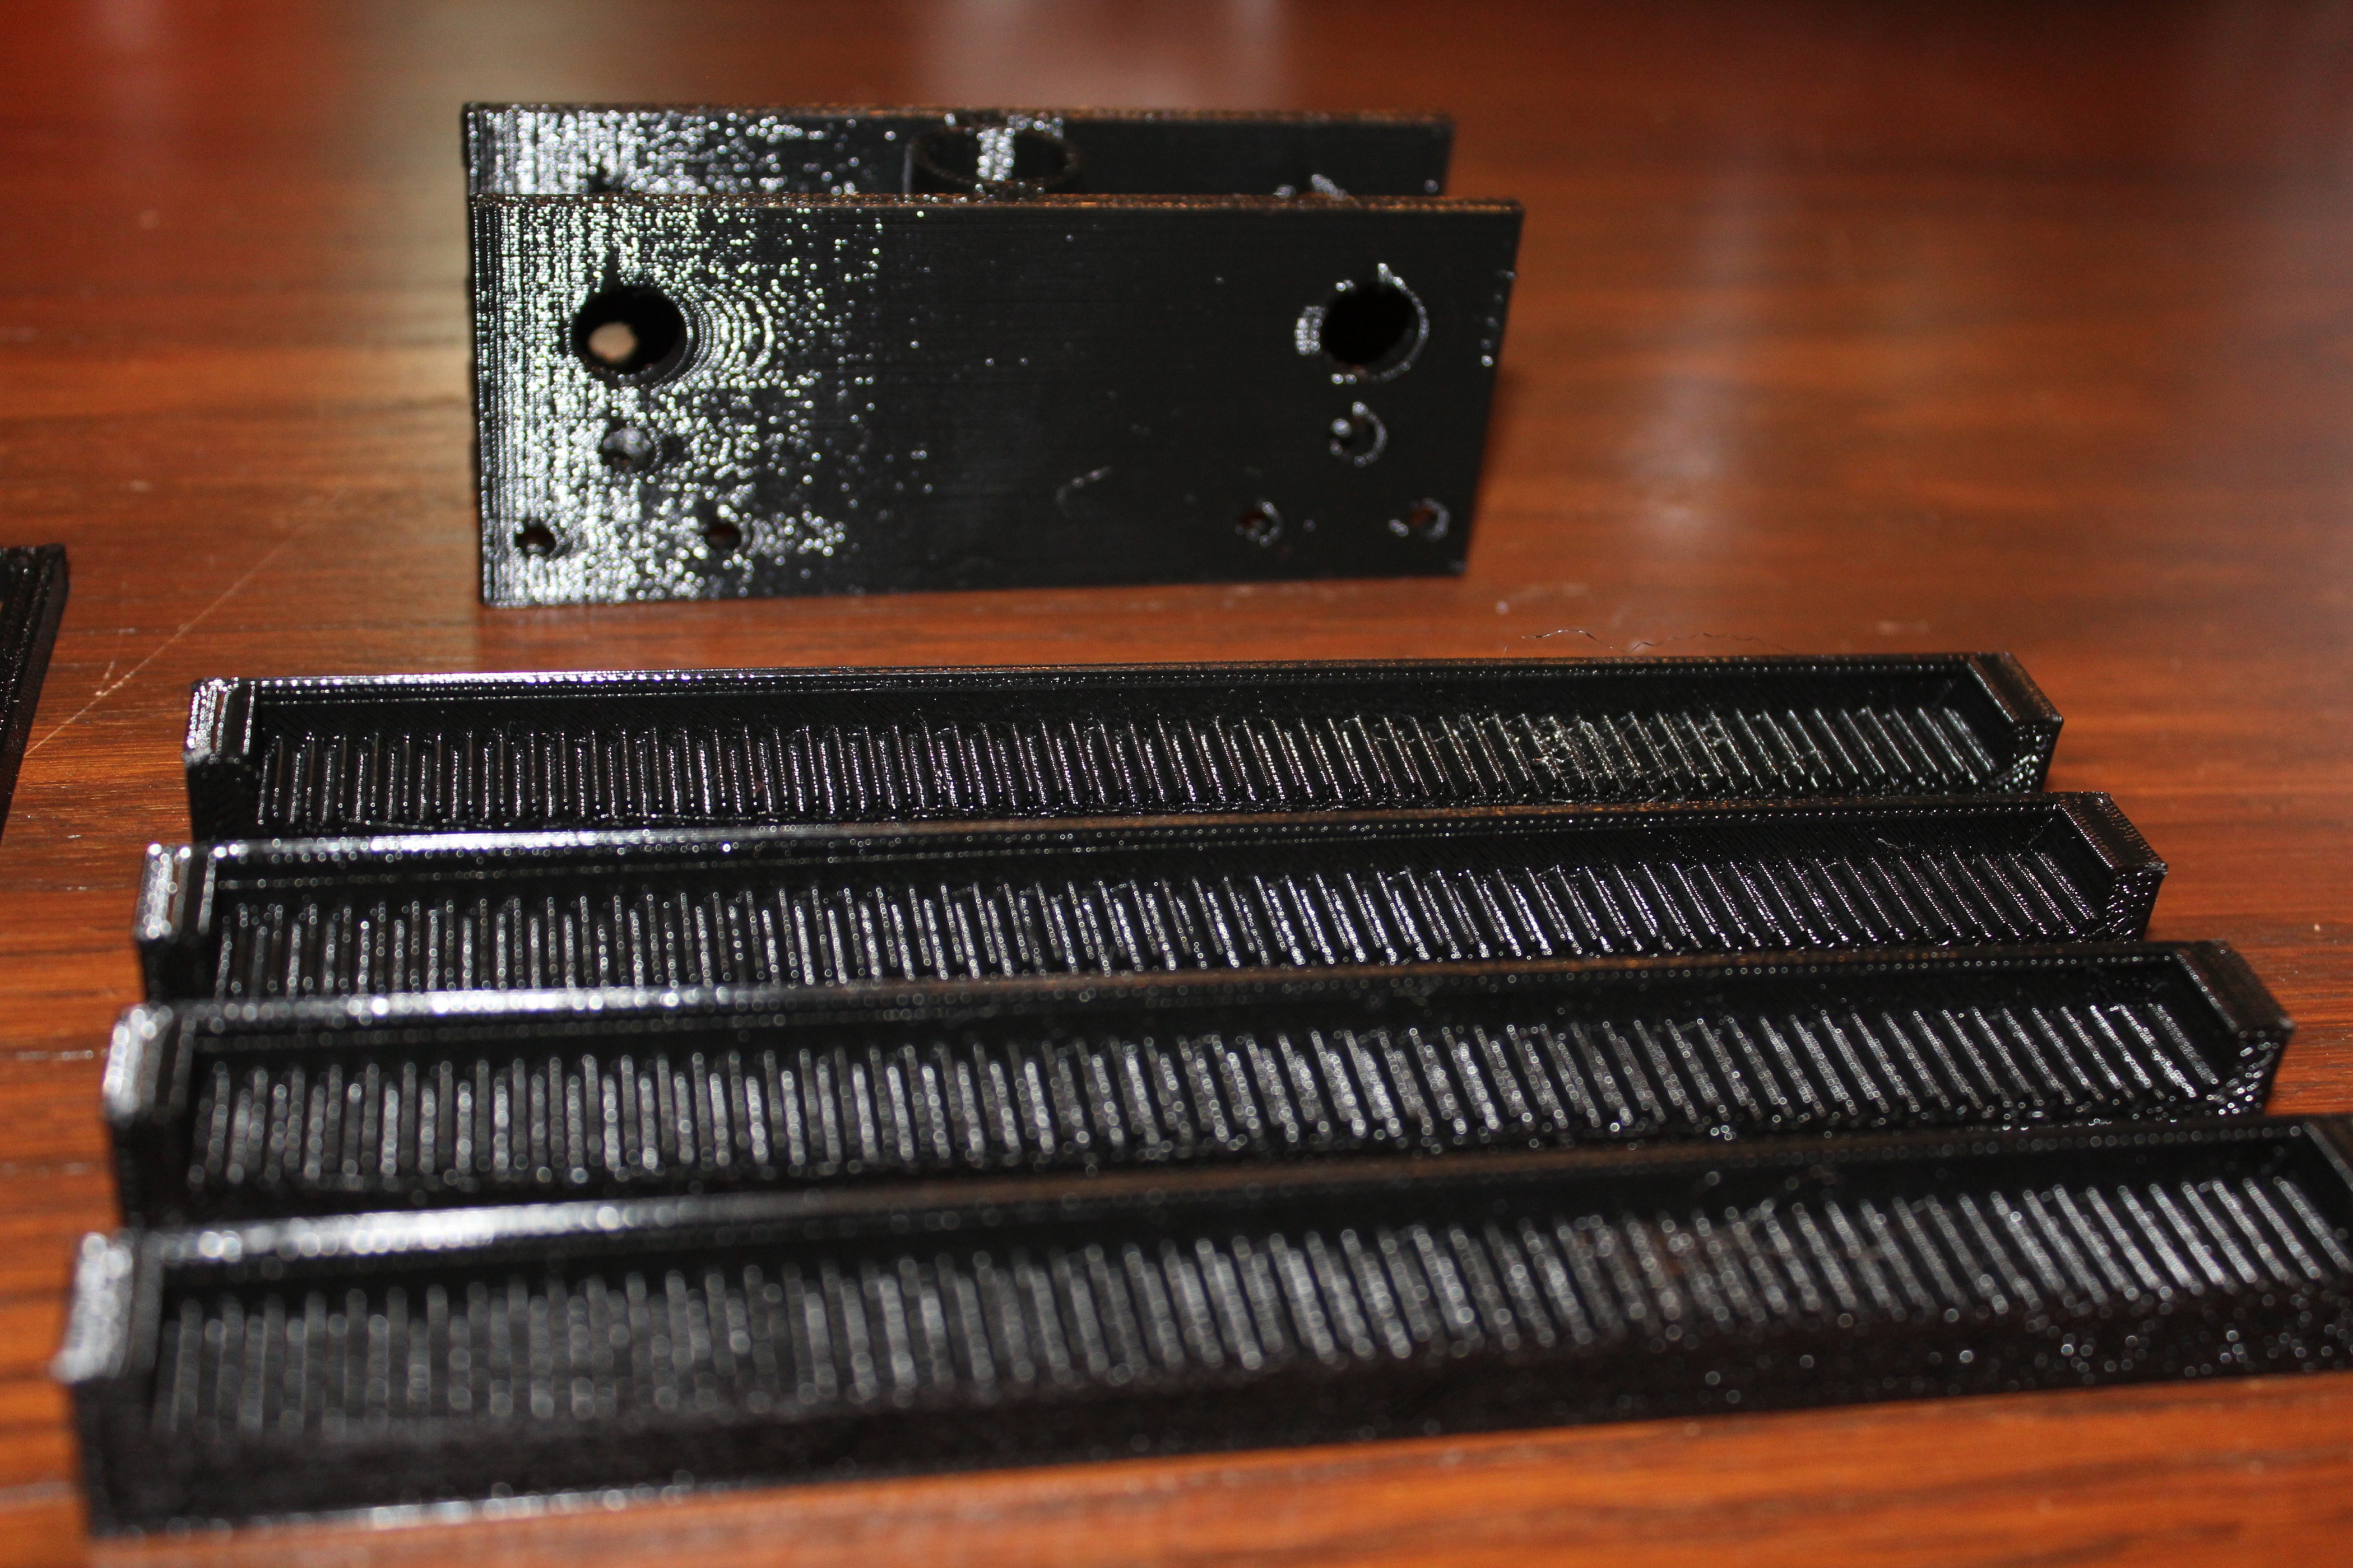
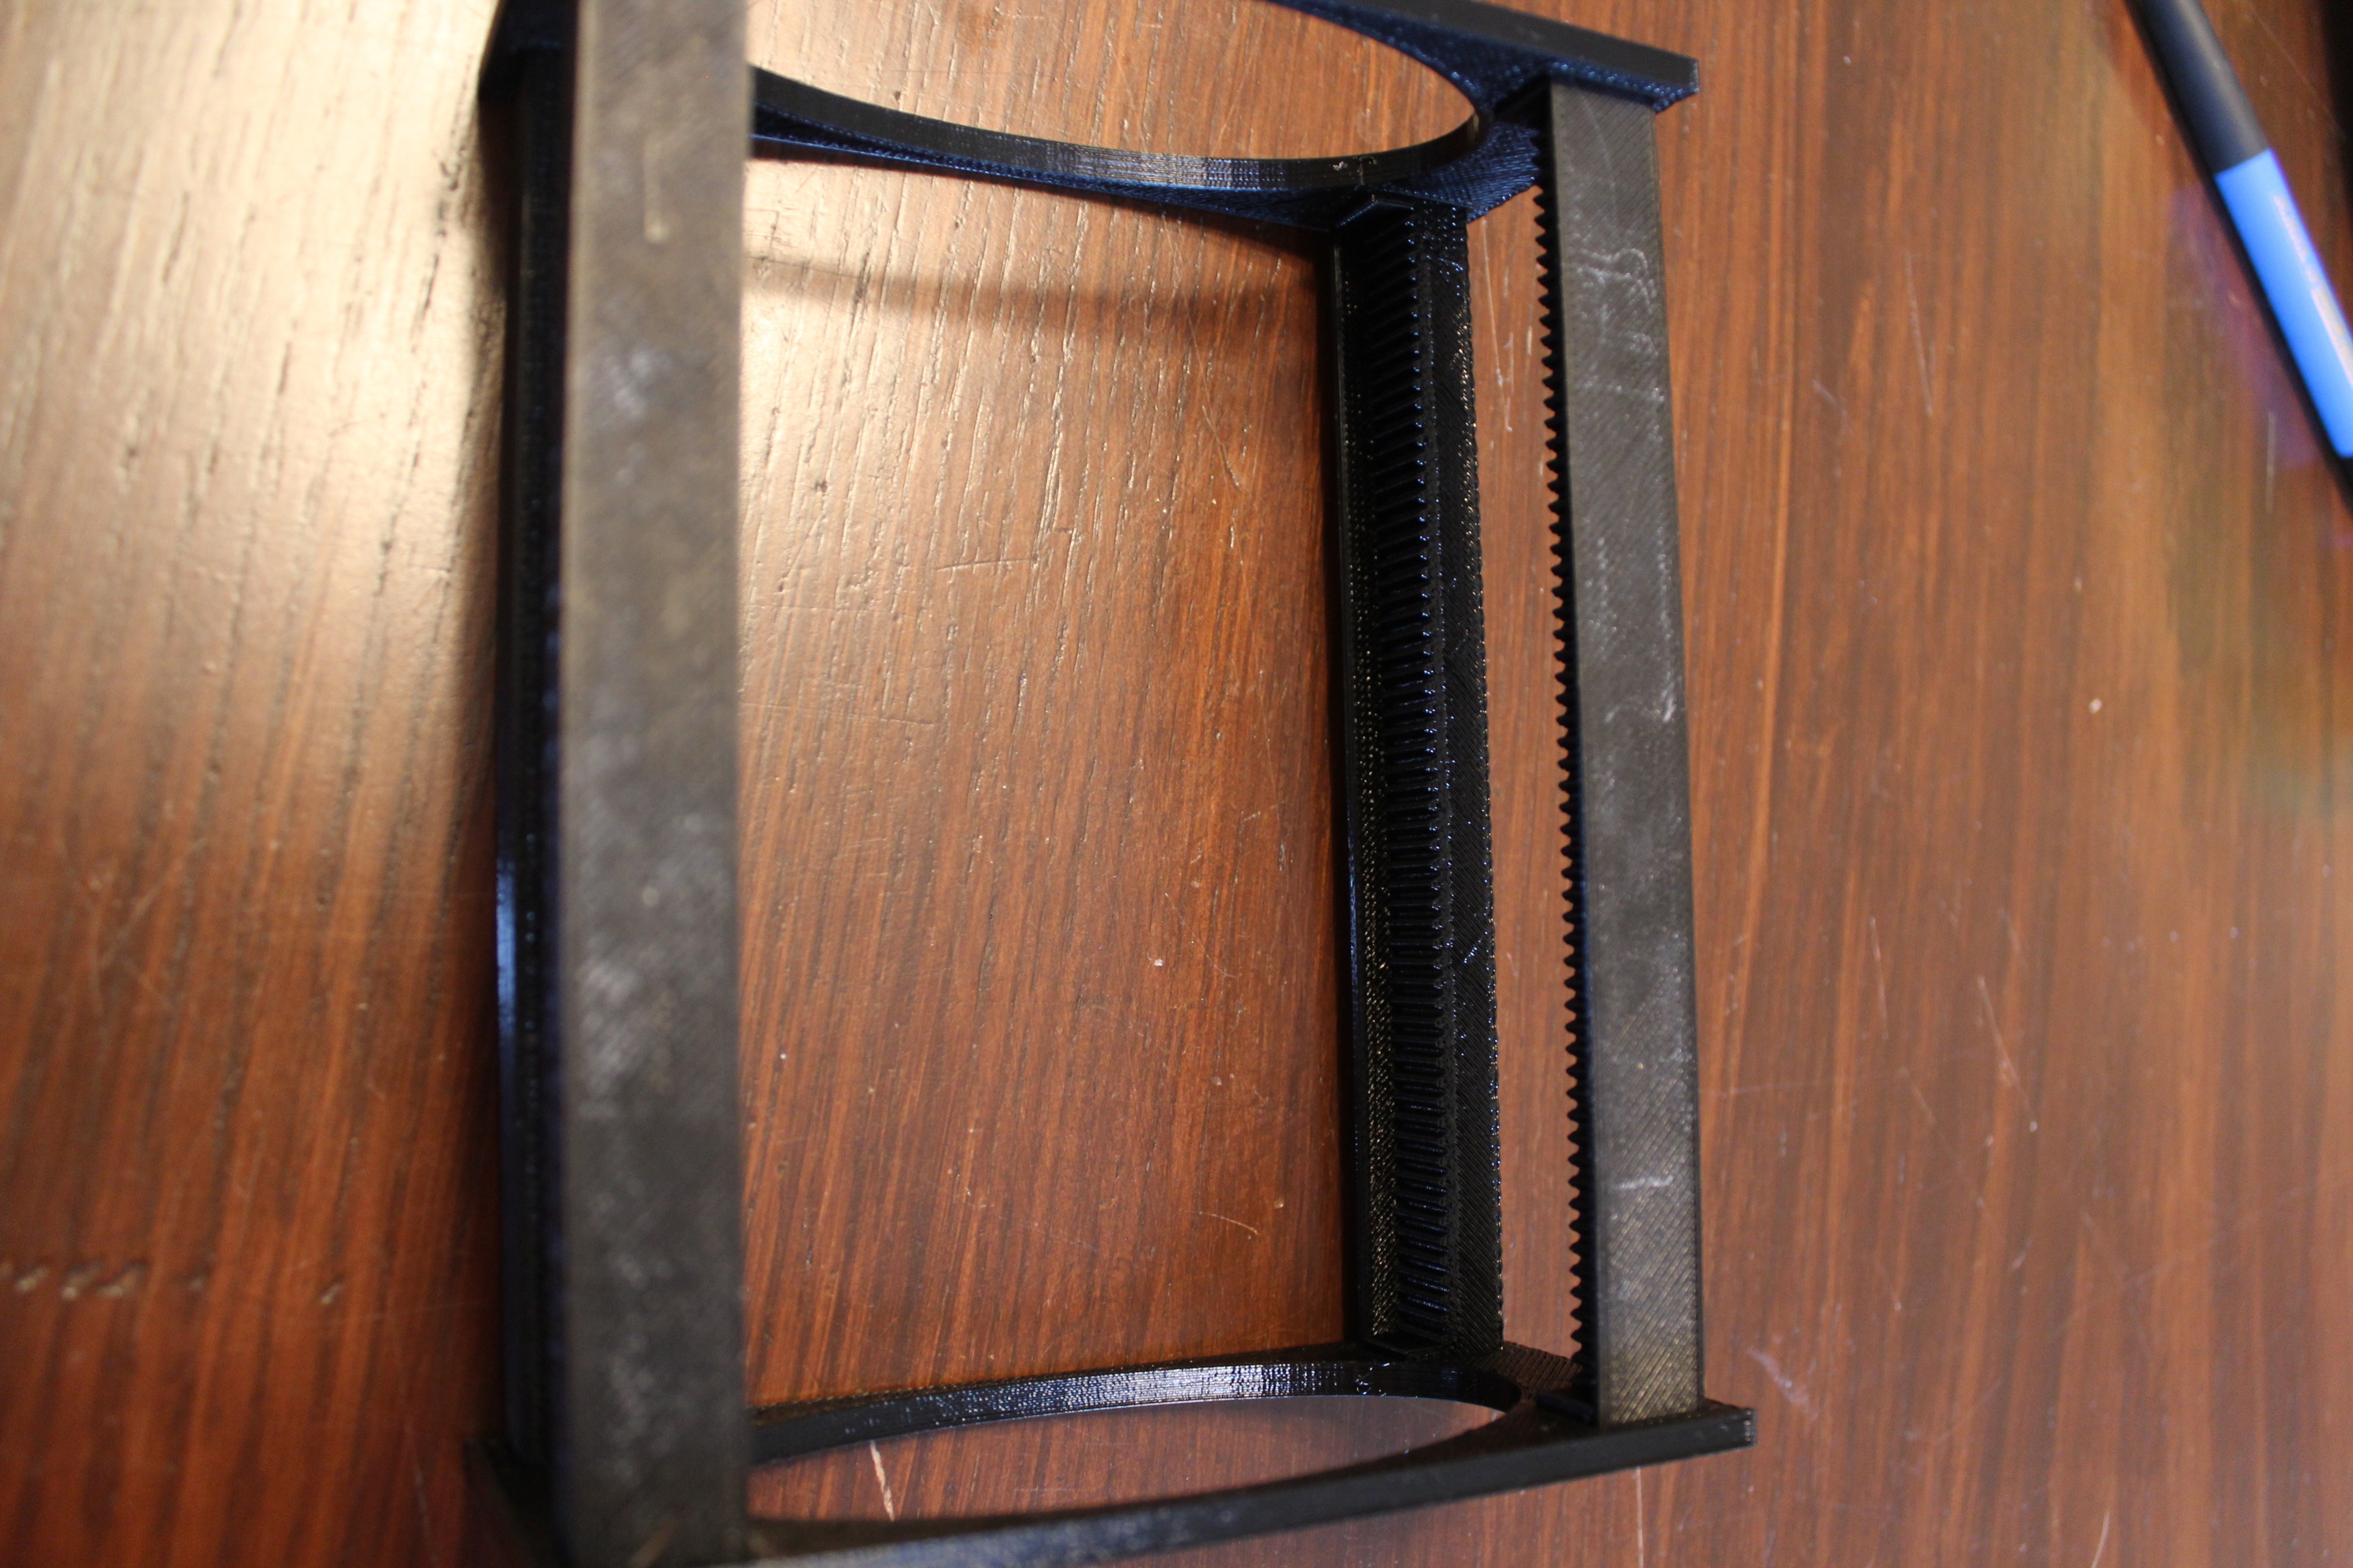
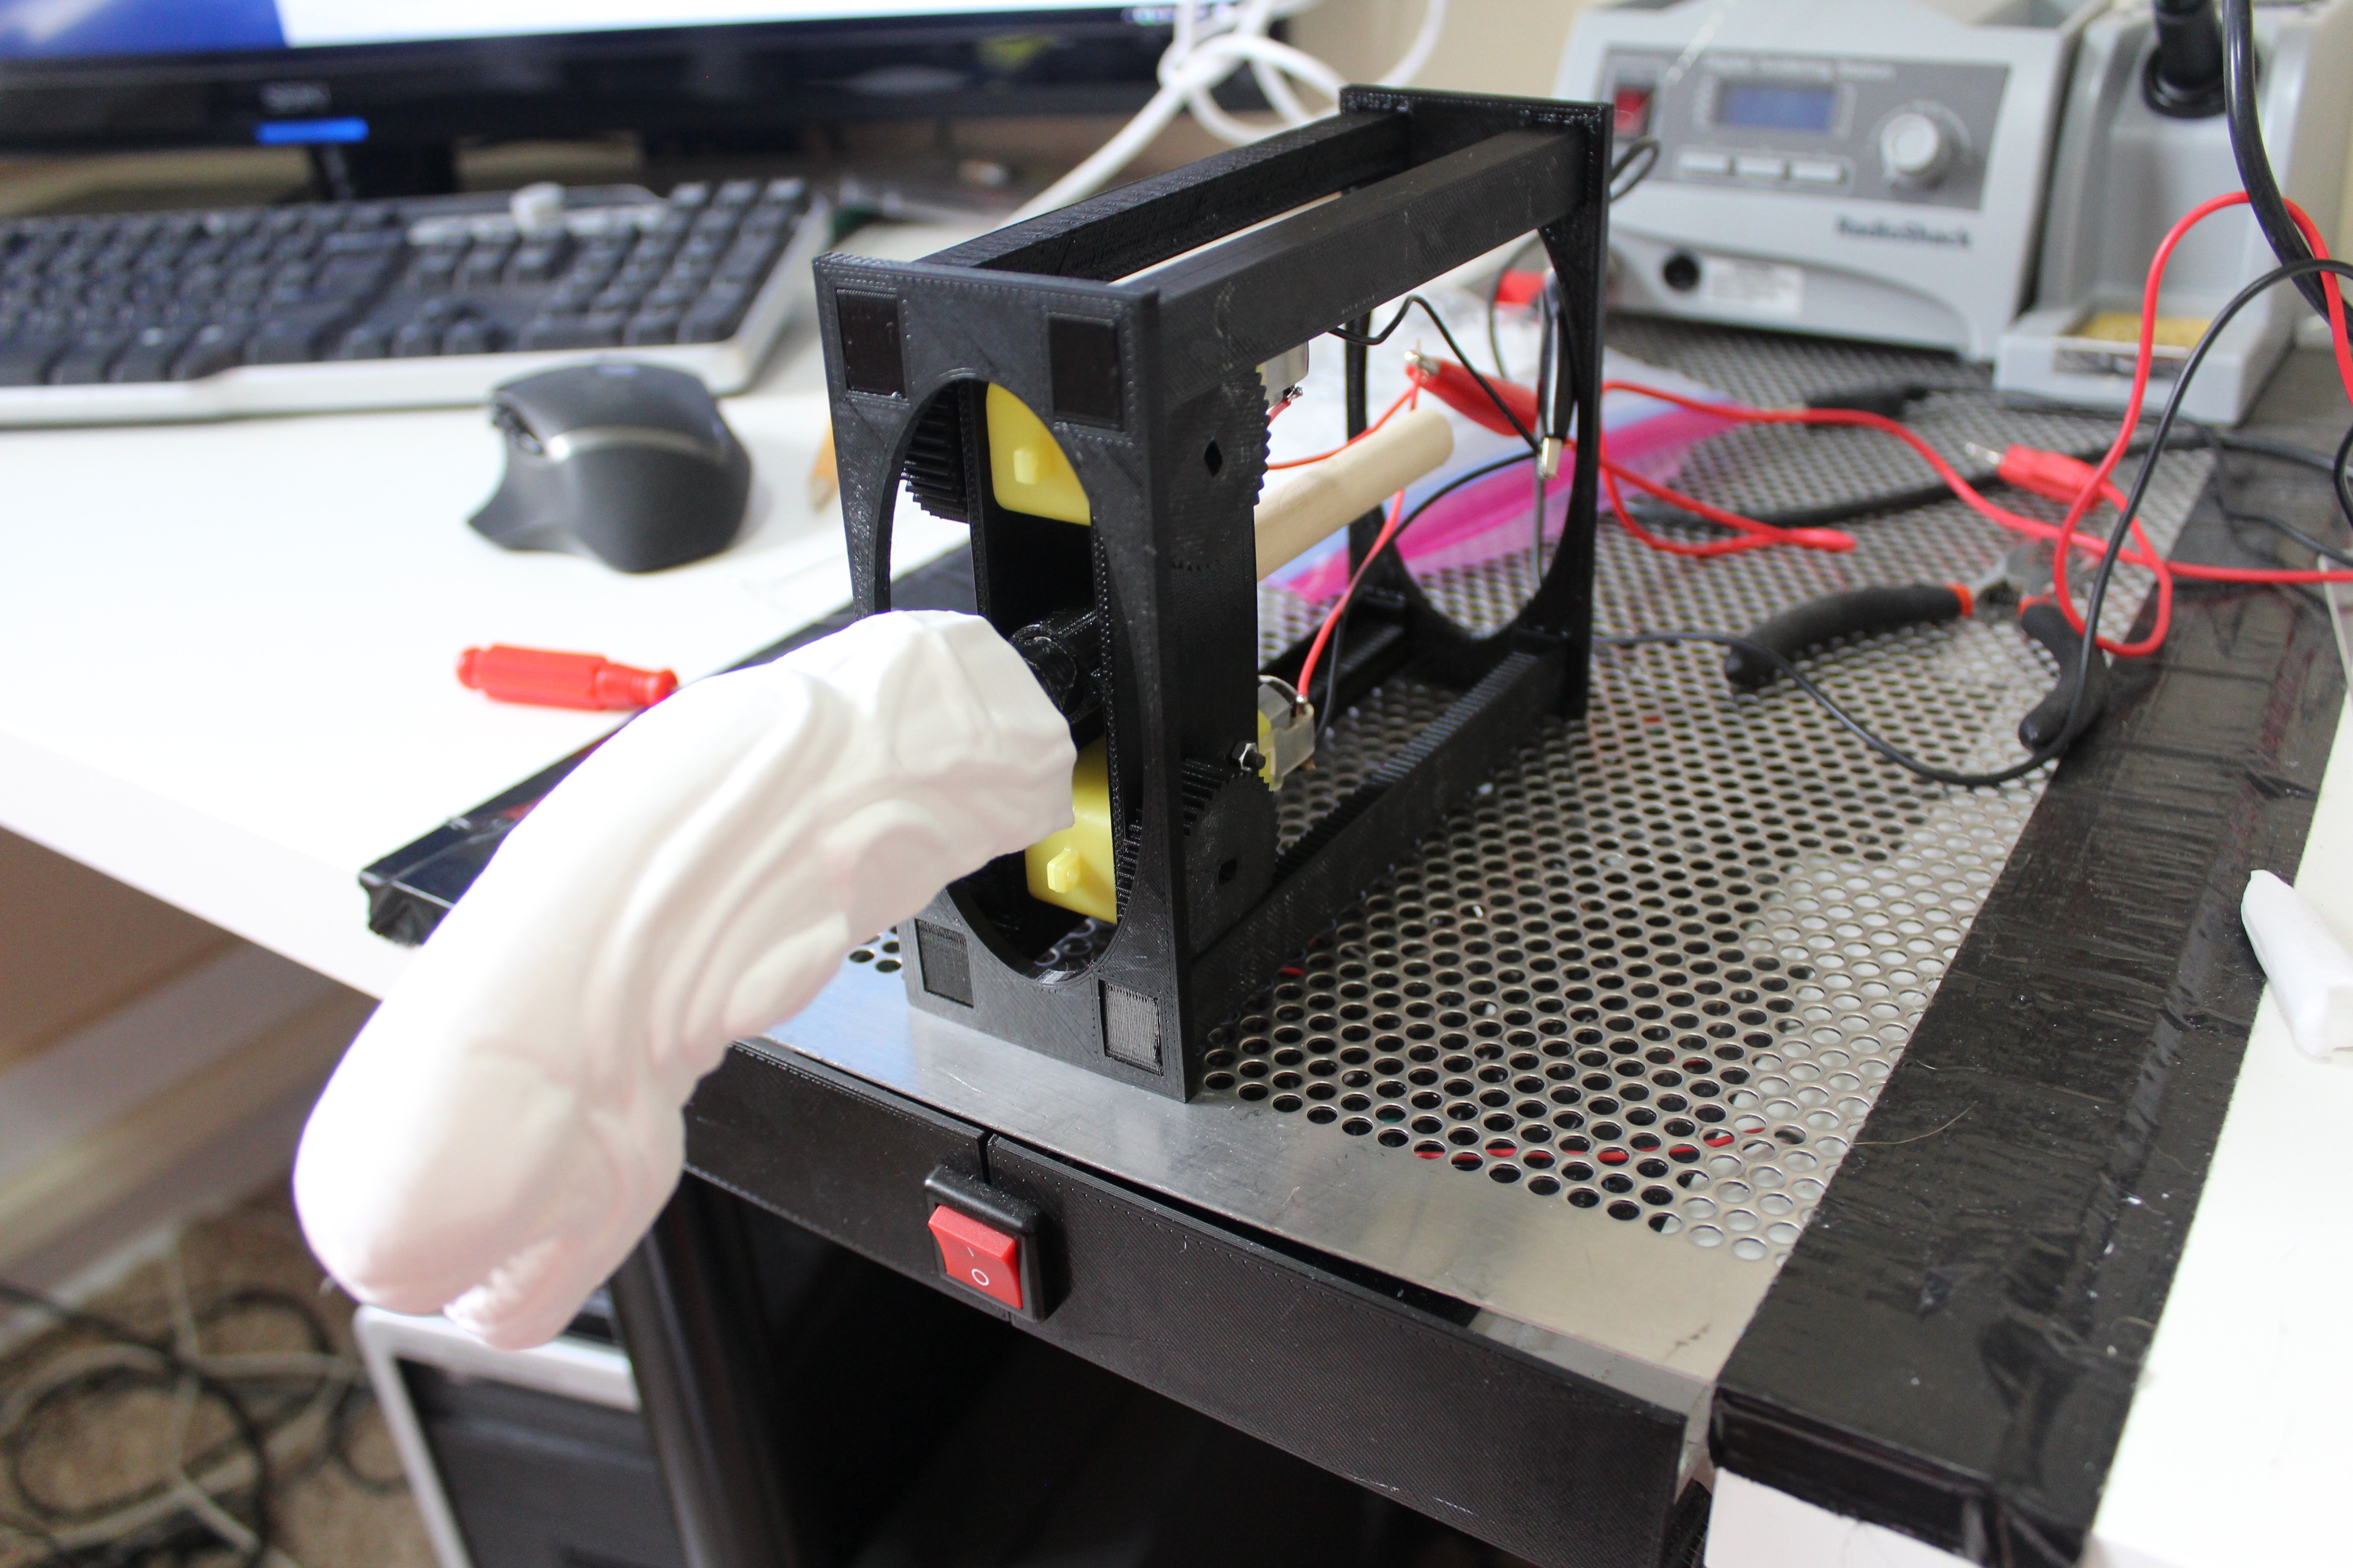
The main pieces are the four racks and the motor carriage. The racks provide a linear channel for the pinions to crawl along. The motors are mounted into the carriage with the four pinions on the two motor shafts.
The four racks are mounted together with the backstops facing outwards. This serves to contain the pinions so they're incapable of derailing.
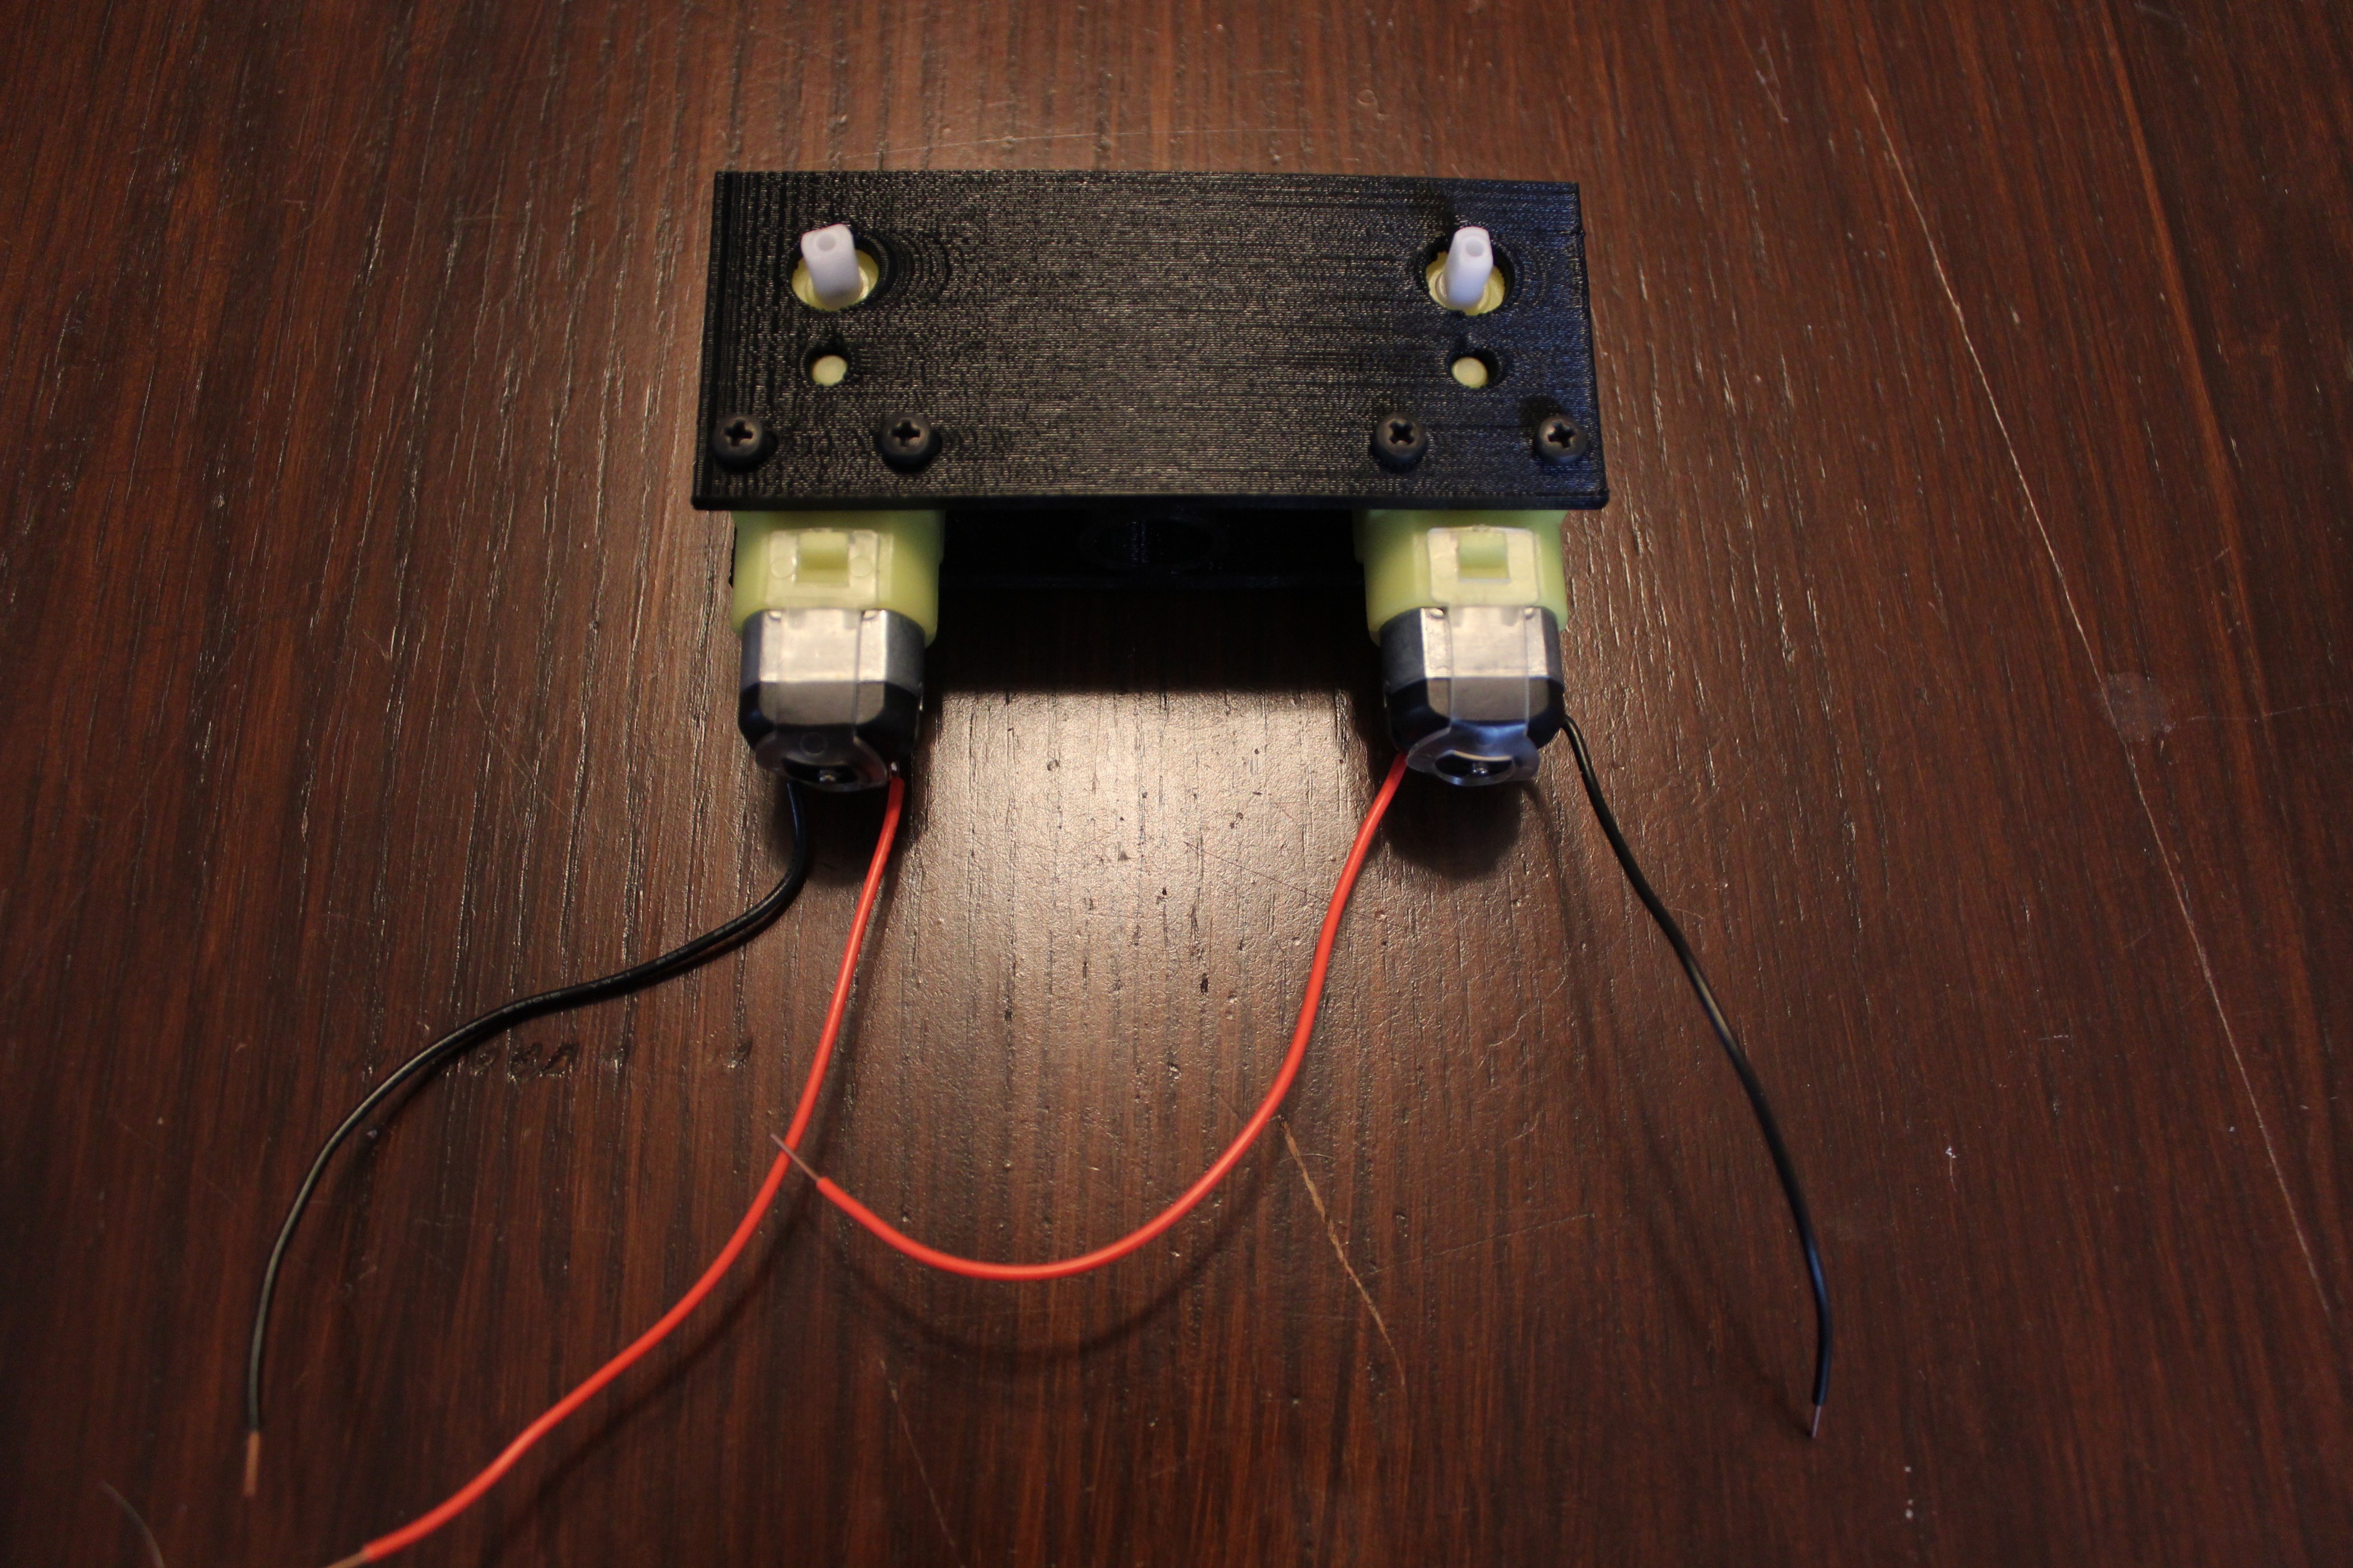
The carriage with the two motors mounted.
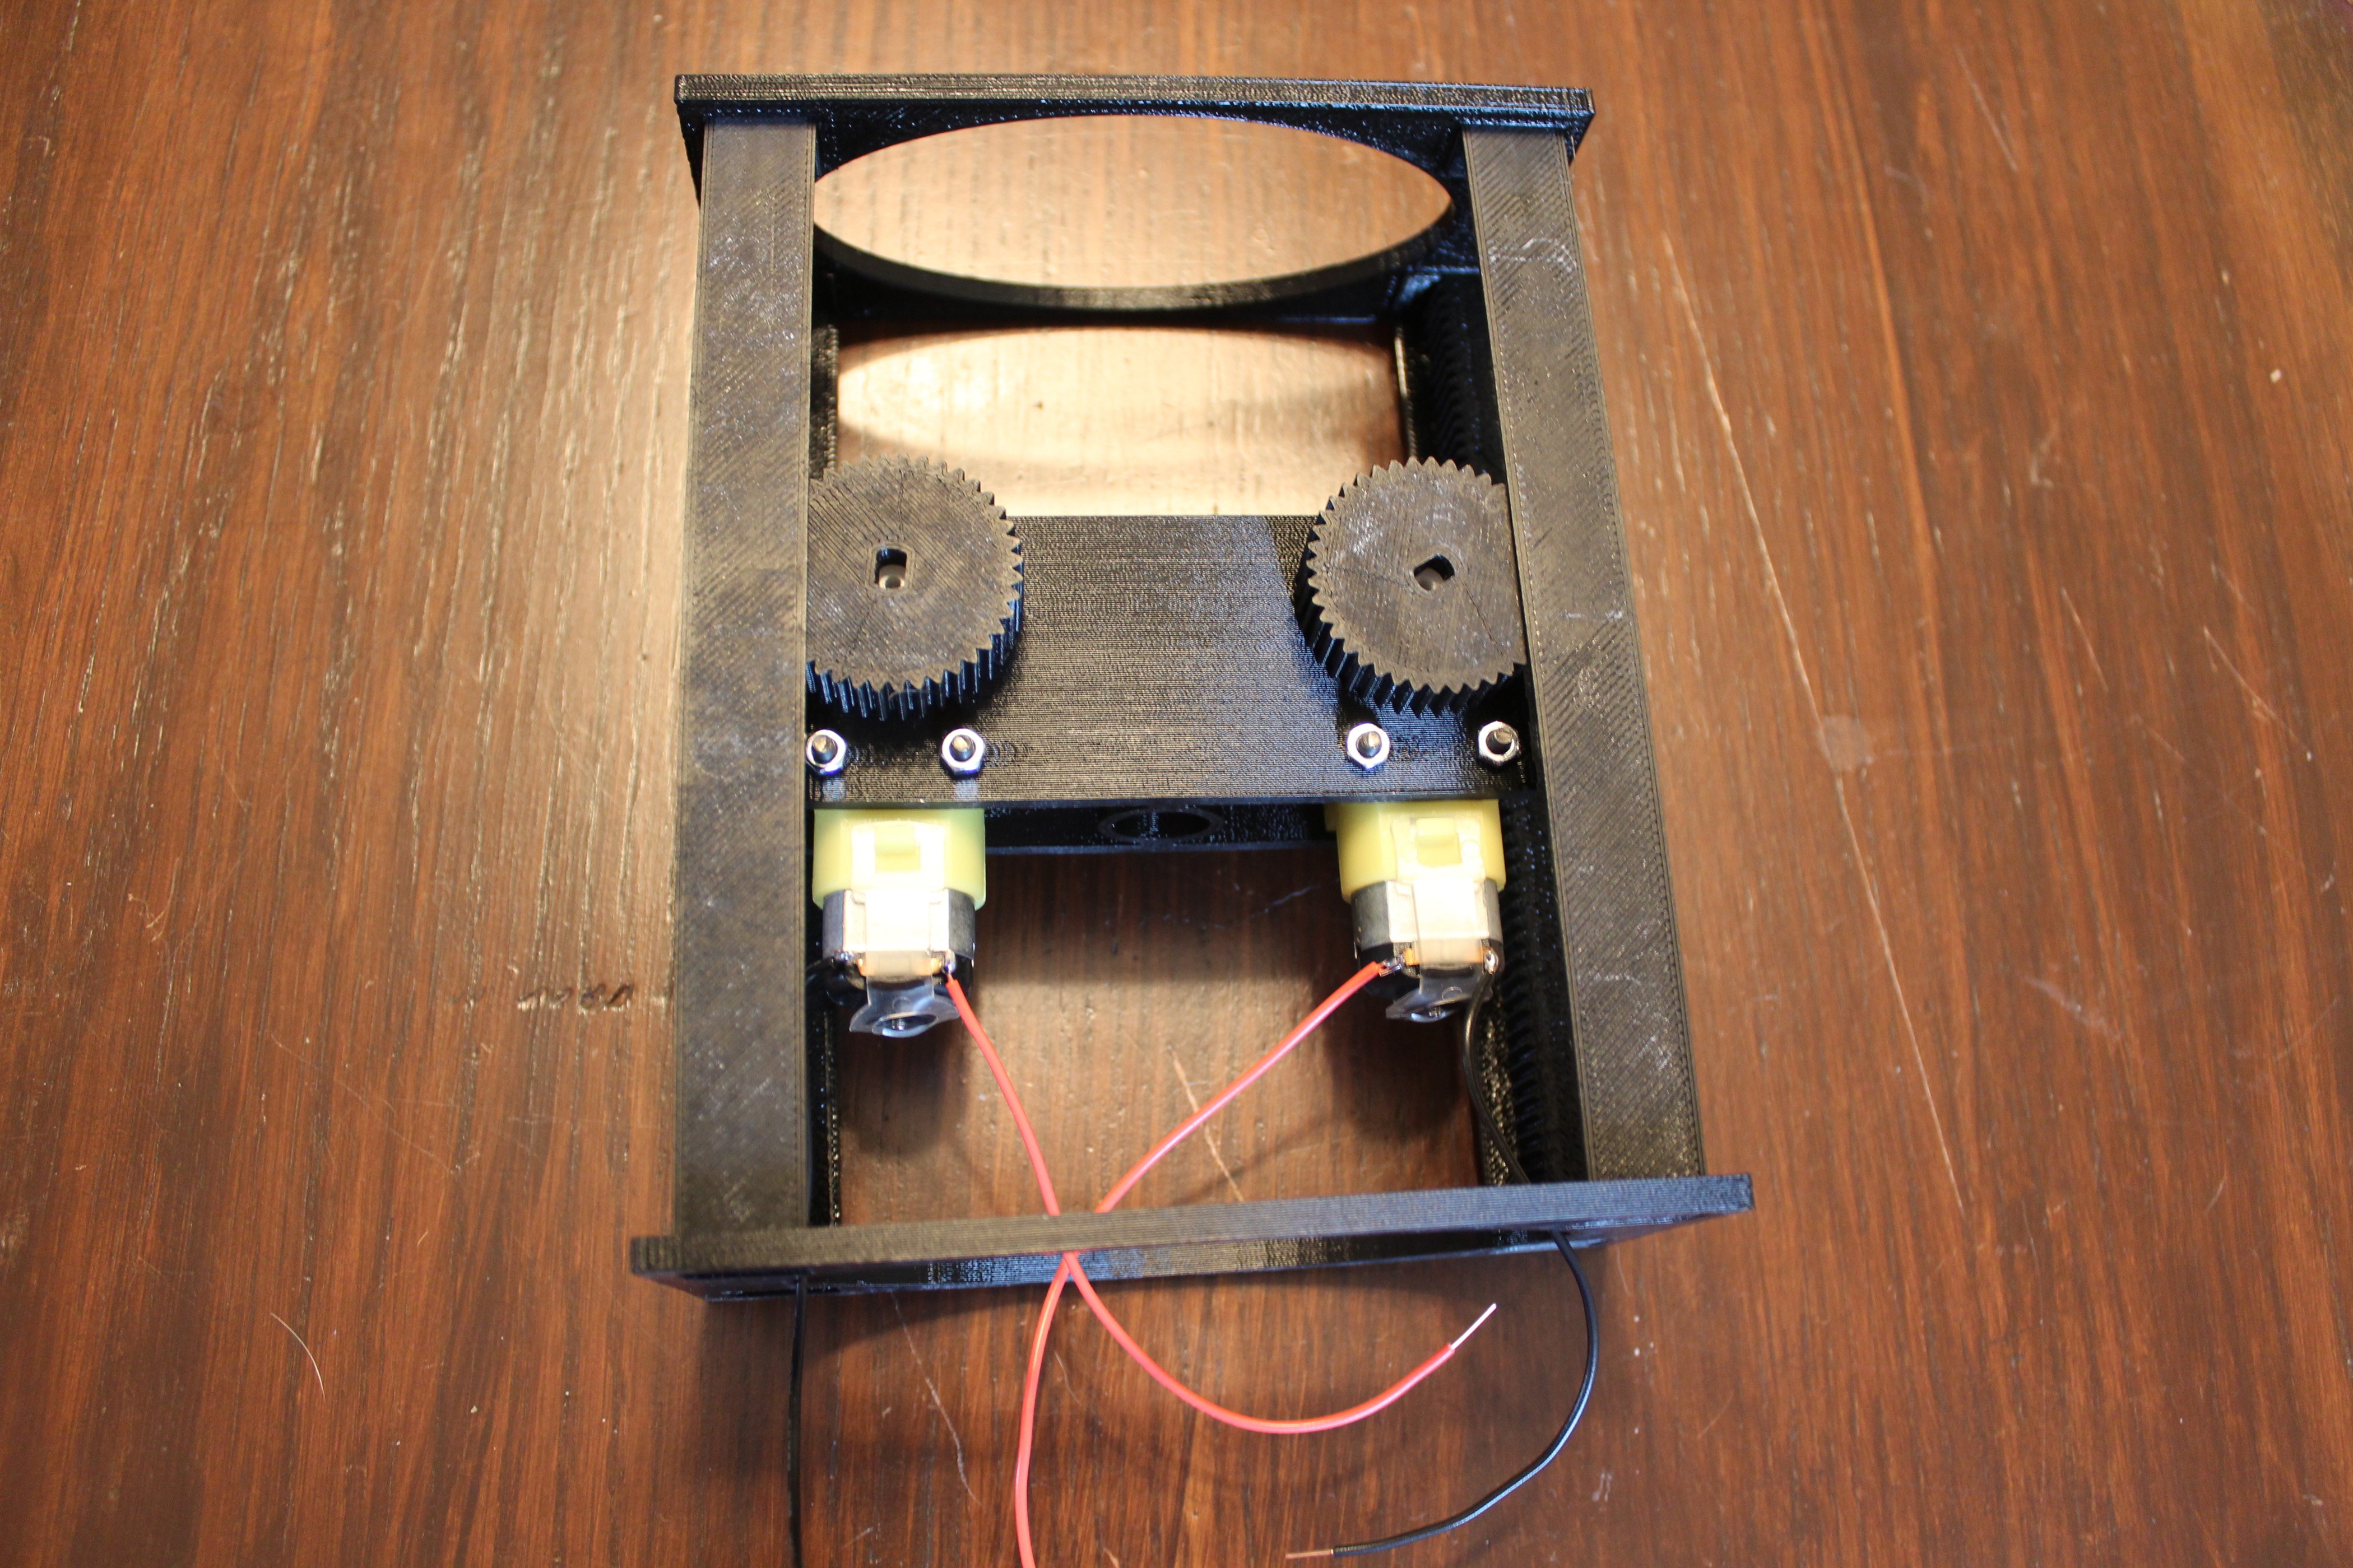
The 3D printed parts and motors assembled.
The entire assembly. I used a wooden dowel that I had on hand to hold the Chestburster and fit into the carriage.
Above is a demo video of the Chestburster actuating. I'm controlling it with an L9110s motor controller to get the required bidirectional motion. Mounted limit switches are visible on top of the assembly glued on the top racks. These currently aren't wired to anything but would serve as a way for the Arduino to detect that the end of travel has been reached so it knows to stop sending current to the motors. Right now, however, I'm just using delays to run the motor approximately long enough to hit the end stops.
I'm considering keeping the setup like this and not using the limit switches at all. The travel distance is so short, and the time it will be running is so infrequent, that I think the simplicity of not having to use the limit switches would be worth the slight increase in the wear-and-tear on the motors due to stalling out. Another reason I'm considering this is because the limit switches may not match up perfectly with end of travel. Something I didn't address in my mechanism was the mechanical linkage of the two motors. Because they're not directly coupled, it's possible for one motor to operate slower than the other, thereby causing the carriage to misalign and one motor be closer than the limit to the other. Applying current when one motor is at the end of travel limit would cause the faster motor to stall, but would give the slower motor a chance to catch up and resynchronize.
-
Cuckoo Mechanisms
03/01/2017 at 01:50 • 0 comments
Charlie the ChestbursterA cuckoo clock wouldn't be very interesting if something didn't pop out at the top of the hour. The obvious choice here is for the Chestburster to act as the cuckoo. This requires some form of linear motion to attain. I briefly entertained the idea of buying a linear actuator but couldn't find anything that was the right speed and price.
So the alternative was using regular rotary motors and designing a rotary-to-linear motion converter. Luckily I have a whole drawer full of cheap DC motors from my work on OpenADR. Next, linear motion is a well-documented subject so designing a converter couldn't be that hard, right?
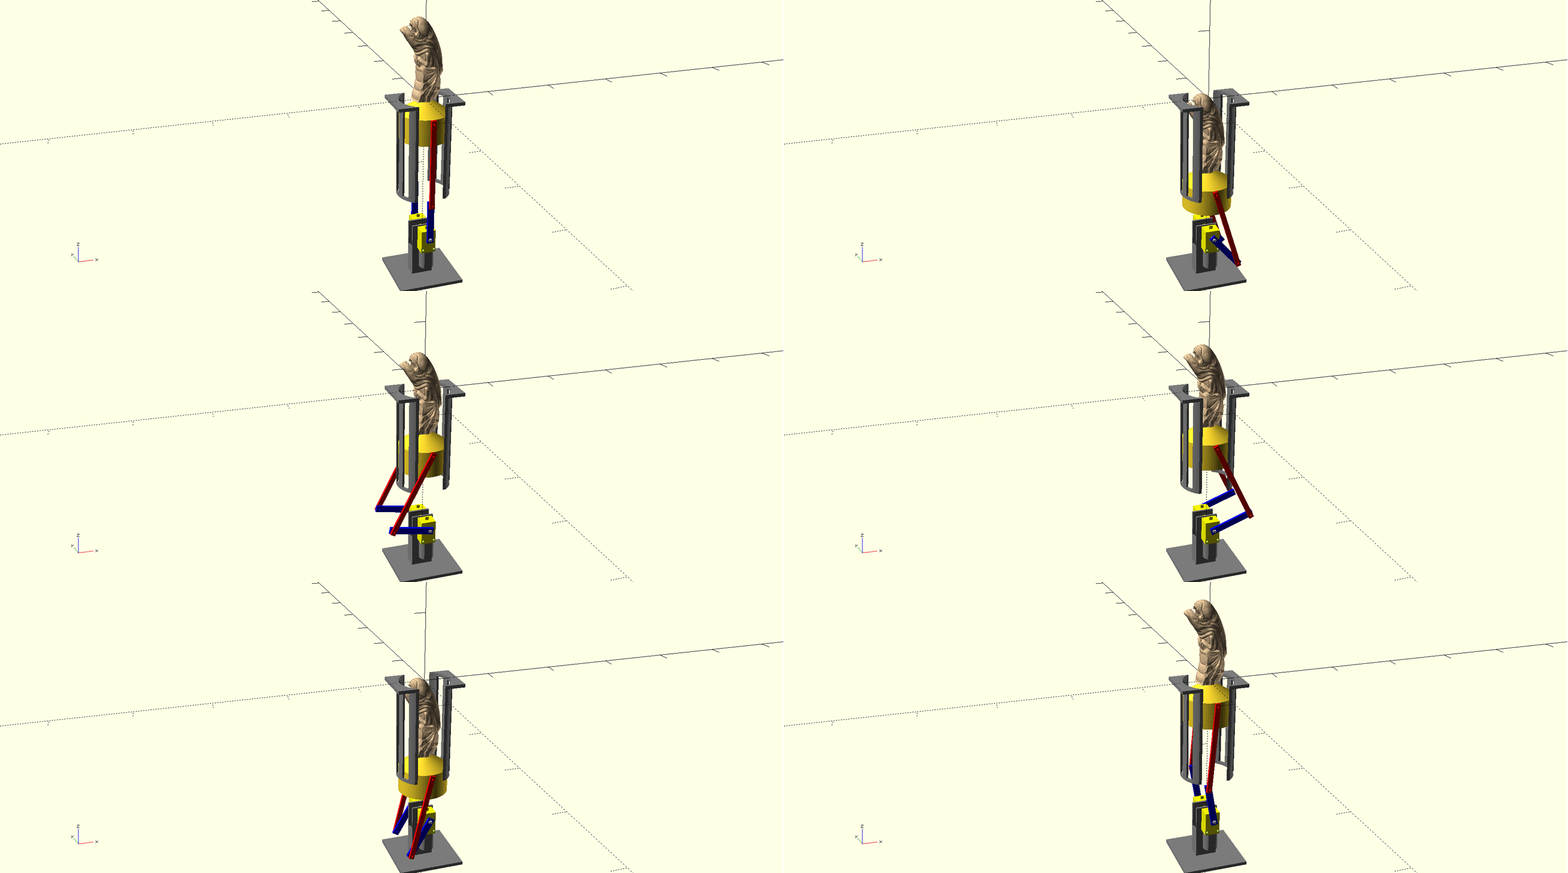
As it turns out, it can. I am by no means a mechanical engineer. My degree and job are in computer/software engineering, so I had a great deal of trouble designing a linear mechanism I was satisfied with. I also wanted to avoid complex control electronics, so I wanted a design that produced reciprocating motion. This would let me to use a basic MOSFET to control the motor in a single direction along with a limit switch to detect a full stroke from the cuckoo.
![]()
Naturally, I chose to use a piston mechanism, most commonly used in cars to convert linear motion to rotary motion. The motor turns a linkage arm which then forces the piston (in my case the Chestburster) up and down a guide channel. The direction the motor is spinning doesn't matter and a limit switch at the bottom of the guide would detect when the piston is fully retracted.
![]()
I got as far as designing the whole mechanism for 3D printing before deciding to scrap the it. The large number of linkages added unnecessary complexity and I was worried about the arms bending or snapping. Additionally, with the length of the guide added to the lengths of the arms, the whole mechanism was too long to fit in the depth of a human sternum and therefore the mannequin.
![]()
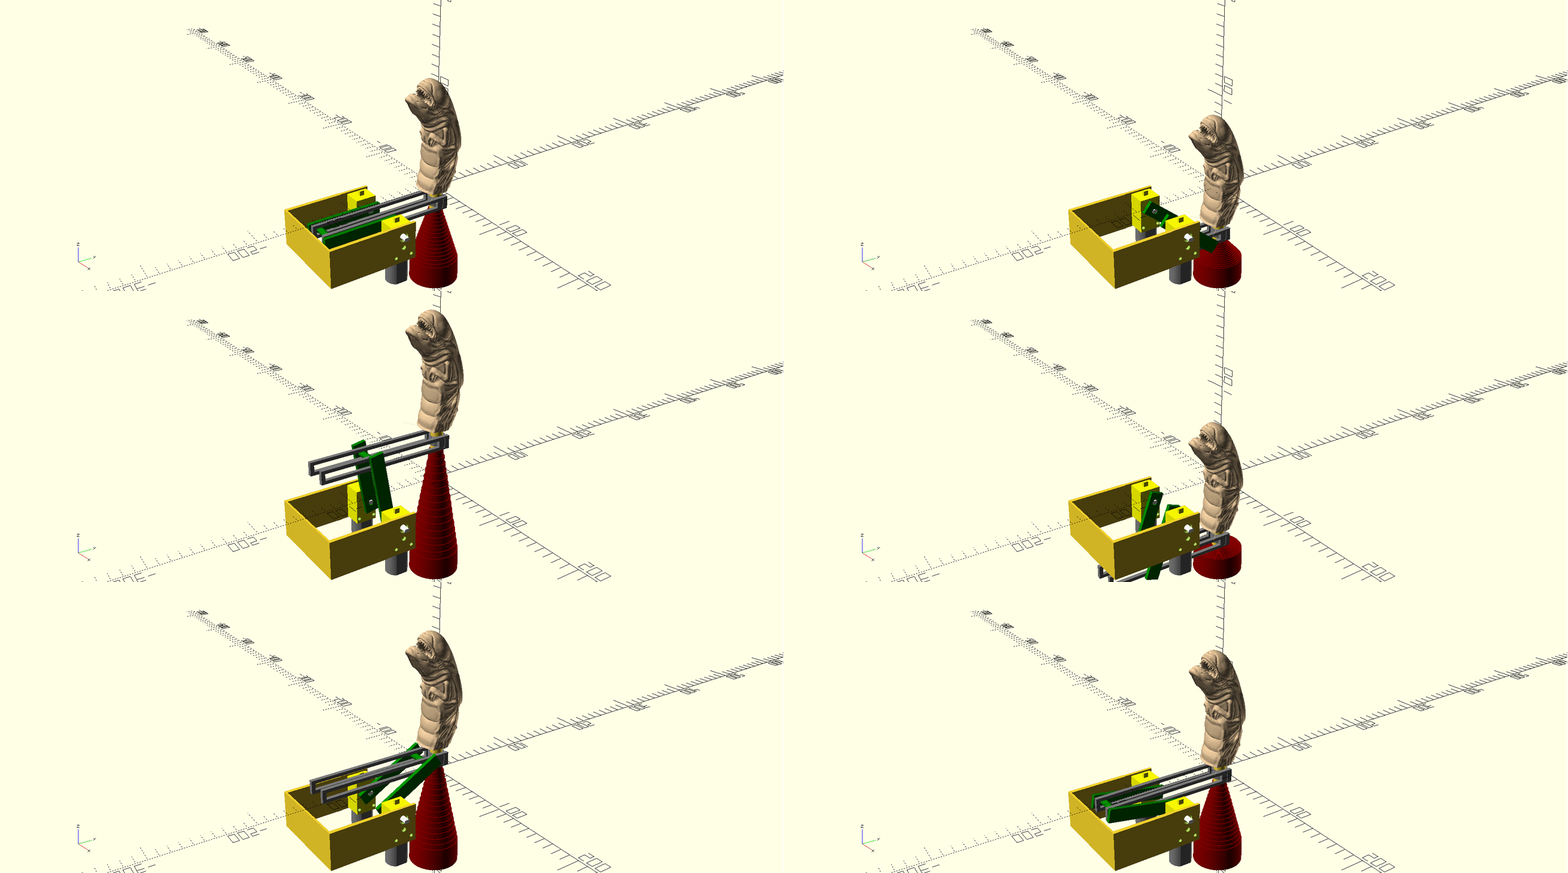
My next thought was to use a Scotch yoke mechanism. It's much simpler, shorter, and wouldn't require multiple axles to be added for assembly. The red part at the bottom of the design is a telescoping tube assembly to help reduce the depth of the design. I got as far as printing and assembling the mechanism (minus the telescoping tubes). Unfortunately, the design broke pretty much right out of the gate. The slot in the yoke requires low friction to work properly and the friction of the PLA on PLA proved too much. The axle going in the slot snapped off far too easily.
![]()
So with my previous two attempts failing, I decided to eschew reciprocating motion for something simpler. I have a few spare L9110s motor controllers and can afford to use one if it makes the mechanical design easier. So I opted for a rack and pinion system. This is essentially just a linear gear being driven by a rotary gear. By mounting the motors on the carriage within four racks, simple and constrained linear motion is achieved. This also allows for the depth of the mechanism to be equal to the height of the Chestburster. There are also plenty of rack and pinions available on Thingiverse and so I found one to use for my system.
-
3D printed parts are done!
02/28/2017 at 03:41 • 0 commentsI've finally finished the 3D printed Facehugger and Chestburster!
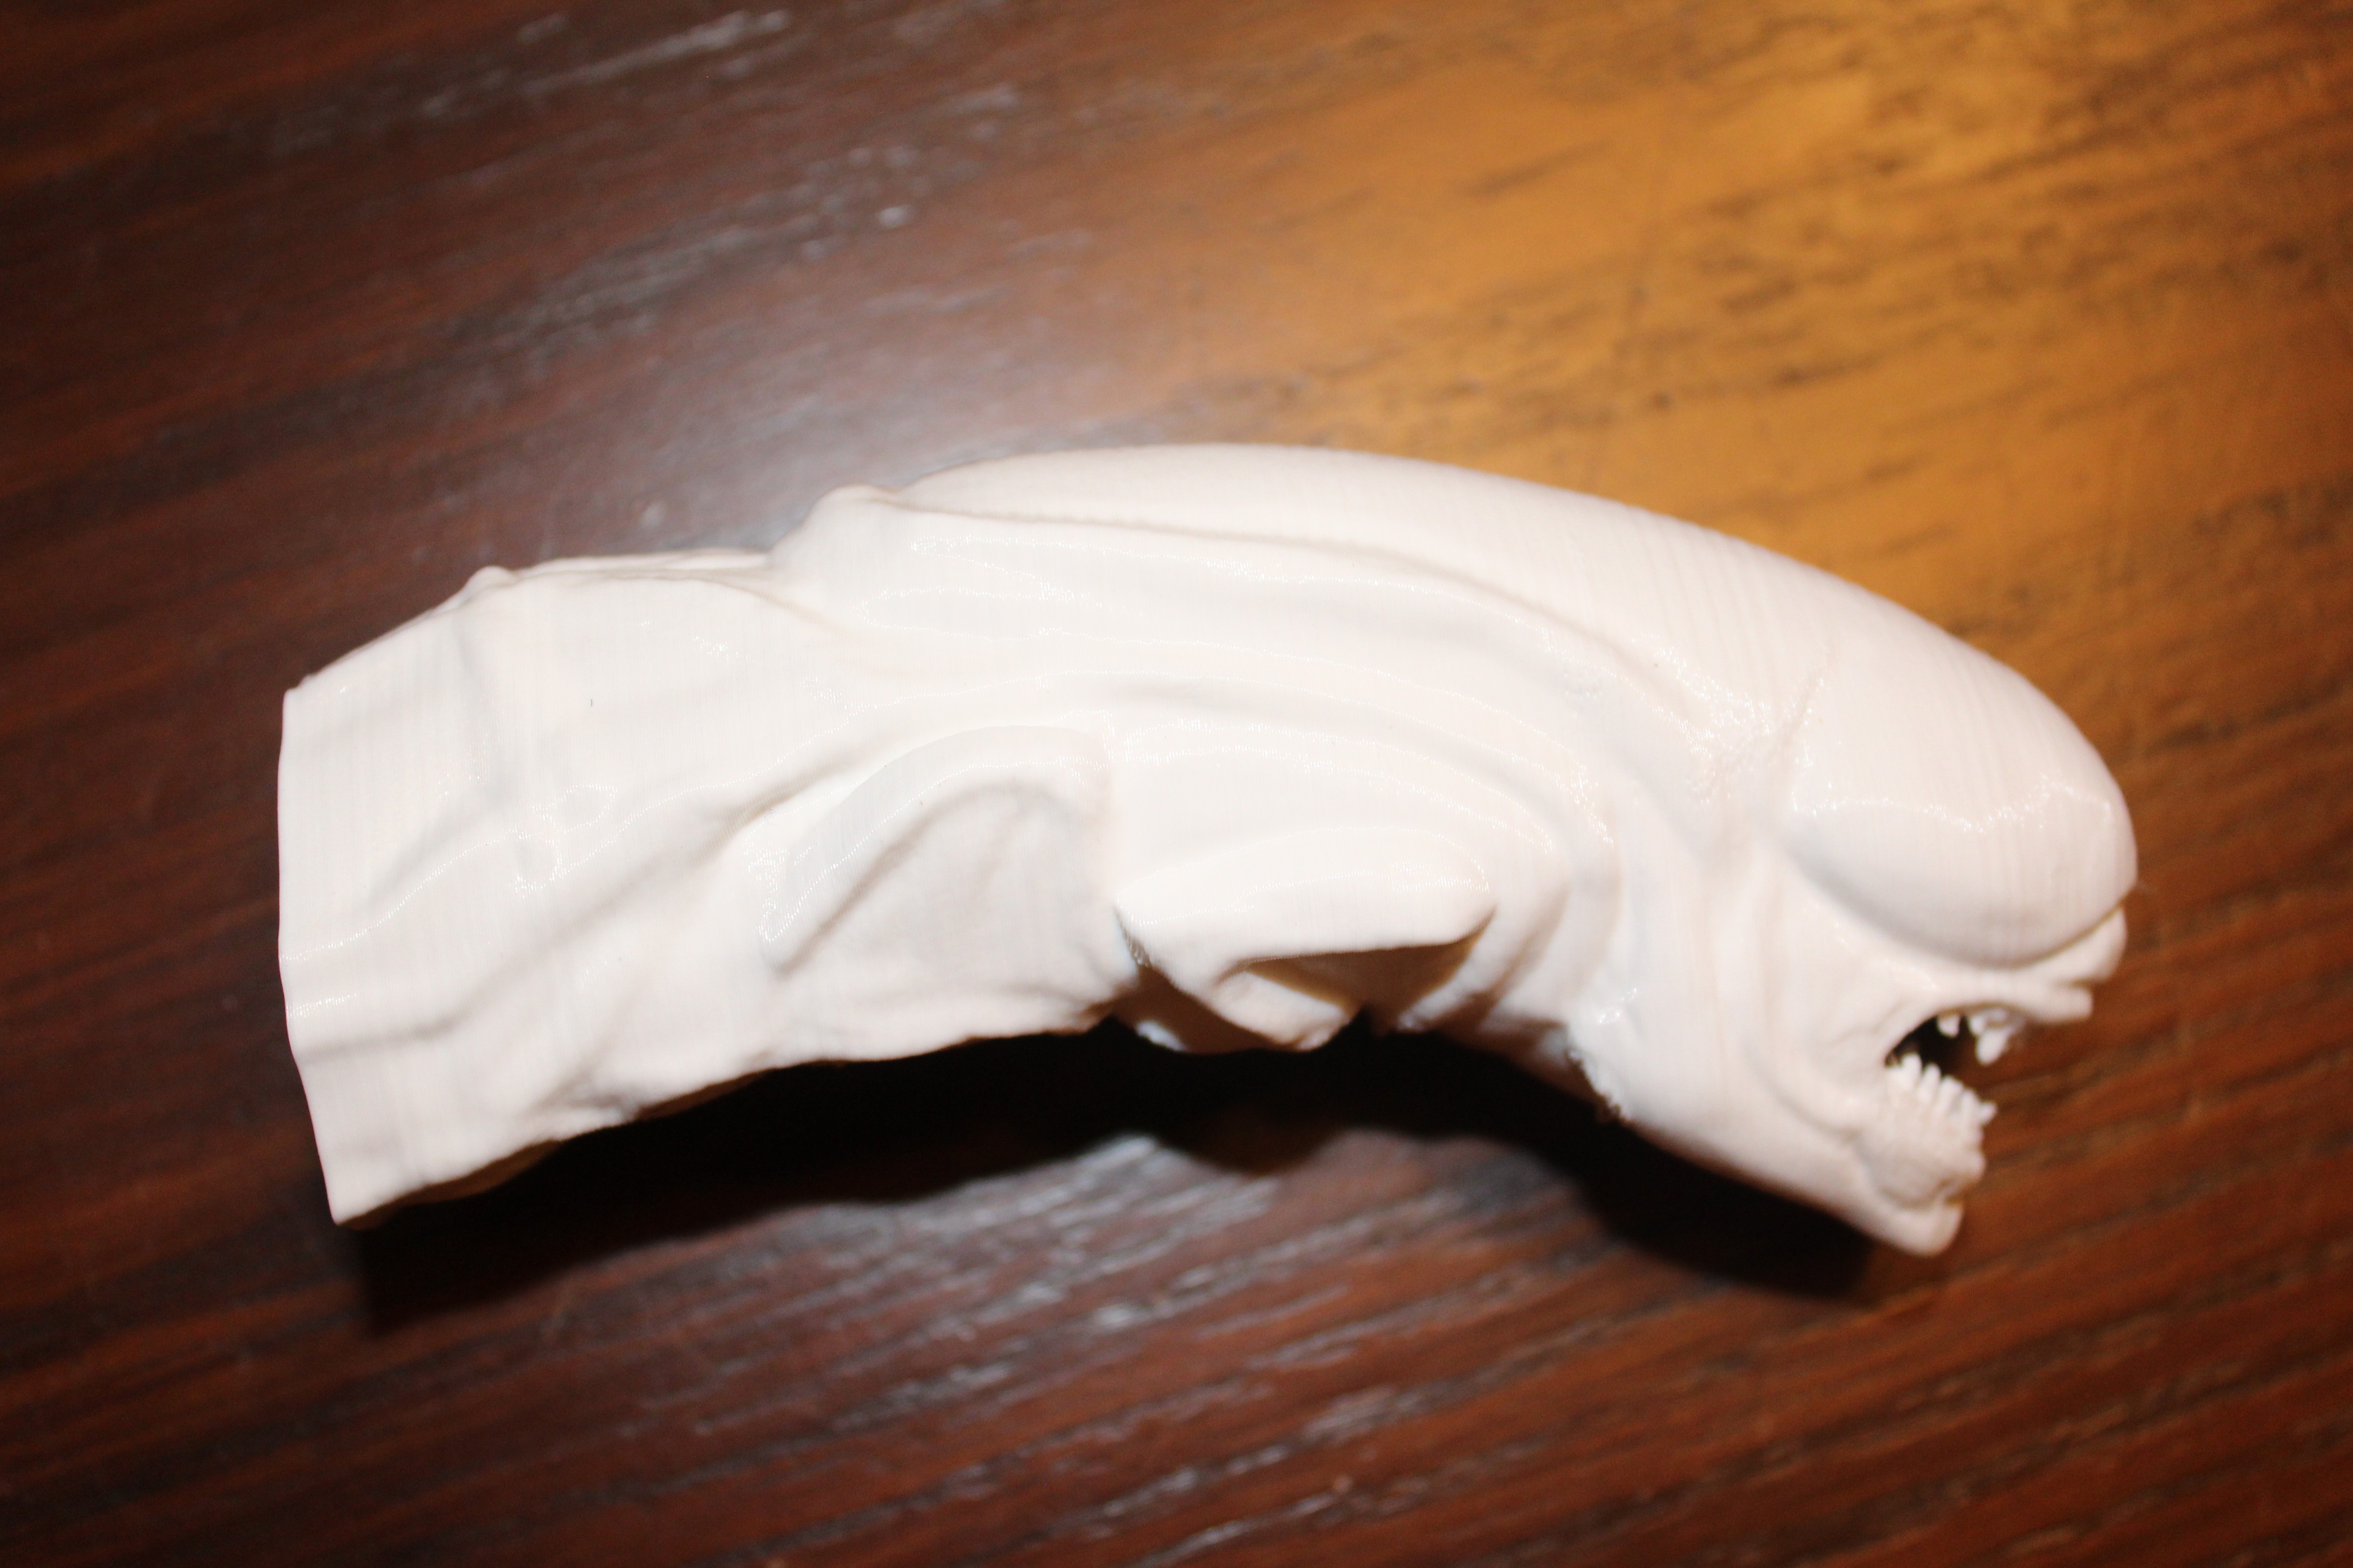
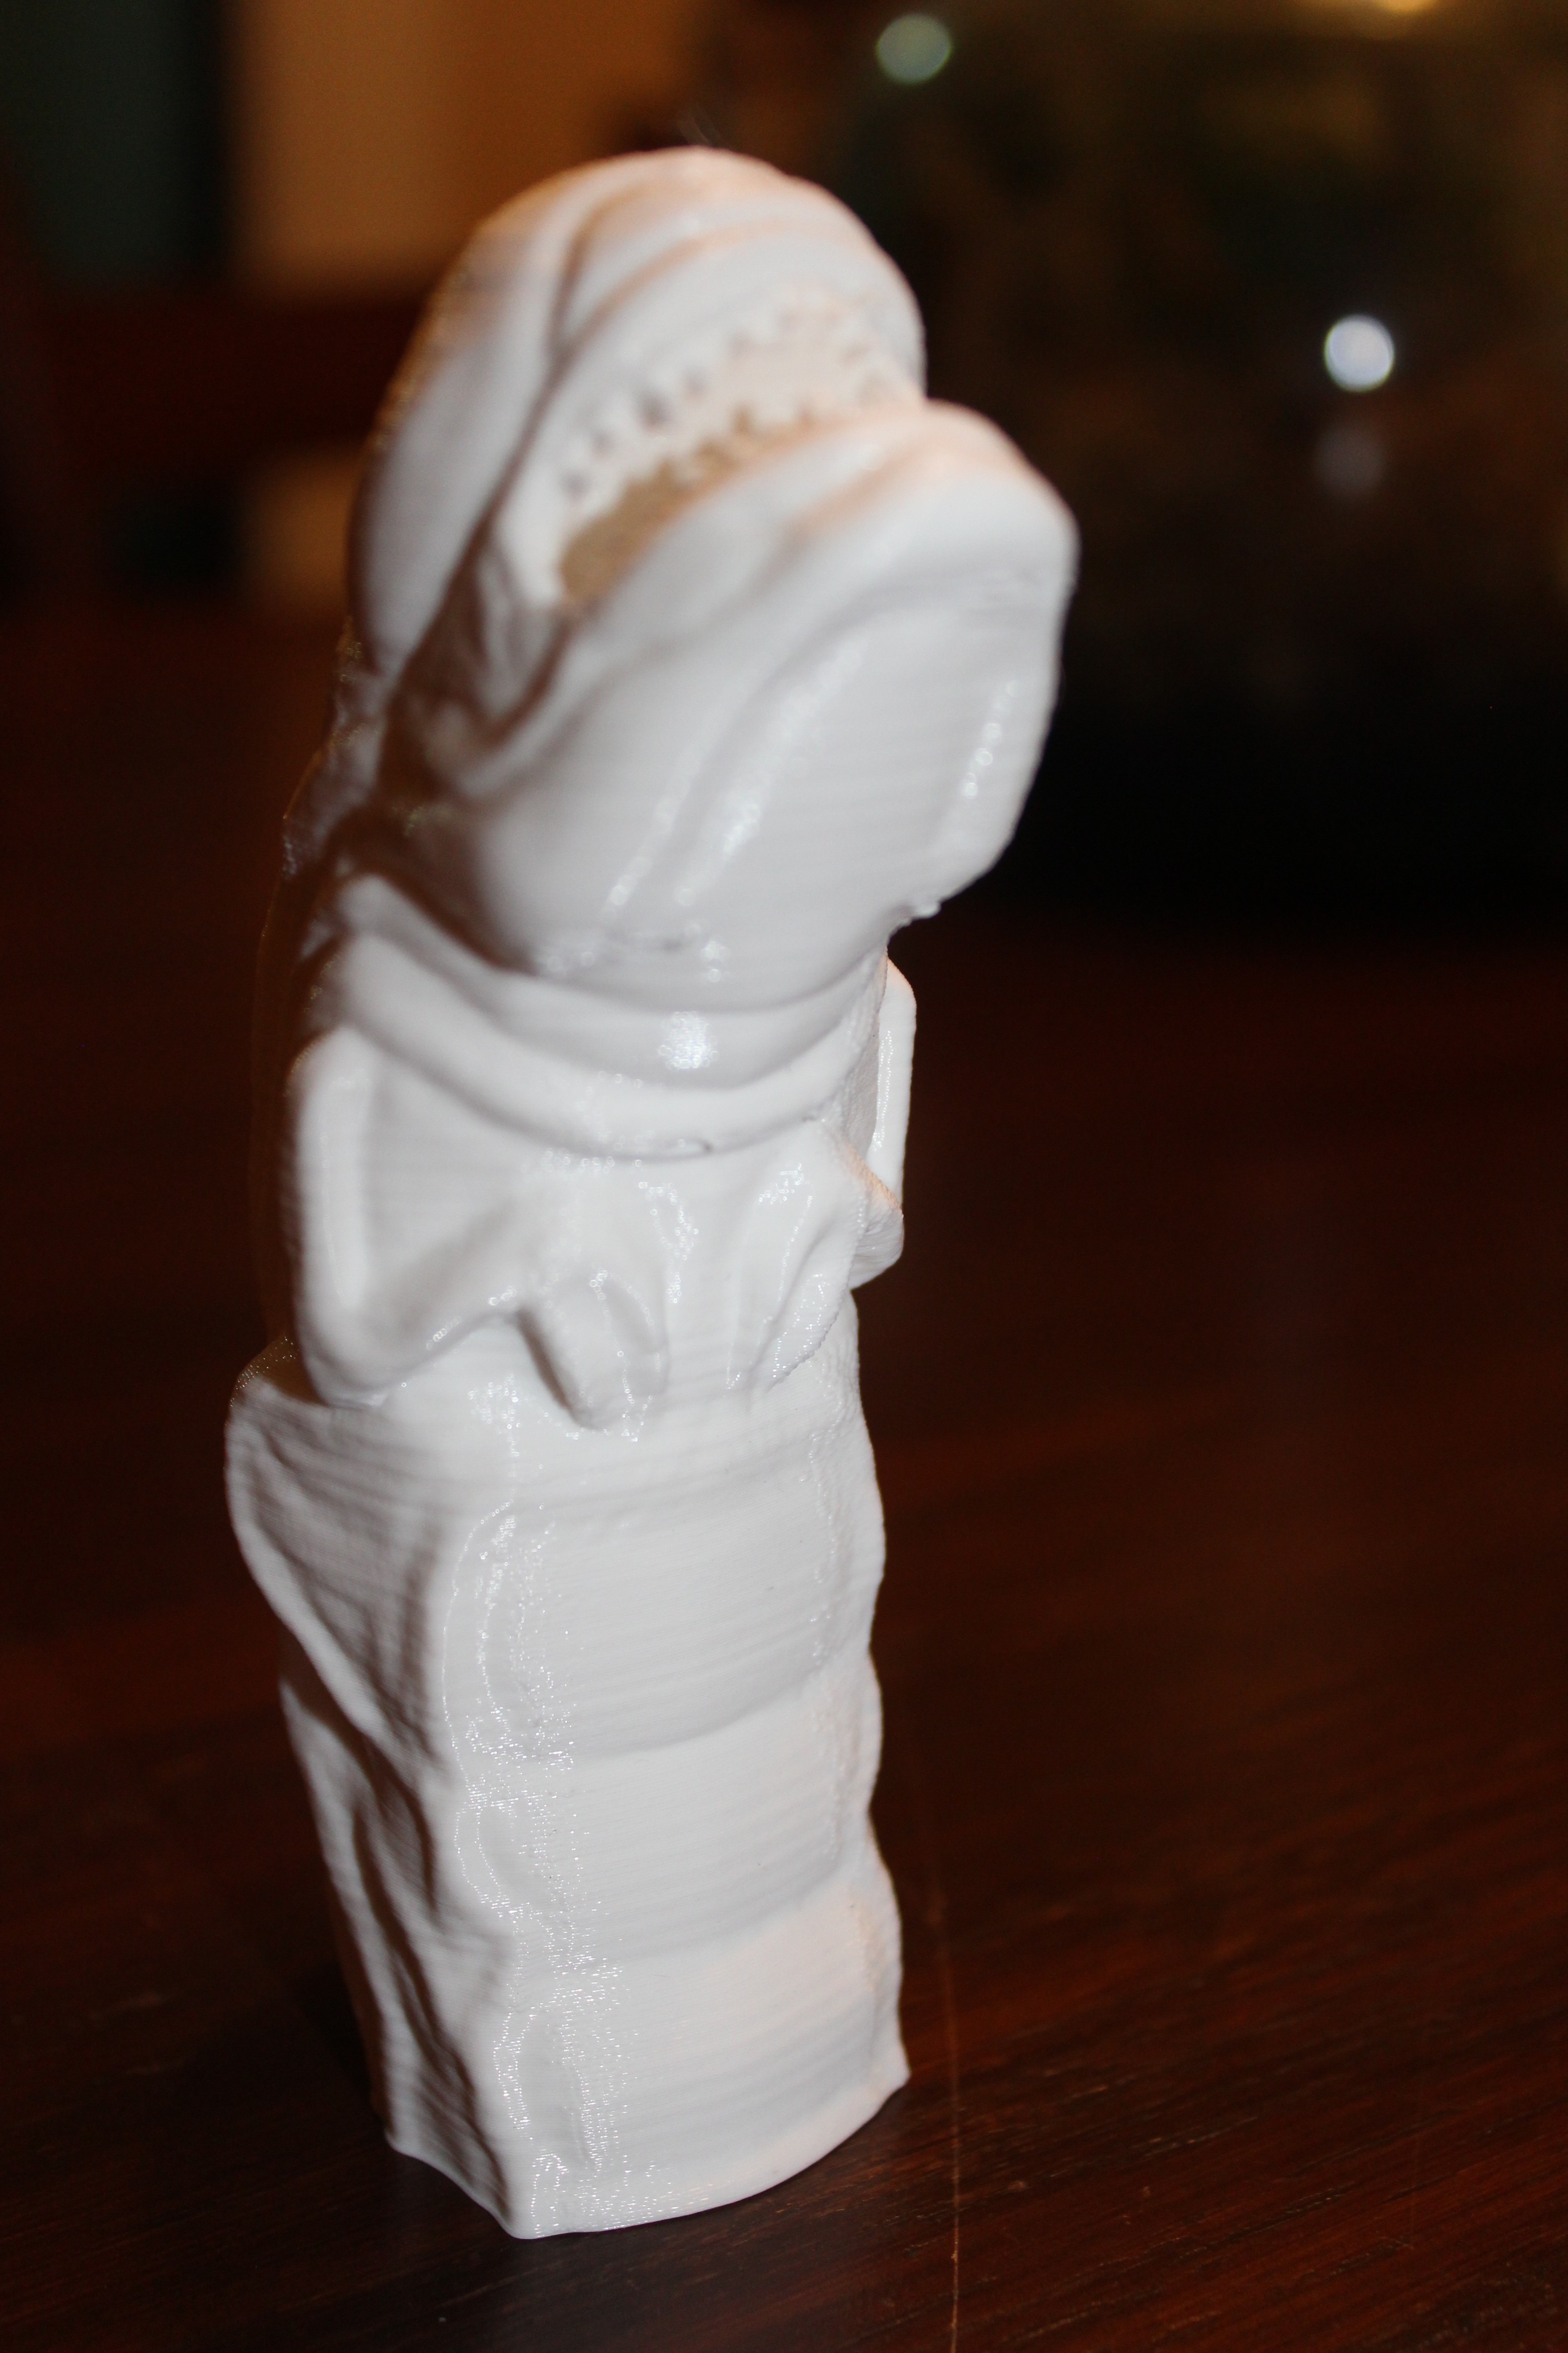
The Chestburster was a simple print that used a file sourced from Thingiverse. I'm pretty happy with the way it turned out. I printed it with PLA at a 0.2mm layer height to get a good balance between speed and resolution. One issue I did notice was a striping along the Z axis. After some investigation, I attributed this to a slight bend in the Z-axis screw on my Printrbot. The striping is pretty faint, however, so I'm hoping that a layer of paint will cover it up. Additionally, there's already a hole in the base of the Chestburster design which will make mounting it to the cuckoo mechanism trivial.
![]()
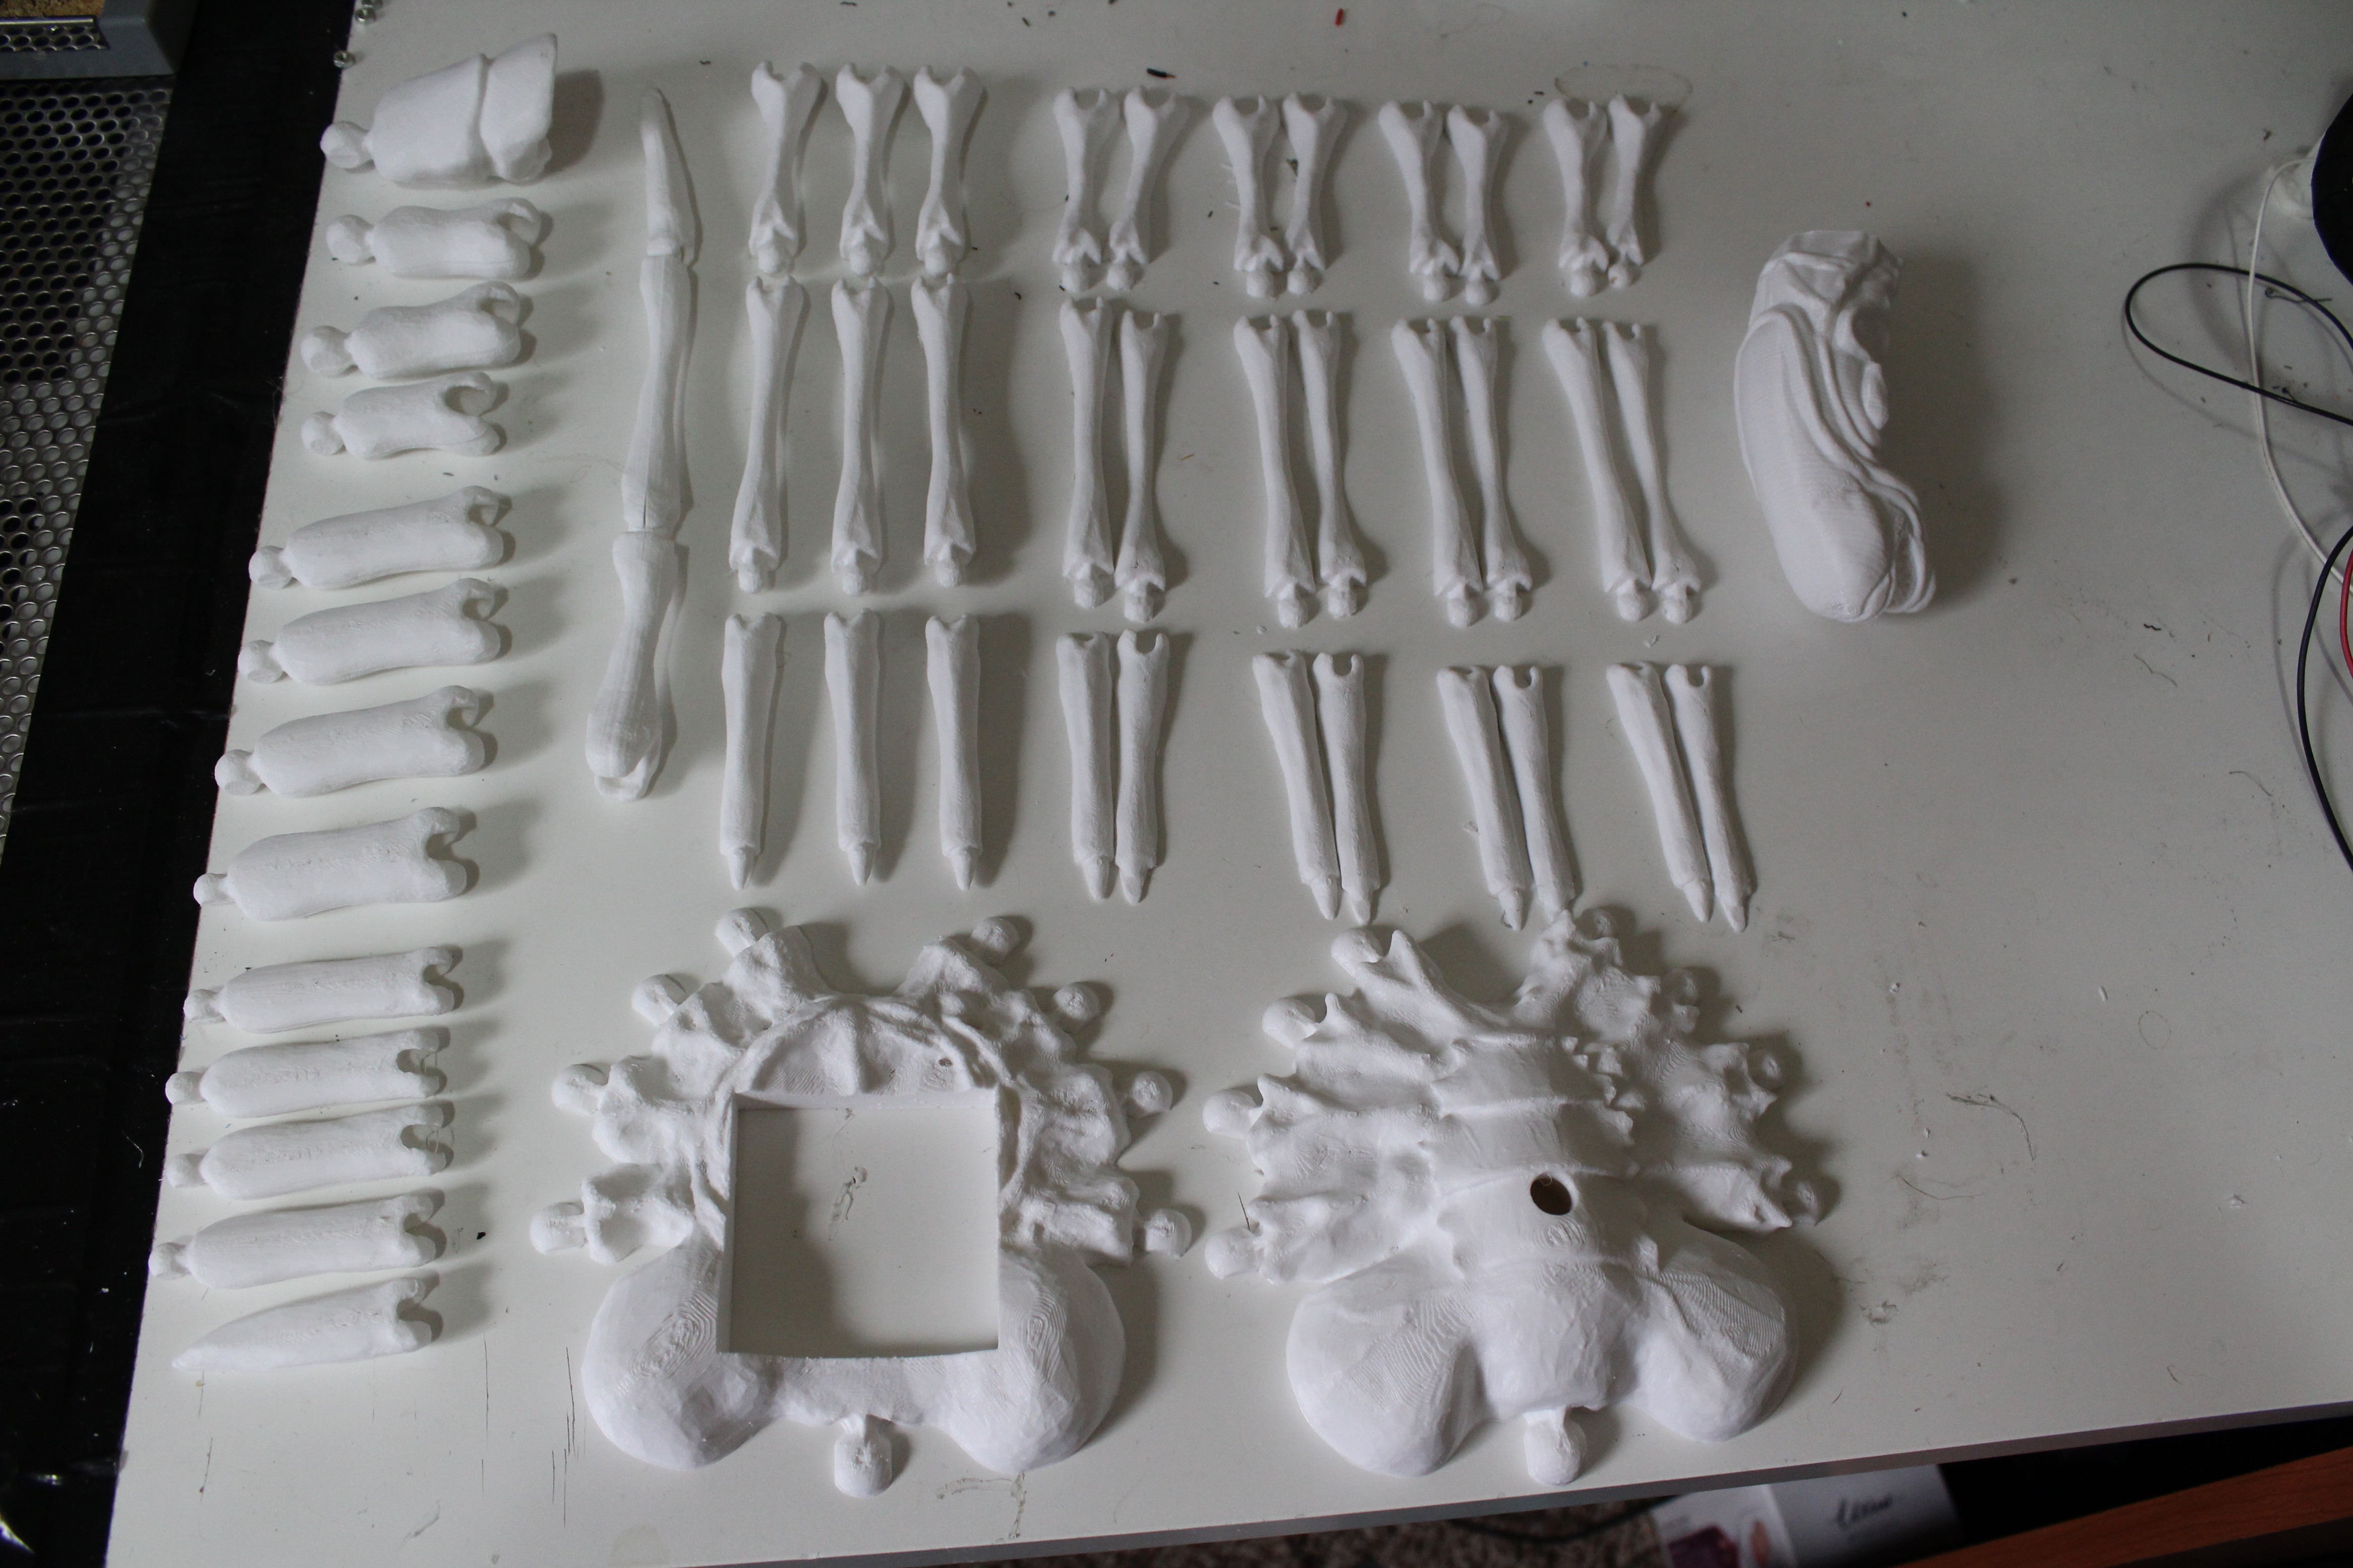
The Facehugger was a little more difficult. I also sourced this from Thingiverse. This is an amazing piece of work by user Agisis that's perfectly split up for 3D printing. It's also divided into opposable pieces which will make attaching it to the victim's face much easier.
However, because the Facehugger will be making up the clock face, I wanted to modify the body so the clock mechanism can be easily inserted. I also wanted to provide a hole in the front for the main shaft to protrude through. Unfortunately, after importing the STLs into OpenSCAD to modify, I found out the file had a bunch of errors and OpenSCAD couldn't render it properly. After running the complex body through several STL-cleanup programs (e.g. MeshLab, Netfabb, etc.) I still couldn't get OpenSCAD to render. About to give up and resort to drilling a hole through the completed body, I decided to read through the 150+ comments to see if someone else had encountered the same problem (Side Note: If you read through the comments, you'll see that Agisis is one of the most helpful authors on Thingiverse. He provides a bunch of assistance to people having issues with printing, and provides a lot of advice for painting the finished product.). Lo and behold, user rodrifra had already fixed the STL files. With the repaired STL files, modifying the body was simple and all that was left was printing!
I printed one leg at a time in PLA at a 0.1mm layer height, for maximum resolution. At an hour and a half a leg, it took a while! Next was the tail, which I printed in three parts with the same settings for a total time of five hours. Last were the body files. I printed both pieces at a 0.2mm layer height to speed things along, and am happy with the results! The bottom took a total of an hour and a half to print and the top took two and a half.
Next up for these parts is gluing everything together and then painting!
"Alien" Cuckoo Clock
A cuckoo clock inspired by the Xenomorph stages from the Alien franchise.
 Keith Elliott