————————Supplies————————
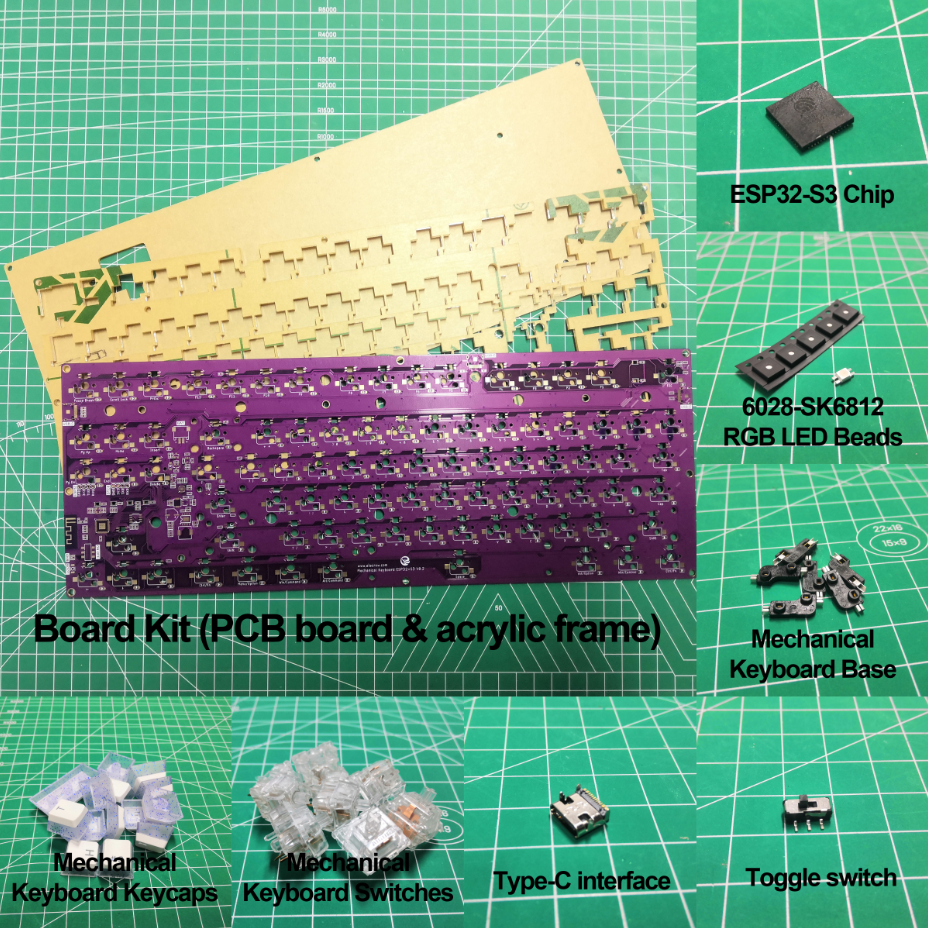
Board Kit (PCB board, acrylic shell) x 1
ESP32-S3 chip x 1
Mechanical keyboard base x 87
Mechanical keyboard switches x 87
Mechanical keyboard keycaps x 87
6028 SK6812 RGB LED beads x 87
1206 SMD LED beads (RED) x 6
Type-C interface x 3
Toggle switch x 1
Other components (resistors, capacitors) x n
————————Step 1: PCB Design————————
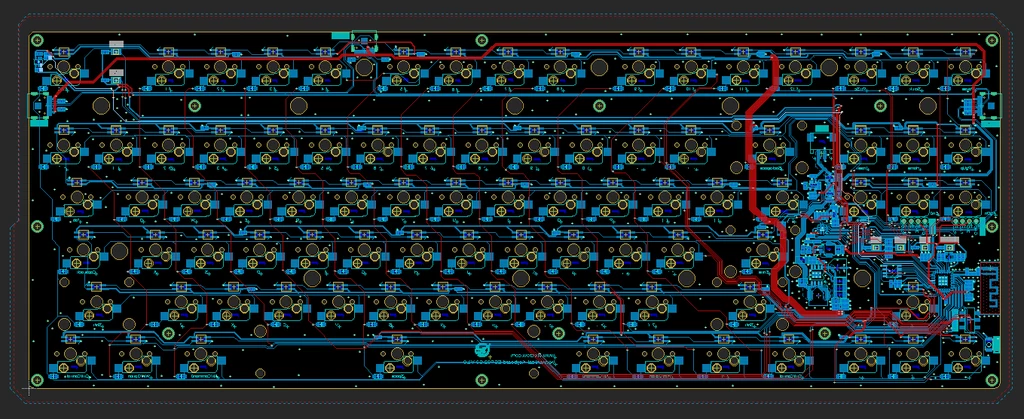
The compact and sassy 87-key model. File below
————————Step 2: Component Soldering————————
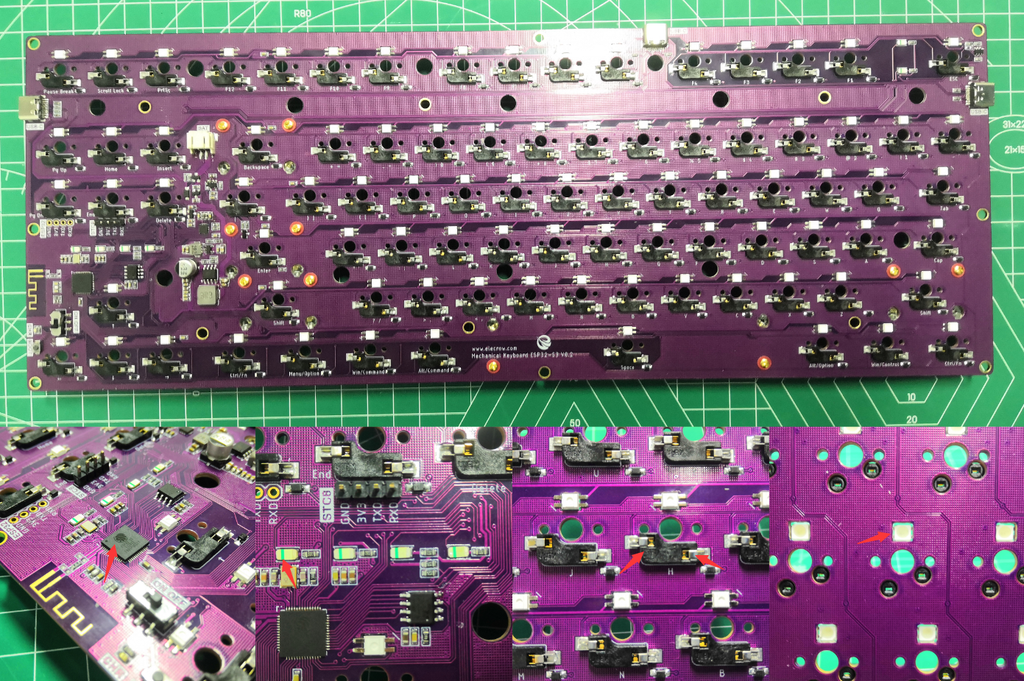
According to the PCB schematic and functional requirements, solder the ESP32-S3 chip, mechanical keyboard base, and other electronic components onto the PCB board.
Here are a few things to note:
1. All components should be soldered on the back of the mechanical keyboard (distinguished by the silk screen);
2. The position and orientation of the ESP32-S3 chip when soldering;
3. The RGB lights are soldered in reverse-mount, with the bright side facing the front of the mechanical keyboard;
4. The direction of the mechanical keyboard base (wider on the left and narrower on the right);
5. The LED lights are also soldered in reverse-mount, and the green stripe should be facing left (the end with the green stripe is the negative pole).
————————Step 3: Frame Design————————
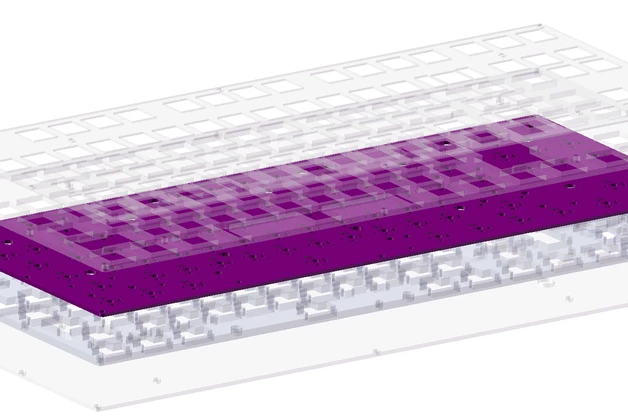
Based on the PCB schematic and the actual positions and dimensions of each component, design the acrylic frame structure. Taking into account factors such as the insertion and removal of mechanical keyboard switches, the exposed Type-C interface, and the normal display of indicator lights, the final design is a structure with two upper layers and two lower layers.
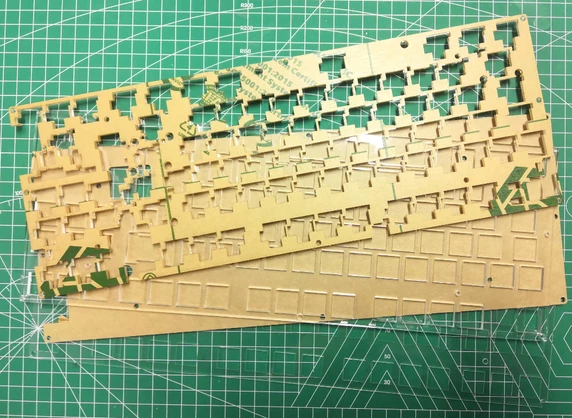
————————Step 4: Frame Assembly————————
Stack the four acrylic plates and the PCB board in the correct order, and then use screws and nuts to fix the whole assembly together through the reserved screw holes.
Since some keys on the keyboard require stabilizers, they need to be fixed on the PCB board before assembling the acrylic frame.
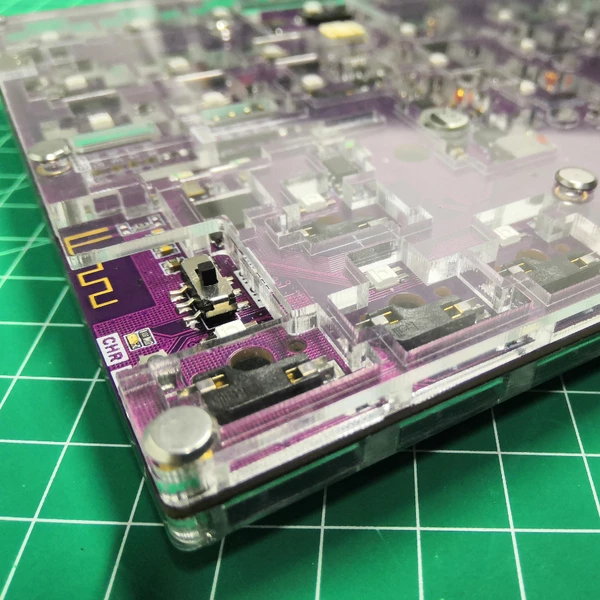
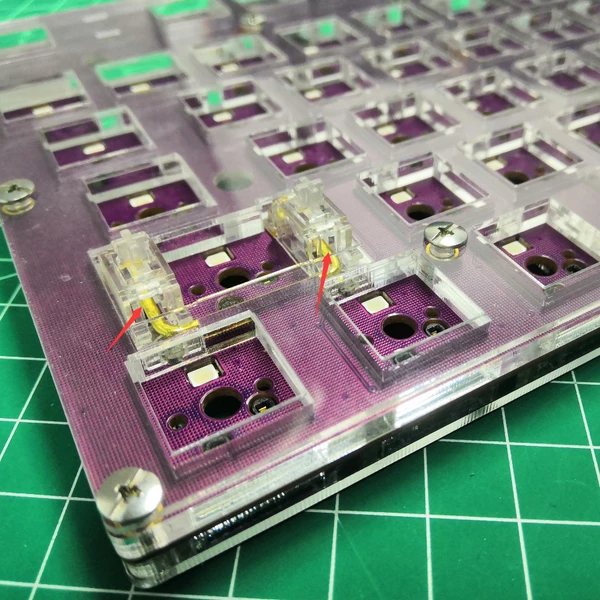
————————Step 5: Switch Assembly————————
Align each mechanical keyboard switch with the corresponding socket on the keyboard base and install them one by one.
It is important to note that both pins of the mechanical keyboard switch must be fully inserted into the two slots on the keyboard base, otherwise the key will not function properly.
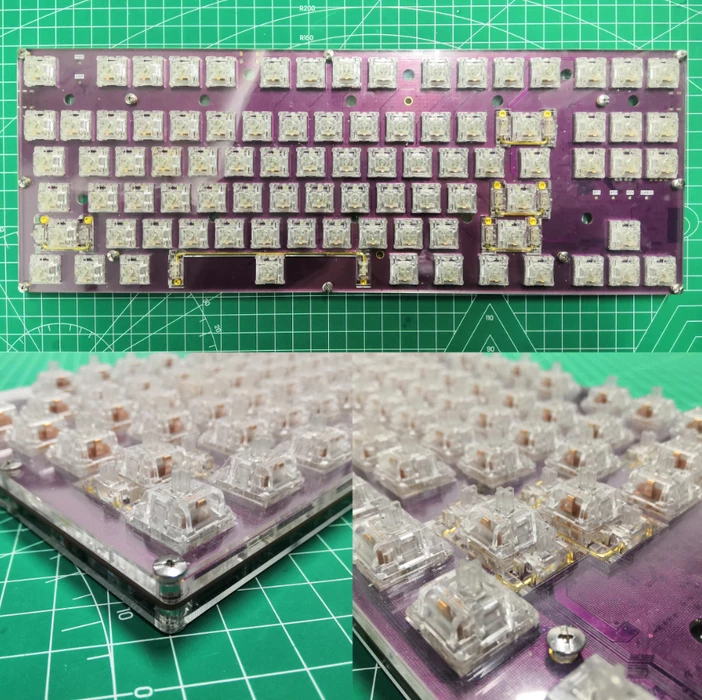
————————Step 6: Software Configuration————————
Next, let's start burning the program to the PCB board!
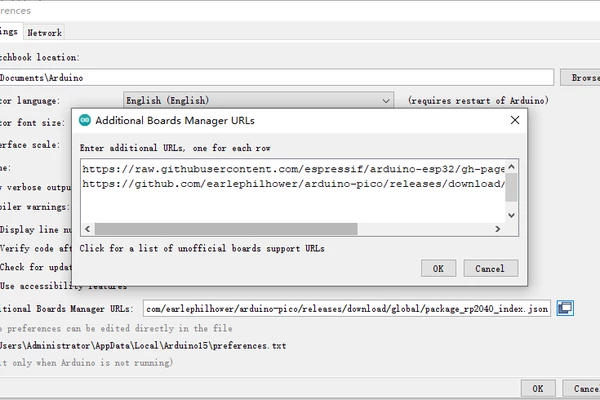
Connect any Type-C connector on the mechanical keyboard PCB to a computer, and open the Arduino IDE software. Add the following URLs to the 'Additional Boards Manager URLs' window:
https://raw.githubusercontent.com/espressif/arduino-esp32/gh-pages/package_esp32_dev_index.json
https://raw.githubusercontent.com/espressif/arduino-esp32/gh-pages/package_esp32_index.json
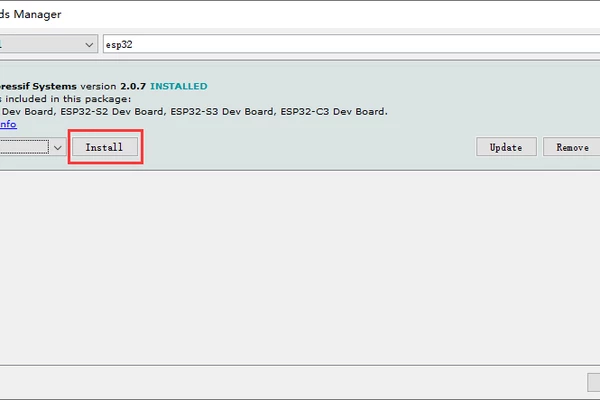
Then search for 'esp32' in the Board Manager and install it. After installation, select 'ESP32S3 Dev Module' as the main board.
————————Step 7: Bluetooth Address Configuration————————
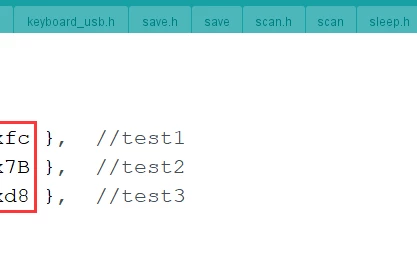
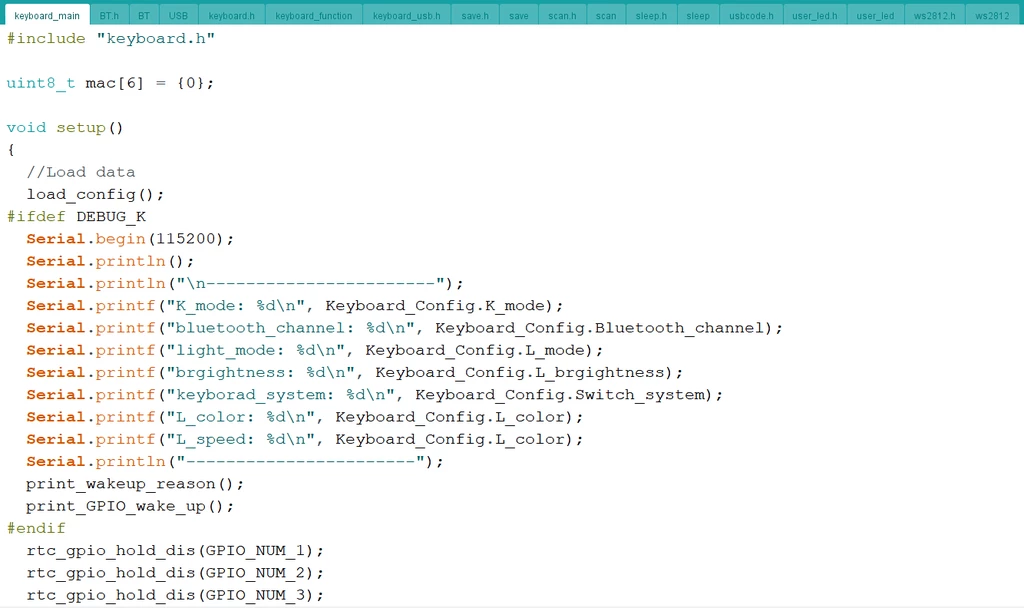
Before uploading the program, you need to find the Bluetooth device address of your computer, and then open the 'keyboard.h' program to change the address in the picture to the Bluetooth device address of your computer.
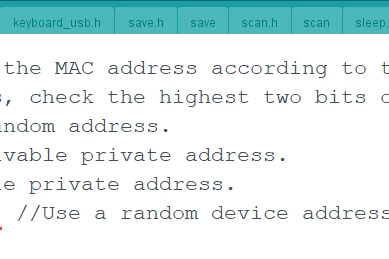
If your Bluetooth device address starts with "00", "01", or "11", you need to open the main program "keyboard_main.ino", comment out the code "esp_base_mac_addr_set(mac);" and uncomment the code "esp_ble_gap_set_rand_addr(mac);".
————————Step 8: Upload Program————————
Open the main program 'keyboard_main.ino' and click on the 'Upload' button to upload the program (The complete program is available in the attachment).
Here we only need to upload this one program, the other programs are function programs that can be called directly through the main program. You can also refer to the 'readme.txt' file in the documentation to understand the functions of each function program.
————————Step 9: Function Debugging————————
After the program is successfully uploaded, test each component to ensure that its corresponding function...
Read more » Joshua A.S.
 deʃhipu
 pcadic
 Mx. Jack Nelson