 Morning.Star
-
1Step 1
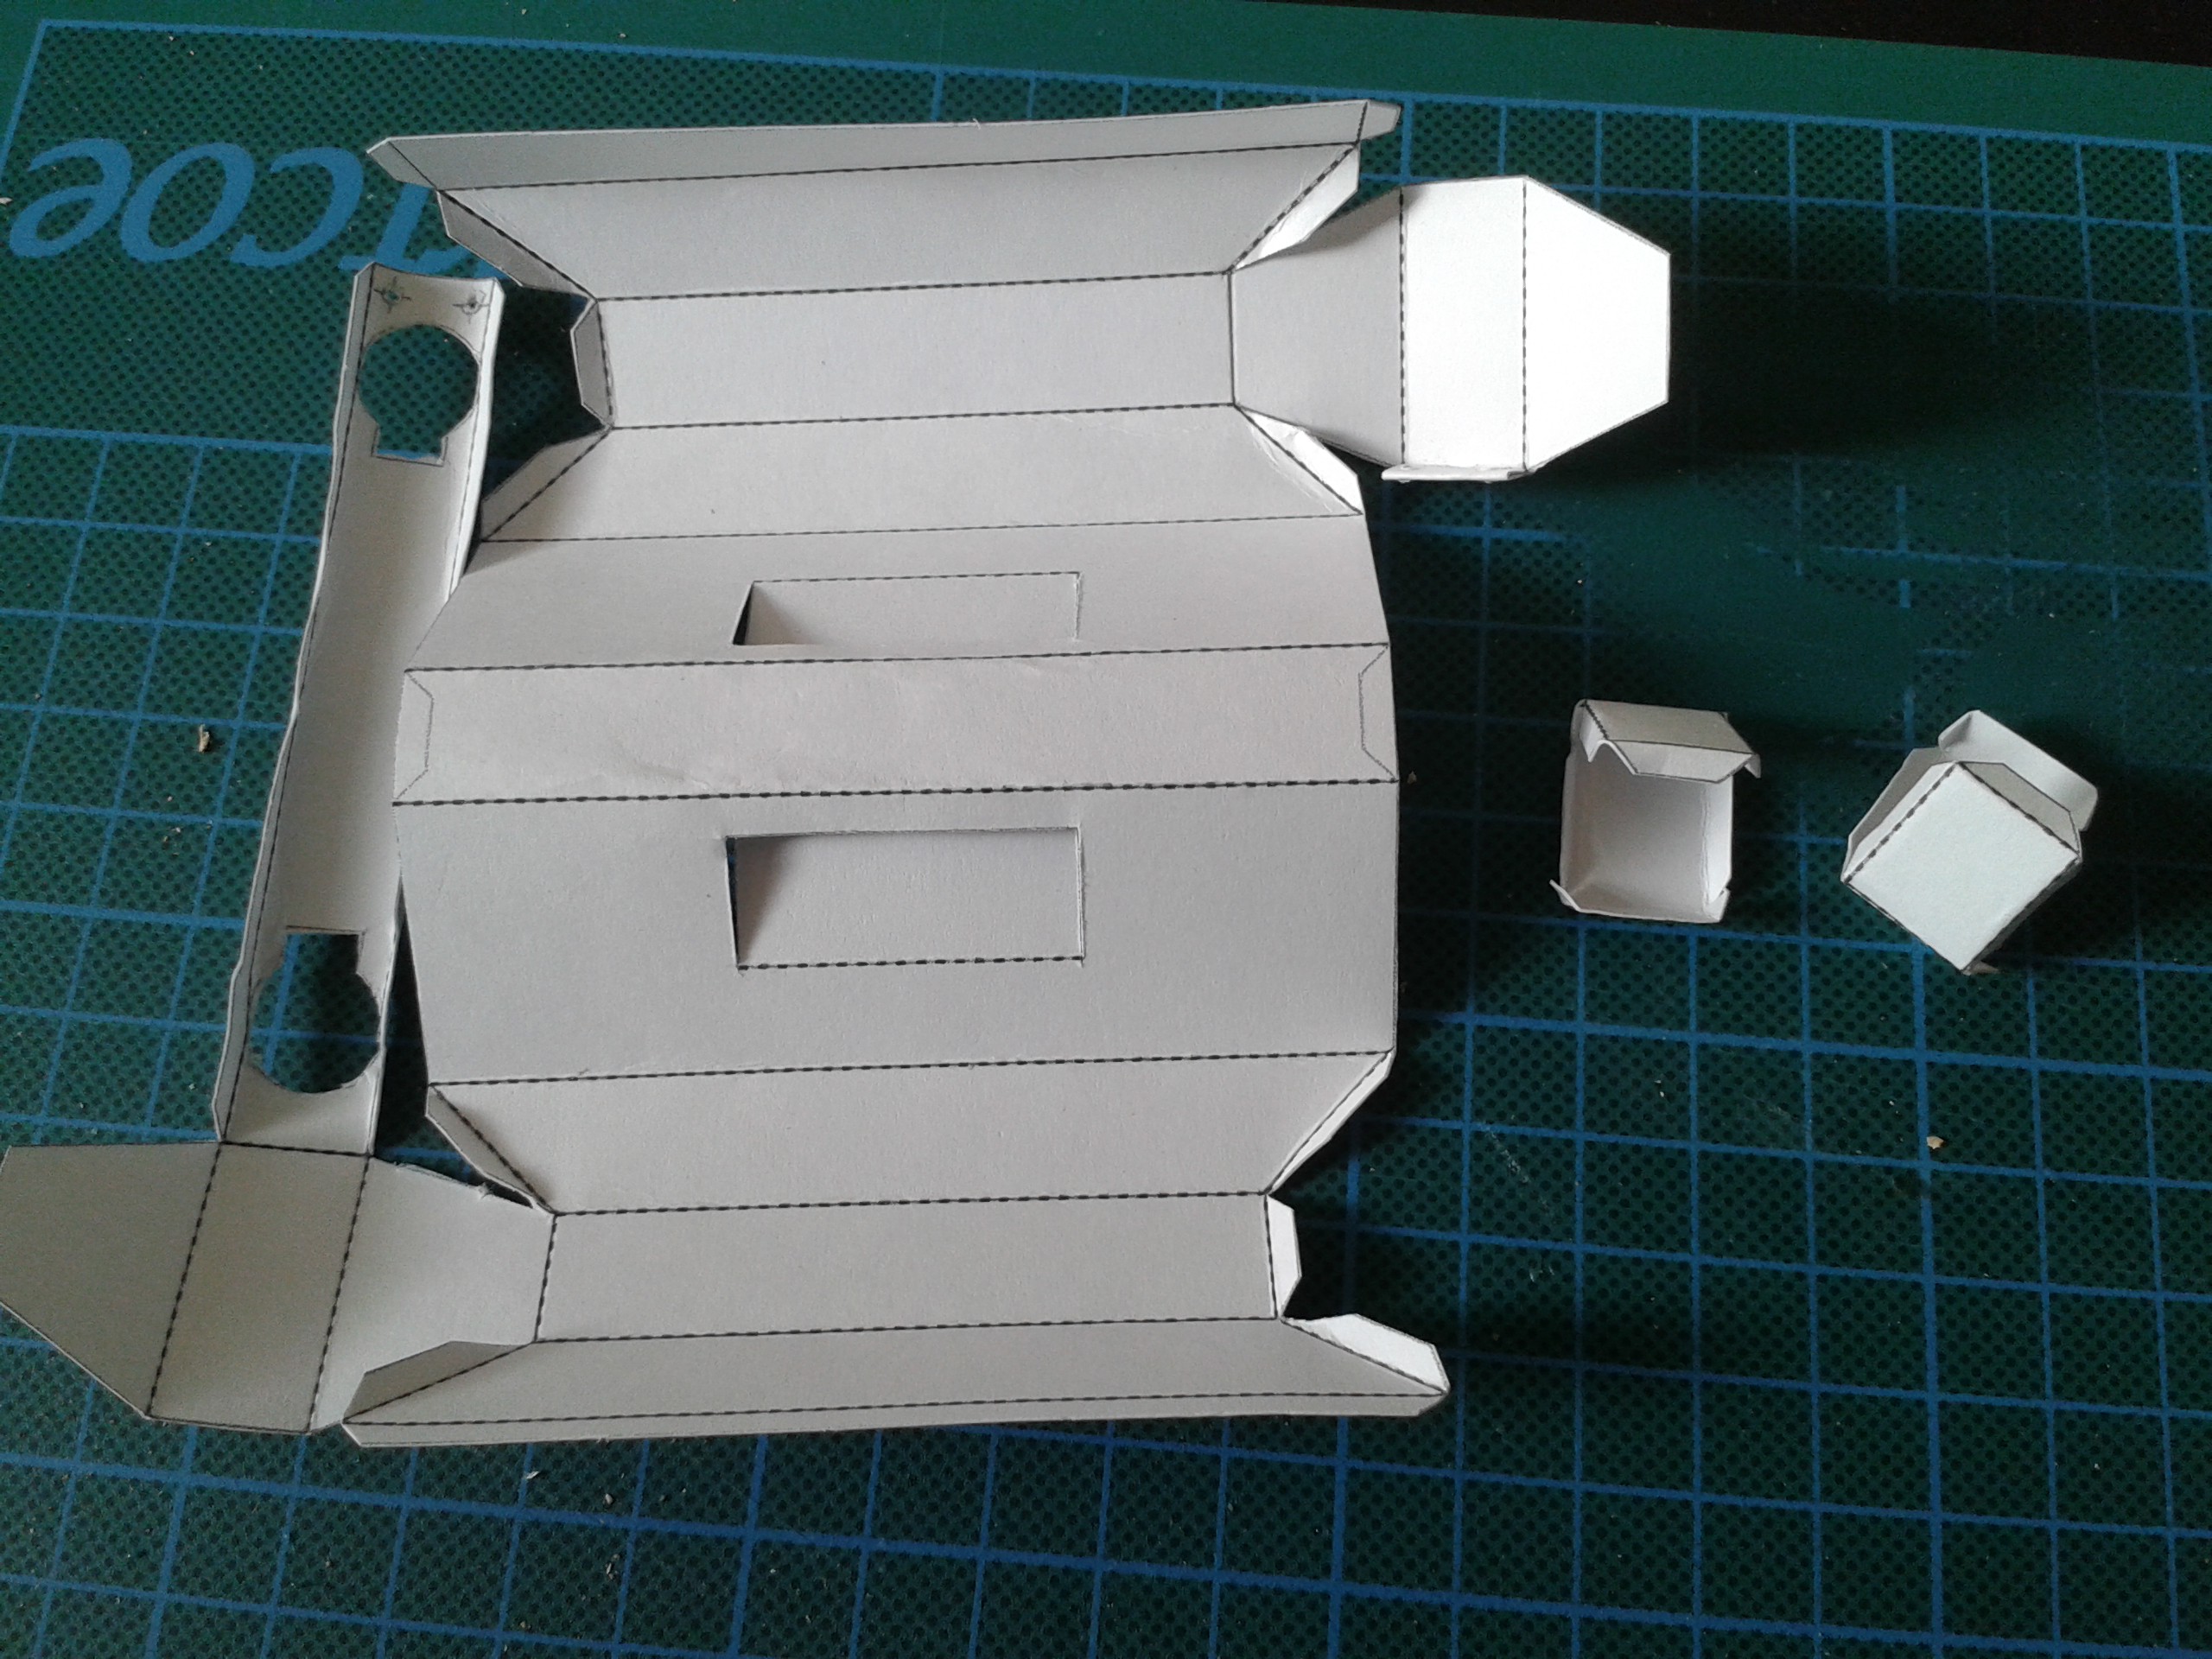
First print out the full set of parts on 200-220GSM card stock. If you are using a dark coloured card, print the templates onto 85GSM photocopy paper and glue it to the card.
Score all of the dotted lines well with a sharp point and a ruler. A ball-point pen is perfect for this as it also gives you a visual reference. (Thanks @K.C. Lee) Be careful not to score too deeply and damage the card so it tears. You just need it to bend in the right place.
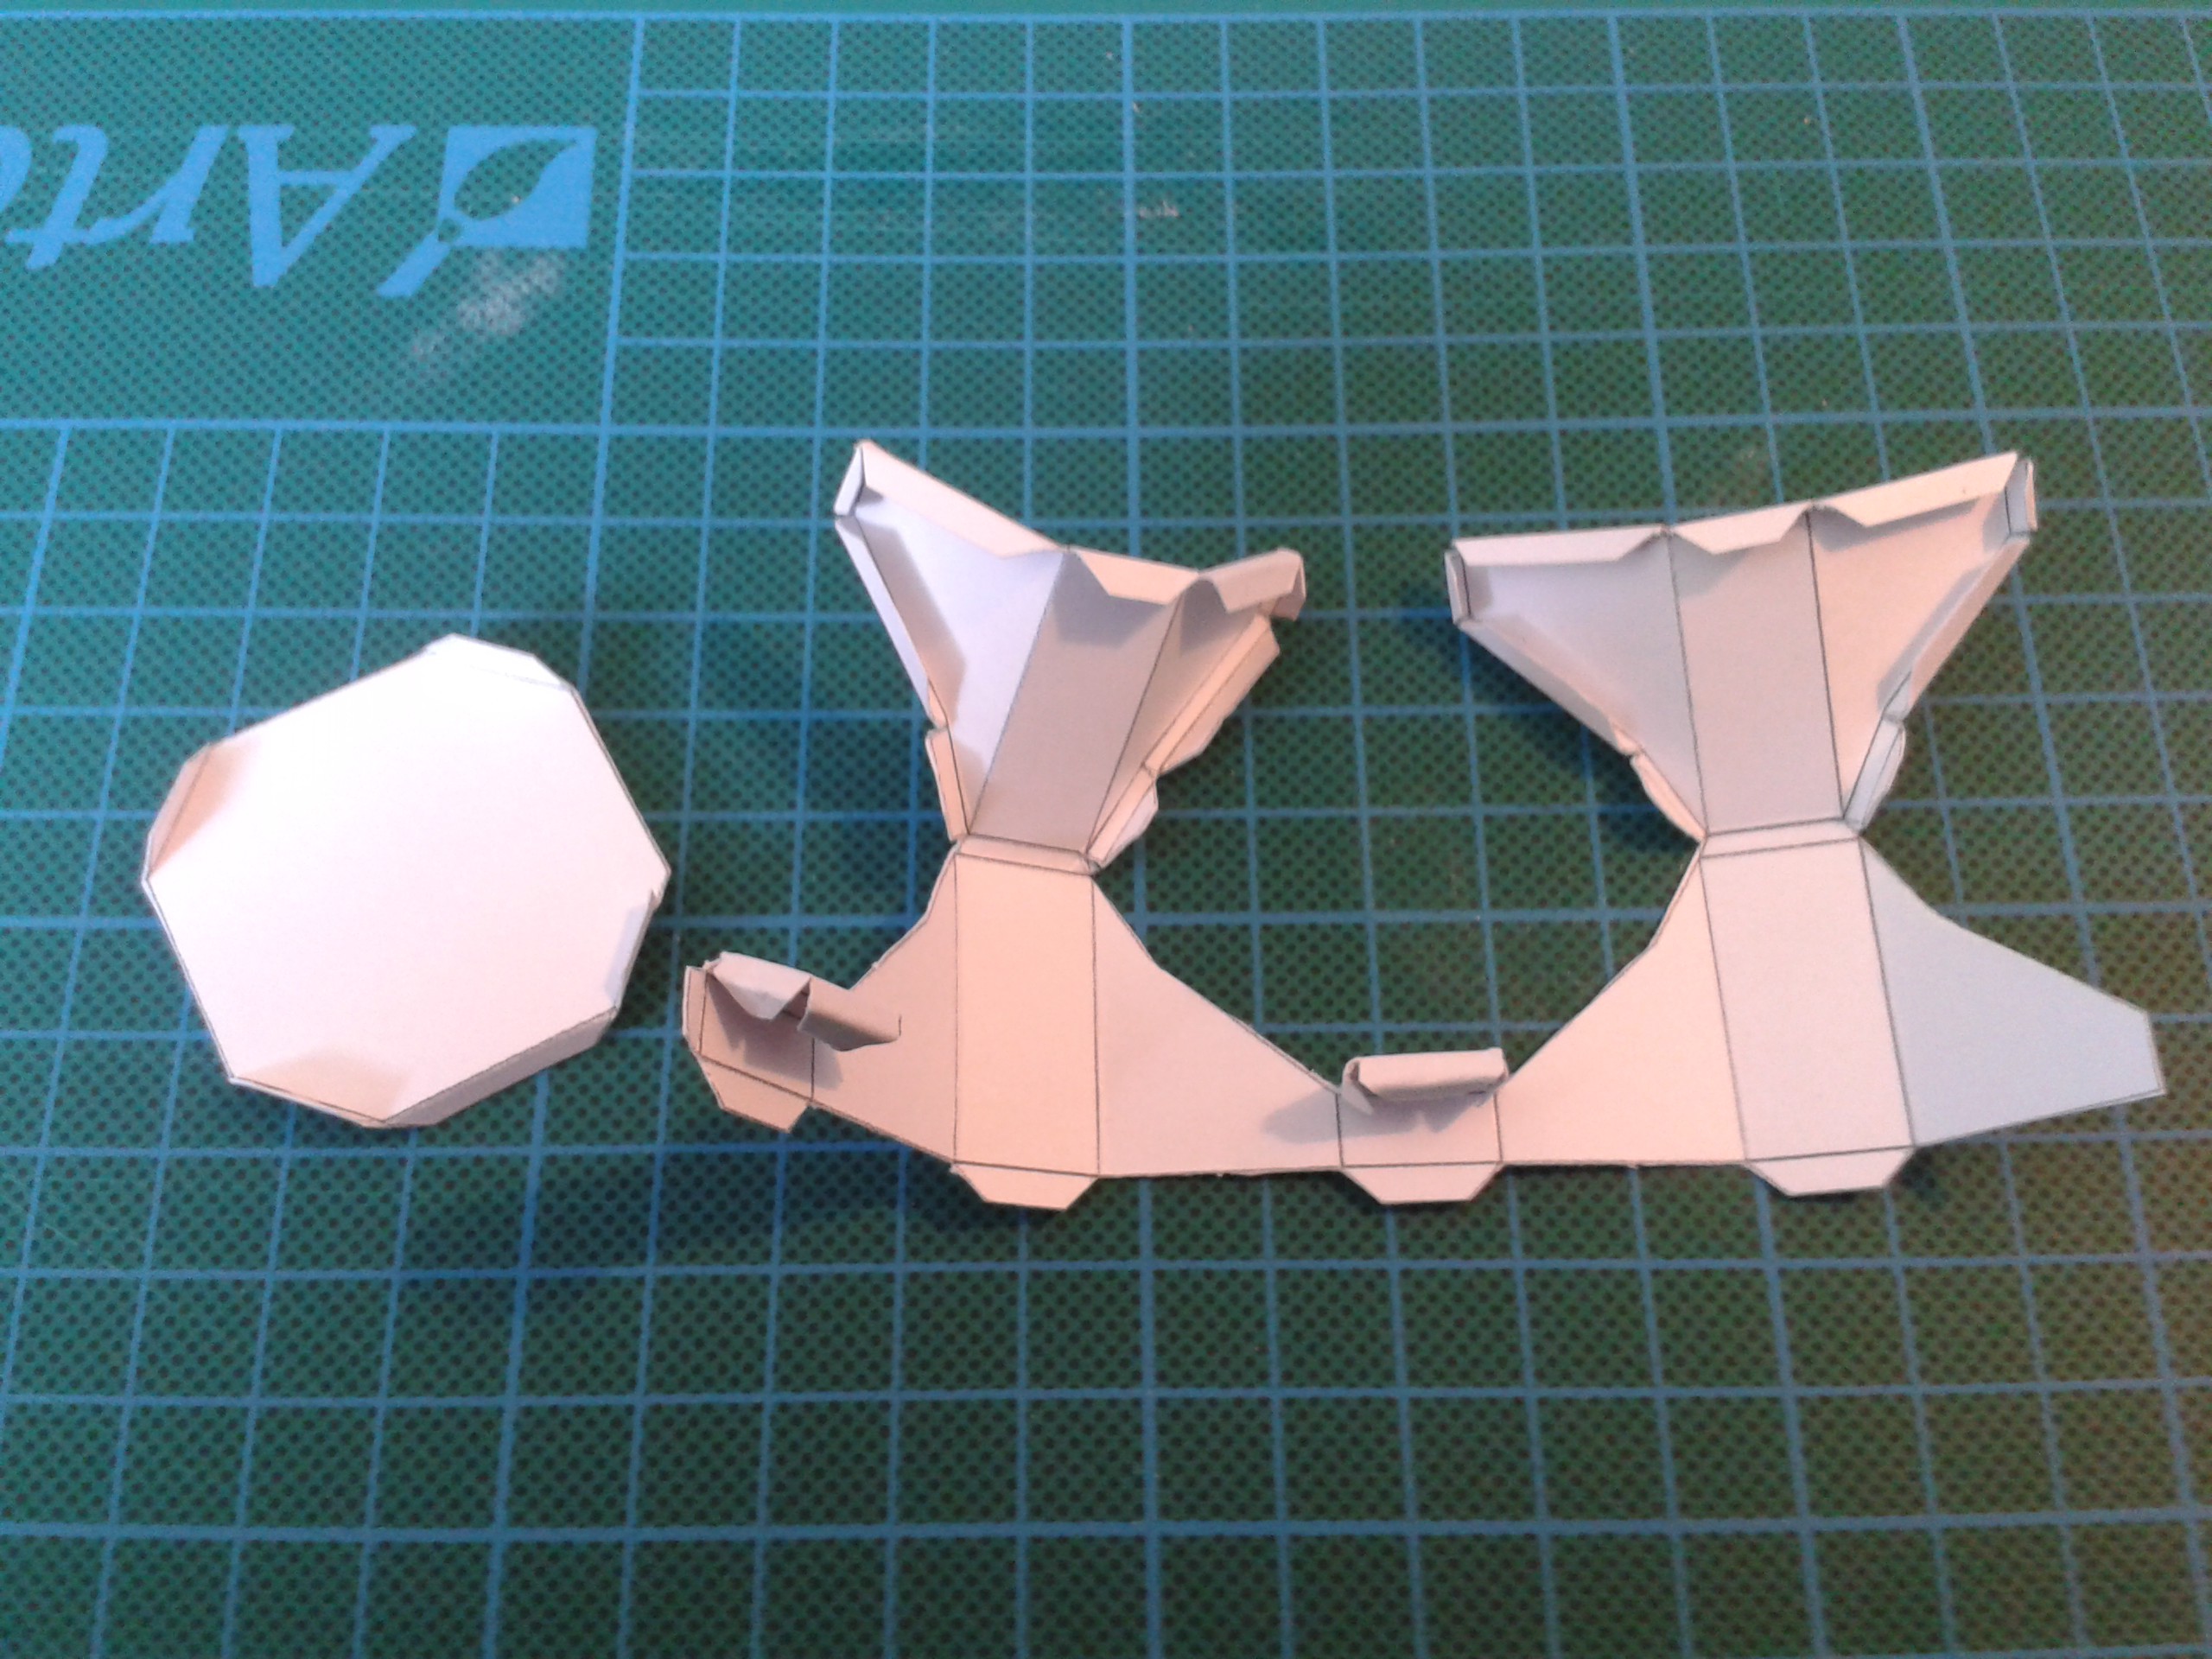
Cut out each of the parts and bend them into the basic form. It should be obvious where the tabs glue together by test-folding the pattern into shape.
![]()
![]()
![]()
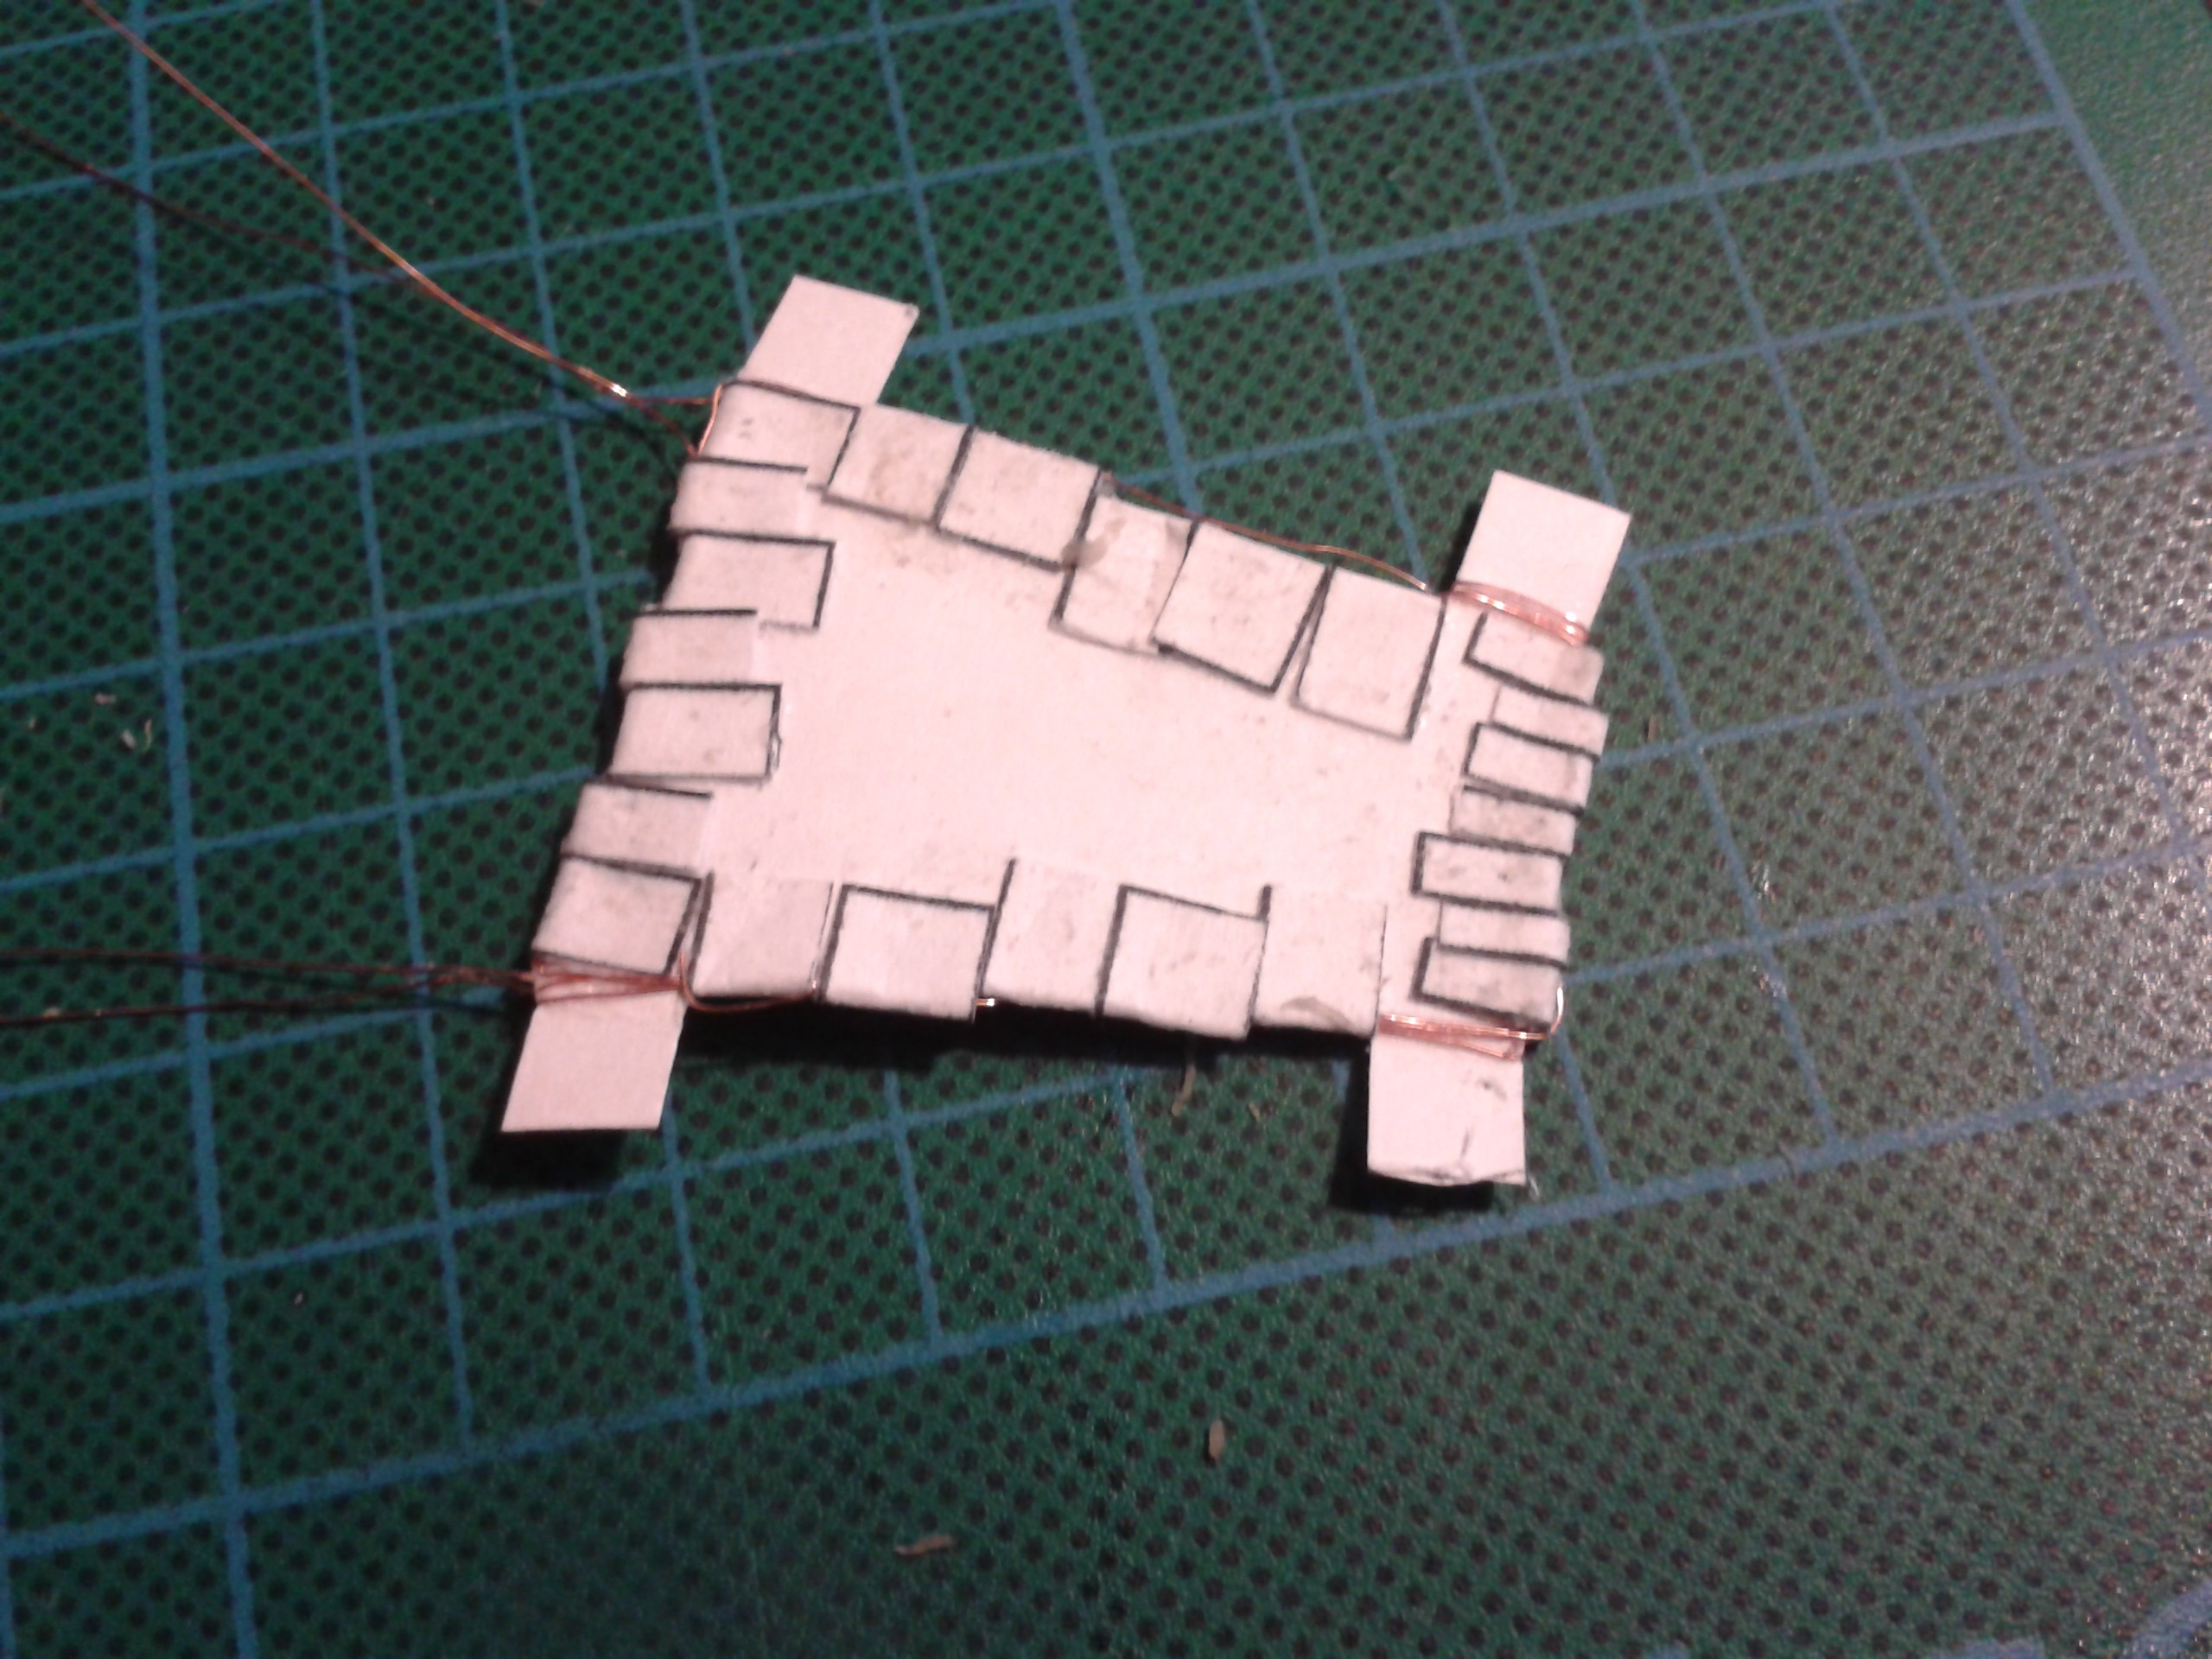
Wiring the antennae is fiddly but simple. Joint them all together and insert them into the part. Be careful to label or otherwise mark which wire is which or this will have to be done by trial and error in the software.
![]()
-
2Step 2
![]()
The modules are joined together with one screw through the saddle on one side that goes through a plastic bearer to stop the card wearing through. The other side of the saddle secures to the actuator arm on the servo with two screws.
-
3Step 3
![]()
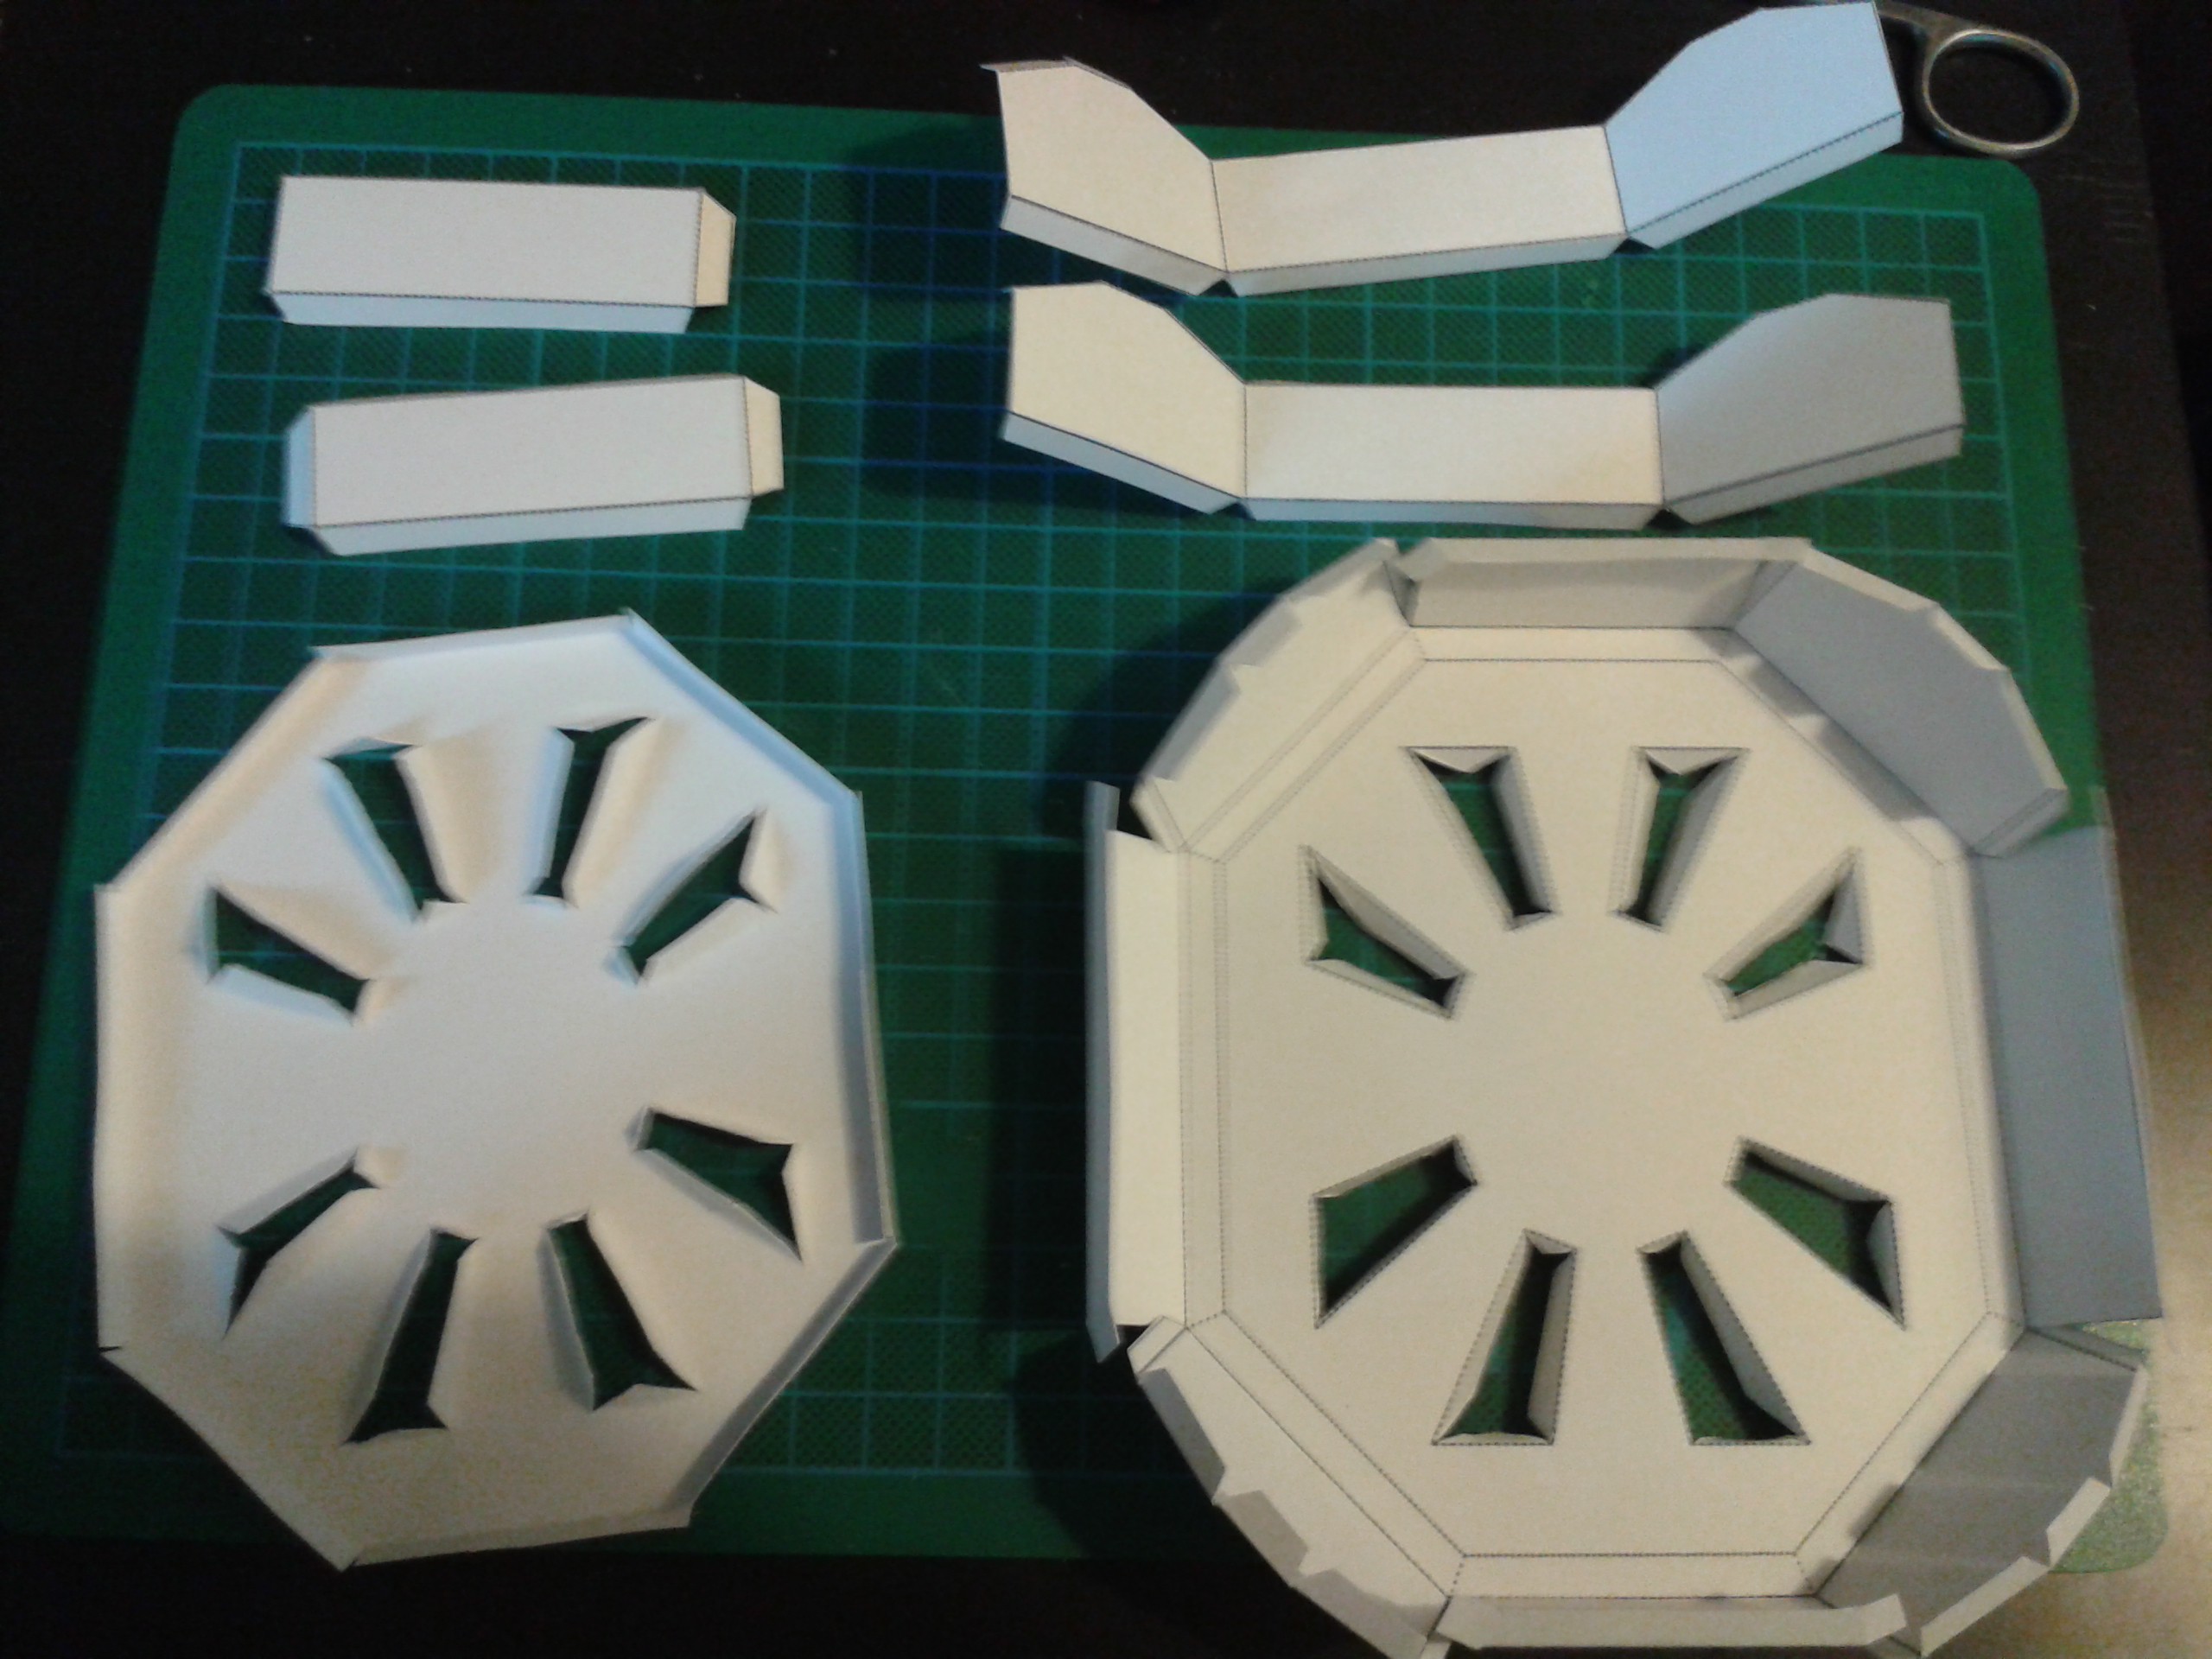
Saddles are complicated but easy to do when you know how. Its just a matter of following the sequence of gluing because some of those joints are multi-layer and internal. It is logical however, if it doesnt fit you are trying to fit it wrong. I cant stress the benefits of test-folding the part to see how it fits before gluing.
-
4Step 4
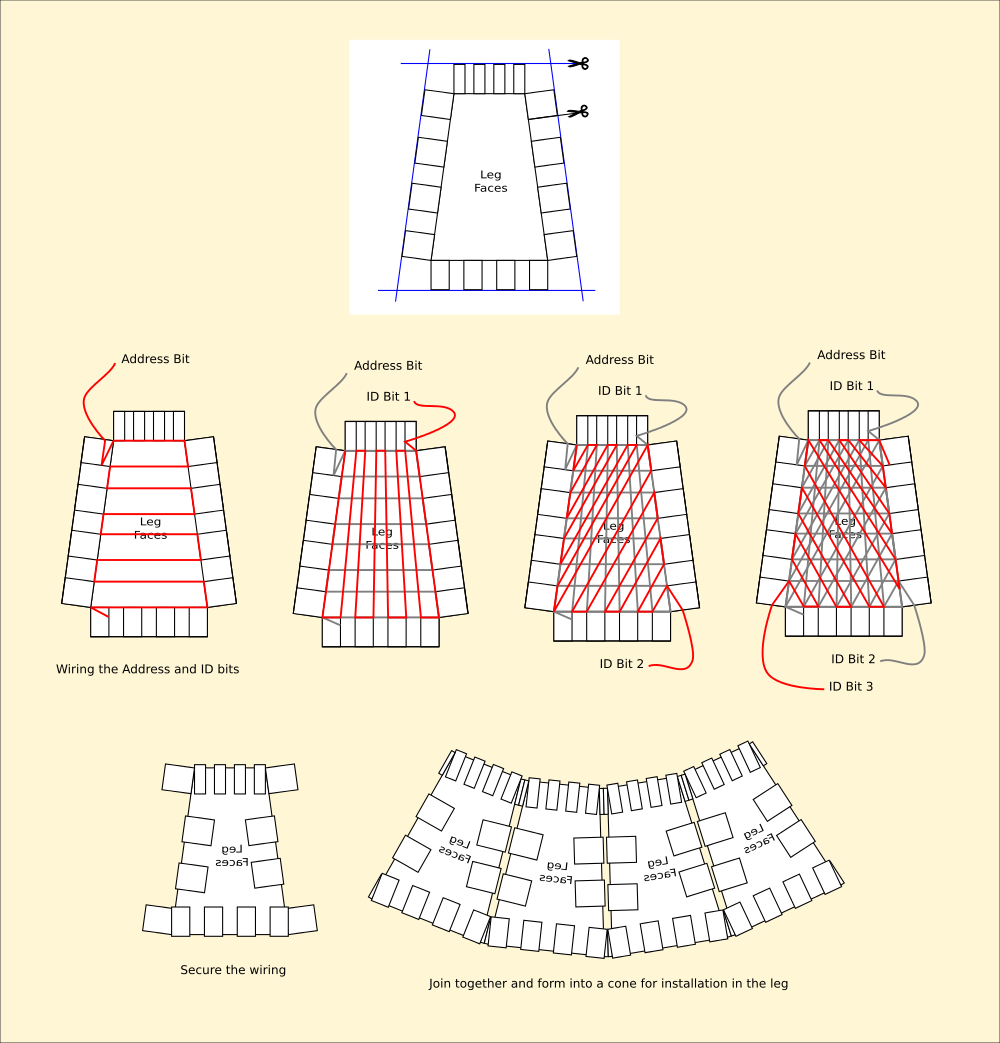
Antennae are also simple even if they look complicated. Even though these arent fully working yet it is worth installing them into the limbs, as they cannot be retrofitted.
![]()
Remember to label the wires as Address, Bit 1, Bit 2, Bit 3 so you can hook them up to the Sensory Bus later.
Cardware
An educational system designed to bring AI and complex robotics into the home and school on a budget.


Discussions
Become a Hackaday.io Member
Create an account to leave a comment. Already have an account? Log In.
A ball pen can be used for scoring cardboard.
Are you sure? yes | no
Thank you K C Lee for 'pointing' out a good way to make nice folds. :-)
Kudos, you can easily see how far along you are.
Are you sure? yes | no