 Tobias Kuhn
Here's some video footage of the visual notify functionality:
And now some words on the usage of the Crystal Signal Pi. The Raspberry Pi is connected to the local Network with a static IP and is running as a web server (Apache).
Installing the middle ware - which will make the Raspberry Pi act as a notify device - is quite easy; Copying the 2 lines below into the command line of the Raspberry Pi will start up the installer script.
$ curl -O https://raw.githubusercontent.com/infiniteloop-inc/crystal-signal/master/install.sh
$ sudo bash install.sh fullinstall
The installer script will install everything, including the Apache web server. Things that need to be done before running the installer script include the setting up of the static IP address of the Raspberry Pi and the set up of the internet connection. After that, the installer can be run and after finishing the installation a Crystal Signal Pi HAT can be put on any of the Raspberry Pi models listed up below and the setup process is complete.- Raspberry Pi 1 Model B+
- Raspberry Pi 2 Model B
- Raspberry Pi 3 Model
At this point a small clarification. We aren't actually selling the Signal Crystal Pi HAT outside of Japan as of yet. We just built it because we needed it in our company. This post is to get some input from the global hacker community. We are happy to read any kind of comment!
That being said, back to the usage of the Signal Crystal Pi: After running the installer script the device is ready to act as a notifier device. On any server/computer on the same network an alarm can be issued by sending a HTTP Get request with the alarm parameters encoded in it in the following fashion:
http://192.168.11.11/ctrl/?color=10,200,30&mode=1&repeat=0&period=500Entered as target address in any browser, the line above will result in a reddish blinking light output on the Crystal Signal Pi HAT. The alarm issuing can also be implemented on Linux machines on the same network by executing the following bash script upon error or any event which should be broadcasted.$ curl 'http://172.16.1.10/ctrl/?color=10,200,30&mode=1&repeat=0&period=500'the table below shows all the parameters and their usage.
| Parameter | Value Range or Value Type | Usage Example or Note |
| color=r,g,b | 0 - 255 | color=22,44,255 |
| mode=x | 0 - 2 | 0 : Constantly on 1 : Blinking 2 : Asynchronous blinking |
| period=x | 0 - 9223372036854775807 [ms] | period=500 |
| repeat | 0 - 9223372036854775807 | 0 : repeat infinitely |
| ack | 0 - 1 (False & True) | 0 : do not acknowledge alerts 1 : acknowledge all current alerts |
| json | 0 - 1 (False & True) | 0 : return message in HTML 1 : return message in Json |
| info | String | info="alert 51. Too much requests." |
There is also a control panel which is accessible via browser. Typing the Raspberry Pi's IP Address will bring it up. (It's Japanese only at this moment in time)
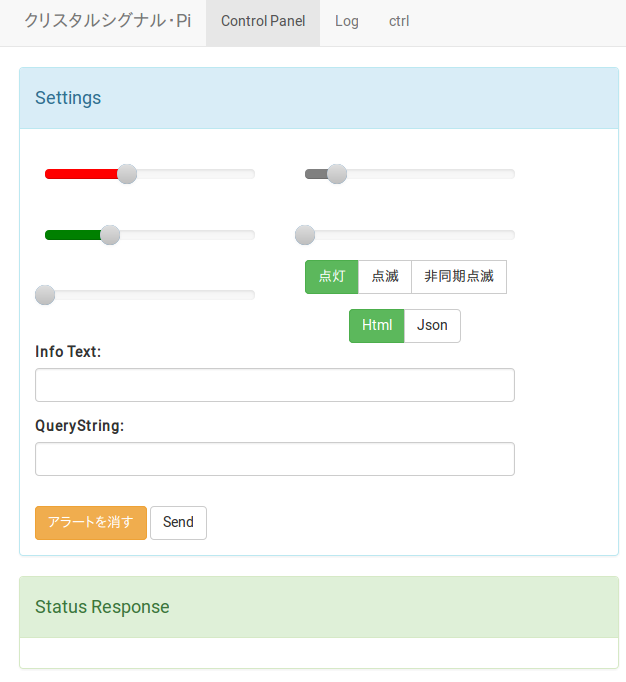
Here alerts can be created which leaves the user with the easy task of copying the created query string into a bash file or really any kind of environment. When the HTTP Get request created by the control panel gets executed the Raspberry Pi will queue the alert and notify you that somethings going on. Alerts than can be acknowledged/reset by the reset button on the Crystal Signal HAT.
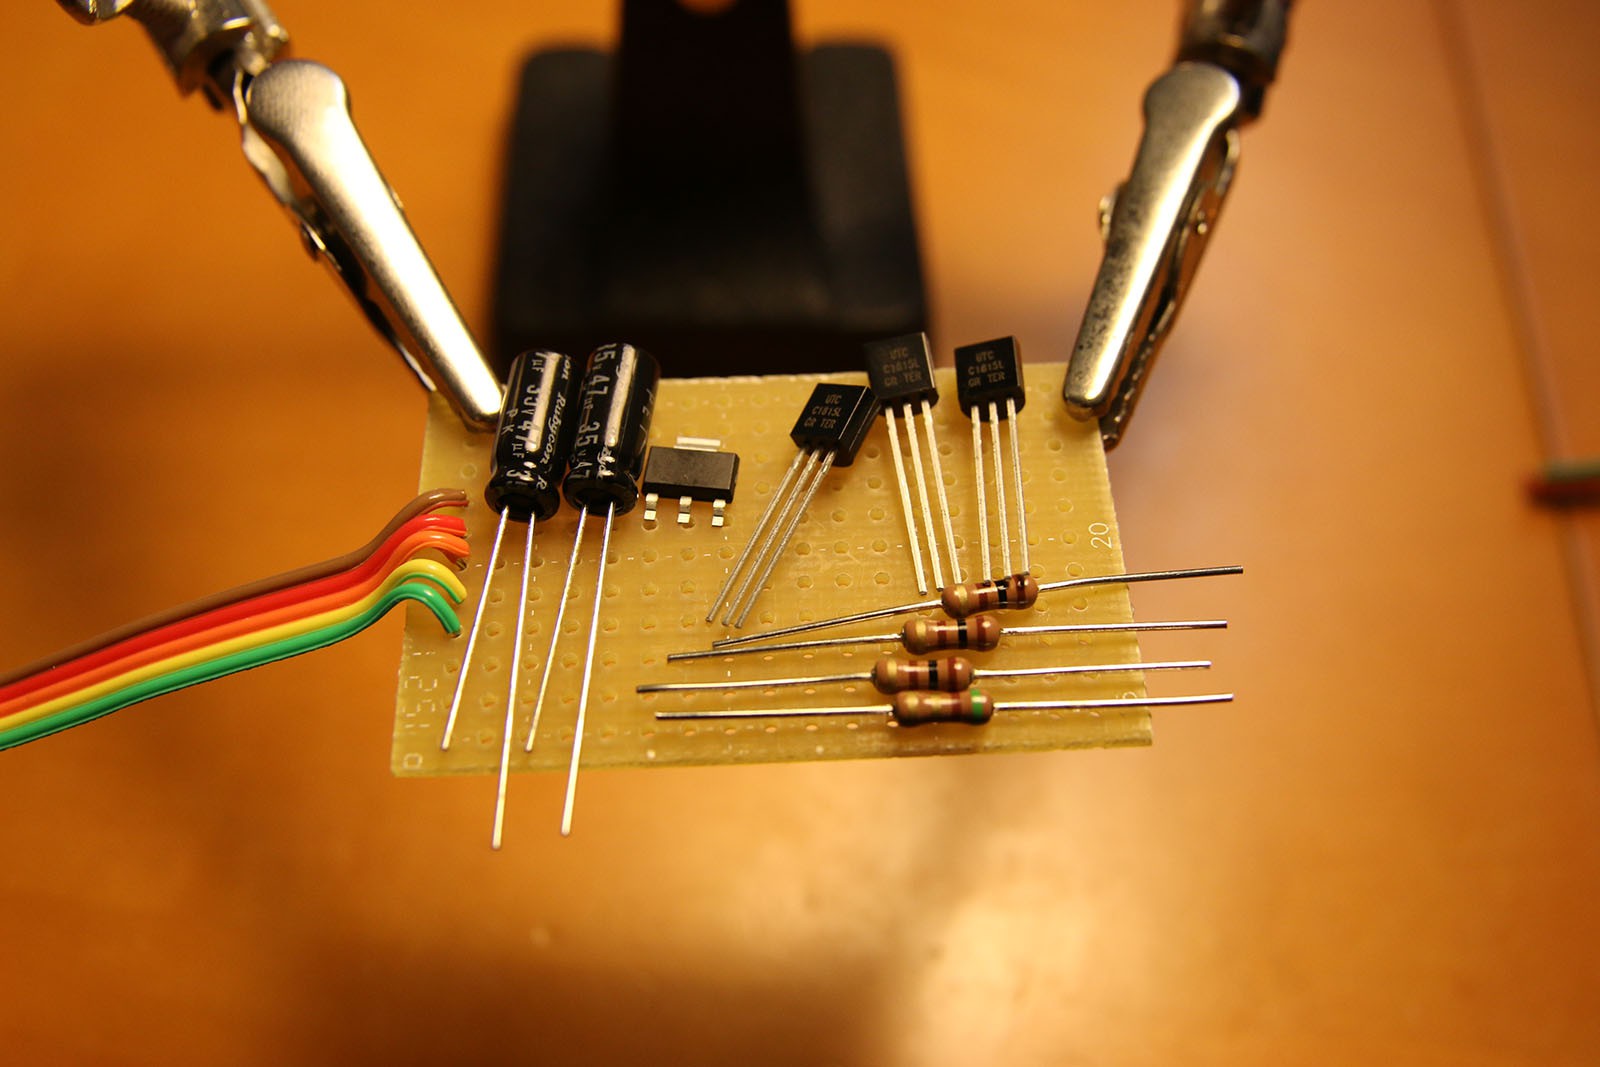
Some pictures of the first prototype:


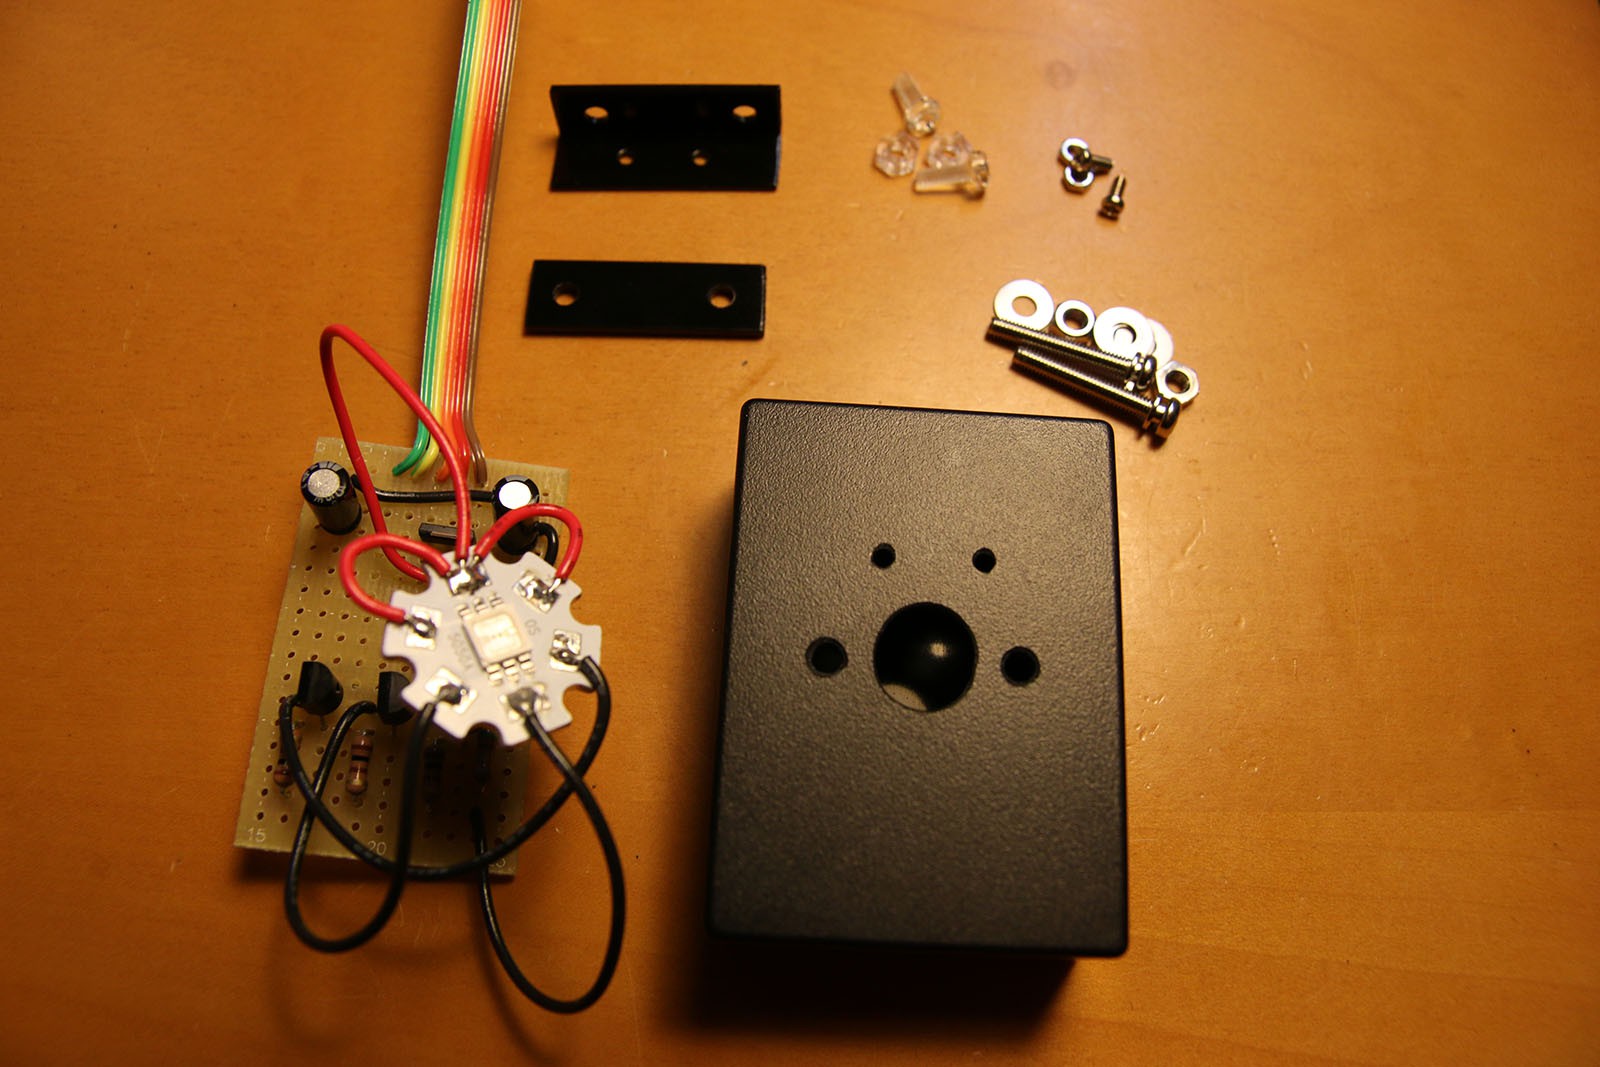

some pictures of the second prototype:
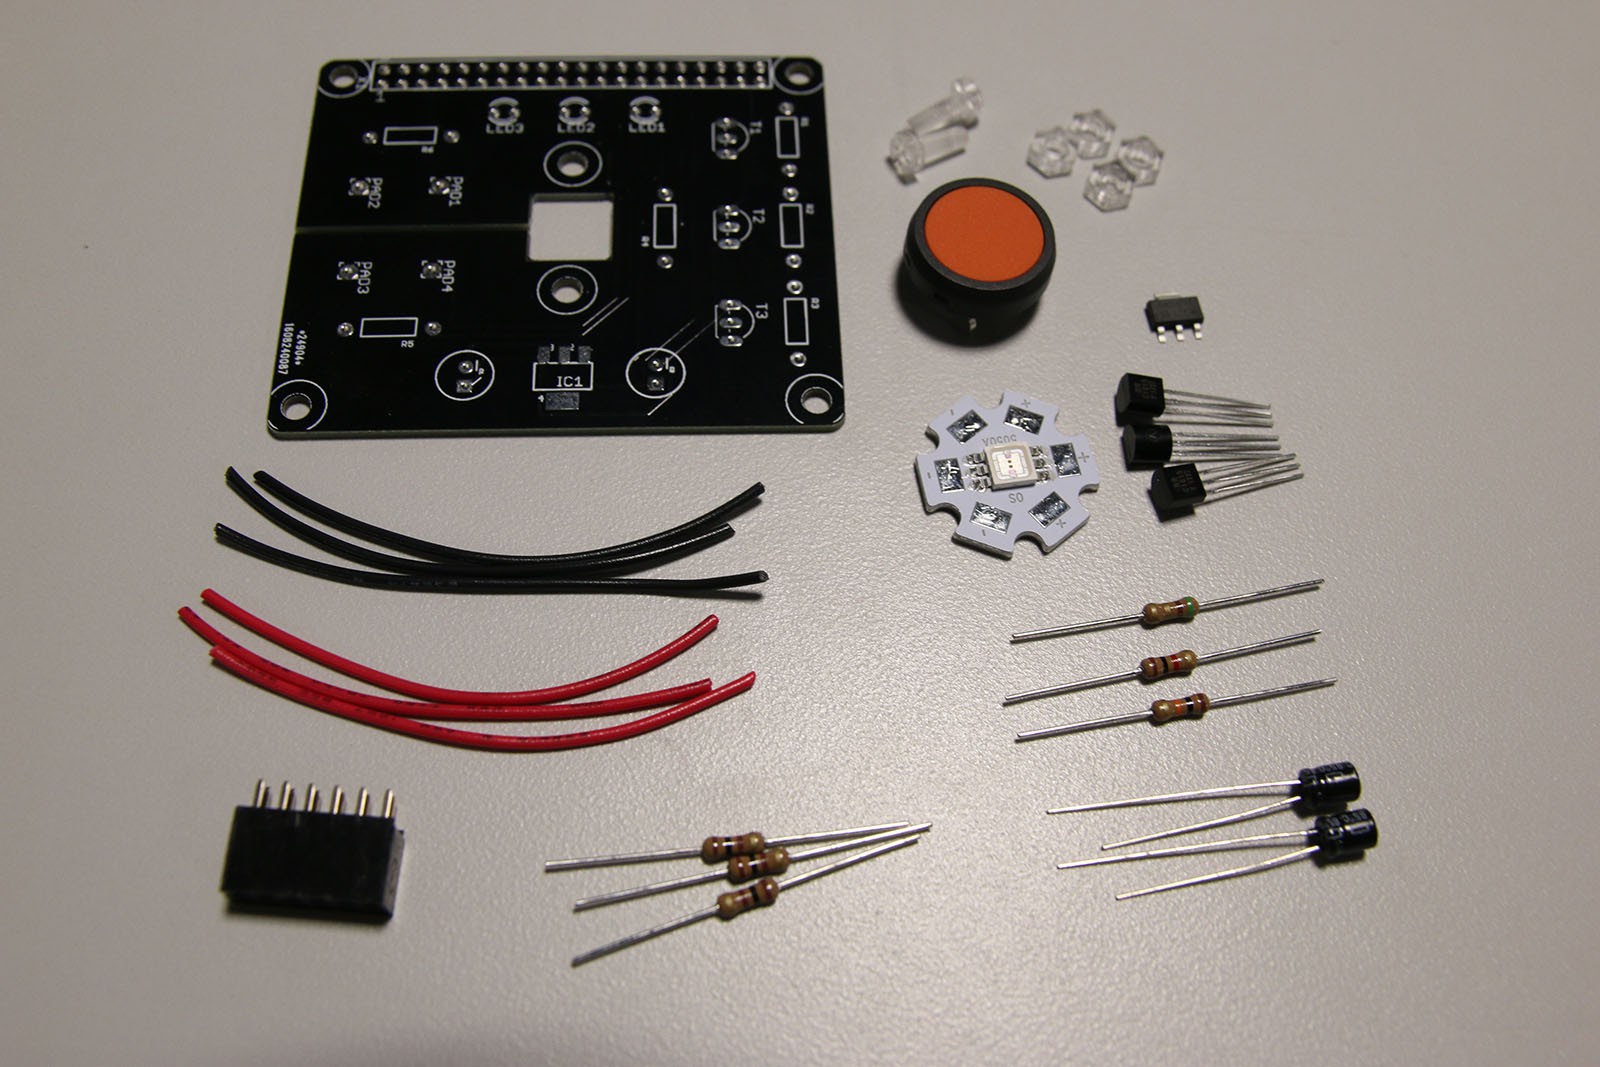
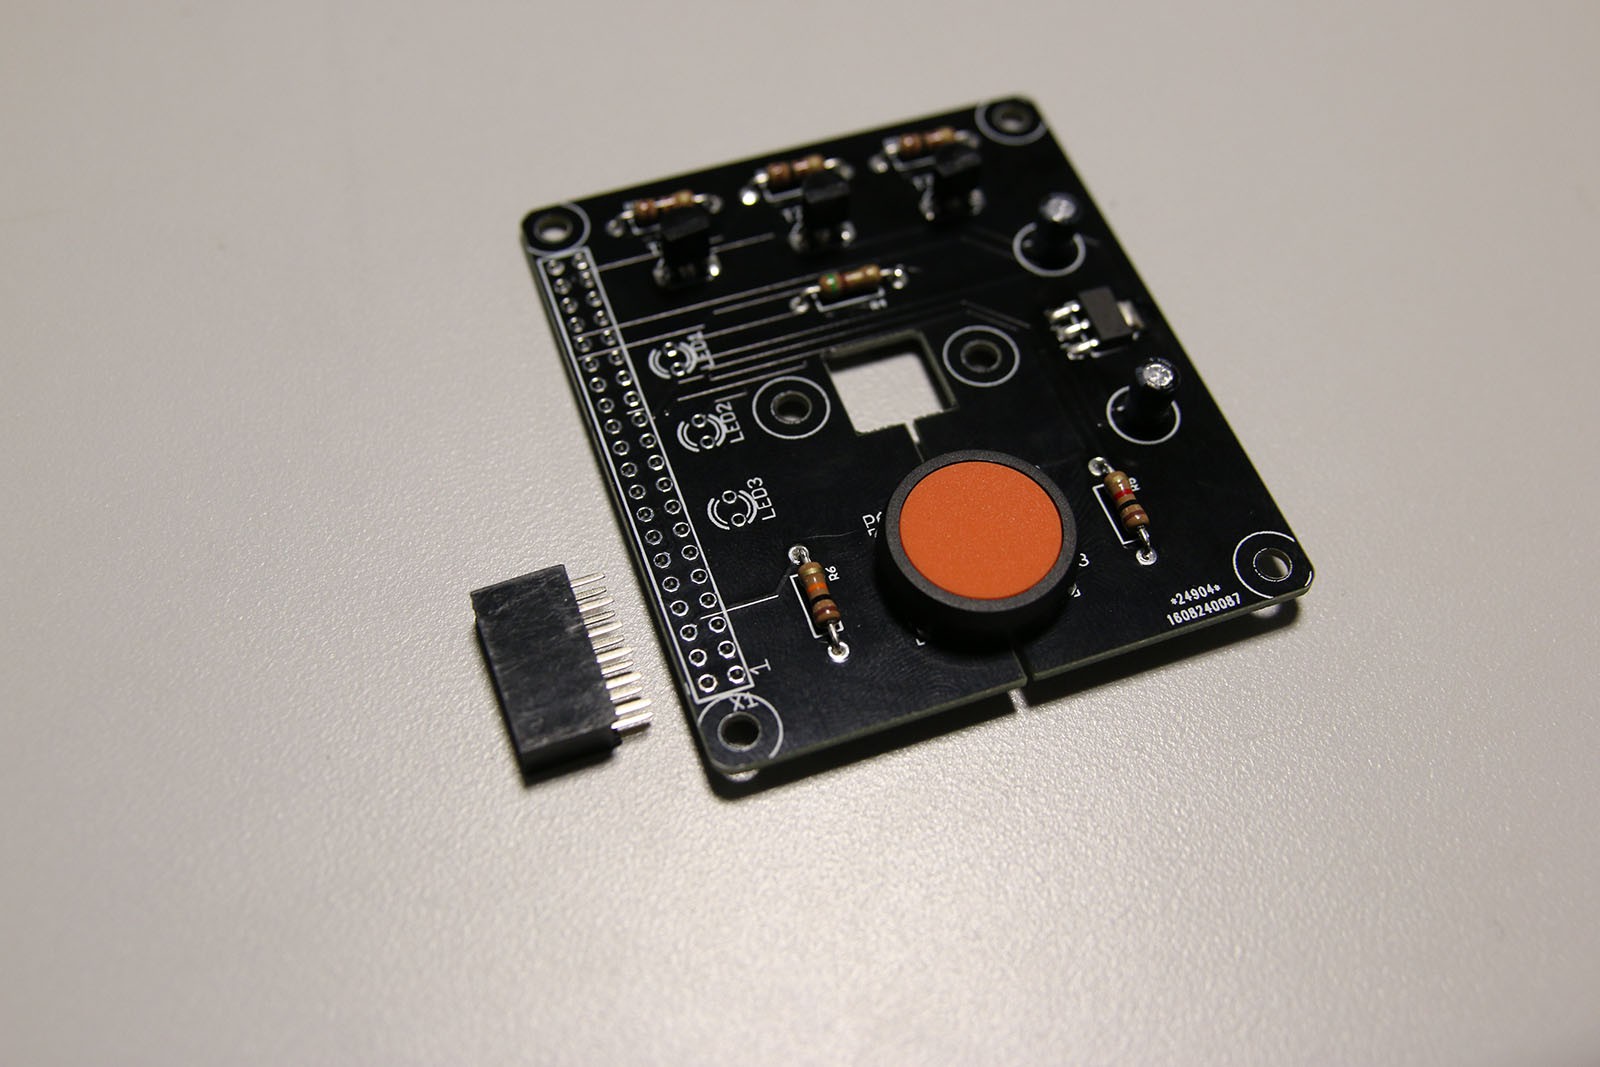

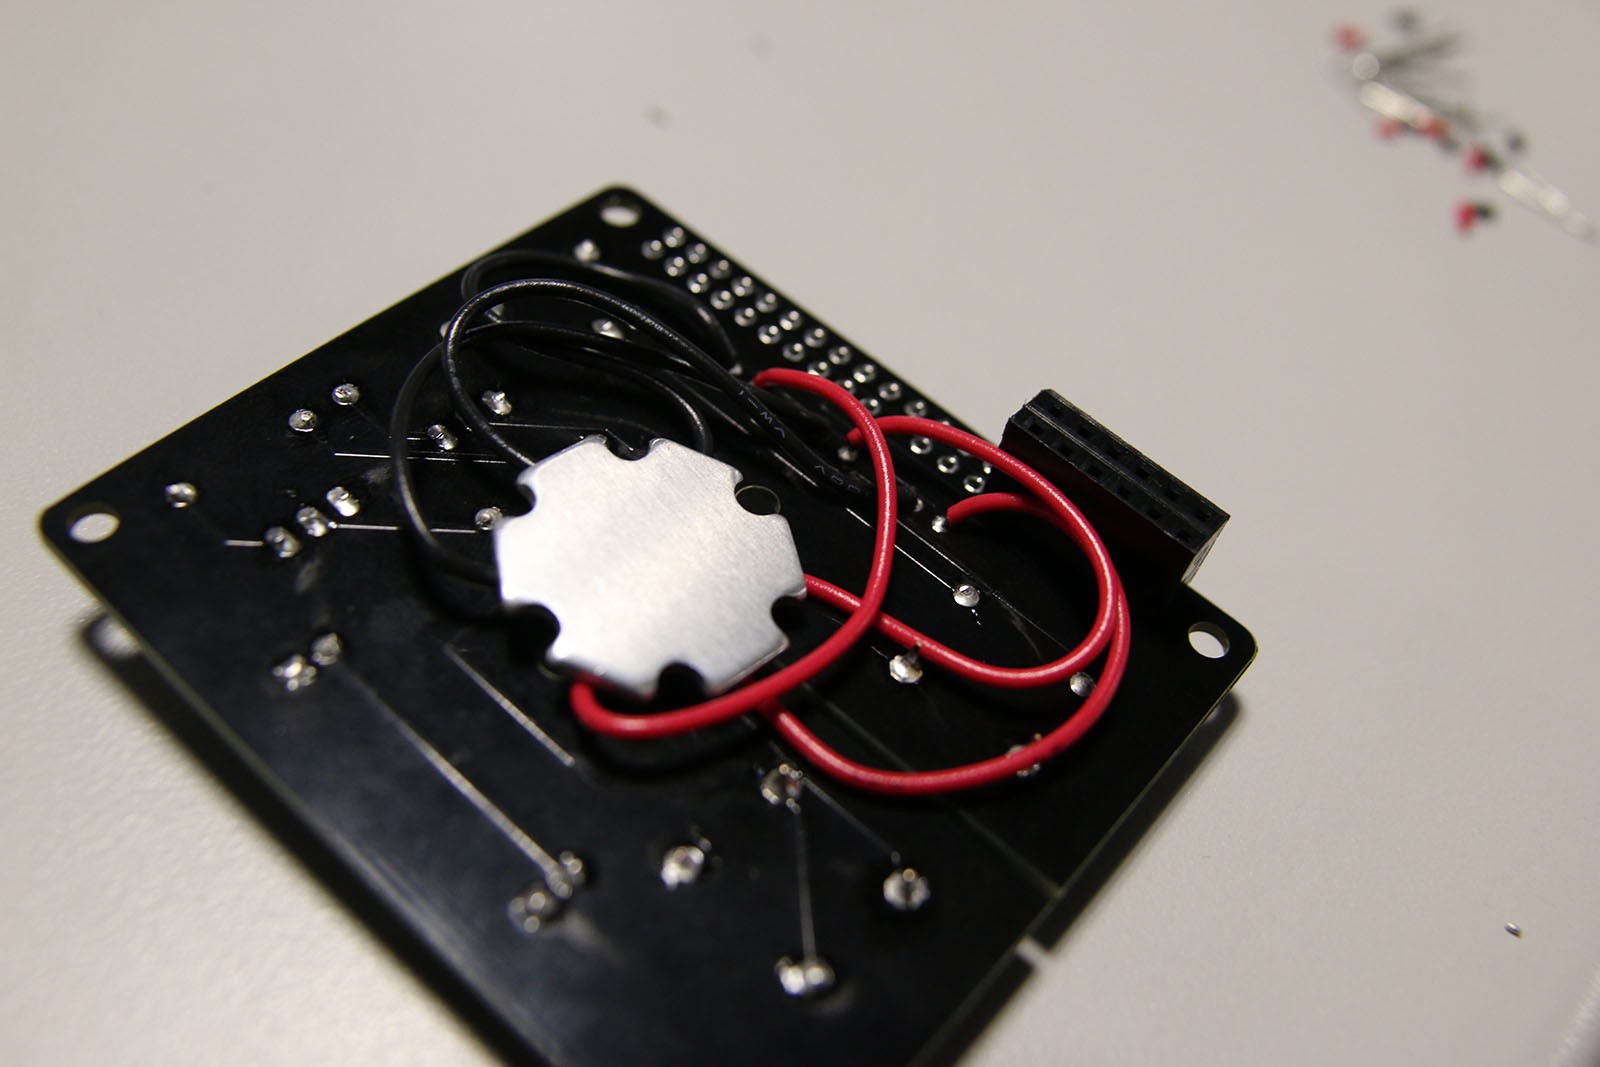
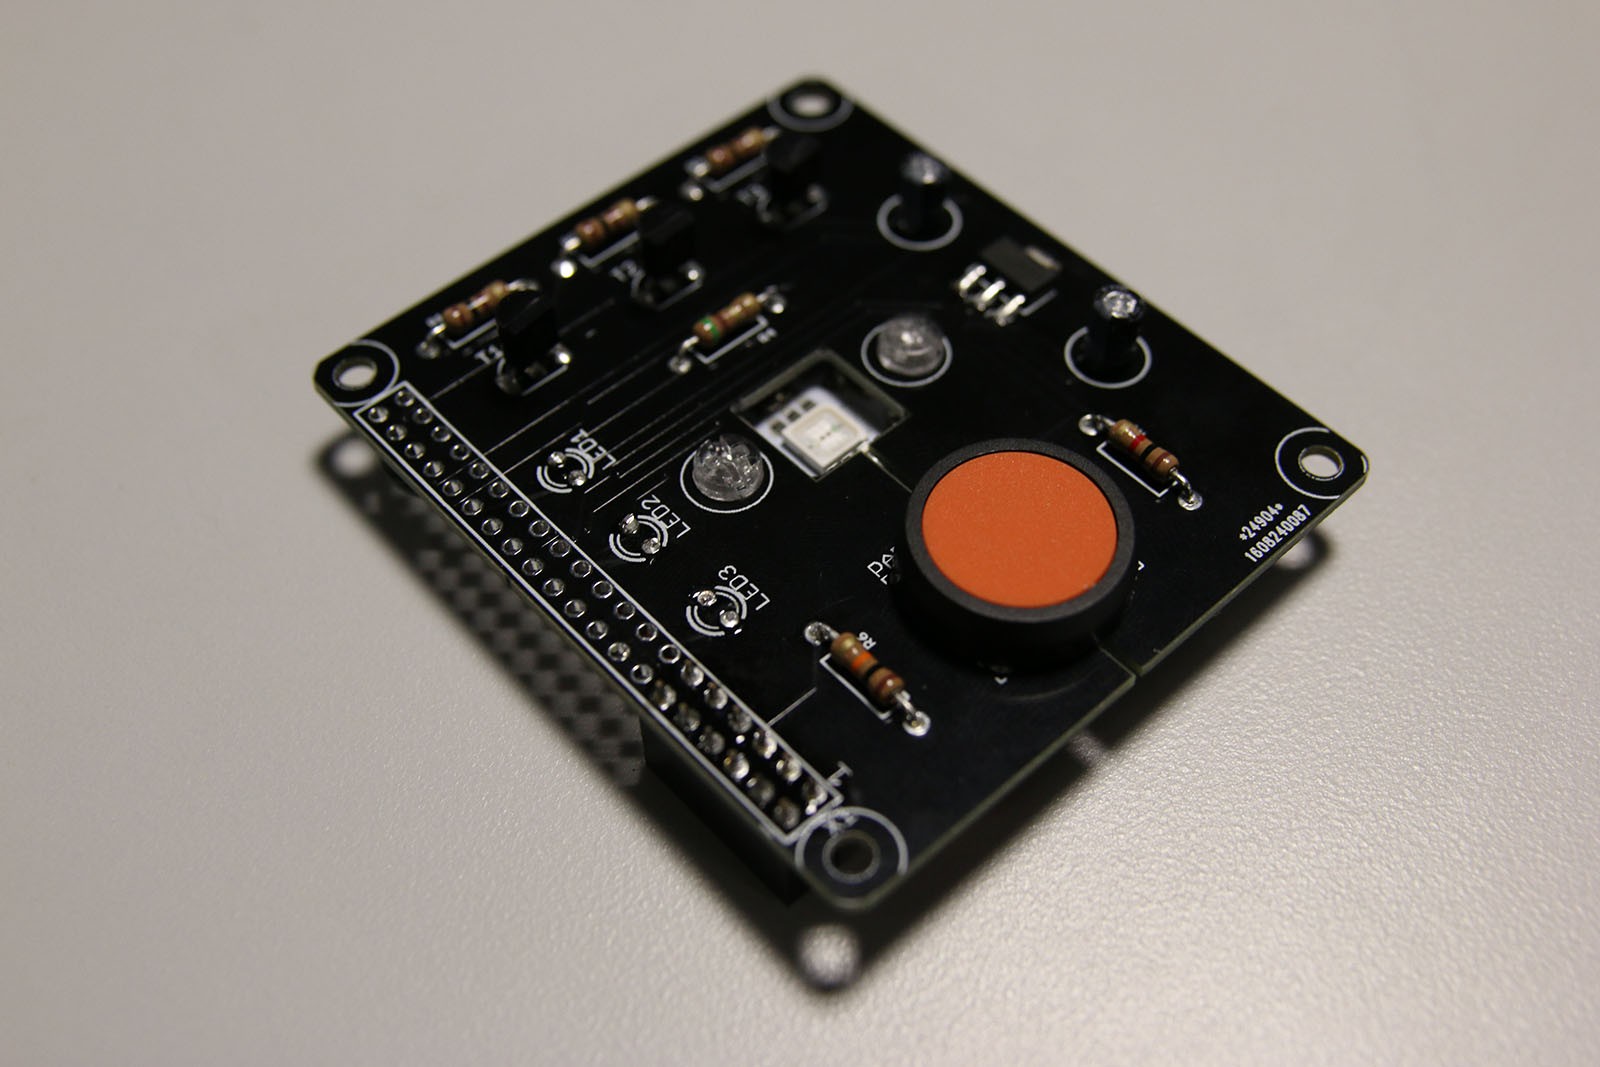

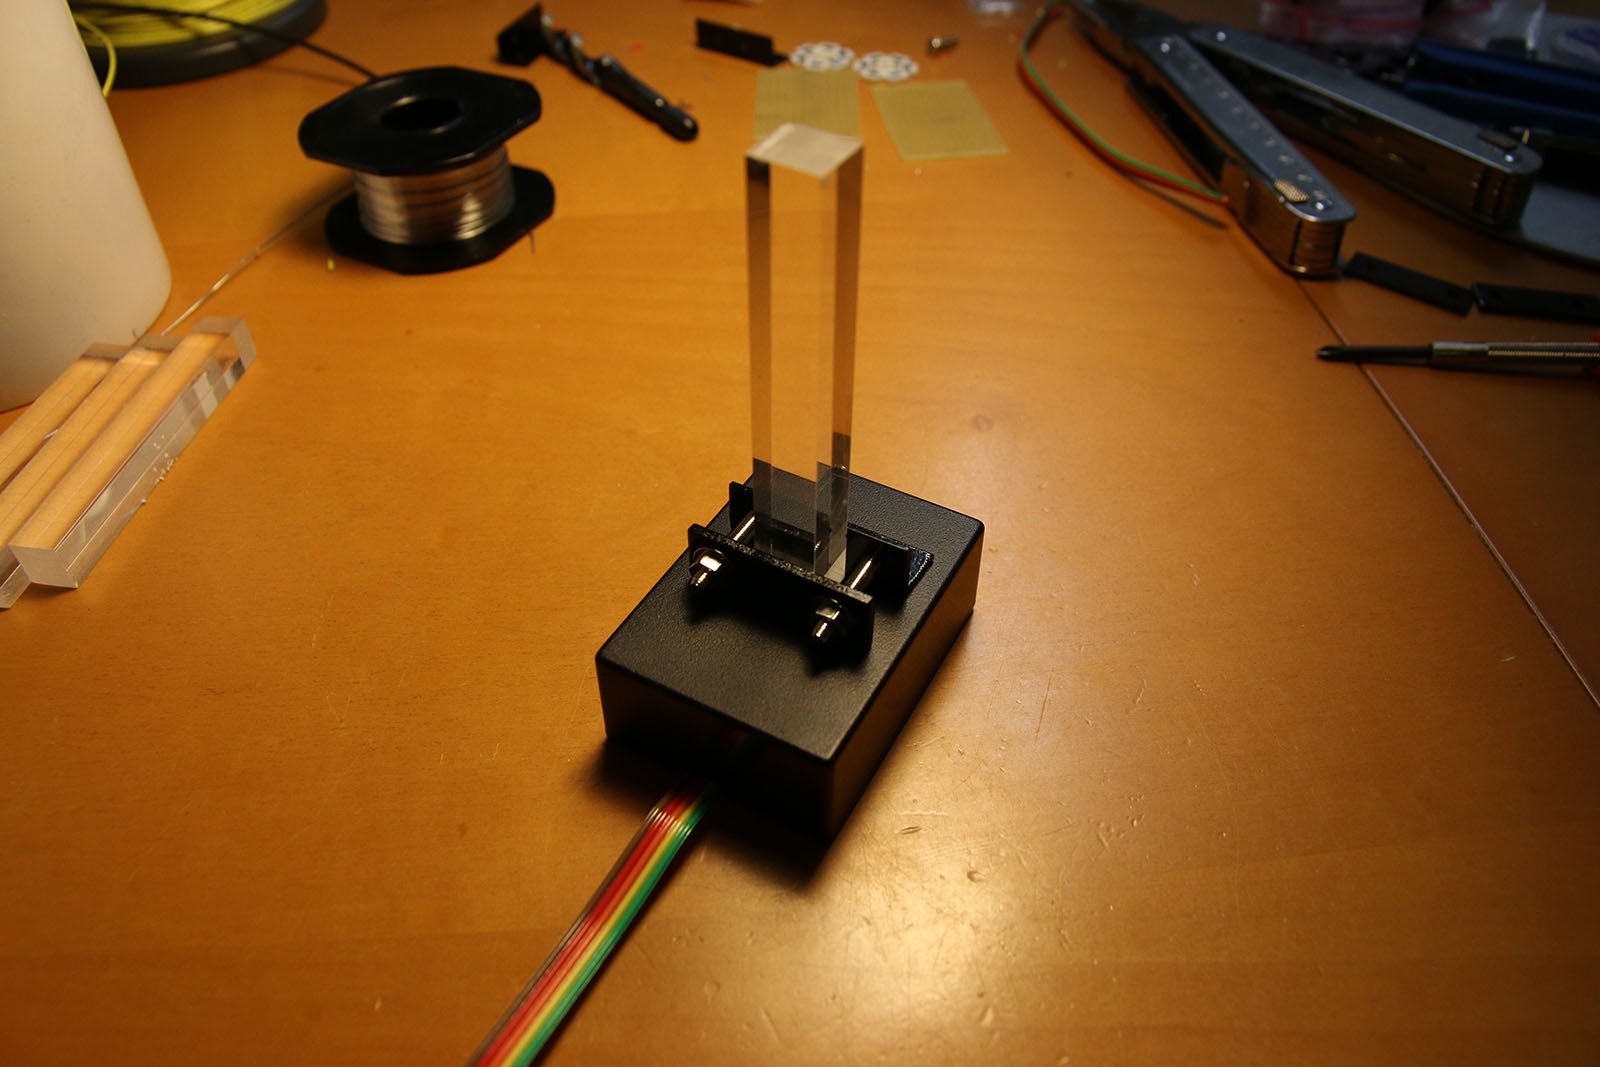
And the final version (PCB with SMD components). Sadly, there aren't many pics yet:


 Dmitry
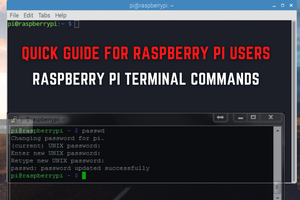

 Brayden DeVito
Use a rod made out of Plexiglas Endlighten, that would look even more awesome.