 kutluhan_aktar
At the pinnacle of industrial artificial intelligence and machine learning applications, a digital twin represents a virtual construction of real-world physical products, mechanisms, or mechanical procedures. Since the simulation of a real-world product or industrial technique provides the flexibility of exerting countless examination scenarios, even to the point of cycling arduous or dangerous tasks, without causing any tangible ramifications and safety risks, digital twins hold immeasurable importance in developing adaptive product manufacturing procedures and building secure, cost-effective, and efficient industrial facilities.
After inspecting recent research papers about the applications of digital twins in industrial operations, I noticed the focal point of employing a virtual representation is to improve the safety and efficiency of an already existing industrial facility or mechanical process. Even though forestalling acute physical hazards due to dangerous work safety risks and advancing the precision of ongoing industrial operations are the prominent digital twin use cases, I wanted to explore the innovative opportunities of reversing the digital twin implementation and starting with a virtual industrial construction, consisting of individual machinery and sample product components, to develop a safe, practical, cost-effective, and efficient real-world mechanism from scratch.
By reversing the digital twin application process, I wanted to investigate whether having a virtual construction before building the real-world counterpart could help to forfend concomitant risks of assembling an industrial manufacturing system, reduce exorbitant overhaul costs due to the lack of internal design blueprints, and test device components to obtain the optimum performance for multifaceted operations.
As I was conceptualizing this proof-of-concept project, I inspected various industrial settings with which I could show the benefits of reversing the digital twin implementation. Since product transportation and shipping operations require complex industrial mechanisms to achieve accuracy and reliability while maintaining a time-sensitive workflow, I decided to apply my reverse digital twin approach to design a virtual shipping workstation, construct a synthetic data set of customized sample products, and train a precise object detection model to accomplish building a production-ready product transportation mechanism. In accordance with my approach, I designed all sample products from scratch to emphasize the strengths of a full-fledged digital twin, providing the opportunity to train an object detection model for products waiting to be manufactured.
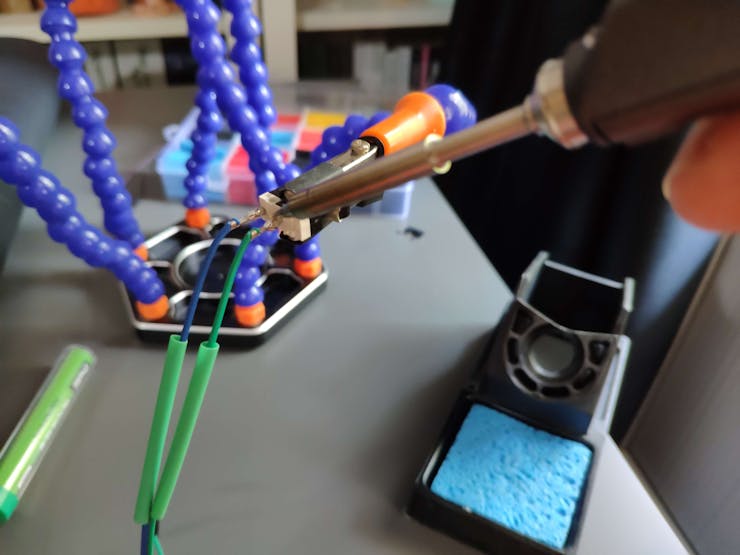
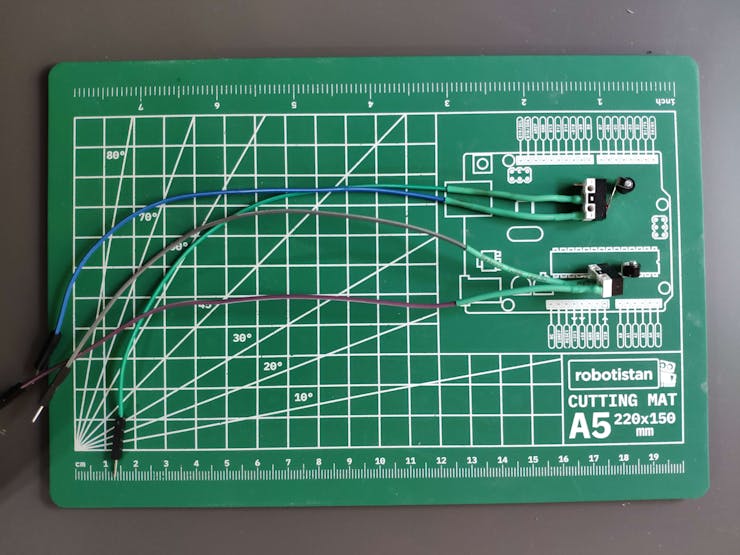
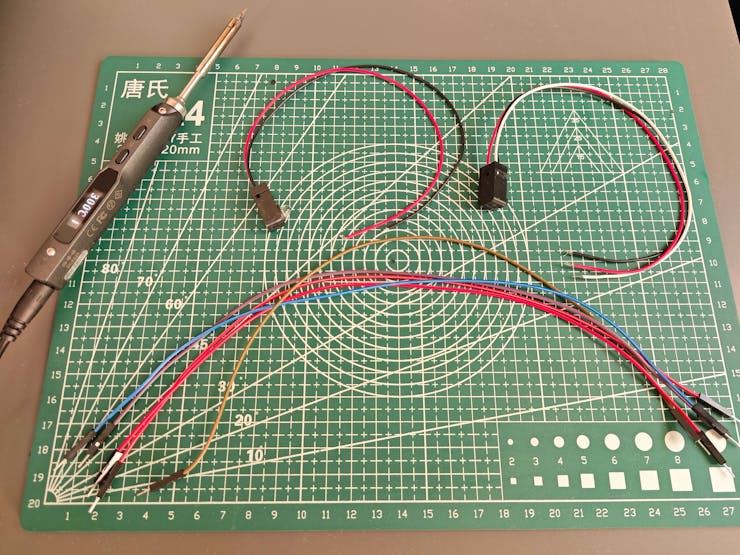
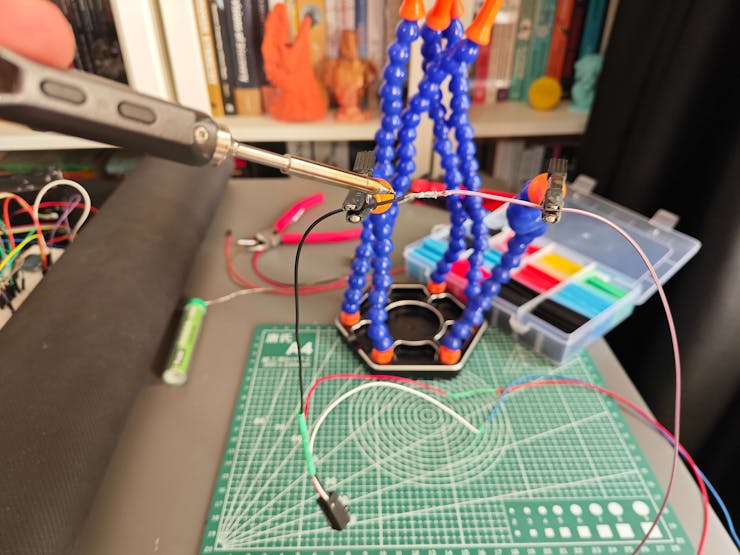
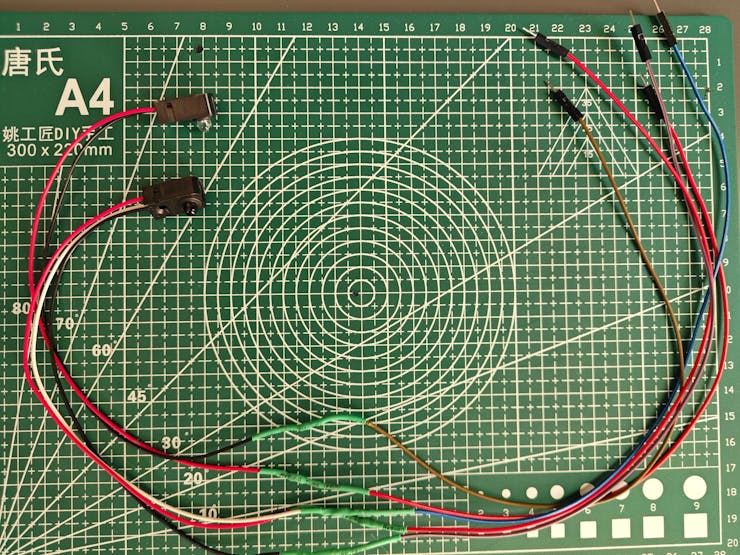
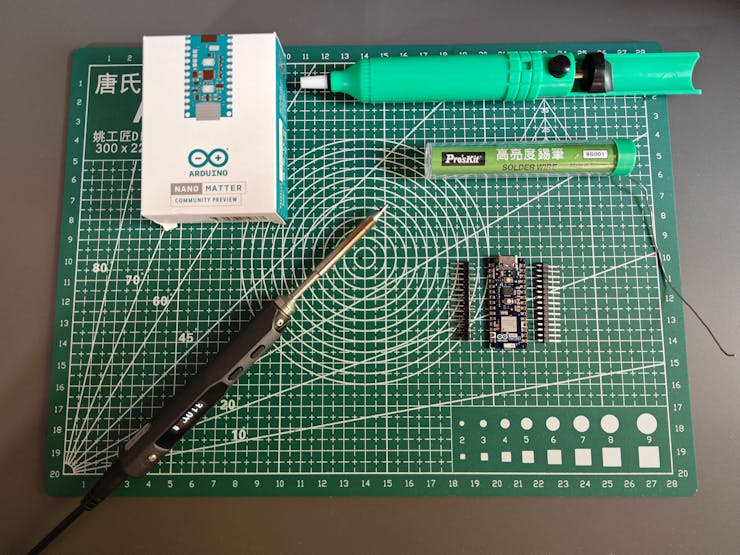
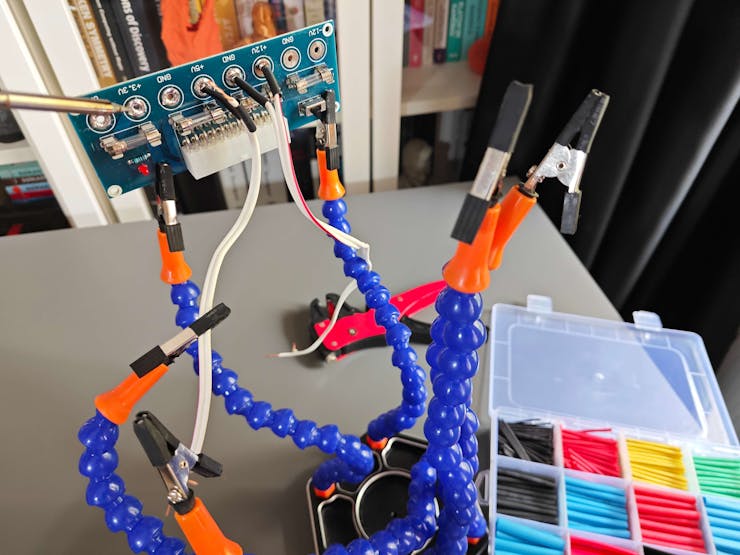
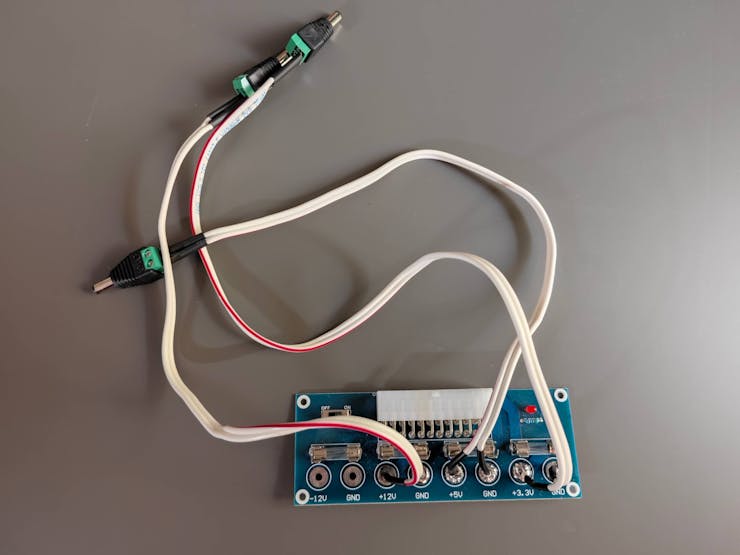
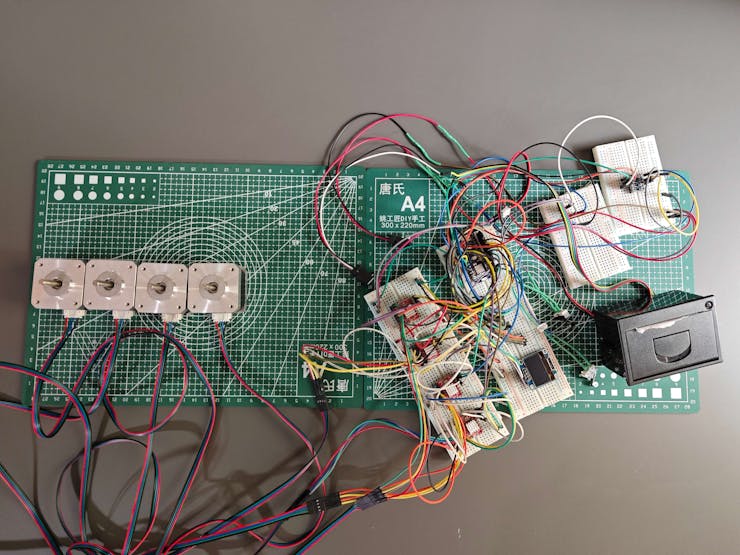
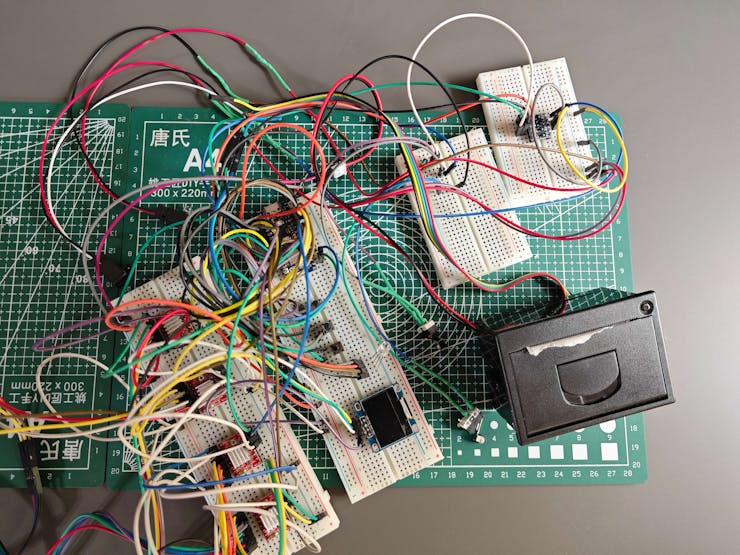
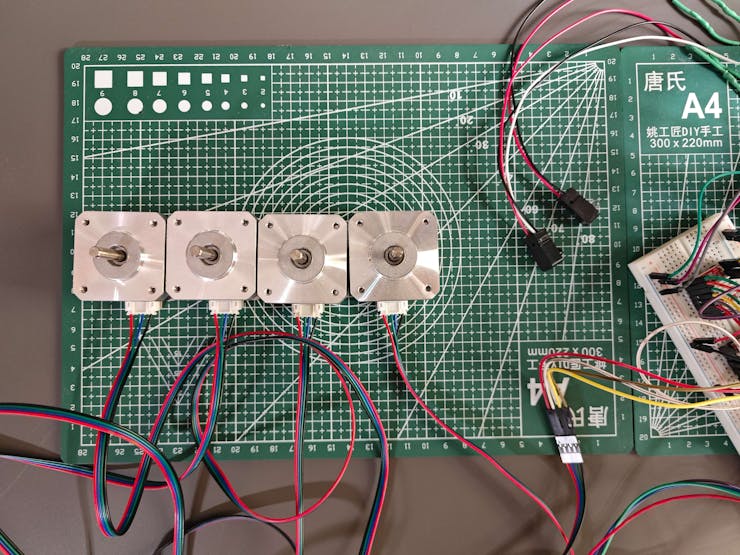
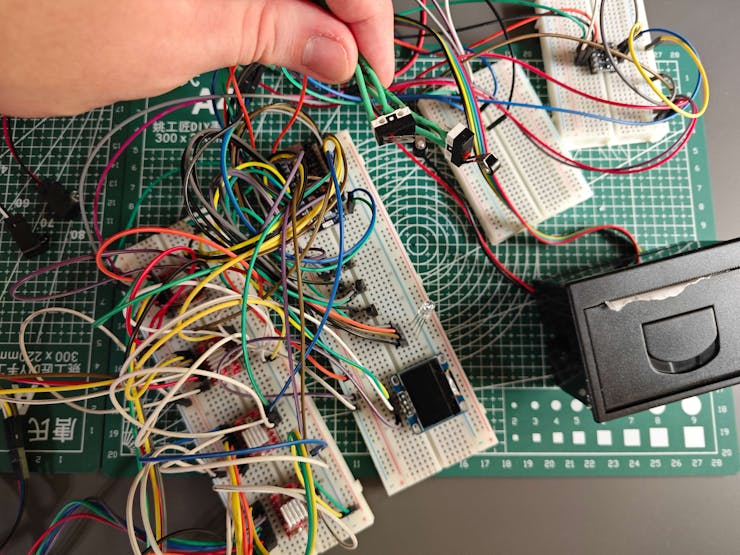
Since I needed to know the exact electronic components employed by the shipping workstation to create compatible 3D parts, I decided to prototype the mechanical device structure and design a unique PCB (inspired by Wall-E) based on Arduino Nano Matter as the workstation control panel. I designed the Wall-E PCB outline and encasement on Autodesk Fusion 360 to place the electronic components in relation to the PCB easily while designing the virtual shipping workstation.
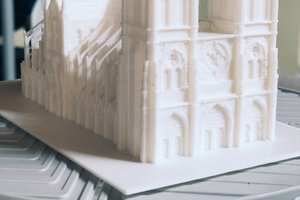
After testing electronic components and completing the PCB layout, I designed a plethora of 3D parts on Autodesk Fusion 360, including but not limited to custom bearings optimized for 5 mm steel balls, planetary gear mechanisms, and separated rotating platforms. After finalizing the required mechanical 3D parts, I exported the virtual shipping workstation as a single file in the OBJ format to produce an accurate virtual representation of the shipping workstation.
Then, I imported the virtual shipping workstation into the NVIDIA Omniverse USD Composer, which allows users to assemble, light, simulate, and render large-scale scenes for world-building. To generate a realistic scenery for shipping operations, I utilized some free 3D models provided by Omniverse and designed some additional assets. After completing my shipping...
Read more »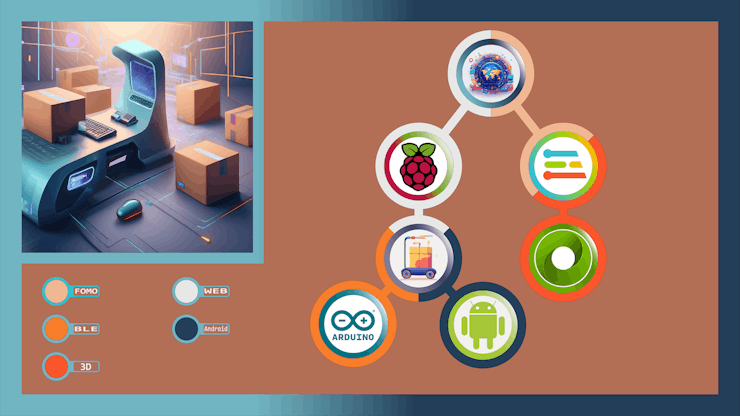


 SelfCAD
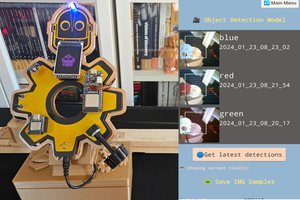

 Kevin Jablonski
You can inspect all code, design, and 3D model files on GitHub 🙂
https://github.com/KutluhanAktar/Digital-twin-enabled-Smart-Shipping-Workstation-w-Omniverse