This week's lamp is an experiment with circles and laser-cut acrylic & plywood. It emits light radially from both its inner and outer edges. Thus it is also a first attempt with what I'm calling "negative space" lights, where the lamp defines and illuminates an internal region that doesn't contain emitters. In this simplest case, it's the center of the ring.

This lamp's construction is essentially a "sandwich" of an acrylic inner ring encapsulated by two plywood outer rings. The whole assembly is held together in compression by long machine screws and aluminum standoffs. It can be placed on a table or hung against a wall. The LEDs side-emit through the acrylic to create a halo of light that bounces off the surface the lamp is on. The white faces of the inner ring emits a soft glow. The feet can be swapped to be low or tall, depending on the light bounce effect desired.
As with all these lamps, this one is dynamically controllable. Primarily you can control the "arc" of light that is emitted by changing which LEDs are turned on, as in this video. (And like all these prototypes, this is not the intended UI, just a simple set of potentiometers)
The LED strips are mounted both facing inwards and facing outwards, placed in a channel created in the inner acrylic layer. The innermost acrylic is clear and you can see the LEDs from the outside when they're in their channel.
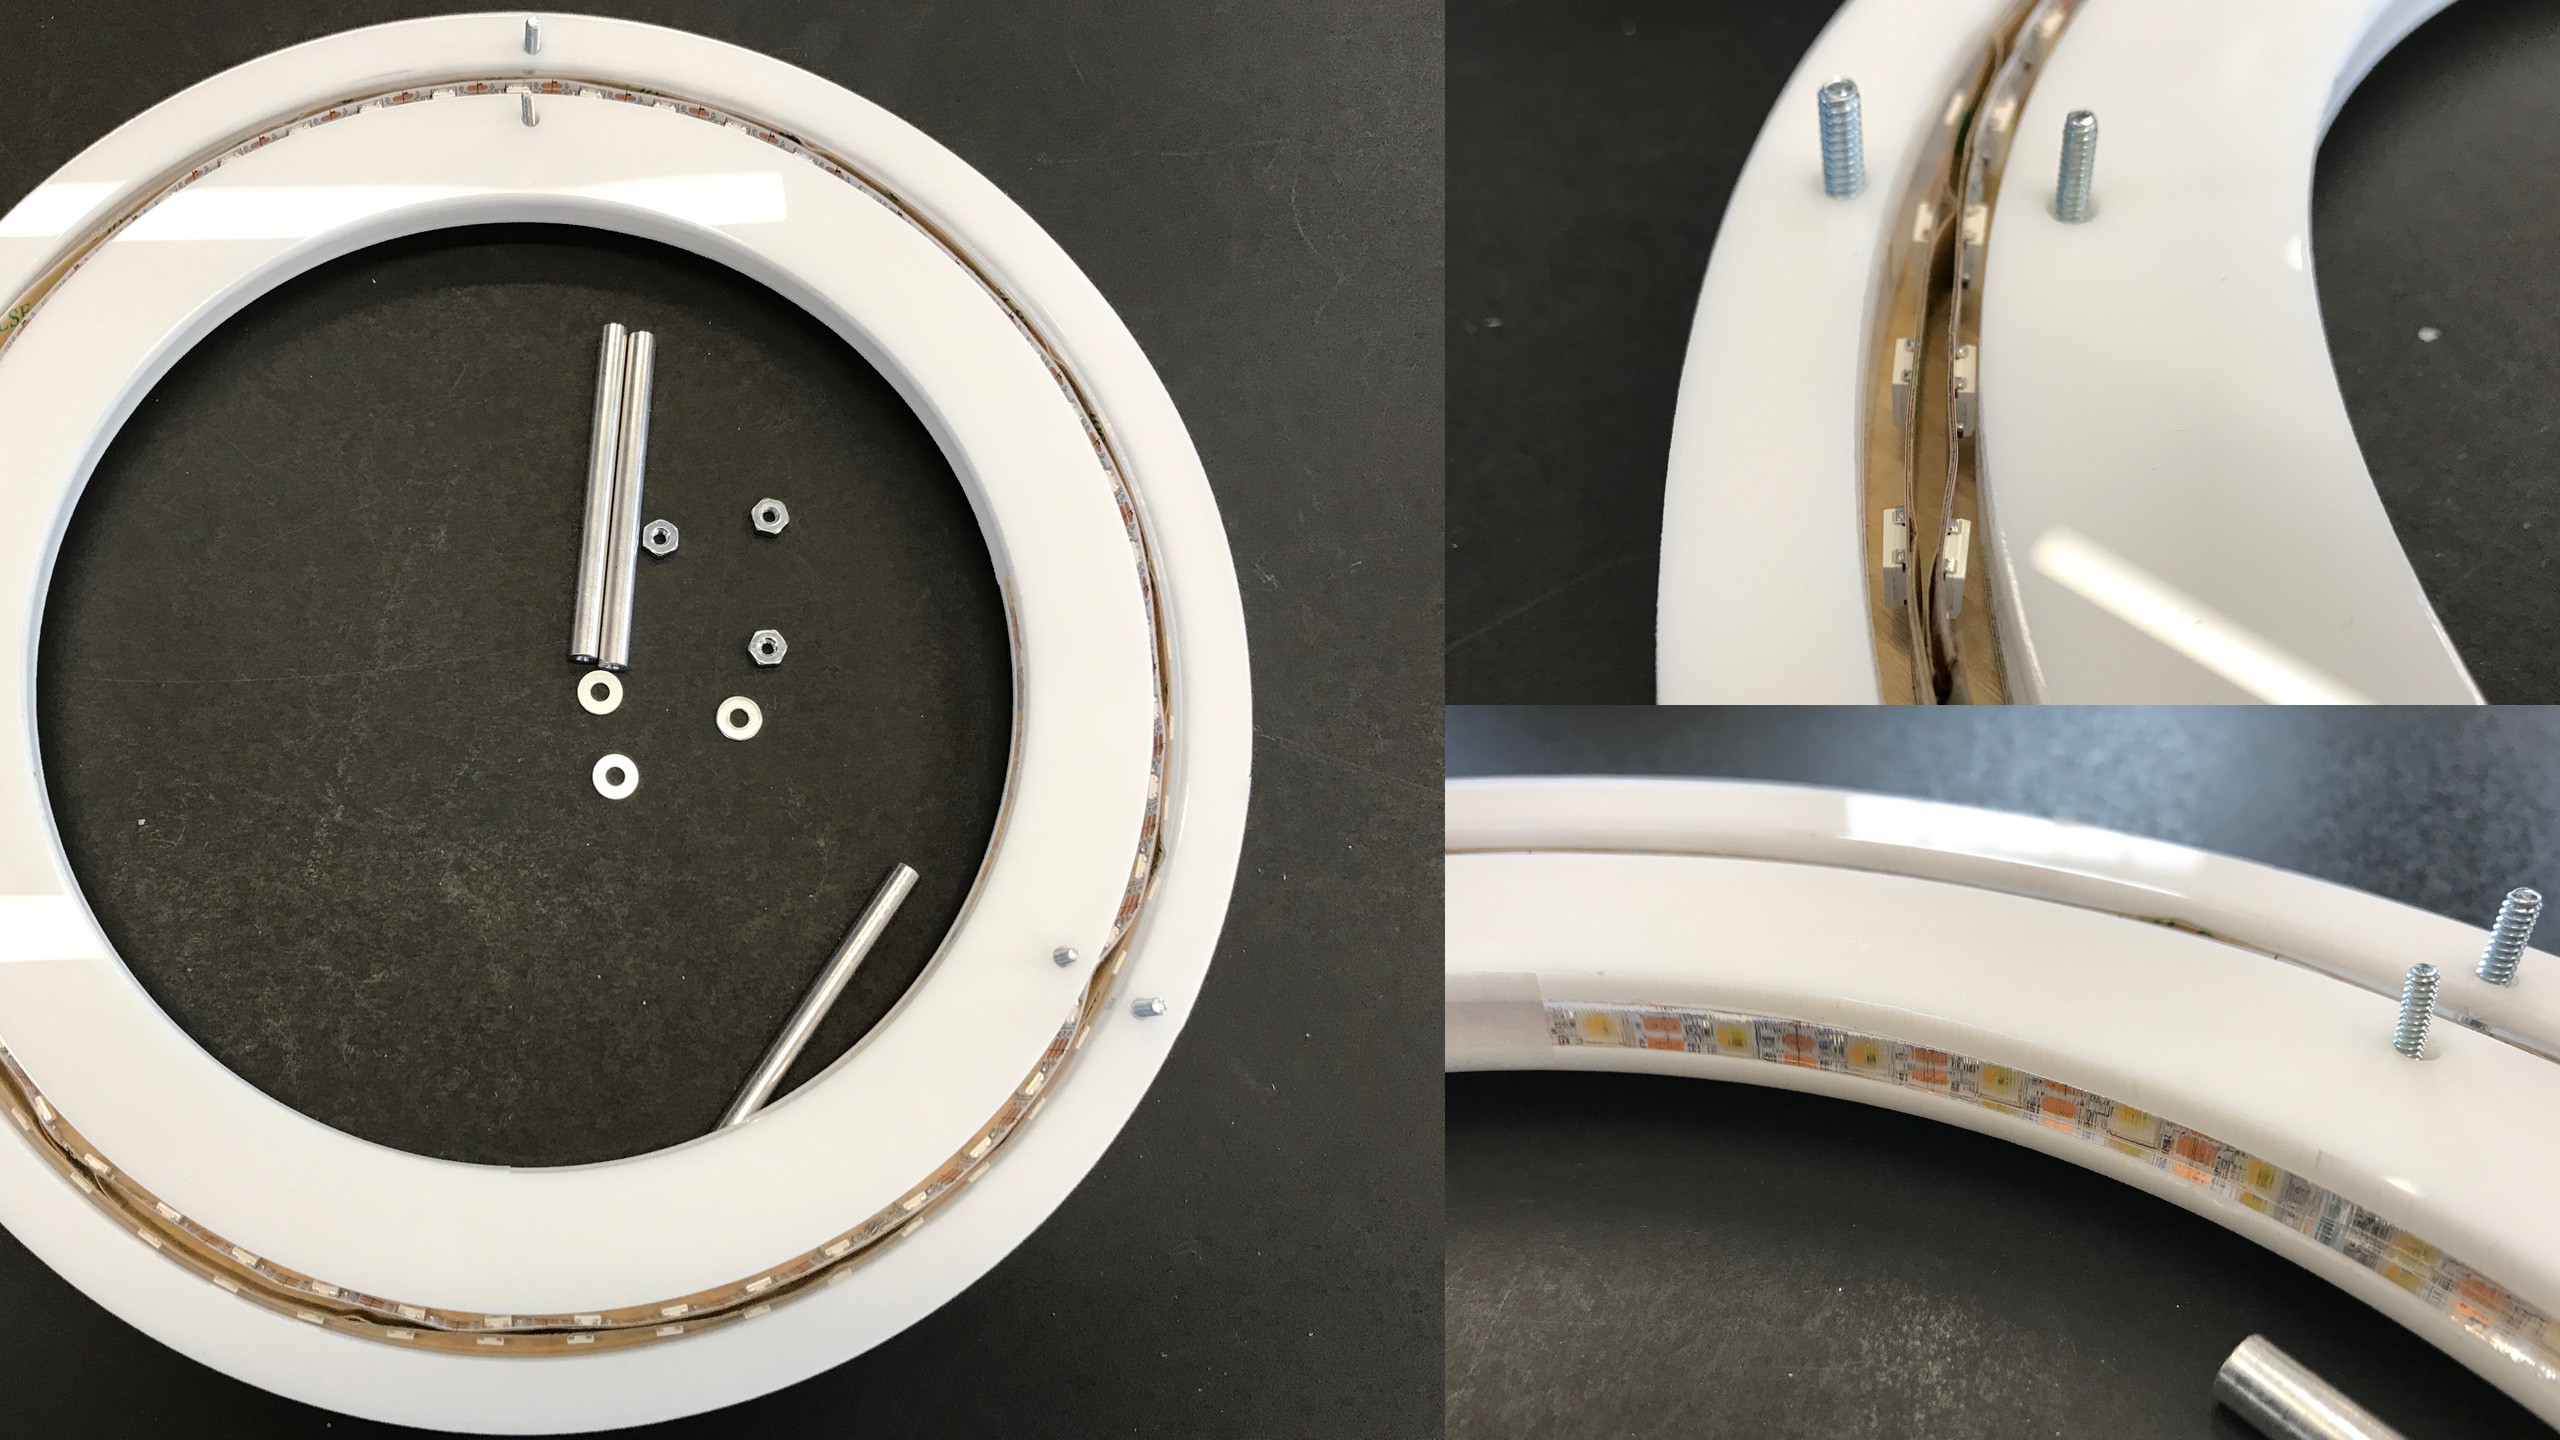
The inner and outer rings of acrylic (which would normally be free-floating) are registered and held in placed by 3 pairs of screws that also go through the outer wood layers. These wood layers cover the LED channel, lock the acrylic rings in place, and keep the LEDs secured without needing adhesive.
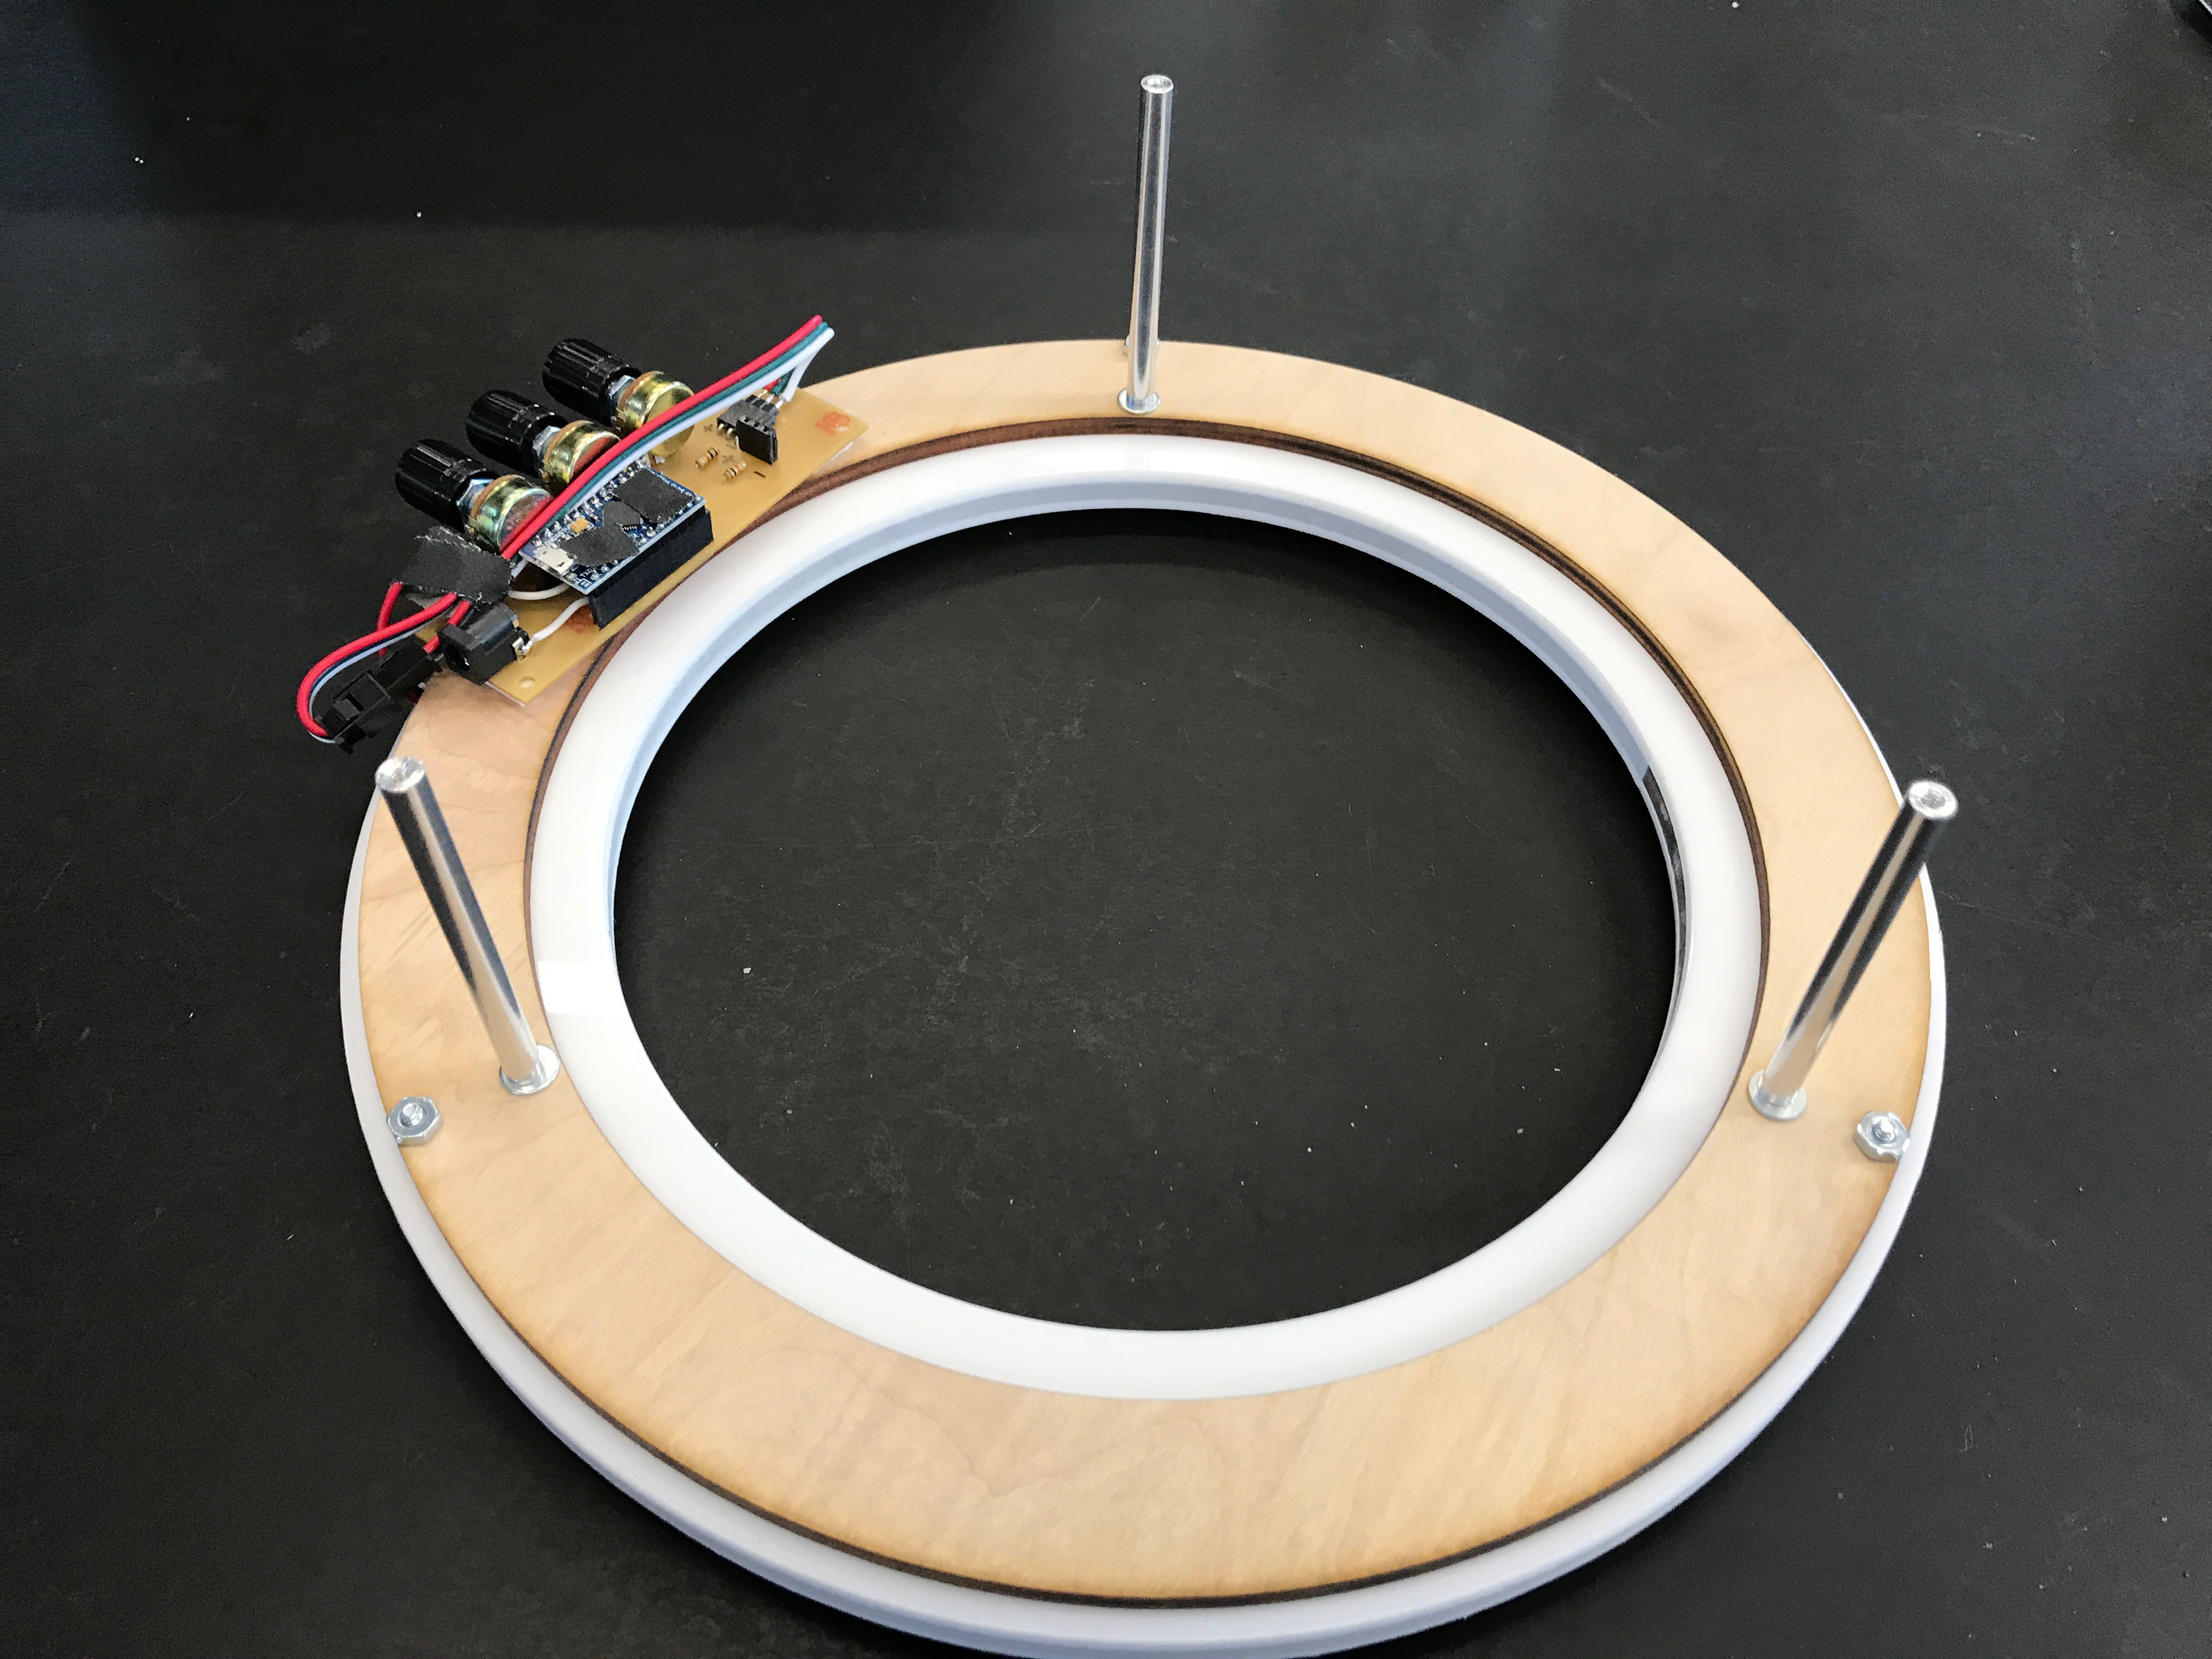
(In the above image, you can see the temporary UI & LED driver board from before that's rather unceremoniously foam-taped to the bottom)
Edge-lighting Acrylic and Diffusion
If you've ever tried to edge-light acrylic sheet with LED strip, you may have noticed a problem. LED strips are typically around 10mm wide but standard 1/4" acrylic sheet is only 6mm wide. This is enough to cover the 5mm LED but not enough for the entire strip. If you want the acrylic to completely cover the strip, you need to use two 1/4" sheets. But then the seam is directly over the LED, and that looks crappy. What I like to do is take two 1/8" sheets and use them to sandwich a 1/4" sheet.
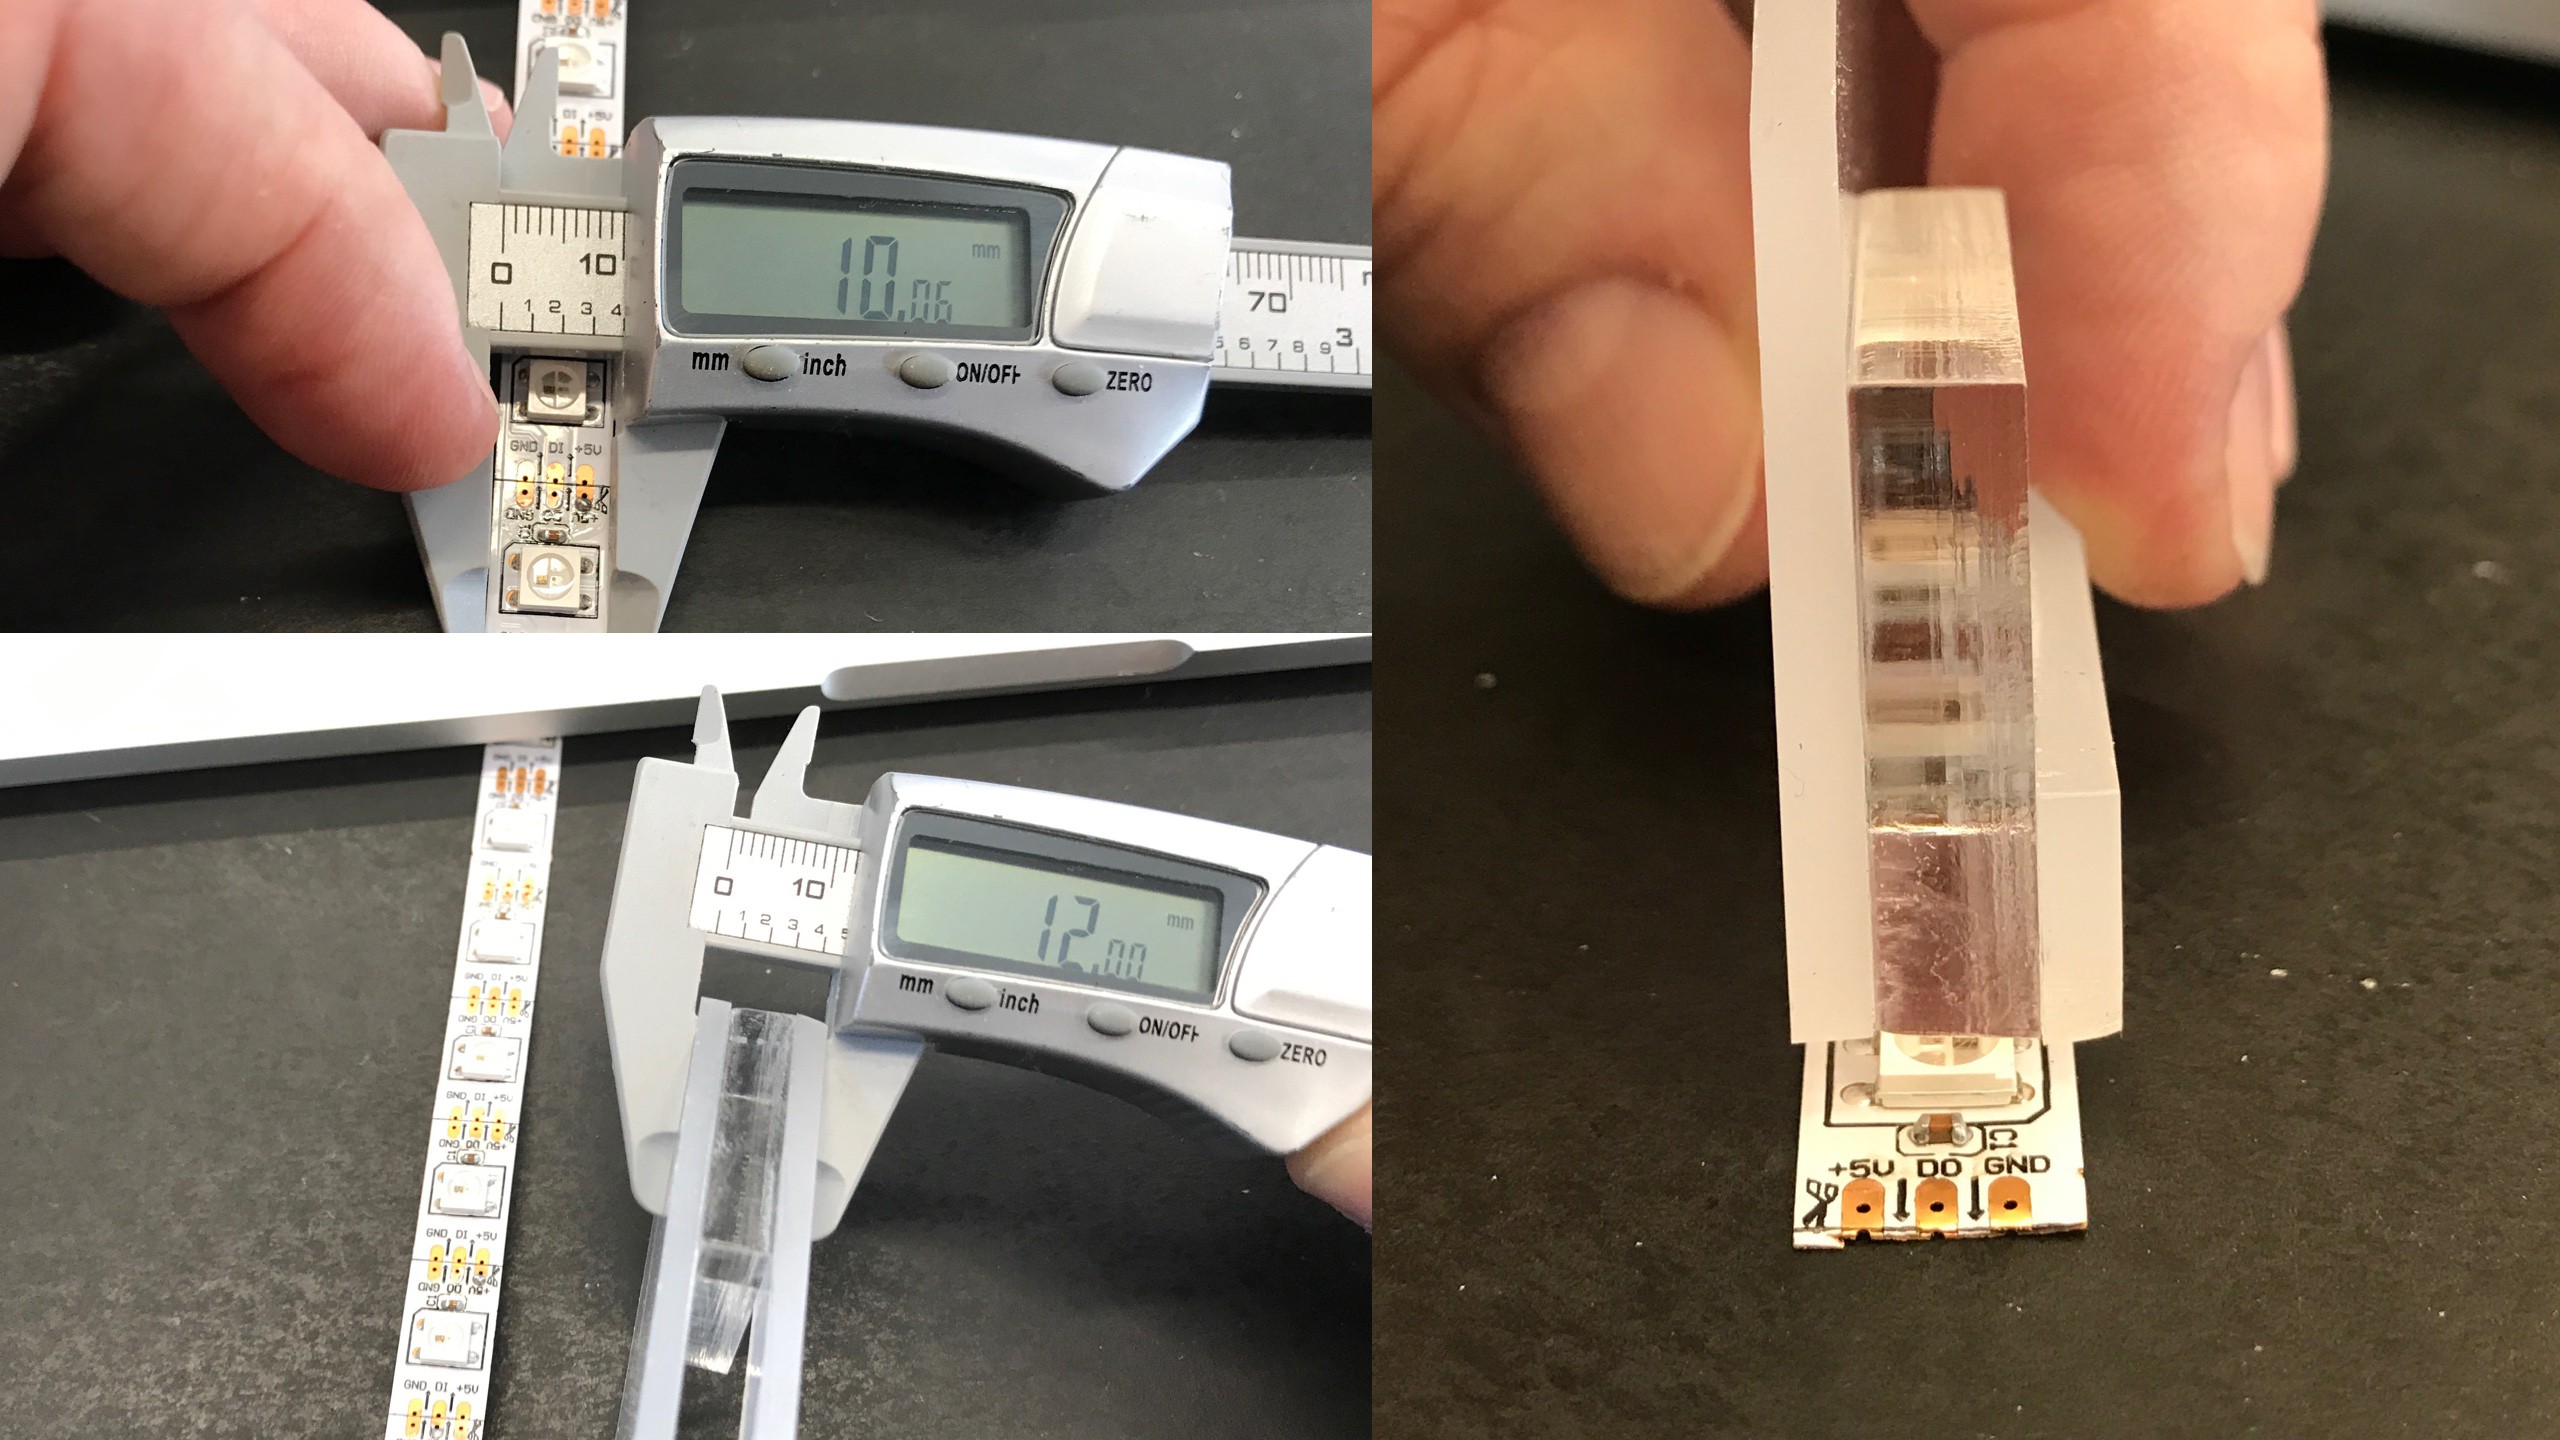
This creates a 12mm wide structure that completely covers the strip and creates a nice edge-light effect. By using different types of acrylic for the 1/4" vs 1/8" sheets (as I did here), you can create different effects. In this case, I wanted the light to come directly out but have the upper and lower ring faces glow. To accomplish this, I used clear acrylic for the 1/4" center edge-lit sheet and 1/8" frosted white acrylic for the top and bottom pieces. The result was pretty nice, but the edge-lit acrylic edge faces needed some diffusion. To solve this, I finally got to use the roll of frosted privacy screen film I got off Amazon. It works great!
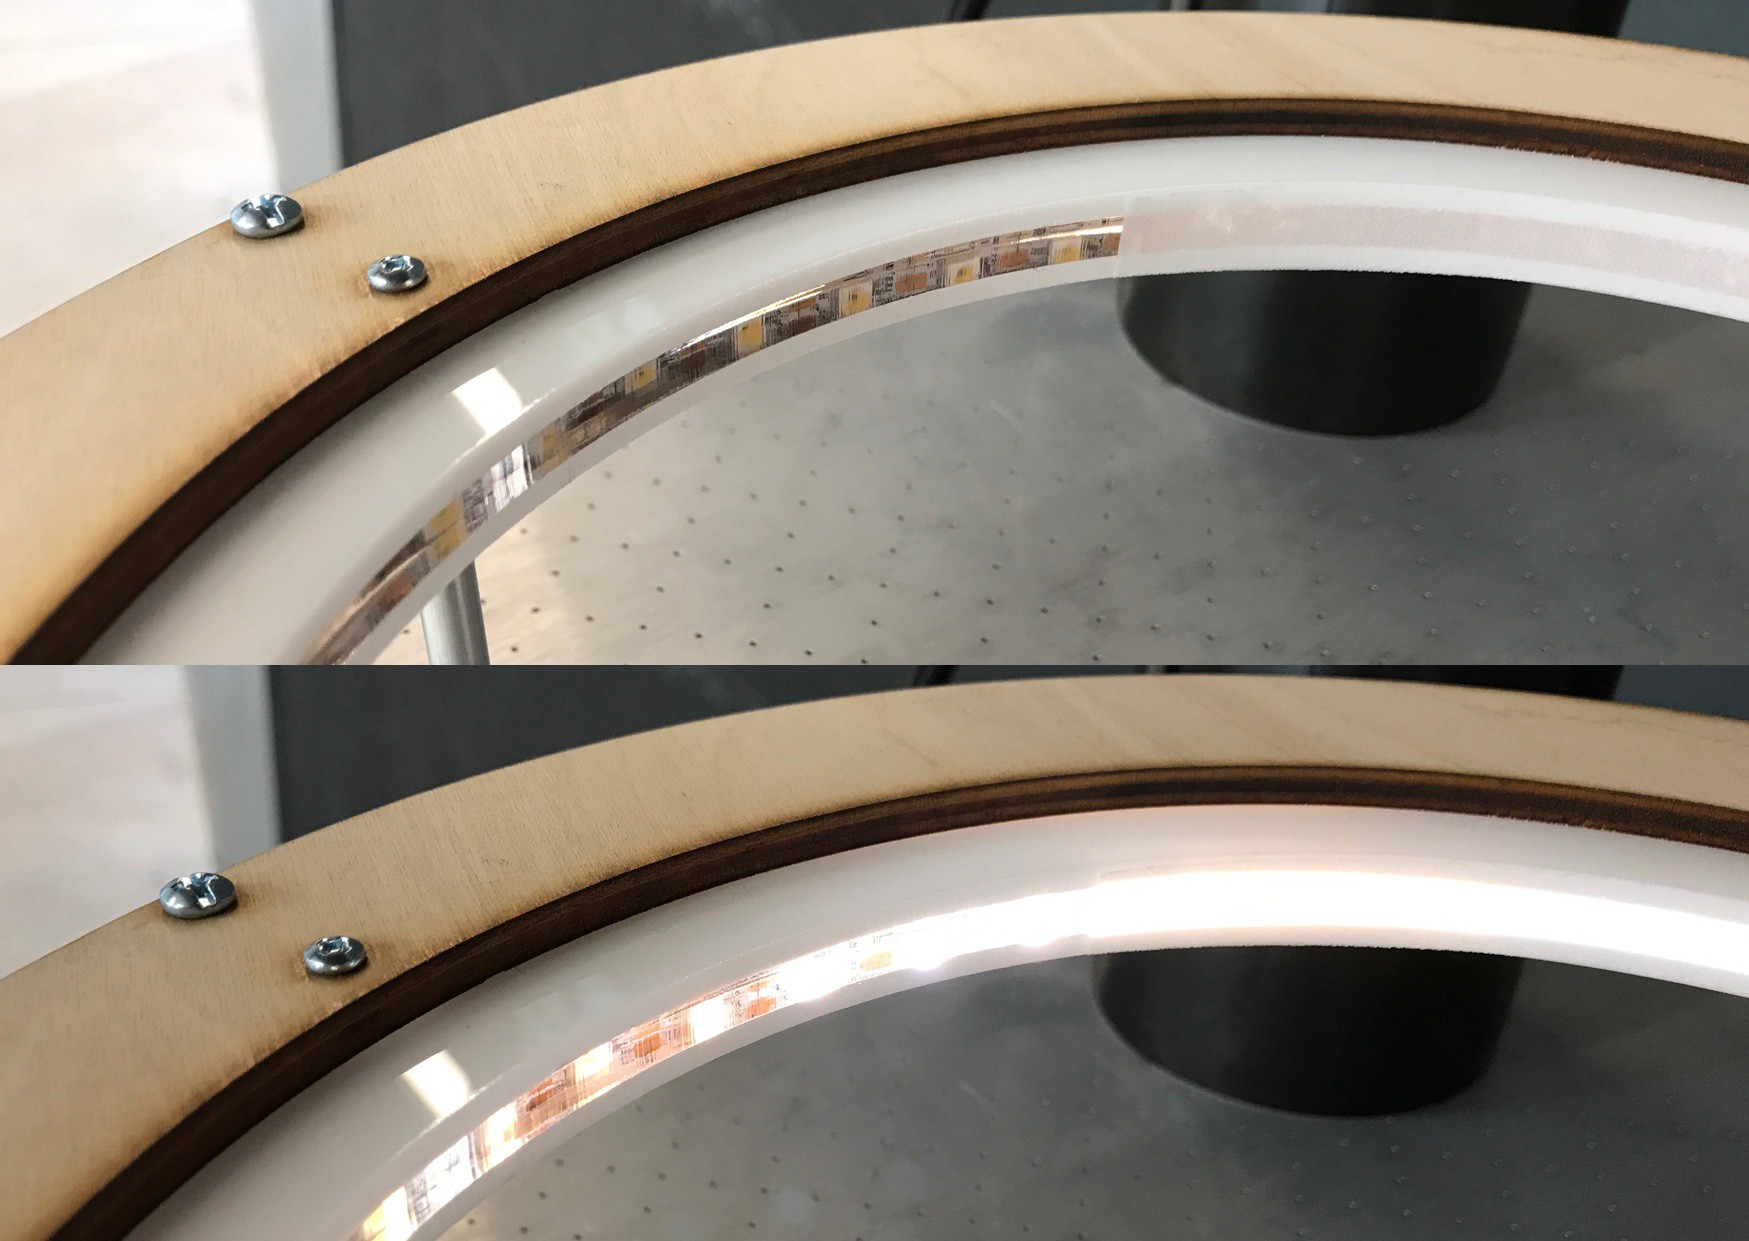
This film is meant to adhere to clean class via static cling. Between the thinness of the 12mm (1/2") strips I made for the ufo edges and the fact that edges of laser cut acrylic aren't perfectly smooth, static cling wasn't going to keep the strips on. It turns out, coating the diffuser film strips with a light coating of spray adhesive made them stick great. The stuff is clear so no optical issues and it's repositionable for a time after spraying, making it easy to apply the strips around the curve of the ufo.
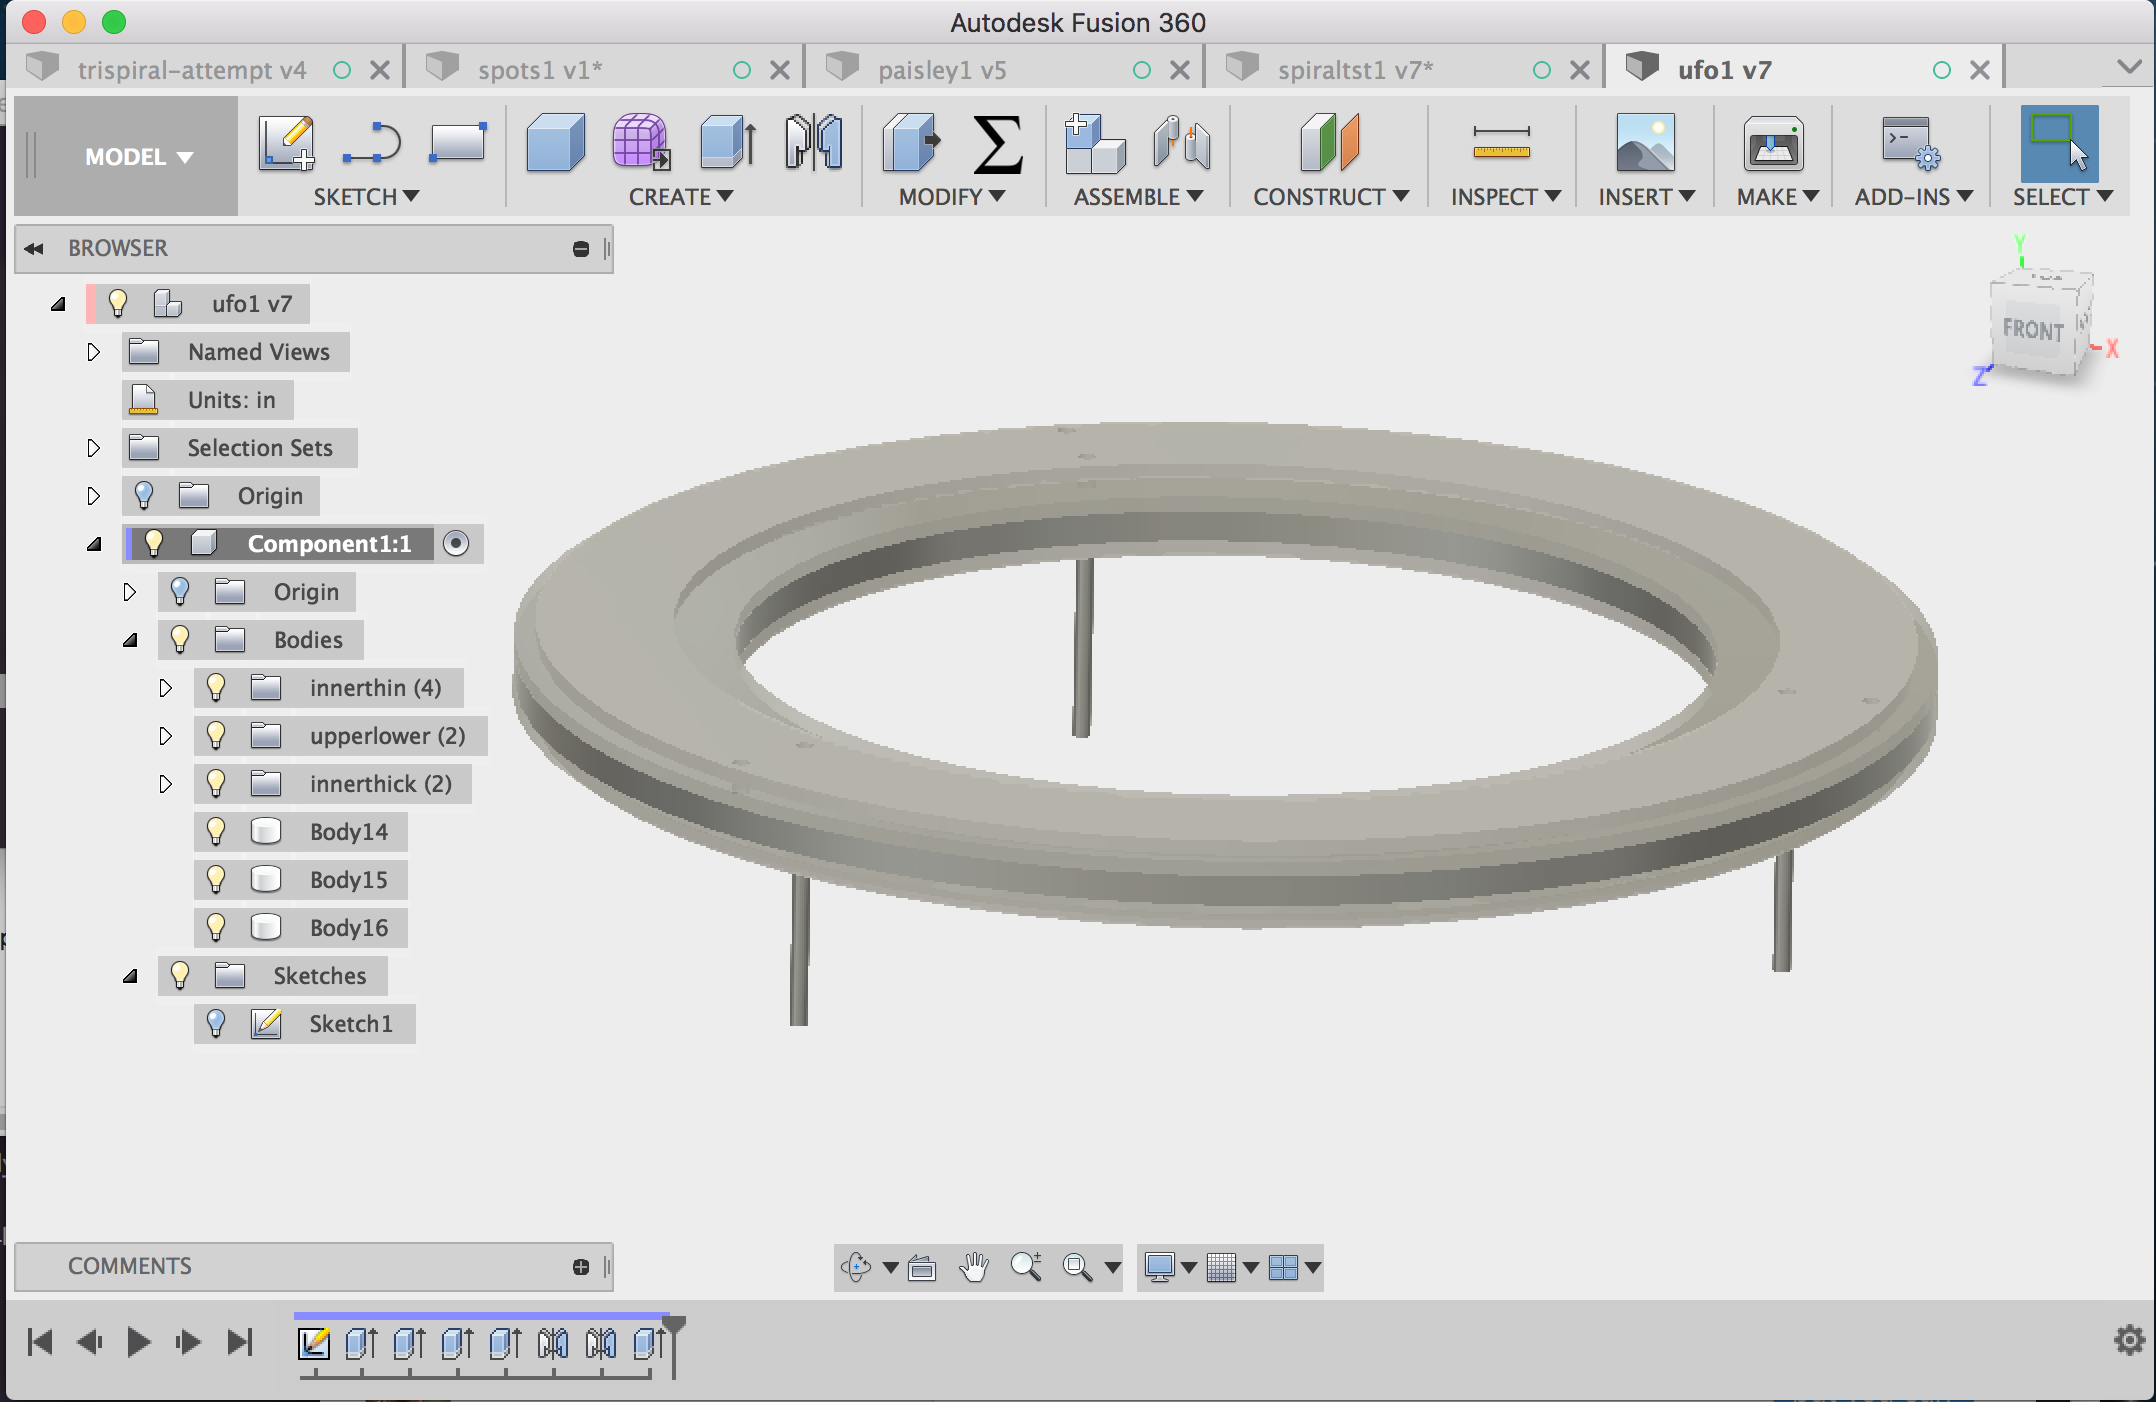
The end result turned out pretty good and matched up well with my initial CAD sketch.

 todbot
Discussions
Become a Hackaday.io Member
Create an account to leave a comment. Already have an account? Log In.