moosepr
-
And the winner is....
04/08/2017 at 20:06 • 3 commentsSo all the playing with batteries, and i had yet to test the actual battery i had intended in the first place. My first ever project was run from a 2500mah li-po, which yielded a 10 hour runtime, however was rather large.
So i tried what i thought was a 400mah drone battery, which size wise is smaller than the 2xAA battery holder. These 'pouch' cells come in varoius shapes and sizes, and a bit of hunting can find something perfectly sized
![]()
So i fired up the same pico-8 Dank Tombs demo which lets you ramp up the cpu load and let it run. Amazingly we managed to get to the 3 hour mark!!!! This was awesome for a 400mah battery, so i thought i had better check the capacity
![]() that is a trifle high for a 400mah cell. So i looked back at my ebay purchases and apparently it is supposed to be 650mah!! so it is way off!! some quick napkin math will tell us the draw of the pi
that is a trifle high for a 400mah cell. So i looked back at my ebay purchases and apparently it is supposed to be 650mah!! so it is way off!! some quick napkin math will tell us the draw of the pi527mah / 3 hours = 175.66666666666666666666666666666
so lets call it a 176mah draw!! impressive!!
Edit:
so after reading the comment by DaveDarko i realize my glaring mistake!! I had not taken into account that my meter is calculating the power being fed into the circuit @ 5V rather than what the battery is probably receiving @ 4.2v
if we therefore take the figures on the display to calculate the wattage the battery charging consumed
5.15V * 0.527A = 2.70878 watts
if we then divide this by the battery voltage, we should in theory get the actual amps the battery got. now if im honest, im unsure here. I would normally assume the battery voltage is 3.7V as this is generally the average number used for li-po batteries. this would give us
2.70878 watts / 3.7V = 0.7321027027027027 or 732mah (thats high!!)
my reservations are due to the fact that the battery actually gets fed 4.2v to get it charged (i know it is not quite that simple) so in theory we could plug 4.2v into our calculation
2.70878 watts / 4.2V = 0.644947619047619 or 645mah (looks more like it!)
so if we assume i am correct, and we are using the 4.2V in the calculations, then we have a different power consumption
645mah / 3 hours = 215mah consumption. still pretty impressive really
-
further further further battery fun
04/07/2017 at 10:16 • 0 commentsSo after some chatting with K.C. Lee (https://hackaday.io/KC) on my last project log, I thought i would give the NiMH batteries a test. I knew that NiMH batteries didnt like being drawn totally flat, so i did some research and found that 0.9v was considered empty, but 0.8v was the safe minimum
![]() I had my multimeter on the cells to keep an eye on the voltage, and the timer just tipped over the 4:15 mark when the cells were reading 1.6v. once the voltage had dropped below 2v, it started dropping pretty quick!!
I had my multimeter on the cells to keep an eye on the voltage, and the timer just tipped over the 4:15 mark when the cells were reading 1.6v. once the voltage had dropped below 2v, it started dropping pretty quick!! So NiMH > alkaline, but it needs watching so you dont destroy the cells!!
-
Further Battery Fun
04/06/2017 at 10:55 • 7 commentsSo i thought, 'hmm alkaline cells are like 2000mah, maybe i could use them here....'
well the first problem is the voltage. 2xAA cells give you 3v, the pi can run as low as 2.7v, so we could use that!!
![]()
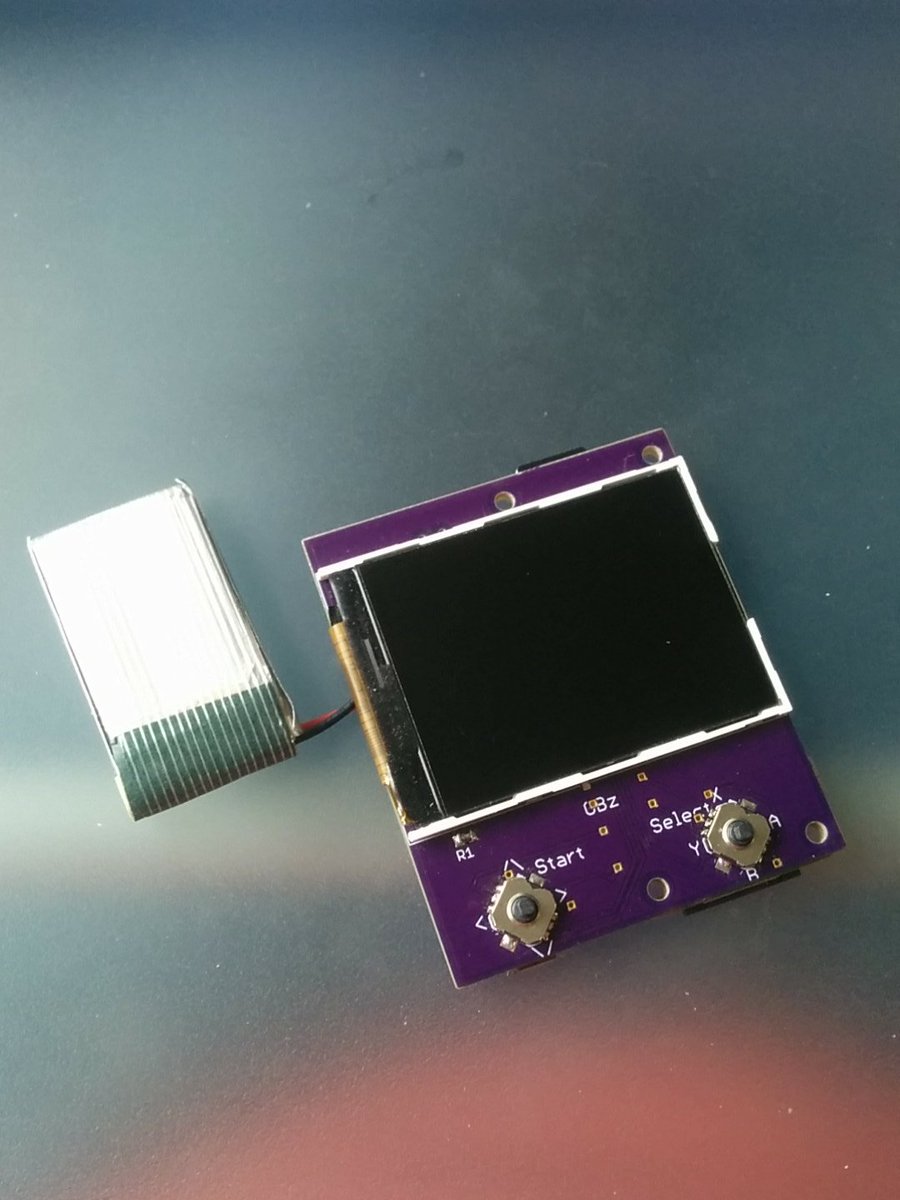
So i wired it up, and it worked... for all of 15 minutes... it seems that alkaline batteries drop voltage very fast. we need to boost that voltage!!
So i raided the parts bin, and i found an adjustable buck/boost board, gave that a go
![]()
didnt even make the start!! seems the boost board wont work below 3v
so plan C, over to pololu and one of there boost boards boosty which can take an input as low a 0.5v and boost it up so we looked like we were onto a winner
![]()
So testing began, and i was expecting big things, 2000mah should technically yield 8 hours, but after just 3 hours, the pi started rebooting. seems that boosing the voltage isnt as simple as it seems!! to get 3.3v @ 200ma on the output, the input needs more current. so as the voltage drops, the current requirements raise.
vin current (ma) 3 220 2.75 240 2.5 264 2.25 293 2 330 1.75 377 1.5 440 1.25 528 1 660 0.75 880 0.5 1320 so as we can see here, things will quickly snowball. as the voltage drops, the current raises, which will force the voltage lower, and the current higher, and so on, until the batteries just give up.
So using lithium batteries is a much better prospect, as the voltage in general is higher, and there is no need for boosting!
-
Low power, low sucess!!
03/22/2017 at 11:02 • 0 commentsI had this crazy idea that if my tiny gbz only sips the power, it could maybe run from coin cells!
Turns out they don't like 200ma draw and the voltage sags ALOT!!! But hey it was a fun idea!
![]()
-
testing the power
03/15/2017 at 20:36 • 0 commentsi have had a little bit more of a play with the power meter. using the 'dank tombs' http://www.lexaloffle.com/bbs/?tid=28785 tech demo in pico-8 let me easily adjust the CPU load so i could get a better feel for the range of power usage, and it seems pretty consistant (crappy phone shot alert)
on full blast (140% cpu ?!?!?)
![]()
and wind down the torch to limit the cpu
![]()
i also did a little test (no free hands for photo) using normal 'battery' voltage, and actually the current draw is higher!! with the power sat @ 4v, my multimeter peaked at about 250mah which is the same as i got from my old project, so it figures really!! also my super accurate usb power gauge seems to be about 10% low, although that was @ 4v, so maybe it is not calibrated for that
-
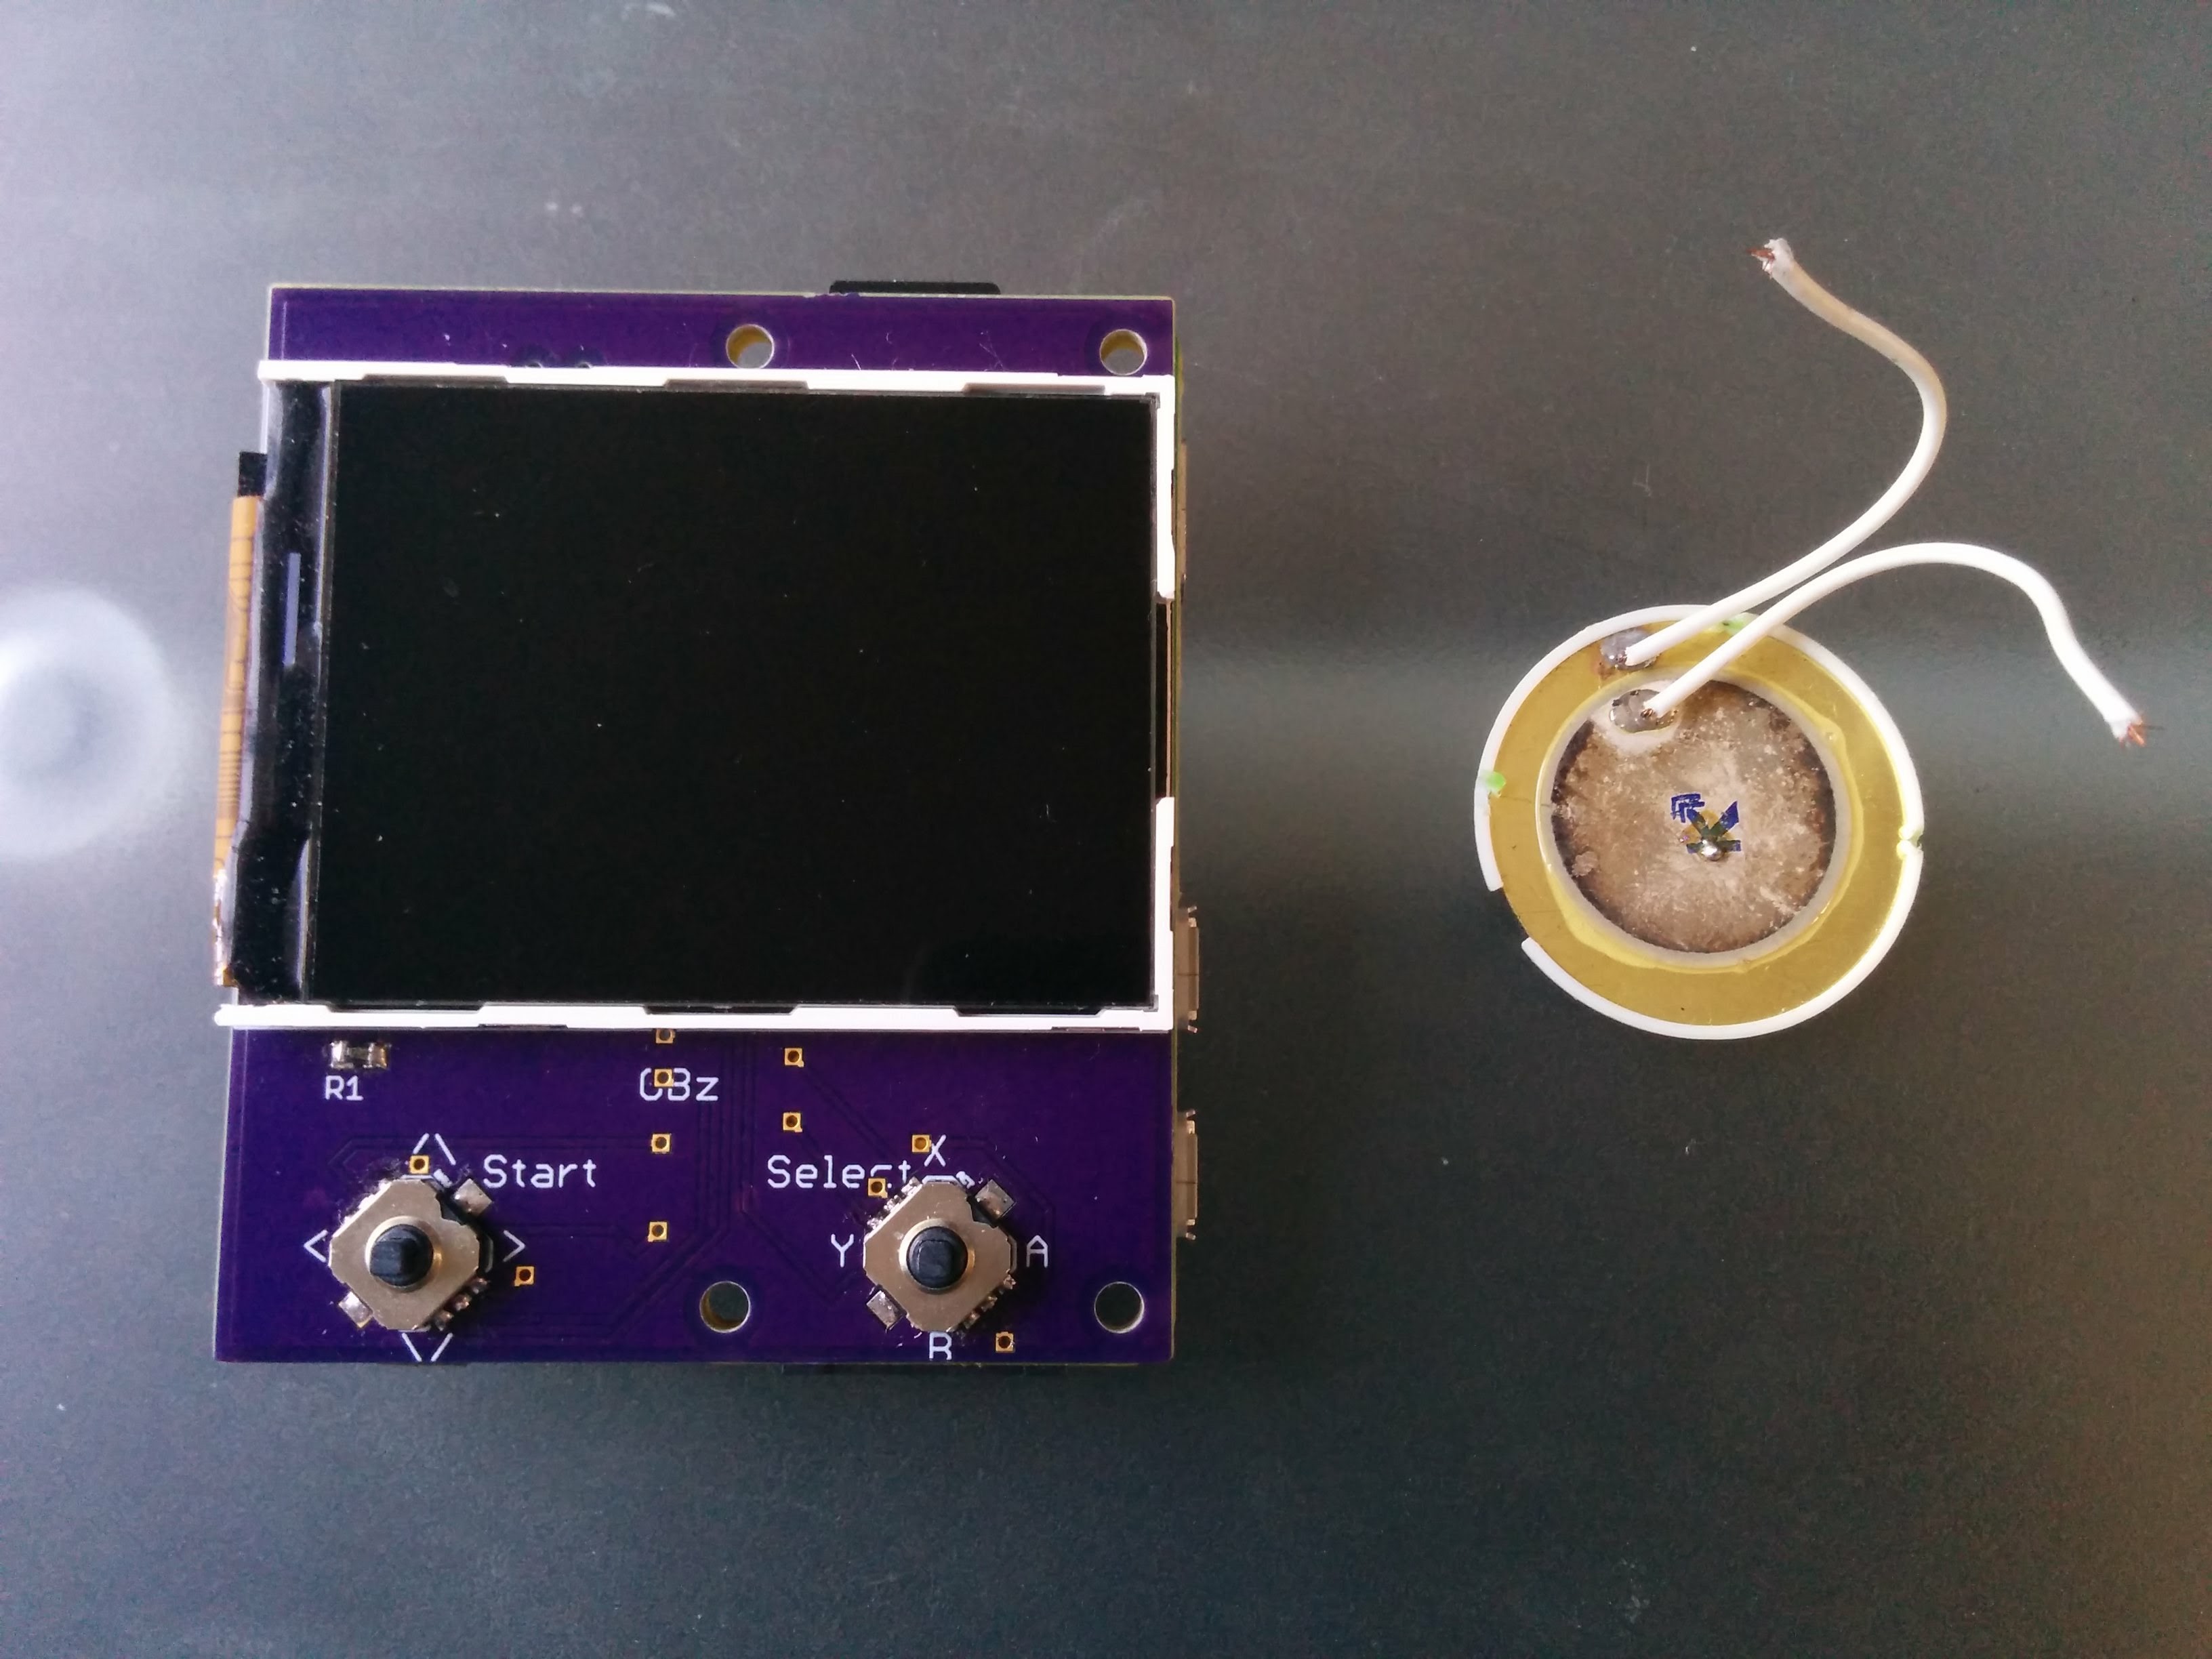
Piezo and Pico-8
03/13/2017 at 10:23 • 0 commentsSo my testing with Piezo transducers seemed promising, although size wise they were a bit large for the project
![]()
So i did a bit of hunting and found some SMT sized transducers that could be squeezed onto the board in a future design
![]()
I cranked up the pi, added the necessary command into the config.txt (dtoverlay=pwm,pin=18,func=2), set the 3.5mm as the audio out, and cranked it up to full volume in alsamixer, and we have sound!!!!! very very quiet and tinny sound!! but hey, its never going to be used for the sound system at a party, or replacing your TV.
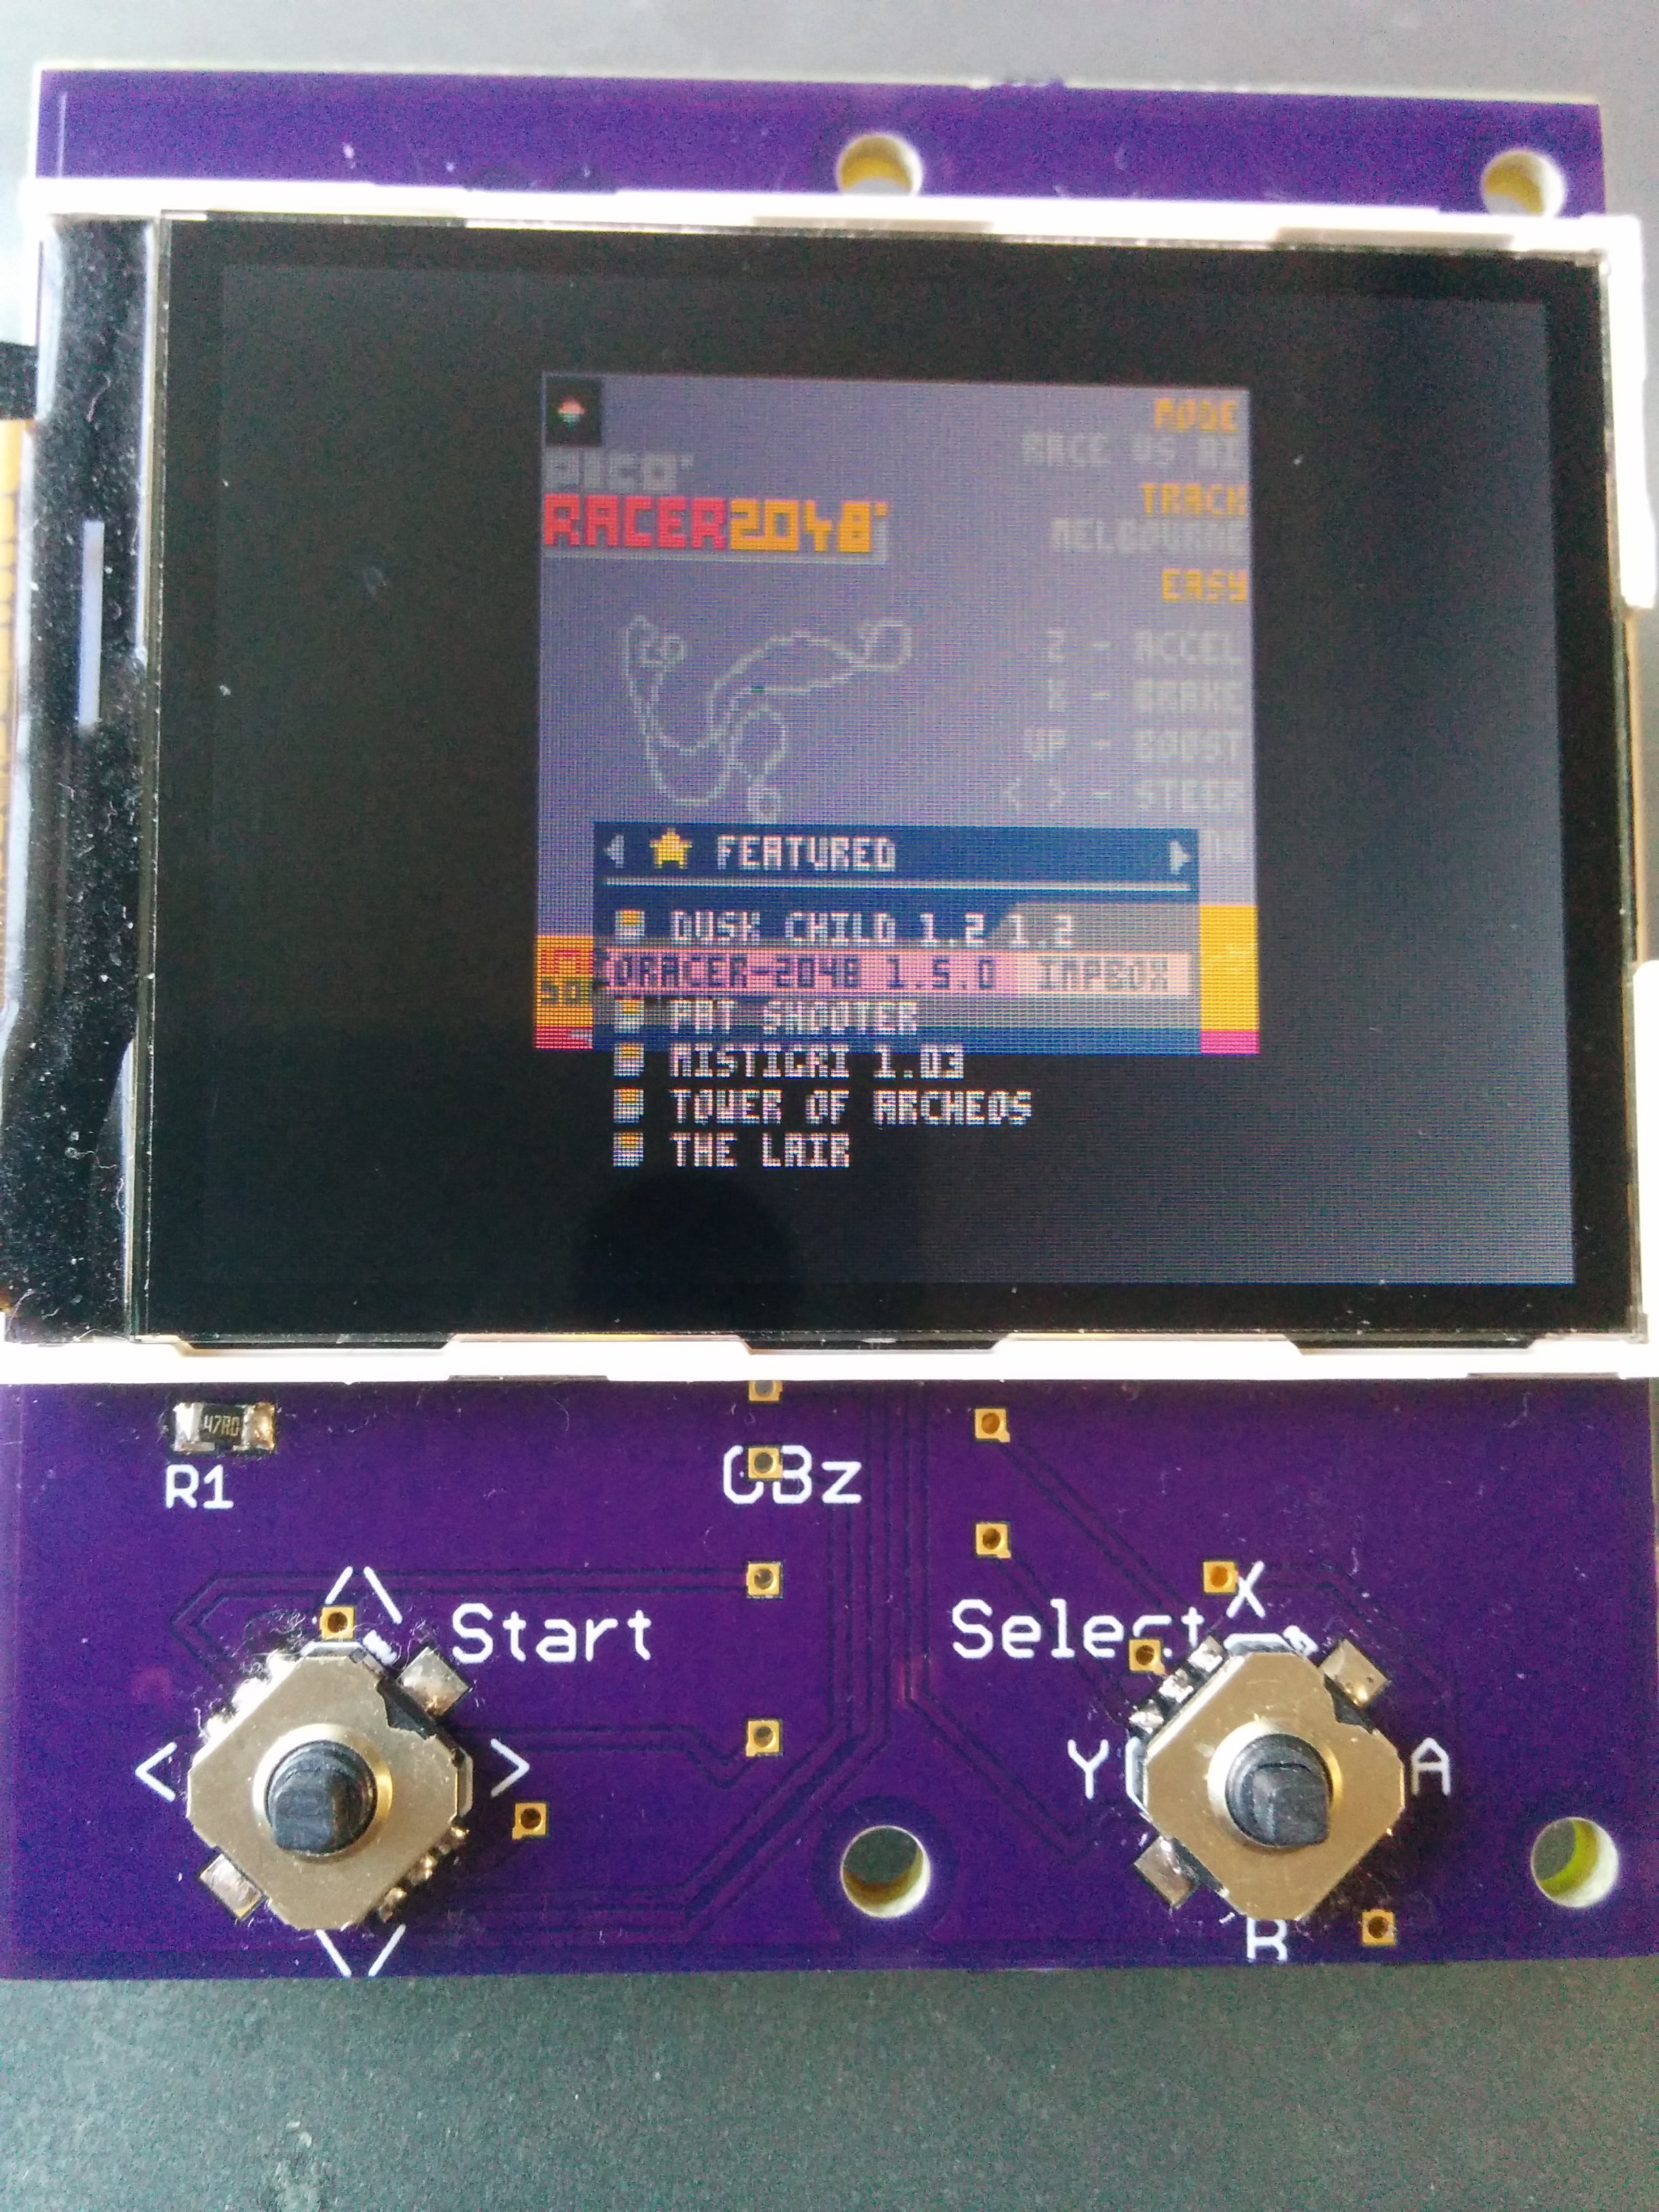
While i was playing, i thought i would give Pico-8 some love!! fresh install of Raspian lite, screen and button code installed, and Pico-8 dropped onto the card, and we are in 8 bit heaven!!!
The screen is actually too big for pico-8 (pixel wise) but the little nav switches actually work quite well, you get used to their quirks!!![]()
-
Wired for sound
03/07/2017 at 11:06 • 0 commentsI have been looking at my options for adding sound to the device, without adding bulk, and i can of course pipe the pwm audio to the gpio, and then add in the handful of components to add the audio filter. This will then need a little bit of an amp, and a speaker, so we are suddenly racking up the component count.
I was rummaging though my parts bin, and came across some old piezo transducers that were once inside musical greetings cards. as they are designed to be as loud and annoying as possible from a tiny battery, i thought i might be on to a winner.
So i added the necessary into the /boot/config.txt (dtoverlay=pwm-2chan,pin=18,func=2,pin2=13,func2=4), forced the audio out of the 3.5mm socket inside the raspi-config, and cranked it up to 11 in alsamixer, and jabbed the wires into the relevant pin sockets, and we got sound!! sure it is a bit scratchy, and not overly loud (i think that is a bonus), but we have sound by adding just 1 more component!!
I need to do more testing to see how it copes with no audio filtering in there, but i think the low fidelity nature of the piezo transducer actually plays into my hands here!! To be continued.......
-
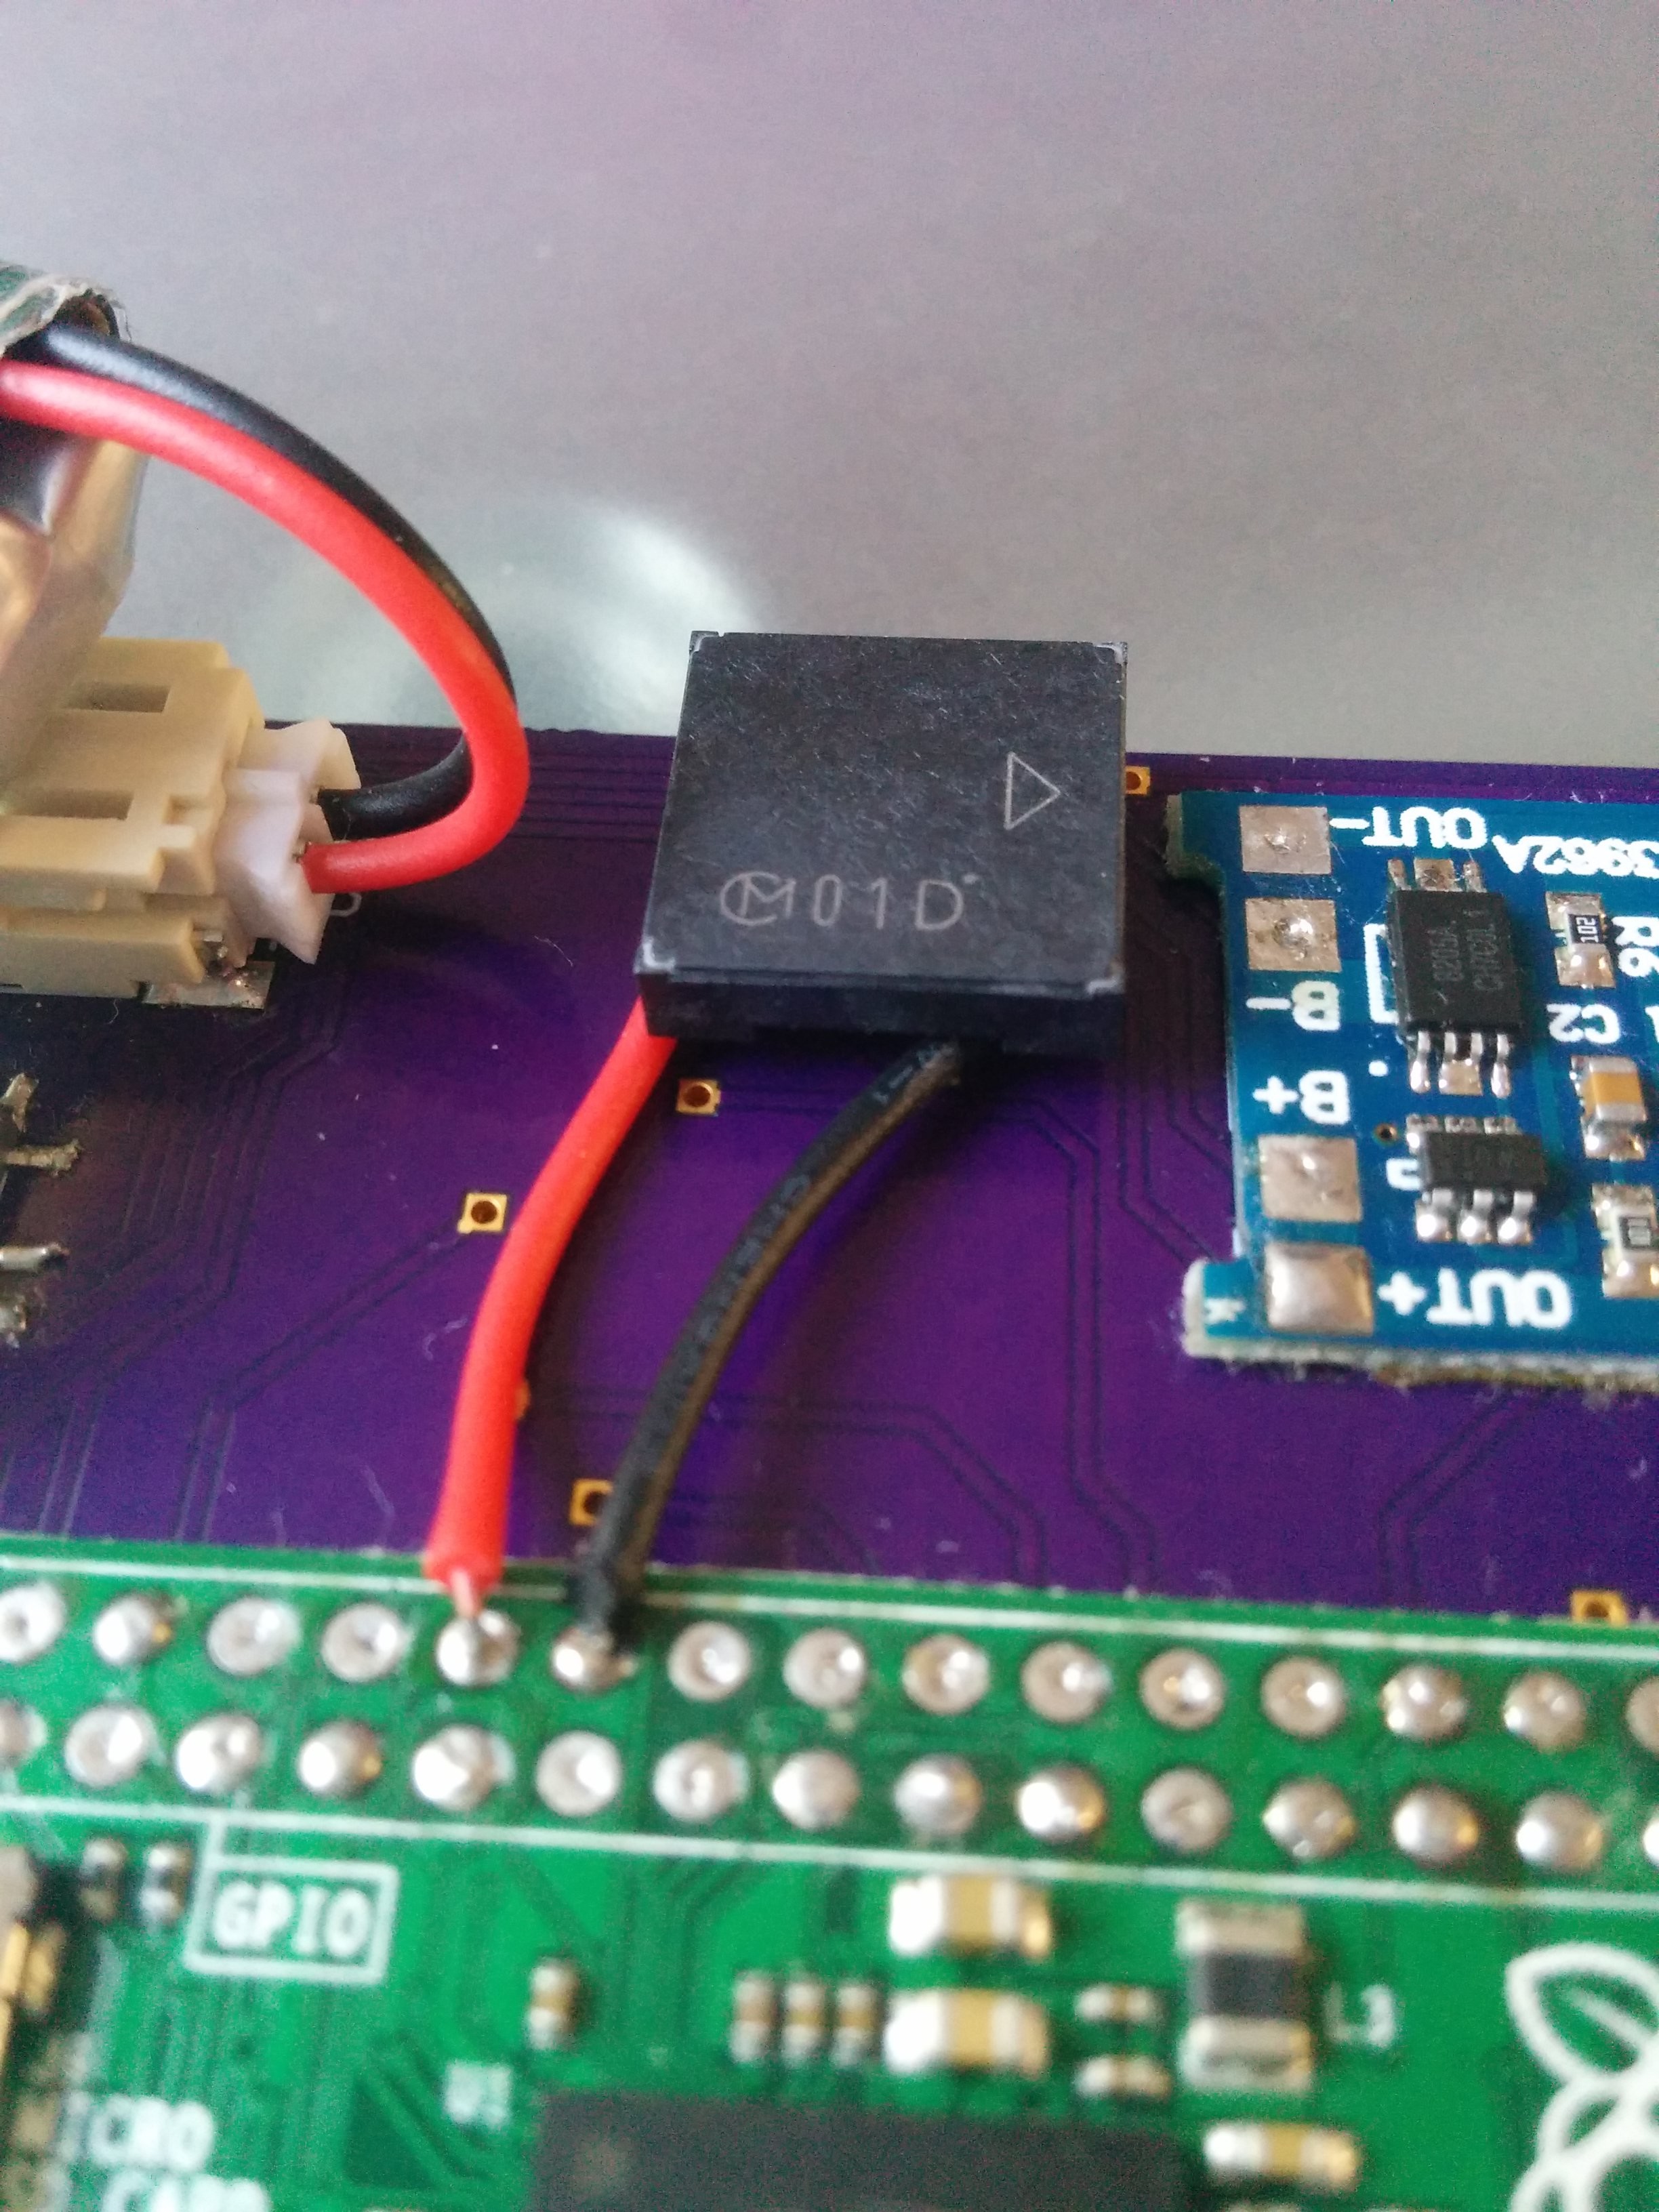
lil bit of polish
03/04/2017 at 21:33 • 2 commentsSo the original board works, but its not quite usable. The switch actually disconnects the power from the protection board, so tuning it off actually triggers the protection, and you need to plug the charger in to get it to reset.
also this means that it has to be on to charge!!
So i have fixed that, made holes in all 4 corners so its easier to mount in a case.
if anyone wants to play with the board i have stuck it on OSHpark
GameBoy Zero, but smaller!!
My attempt to get the smallest, simplest GameBoy style device, based on the pi Zero
 that is a trifle high for a 400mah cell. So i looked back at my ebay purchases and apparently it is supposed to be 650mah!! so it is way off!! some quick napkin math will tell us the draw of the pi
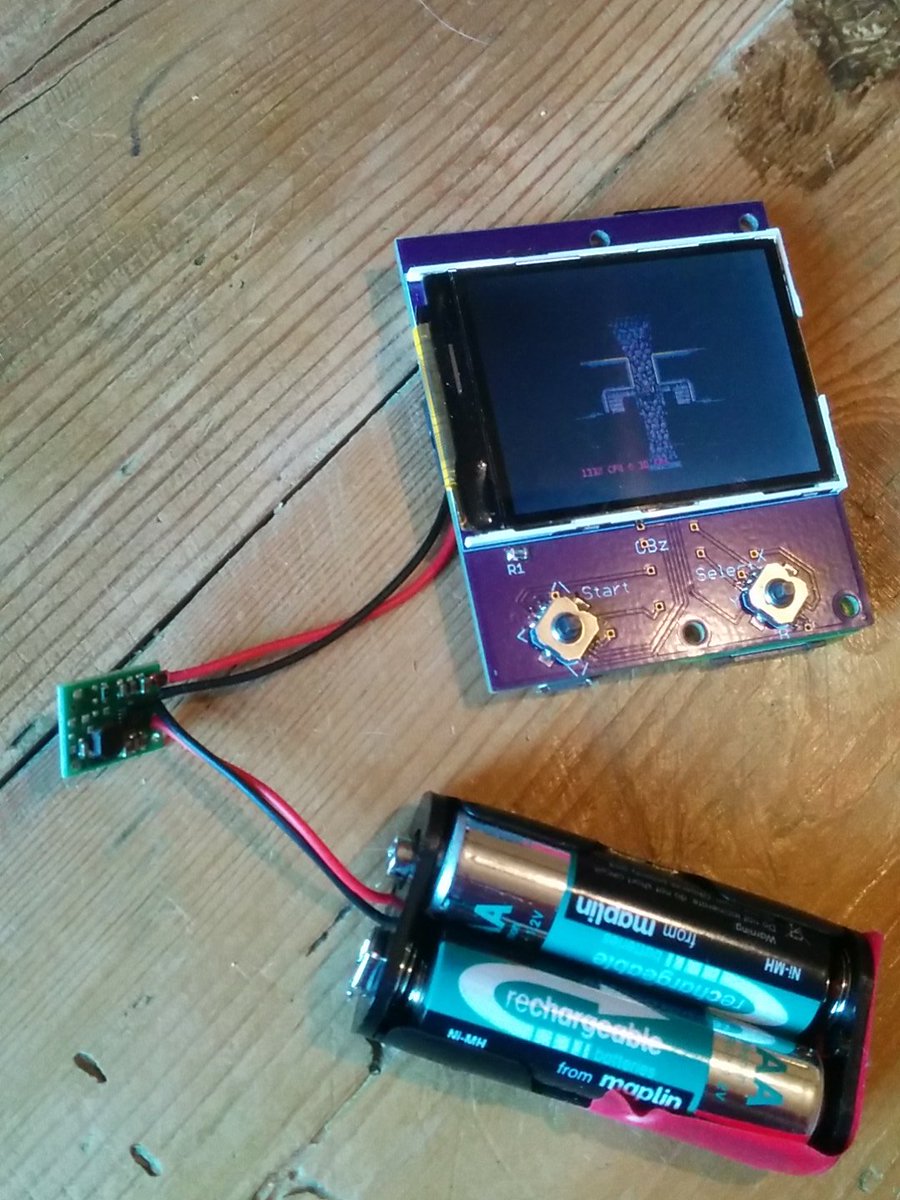 I had my multimeter on the cells to keep an eye on the voltage, and the timer just tipped over the 4:15 mark when the cells were reading 1.6v. once the voltage had dropped below 2v, it started dropping pretty quick!!