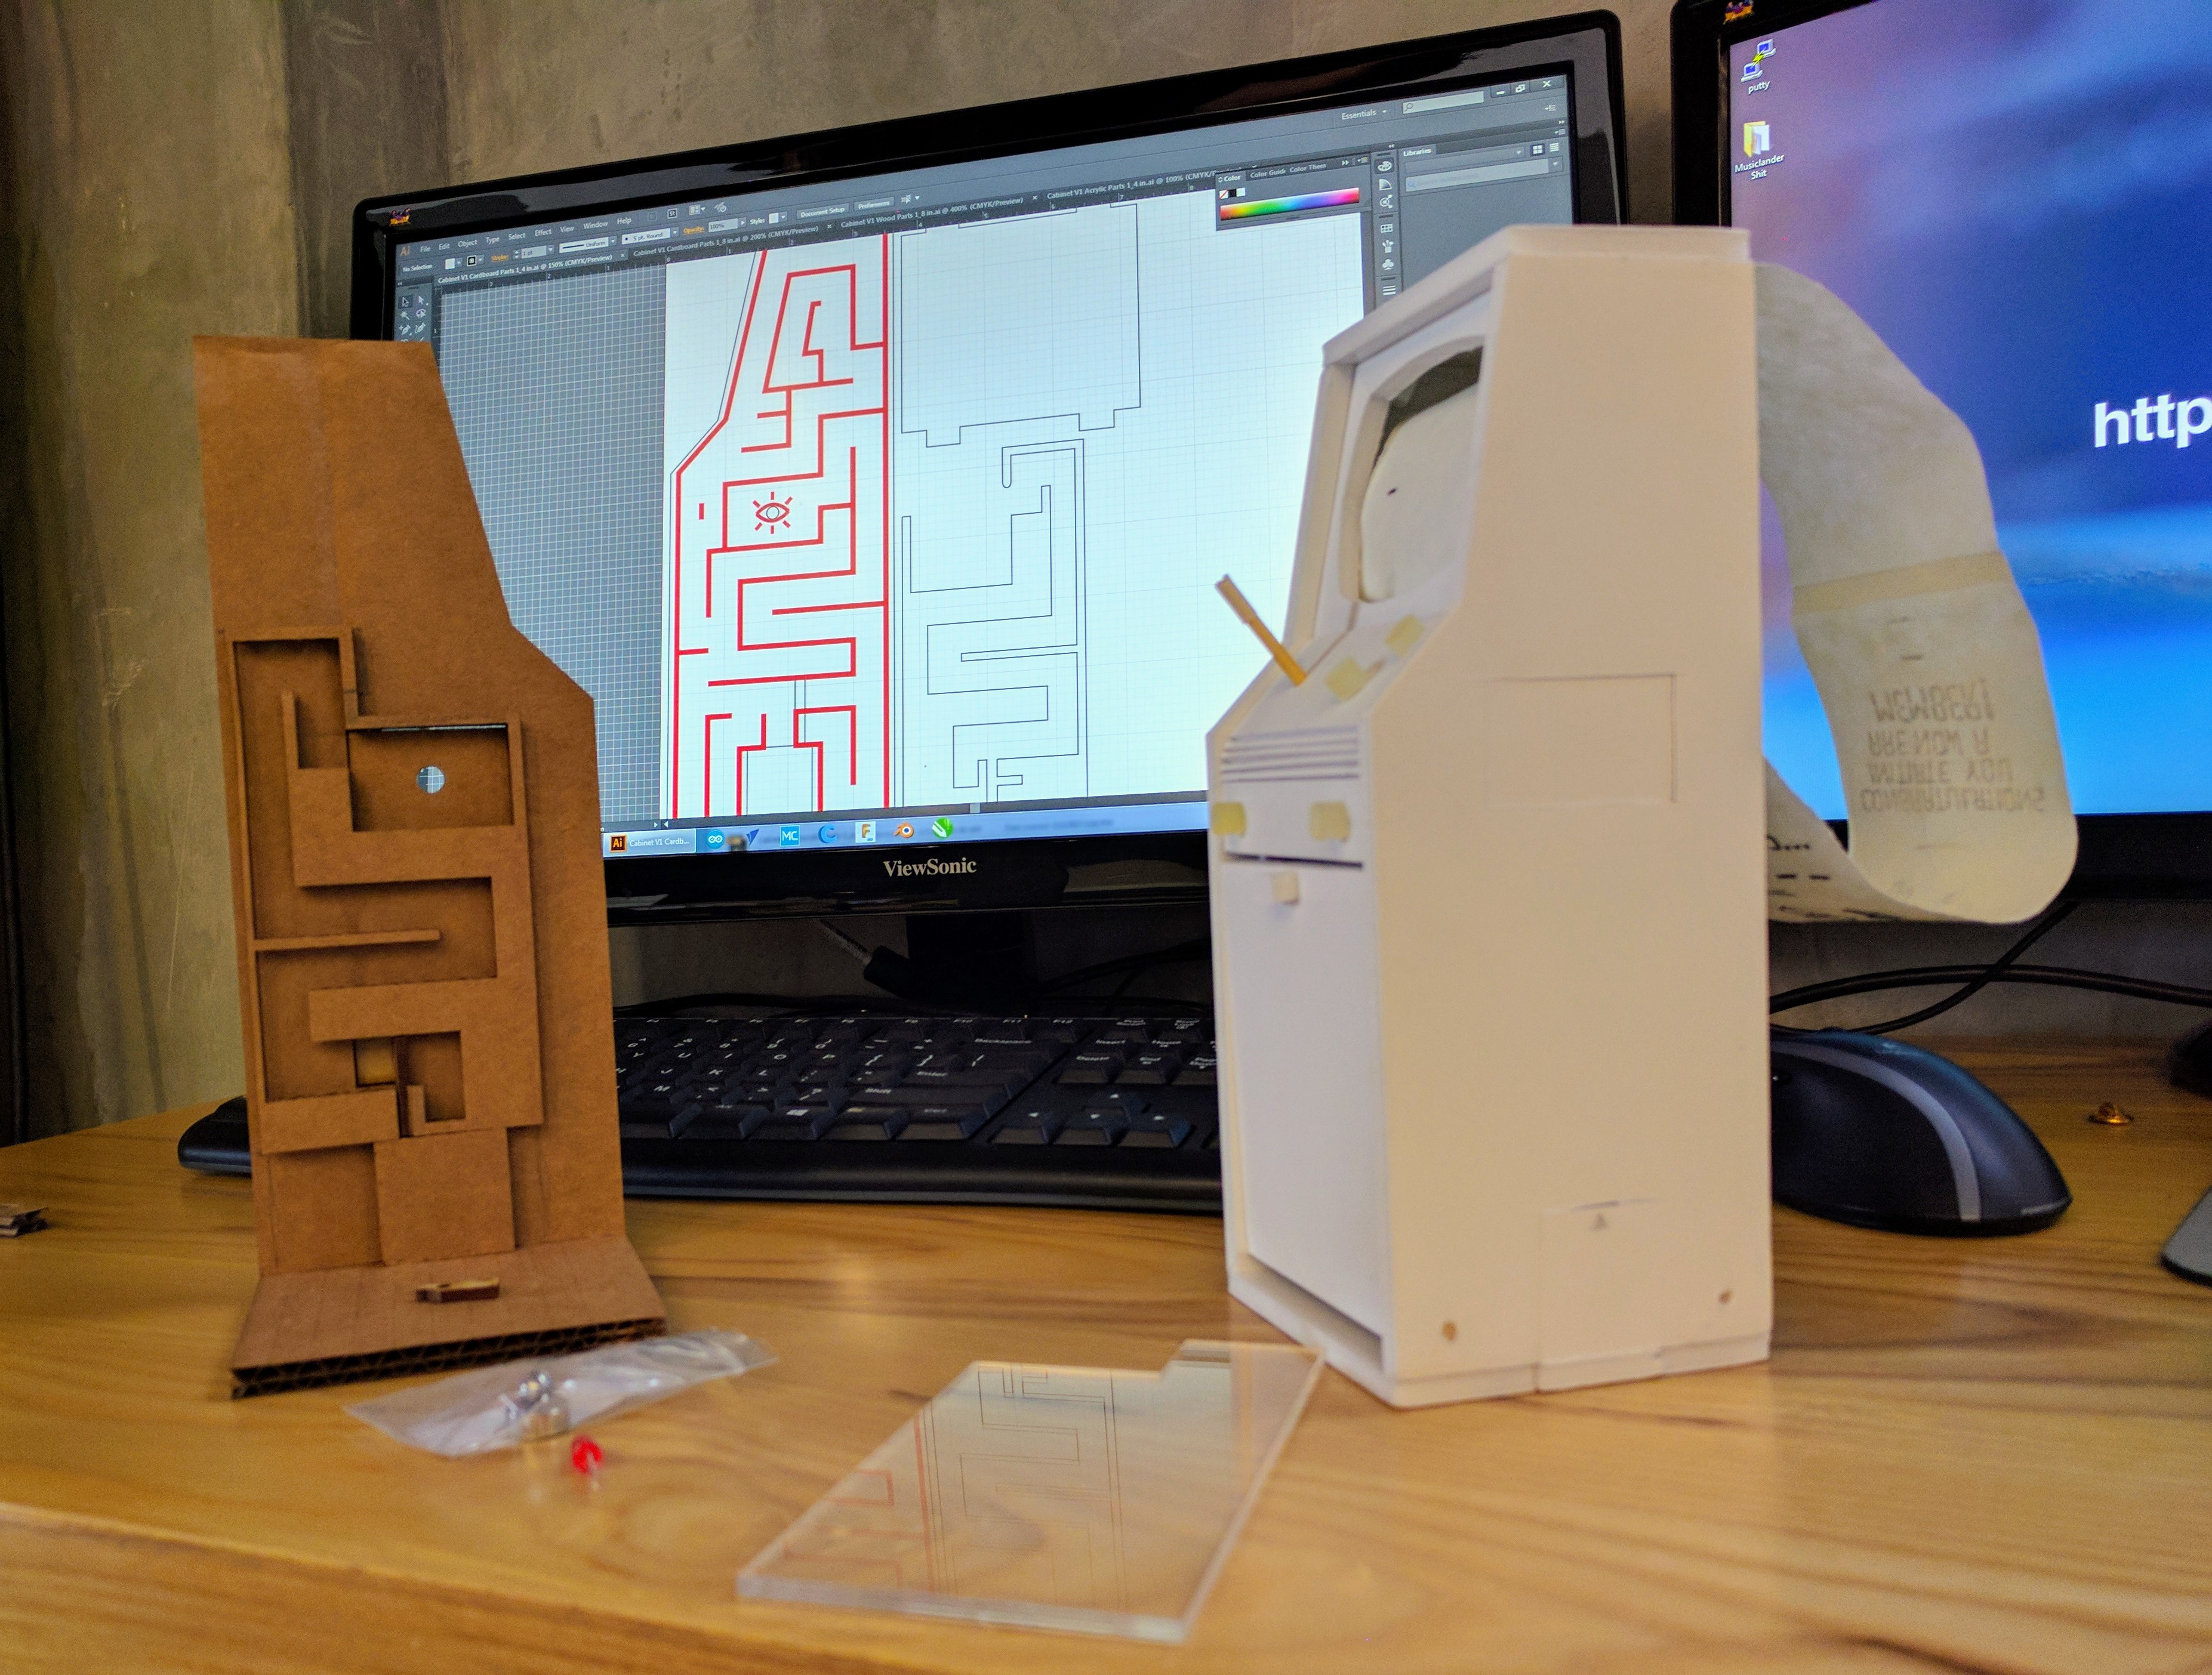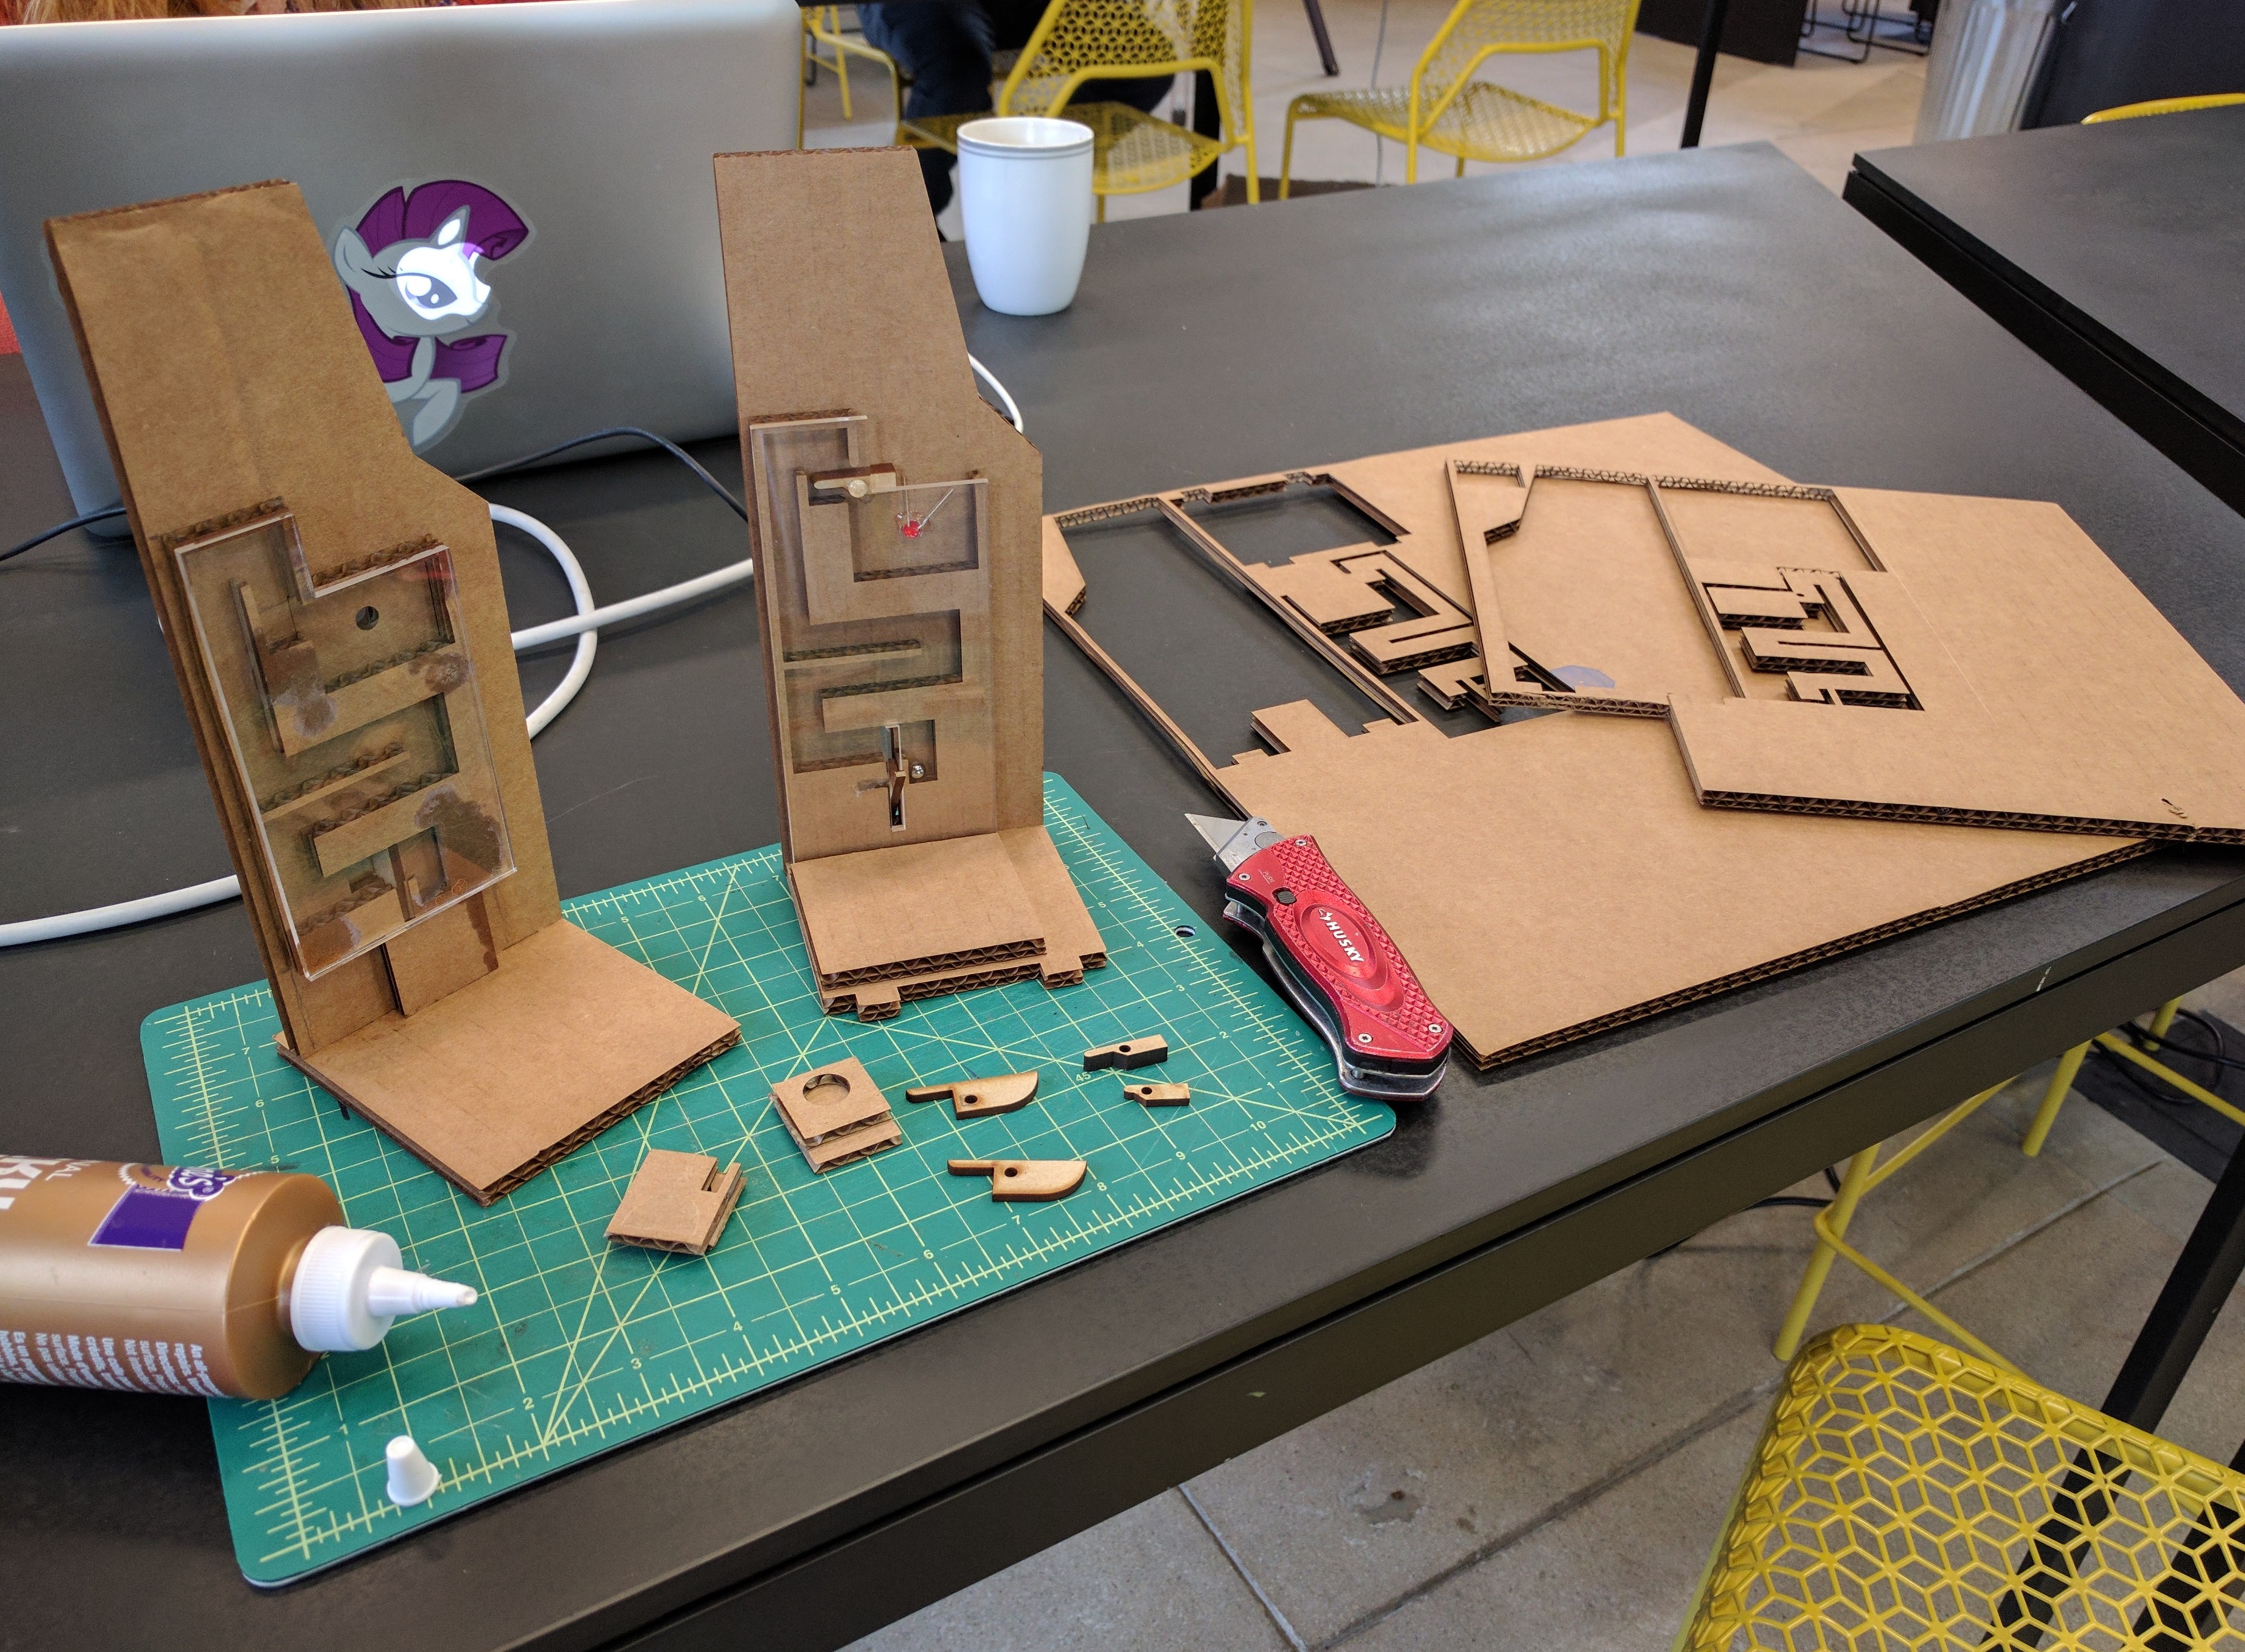
Completed mocked-up side of the cabinet maze I fabricated to make sure I could get the maze to work as intended (vertically)
... Feeling a little under the gun to get enough done in our first month to prove we deserved to stay in the DesignLab residency program, I immediately reached out to a couple of makers who had attended the February Hackaday.io event at the DesignLab for some advice. I spoke to Ben Sax (creator of the Perceptoscope and former DesignLab resident) and Carlyn Maw (Co-Founder of CrashSpace LA) after the event via email. I also sent an unsolicited email to John Edgar Park (all-around awesome Maker and contributor to Adafruit) after watching the video he made for his "Crypto Countdown Case" project to get advice on my project.
I'm not sure if you know this (and not to generalize a group of people), but if the response I got from the three above is anything to go by, then the Maker community is awesome (had you going for a second there didn't I ;P )! Everyone was SUPER generous with their time, and even agreed to in-person meetings with a total stranger to talk about his crazy idea! All three of them basically told me I needed to separate the cabinet's embedded systems into smaller and more easily digestible parts, I could then make individually. In essence they advocated I turn the cabinet into a science fair project with separate parts of the project broken out into separate boards I could then present to Dan, the Lab's Resident Engineer, at the end of March for acceptance into the Lab as regular full-time residents for the full duration of the residency.
With the advice above in mind I then started separating the mechanical and electrical systems from each other, with the goal of streamlining my workflow. Admittedly more comfortable with the mechanical side of the project, I focused my energies there figuring I could quickly and easily hammer out the: auto-opening back compartment door, maze, maze-to-drawer latching mechanism, sliding drawer, and locking front compartment door that opens with a key on my own. Starting with the maze on the side of the cabinet, which my teammates all had various ideas about (all them electrical in nature), I made the executive decision to try to make it work mechanically. Also, as a big proponent of the K.I.S.S. methodology, I couldn't help but be concerned with the following while thinking about the cabinet's maze:
- The amount of space available within the cabinet for additional wiring and parts once all of the necessary electronics were integrated
- The user experience, there needs to be some sort of user feedback while navigating the maze (like a magnet pulling an hidden bearing)
With all of the above in mind I then started devising my solution. I felt I could get it done in my first 2 days at the Lab, and basically did just that after only two revisions... Using cardboard (again because it's cheap/free, abundantly available, and easy/quick to cut on a laser cutter) as my target material I challenged myself with the creation of a new mock-up everyday (thanks in large part to the advice from Tim, creator of the Nanoegg and another former DesignLab resident) until I'd gotten to the point that I'd be integrating electronics).

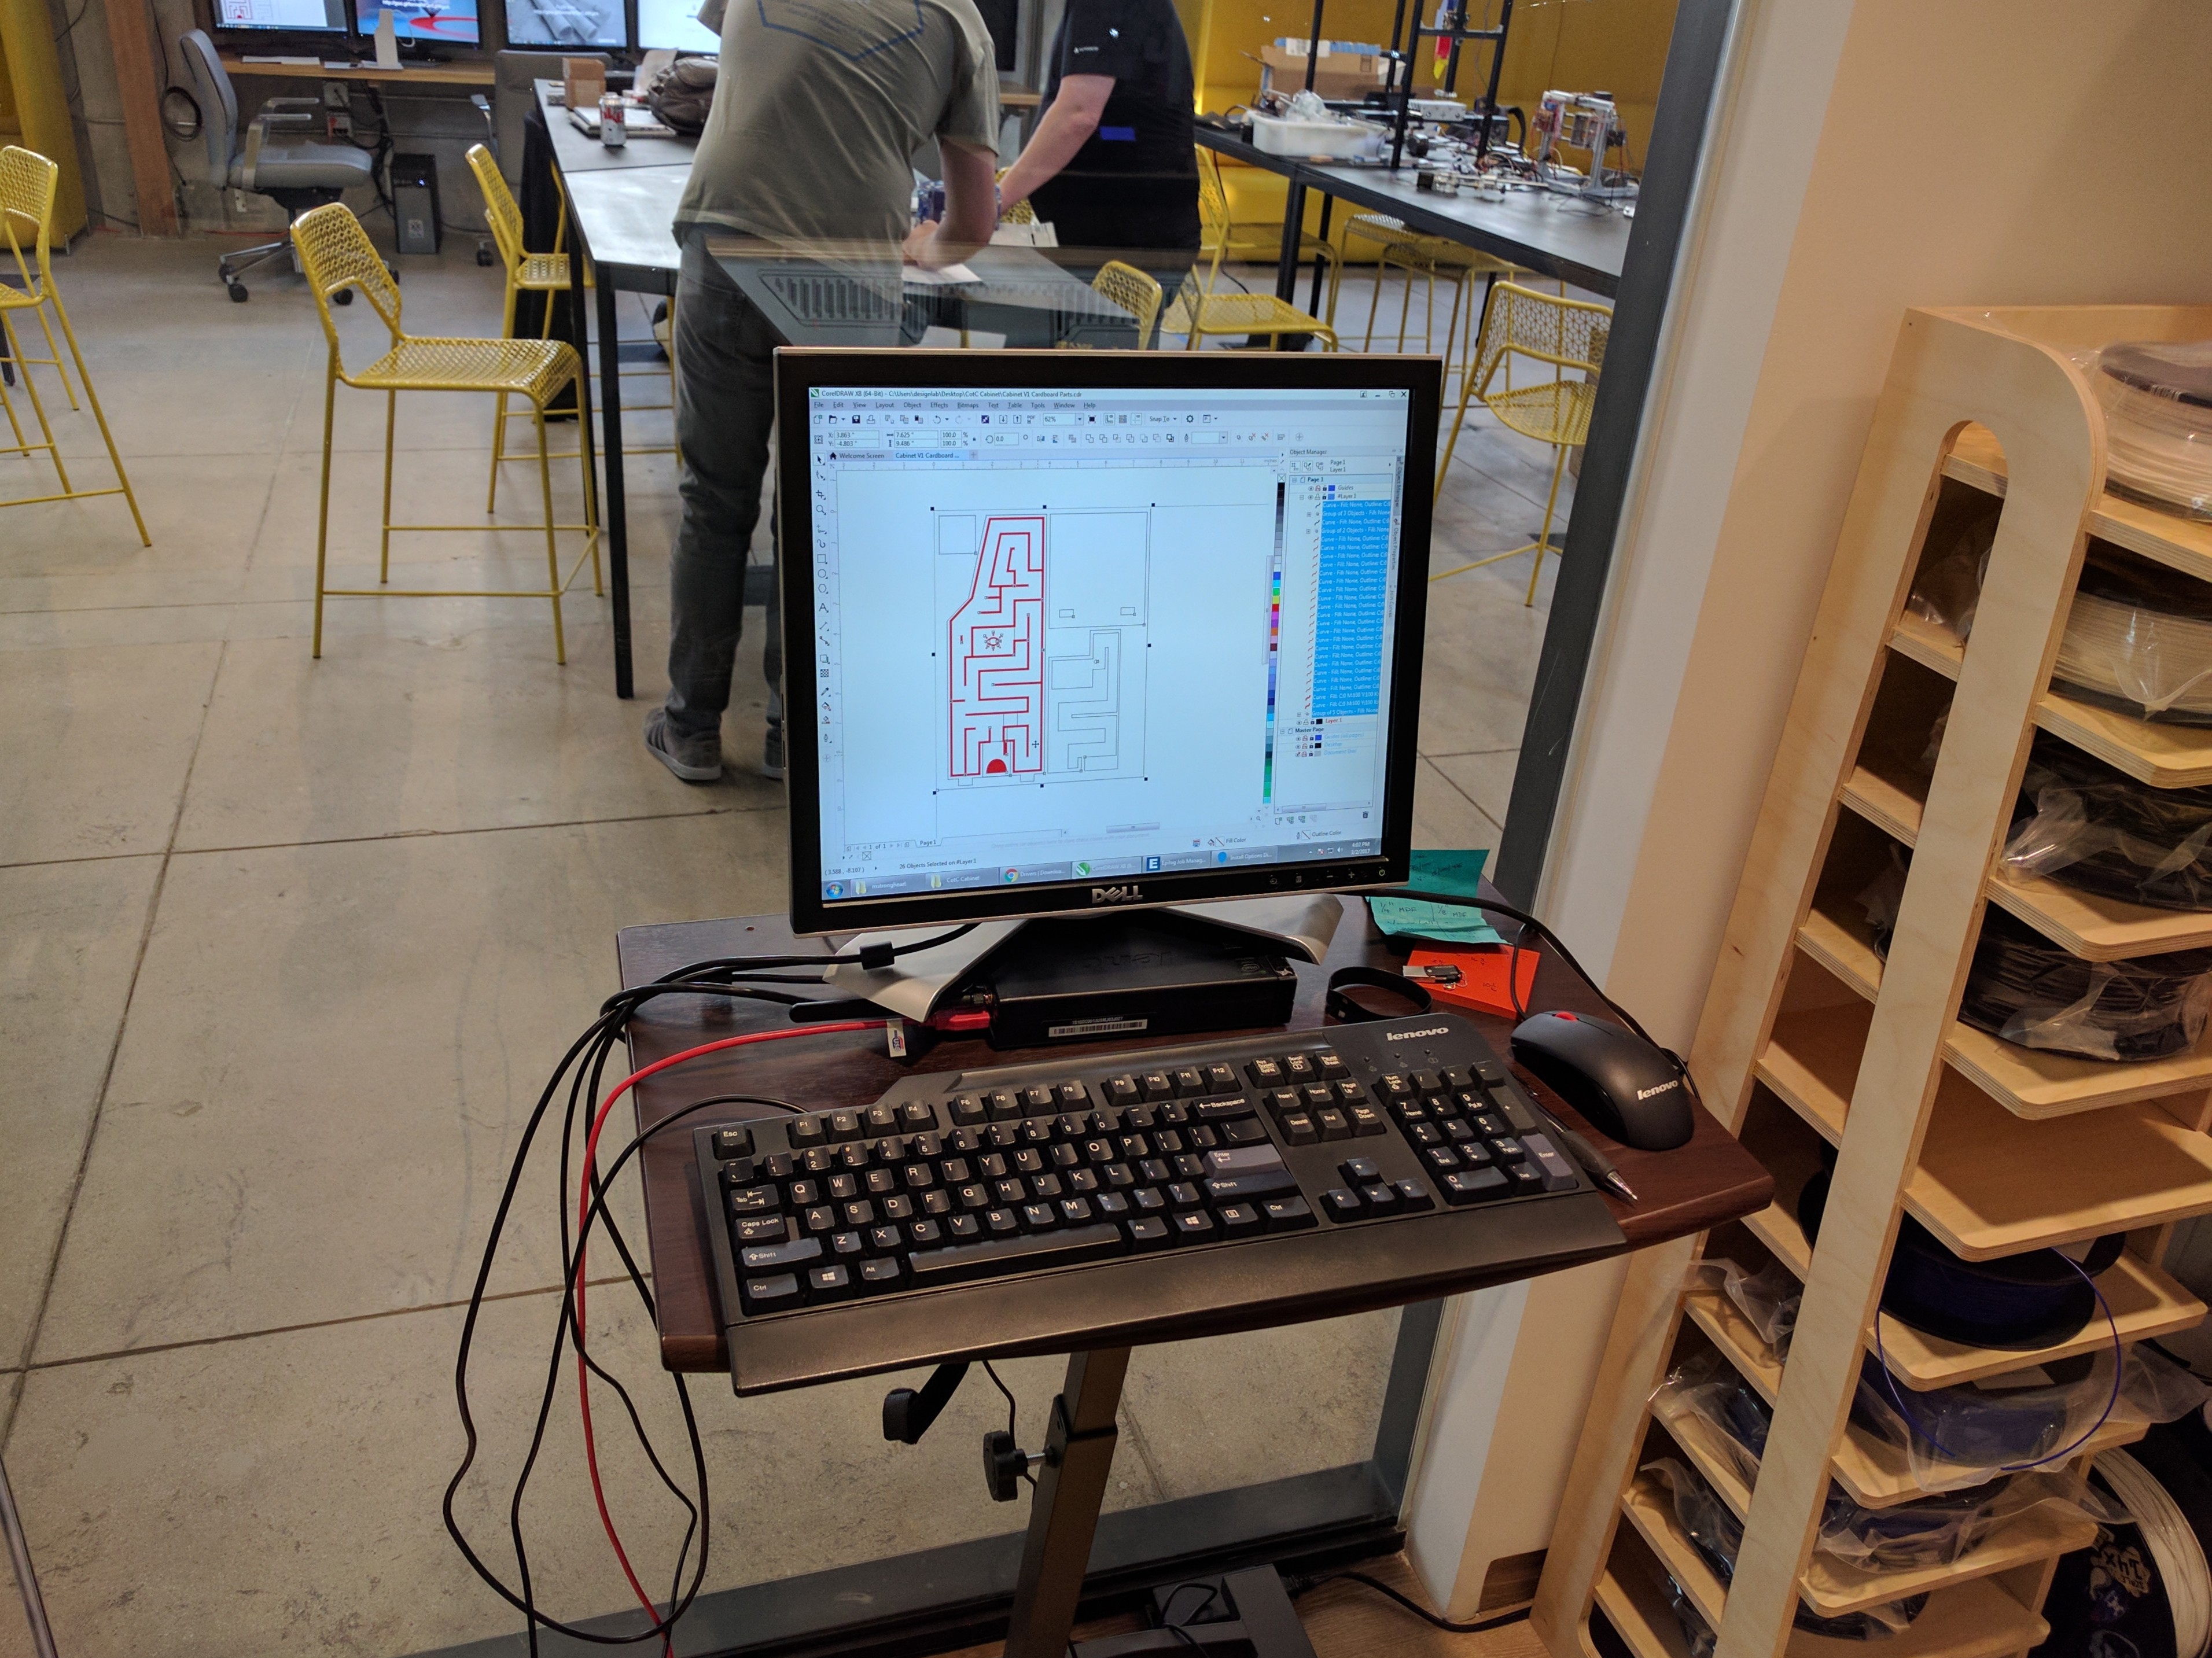
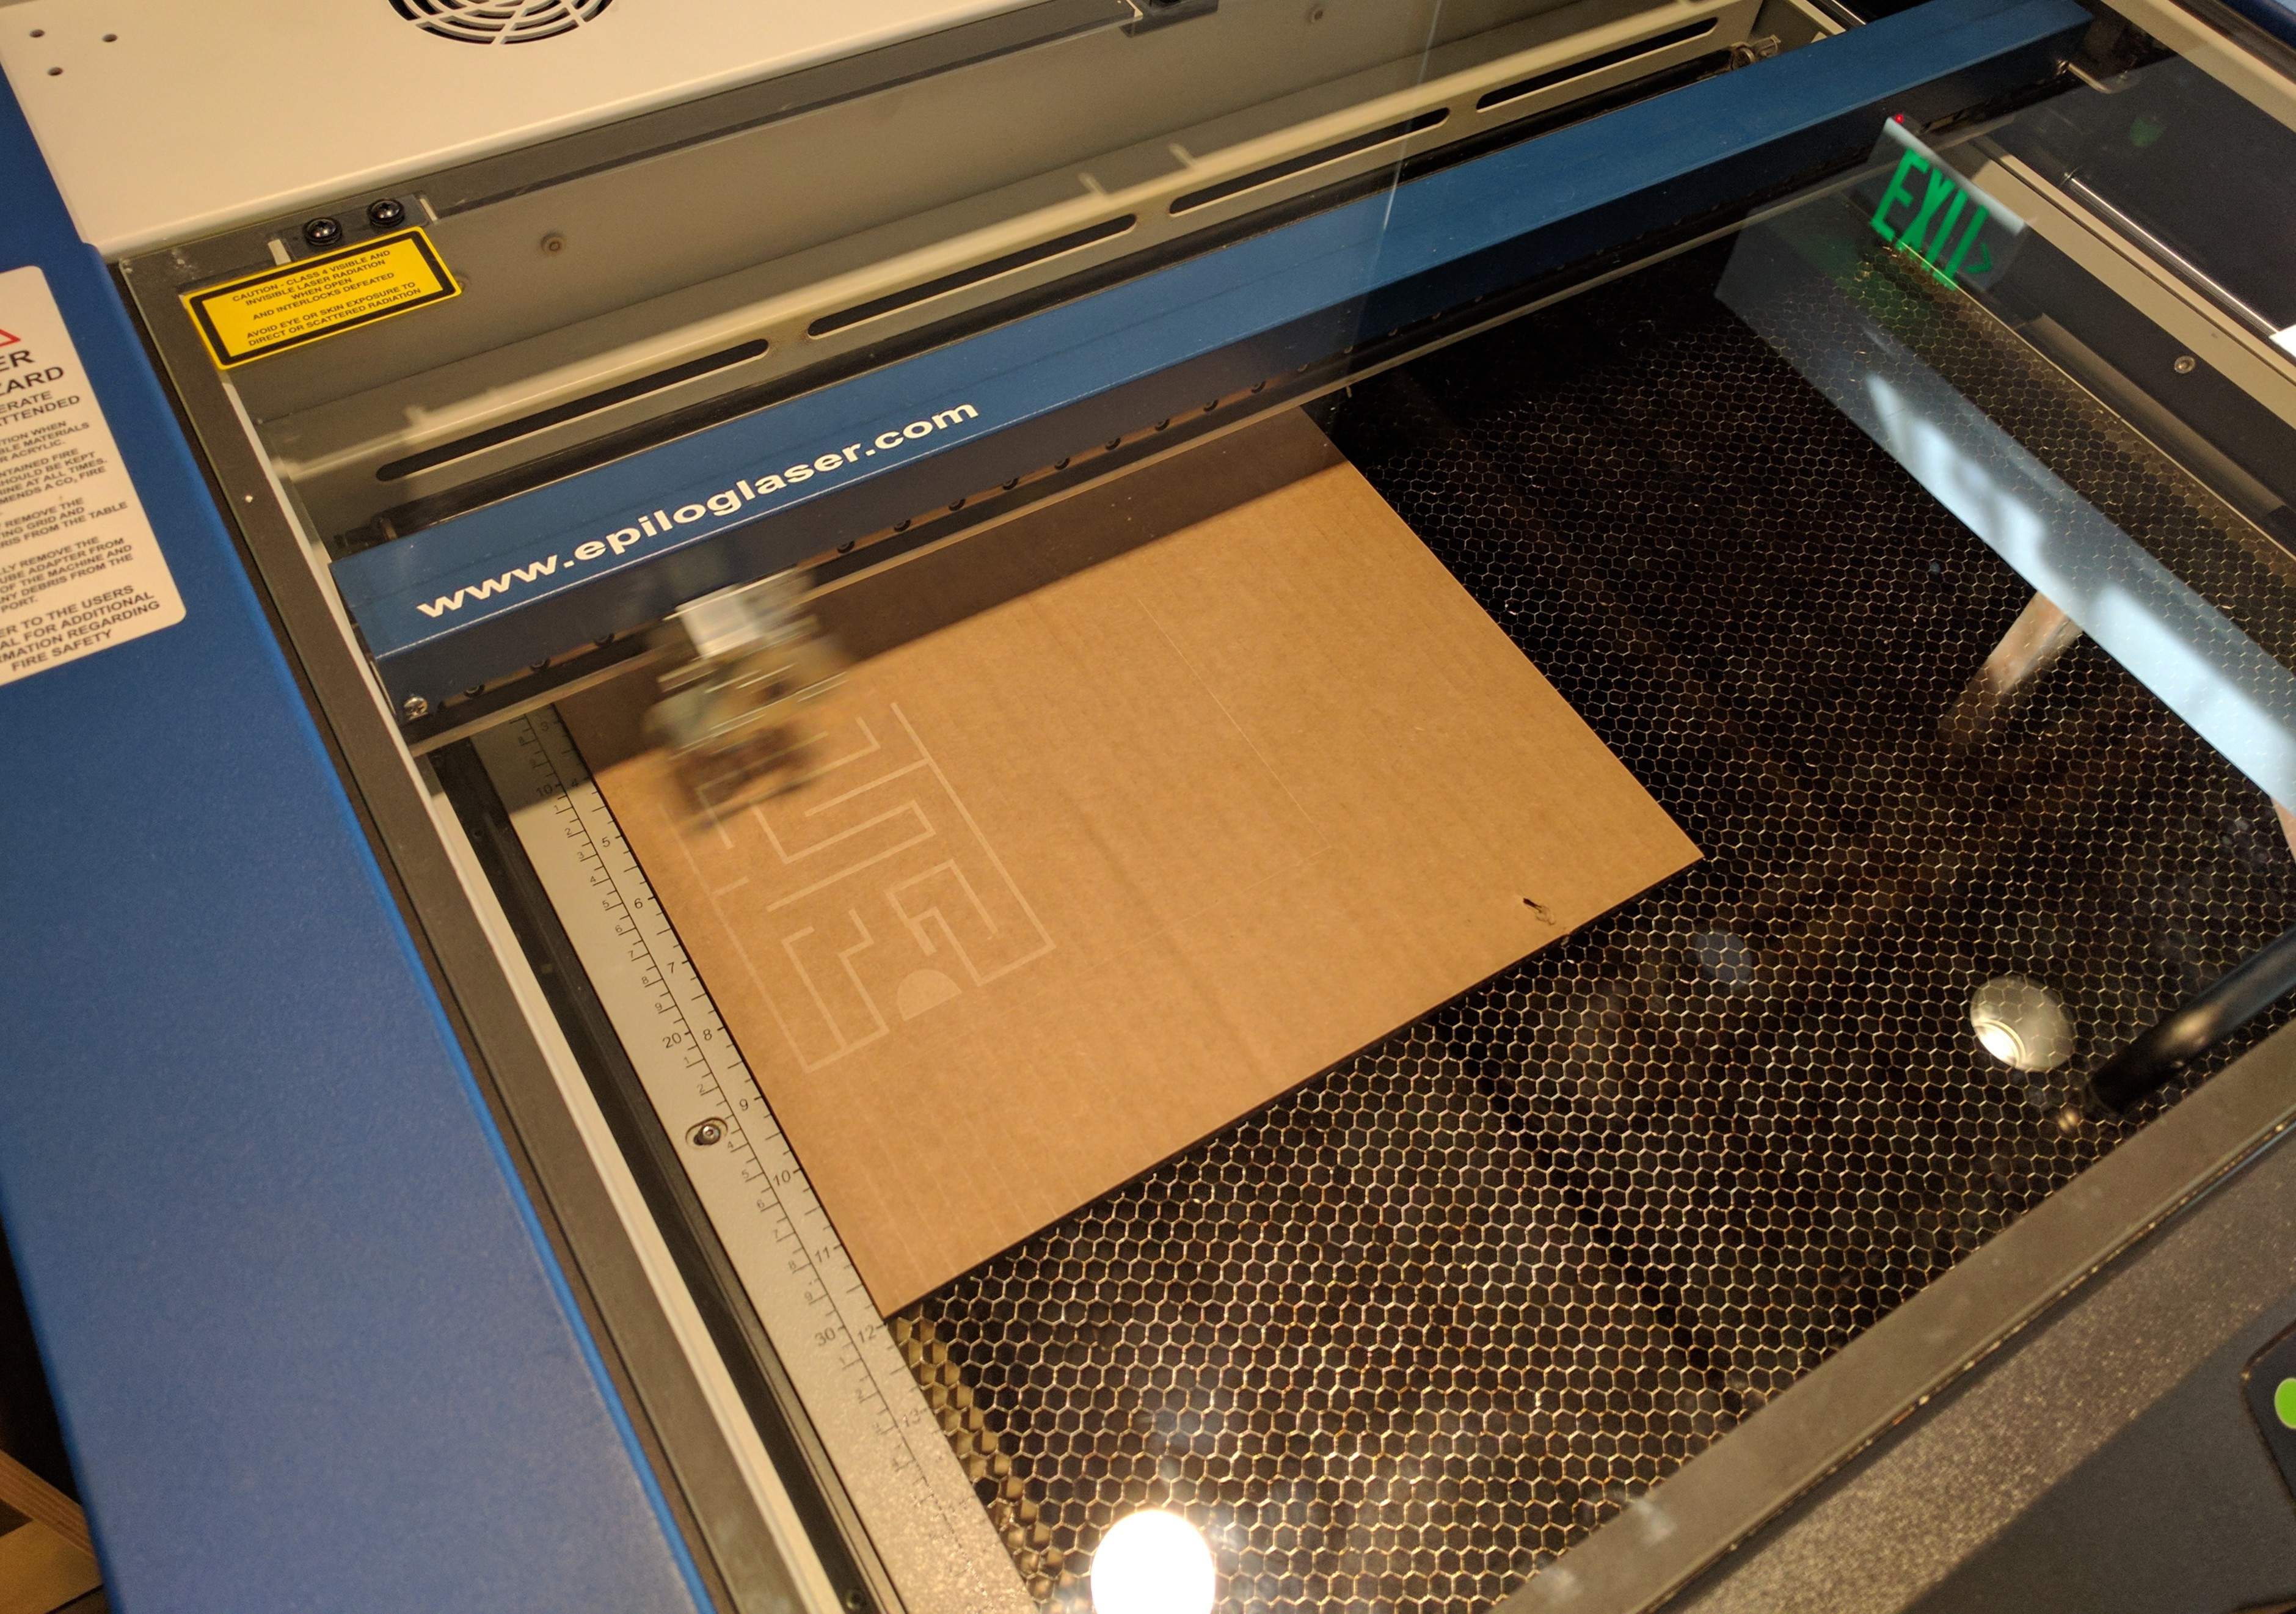
Below you'll find images of the maze portion of the cabinet in process.


The Epilog laser cutter at the lab have proven super useful, and by far my favorite tool to quickly prototype parts on!
 Mike
Mike
Discussions
Become a Hackaday.io Member
Create an account to leave a comment. Already have an account? Log In.