Close
0%
0%

College of the Creatives Cabinet

A mysterious technological artifact designed, built & sent to a select group of nerdy creatives protecting the past, & inspiring the future!

Similar projects worth following
Bespoke mystery puzzle boxes inviting an unsolicited group of nerdy & socially conscientious cultural influencers to join a secret society called the College of the Creatives. After the cabinet is opened, its contents reveal that it was sent to them on behalf of the last member of the LA Science Fiction chapter of the College (which primarily fought Red Scare era threats to art & culture through 1956).

A series of games, secret codes & physical puzzles hidden in the cabinet challenge recipients to unlock it's mysteries. An included Member's Guide further reveals that the College was founded in 1934 by Gertrude Stein & Eleanor Roosevelt over tea at the White House because of the threat to our shared cultural heritage Stein felt the Nazis’ sudden rise to power in Europe posed. At the end of this experience recipients are asked to help protect federally funded art & creative culture in America!

The First Video SupplyFrame made documenting the Cabinet's build while at the SupplyFrame DesignLab!


This Project Consists of 5 Deliverables:

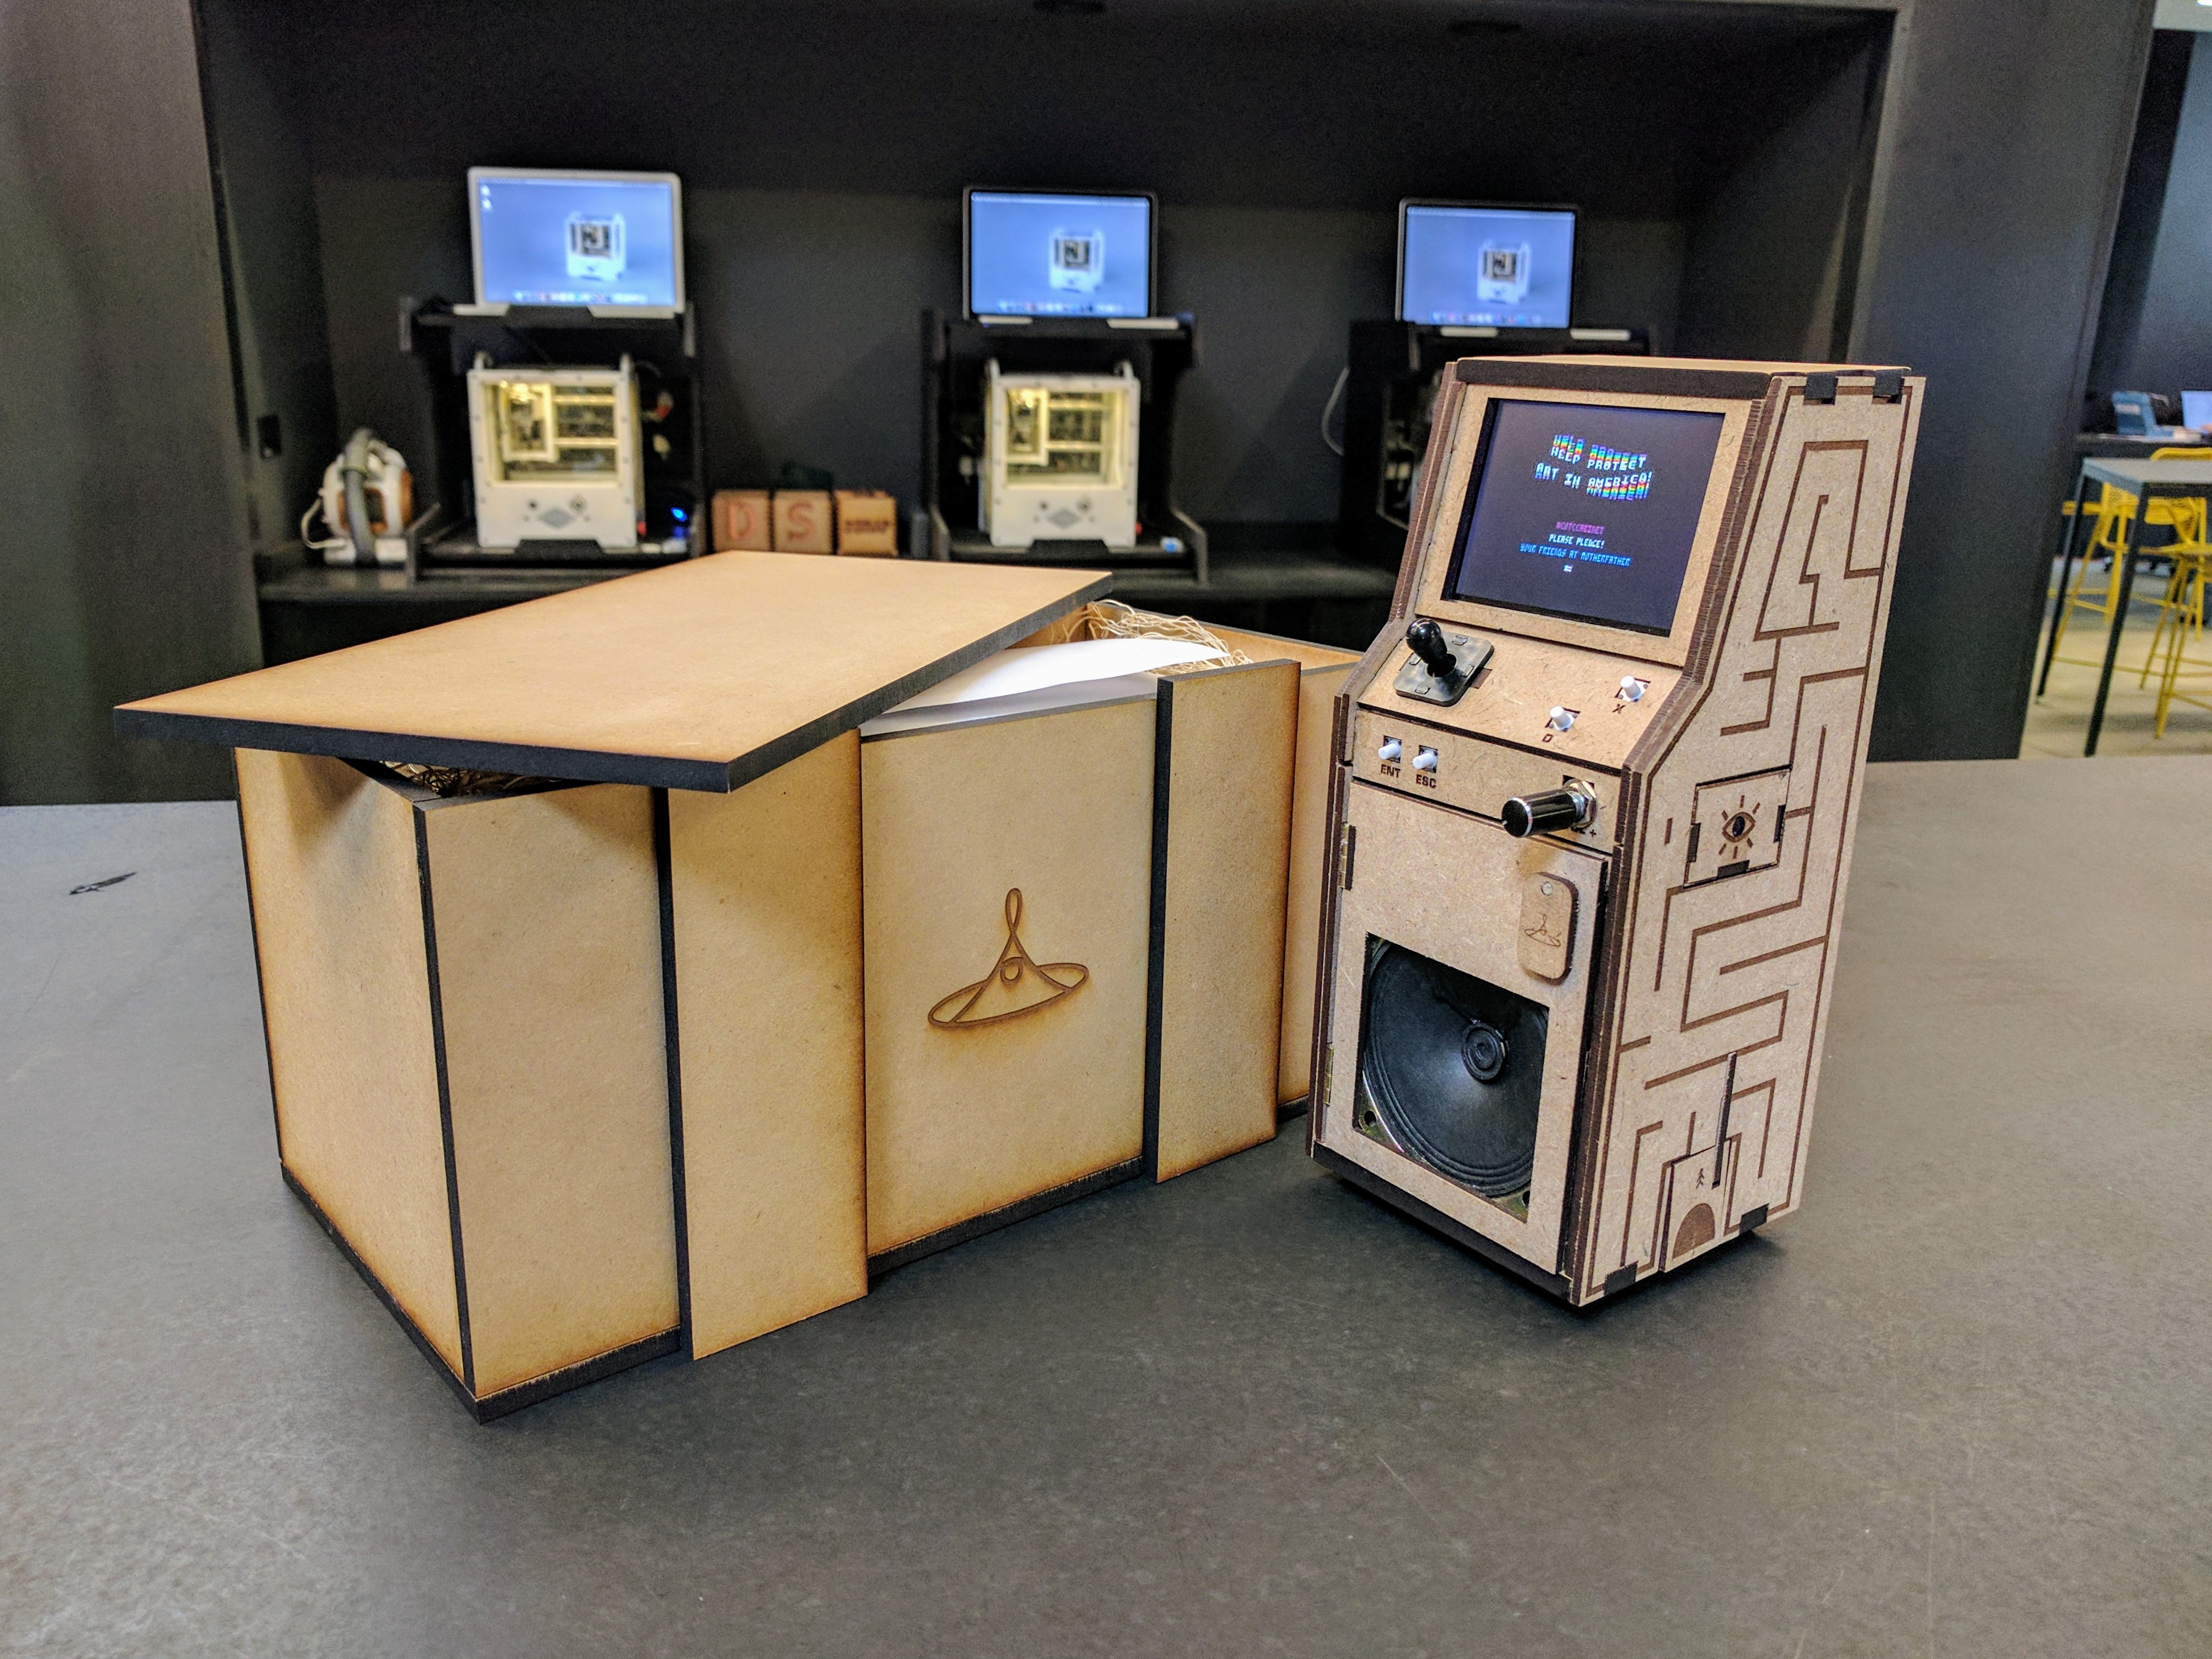
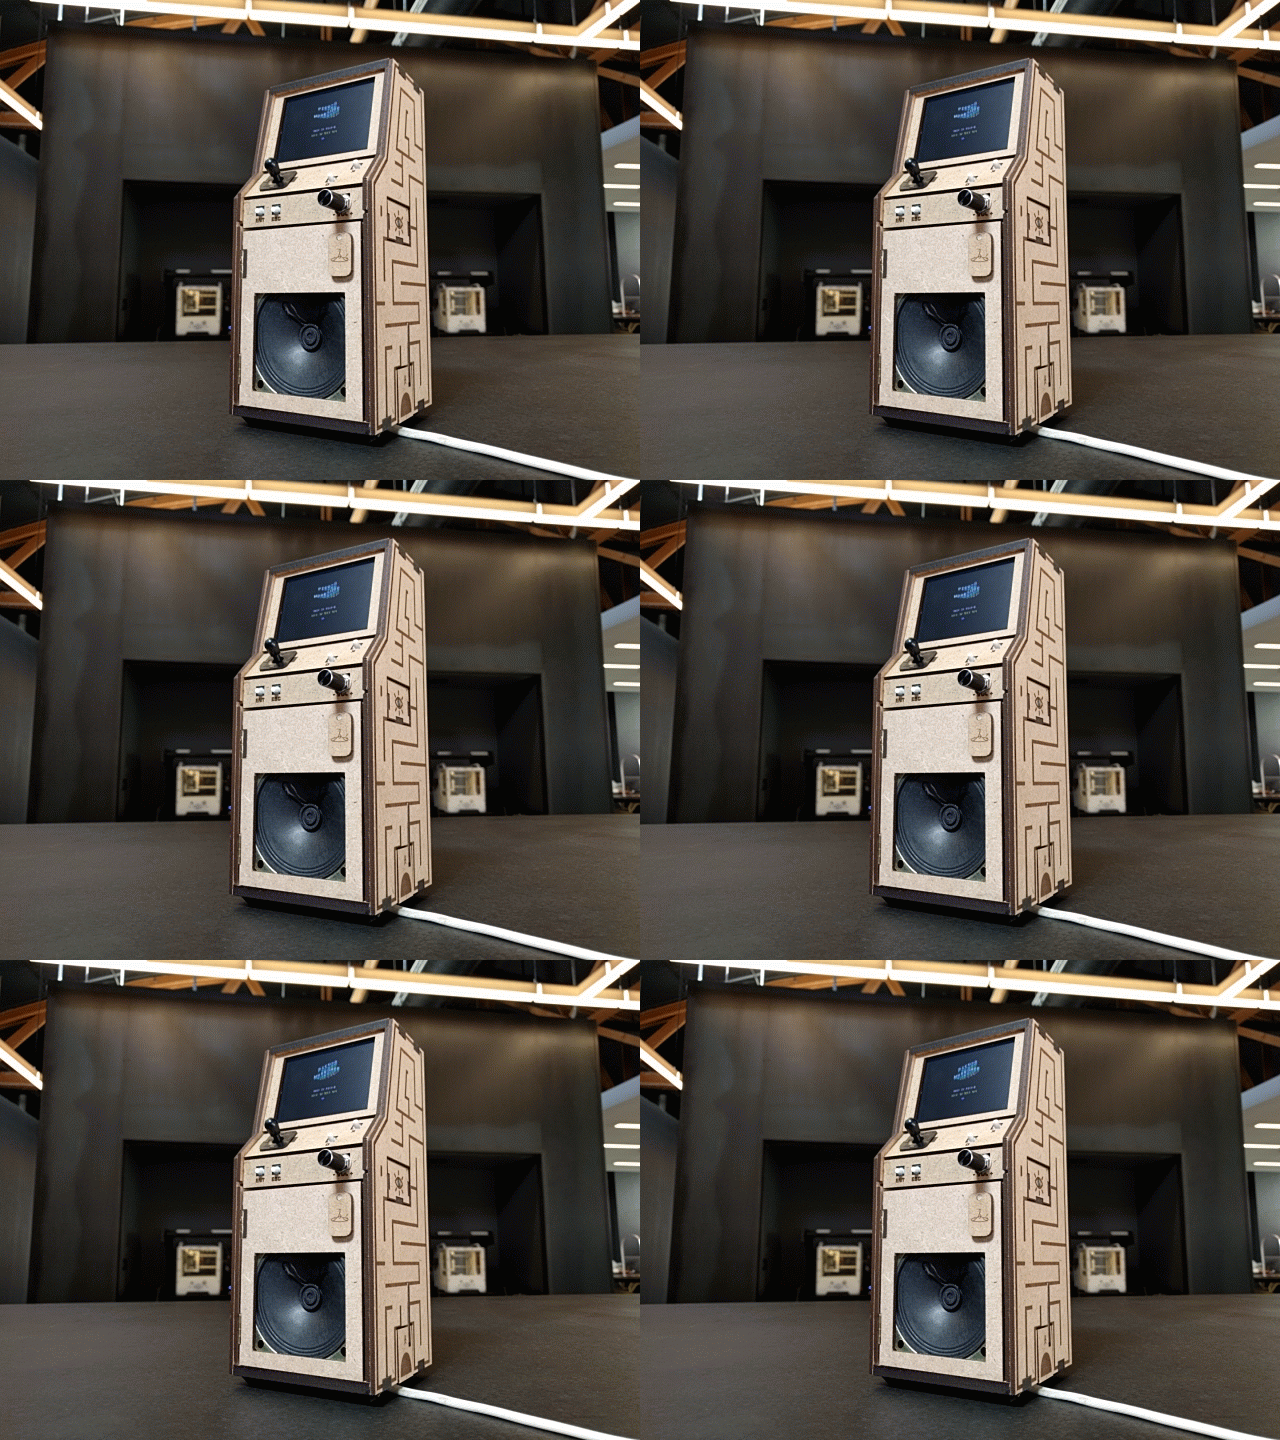
A Micro Arcade Cabinet+Mystery Puzzle Box: A trophy sized arcade cabinet powered by a single-board computer. It takes its aesthetic cues from 50’s era TVs and industrial control consoles, and is made out of a walnut and 3D printed SLA. It has multiple hidden puzzles and compartments that recipients need to find, solve and open to fully unlock the "College's Secrets". Once the cabinet’s secrets are fully unlocked it becomes a fully functional arcade cabinet capable of wirelessly connecting to the Lexaloffle BBS, which recipients can use to download and play PICO-8 games made by the Lexaloffle community.

A Video Game: A text based choose your own adventure video game (programmed via PICO-8) made to look like it's in the terminal that addresses recipients by name, uses details from their lives, and inserts it all into a series of morally grey scenarios written around WWII/Nazi, J. Edgar Hoover/FBI, McCarthyism era threats to arts and creative culture.

A Pocket Guide: Member’s Guide to joining the College of the Creatives. It details the College’s founding, history, and traditions. It also holds puzzles and codes hidden in its text that cabinet recipients need to solve to fully unlock the physical puzzles found on the cabinet.

Four Pieces of Supporting Collateral:

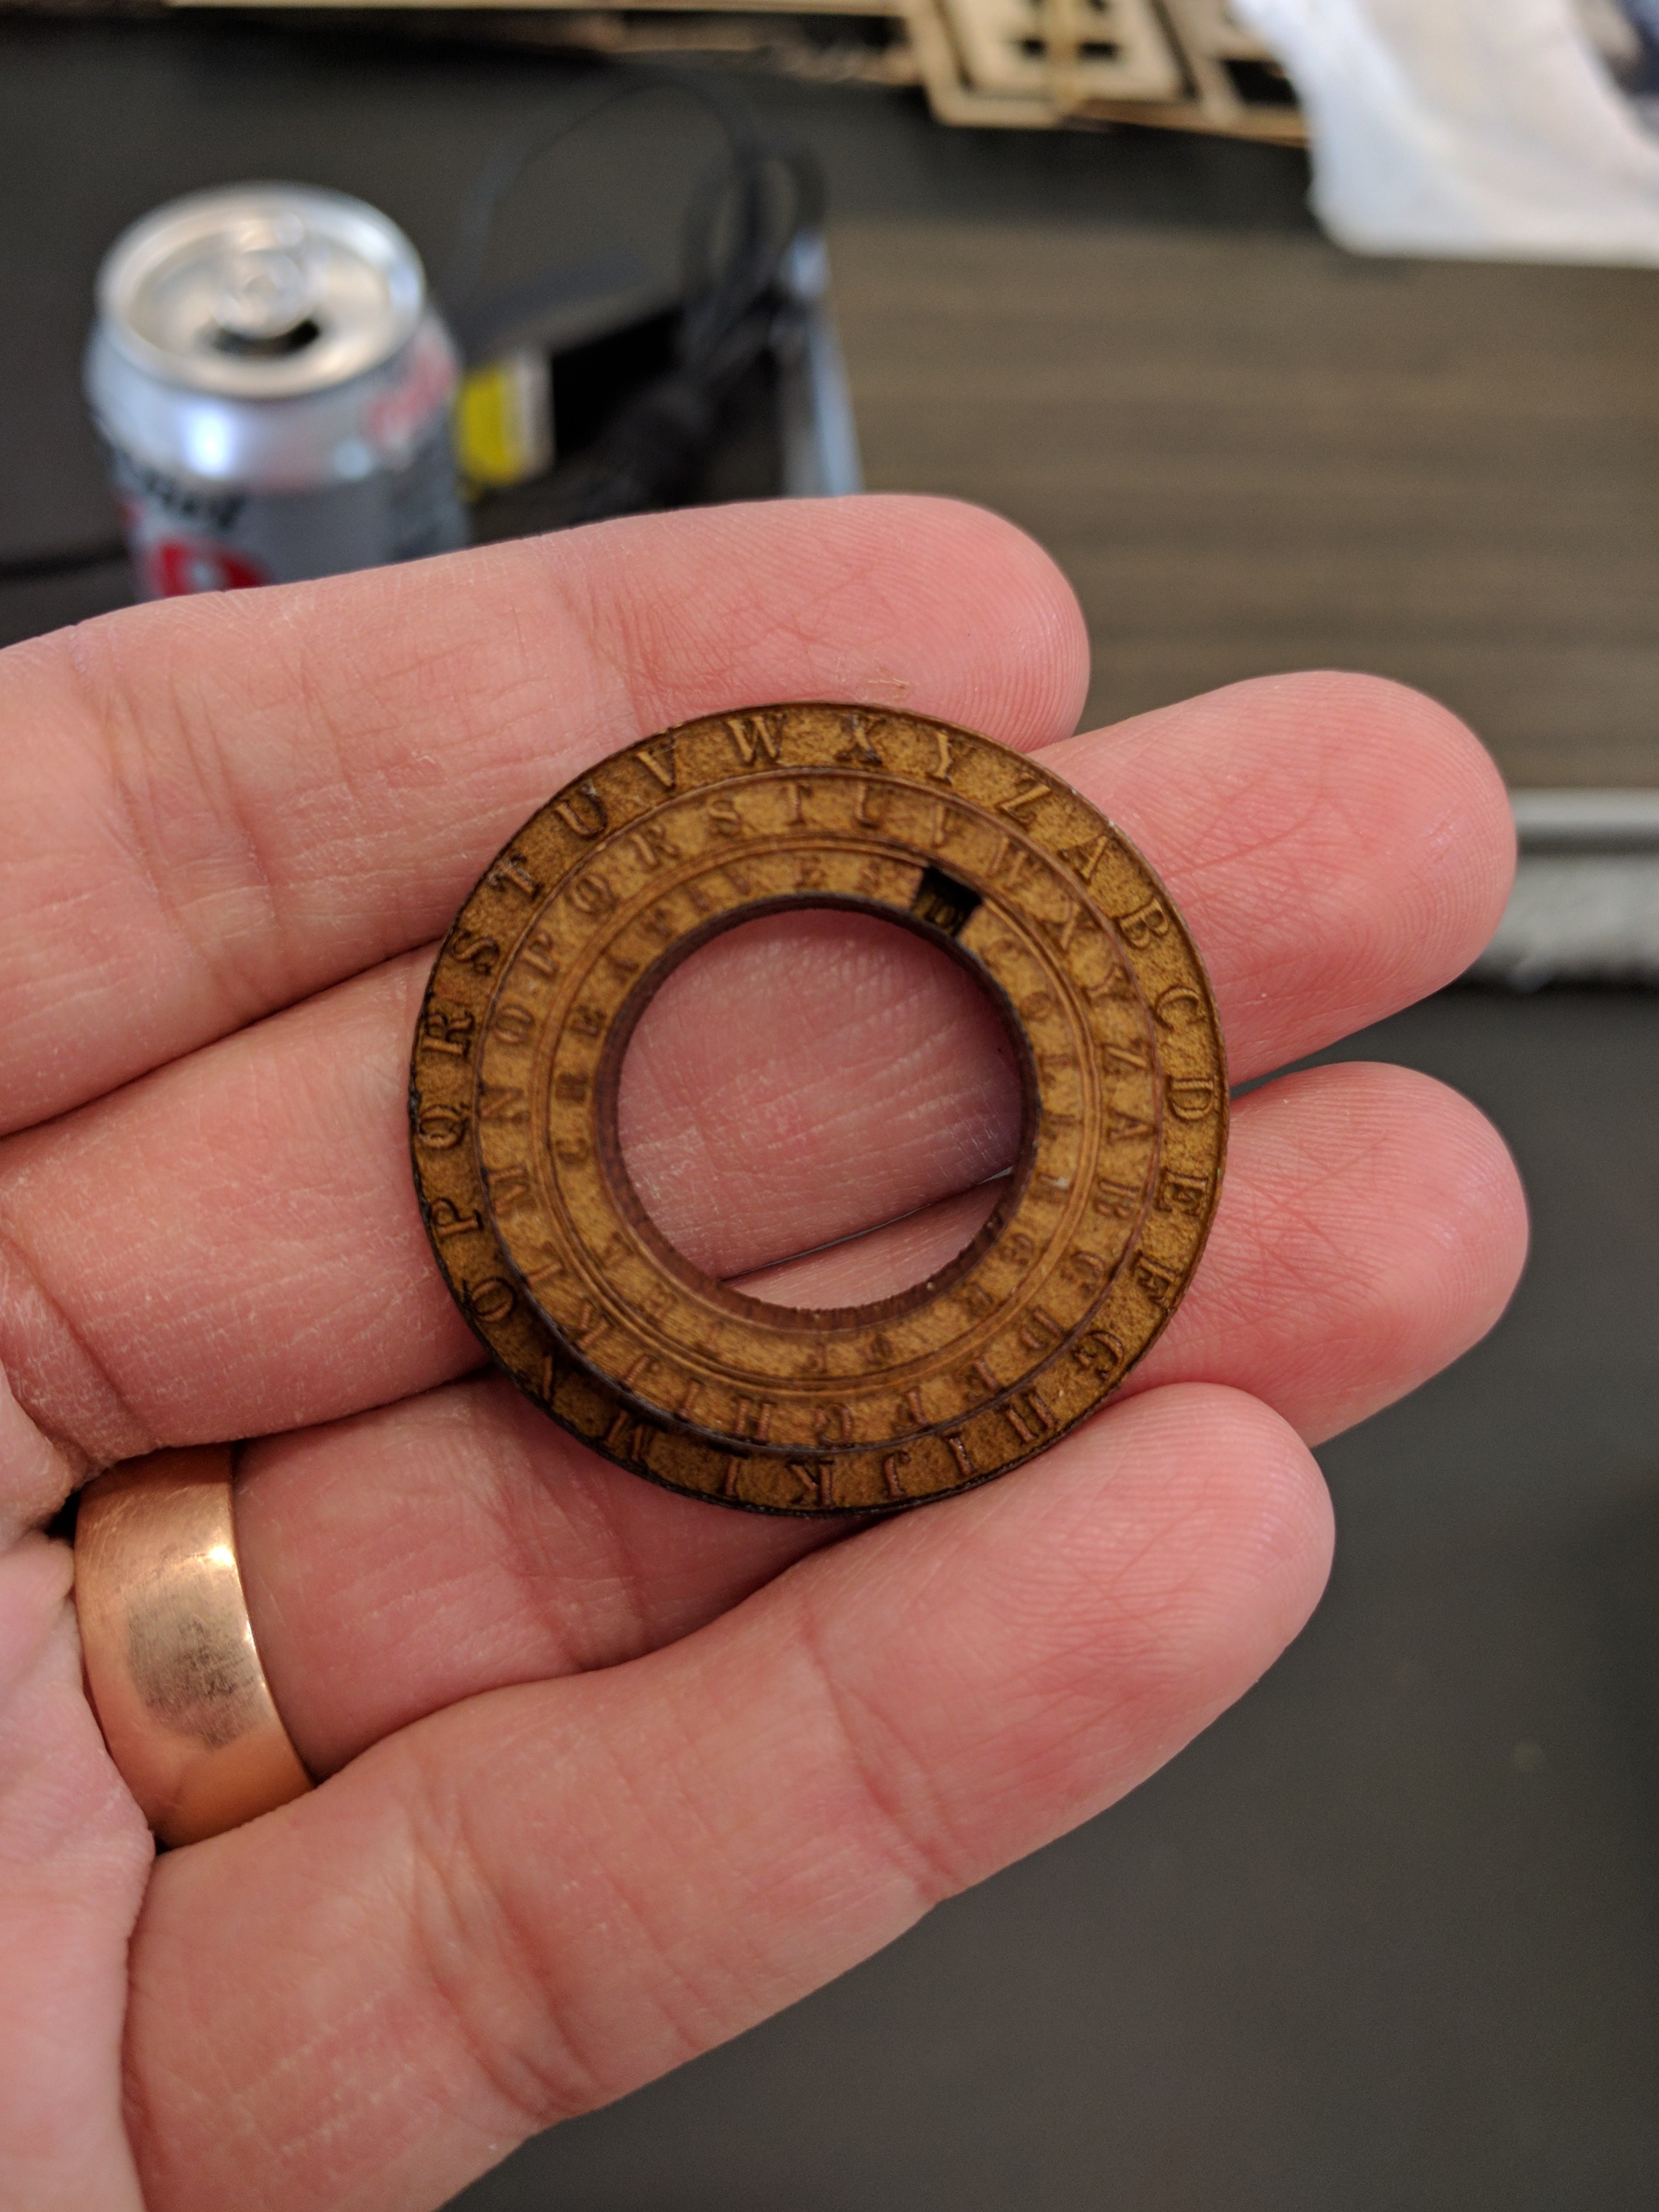
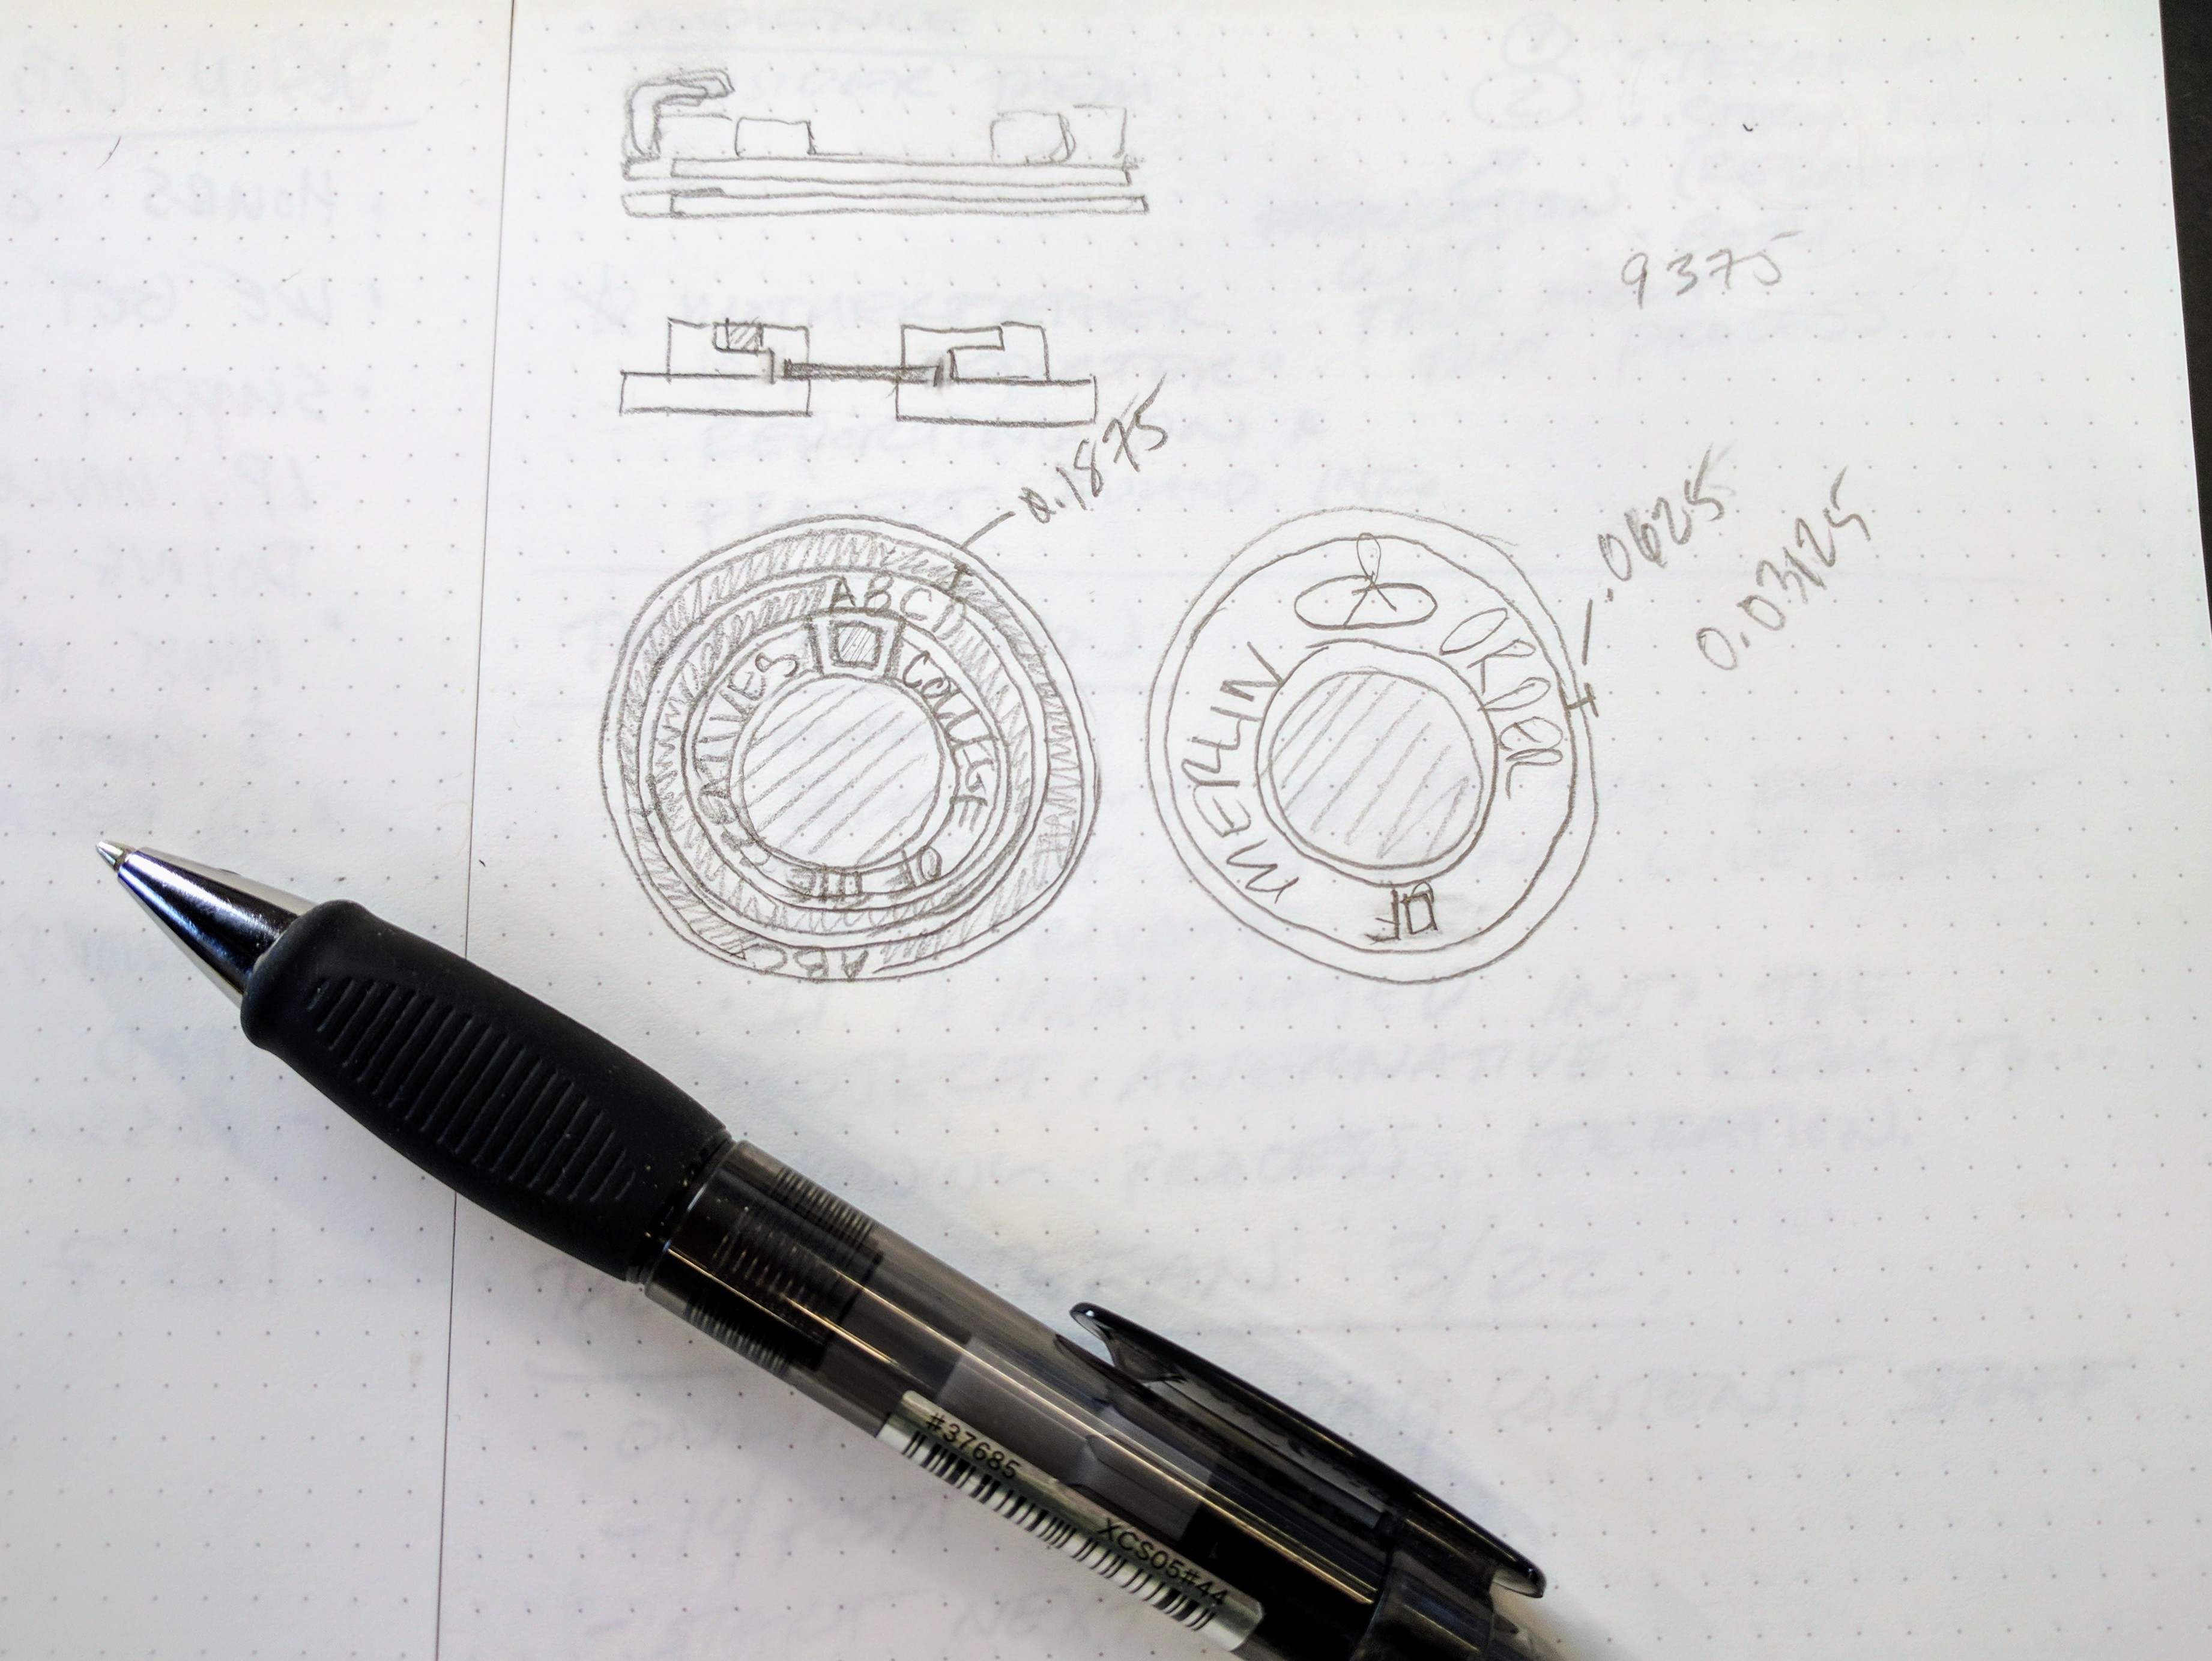
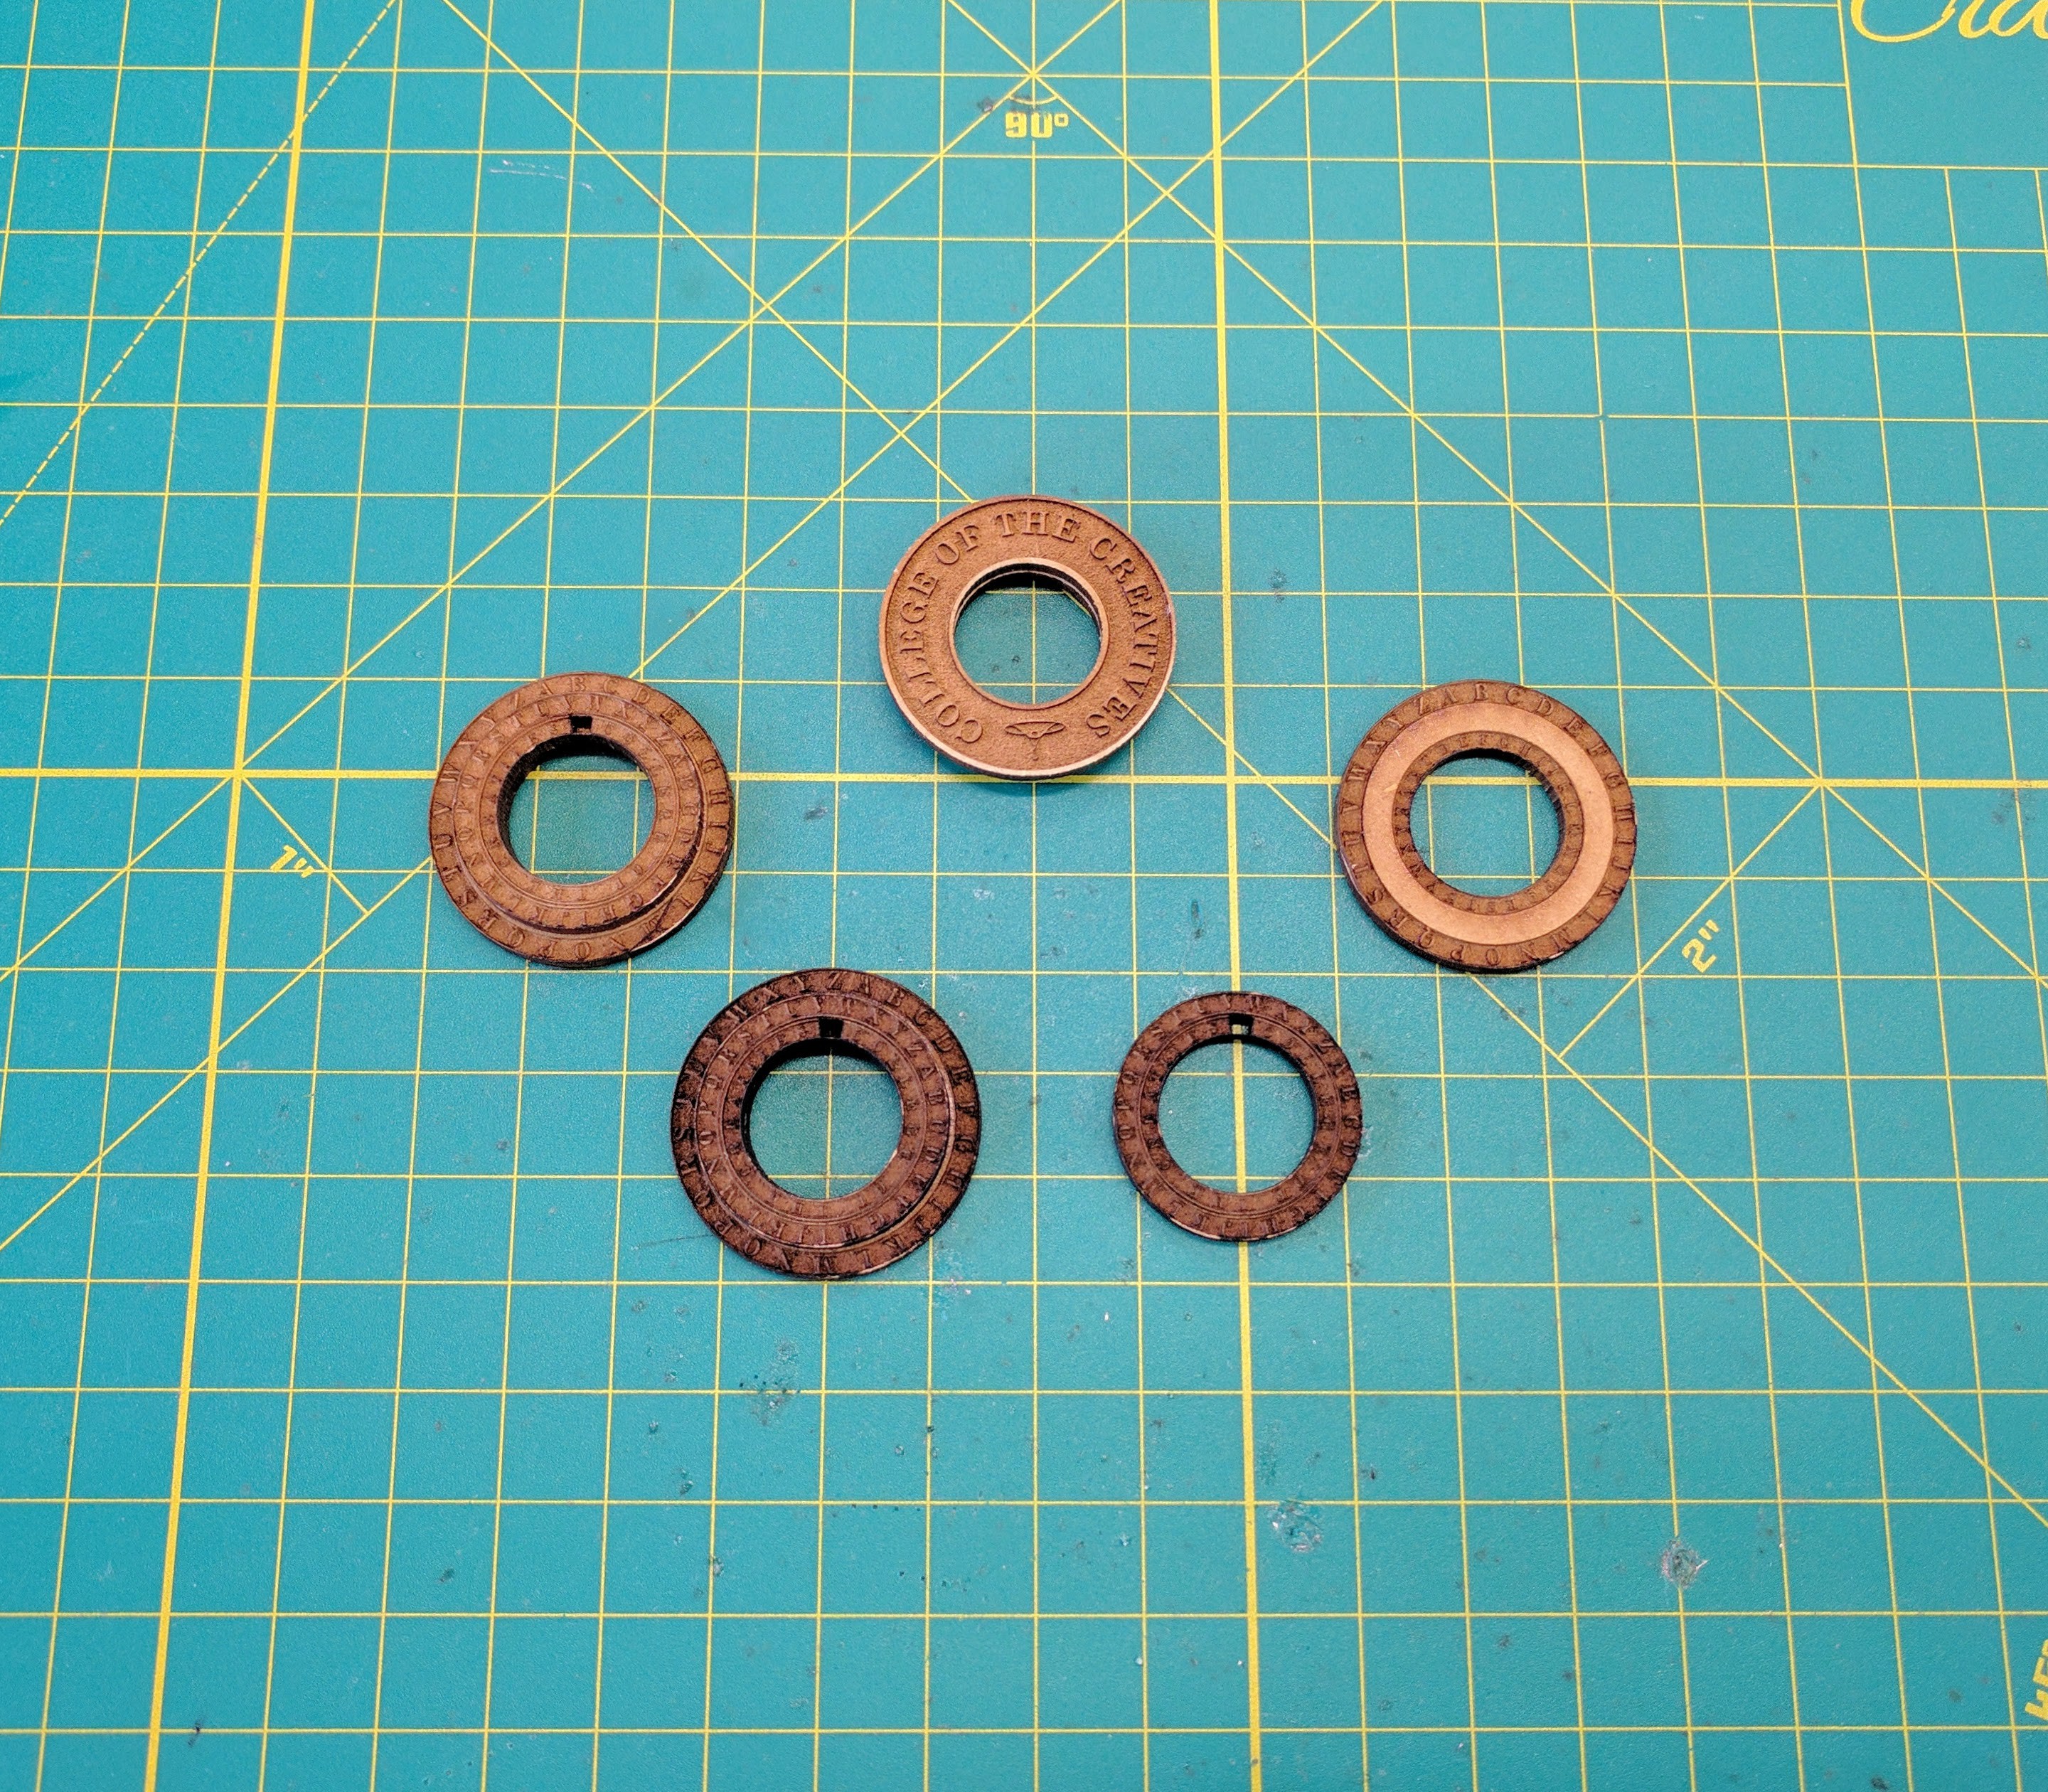
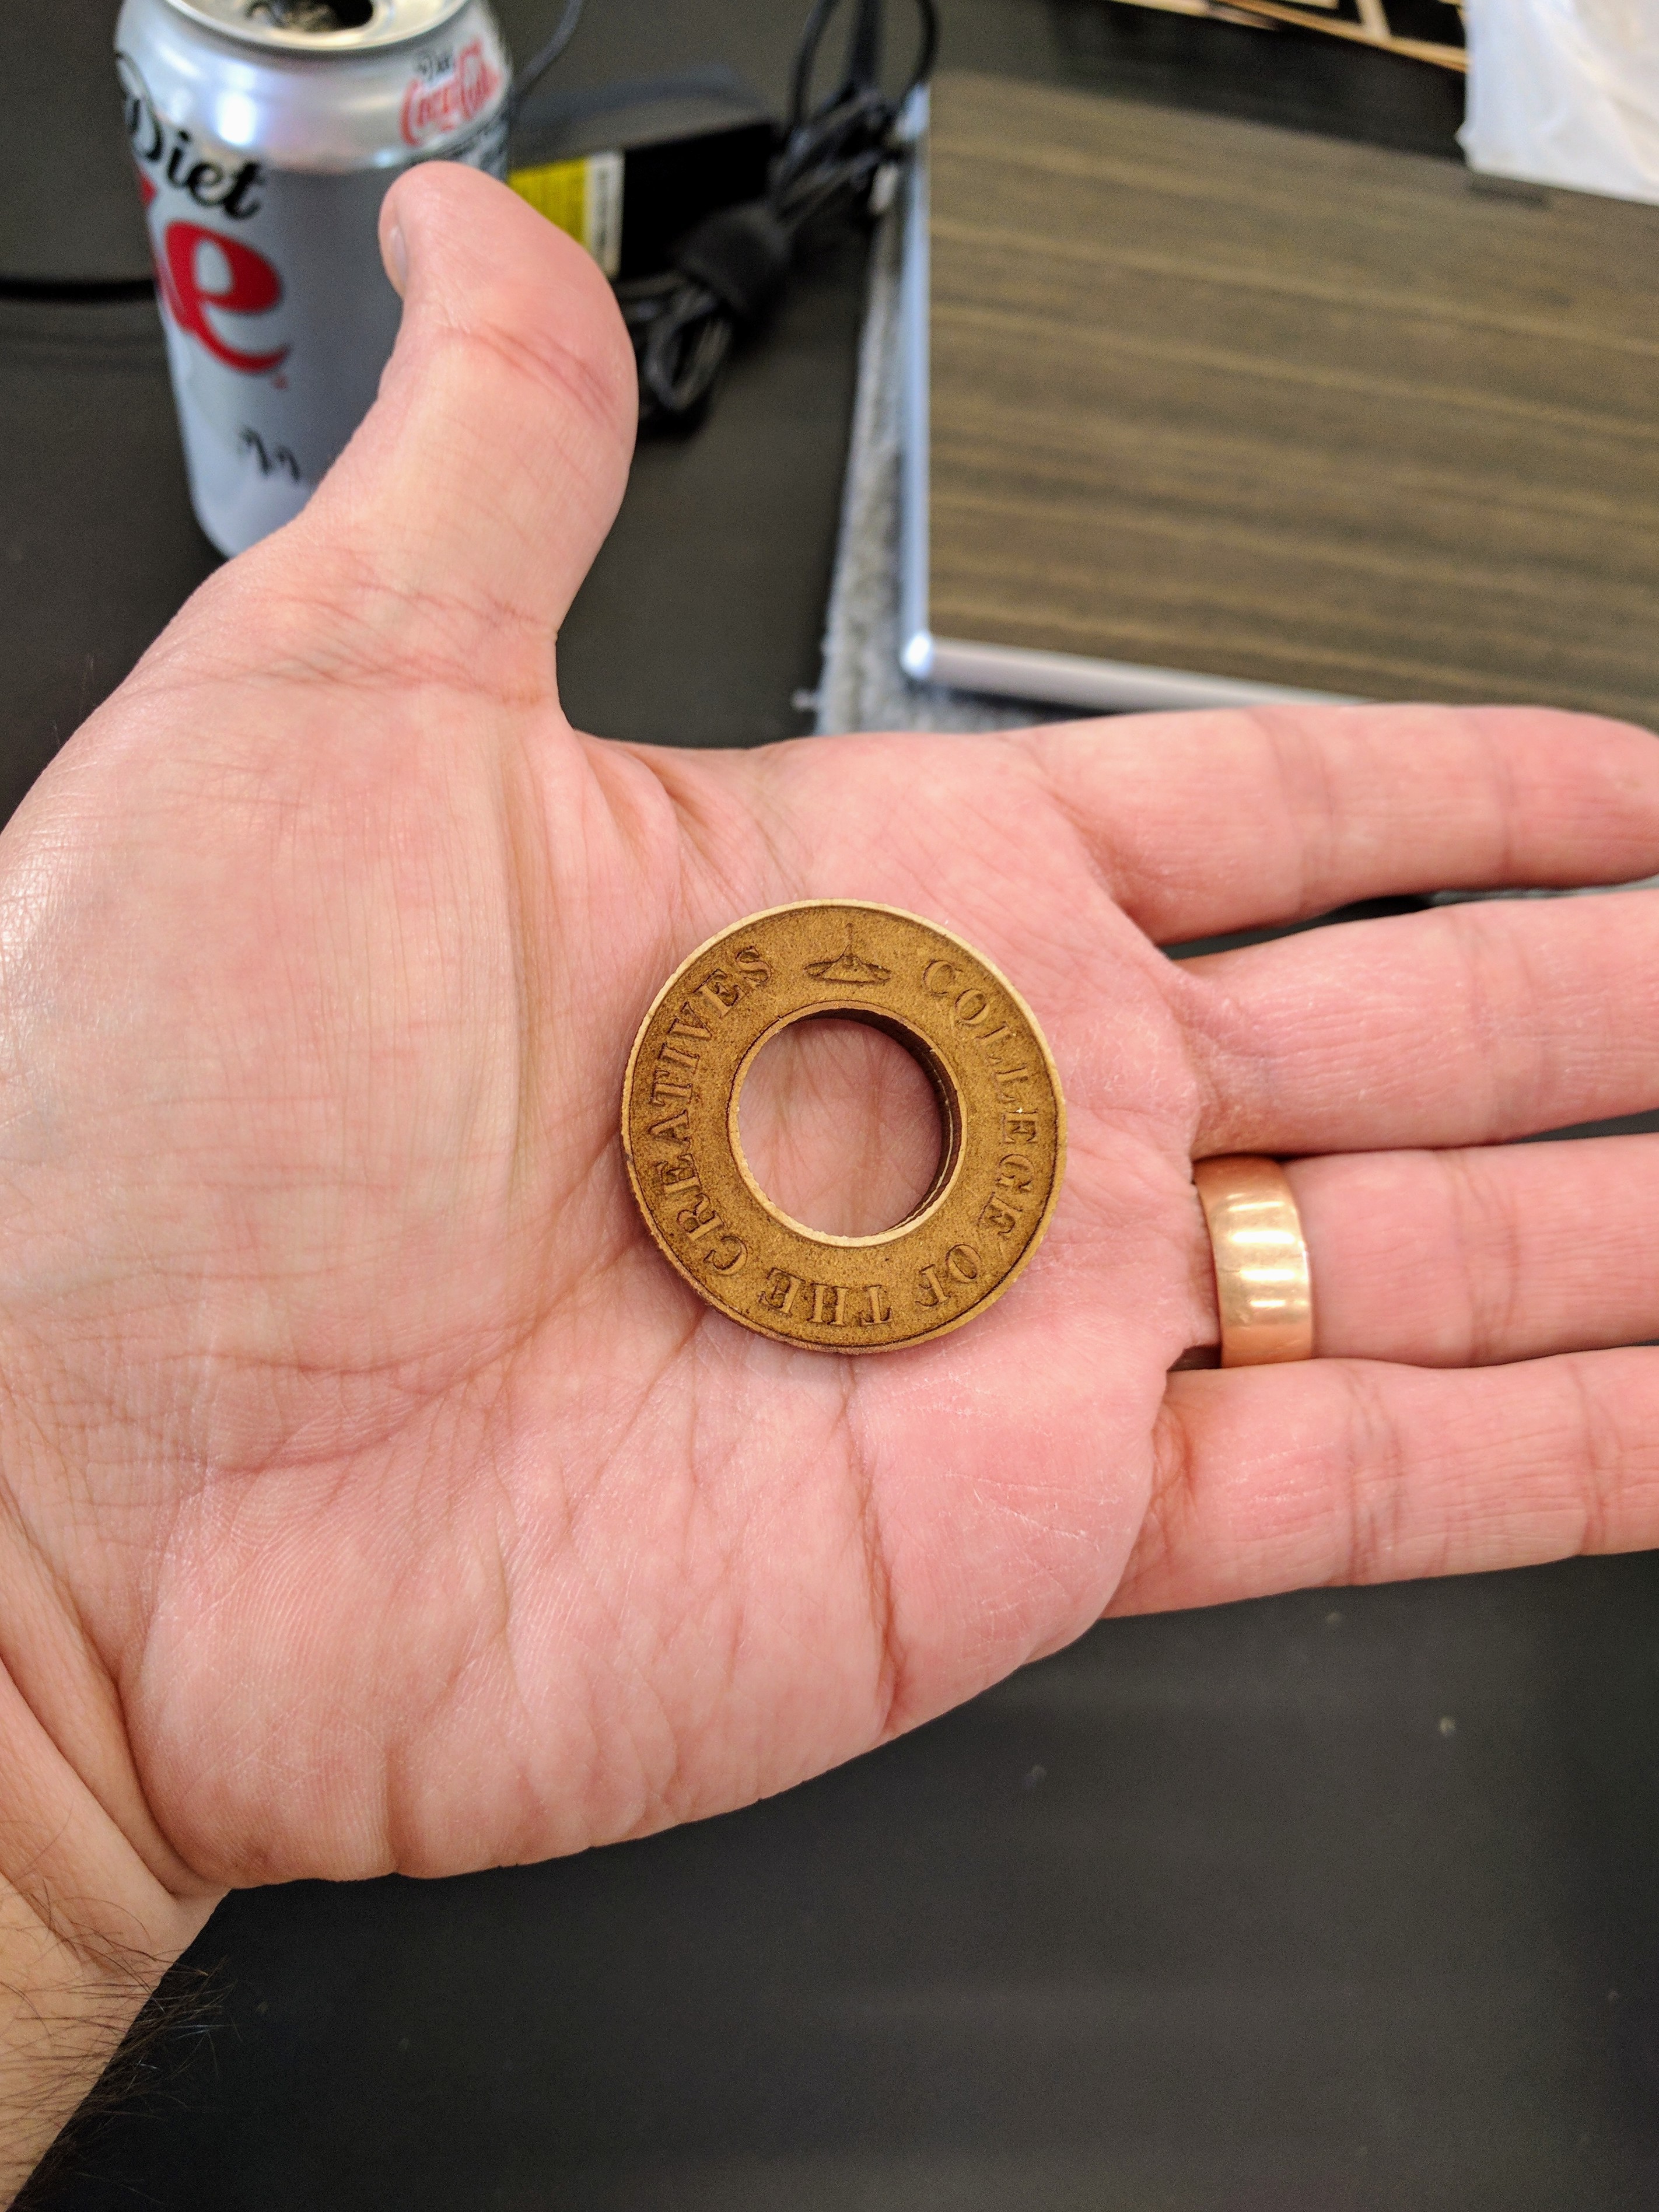
  • A Decoder/Cipher Coin: A challenge style coin with an inbuilt cipher that is used to solve and decipher the puzzles and codes hidden in the text of the Pocket Guide.
  • A Key: A key hidden in a hidden drawer that is used to unlock a hidden compartment found on the front of the cabinet.
  • A Enamel Pin: A pin used to symbolize that the recipient has passed all of the College's trials. When worn this pin “marks" recipients as fully Lettered Members of the College of the Creatives.
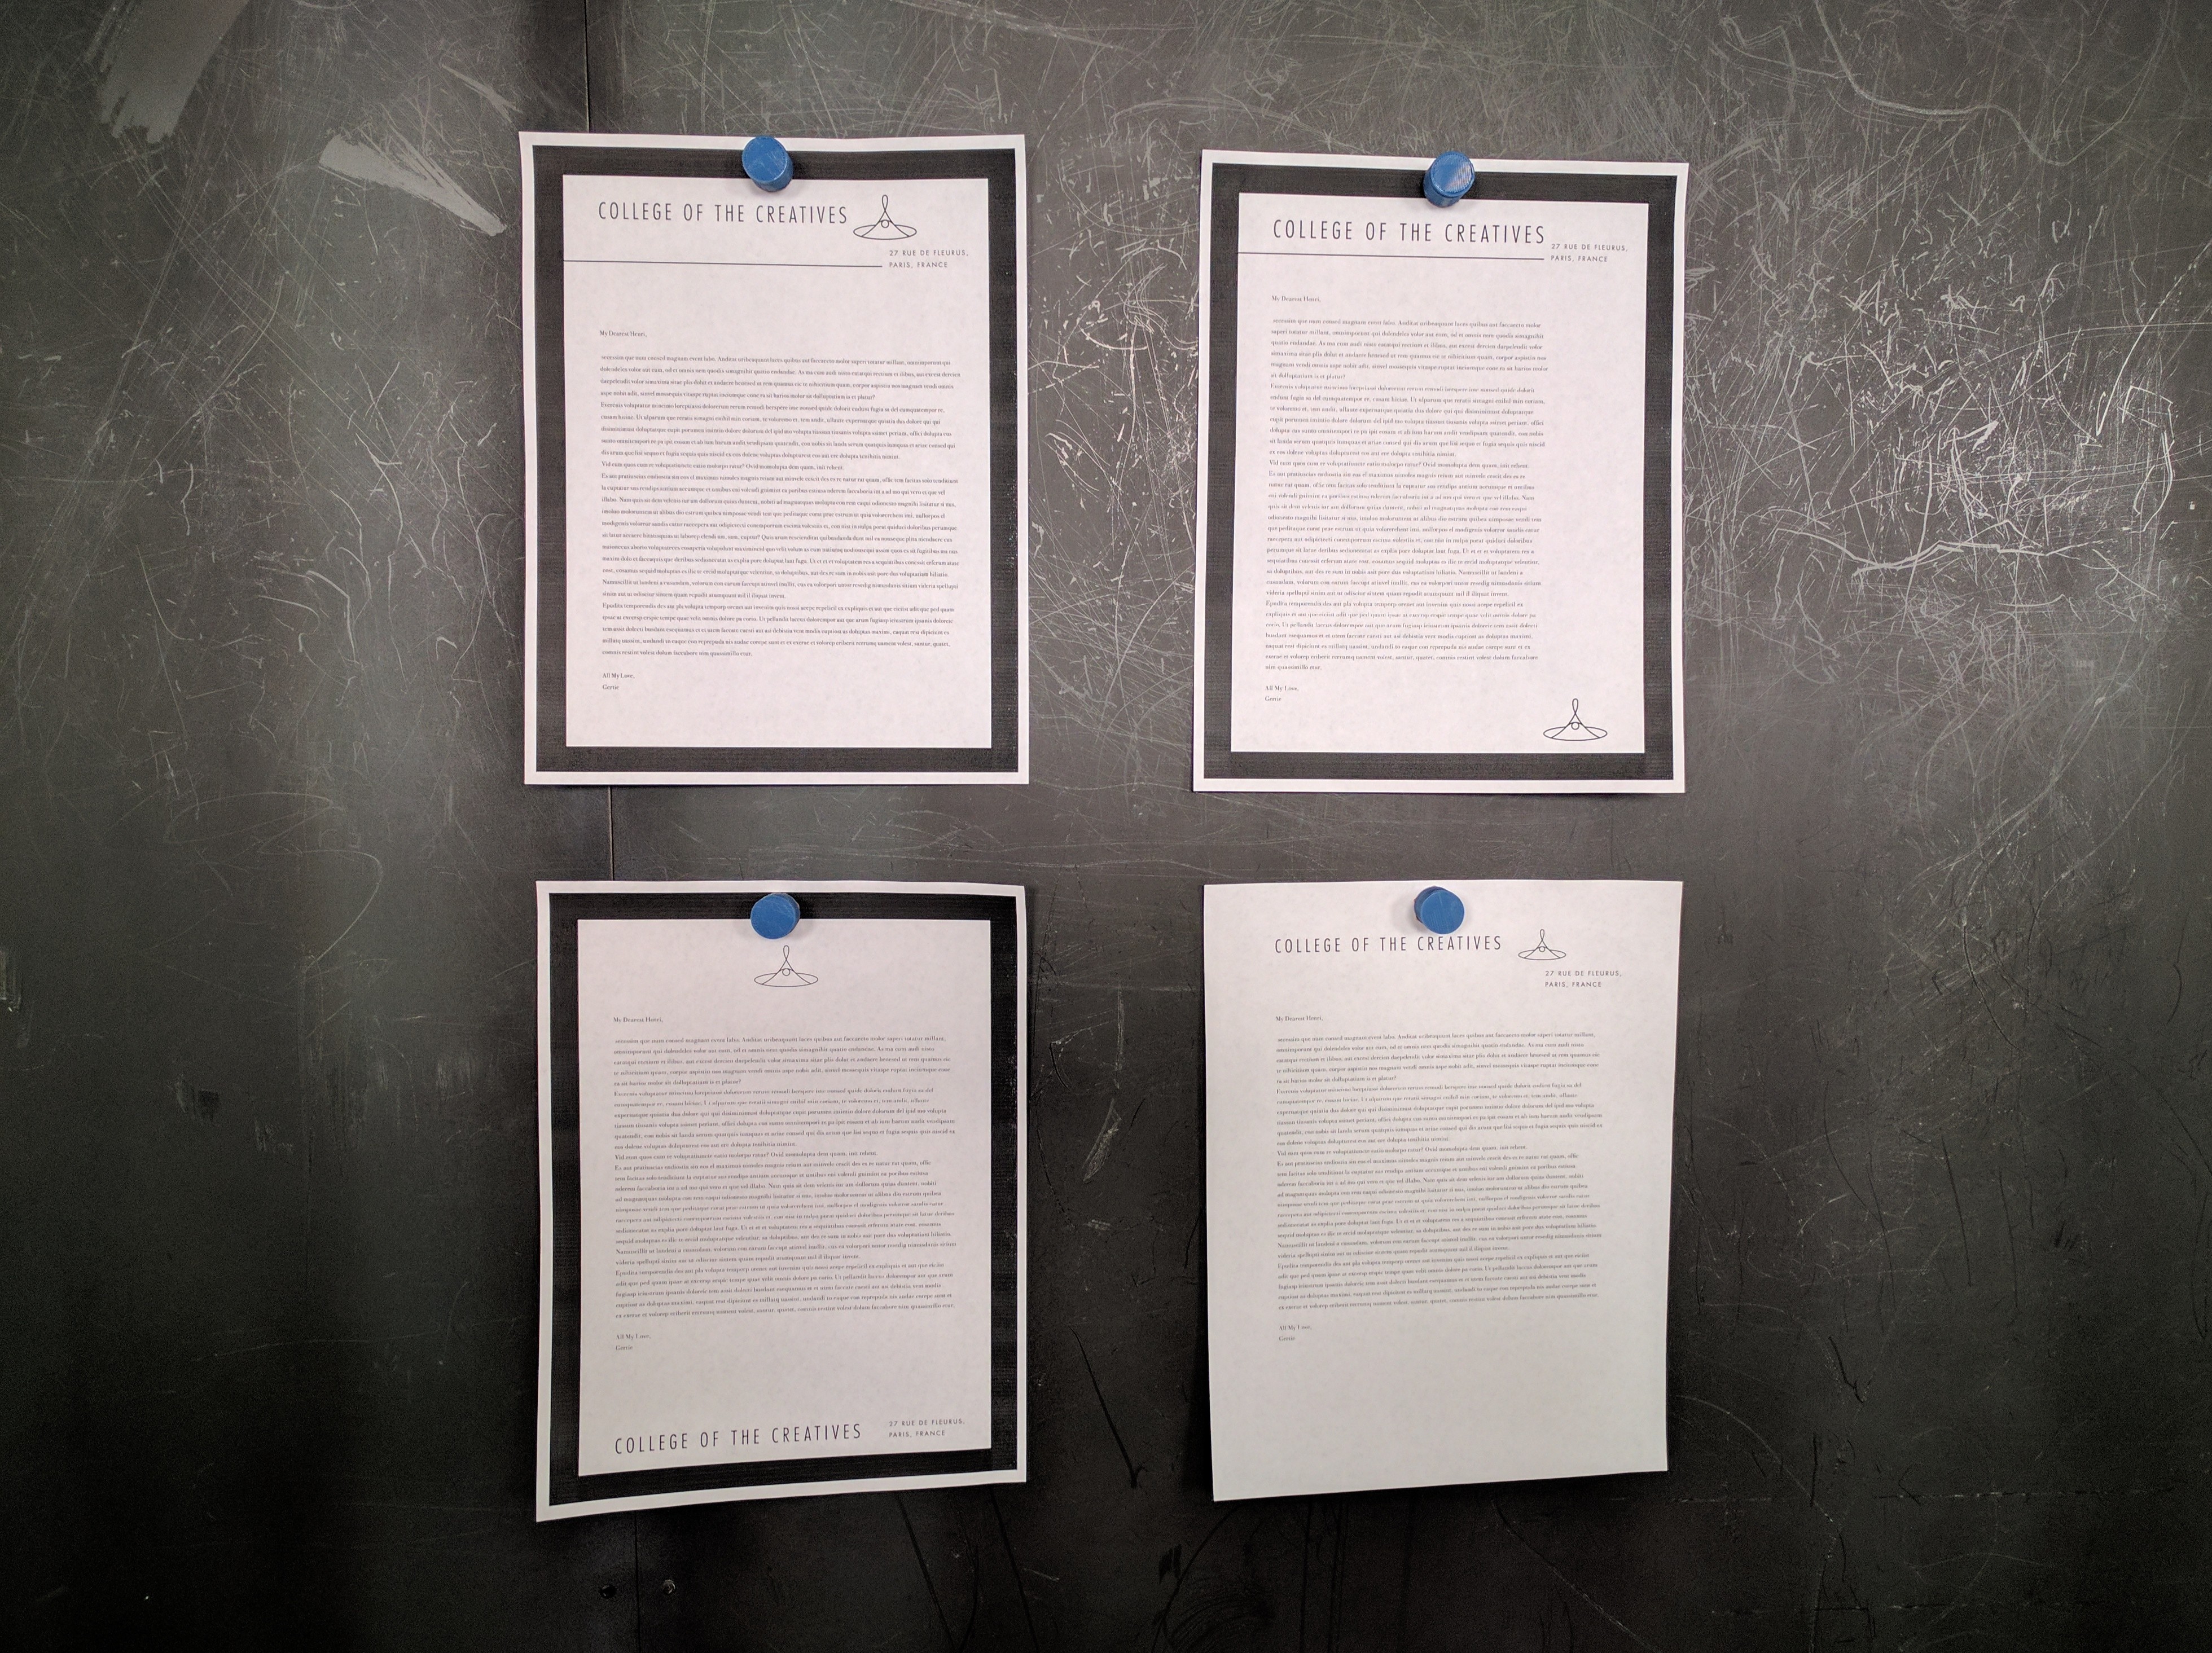
  • Letters: Letters included inside of the crate and cabinet that: address each recipient by name, introduce the person we're sending the box on the behalf of to them, and invite them to take the "College of the Creative's" trials to become a Lettered Member of the College. These letters also help fill in historical facts about the College, give context about its activities during and post WWII. The last letter will serve as a prestige, revealing our intentions, explaining our call-to-action, and inviting each recipient to help us fight threats to art and creative culture like the planned defunding of federal initiatives that fund art and creative culture in America by the current administration.

A Wooden Crate: A Baltic bitch plywood crate the cabinets will be shipped in to their intended recipients.

Below is a video of a foam core mock-up I made, before coming the the DesignLab, to walk people through the cabinet experience.

Who We Are:

In late 2015 my wife (Maggie) and I decided to strike out on our own, forming a small independent change-driven design studio/artist collective called MotherFather. Our collective is comprised of socially conscientious designers, artists, and makers obsessed with making the world a better place. We're focused on the belief that there is world changing power in thoughtful, empathetic, and communally engaging stories told from the heart that combine design, culture, and technology to create wonder and intrigue in the name of bringing people together to do good. We're committed to establishing ourselves as creatives that specialize in telling stories that matter and are worth sharing, and sincerely feel that making passion projects like the "College of the Creatives Cabinet" is the best way to reach that goal.

Why We Need to Make This/Artist's Statement:

There are multiple reasons why I personally needed to make this, mostly I've had the idea for the physical cabinet part of this project kicking around in my head in various states for the last 5 years, I just never had a worthwhile...

Read more »

CotC Cabinet Experience Wireframe.pdf

Step-by-step wireframe breaking down the Cabinet's experience.

Adobe Portable Document Format - 61.49 kB - 03/07/2017 at 05:36

Preview

Final Electronics Schematic Diagram.pdf

Rough skeletal schematic that diagrams and breaks down all of the electrical components we're planning on including in the cabinet.

Adobe Portable Document Format - 62.19 kB - 04/26/2017 at 18:11

Preview

Supplyframe DesignLab Sample Game.html

Sample game I made to demonstrate the general gameplay of the game we're including in the cabinet to Dan (the DesignLab's Resident Engineer).

HyperText Markup Language (HTML) - 247.58 kB - 04/25/2017 at 21:40

Download

CotC Letterhead Mock-Ups.pdf

Sample letterhead Maggie made while working out/designing the College's identity system.

Adobe Portable Document Format - 68.73 kB - 04/27/2017 at 08:19

Preview

CotC Cabinet Proposal and Executive Brief.pdf

Executive brief we created and sent to individuals, companies, organizations, and foundations we approached requesting project partnership and/or funding.

Adobe Portable Document Format - 453.62 kB - 04/25/2017 at 04:50

Preview

View all 7 files

  • 1 × Raspberry Pi 3 Used to power the early breadboarded version of the project's electronic's components
  • 1 × Raspberry Pi Zero W Used to power the V1 prototype in the "hat" model to register key presses before migrating over to the NTC C.H.I.P. and Pimoroni Picade PCB
  • 1 × Adafruit Arcade Bonnet Used with the breadboarded mock-up and V1 prototype in the "hat" version to register key presses before migrating over to the NTC C.H.I.P. and Pimoroni Picade PCB
  • 1 × 2.5" Color LCD Screen + Driver Board Used as a display monitor in the V1 "hat" prototype of this project
  • 1 × Next Thing Co. C.H.I.P. Used to power the V2 prototype and final version of this project

View all 26 components

  • 13 - DESIGN SPRINT!!! - May 20th - June 4th

    Mike06/05/2017 at 02:02 2 comments

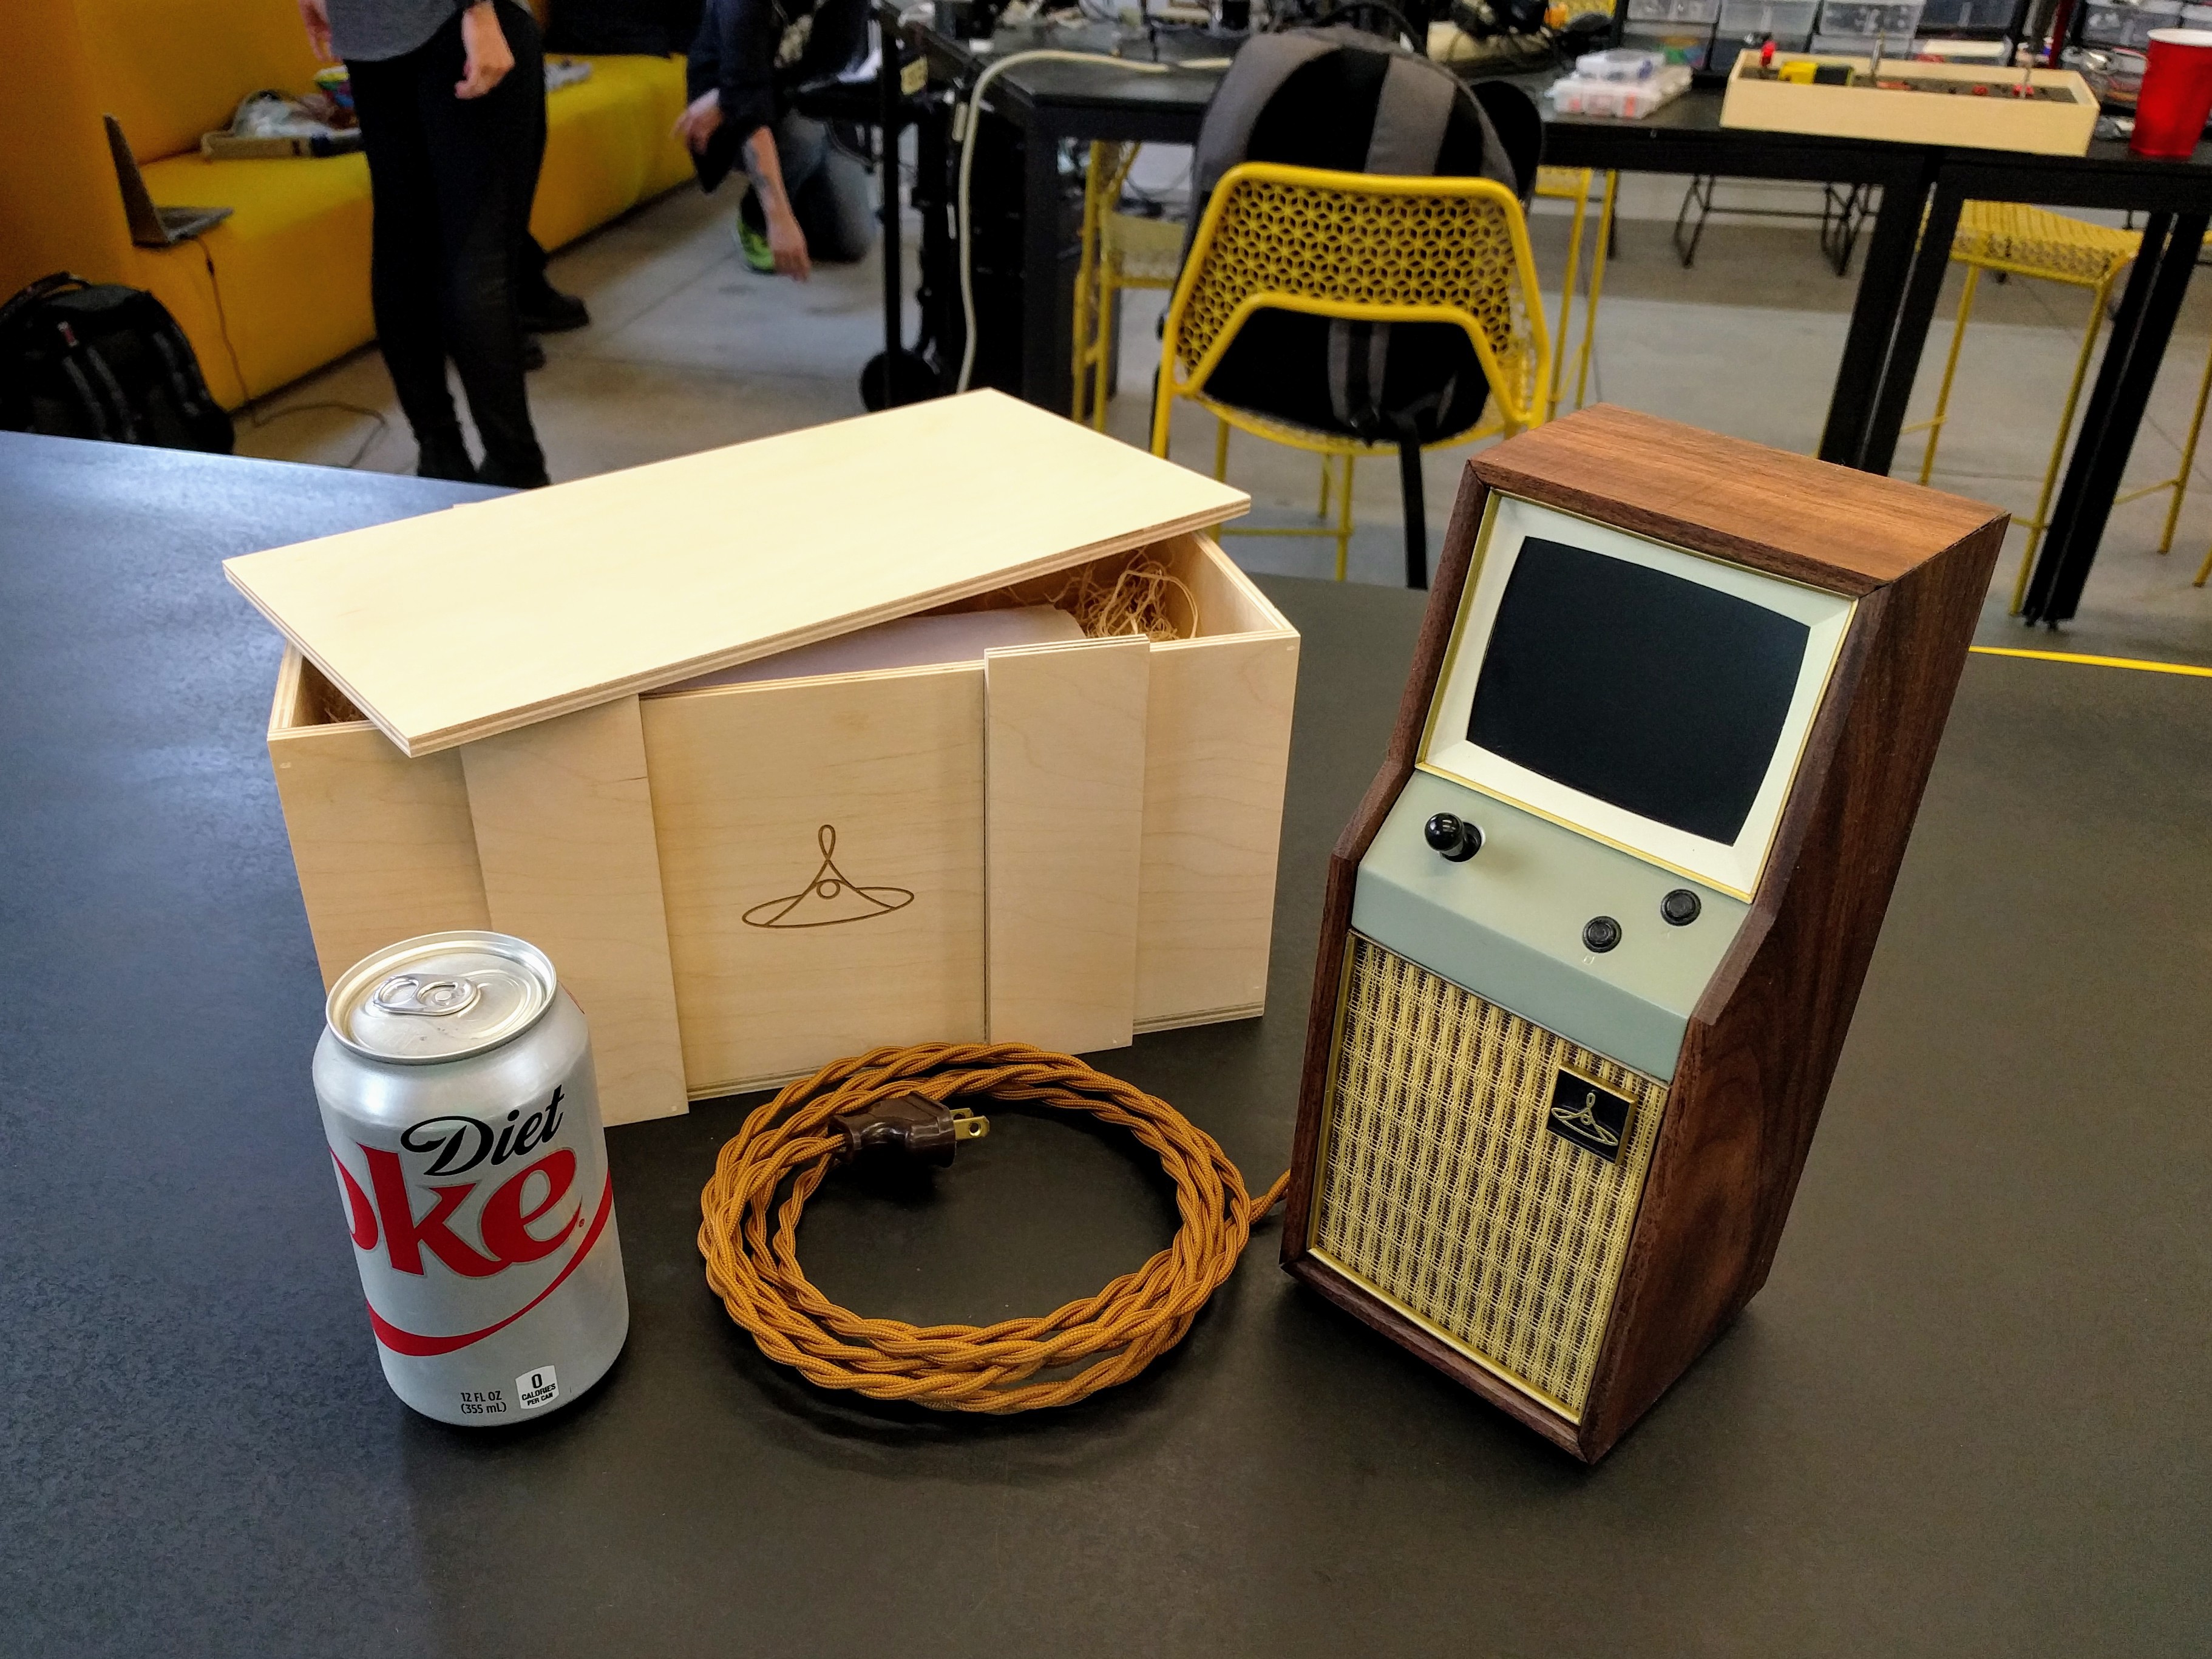
    Near final prototype made out of final build materials (can of Diet Coke included for scale)!

    As mentioned in my last post, I needed to finish designing the exterior of the College of the Creatives Cabinet, and to build a more complete looking prototype made out of final build materials (walnut hardwood, masonite, and plastic) to show potential backers (and the public in general) what they were helping us send to our select group of cultural influencers, and/or they could get at the highest pledge level. It's with all of this in mind that I challenged myself to make a final looking cabinet over the next 2 weeks!

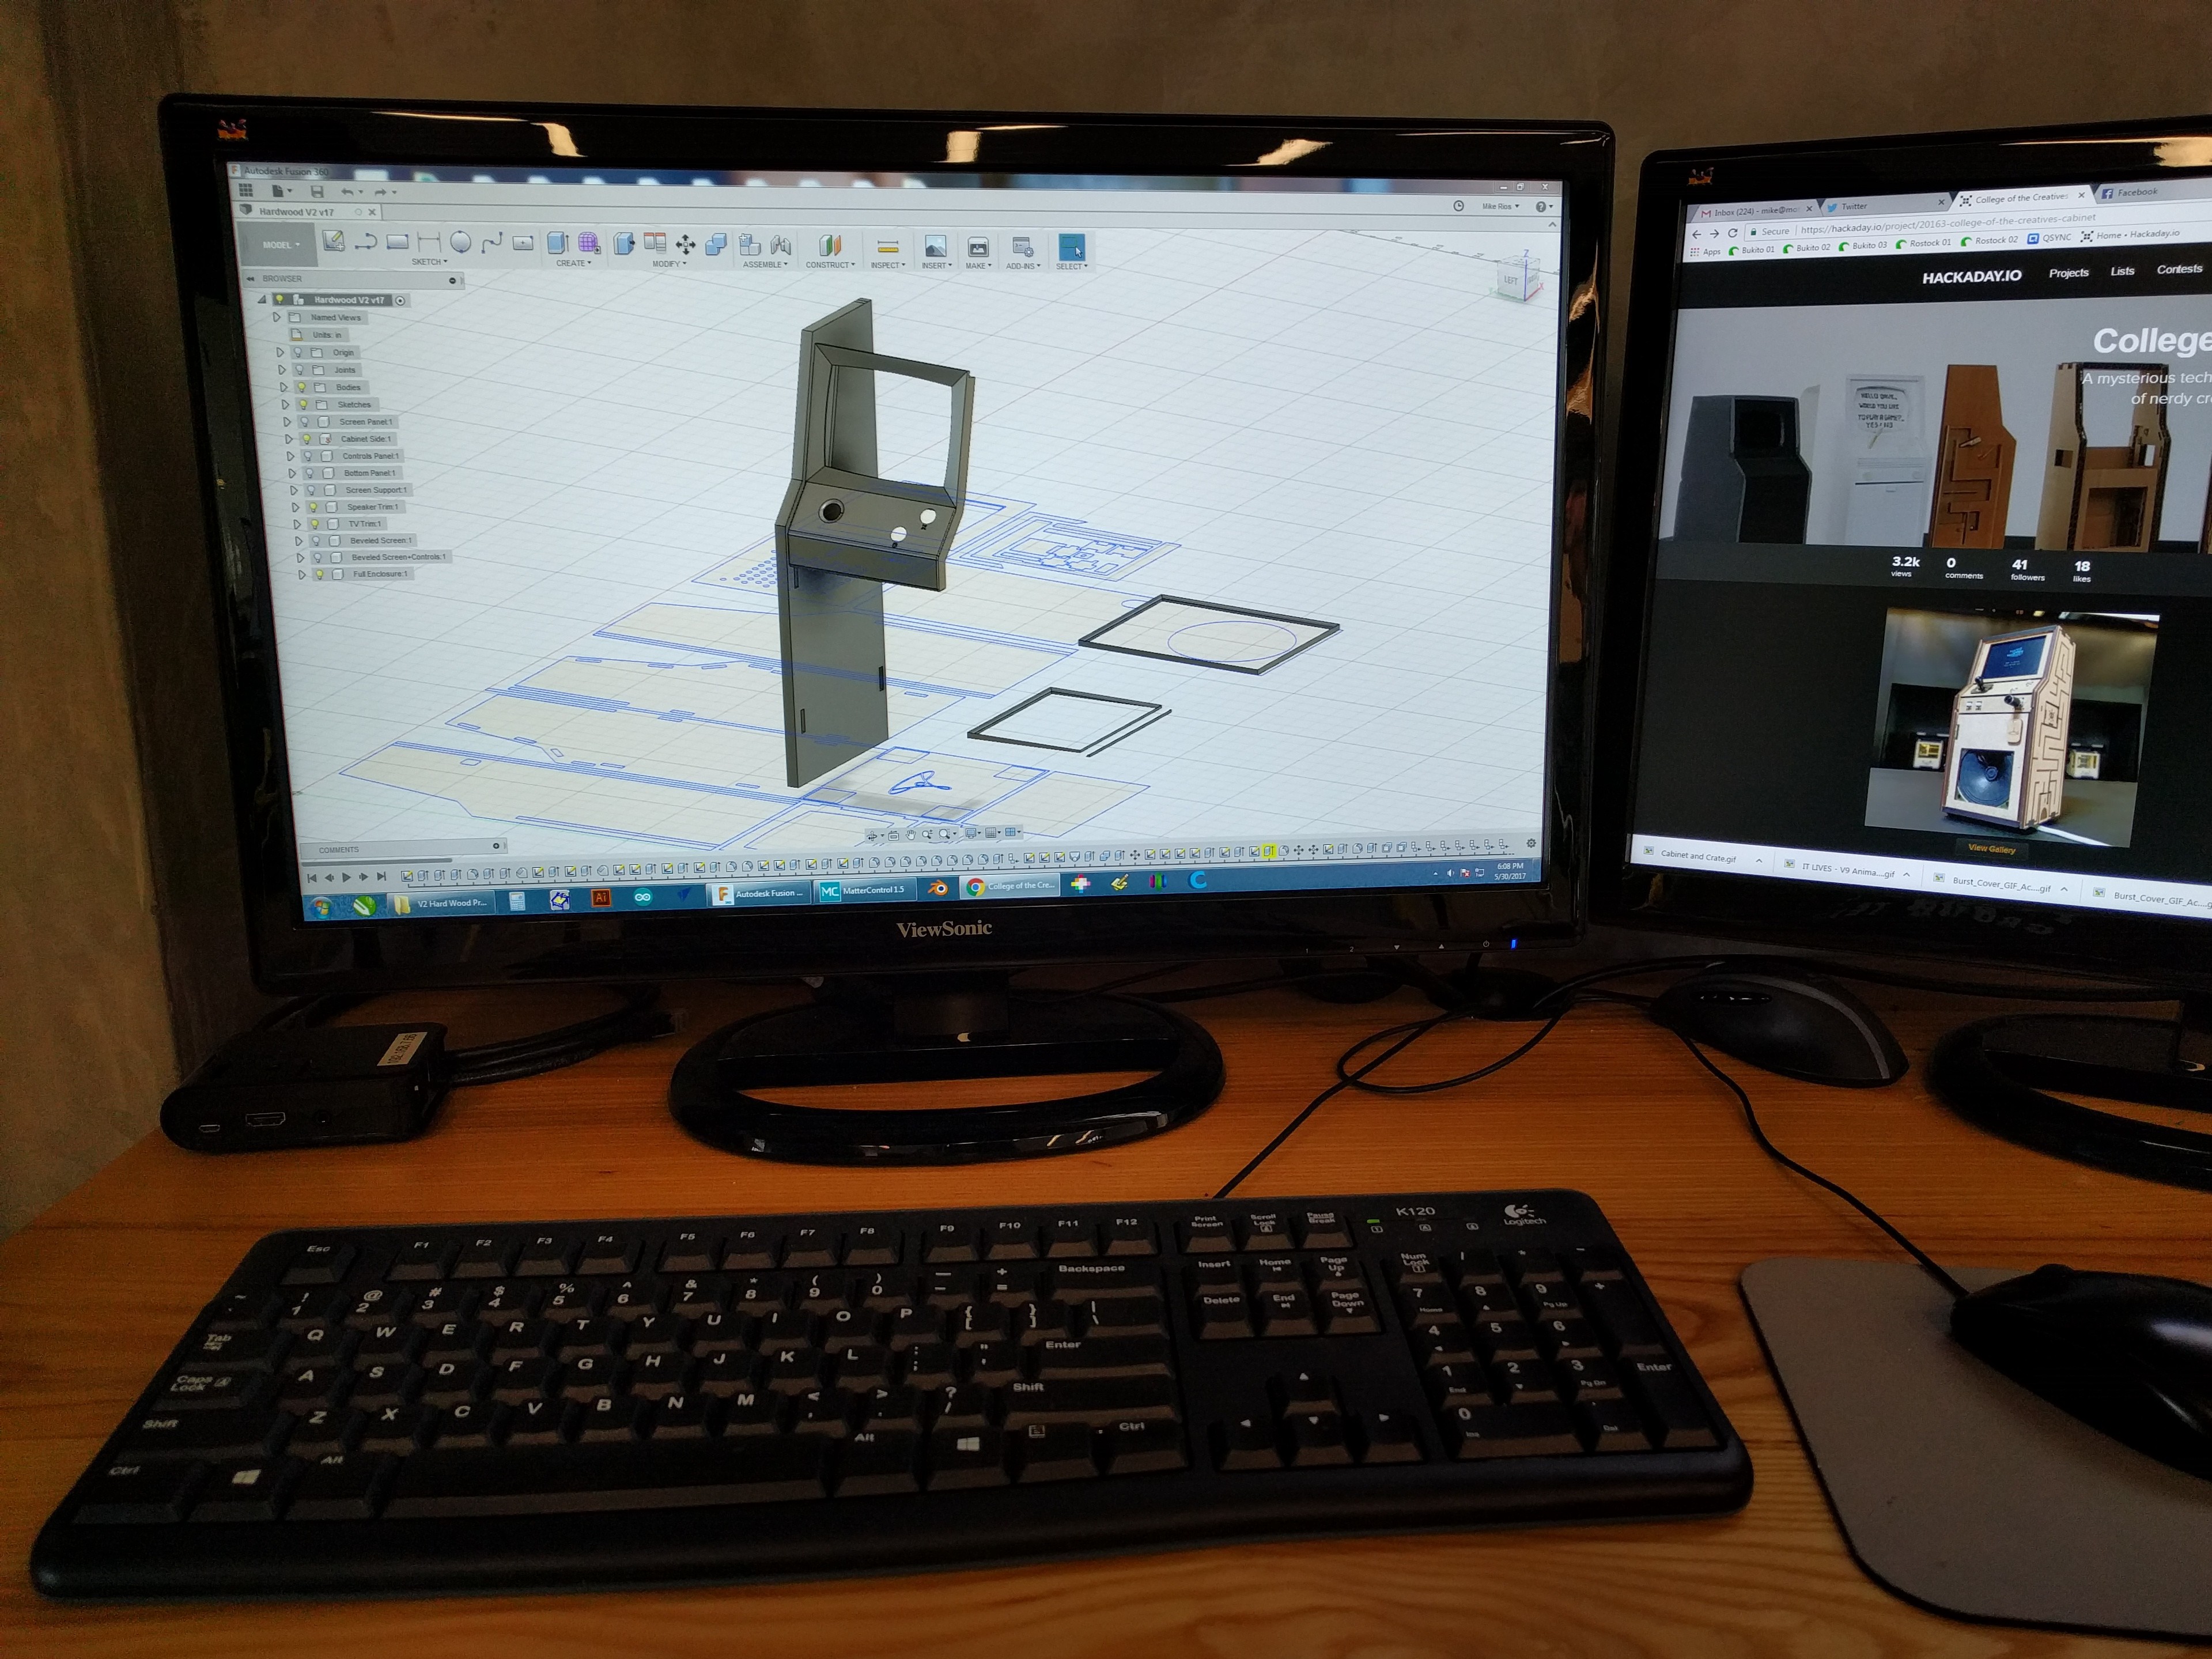
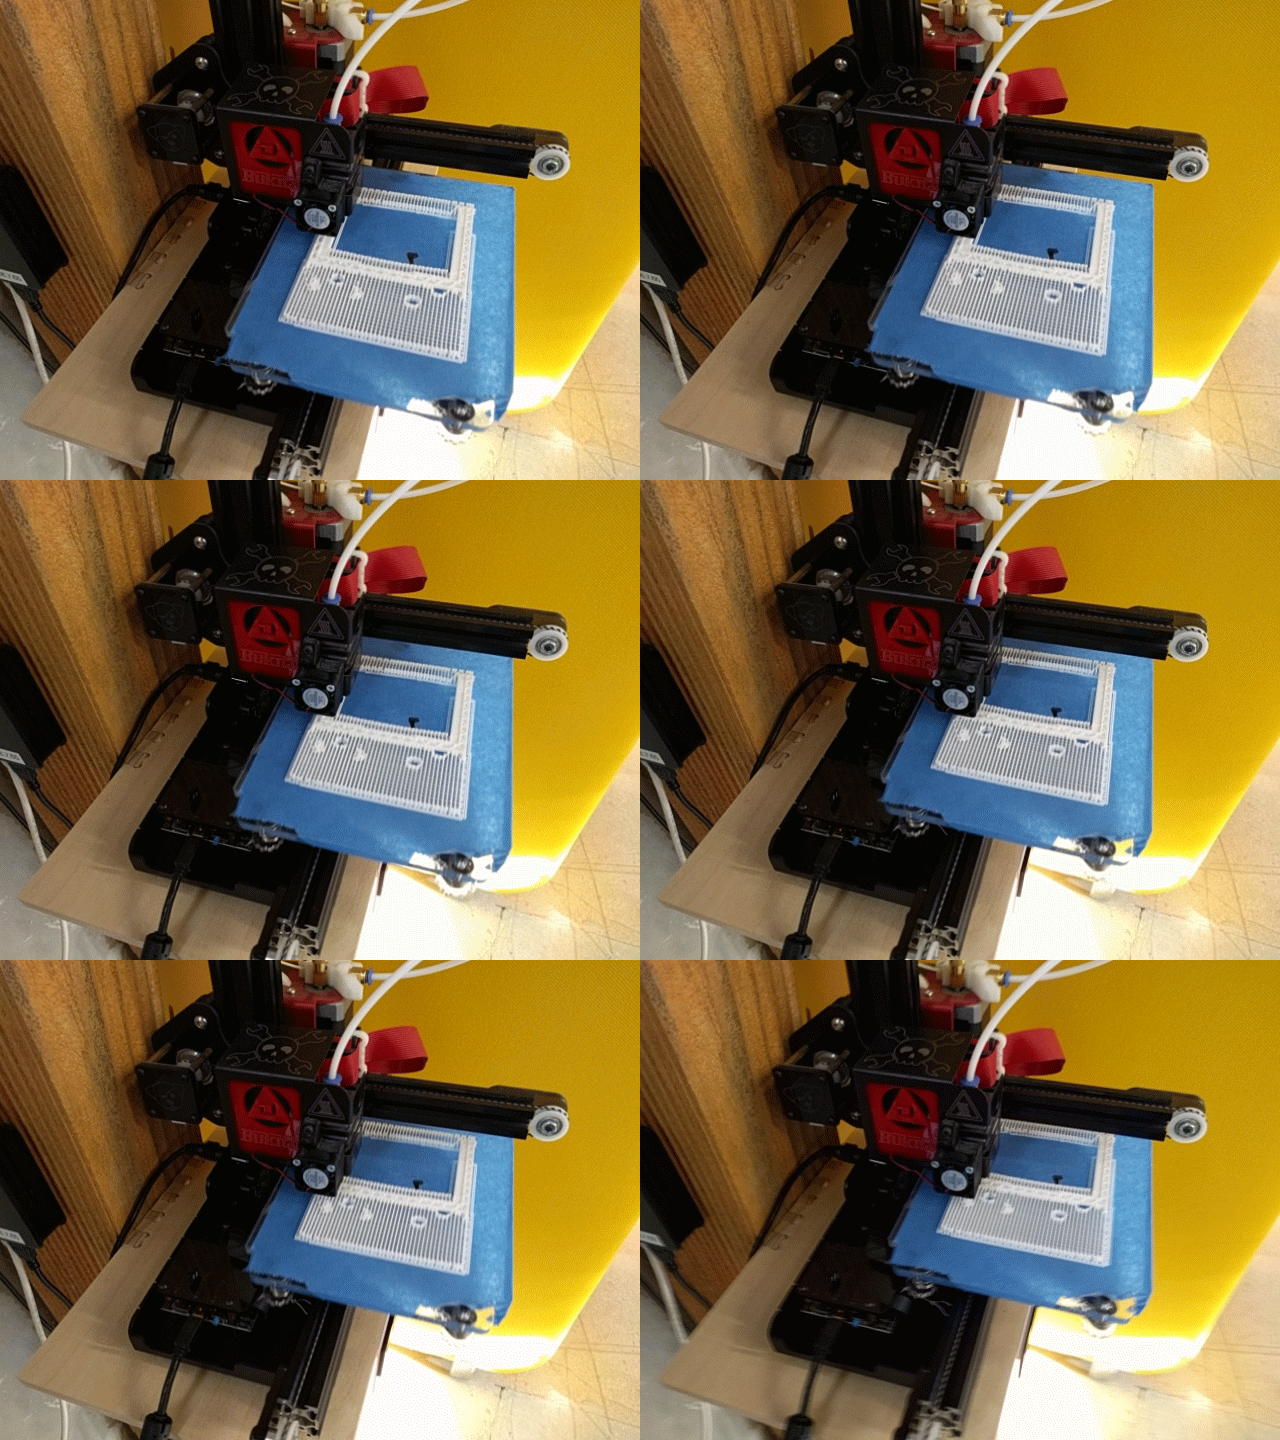
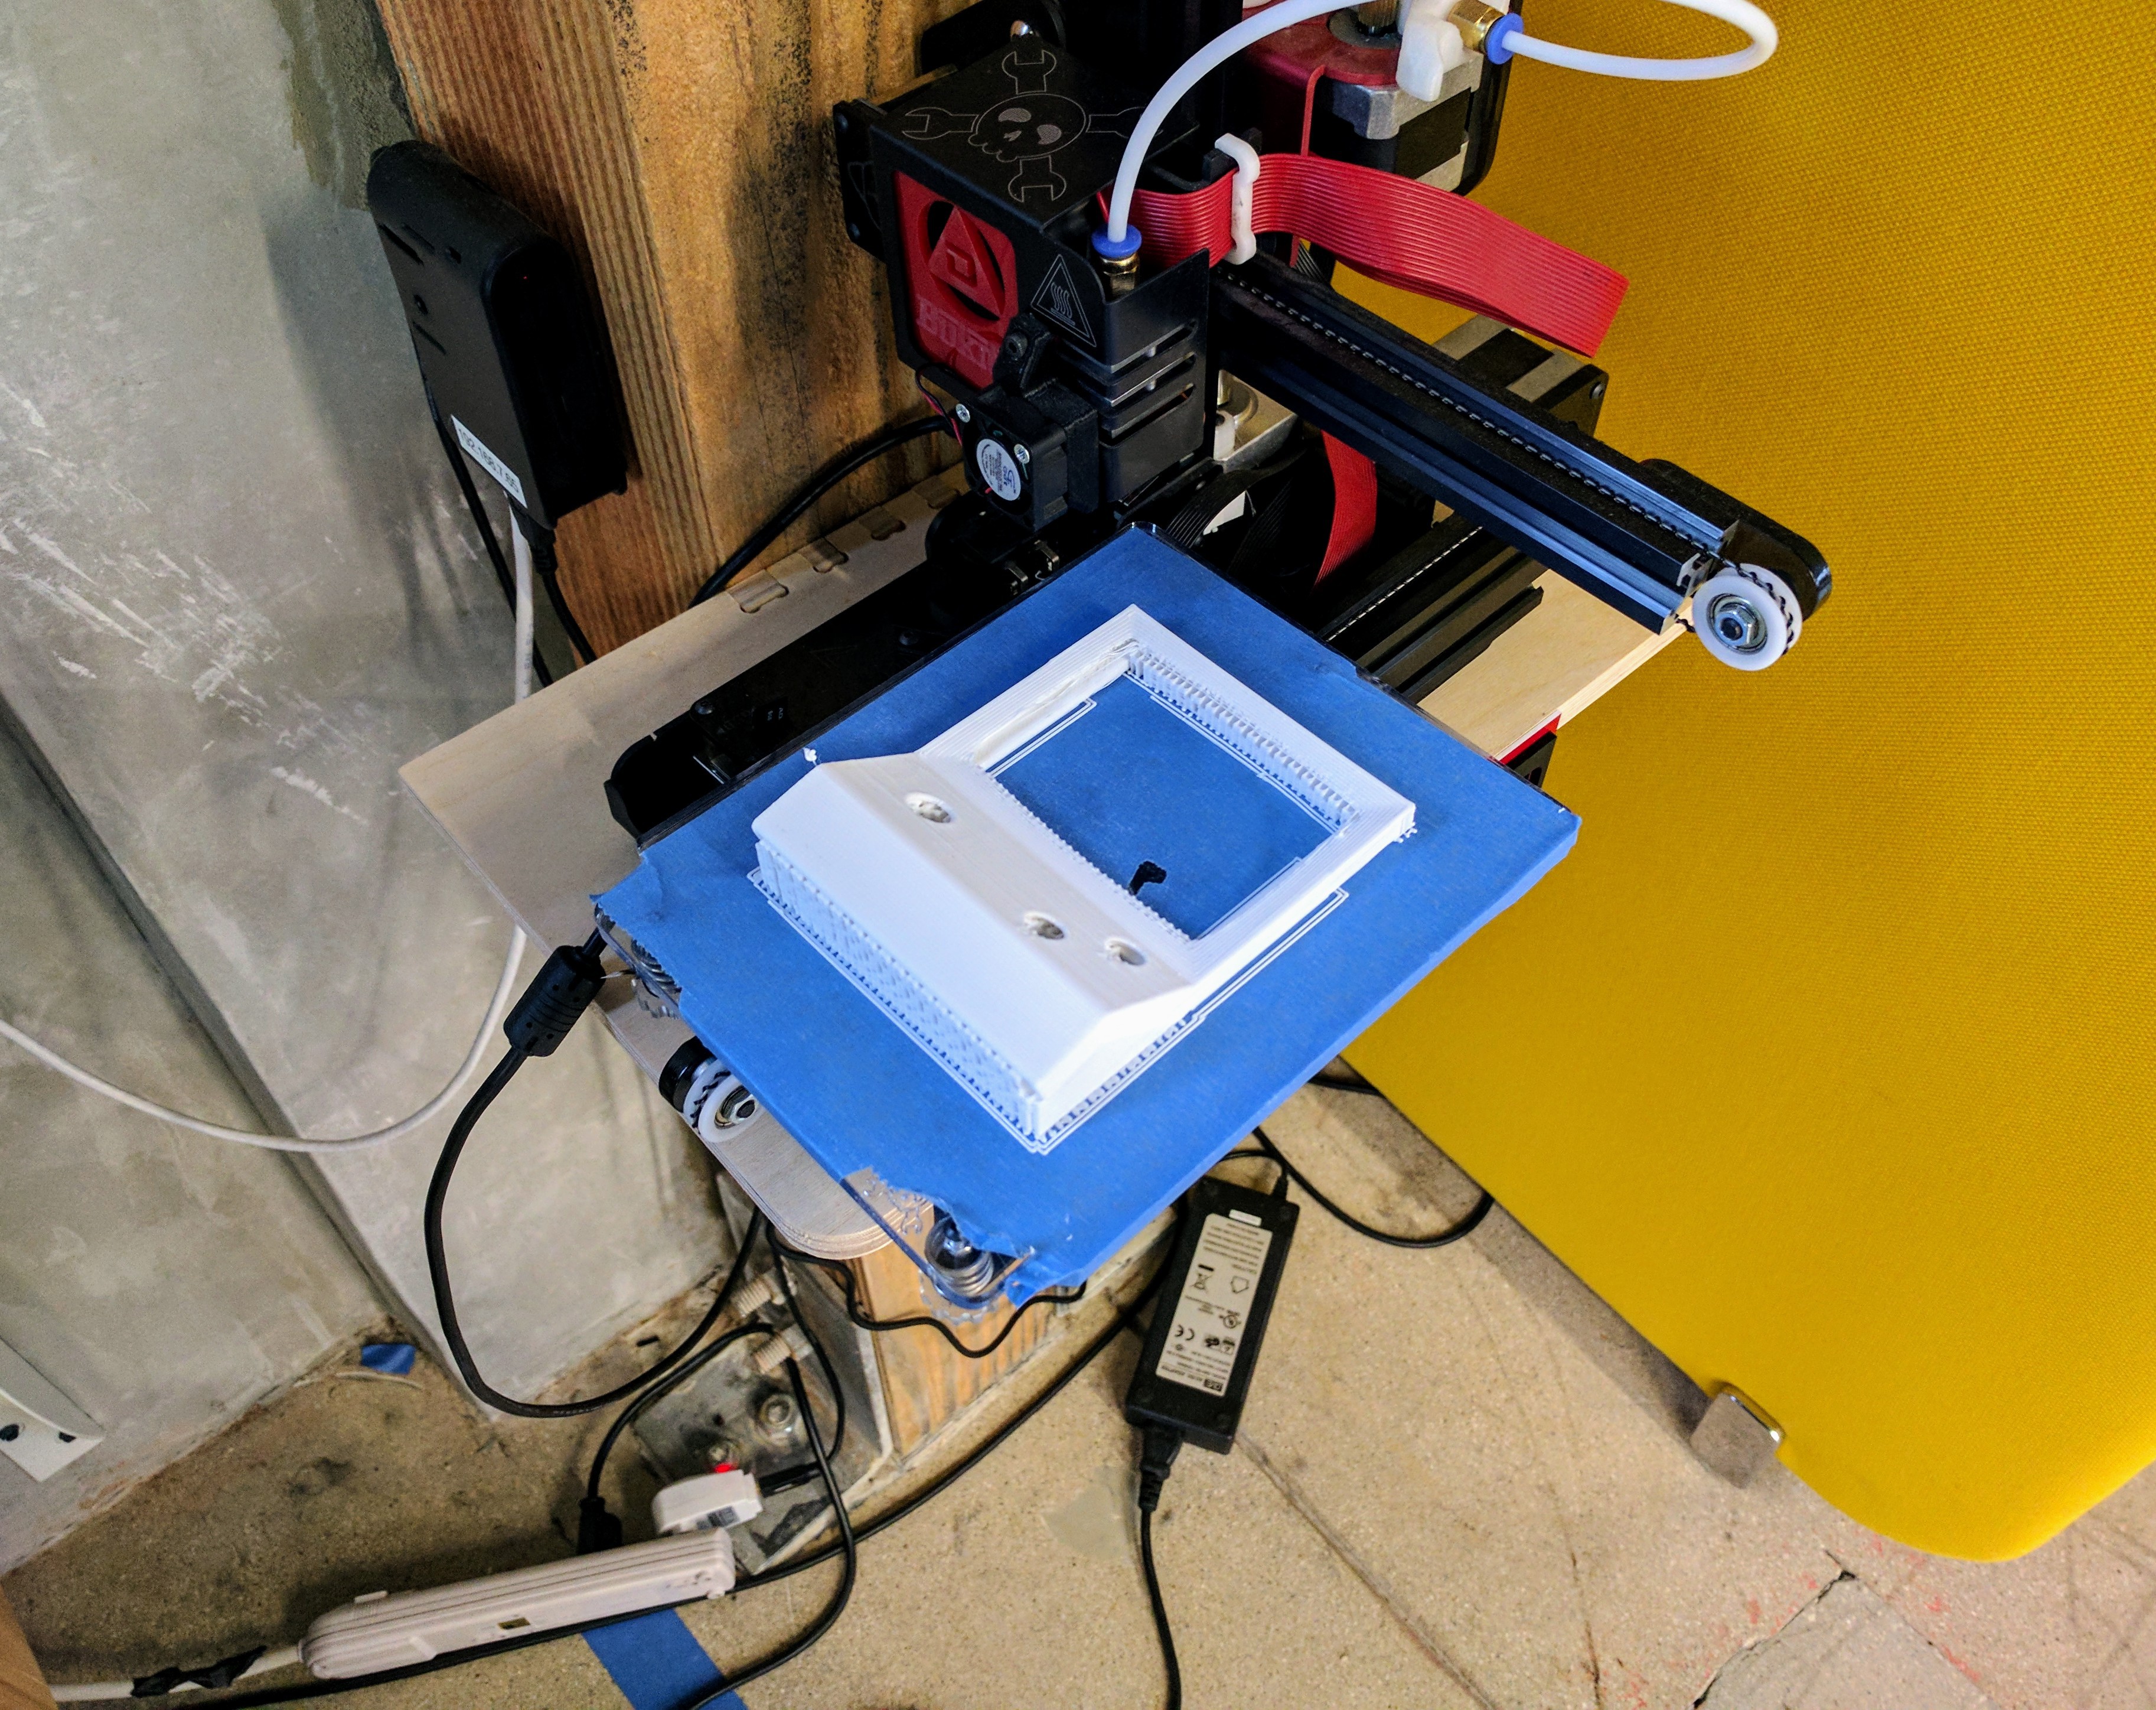
    First things first, I needed to complete my design in a computer aided drawing (CAD) program so I could start rapid prototyping the cabinet's parts on the DesignLab's Buquitos and Formlabs Form 2 3D printers. As previously mentioned, I'm a artist+designer 1st, and hobbyist maker/tinker a distant 4th or 5th... While I've played around in CAD programs like TinkerCAD before and ordered 3D printed parts on Shapeways, I've never actually designed, developed and printed my own models on a 3D Printer I physically hadaccess to. Further complicating all of this is the fact that I've never had to engineer and then build a complex piece of consumer electronics with integrated mechanical systems like this on my own... Before I could start I needed to get up to speed in Fusion360, and subsequently spent the weekend of May 20th mainlining Fusion360 tutorials on YouTube, followed by 3 frustration full days designing, redesigning, starting from scratch multiple times before eventually getting to the point that I was parametrically designing+revising my model (Fusion360 is a powerful, if not clunkily designed piece of software!). I'm proud to say that by Wednesday May, 24th I was able to personally print MY very first prototype part (as pictured below)!
    My first EVER 3D print on a Deezmaker Bukito!

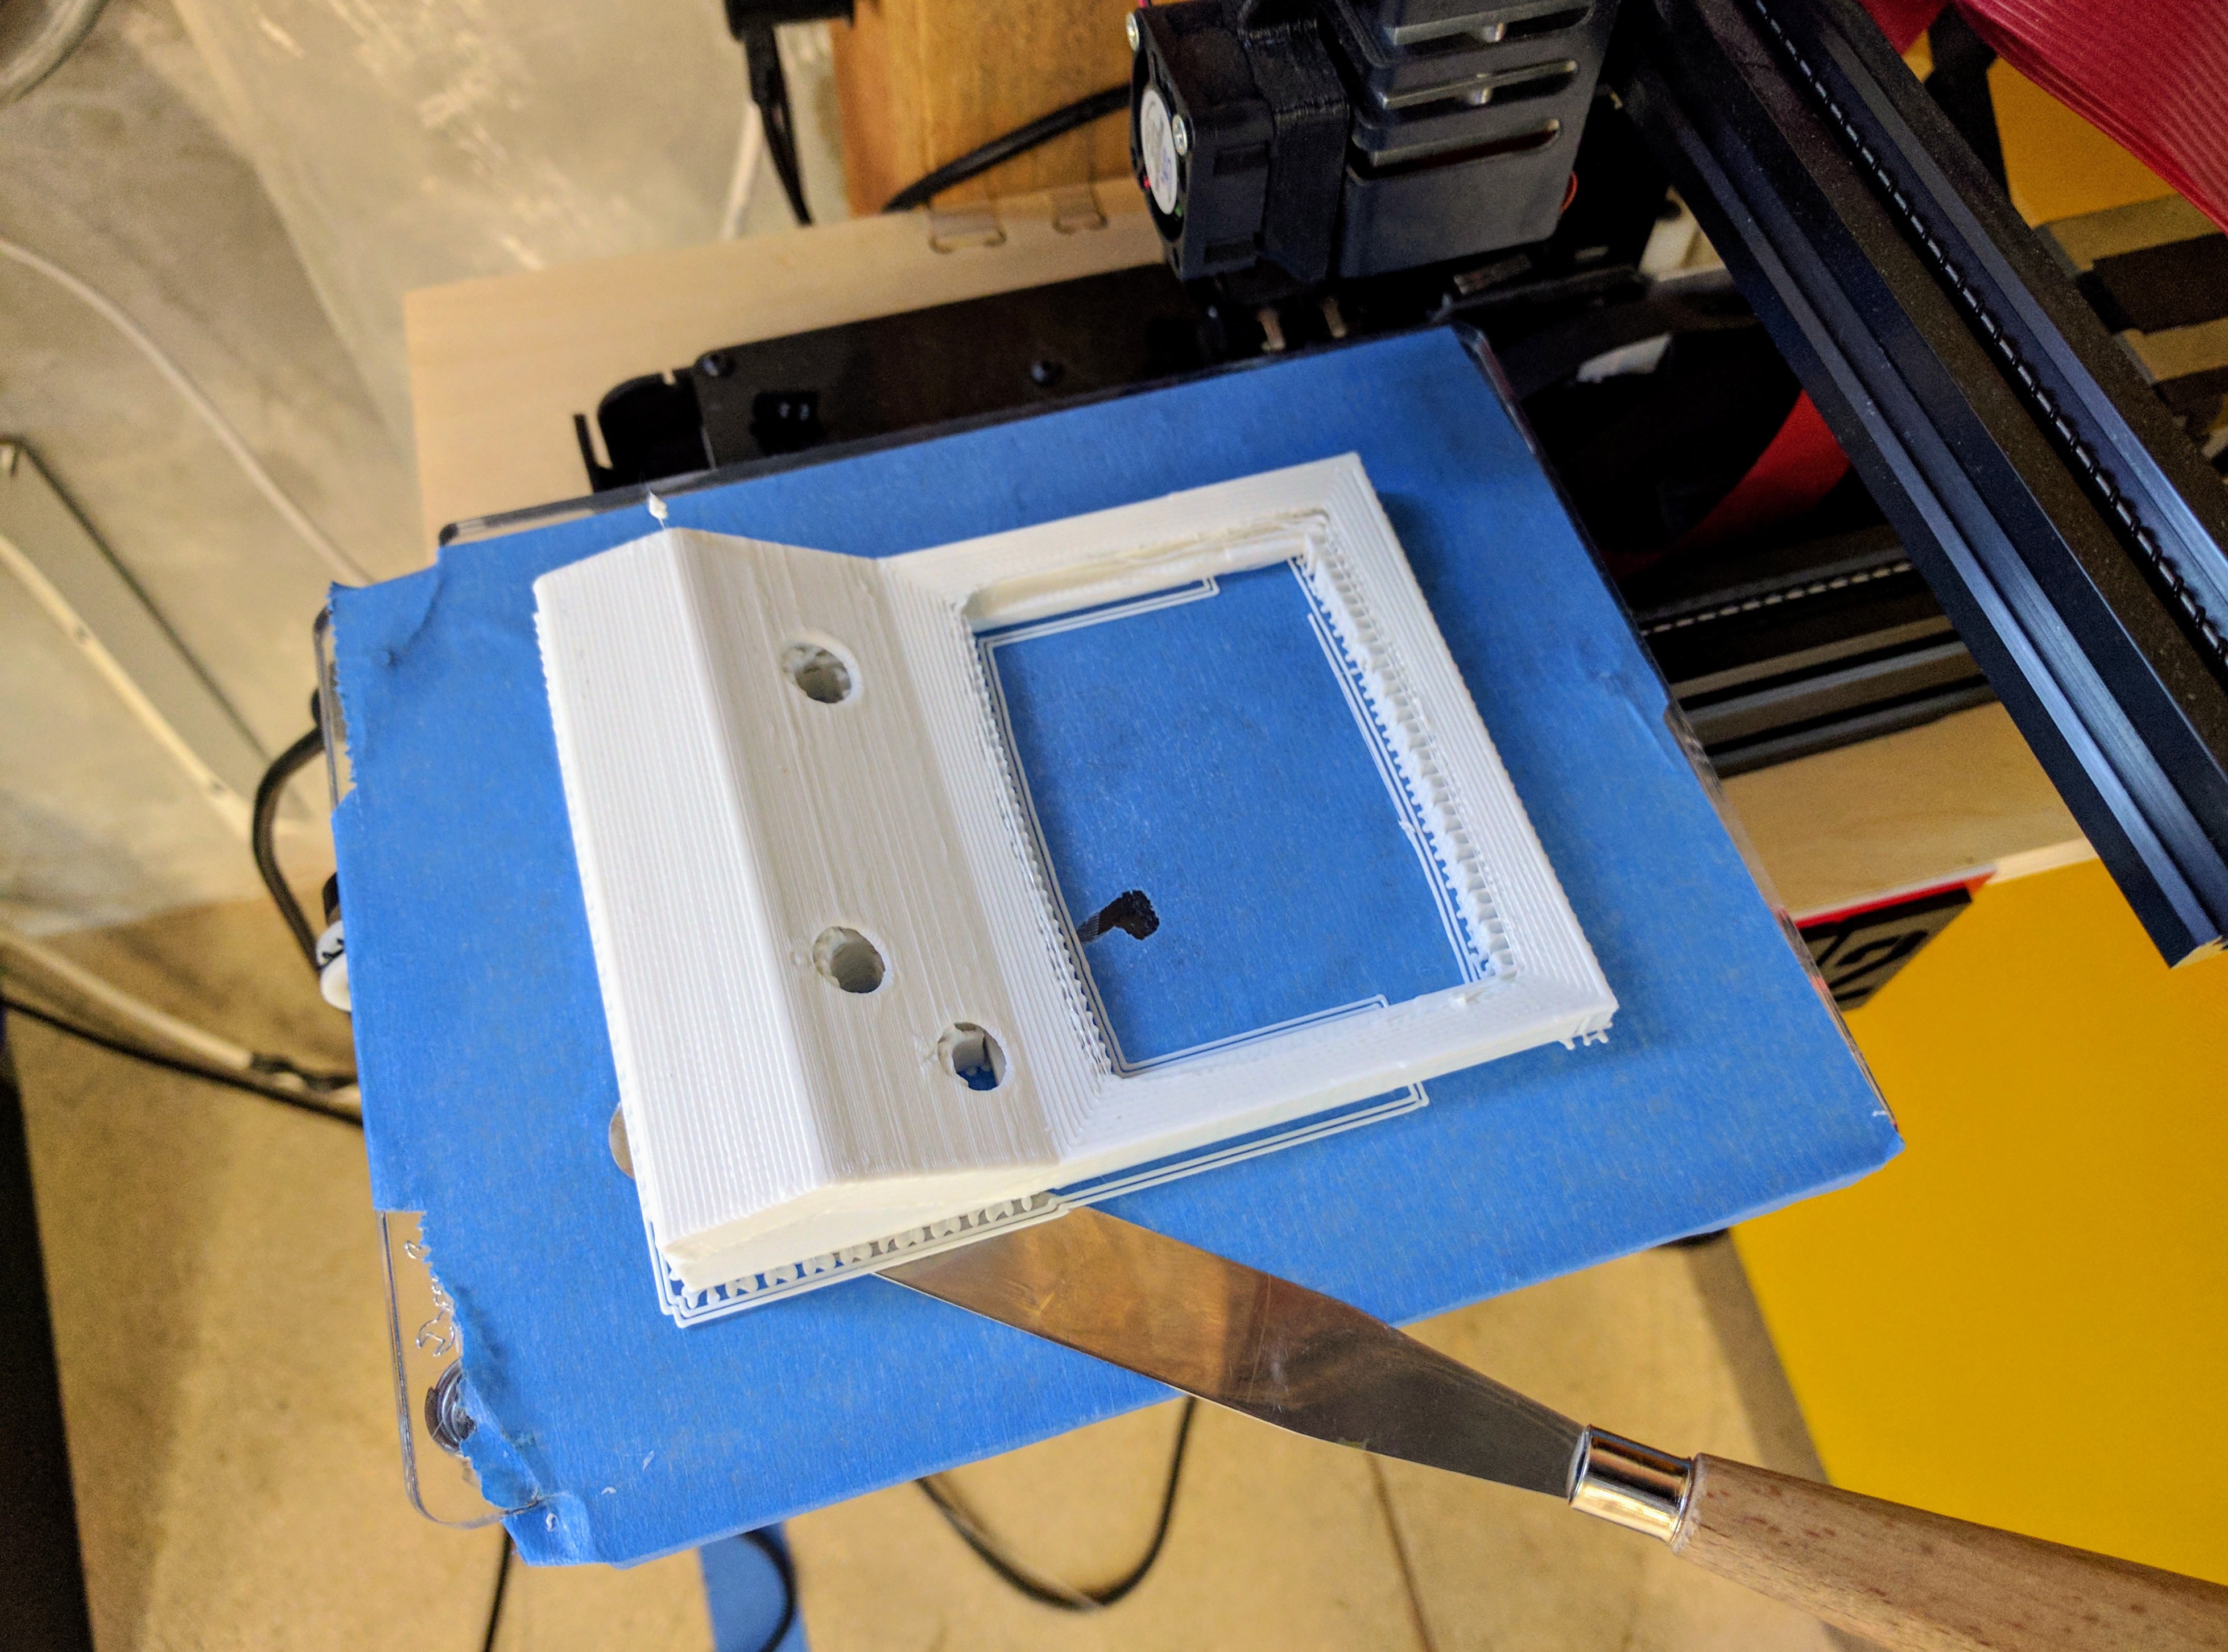
    Pulling the print off of the Bukito... I have to admit that the fidelity wasn't what I expected at first, but thankfully the prints got better with each consecutive print...

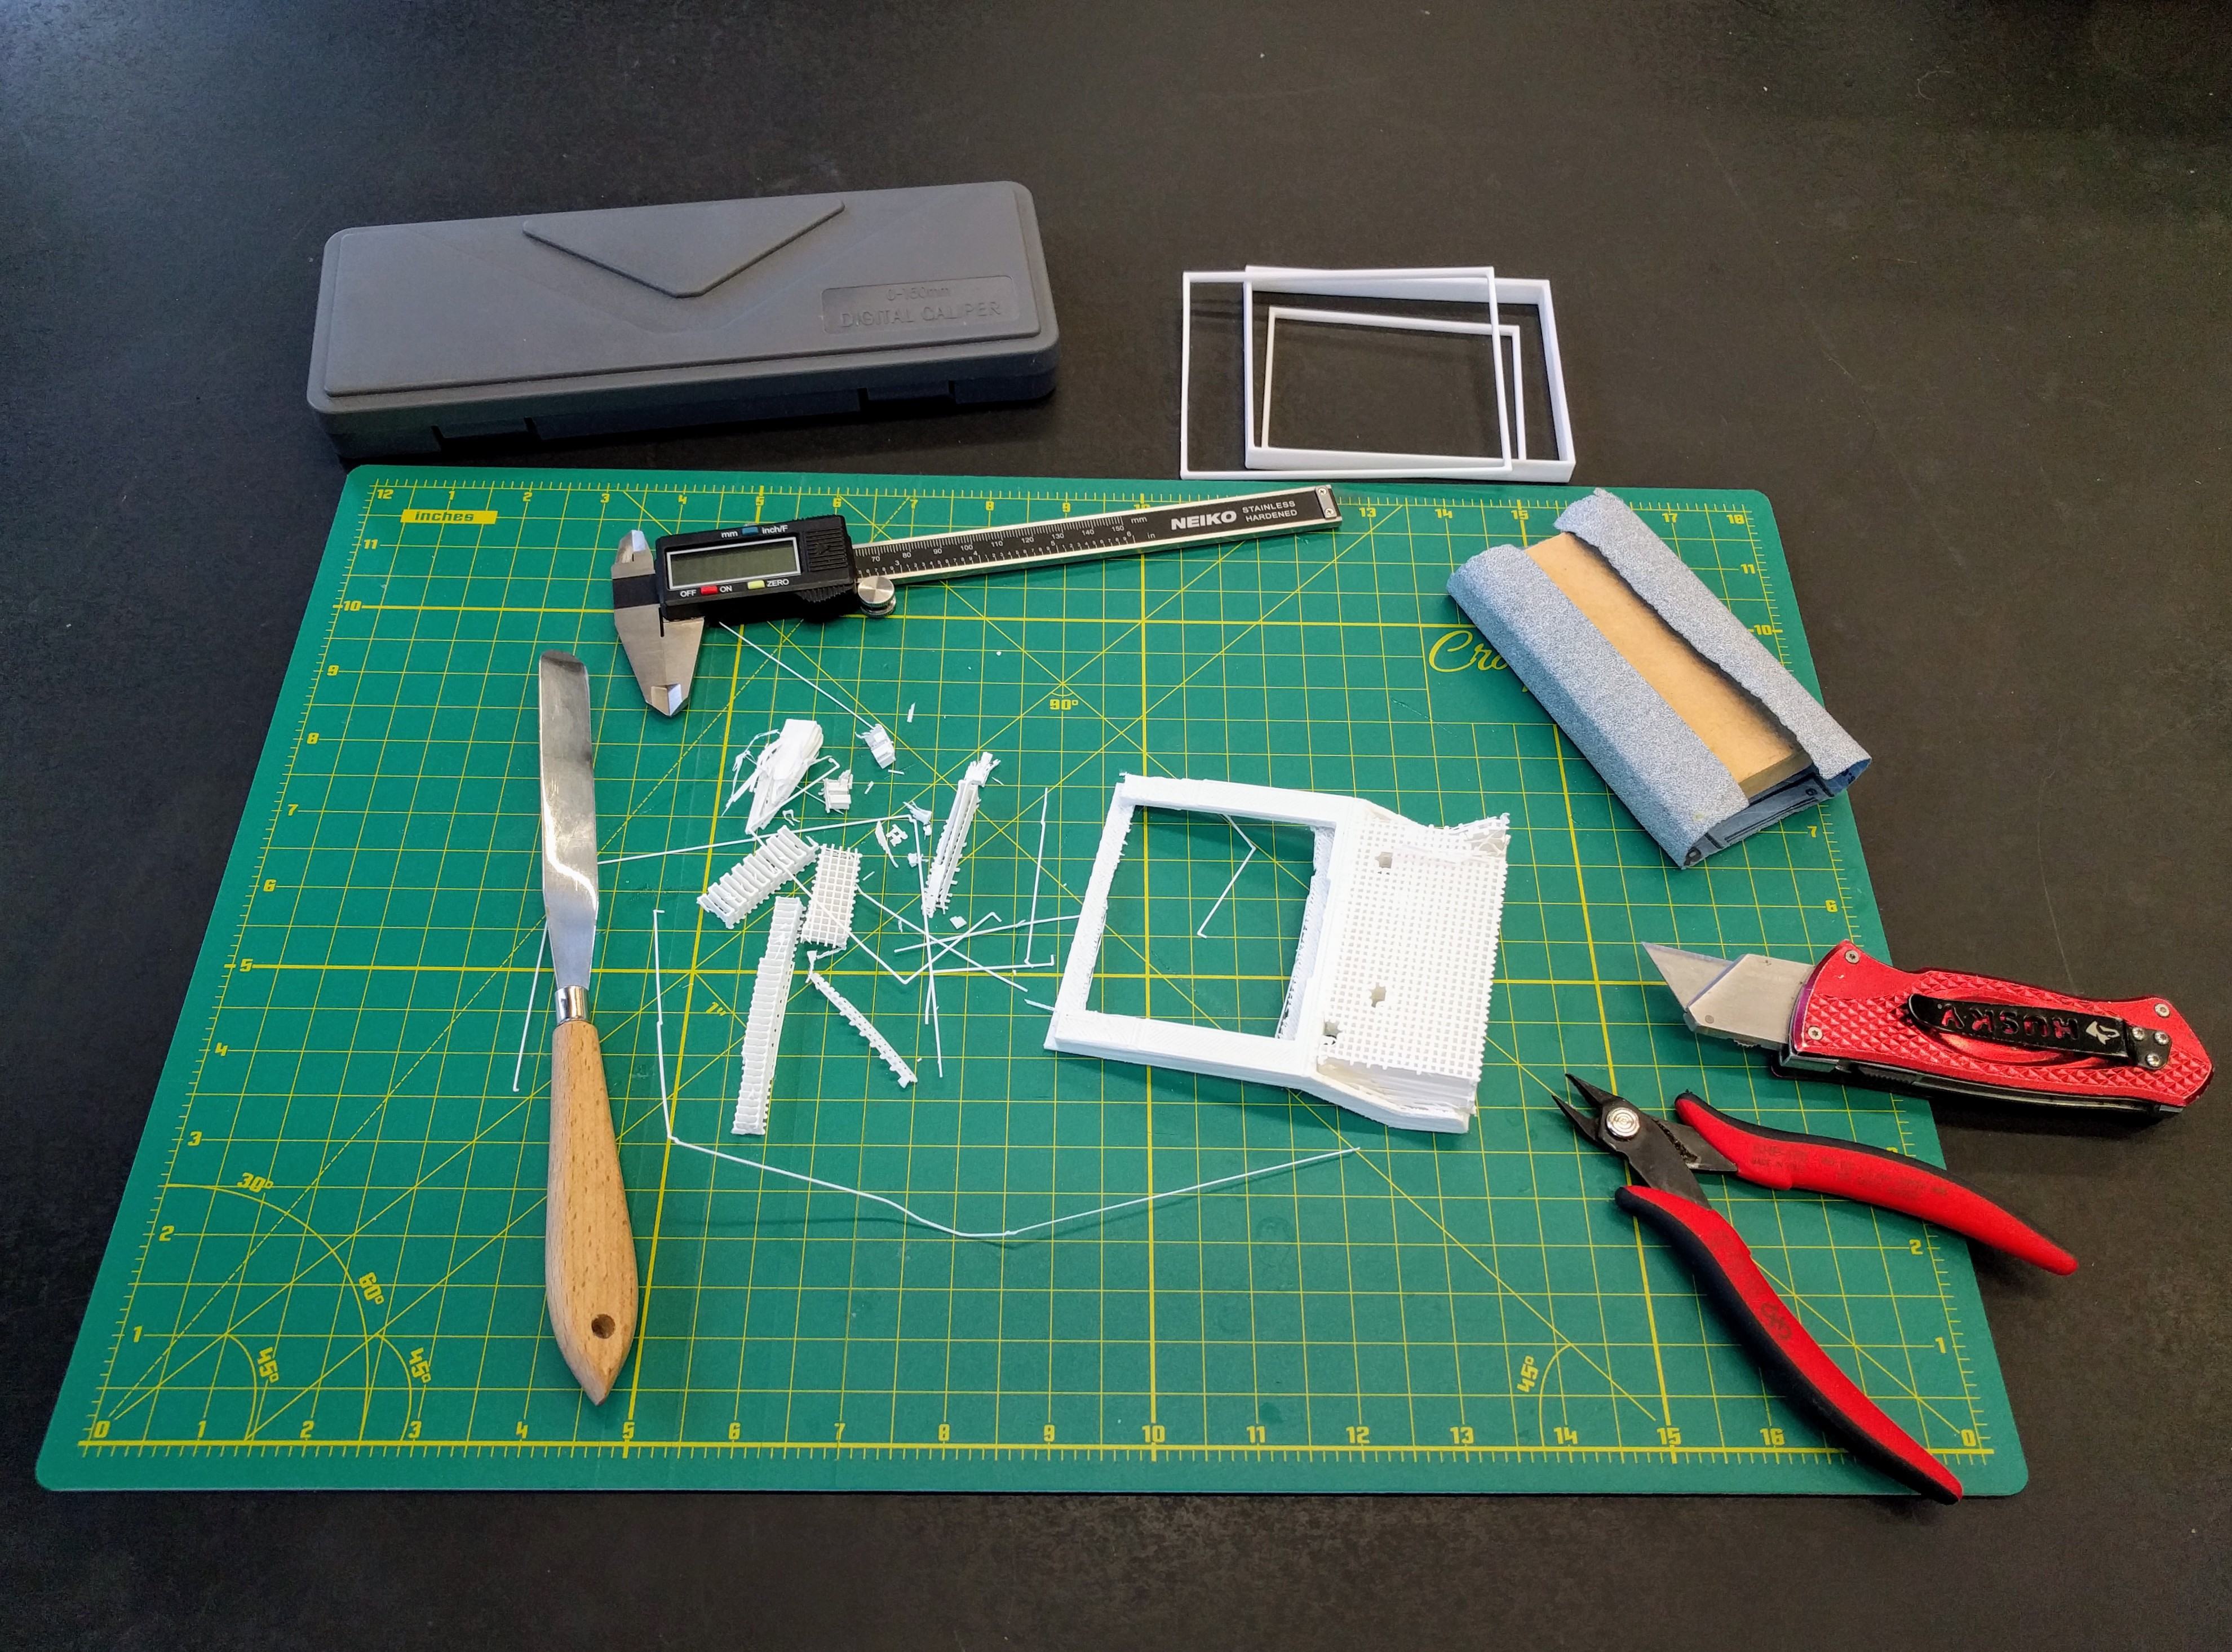
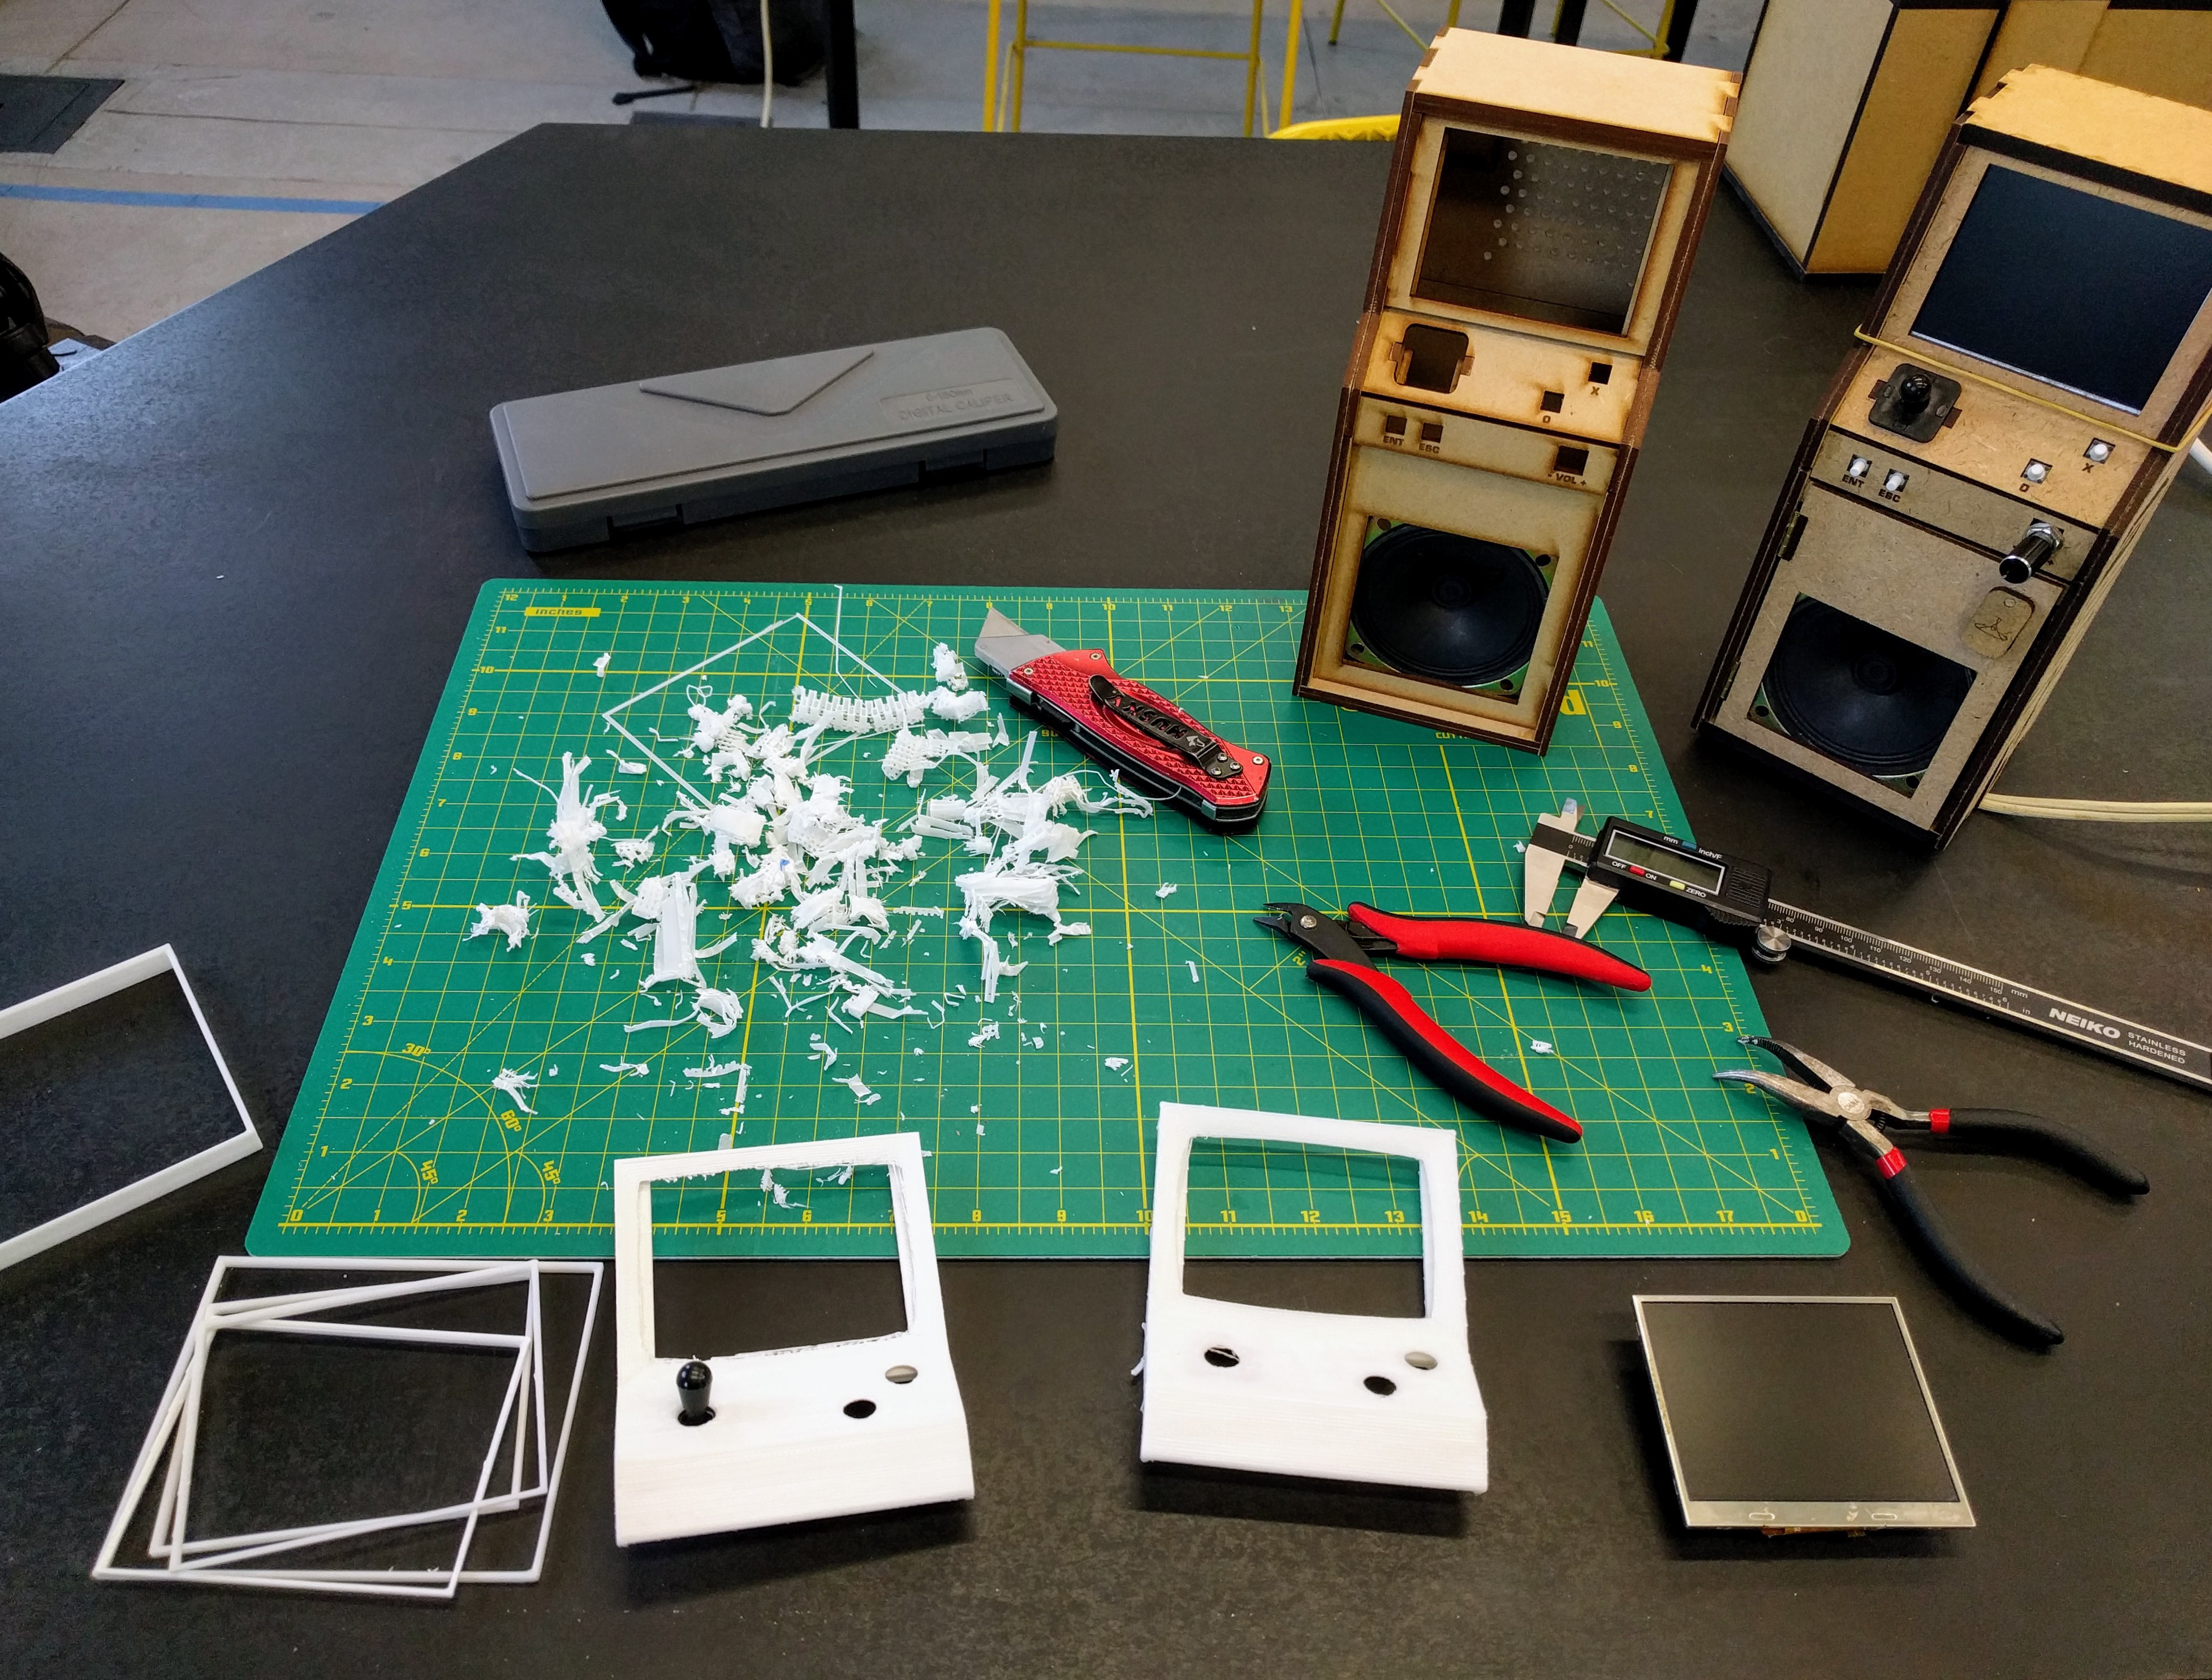
    I never knew supports would be such a pain in the ass... Definitely my least favorite part of printing using a PLA based printer.

    By about the 3rd Bukito Print I had the print quality dialed in to about as good as it was going to get on the Bukitos, and had also managed to make several significant changes to my Fusion360 model.

    In total I made 3 prototype screen bezel parts out of PLA before moving on to the Formlabs Form 2 and it's high resolution resin prints! BTW, having access to the Bukitos to rapidly prototype, and adjust my design on the fly was awesome, and something I could definitely get used to!

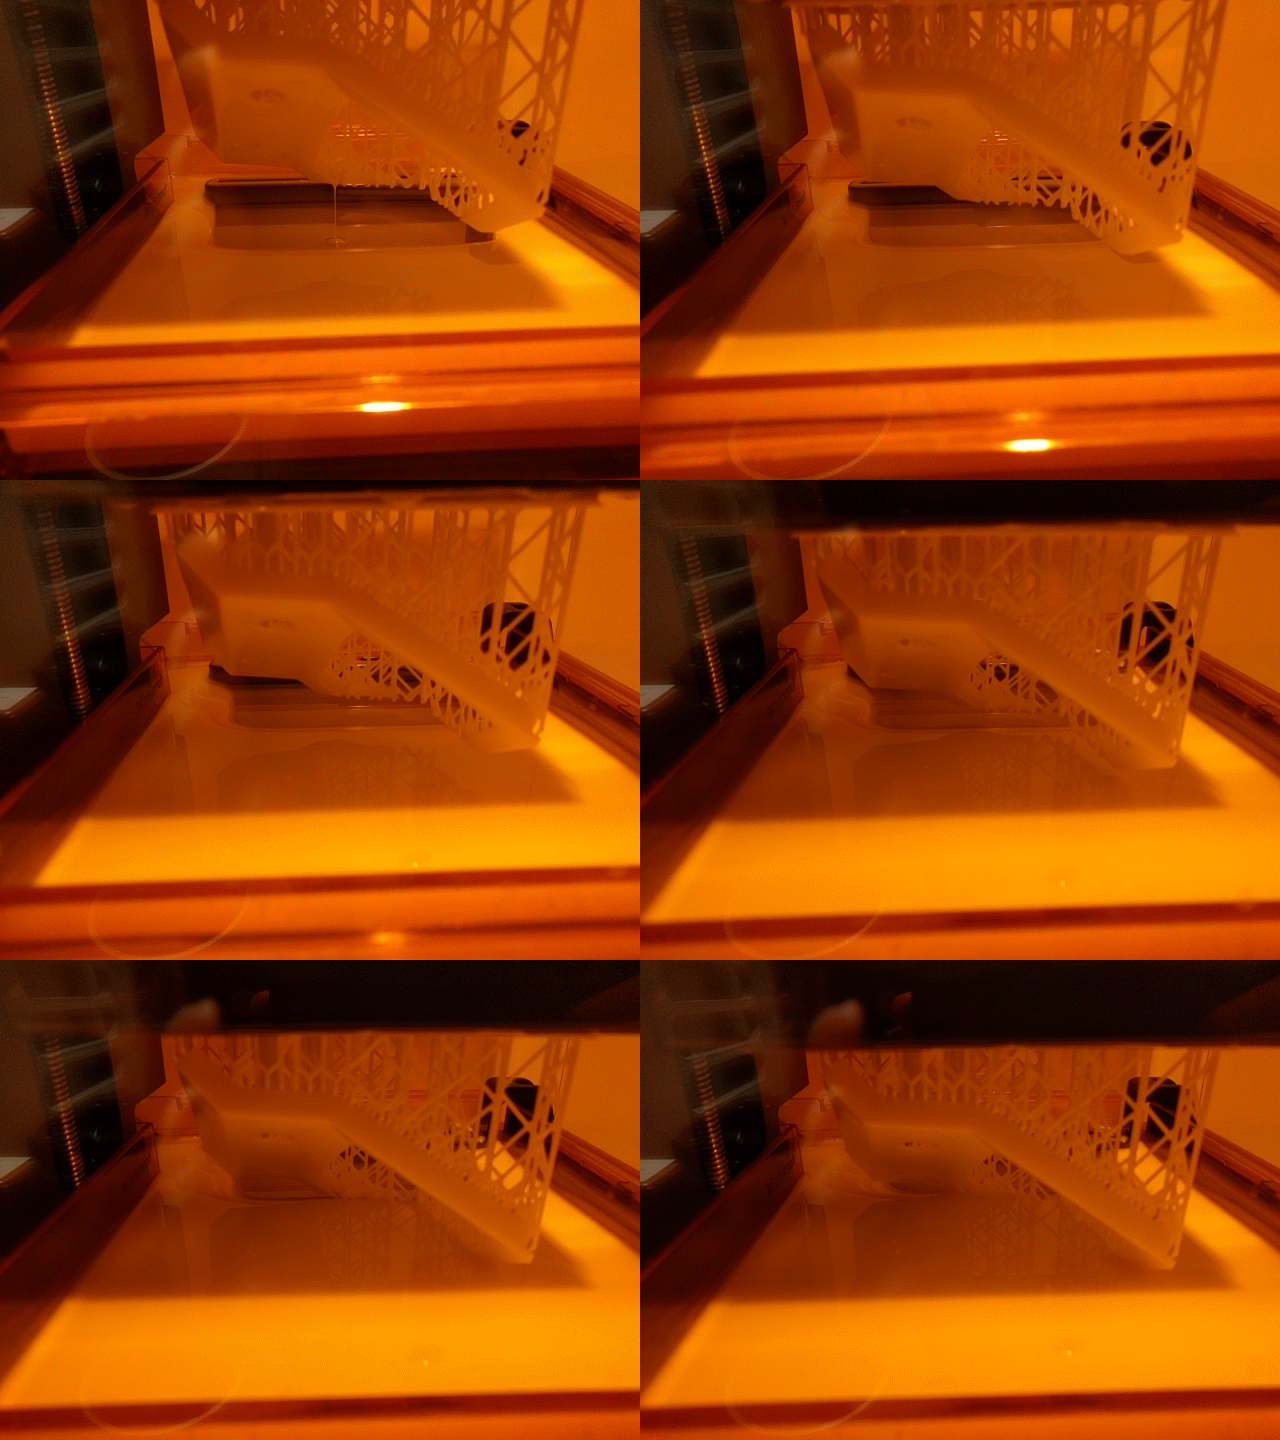
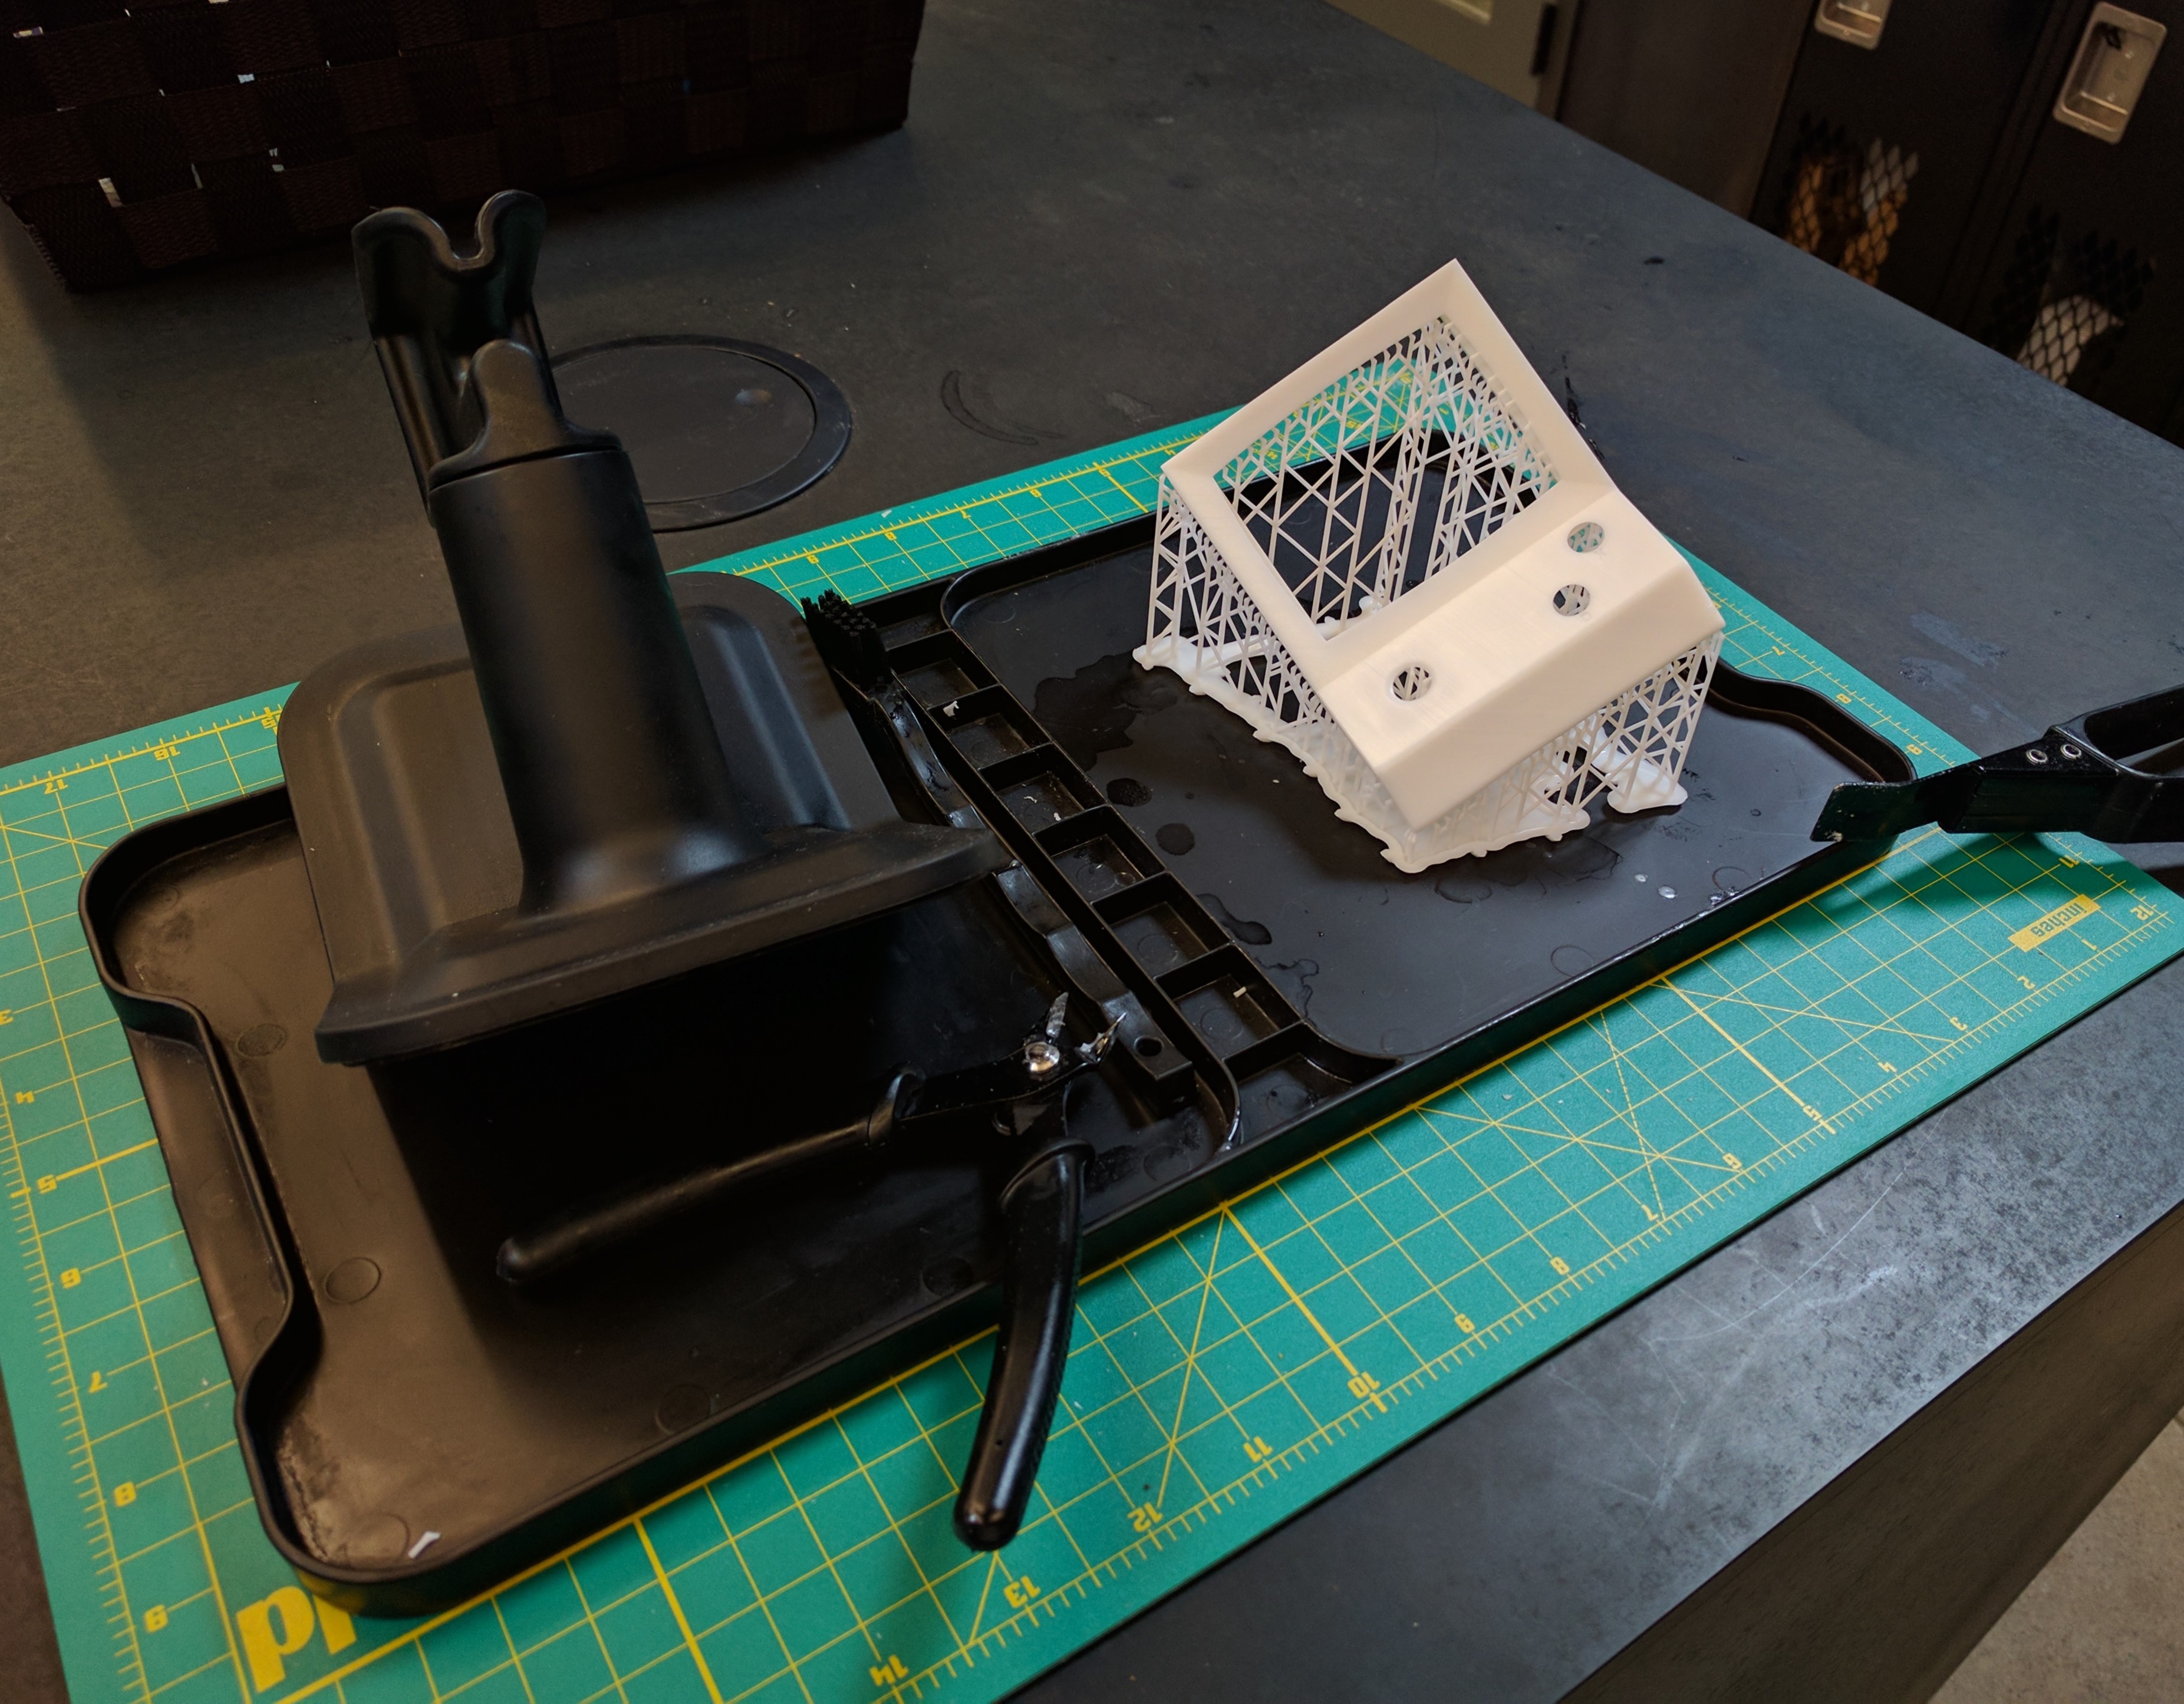
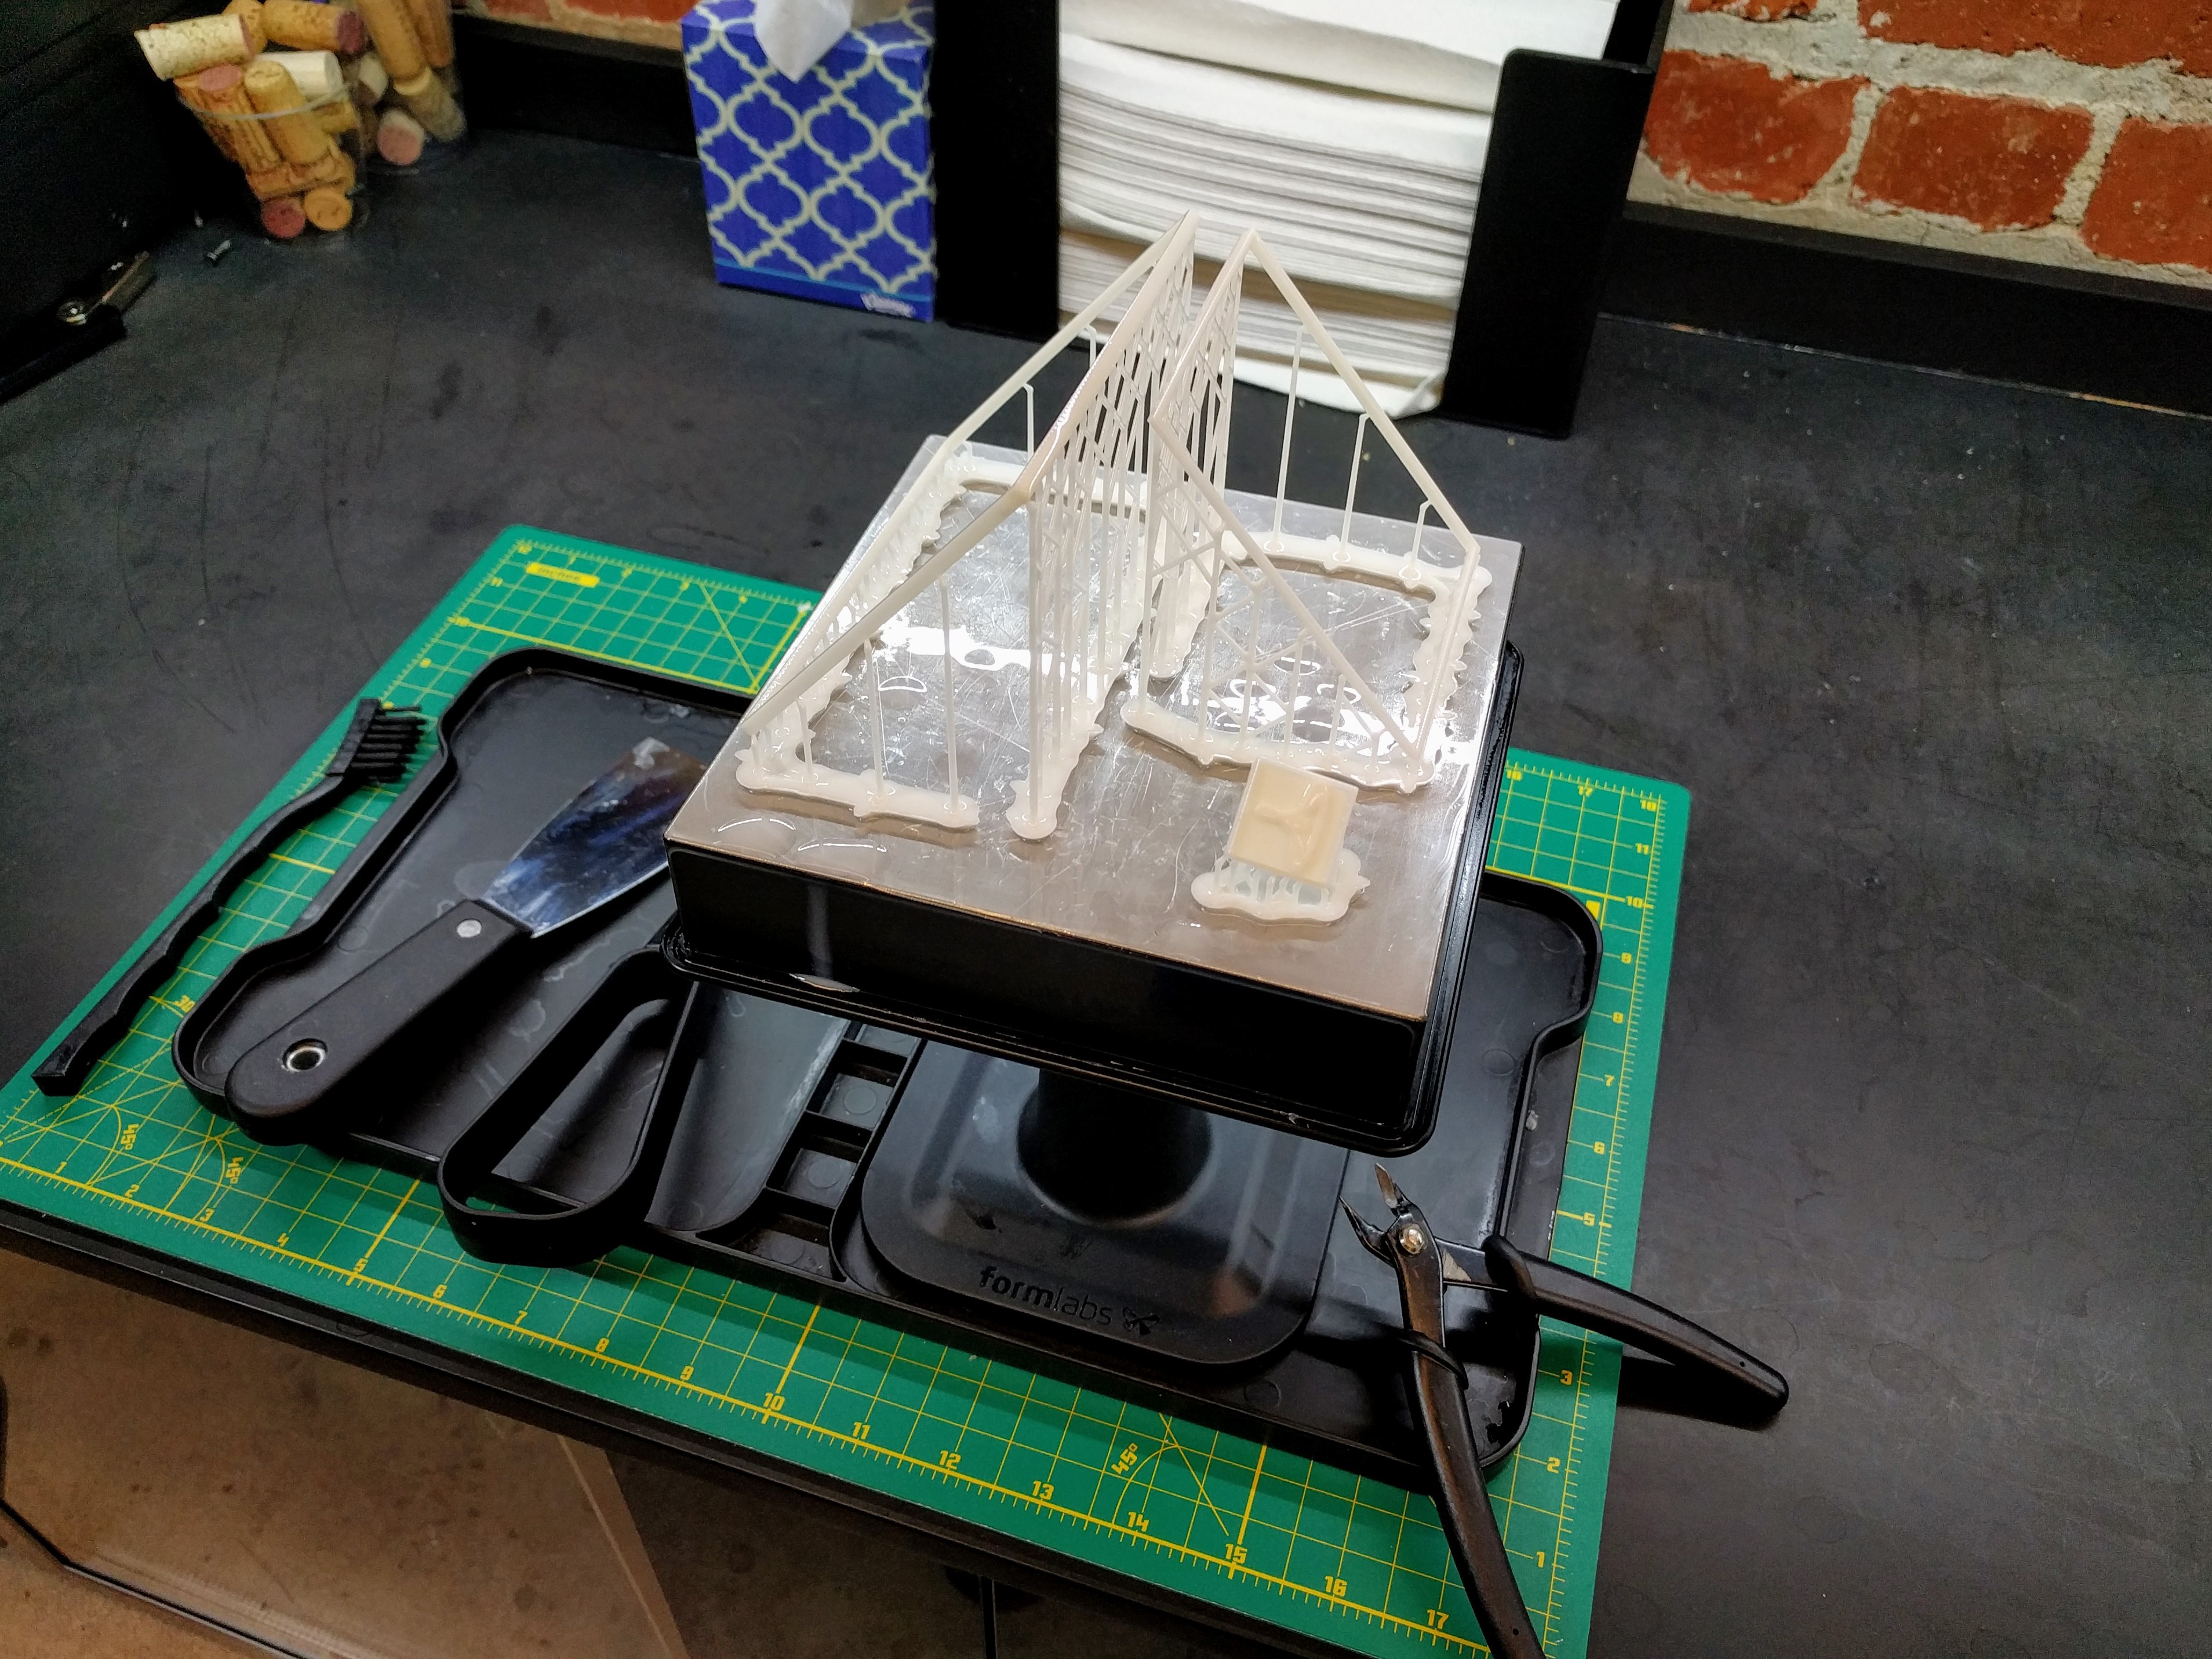
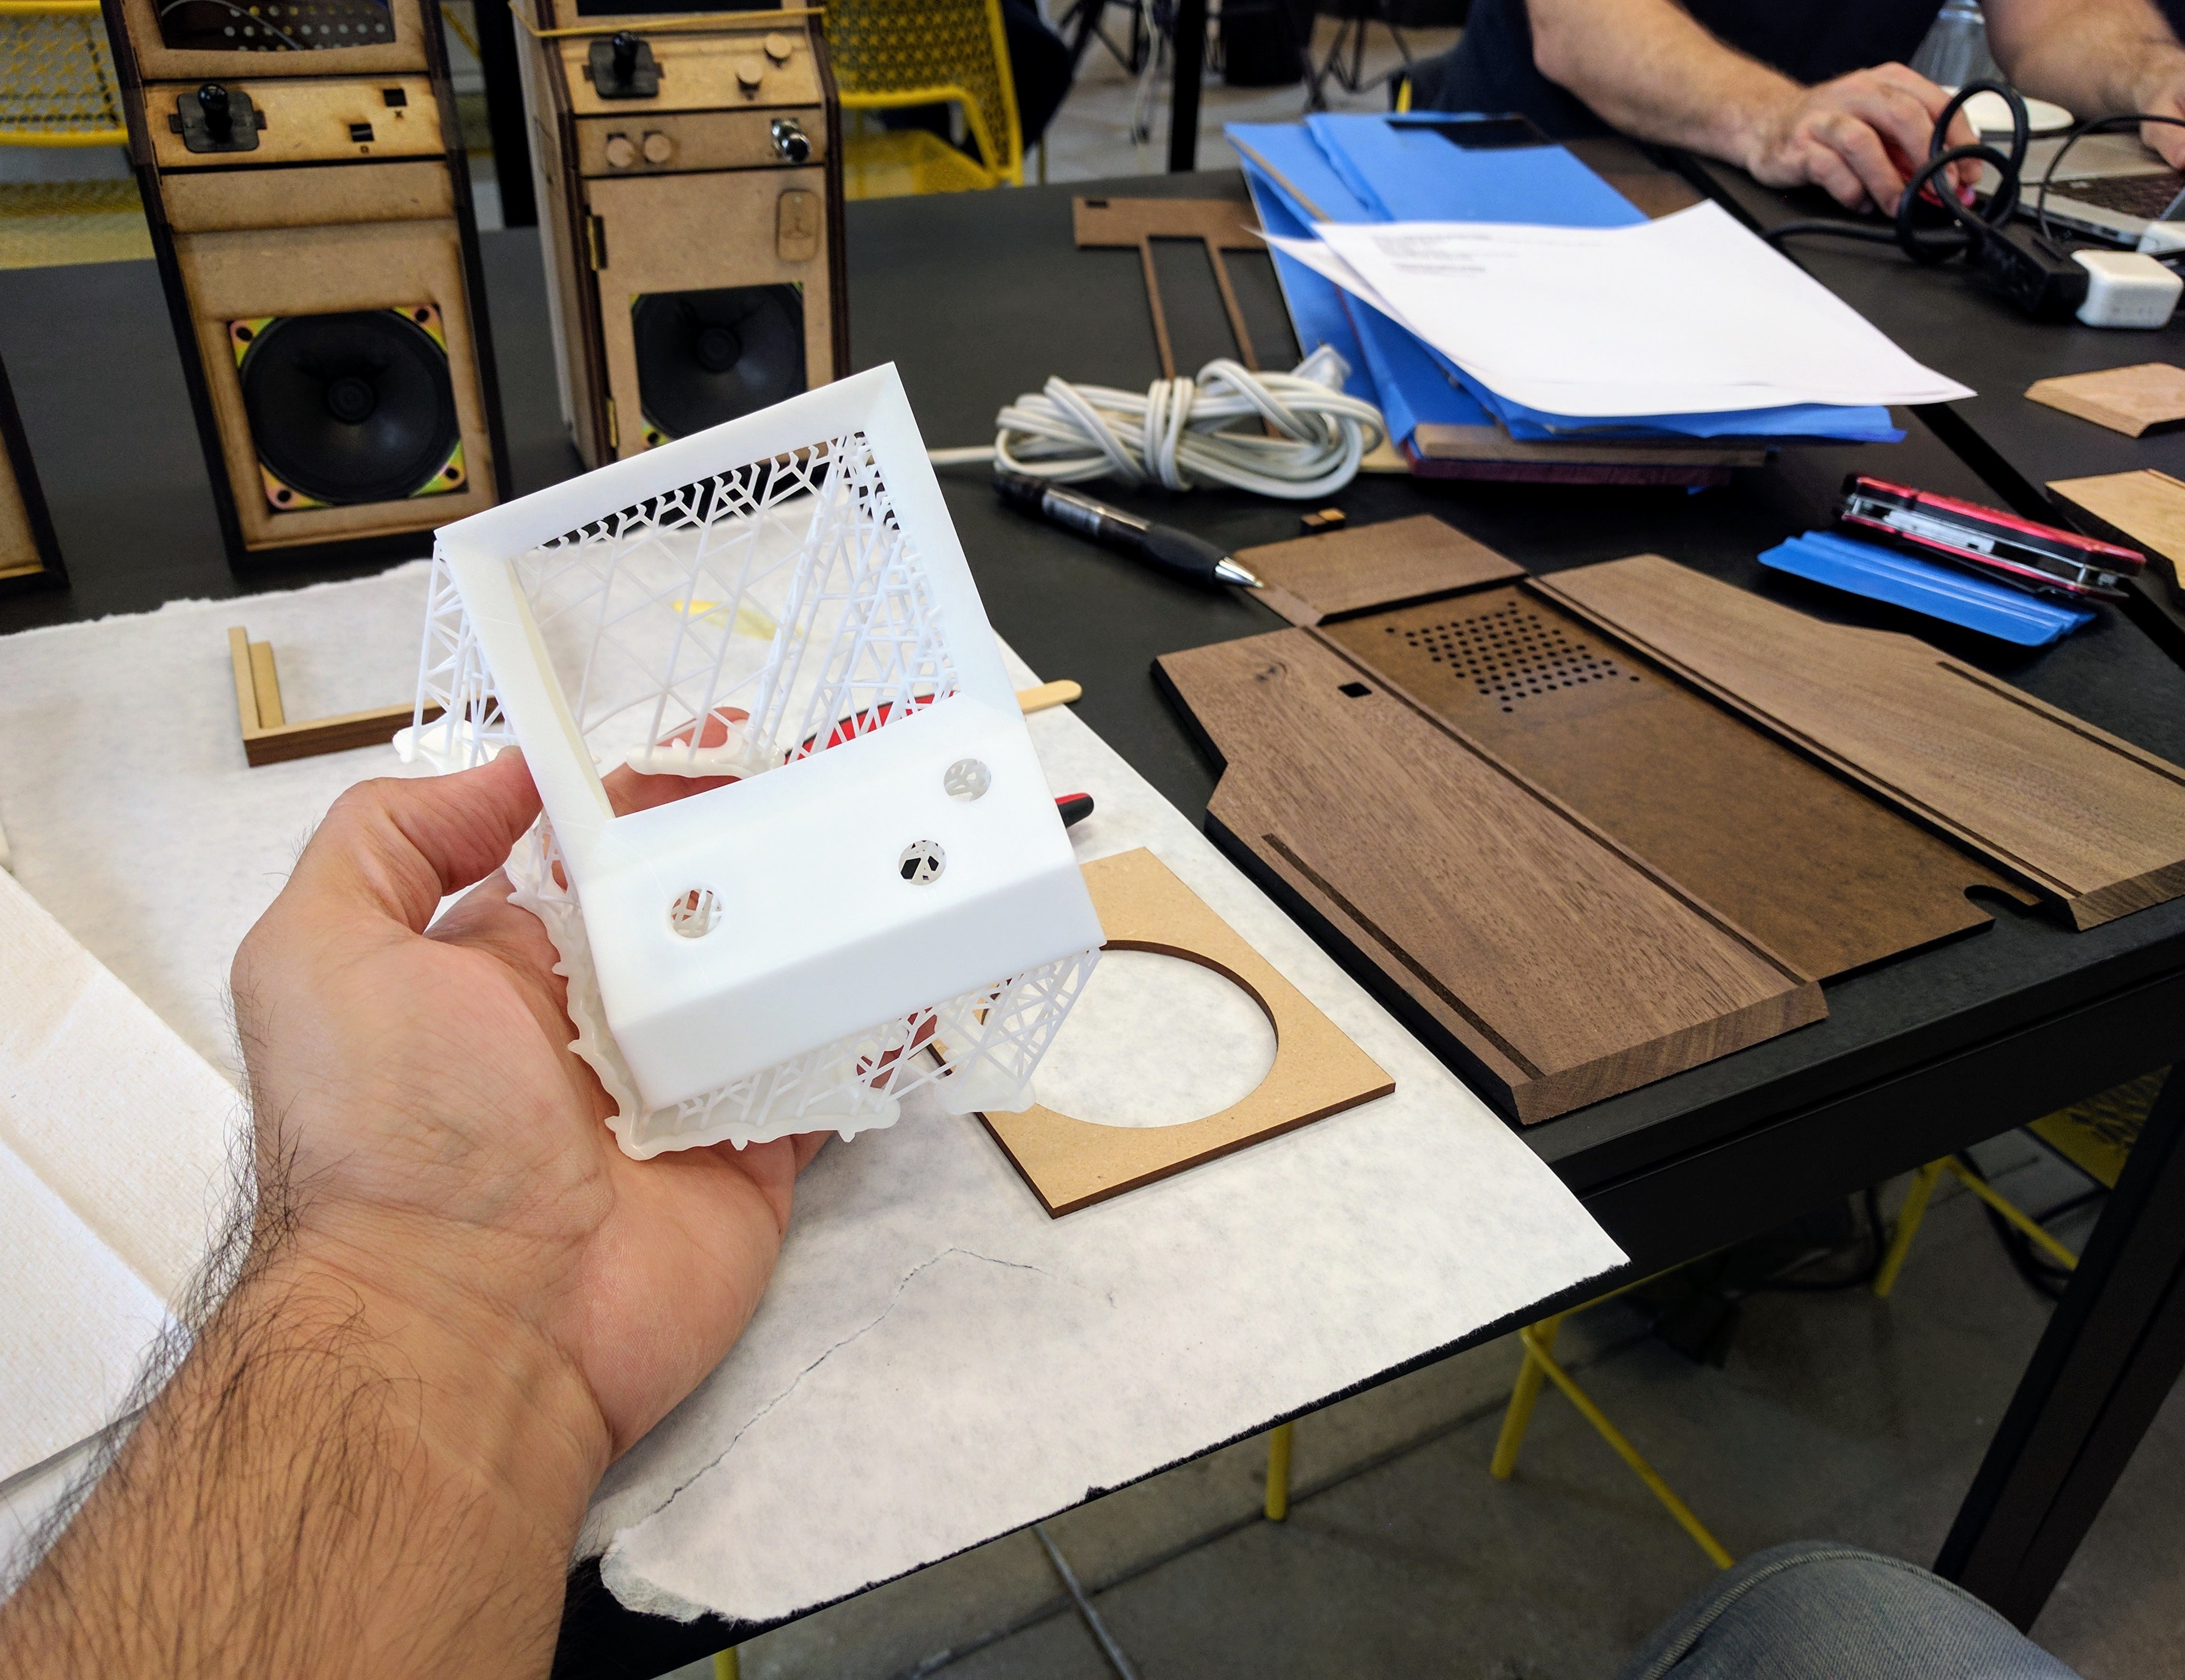
    While the Form 2 printer can be messy and slimey, I LOVE working with this printer! It's resolution is supremely better, AND way more accurate than anything the Bukito's are capable of doing, and without the need to fiddle with it's settings!

    While messy, I LOVE the Form 2, and will happily deal with the goopy nature of its resin prints if given the option every time!

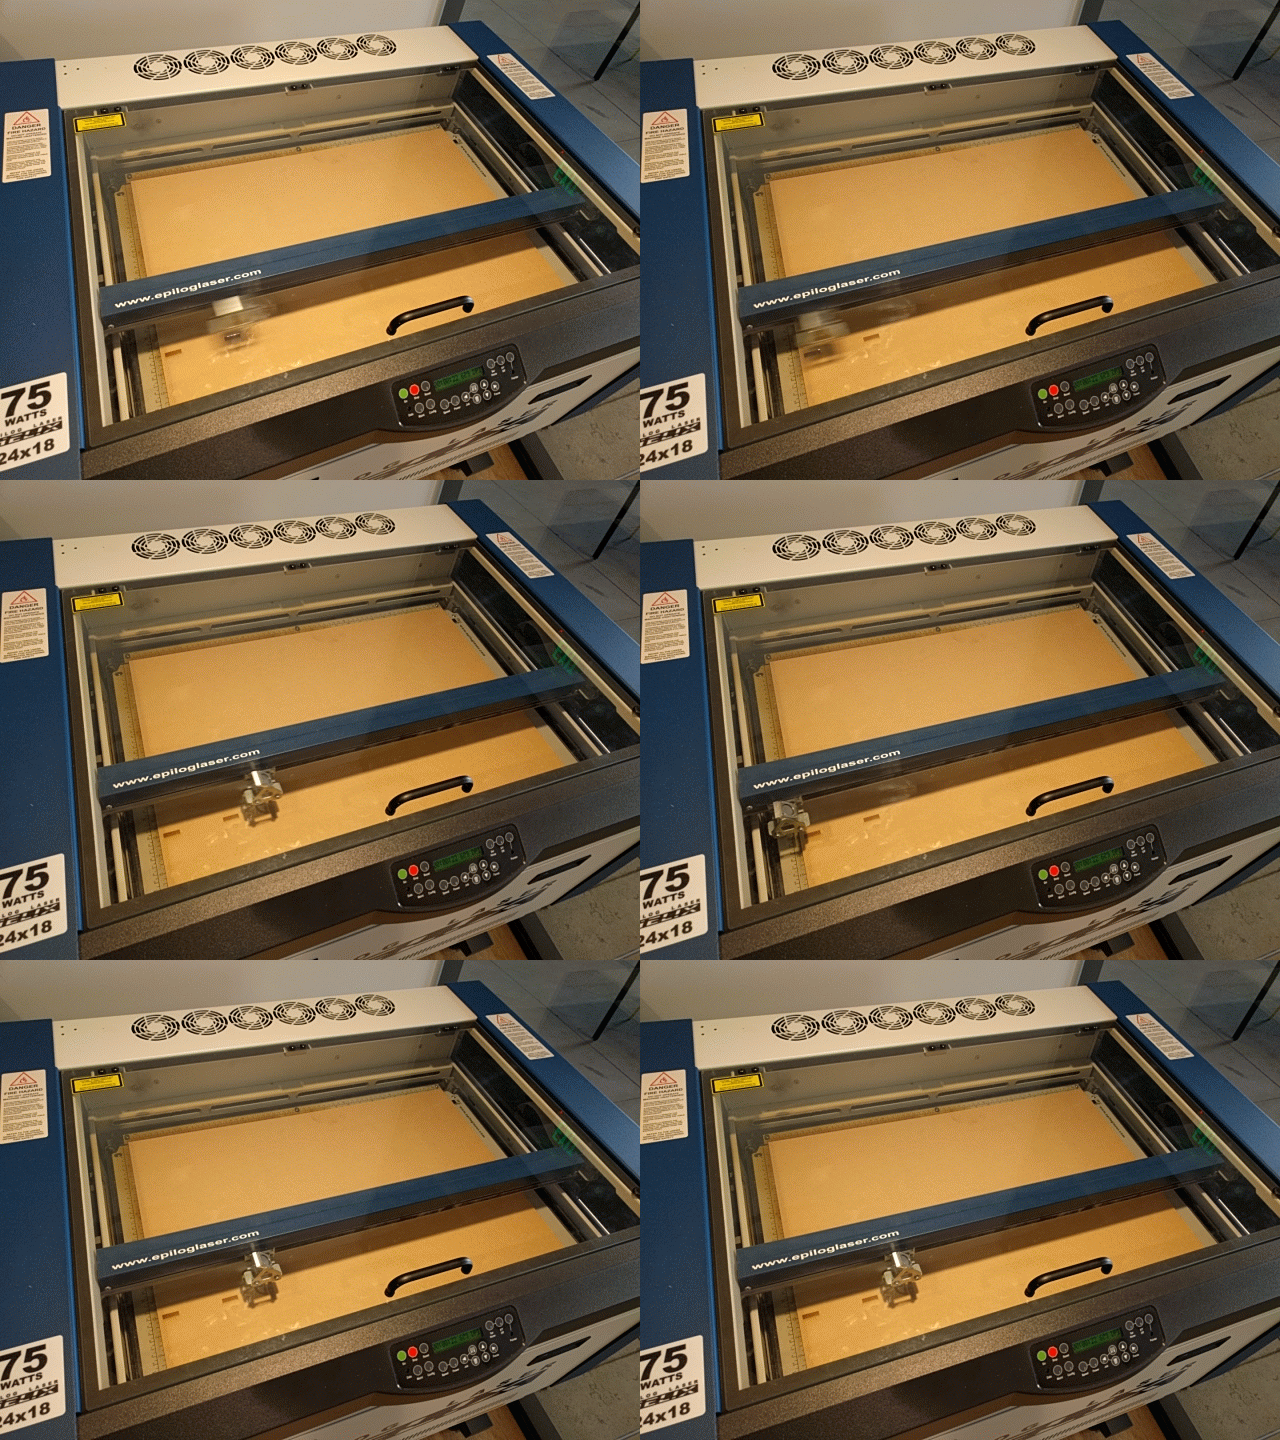
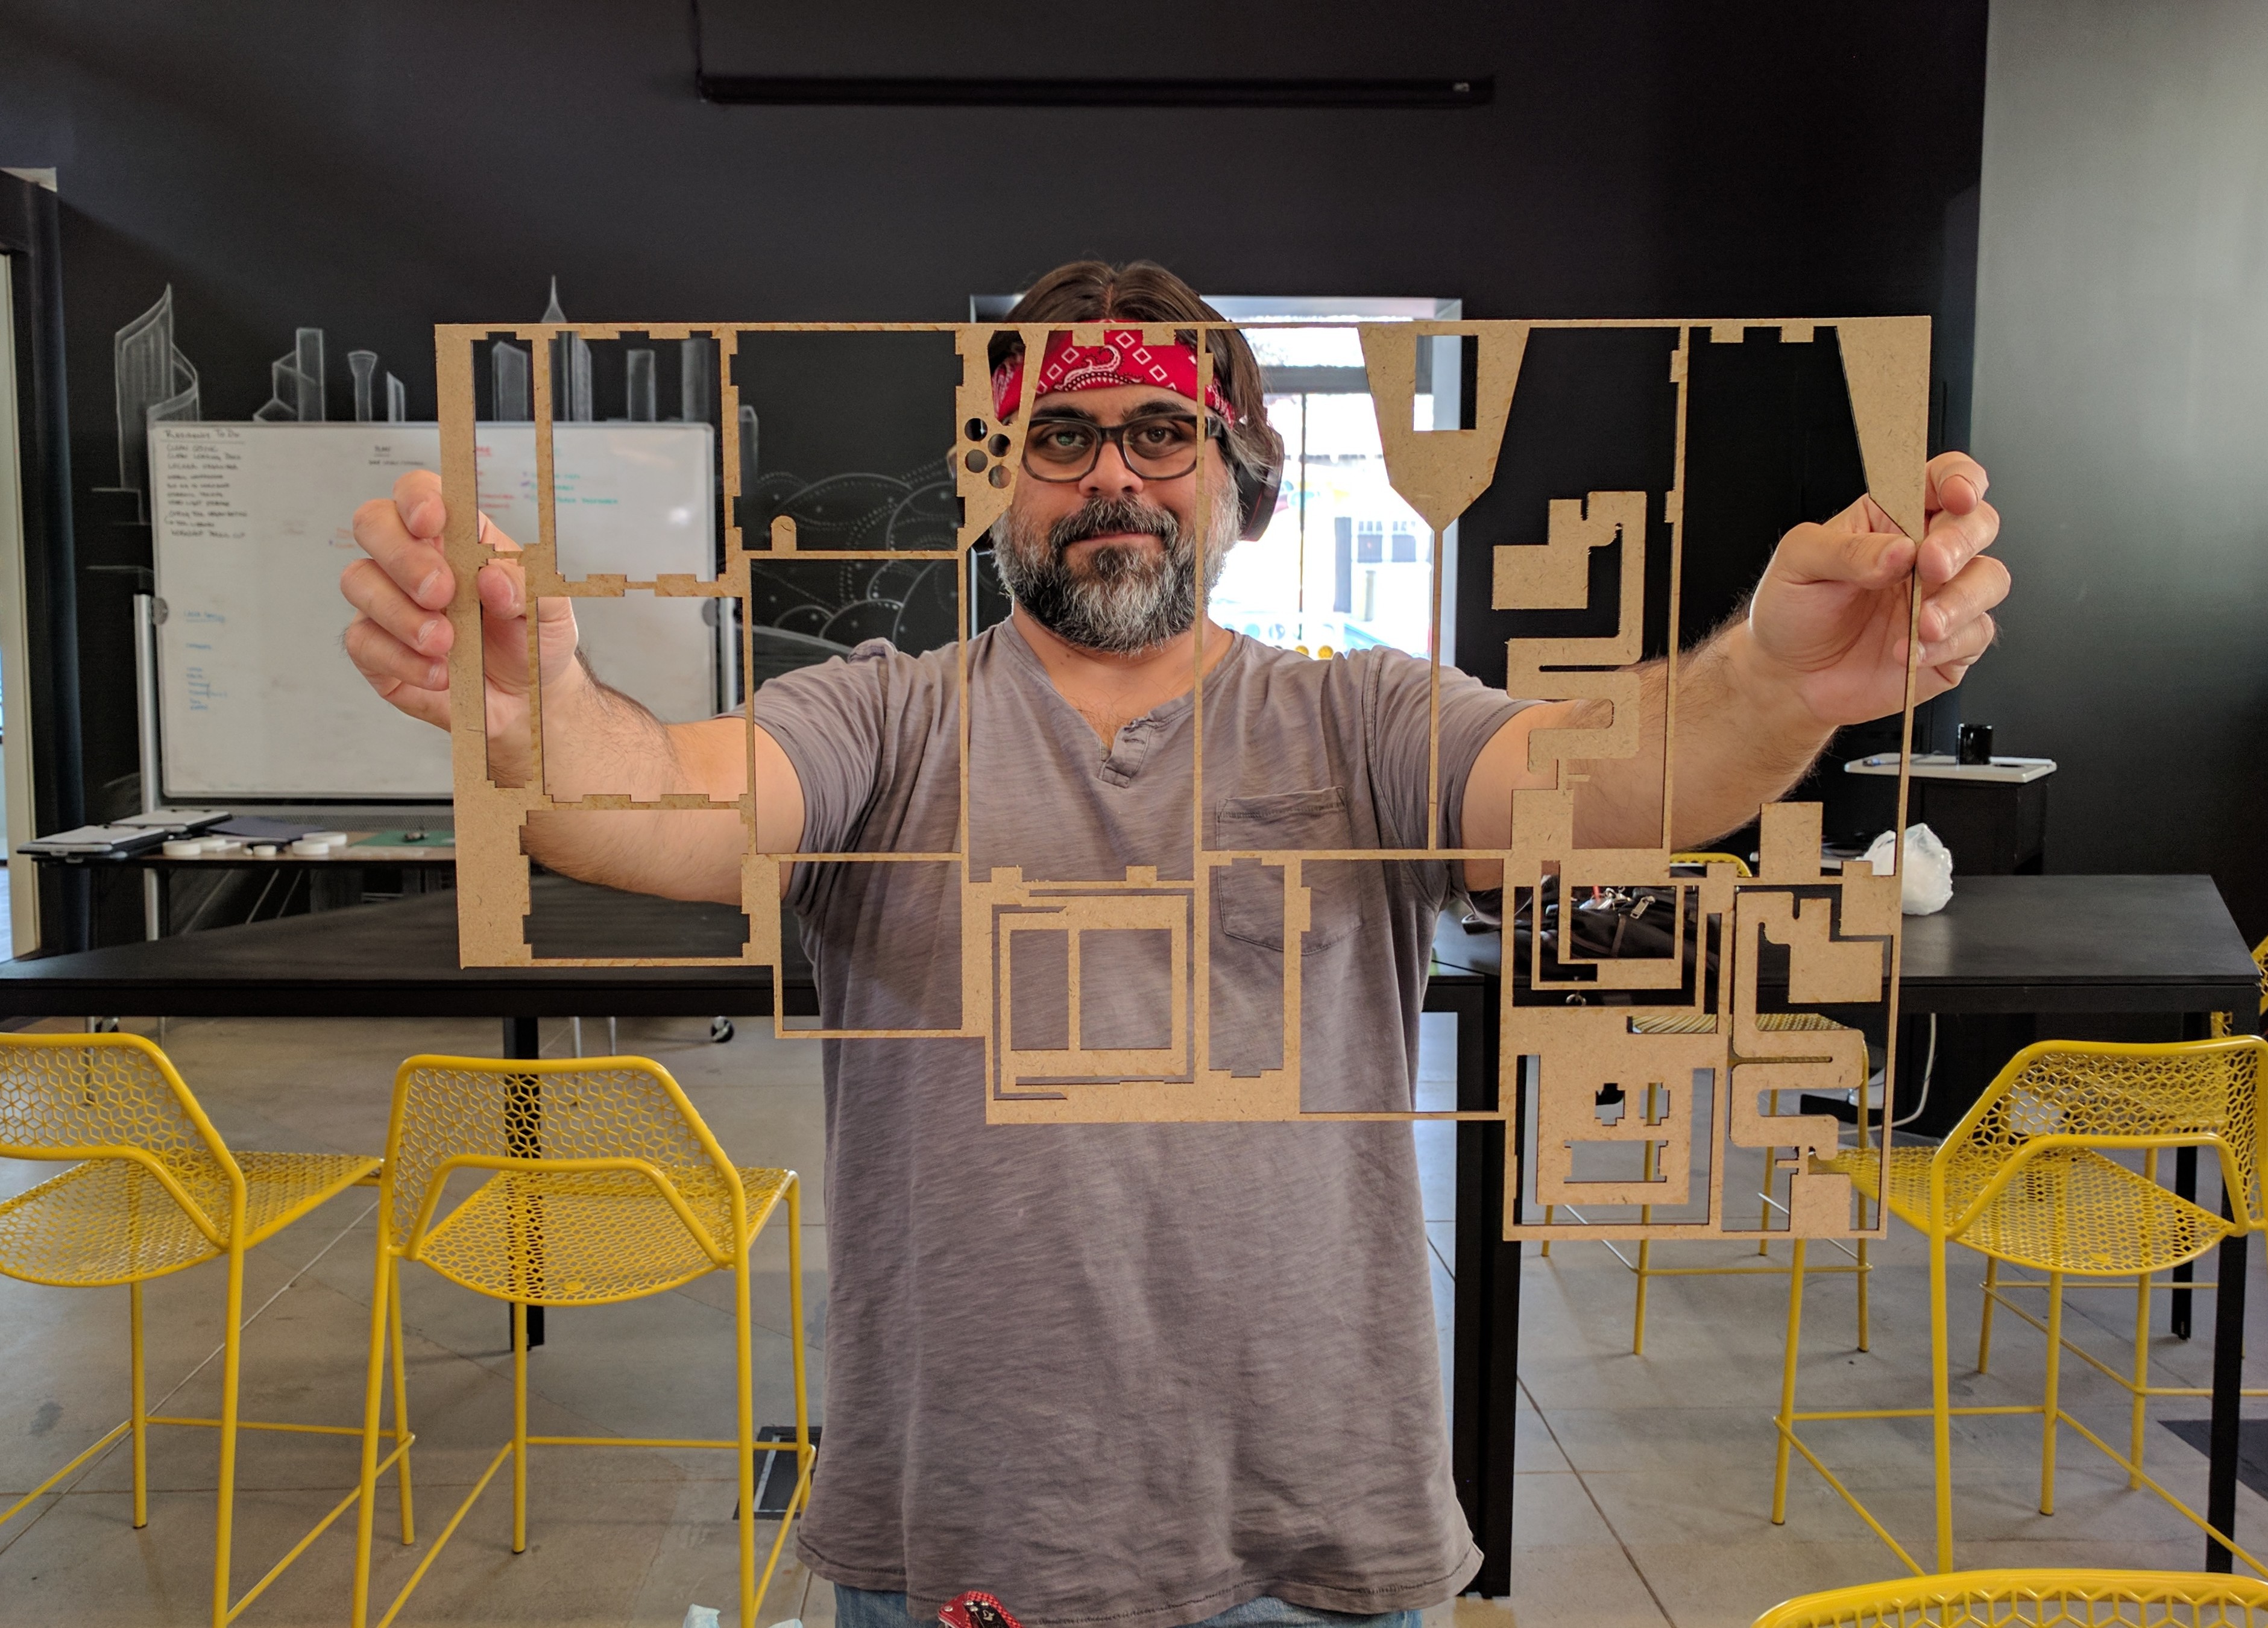
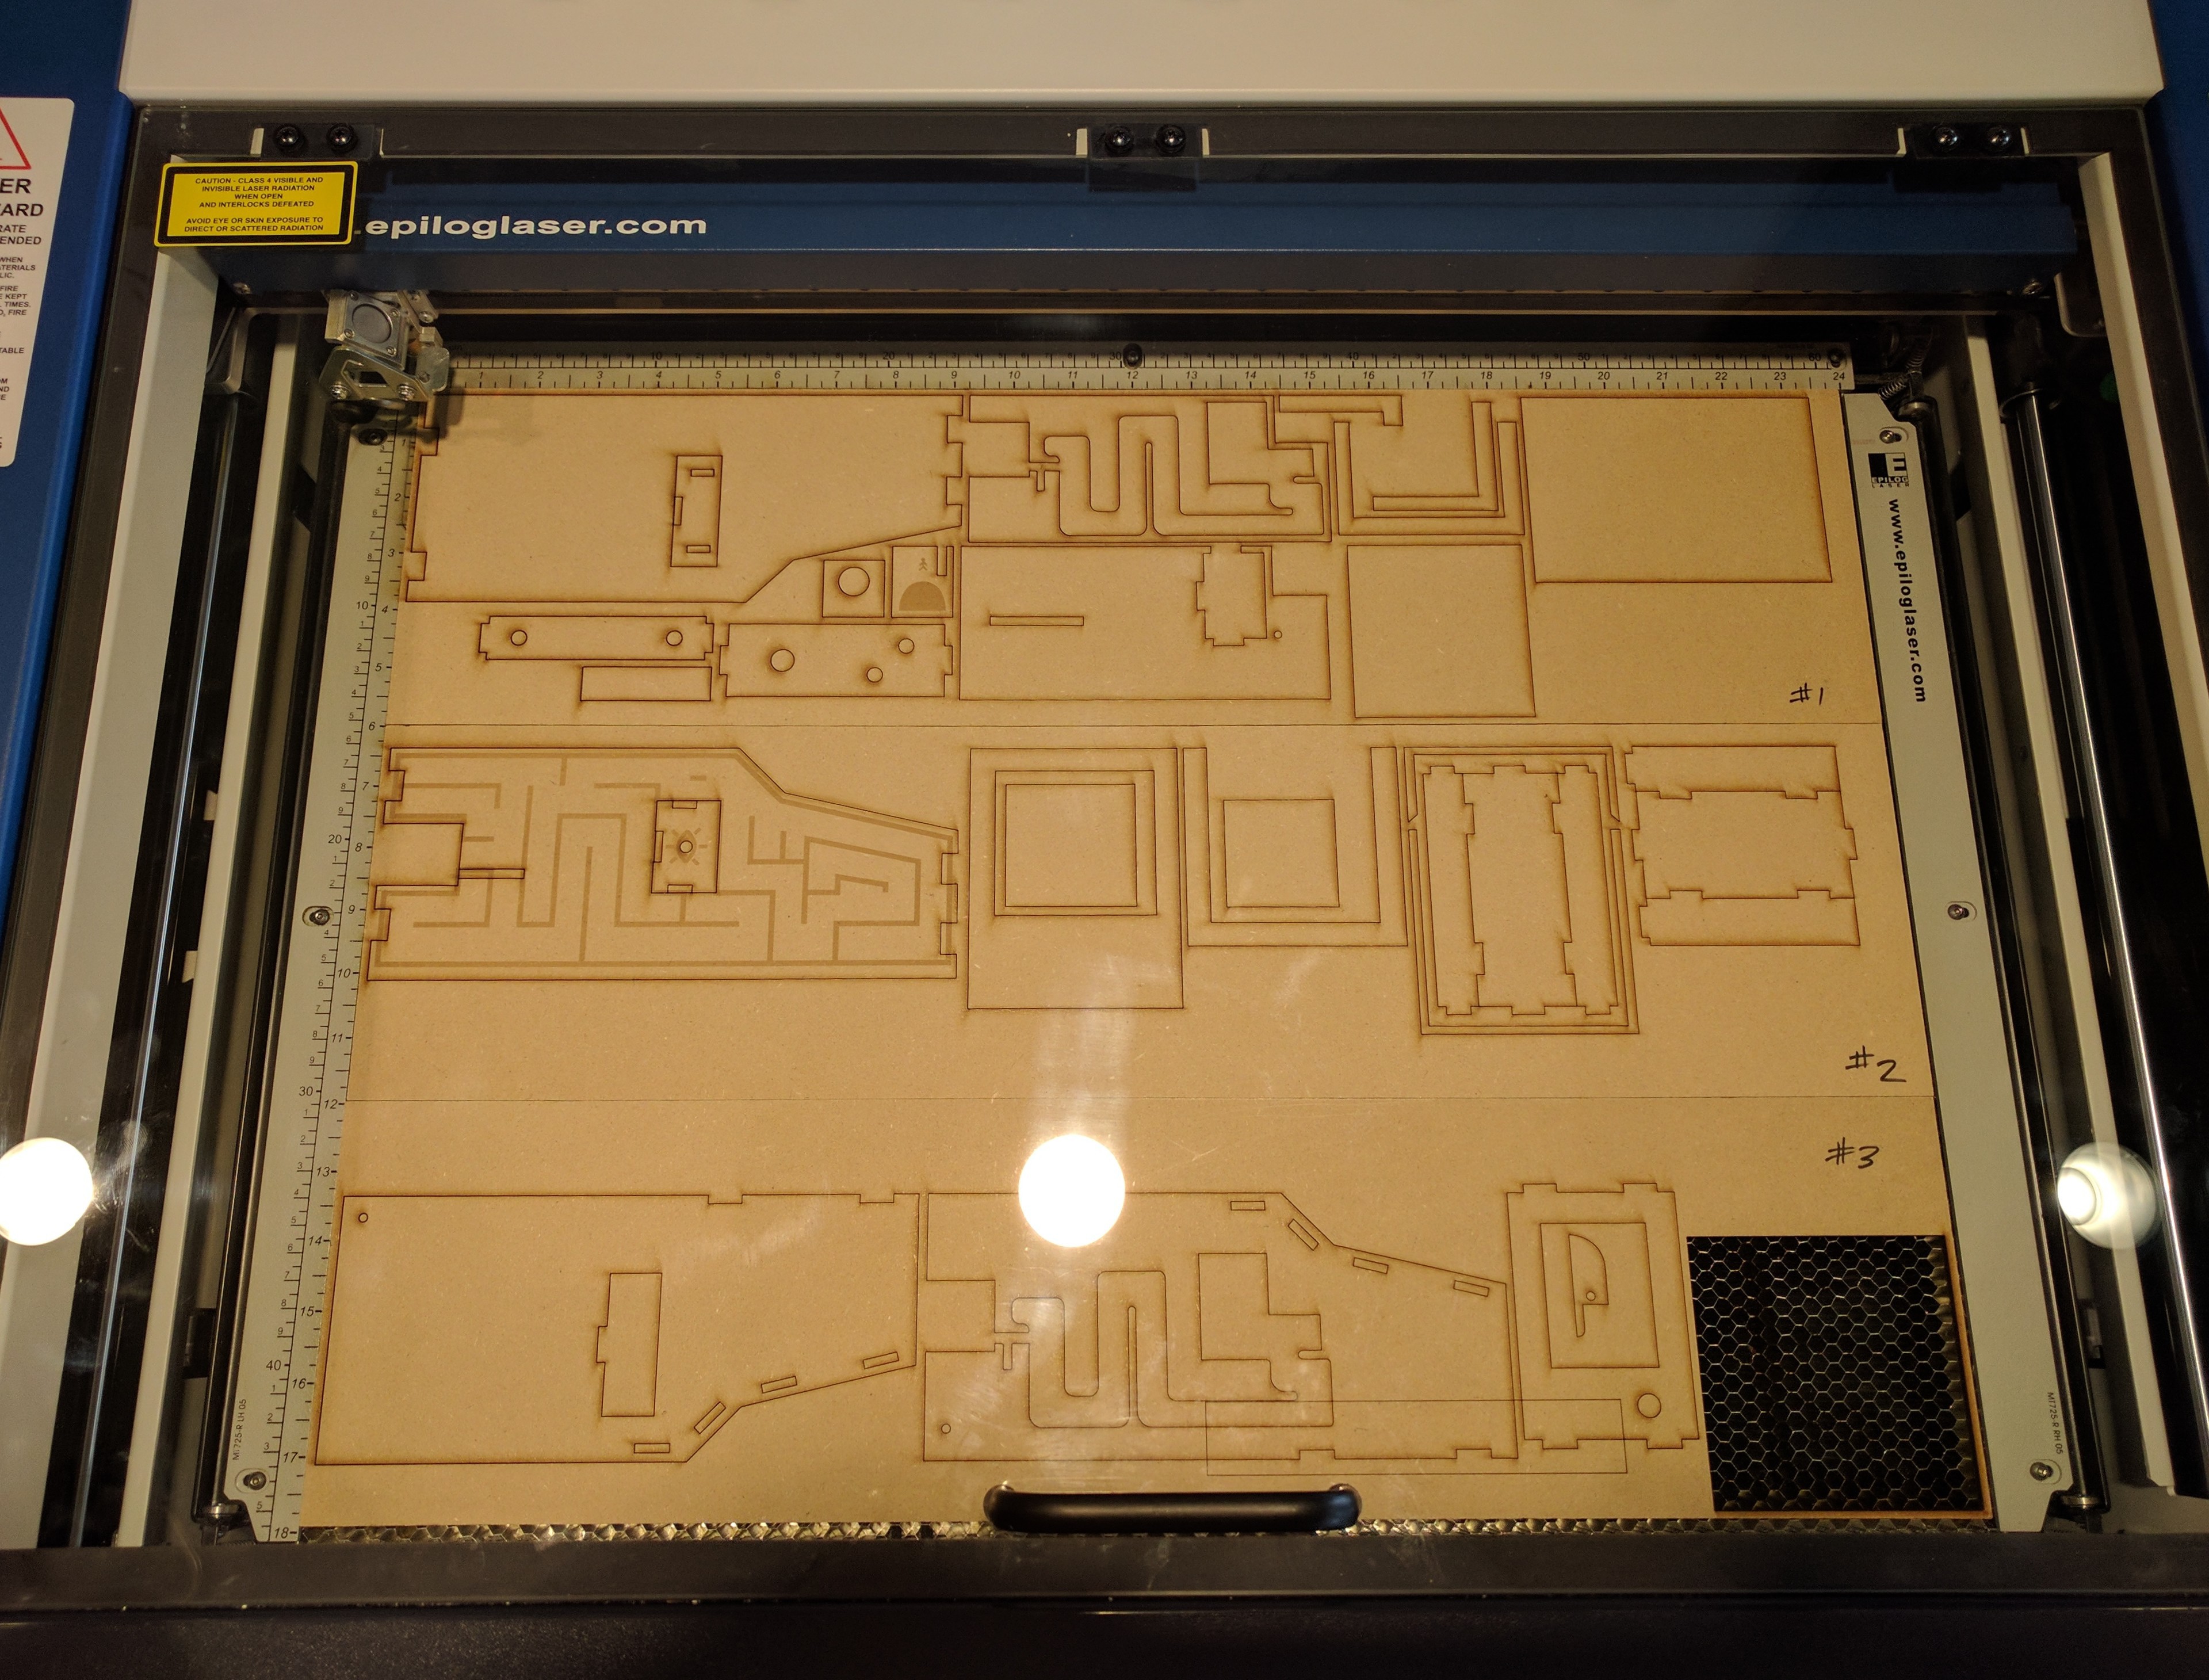
    While waiting for my second Form 2 screen bezel model to print I went back to my old friend the Epilog Laser Cutter, and started cutting sample MDF parts I could use to test the fit and finish off the cabinet's final expensive walnut parts with.

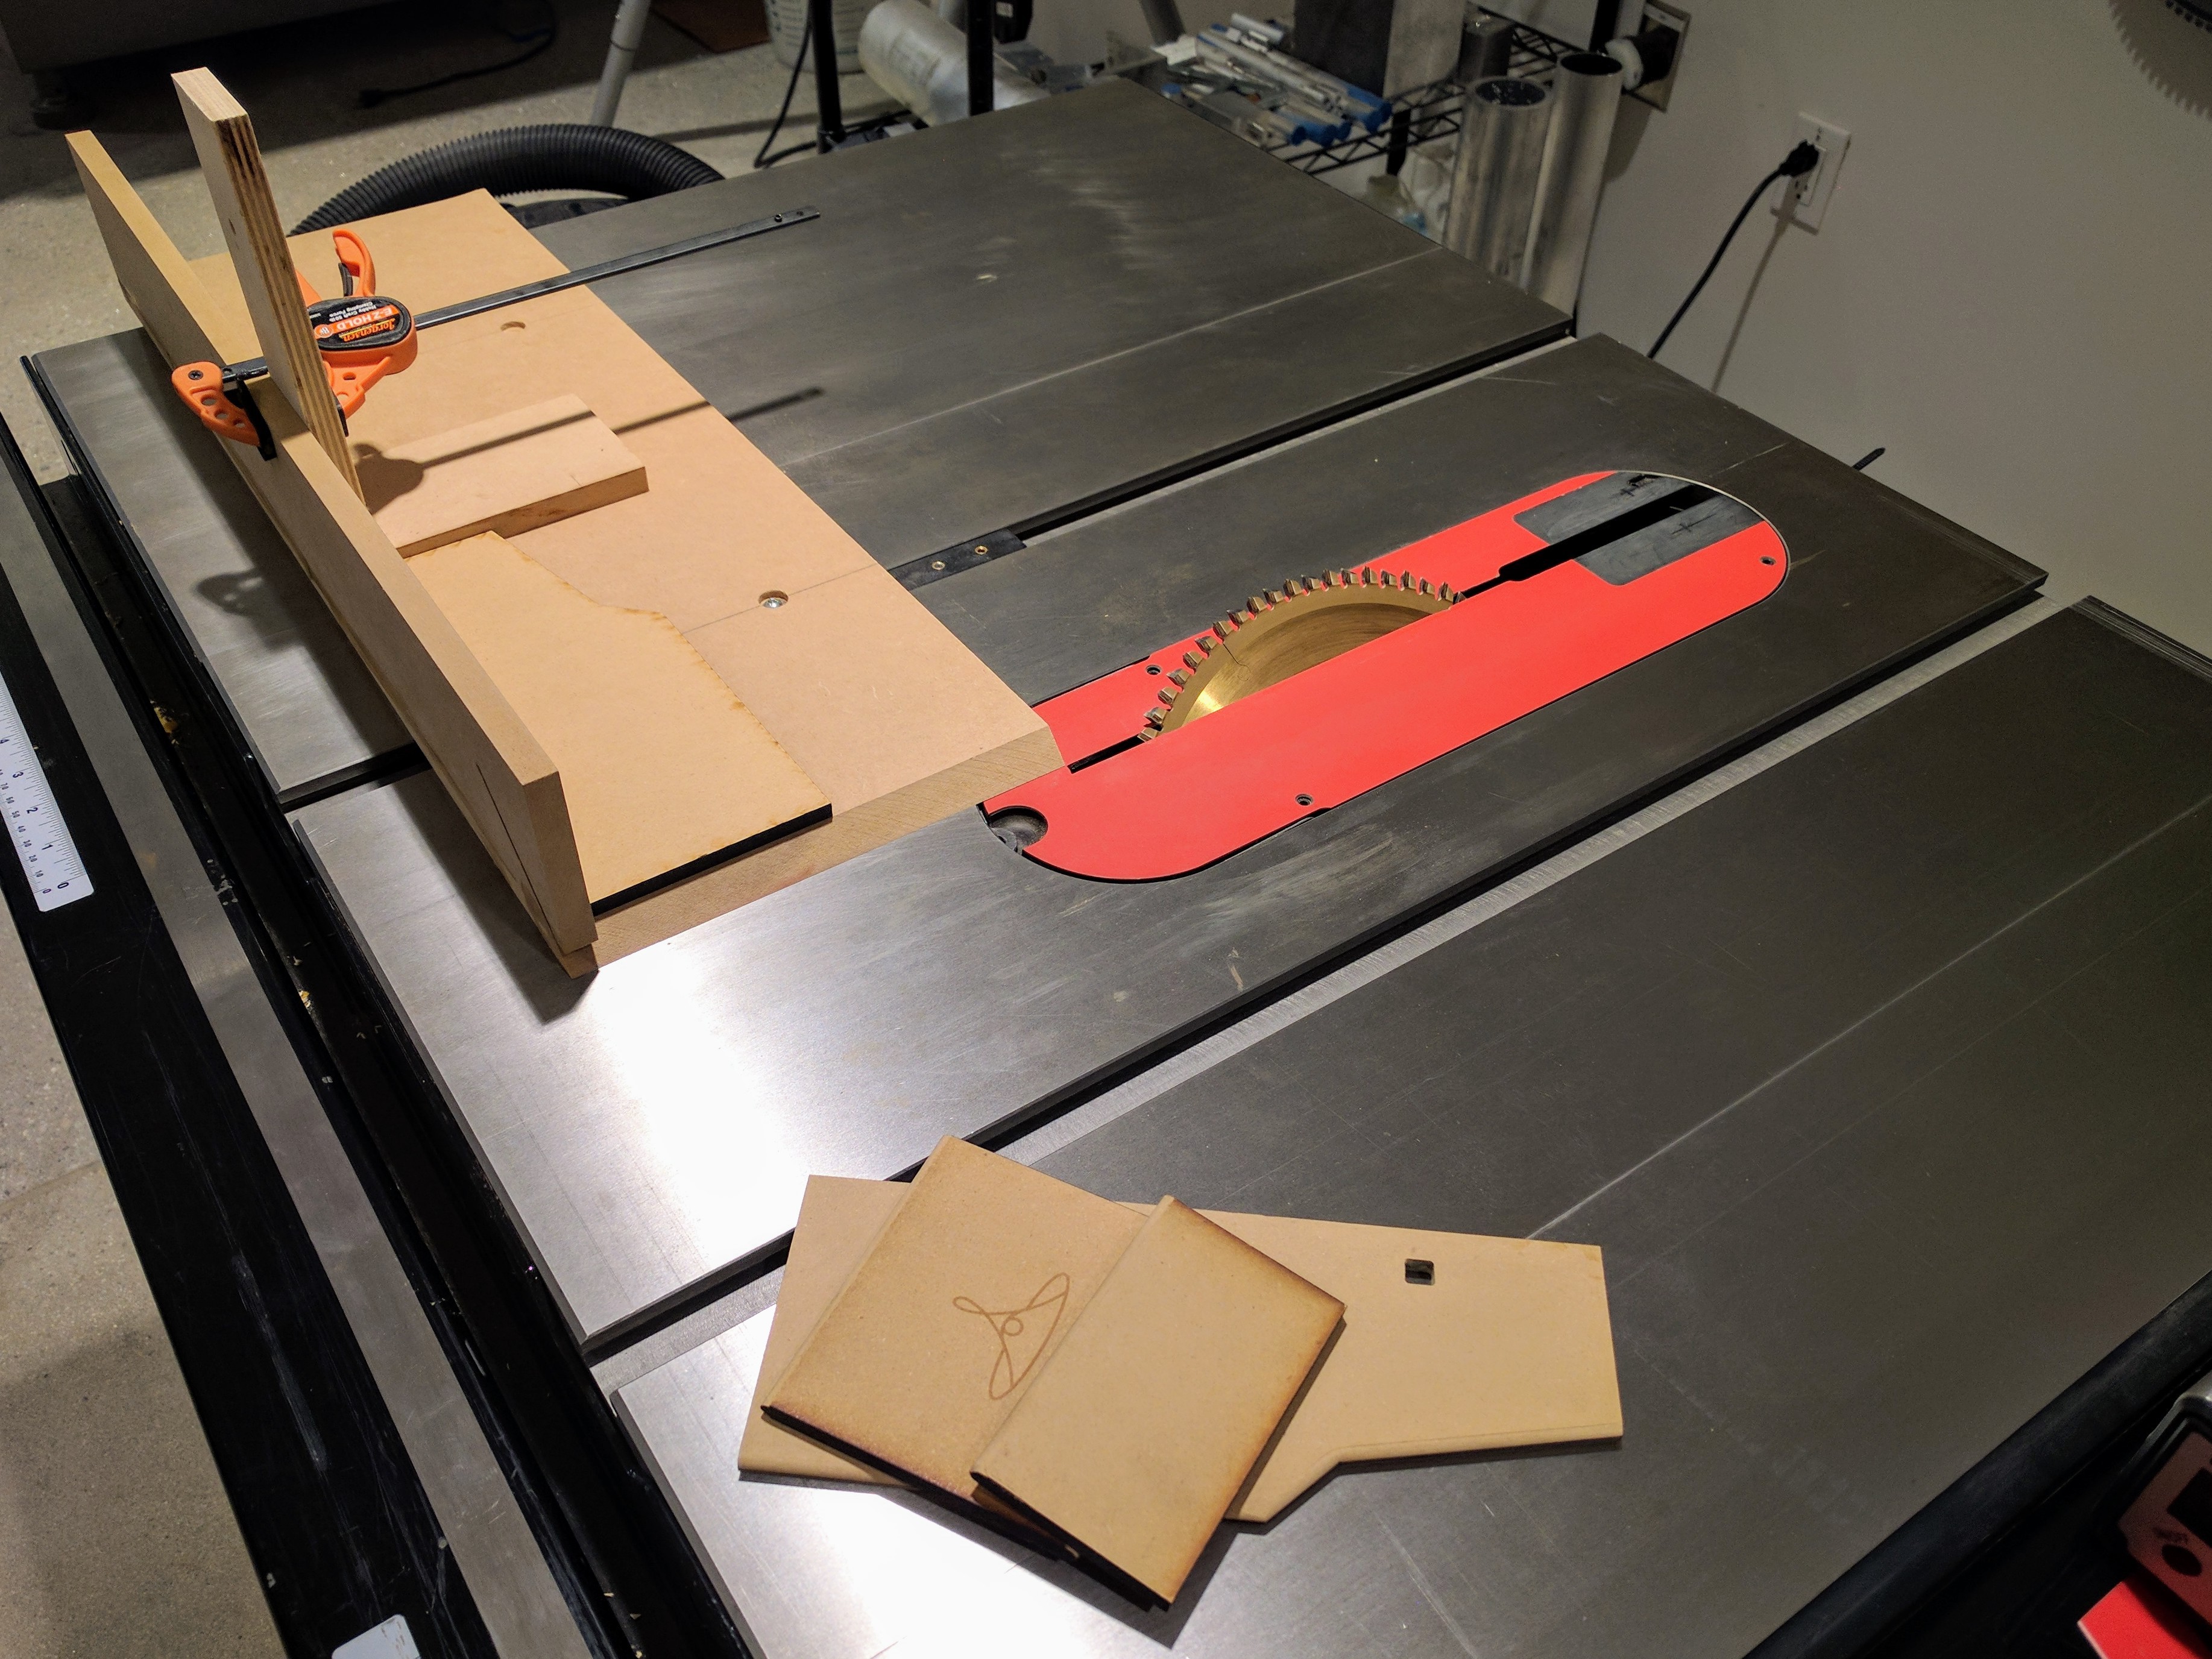
    With the MDF parts cut on the laser cutter, I then set about testing the table saw in the Lab to see what kind of mitered joints it would produce.

    With my two screen bezel parts now printed in resin, my wood cabinet parts now cut, I removed the models supports (which were far easier to remove on the Form 2 prints than the Bukito prints), and started prepping them for paint.

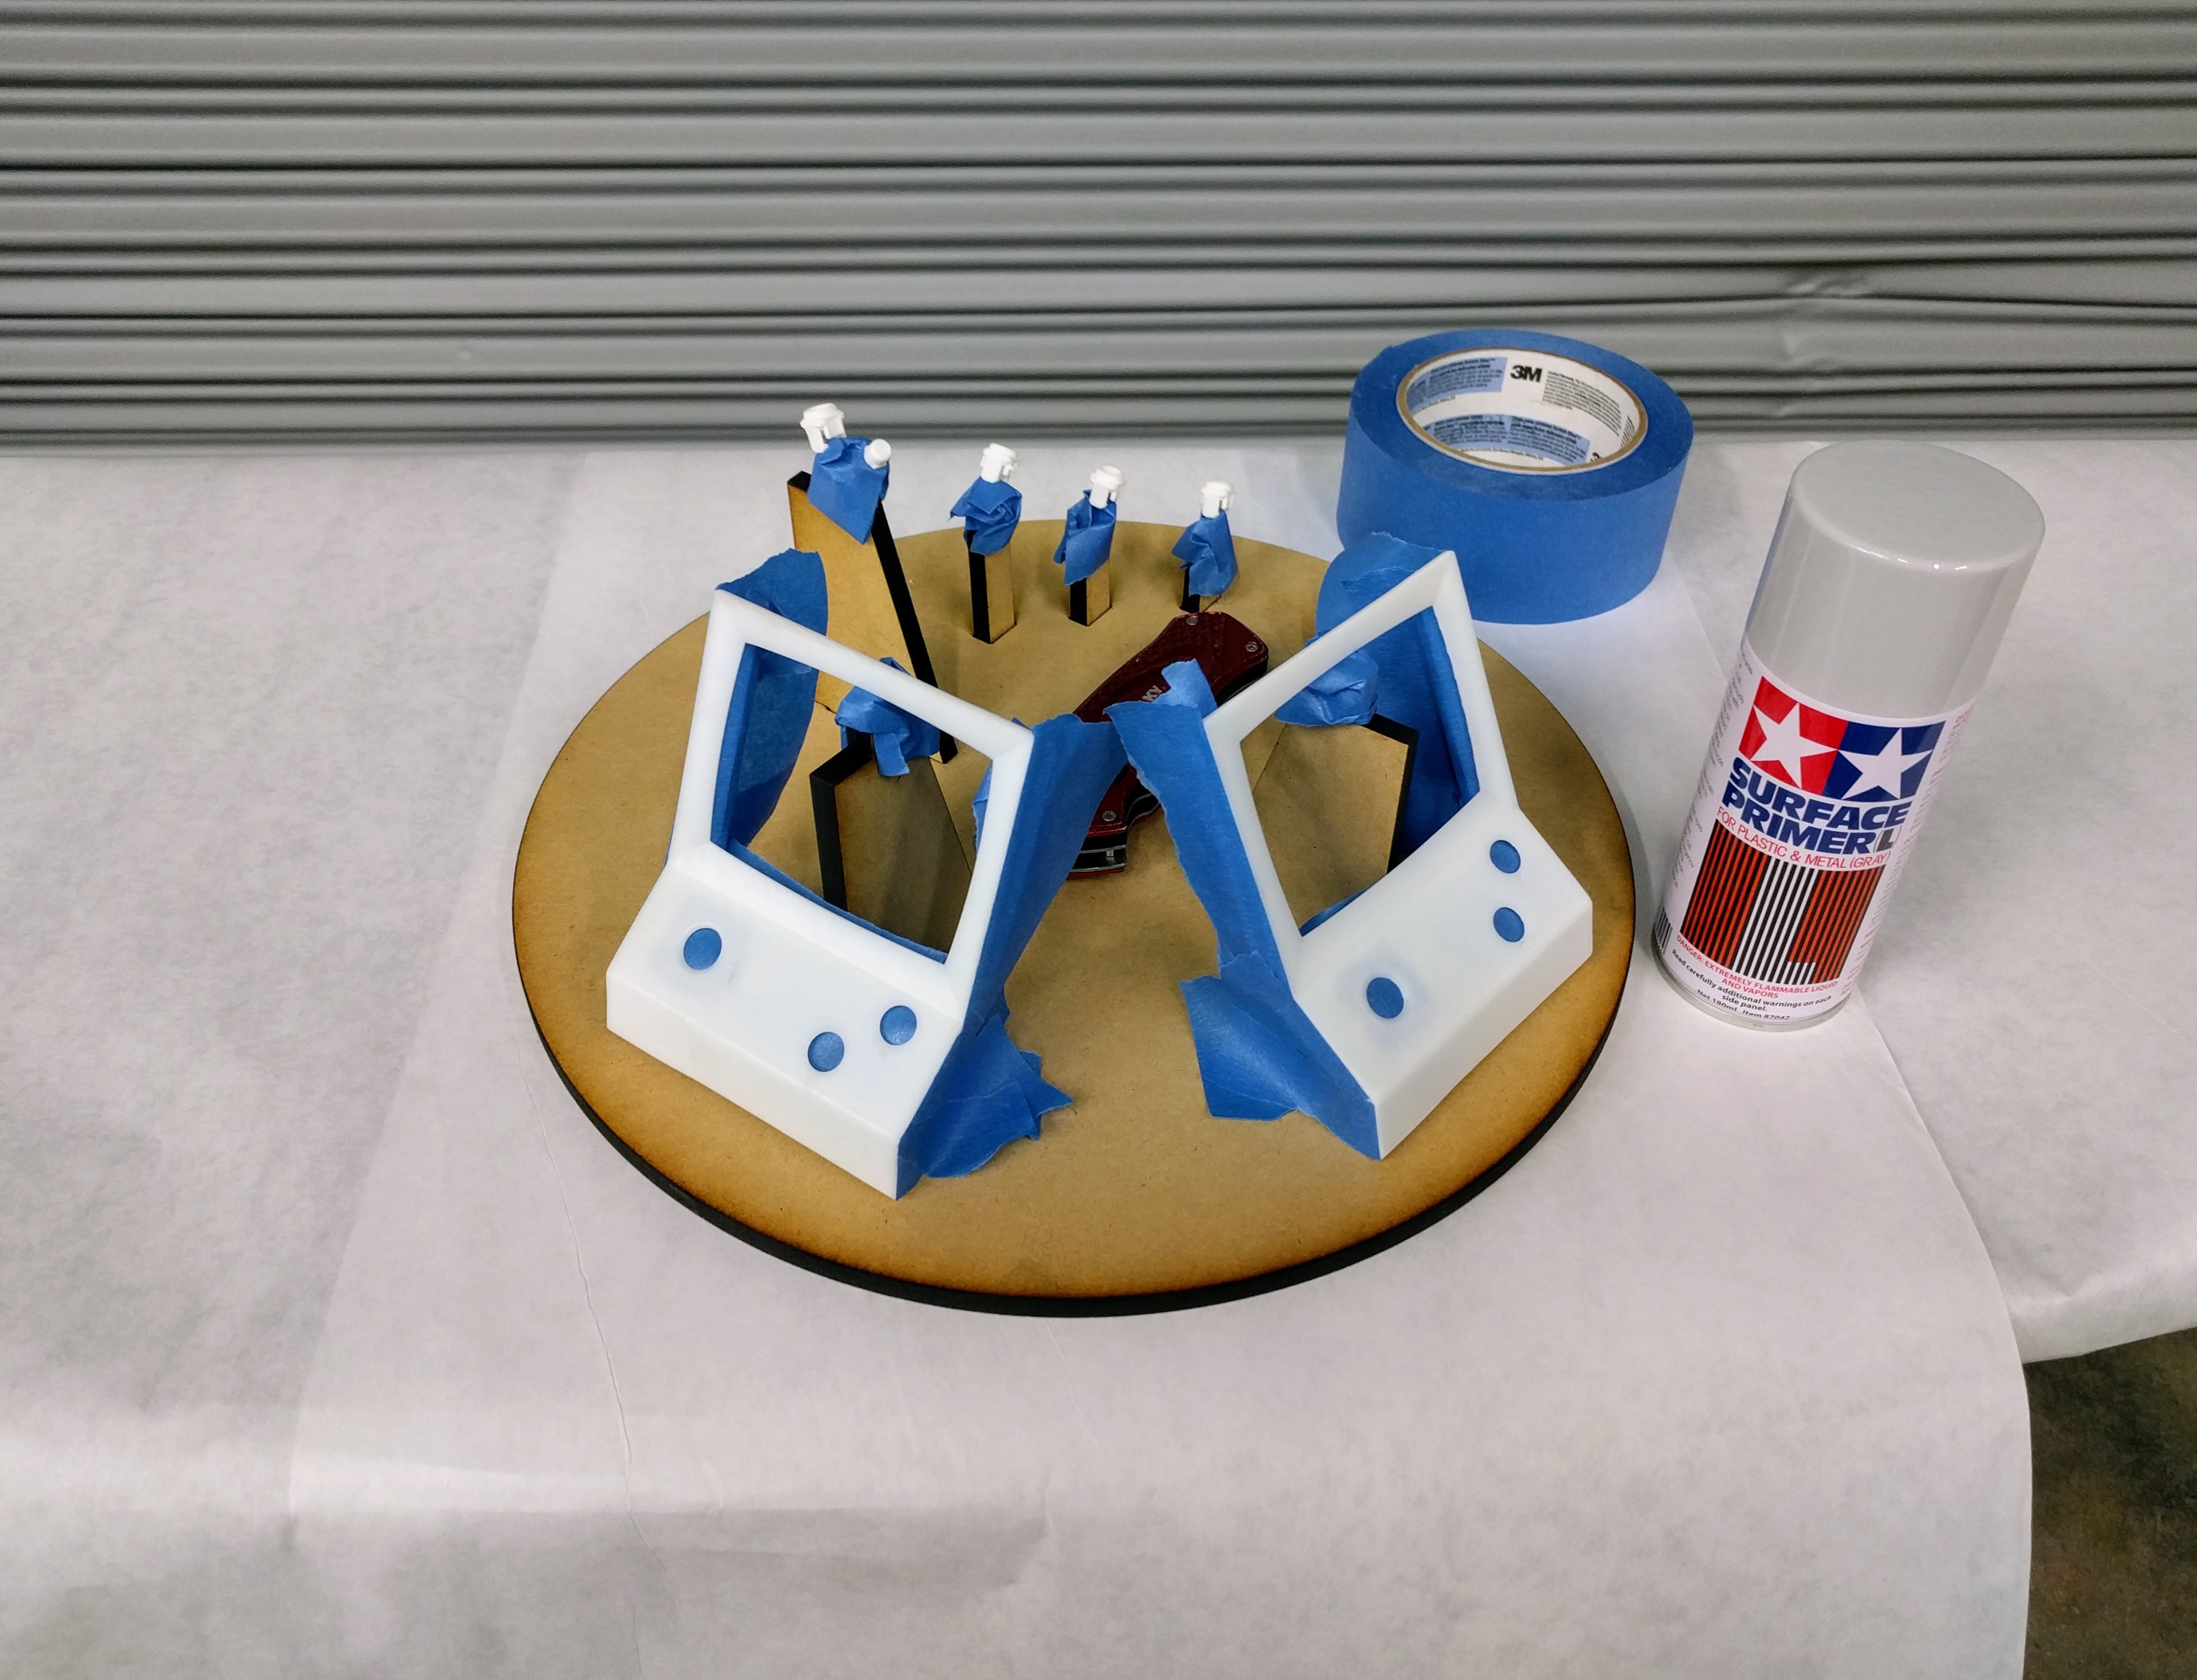
    After removing the supports, I did a quick rough sand on the bezels and micro switch button covers in anticipation of priming them.

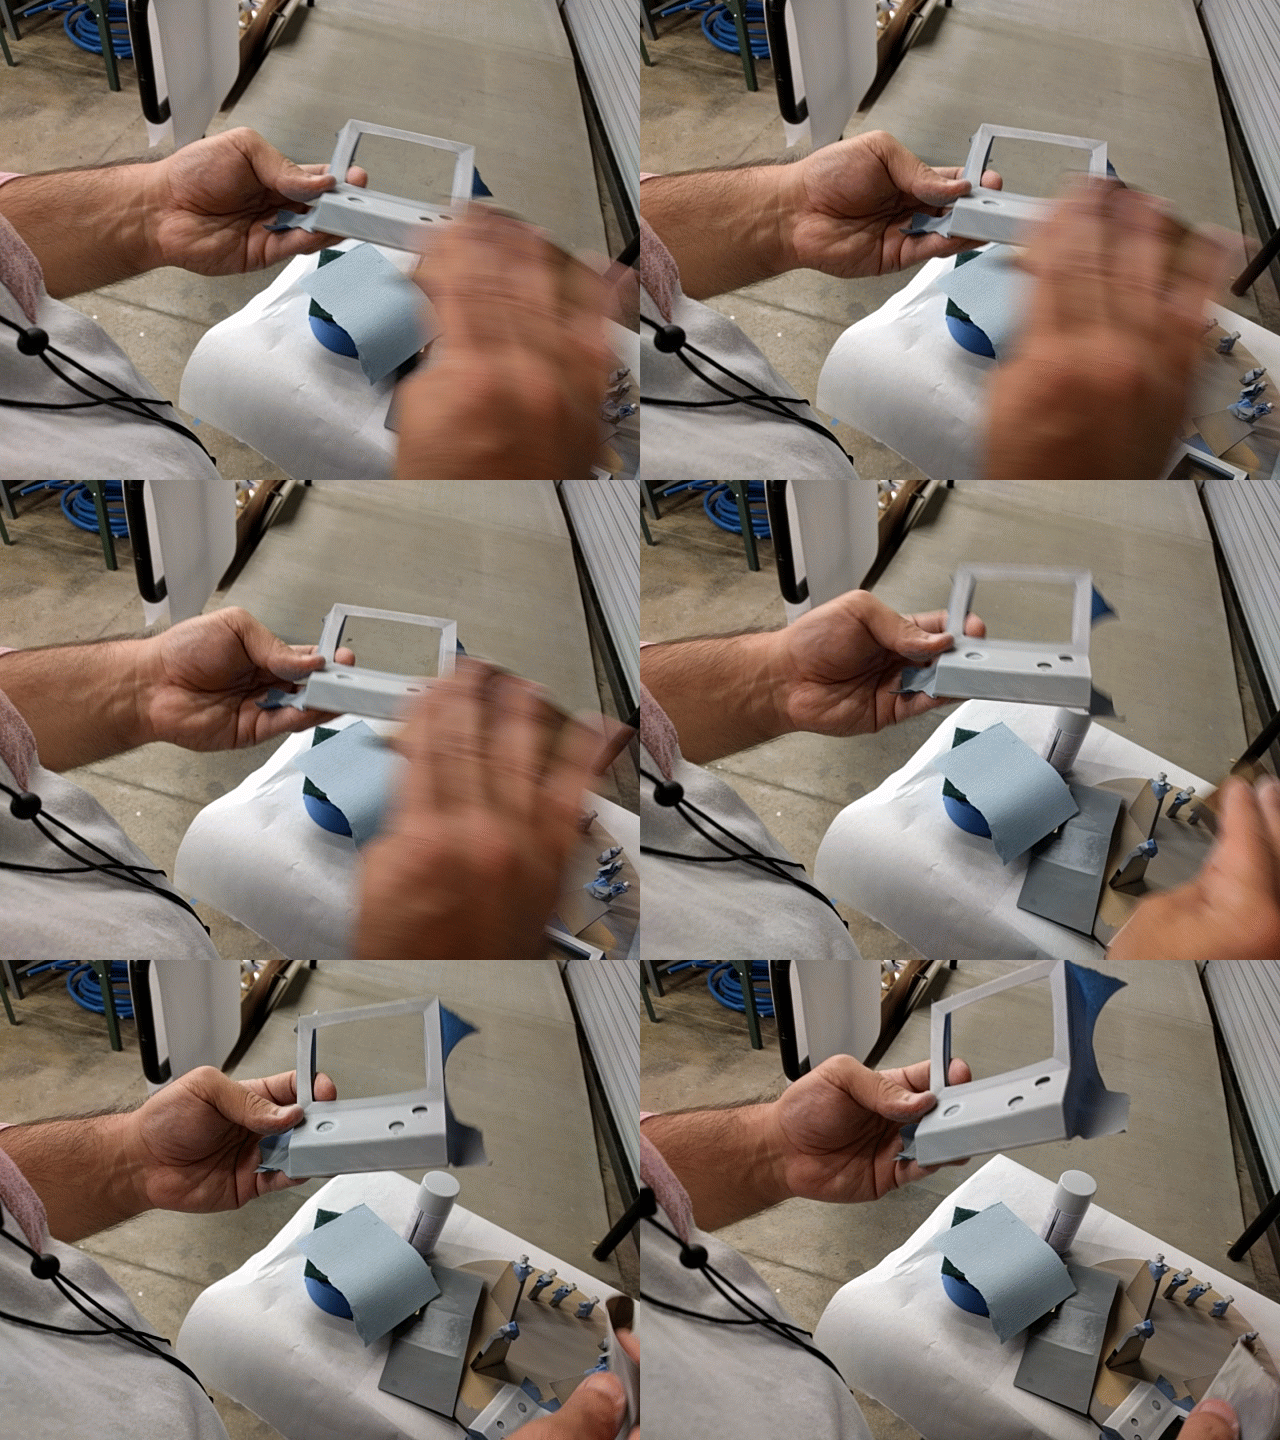
    After priming my resin parts I sanded, sanded, and sanded them some more using ever finer sandpaper. Short of wet sanding these parts, I primed+sanded these parts multiple times...
    Read more »

  • 12 - Welcome to my Crowdfunding Wonderland - May 8th - 21st

    Mike05/10/2017 at 04:15 0 comments

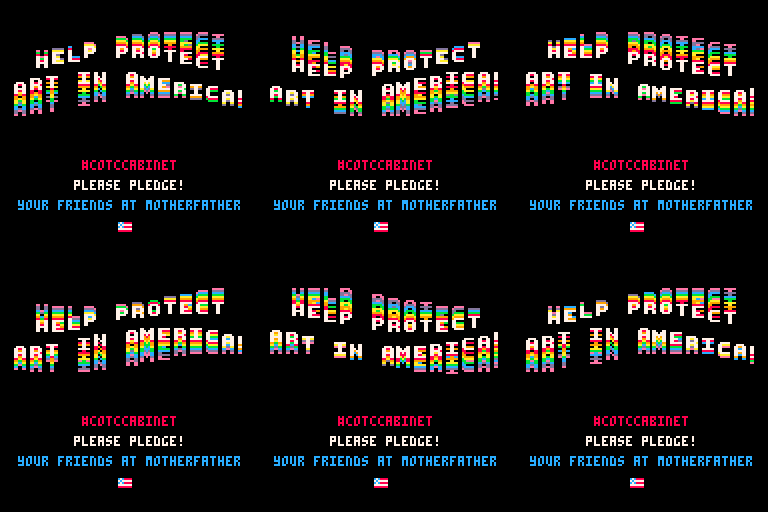
    A little GIF made in PICO-8 using code by Neko250!

    On the eve of launching our Kickstarter campaign (please pledge at the included link, and please share the campaign on social media with family and friends using the hashtag #cotccabinet!). In addition to launching the Kickstarter I also made a crate out of MDF (pictured below next to the V.9 MDF cabinet) to give potential backers a more representative idea of what the final cabinet experience is going to look like in the final version. With all of that done, my team and I then switched gears away from the cabinet's build, and basically went into overdrive creating all the collateral we'd need for the Kickstarter campaign. We essentially spent two and a half weeks straight working on that. In that time I worked on multiple rewrites of the campaign's copy, built a marketing plan+posting calendar, and media contact list, while the team pulled together to work on the Kickstarter video (which we cut 6 times in total), and all of the other collateral associated with the campaign's launch. After close to a week pulling all nighters prepping for our launch, we were able to launch our Kickstarter at 9am PDT on Thursday May 18th thanks to monumental efforts by Josh, Stefan, and Maggie (and extra special help from Jered Gold, thanks again all!)! Launch day was a stressful day followed by 2 straight days sending press releases+pitches and promoting the campaign on Twitter, Facebook, Reddit, and LinkedIn... Below you'll find a photo of me the minute I launched the Kickstarter campaign, which should give you context for my frame of mind at that moment, totally not worried at all...

    By the weekend's end on Kickstarter I'm happy to say the College of the Creatives Cabinet campaign was turned into a "Project We Love", and we'd managed to get 20 backers! Not bad, but not great either if I'm being perfectly honest from a purely monetary and total percentage of our funding goal perspective... Anywho, after a pow-wow with the team followed by feedback from various interested internet users (and trolls), we decided we needed to get a final looking cabinet done to show what exactly we were:

    1. Giving to backers in exchange for pledges at each level
    2. Giving to the targeted Cultural Influencers (you see the V.9 MDF prototype pictured below is not the final version, it's just a PROTOTYPE, it has another final form!)

    With all of this in mind, I now know I need to get renders/images of the postcards, enamel pin, pocket guide, cipher coin, and final physical prototypes representing the $250 MDF cabinet and $5k hard wood and plastic cabinet with a crate done so we can show to potential backers what they're supporting! I've resolved to complete a version of the $250 MDF cabinet and the final version we plan on making a limited edition of and sending to our select group of cultural influencers by the end of May! That means lots of fast iteration and prototyping over the next 2 weeks! Keep your eyes trained here, more on that to come soon!

    Oh, and one more thing! Don't miss the live stream and AMA I'll be doing to answer all of your burning questions related to the College of the Creatives Cabinet project on Friday, May 26th at 3pm! I look forward to showing you a working cabinet, answering all of your questions, and showing you the lab!

  • 11 - Sooooo Close, Yet... - April 28th - Now...

    Mike05/03/2017 at 17:44 0 comments

    While I'd had success with the handful of companies I mentioned in log 09, I still fell way way WAY short of the funding goals we had set and needed to hit to execute the project as proposed. With supplies, funding, and time at the DesignLab now running short we made the executive decision at the end of April to move on to Plan B for funding, a crowdfunding campaign.

    With everything above said, let me just take a moment to discuss the elephant in the room. When we first started this project, we did so with the intention of developing and executing it all in complete secrecy until its planned release (sometime in October/November of this year). In our minds, to fully take advantage of the mystery surrounding the artifact and it's call-to-action we'd established at the project's start, it needed to stay a secret until it wasn't. Dan, the Lab's Resident Engineer, liked the idea so much that he agreed to let us keep the project and it's hackaday project page a secret until it was released. I know, I know, then why are you reading about this now?.. Well, while awesome in theory, this plan was largely contingent on us receiving the aforementioned $90k in funding we needed by May 1st to fully take advantage of the DesignLab and all of the in-kind support and equipment provided to us through the lab to make the 40 cabinets we'd pitched them on (FYI, our residency ends June 30th)...

    To be clear, this by no means marks the end of the project, or changes its intended/planned use. Rather, as Dan correctly suggested in the one-on-one meeting we had with him where we decided to go the crowdfunding route, surfacing the project now in this manner only benefits the project and our planned call-to-action, improving it's chances of success as more eyes will now have a chance to see it over time as we continue to develop the cabinet in public before it's release. As Dan explained to us in this meeting, the big fear he had related to our specific project while considering us for a residency at the DesignLab was the chance that this project would "pop" like a bubble when introduced to the general public, there one second, gone and forgotten the next... Essentially, he feared targeted recipients would get them, maybe open them/maybe not, and then we'd never hear from them or get the response we wanted through the project to begin with. While I don't necessarily agree with this assessment based on the fact that we're targeting a very specific group of creatives that this project authentically speaks to (eg: nerdy, thoughtful, and socially conscientious), I could never the less understand and see his point of view. The final nail in the coffin for keeping the project secret until it's release? Dan (correctly IMHO) thinks going public with a crowdfunding campaign will create some social pressure on cabinet recipients, encouraging them to 1) open the box and 2) act... and in my book this was good enough!

    With crowdfunding now in our sights I've reached out to Crowd Source, Hatchfund, and Kickstarter and spoken several times to several different development specialists with each platform to get the down low. More to come on that as this portion of the project continues to develop...

    fun fun fun...

  • 10 - Graphical Stuff and Thangs... March 6th - Now

    Mike04/27/2017 at 07:21 0 comments

    I'm hoping to get Maggie's notes and commentary related to her work creating the project's associated ephemera when she gets a chance...

  • 09 - I Got 99 Problems, and Money Could Solve Like 98 of Them - April 5th - May 8th

    Mike04/25/2017 at 05:03 0 comments

    After a month in the lab we had managed to complete our prototype and had secured our residency! Feeling lucky I decided to focus my attention on the funding we needed to complete the project as proposed. You see when we applied to the DesignLab with this project, our proposal included a 40 cabinet limited edition run, with the intention of sending these 40 cabinets to an unsolicited group of influential, nerdy and socially conscientious creatives to inspire and activate them into helping us fight the planned defunding of the NEA, NEH, and CPB by the current Presidential Administration. In total I calculated we'd need to raise about $95k to make the project as proposed. This total includes costs associated with moving from the current MDF prototype to a final model made out of our targeted build materials (hardwood and plastic), the creation of a custom printed computer board, shipping, taxes, honorariums, and the streamlining of the workflow/processes (the design, engineering play testing and finalization of the cabinet's design) as we scale-up and get ready to transition into the production of the cabinet's limited edition run through this Fall as proposed to Dan, the DesignLab's Resident Engineer.

    I first started out by making a list of companies who's products I was either currently using/planning on physically using in the project, or using to create the physical artifact. Starting online (in a Google search), I tried to find articles and mentions of the companies I was targeting talking about them sponsoring projects that were art + technology and/or social-action focused. When I found an article that made sense with what we were trying to do with this project I looked for the targeted companies employees handling (usually executives of some stripe) that had a hand in the initiatives mentioned or interviewed in the article. I then turned my attention to LinkedIn specifically looking at the companies I wanted to work with while looking at roles I thought touched on what I was doing, or who's roles at the company in question made sense with our project (eg, Marketing, Business Development, and CSR type of executives), and after my initial round of research (about a week in total) I widened my search to include nonprofits, foundations, and corporations supporting initiatives and projects like ours. I also talked to and met employees at companies I'd already made contact with, and reached out to friends and mentors I knew with the intention of generating new leads. For almost a month straight I spent my time researching, crafting emails+proposals (samples of which can be found in the "files" section of the hackaday page), cold calling people, and planning+having meetings with executives I'd made contact with. Using this process I managed to contact a little under 100 different individuals, groups, corporations, and foundations!

    Thanks to the hard work I put into the business development side of the project, rinsing and repeating the process above through the month of April, I was able to confirm: the ArtCenter College of Design, Epilog, Next Thing Co, Pimoroni, and Sparkfun as project partners who have all agreed to give us various kinds of support! Oh, and let's not forget SupplyFrame by extension through the DesignLab! Thanks again to Dan, the Resident Engineer, who immediately saw value in our project after I presented our foam-core to him! Dan has been an ardent proponent and supporter ever since (honest hermano, he's kind of an awesome hombre, please don't tell him I said that!), putting us in front of multiple colleagues and acquaintances we could pitch the project to ever since! We're grateful to know that the many people like him I spoke to at the companies and organizations mentioned above found value in our project and call-to-action. We are proud to call them project partners!

  • 08 - Final MDF Prototype!!! - March 20th - April 4th

    Mike04/20/2017 at 23:34 0 comments

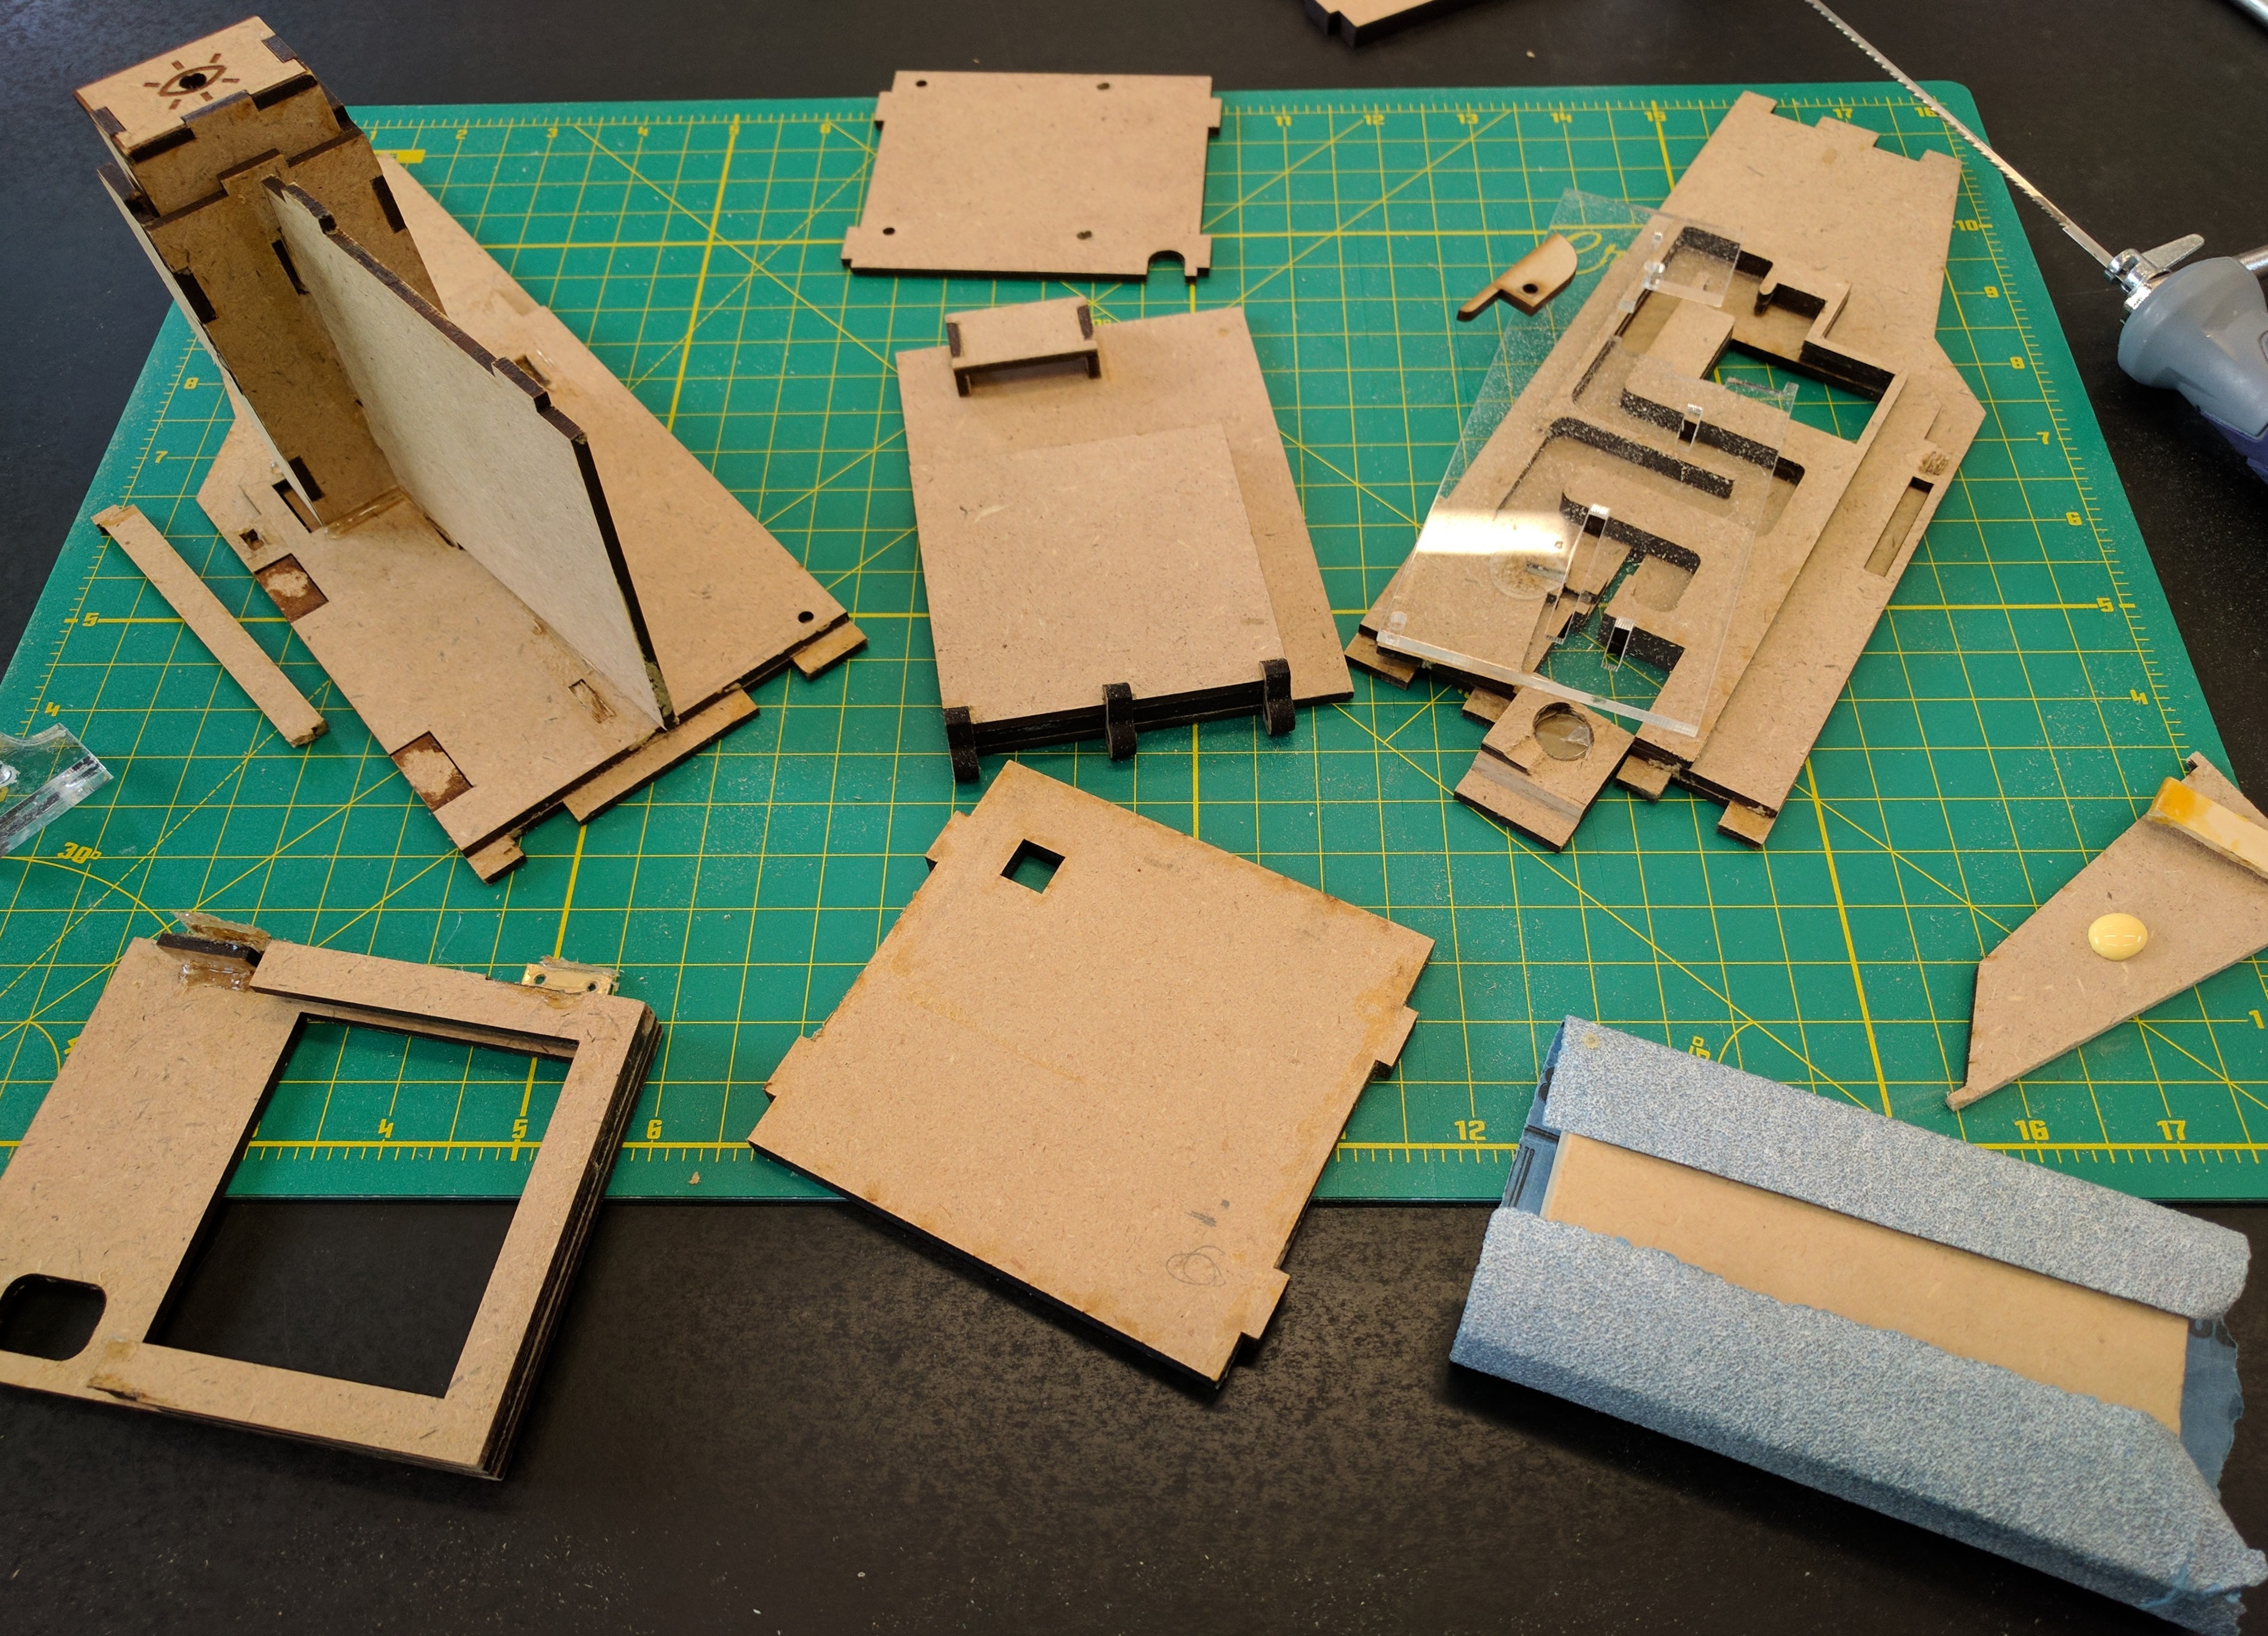
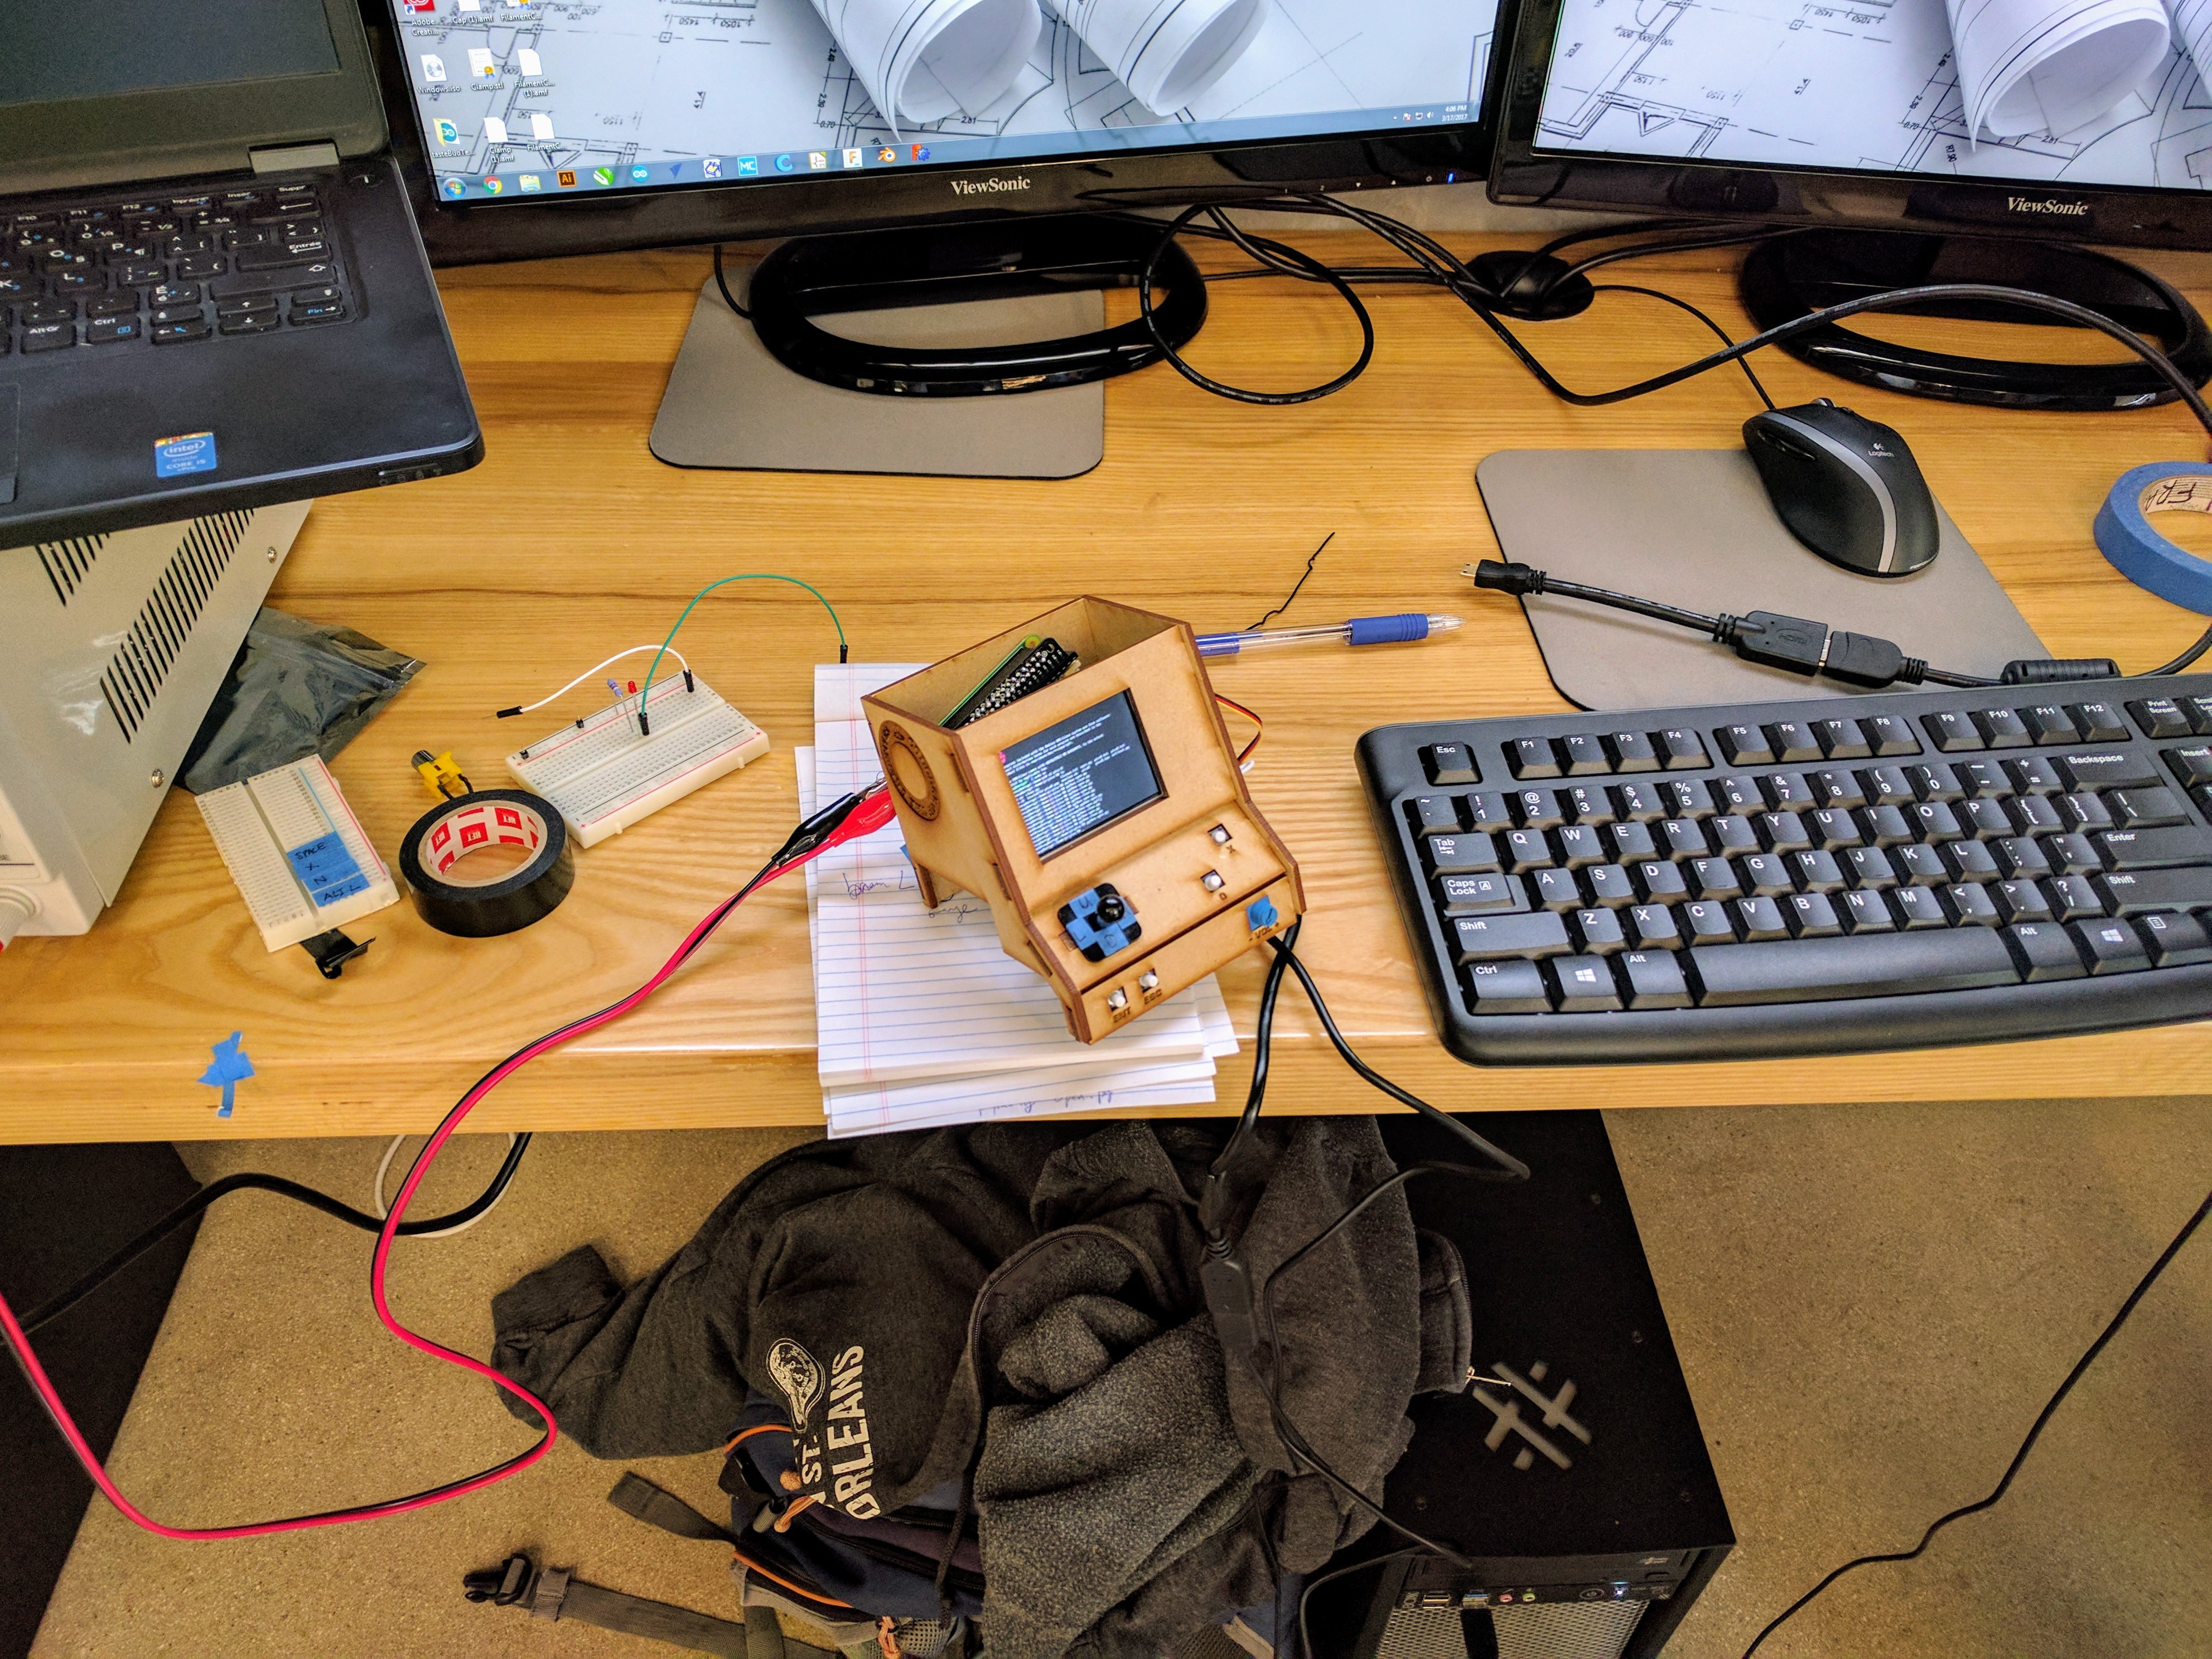
    After about a month we'd managed to get a final prototype done with all of the mechanical and electronic parts fully integrated into the MDF prototype I made pictured above (mind you this was after we literally tore down and disassembled what I thought was the final MDF prototype I had just assembled, Jean had other ideas involving a handsaw and a utility knife, results pictured below...)! Also, because we're currently using a C.H.I.P. to power the cabinet, and there aren't a ton of projects out there that use the C.H.I.P. to power game machines like this, I used a Pimoroni Picade PCB to get our cabinet's controls to connect and register control input on the C.H.I.P.

    Next on the list of things to focus on was the recipient's experience while using the cabinet. We needed to make the prototype's hardware function more like an appliance. Top of that list are the following items: hiding linux's boot-up chatter on the cabinet's screen at start, getting the cabinet to boot directly into PICO-8 followed by a specific game, getting PICO-8 to work in full-screen mode, and getting the cabinet to go into a shutdown sequence when it's unplugged from an outlet to avoid corrupting of our software package. For the record, I intend to send this artifact to a variety of users, some from very technical backgrounds, others not. I need to make sure the cabinet experience is as frictionless and easy to use as possible given the mix of people we're sending them to. First up, I needed to get the hardware to autostart straight into PICO-8 like a NES game system would with a cart inserted into it. Looking around on the NTC BBS I found this shell script and installation instructional that user Xerxes Rånby created that makes the C.H.I.P. auto start straight into PICO-8, and implemented it in my prototype using his instructions.

    Beyond the user experience related to boot ups, I next needed to make the artifact as hard as possible to break. With the autostart problem resolved, and the system immediately booting inot PICO-8, I now needed to resolve power shut downs on power disconnects to avoid corrupting my software package. This problem is not resolvable with software alone, and requires a hardware element that can hold a charge while the C.H.I.P. goes through its shutdown sequence. Thankfully the C.H.I.P. has a power management package and JST port I was able to use to plug in a teeny tiny battery, while a piece of software handles the shutdown sequence after a power disconnect! After a little more research on the NTC BBS I found this excellent little program and instructional made by user Steve Fords. Using Nano I edited his config file to initiate a shutdown when power was disconnected and after the little 3.7v 150mAh Lithium Ion Polymer Battery connected to the C.H.I.P. registered a 99% or less charge (which given the load it was driving is near instantaneous). None of this again would have been possible without John Edgar Park's generous advice and pointed questions/critiques via the countless emails we exchanged as I developed this portion of the project! He even came by the DesignLab to critique the V9 MDF prototype in person after I had finished my V9 prototype! All advice that I plan to put to good use on the next version of the cabinet!!! XD

  • 07 - Victory is OURS! - March 20th

    Mike04/20/2017 at 22:07 0 comments

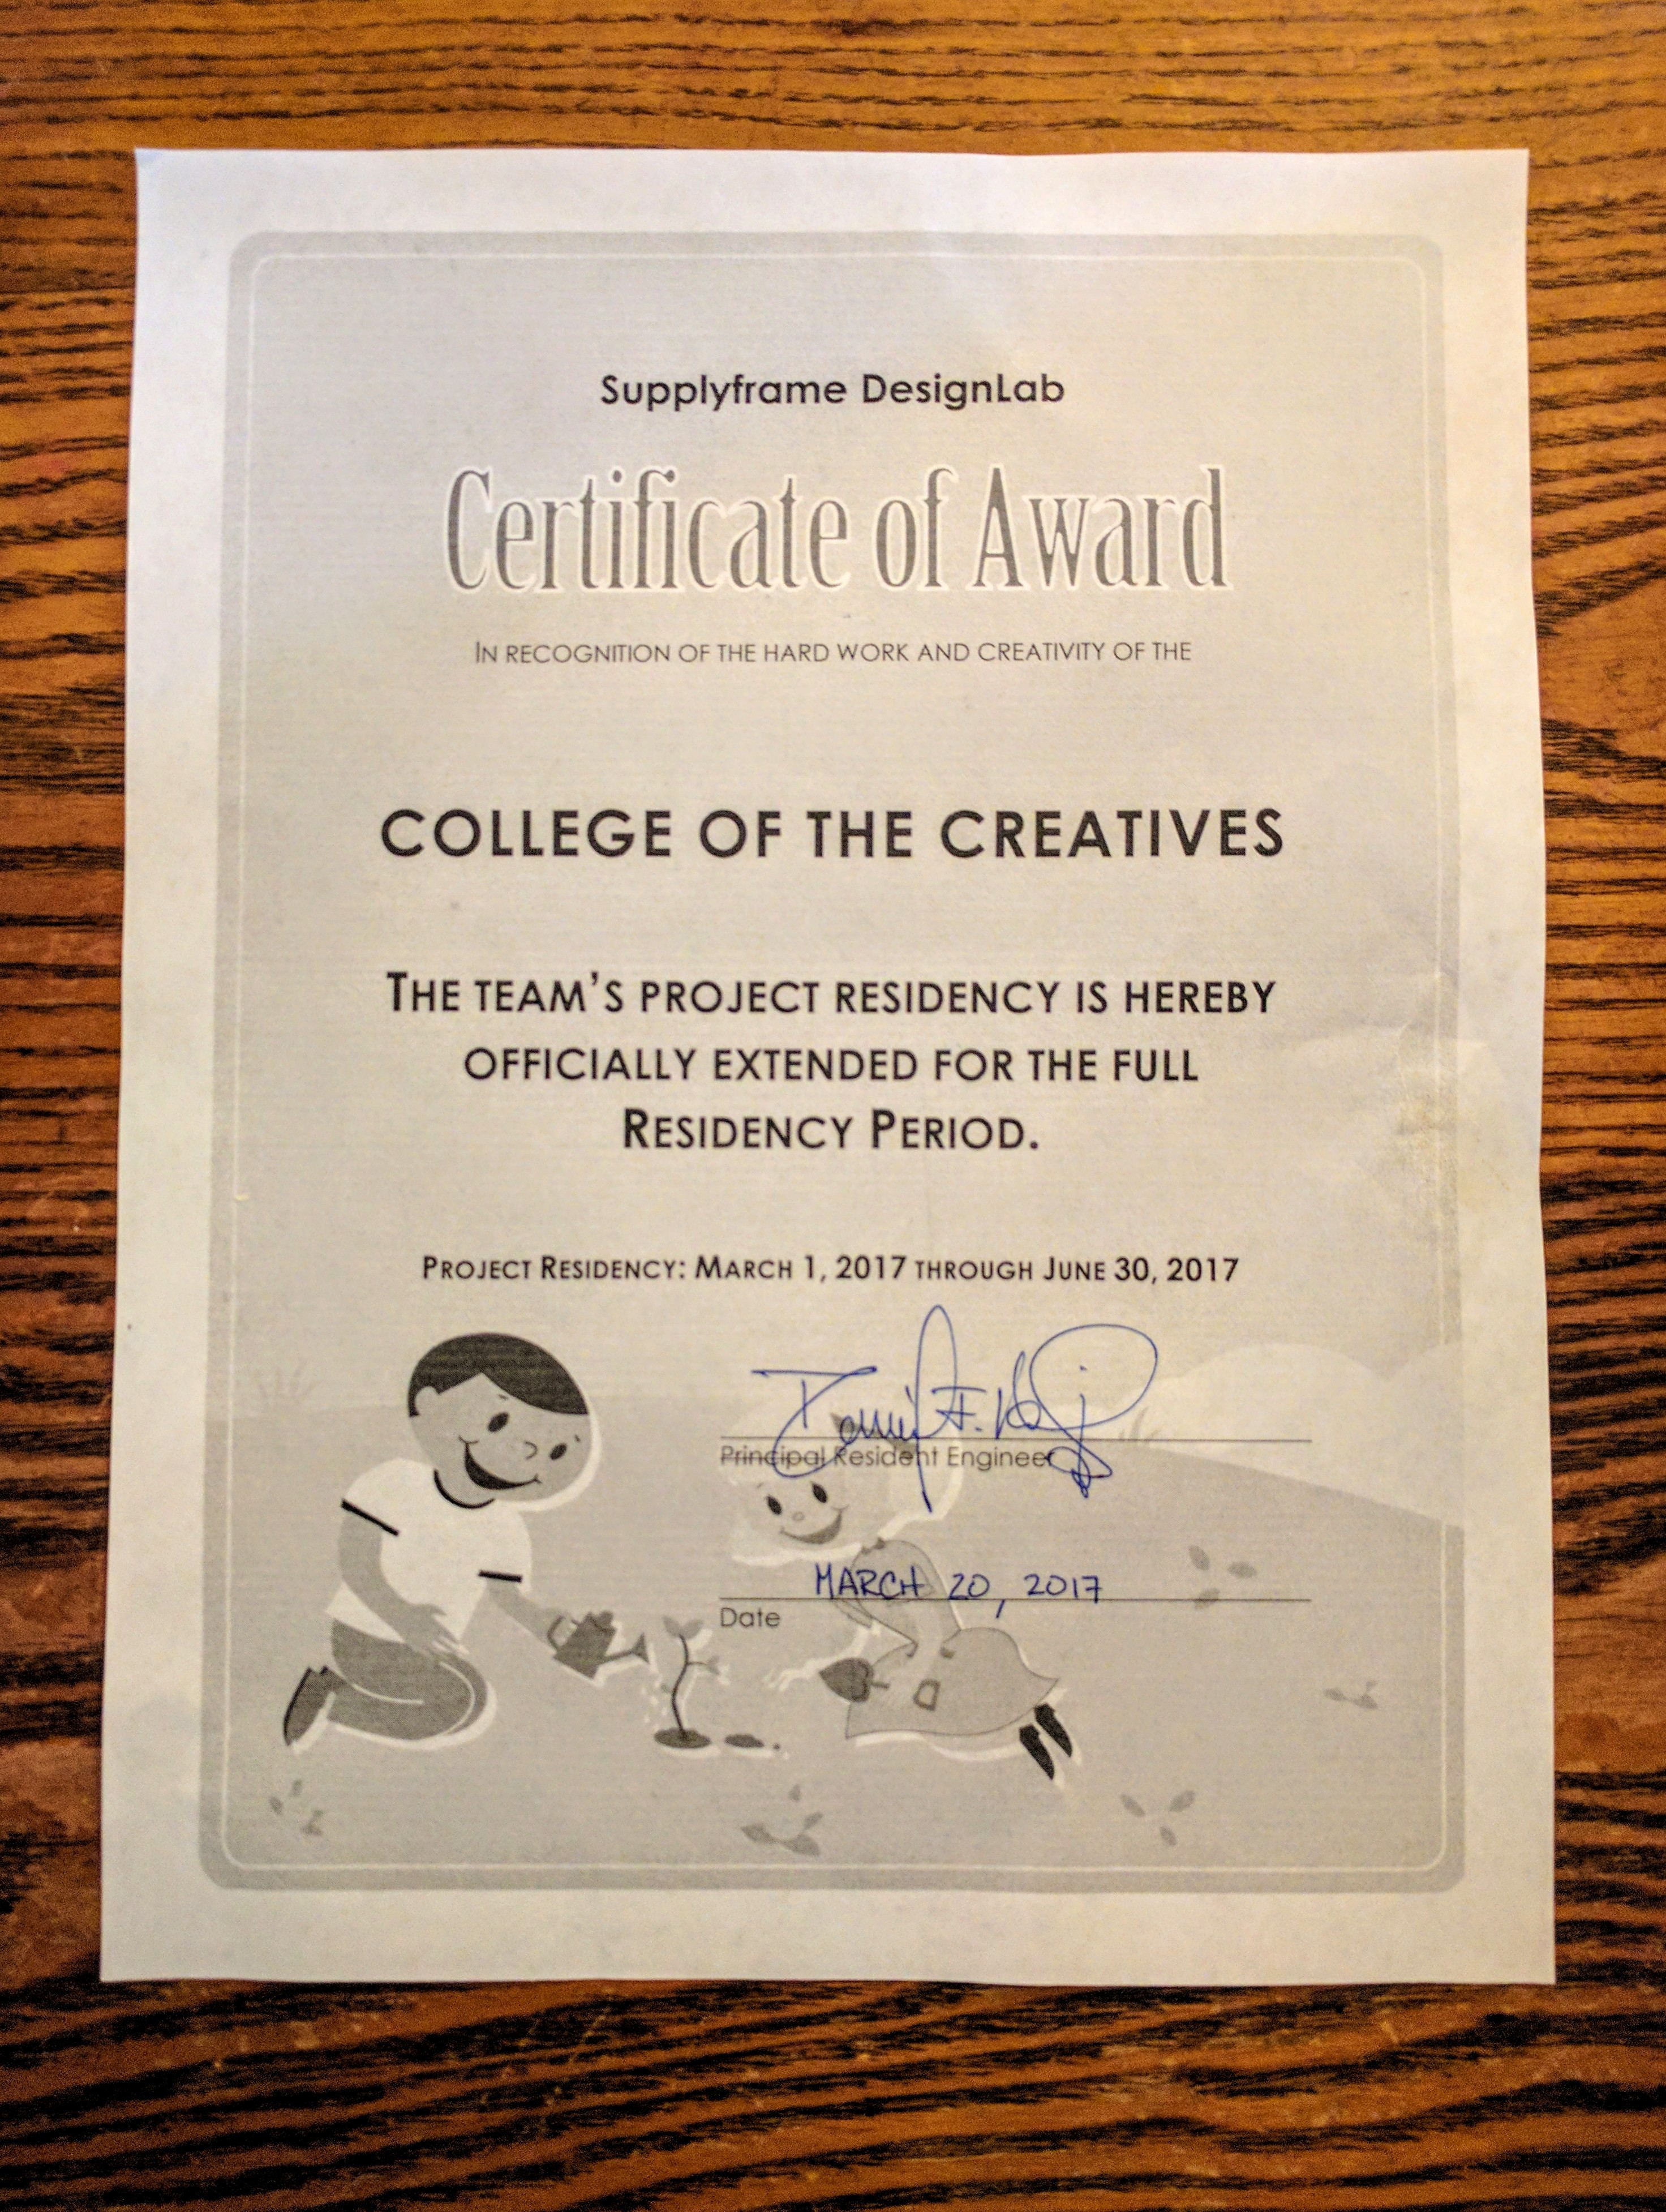
    After 3 weeks of sweating our fate at the Lab, Dan (the DesignLab's Resident Engineer) surprised us today and gave us this certificate he made for us! Thanks to our hard work and effort put into this project he's extended our residency through the 30th of June! As of the 20th of March we're OFFICIAL, and like the rest of the residents currently in the Lab here to stay!

  • 06 - "With such a specimen for a body, all we need now is an equally magnificant brain" - March 3rd - 19th

    Mike04/19/2017 at 00:46 0 comments

    Much like Frankenstein's Monster, our little monster now needed a brain!

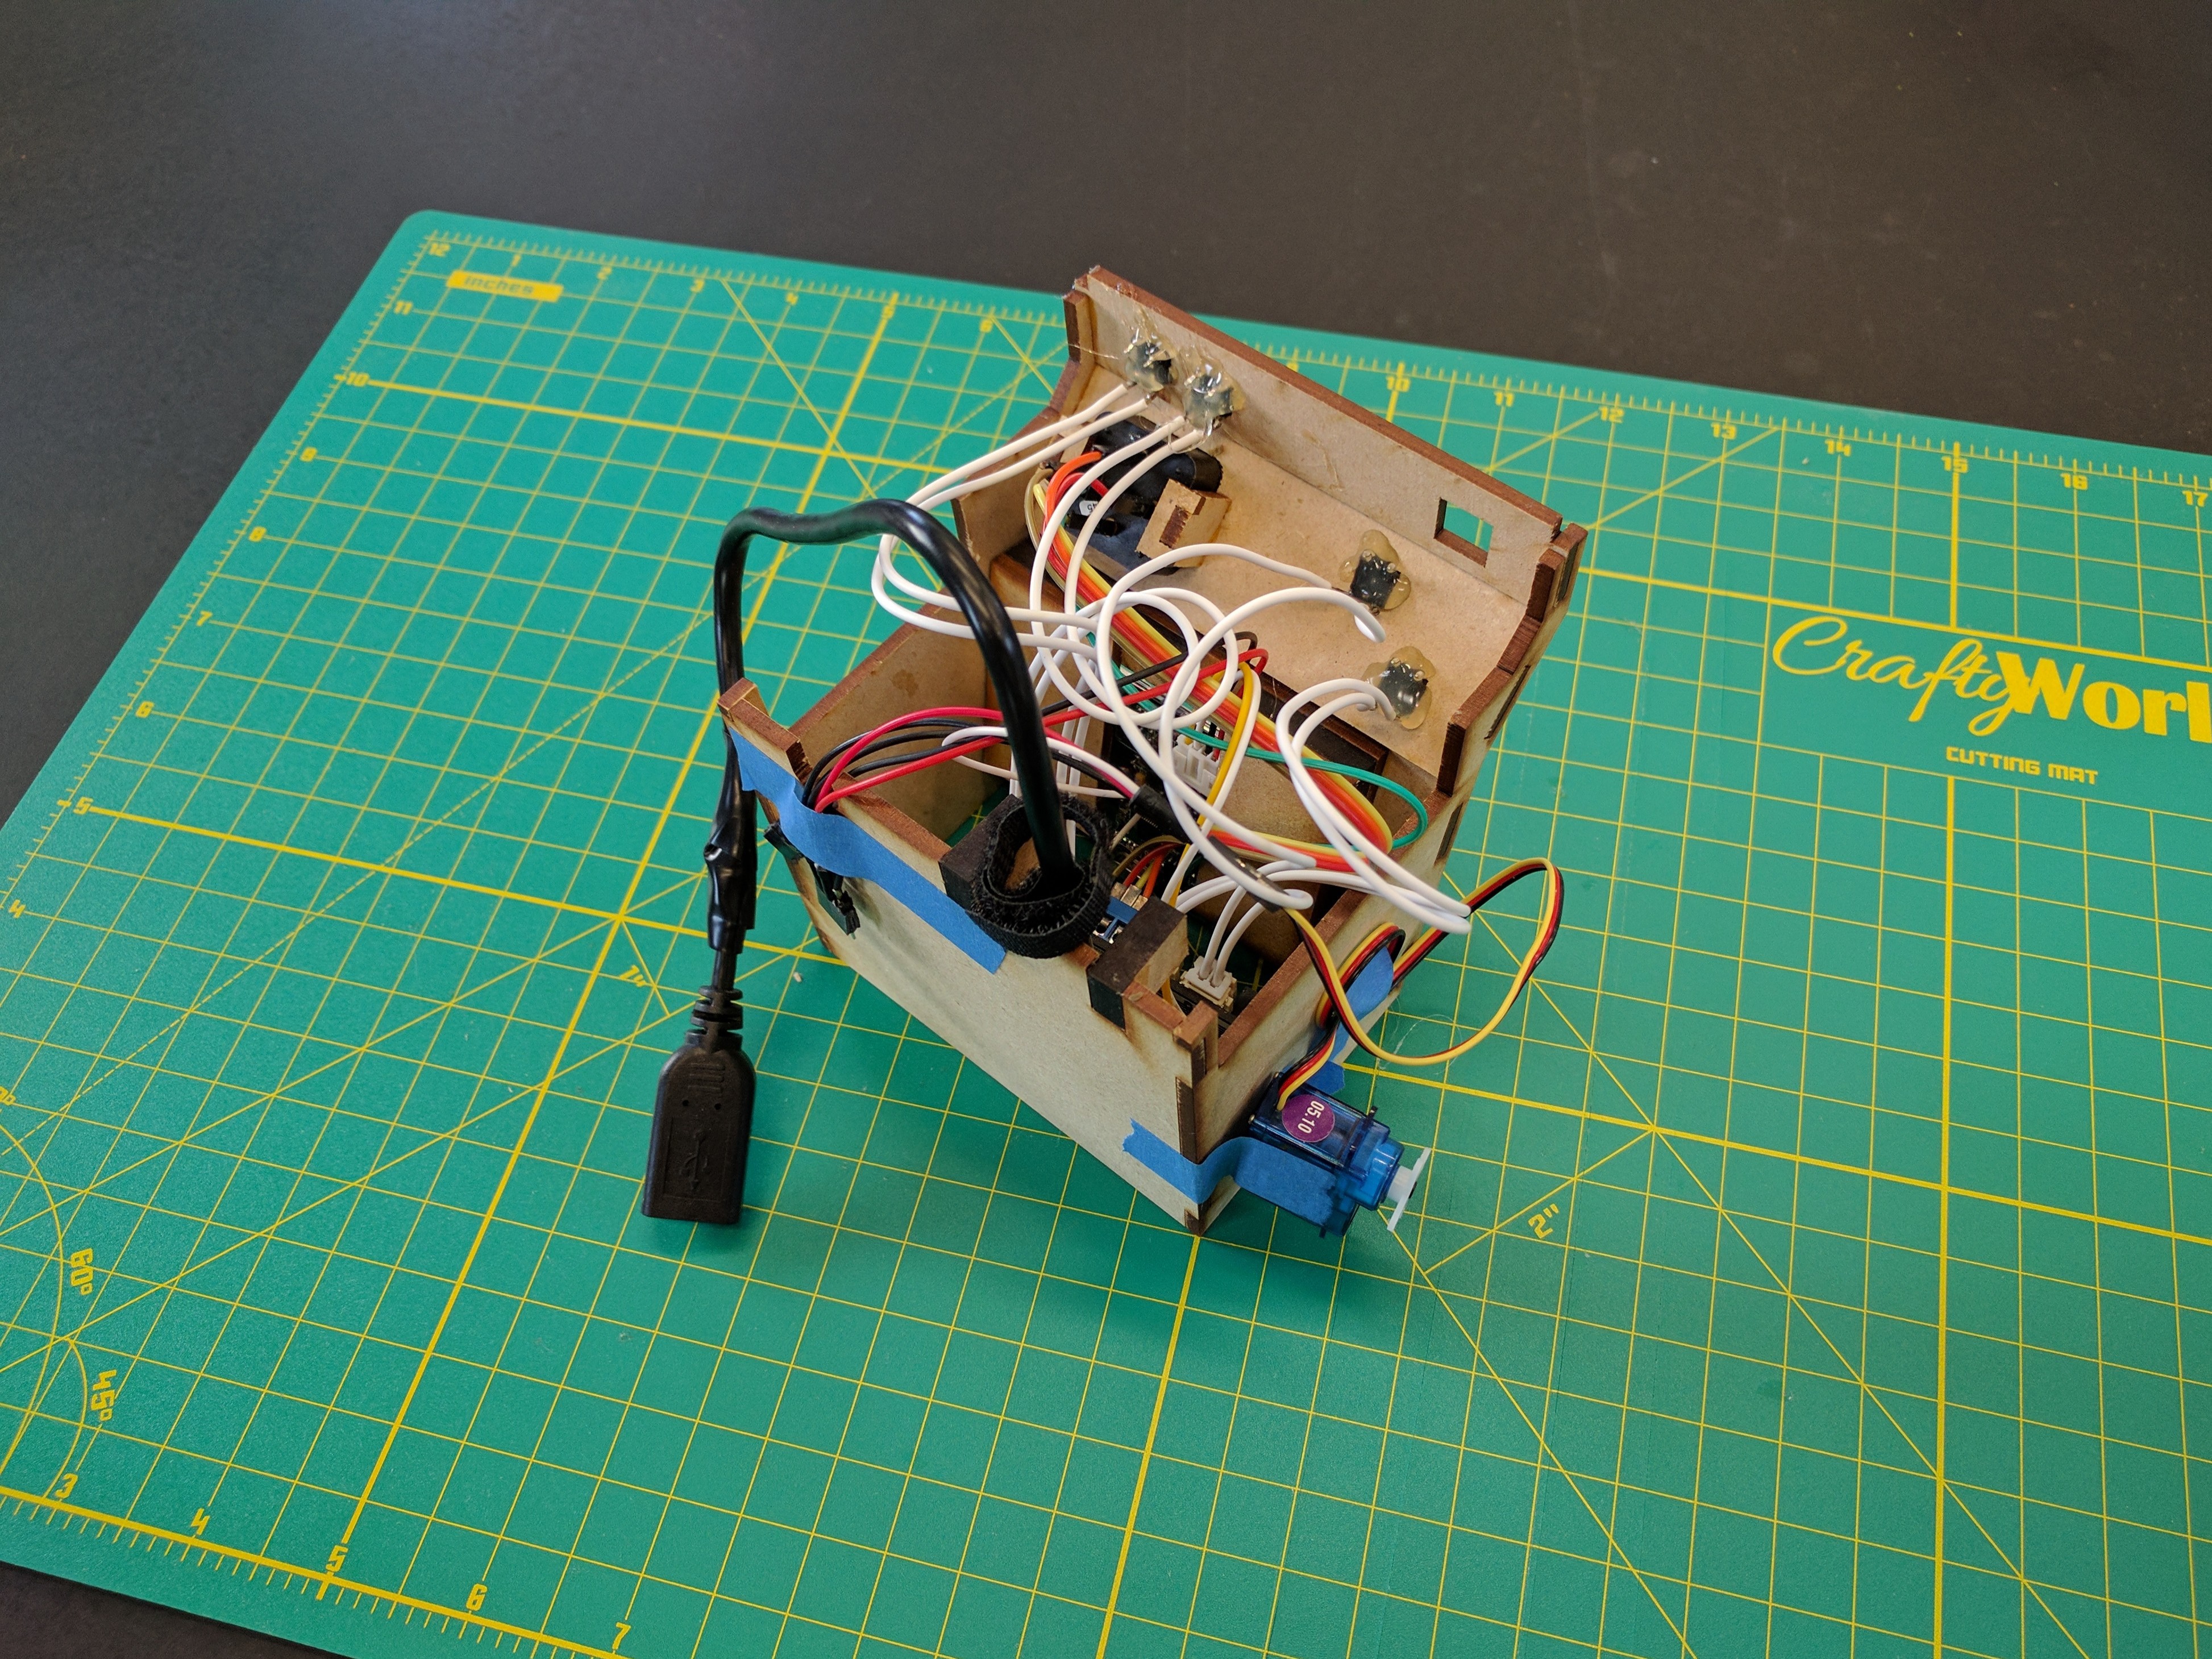
    With the Mechanical systems more or less worked out and integrated into a near final cabinet prototype made out of MDF, I now needed to connect and put the cabinet's targeted electronic components together to ensure they all worked in unison as proposed to prove to Dan we deserved to stay in the DesignLab! Thankfully Bernie and Jean had been simultaneously working on this front while I continued to plug away at the cabinet's body! Using a RPi 3 and RPi Zero W as our test platforms the guys set about getting all of the components working together.

    First things first we needed to get I/O working on a RPi running PICO-8. Using a Adafruit Arcade Bonnet and RPi 3, Bernie wired it all up and got it all working together.

    Bernie then got the controls connected to the the RPi 3 to control the servo and LED using PICO-8's ability to write out to the RPi's I/O!

    Next Jean took the components from the breadboarded RPi 3 Bernie had been working on (above), and migrated it all over to a Raspberry Pi Zero W, incorporating it all into the "hat" I'd made for the V7 MDF prototype (pictured below).

    With all of the components now connected and working with a RPi, we then moved it all over to the Next Thing Co. C.H.I.P. (a $9 single-board computer like the RPi that runs Linux). We did all of this in this order because Bernie was more familiar with the RPi and wanted to make sure we could get PICO-8 to do what we wanted (mainly actuate a servo and blink an LED) , and because the C.H.I.P. has all of the things we need to make the cabinet function as intended at a lower price point than a RPi Zero (BTW, for the record, we formally started developing this project before the announcement and launch of the Zero W). As a backer of Next Thing Co's PocketC.H.I.P. Kickstarter at this point I was personally more familiar with it, and knew it had everything I needed to make the experience I wanted to make, In all honesty I specifically backed this campaign because I wanted to:

    1. Buy an inexpensive single-board computer running Linux I could use to familiarize myself with Linux and the command line
    2. Teach myself to code
    3. Use the C.H.I.P. to make this project!
    Side bar and quick note on the surprise announcement by Next Thing Co to include Lexaloffle's PICO-8 on all PocketC.H.I.P.s just before its launch!...
    About a month before Kickstarter backer perks fulfillment started, Next Thing Co. announced their partnership with Lexaloffle to include PICO-8 on all of their PocketC.H.I.P.s. At the time I was already looking at PICO-8 as a solution to make my interface/game for the experience on this project. Talk about a killer app for the C.H.I.P.! For those of you not in the know let me just take this moment to tell you all about PICO-8.

    PICO-8 is a virtual console for making, sharing and playing tiny games and computer programs (think of it as a game console that runs on Windows, OSX, Linux, Raspberry Pi's, and in the browser with the equivocal graphical power of the classic NES). PICO-8 also has inbuilt tools for editing code, music, sound, sprites, maps built right into its virtual console (meaning a novice like me can learn to code and make games by just tweaking other's premade games!). PICO-8 cartridges can also be saved in a special .png format and sent directly to other users, shared via an online cart player, or exported to stand-alone HTML5 (again AWESOME, essentially 'carts', what the community affectionately calls their games, can be directly sent to anyone with a modern browser and played using only HTML5)! There are literally hundreds of 'carts' currently available on the Lexaloffle BBS [a vibrant online community that has popped up around PICO-8 since it's release], all made by a diverse group of hobbyist, tinkerers, and developers who are making every type of game imaginable, from classic game reproductions to their own new original games and experiments! Further driving the activity on the PICO-8...
    Read more »

  • 04 - A Penny Wise, A Pound Foolish - March 13th - 14th

    Mike04/19/2017 at 00:42 0 comments

    With the mechanical portion of the cabinet figured out we now needed to start focusing on the electronics systems, unfortunately our system engineer had been busy with work stuff up to this point. Not one to sit idly by, and still feeling under the gun to prove we deserved to stay in the DesignLab, I decided to take a crack at the Decoder/Cypher Coin. Feeling inspired by my extensive time on the Epilog Laser Cutter making models over the last 2 weeks, I decided to try my luck at the challenge/cypher style coin we'd be including in the experience... While it looks ok, there are definitely some serious usability/legibility problems in the mock-up I managed to make over the span of 2 days. Did I mention that Maggie is a Graphic Designer, type teacher and Letterpress Instructor at the ArtCenter College of Design? Let's just say the critique wasn't pretty, still as a proof of concept I think I proved the concept and got us about halfway there!

  • 03 - A Laser a Day Keeps the Doctor Away... - March 6th - 10th

    Mike04/13/2017 at 03:40 0 comments

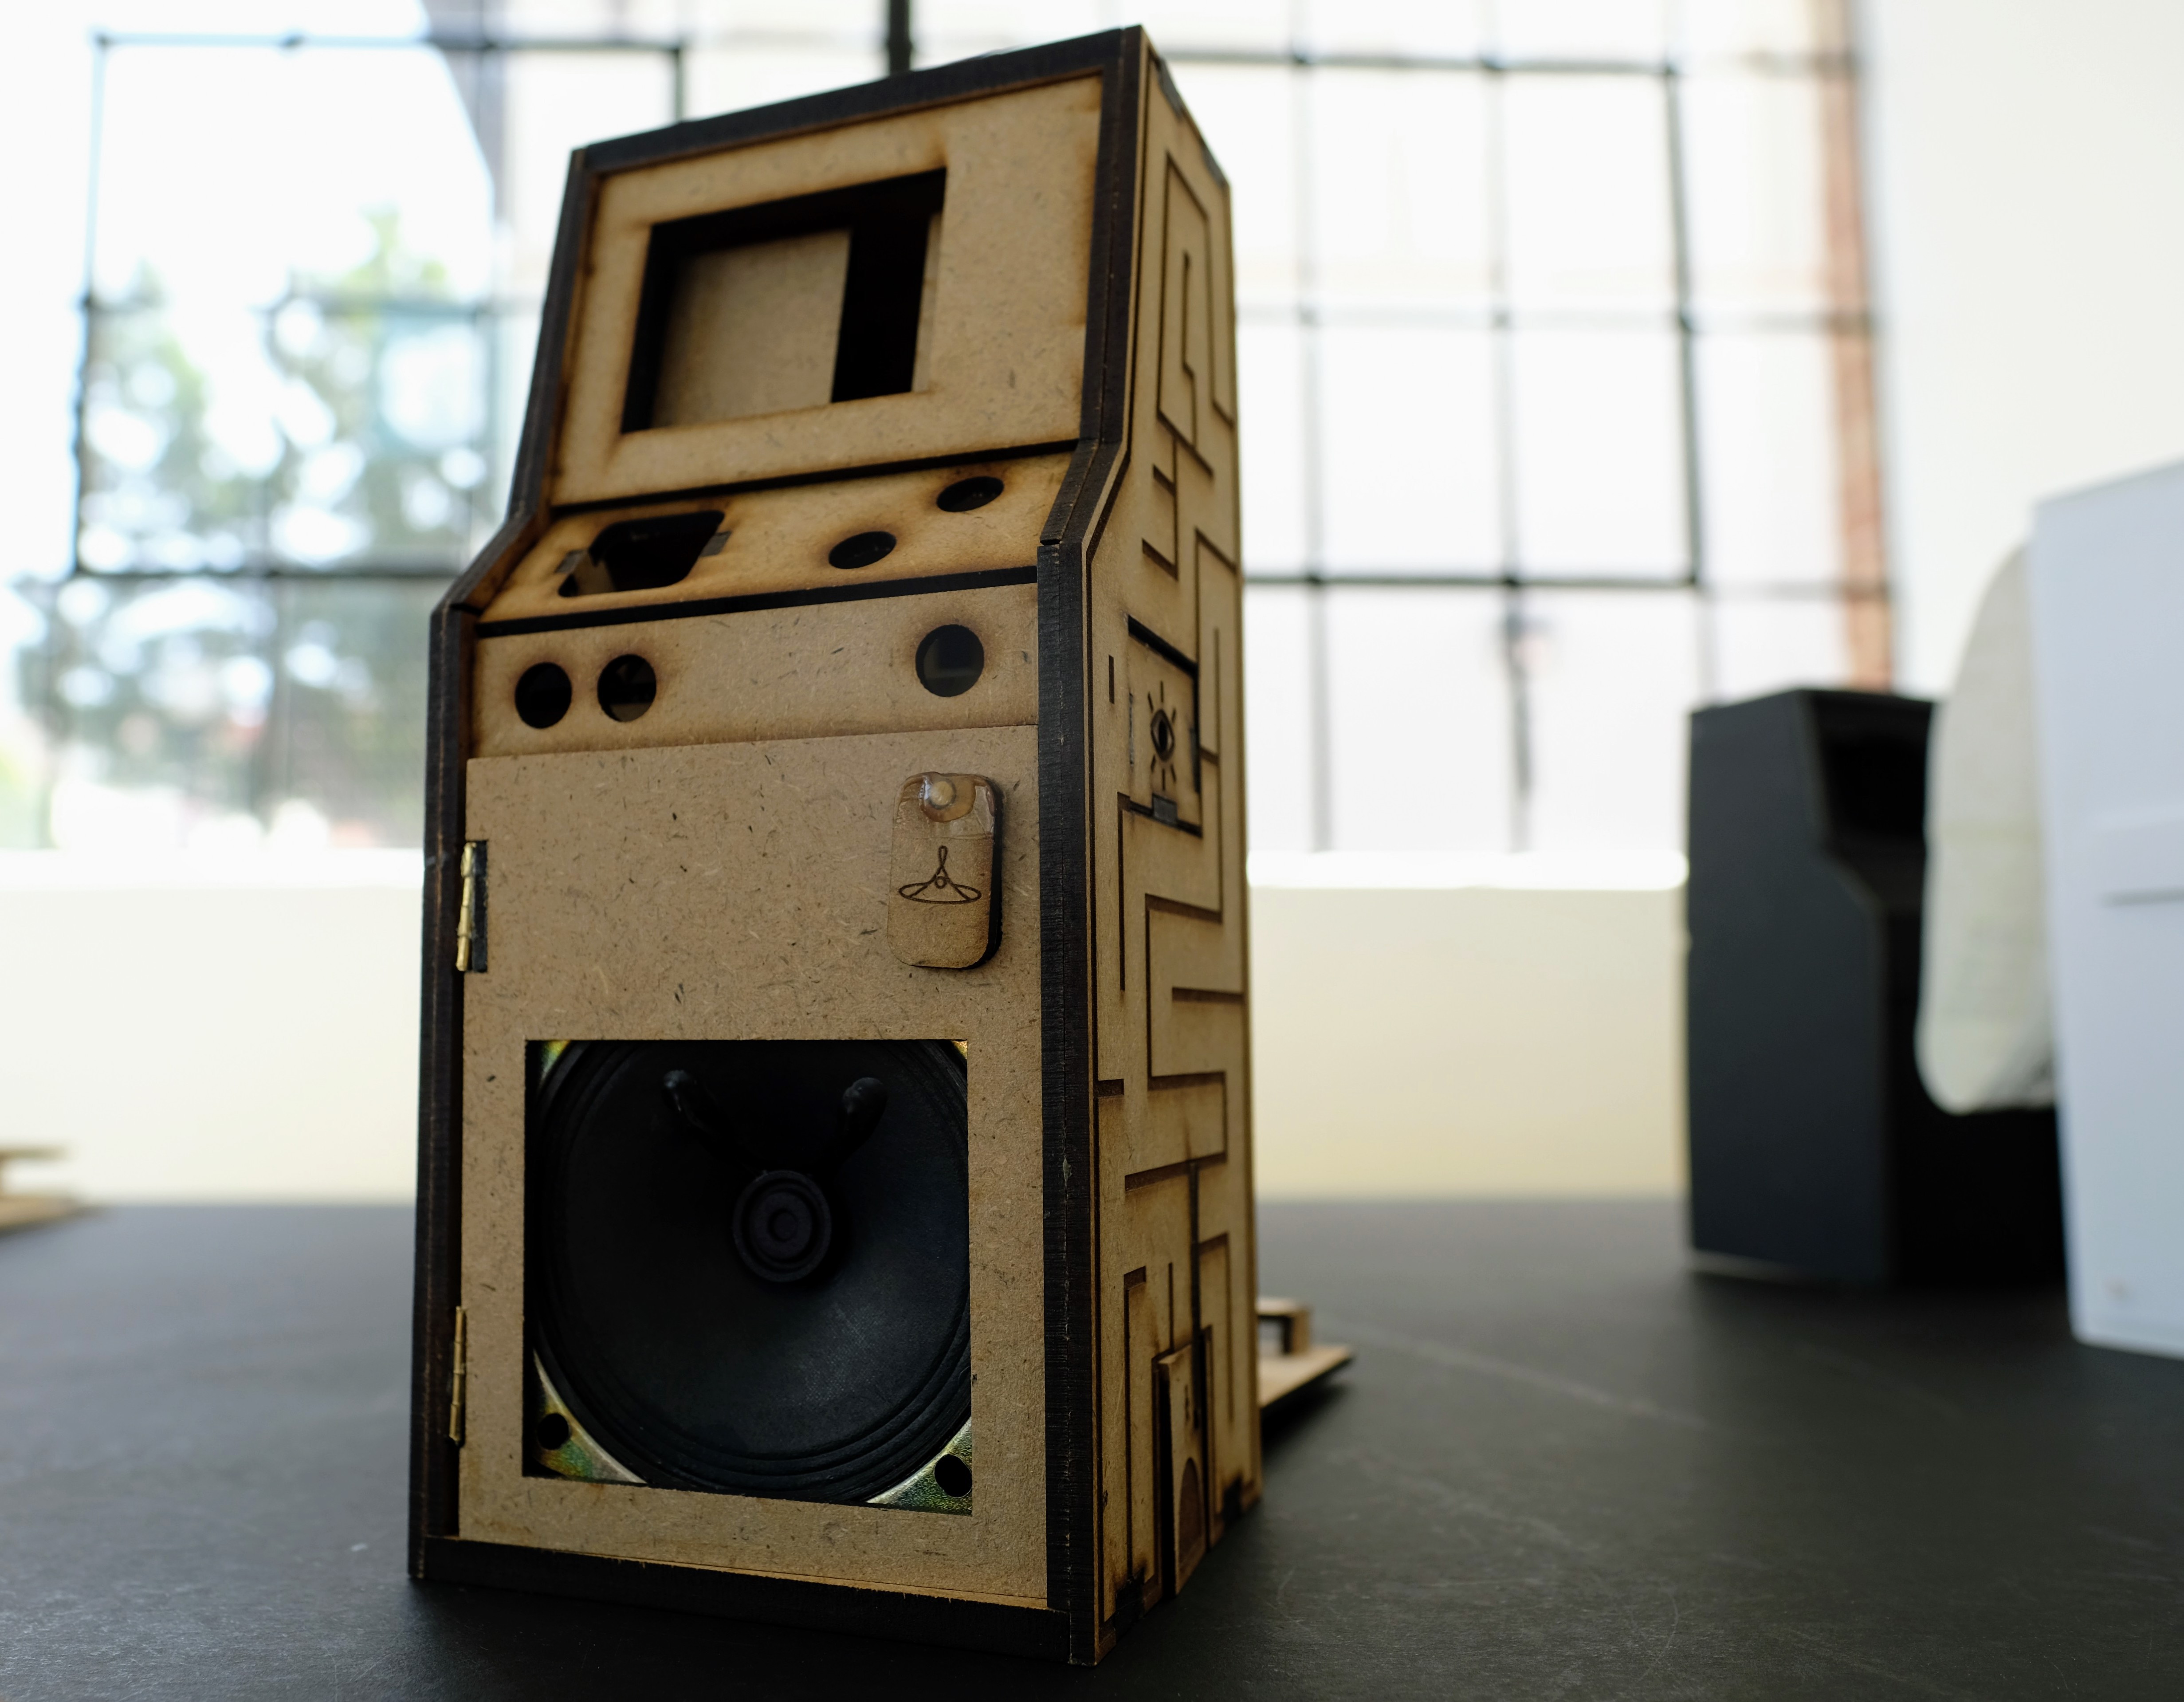
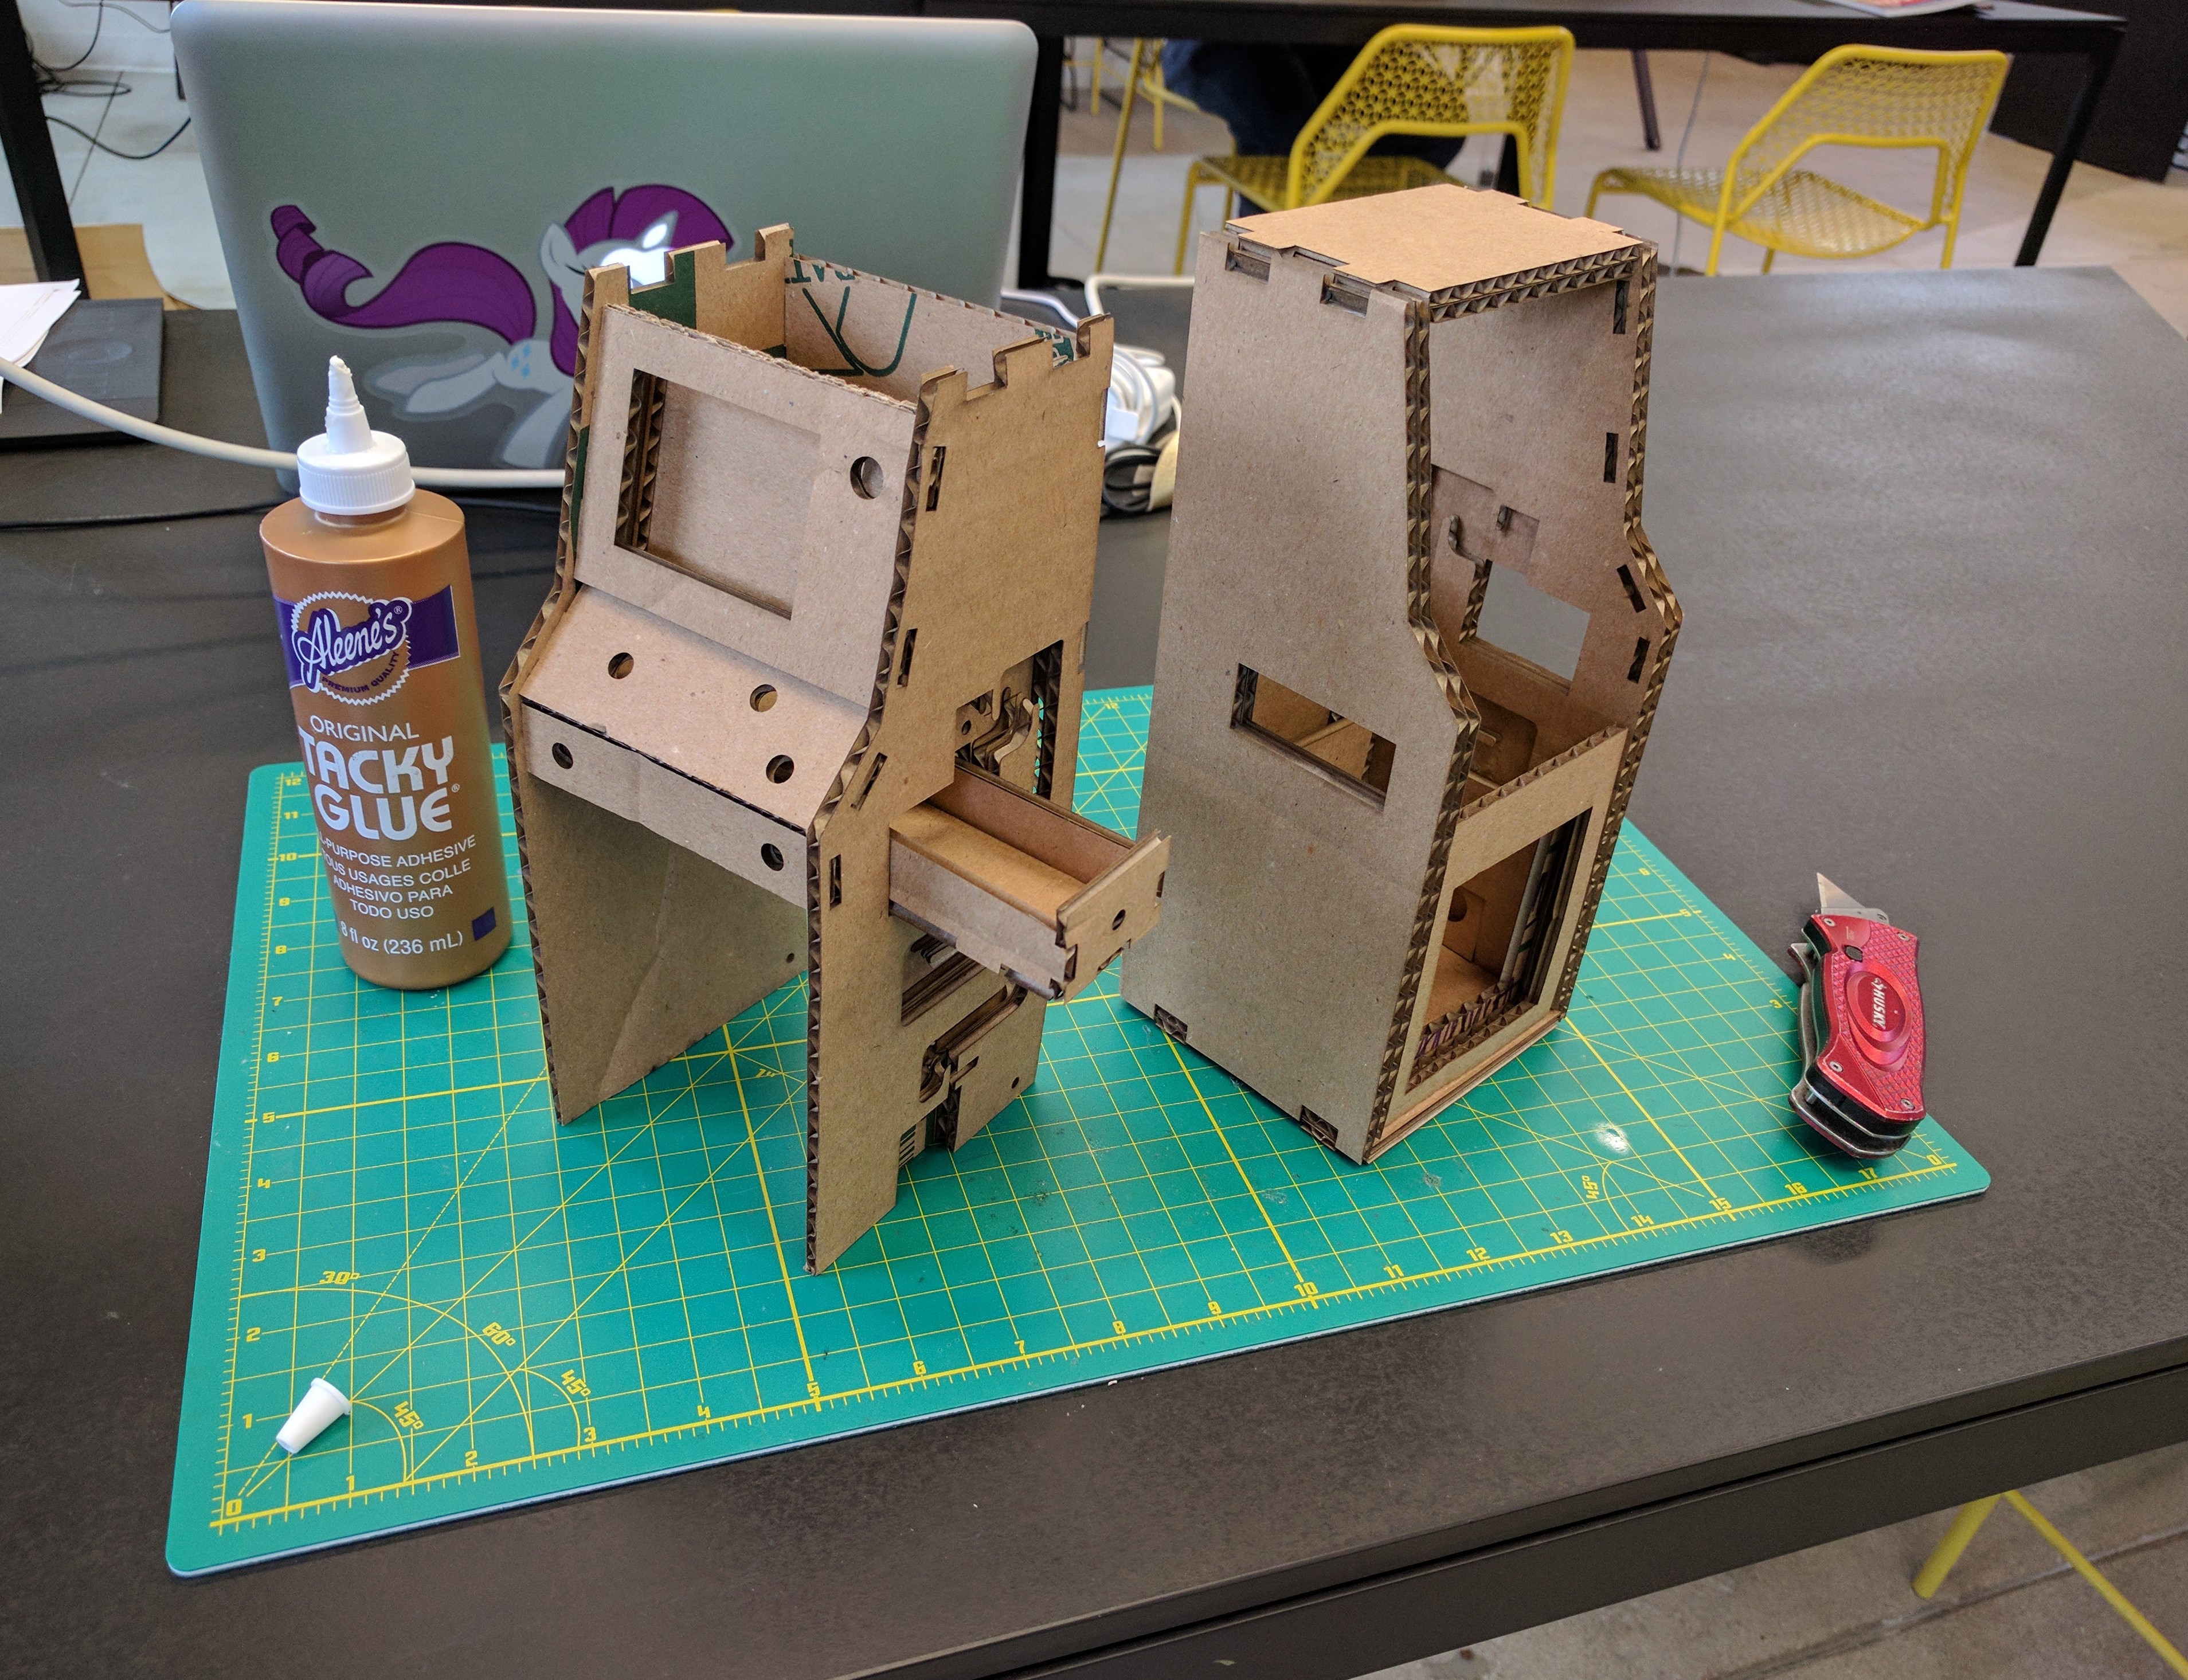
    With the maze's proof of concept worked out in cardboard, and operating as desired (in 2 days no less!), I then decided to jump into getting the auto-opening back compartment door, maze-to-drawer latching mechanism, sliding drawer, and locking front compartment door integrated into one working model.

    My plan was to create a two part model with a "hat" that I could easily detach and install the electronic components into. Over the span of the week I rapidly prototyped the cabinet's mechanical portions, essentially creating a new model every other day for the next 2 weeks. Starting with cardboard, I designed my first version in Illustrator and cut it out on the Epilog Laser Cutter in the DesignLab. After a couple of curse filled hours, foolishly spent trying to assemble my first cardboard model, I quickly realized, contrary to their labeling, that the 1/8" and 1/4" cardboard weren't actually 1/8" and 1/4" thick...

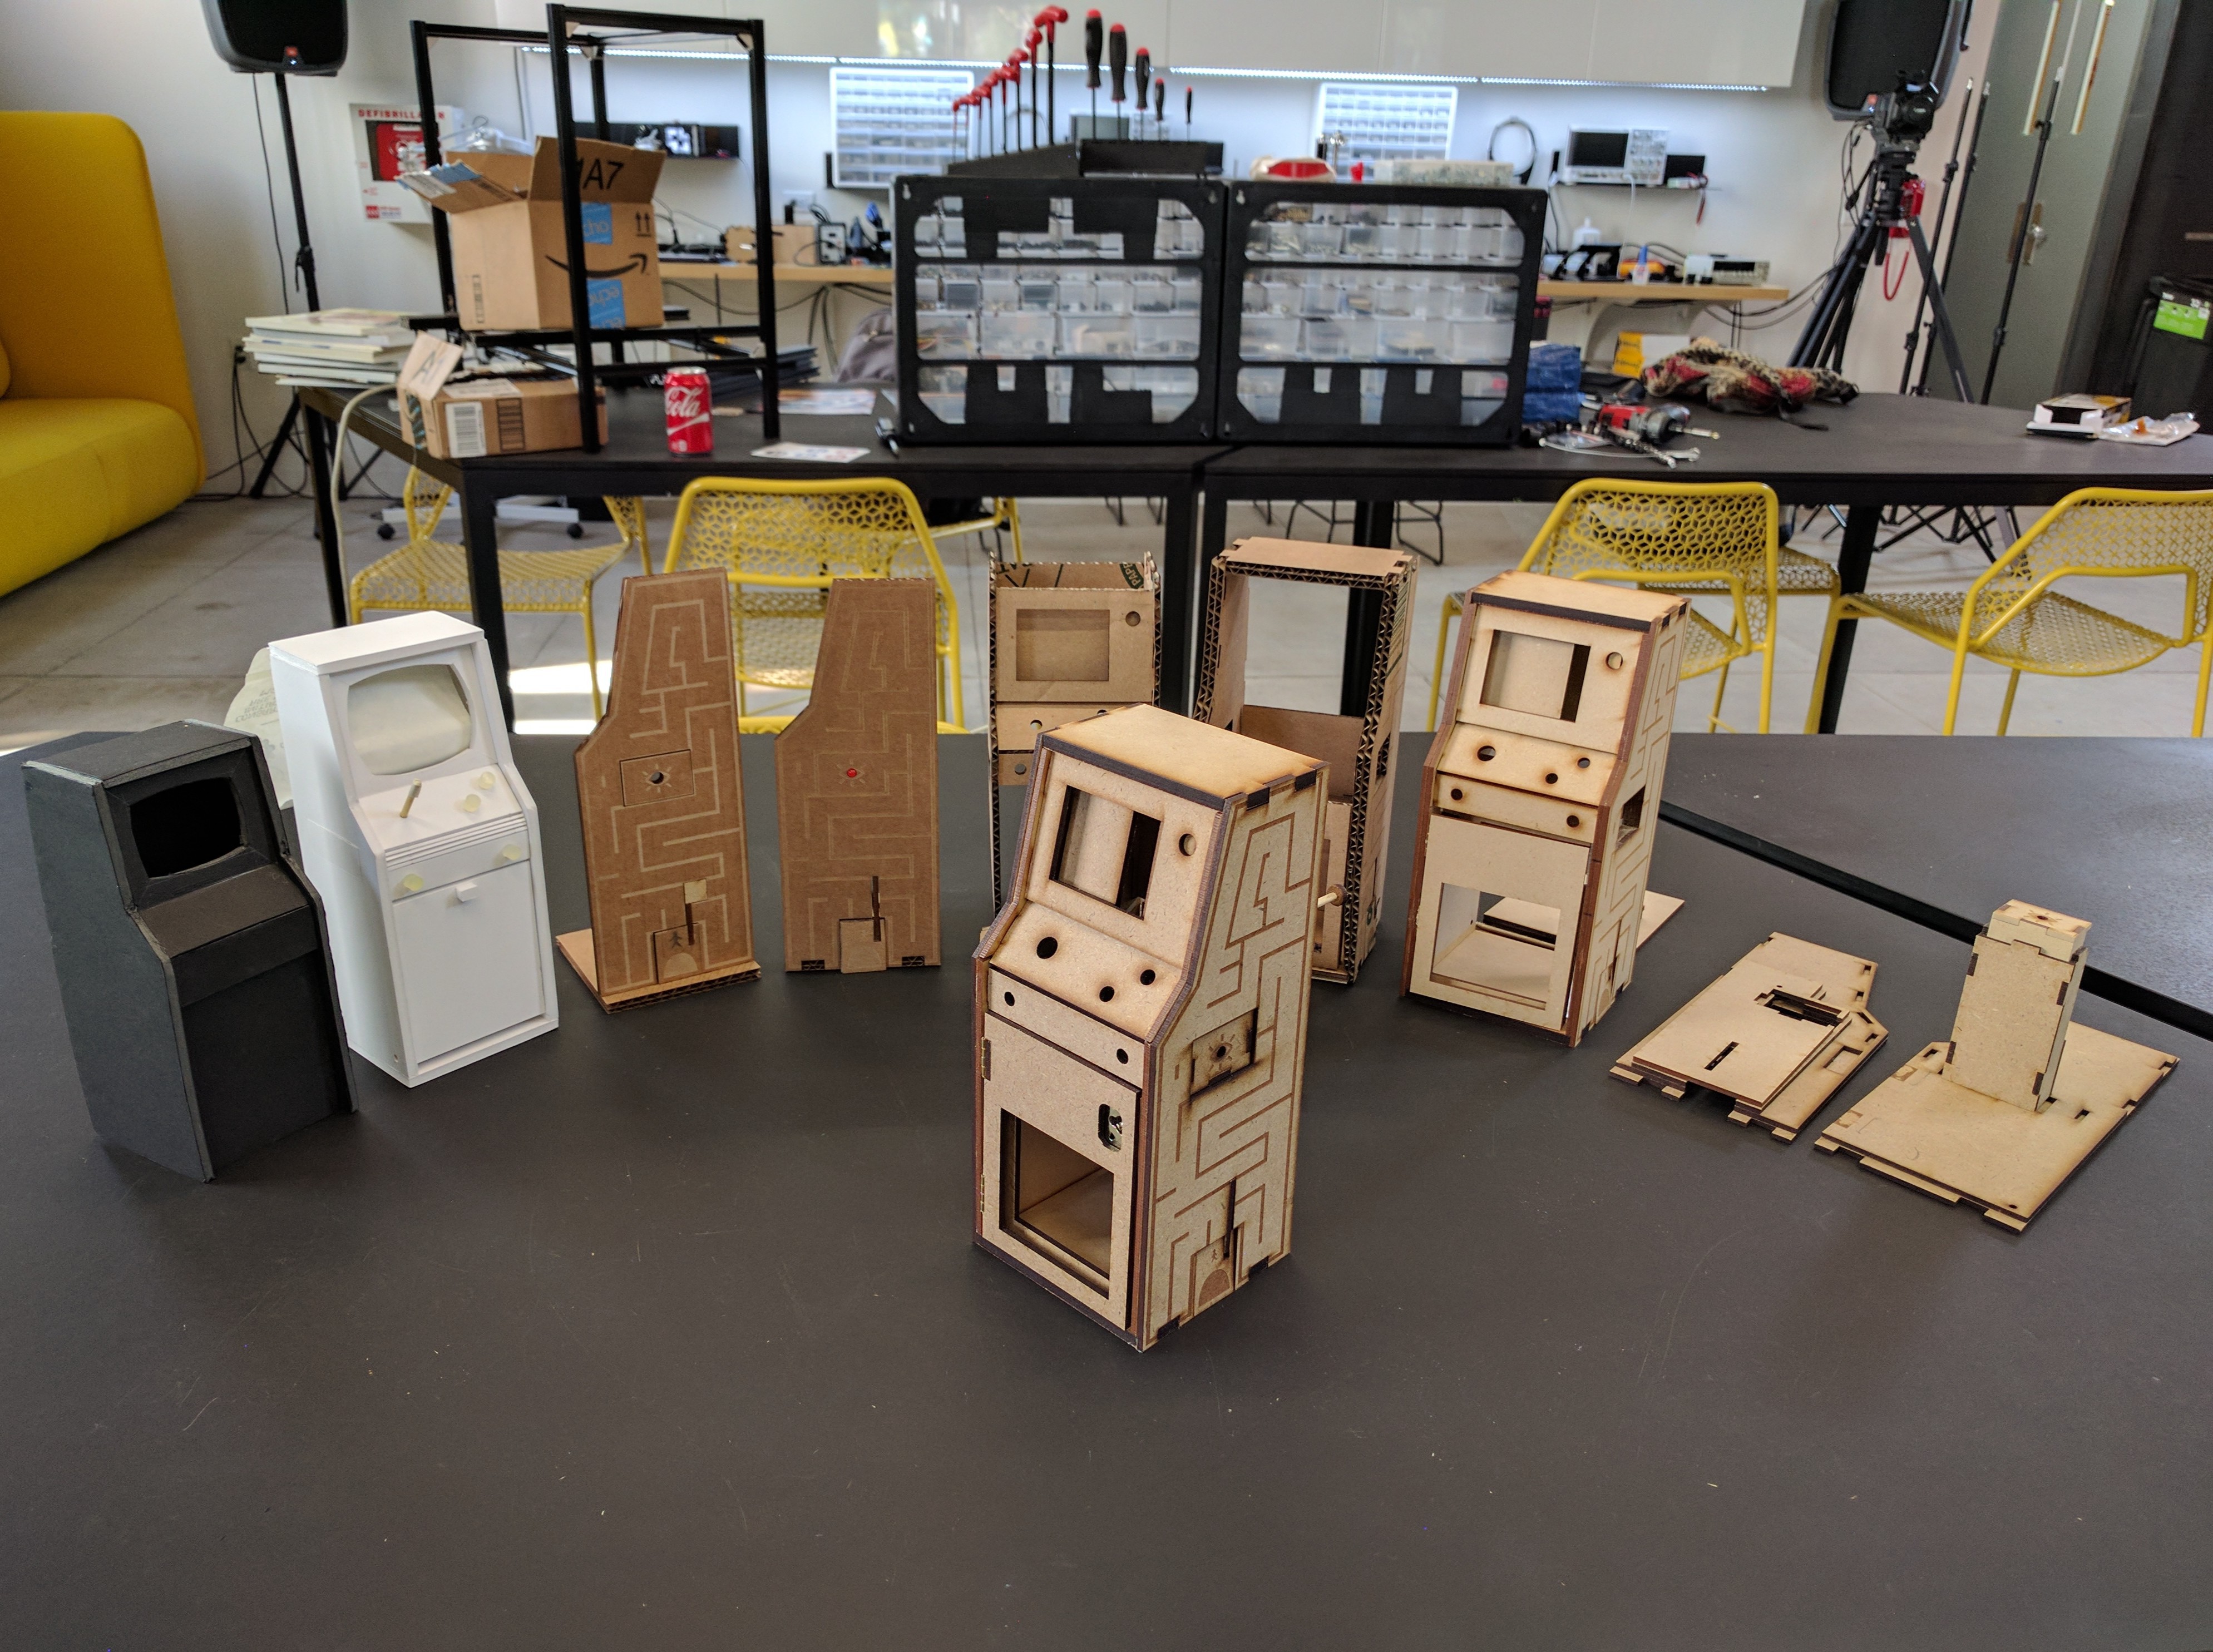
    Realizing my error, I immediately switched to MDF (which generally speaking is the width it purports to be, and uniformly thick at that!) and recut my model in MDF the following day... Once I'd finished assembling my second model, made out of MDF this time, I noted this model's errors/issues and started making the necessary modifications to the initial Illustrator file I'd created. After I was satisfied with my edits, I saved this version of the model as a new version, recut it on the laser cutter, and assembled it all again the following day.

    I repeated this cut, build, review, tweak model to rapidly iterate the cabinet in quick succession over 2 weeks, creating 5 versions of the cabinet in total in this span of time before arriving at a version of the model that I was satisfied with from a feature + dimension perspective (as shown below in the video) at the end of the week.

    With everything more or less completed to my satisfaction on the mechanical side of the cabinet, I was ready to move onto electronics integration in the next version!

View all 12 project logs

Enjoy this project?

Share

Discussions

tolcm82 wrote 11/24/2022 at 18:19 point

An effective influencer marketing strategy requires you to speak to the right people using the right tools—and the right influencers. The first step is to define who your audience will be for this specific campaign.  TLC models & Talent Developing audience personas is a great way to make sure you understand who you're trying to reach.

  Are you sure? yes | no

minoved109 wrote 12/04/2019 at 14:10 point

Sometimes there is simply not enough time to study in college, especially if there are any other matters besides this. Who has time to write essays, for example, about marketing? In this case, it’s better to simply order the work on the website https://newyorkessays.com/essay-tag/marketing/ or on some other. This will at least save you from a bunch of extra work.

  Are you sure? yes | no

Starhawk wrote 11/07/2018 at 21:55 point

This is AMAZINGLY cool. How much for a box...?

  Are you sure? yes | no

Similar Projects

Does this project spark your interest?

Become a member to follow this project and never miss any updates