 In young Jang
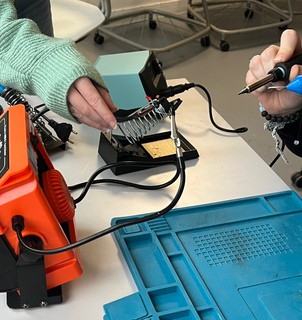
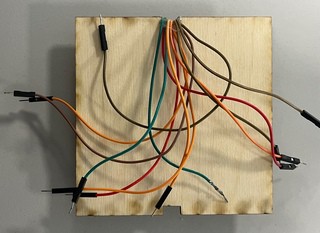
We are on the process of soldering between LEDs and the resistences in pairs to put the Arduino in the cube without the bread board.
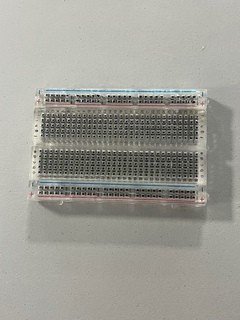
The bread board is so long that it gets out of the cude. Then, we have changed the bread board to a compact-sized one.
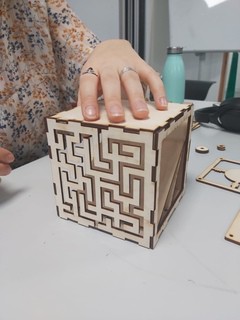
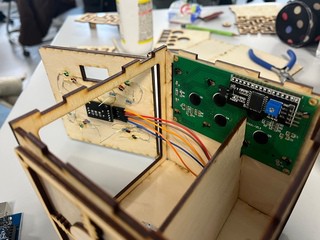
After 3D-printing the hardware part on 19/11, we have assembled the cube so far.
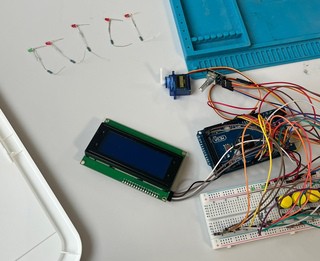
The LEDs and the dial have been established into each places on the cube. We had to disconnect every circuit from the board to make all components structurally well balanced.
Discussions
Become a Hackaday.io Member
Create an account to leave a comment. Already have an account? Log In.