 John Anderson
Once I measured things and convinced myself everything would fit, I took every thing out of the keyboard case and CRT case and prepped them for paint. For the monitor this just required some disassembly and a little cleaning to prepare it for some rattle can paint.
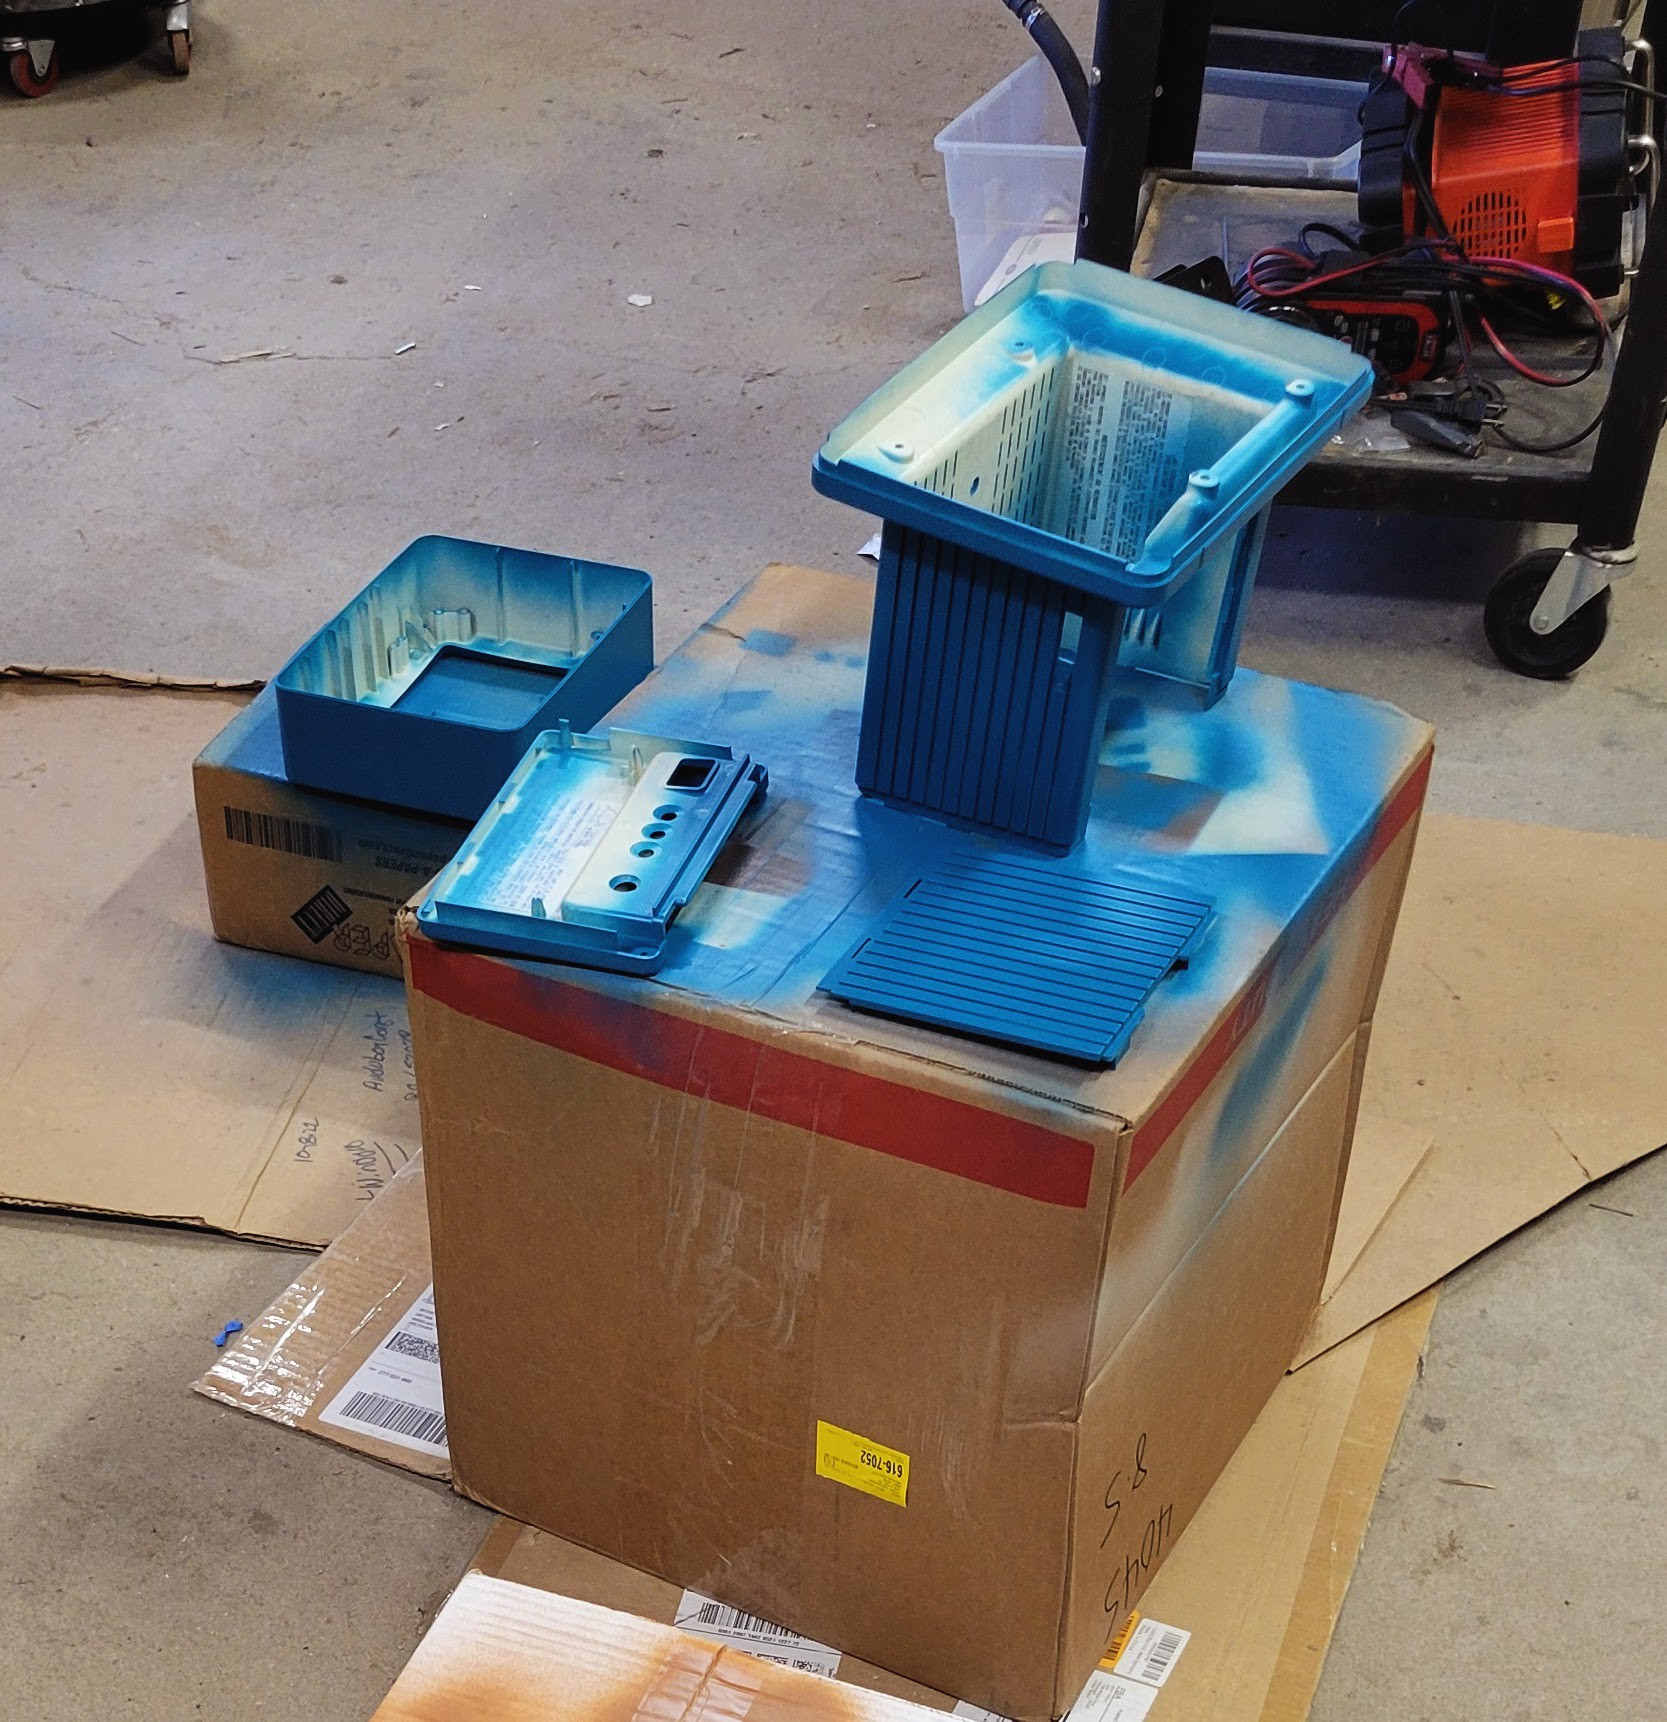
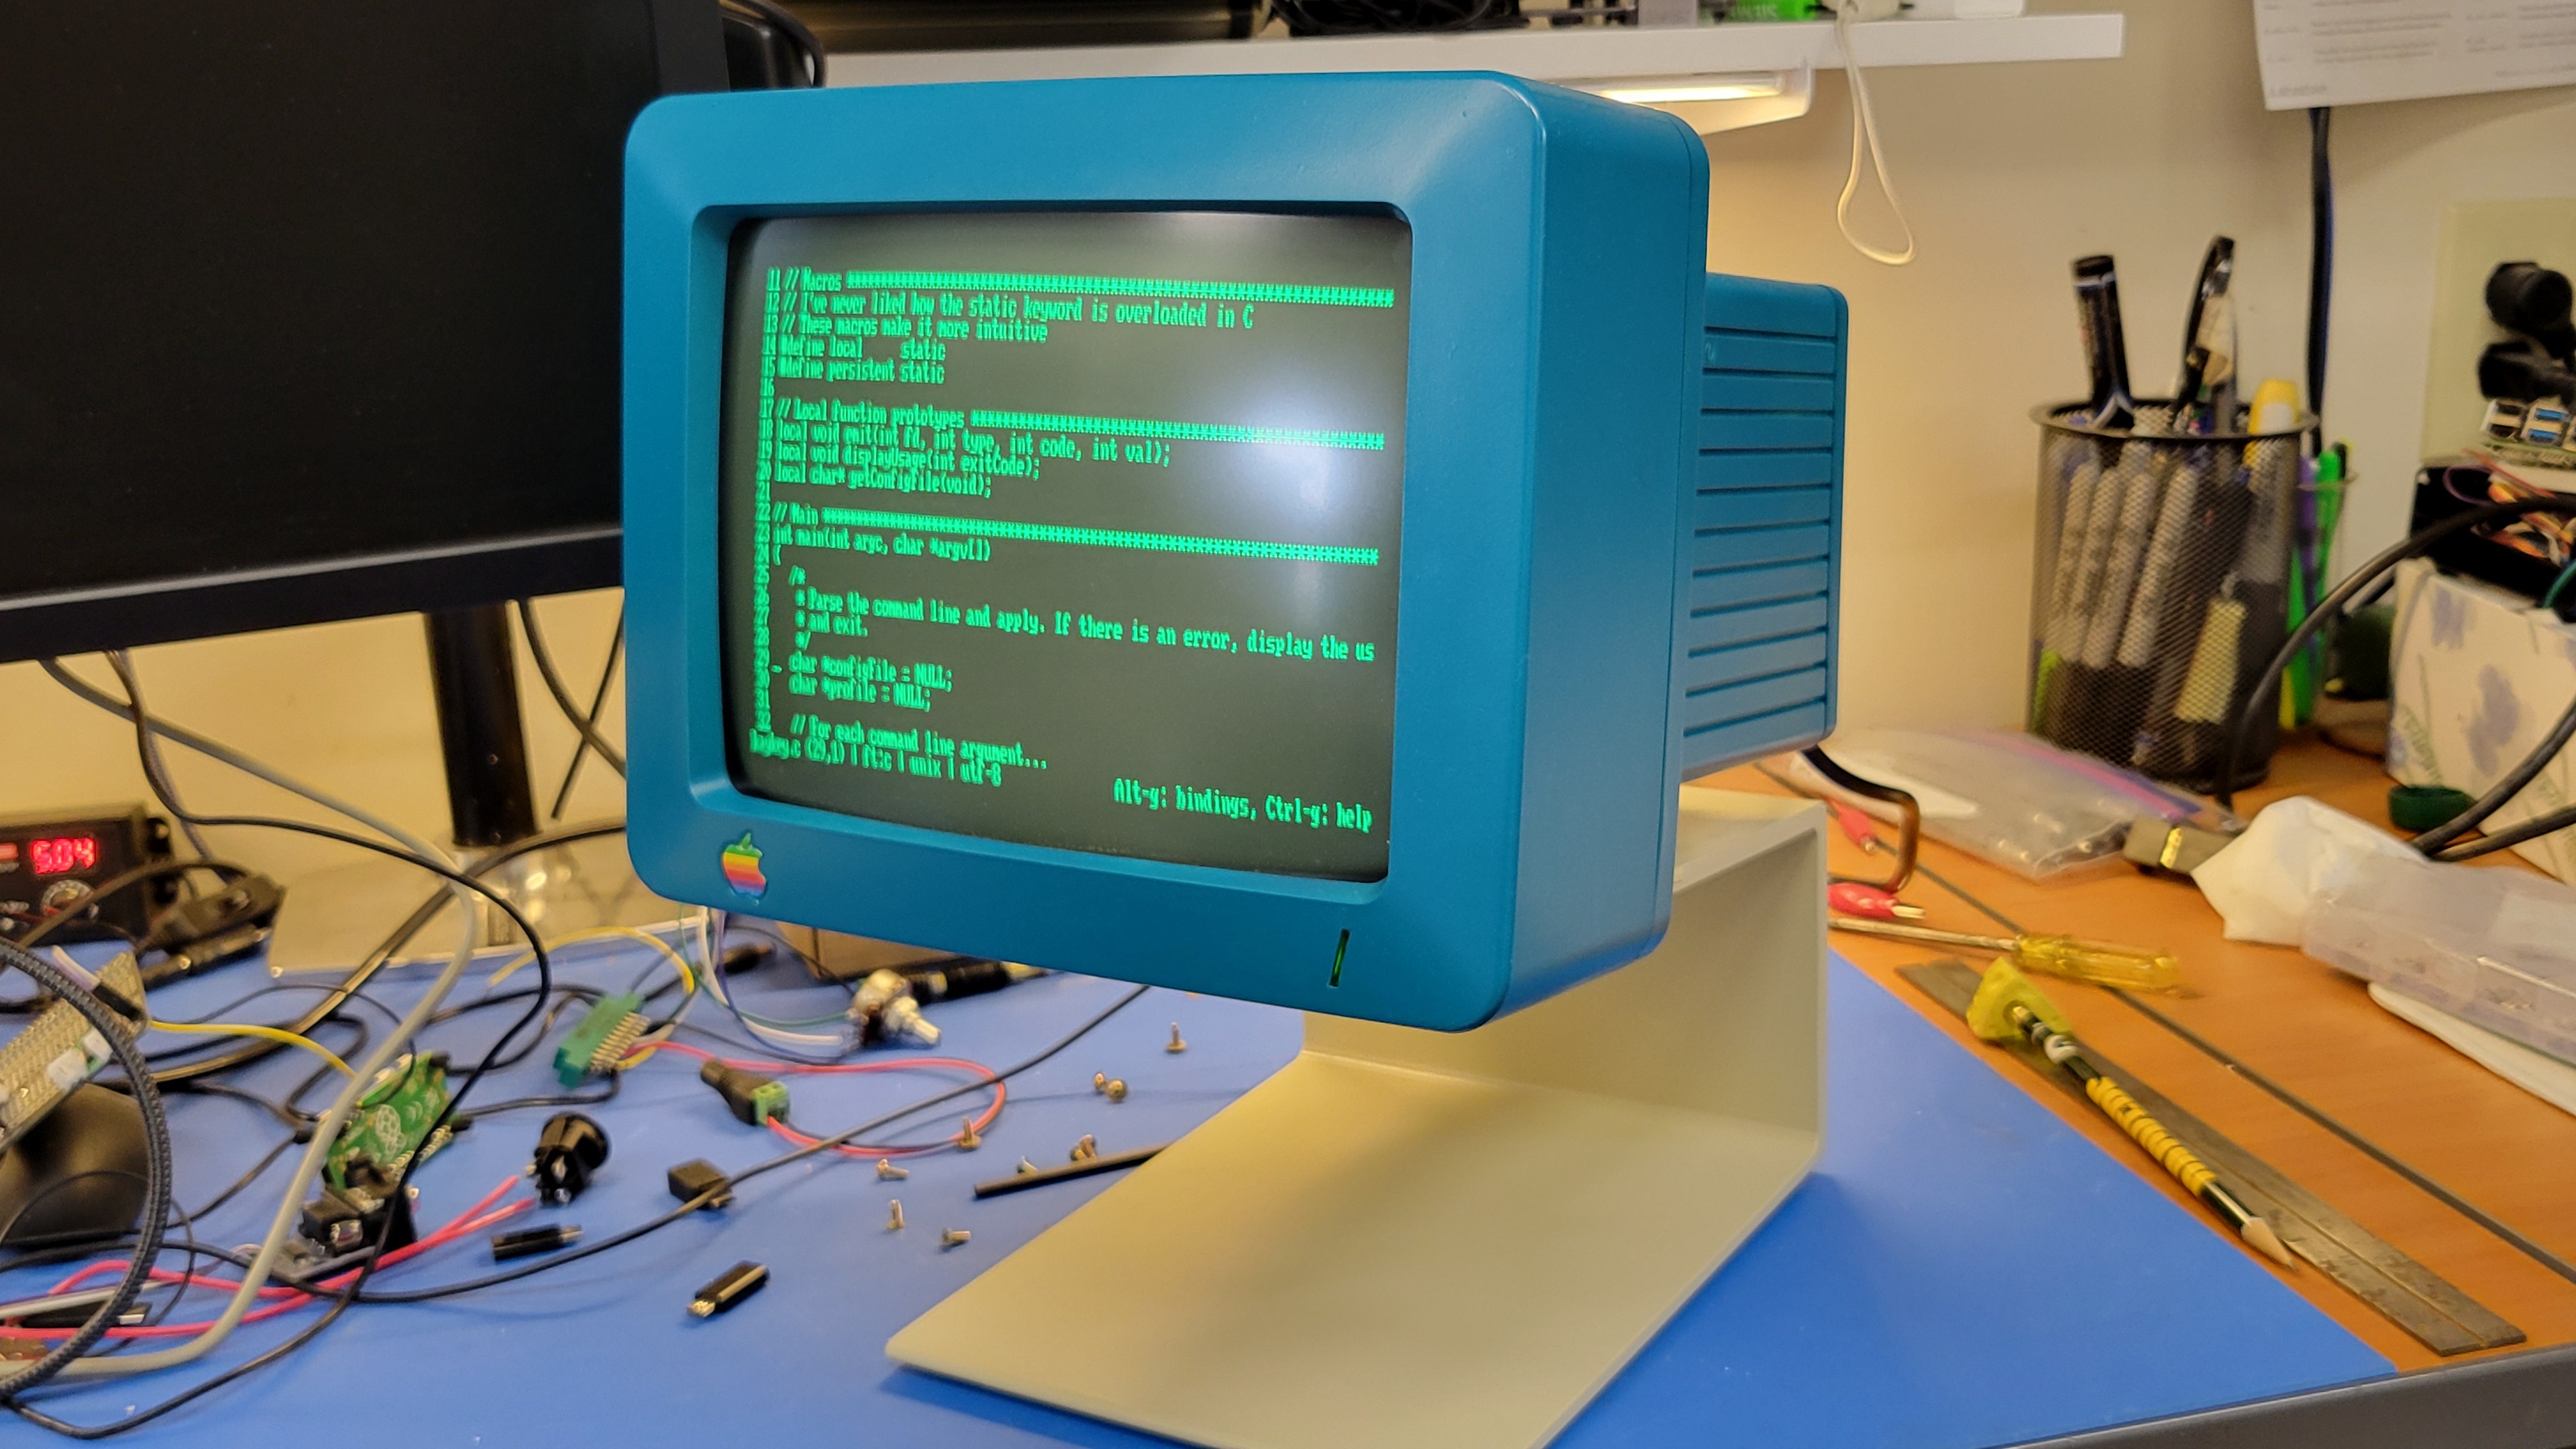
A vintage Tektronix like blue that I found at the local hardware store worked well. While I had the monitor apart, I replaced a fuse that had blown (I got it really cheap), cleaned up the pots on the board, and adjusted everything to make the image as sharp as possible. When I was done and it was all reassembled, it looked great.
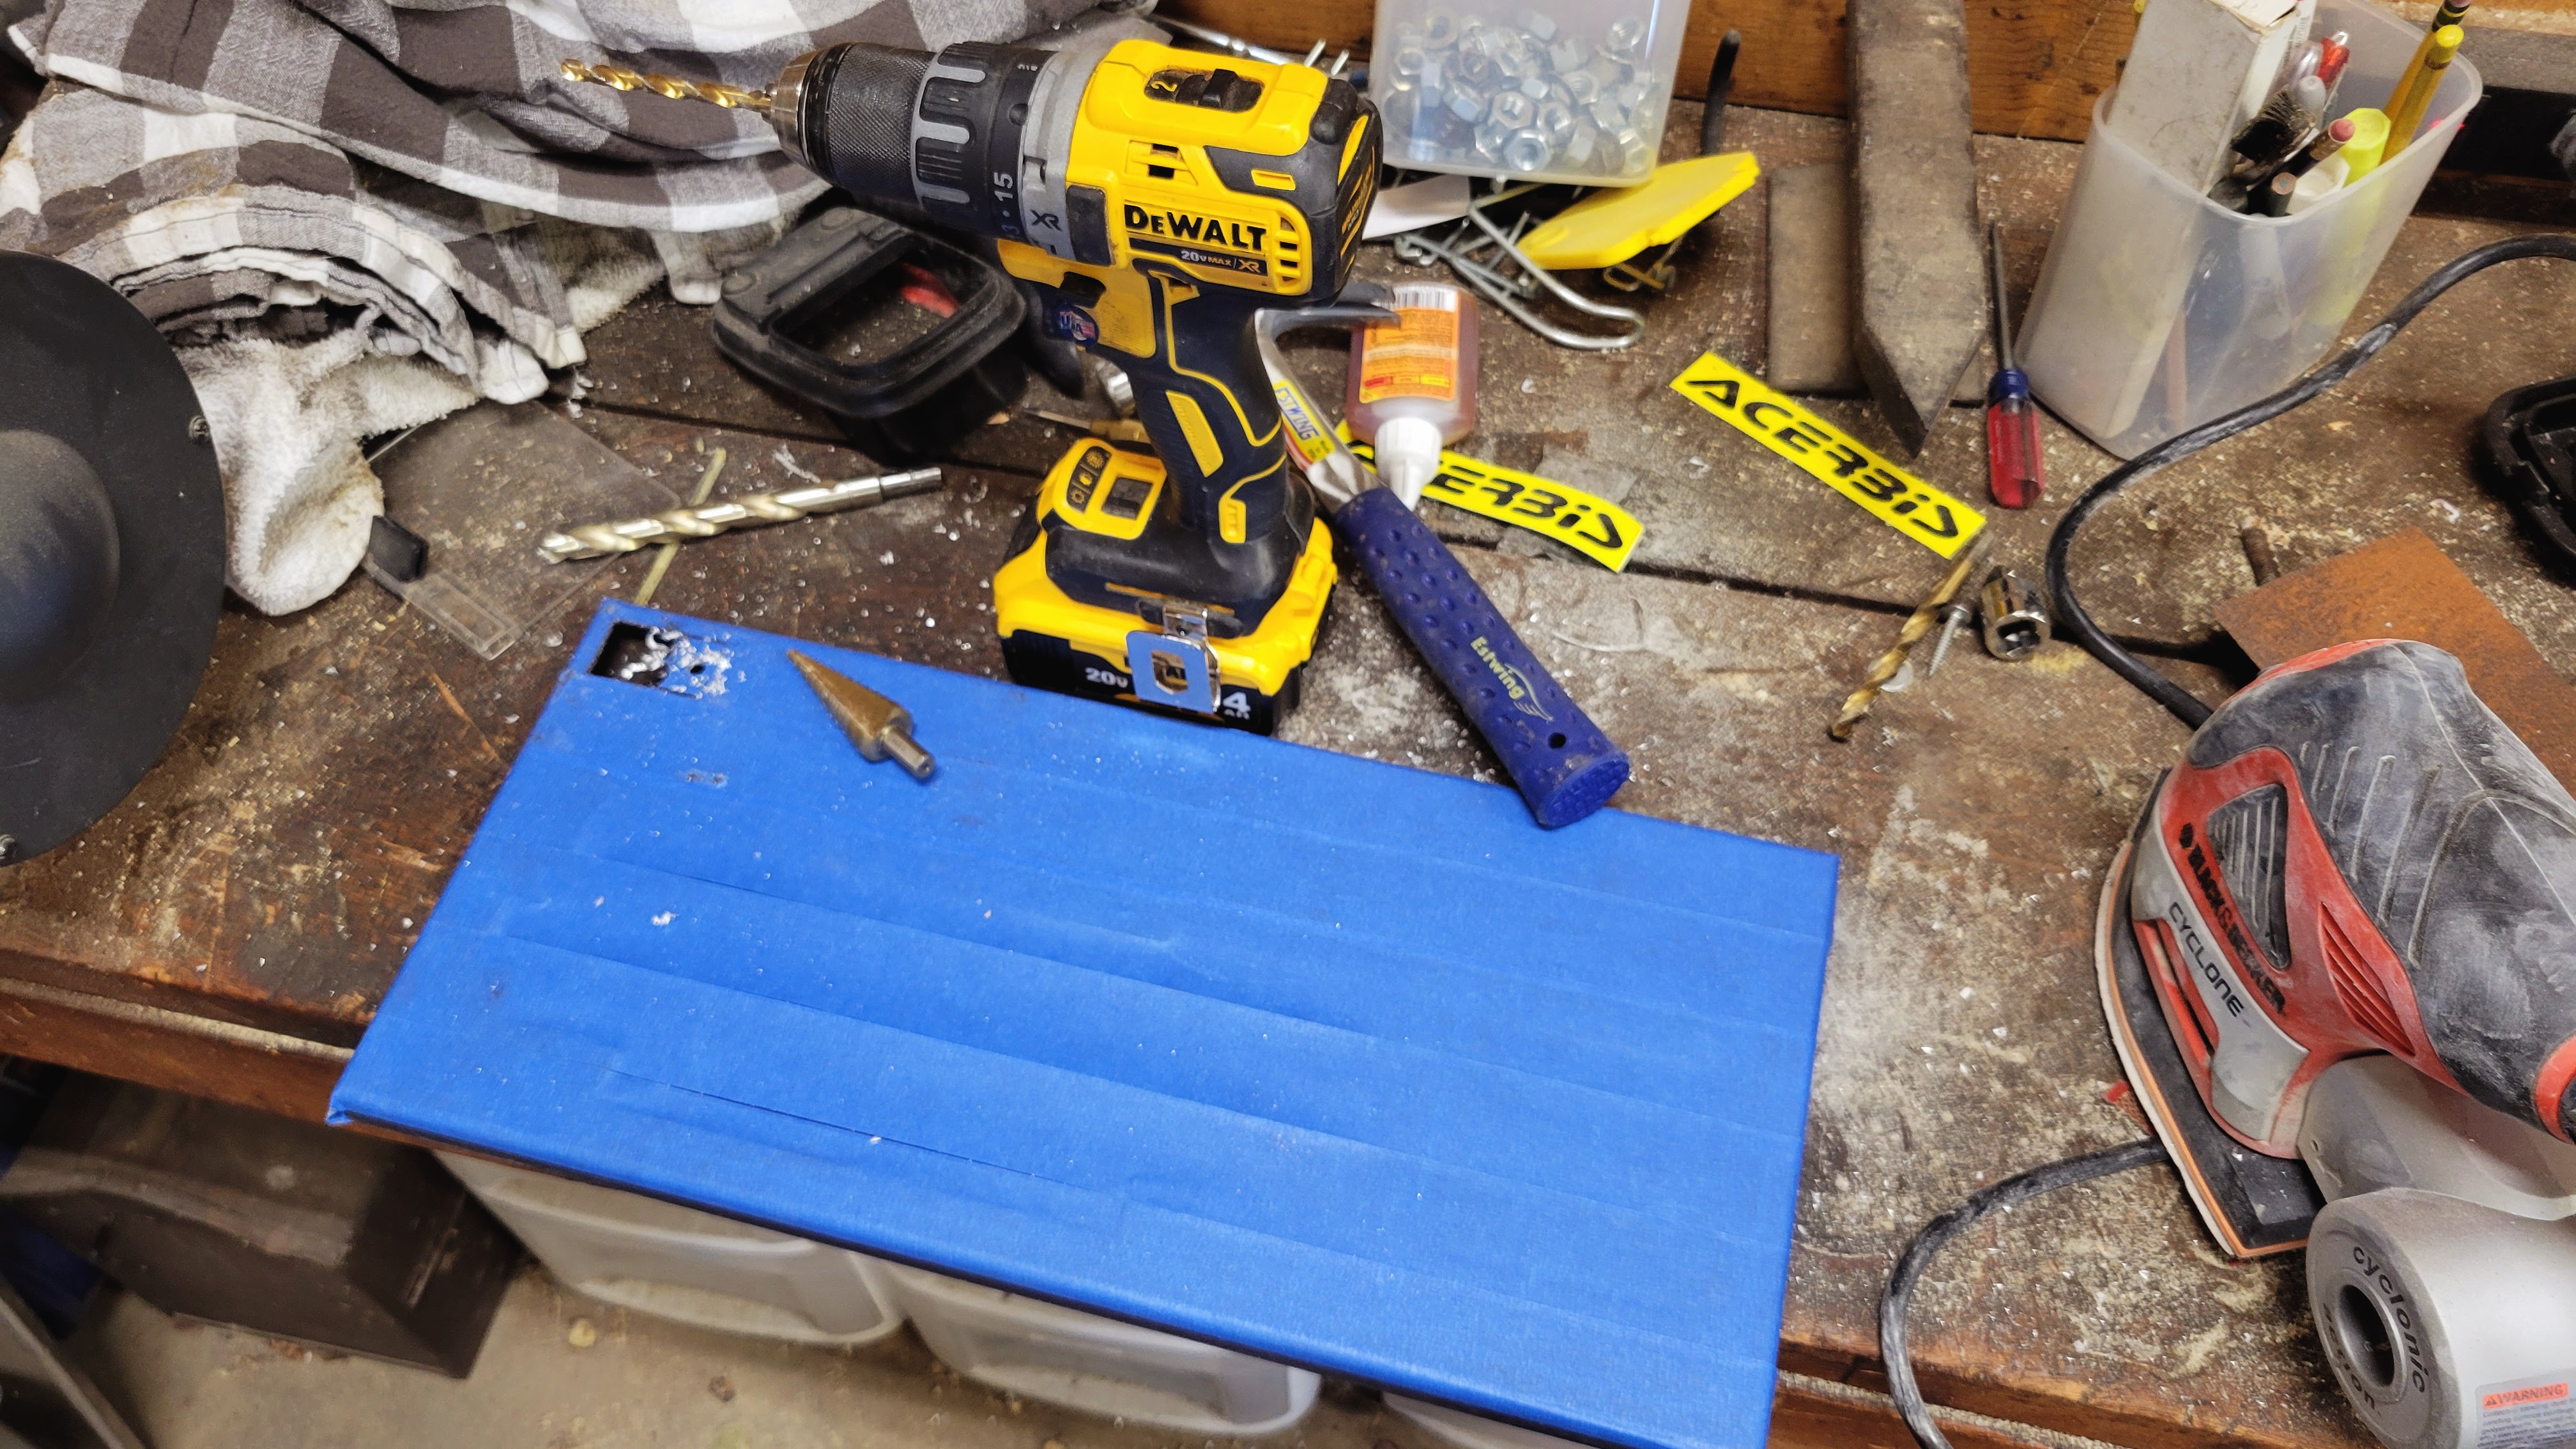
Next was the keyboard. That took a little more work. I needed to measure and drill out holes for the PI standoffs, drill holes for the connectors I brought out on the rear panel, drill a couple holes in the faceplate for a couple switches, and cut a square hole in the faceplate for volt/amp meter used to measure voltage and current to the external controller programming board.
Then it was ready for some paint.
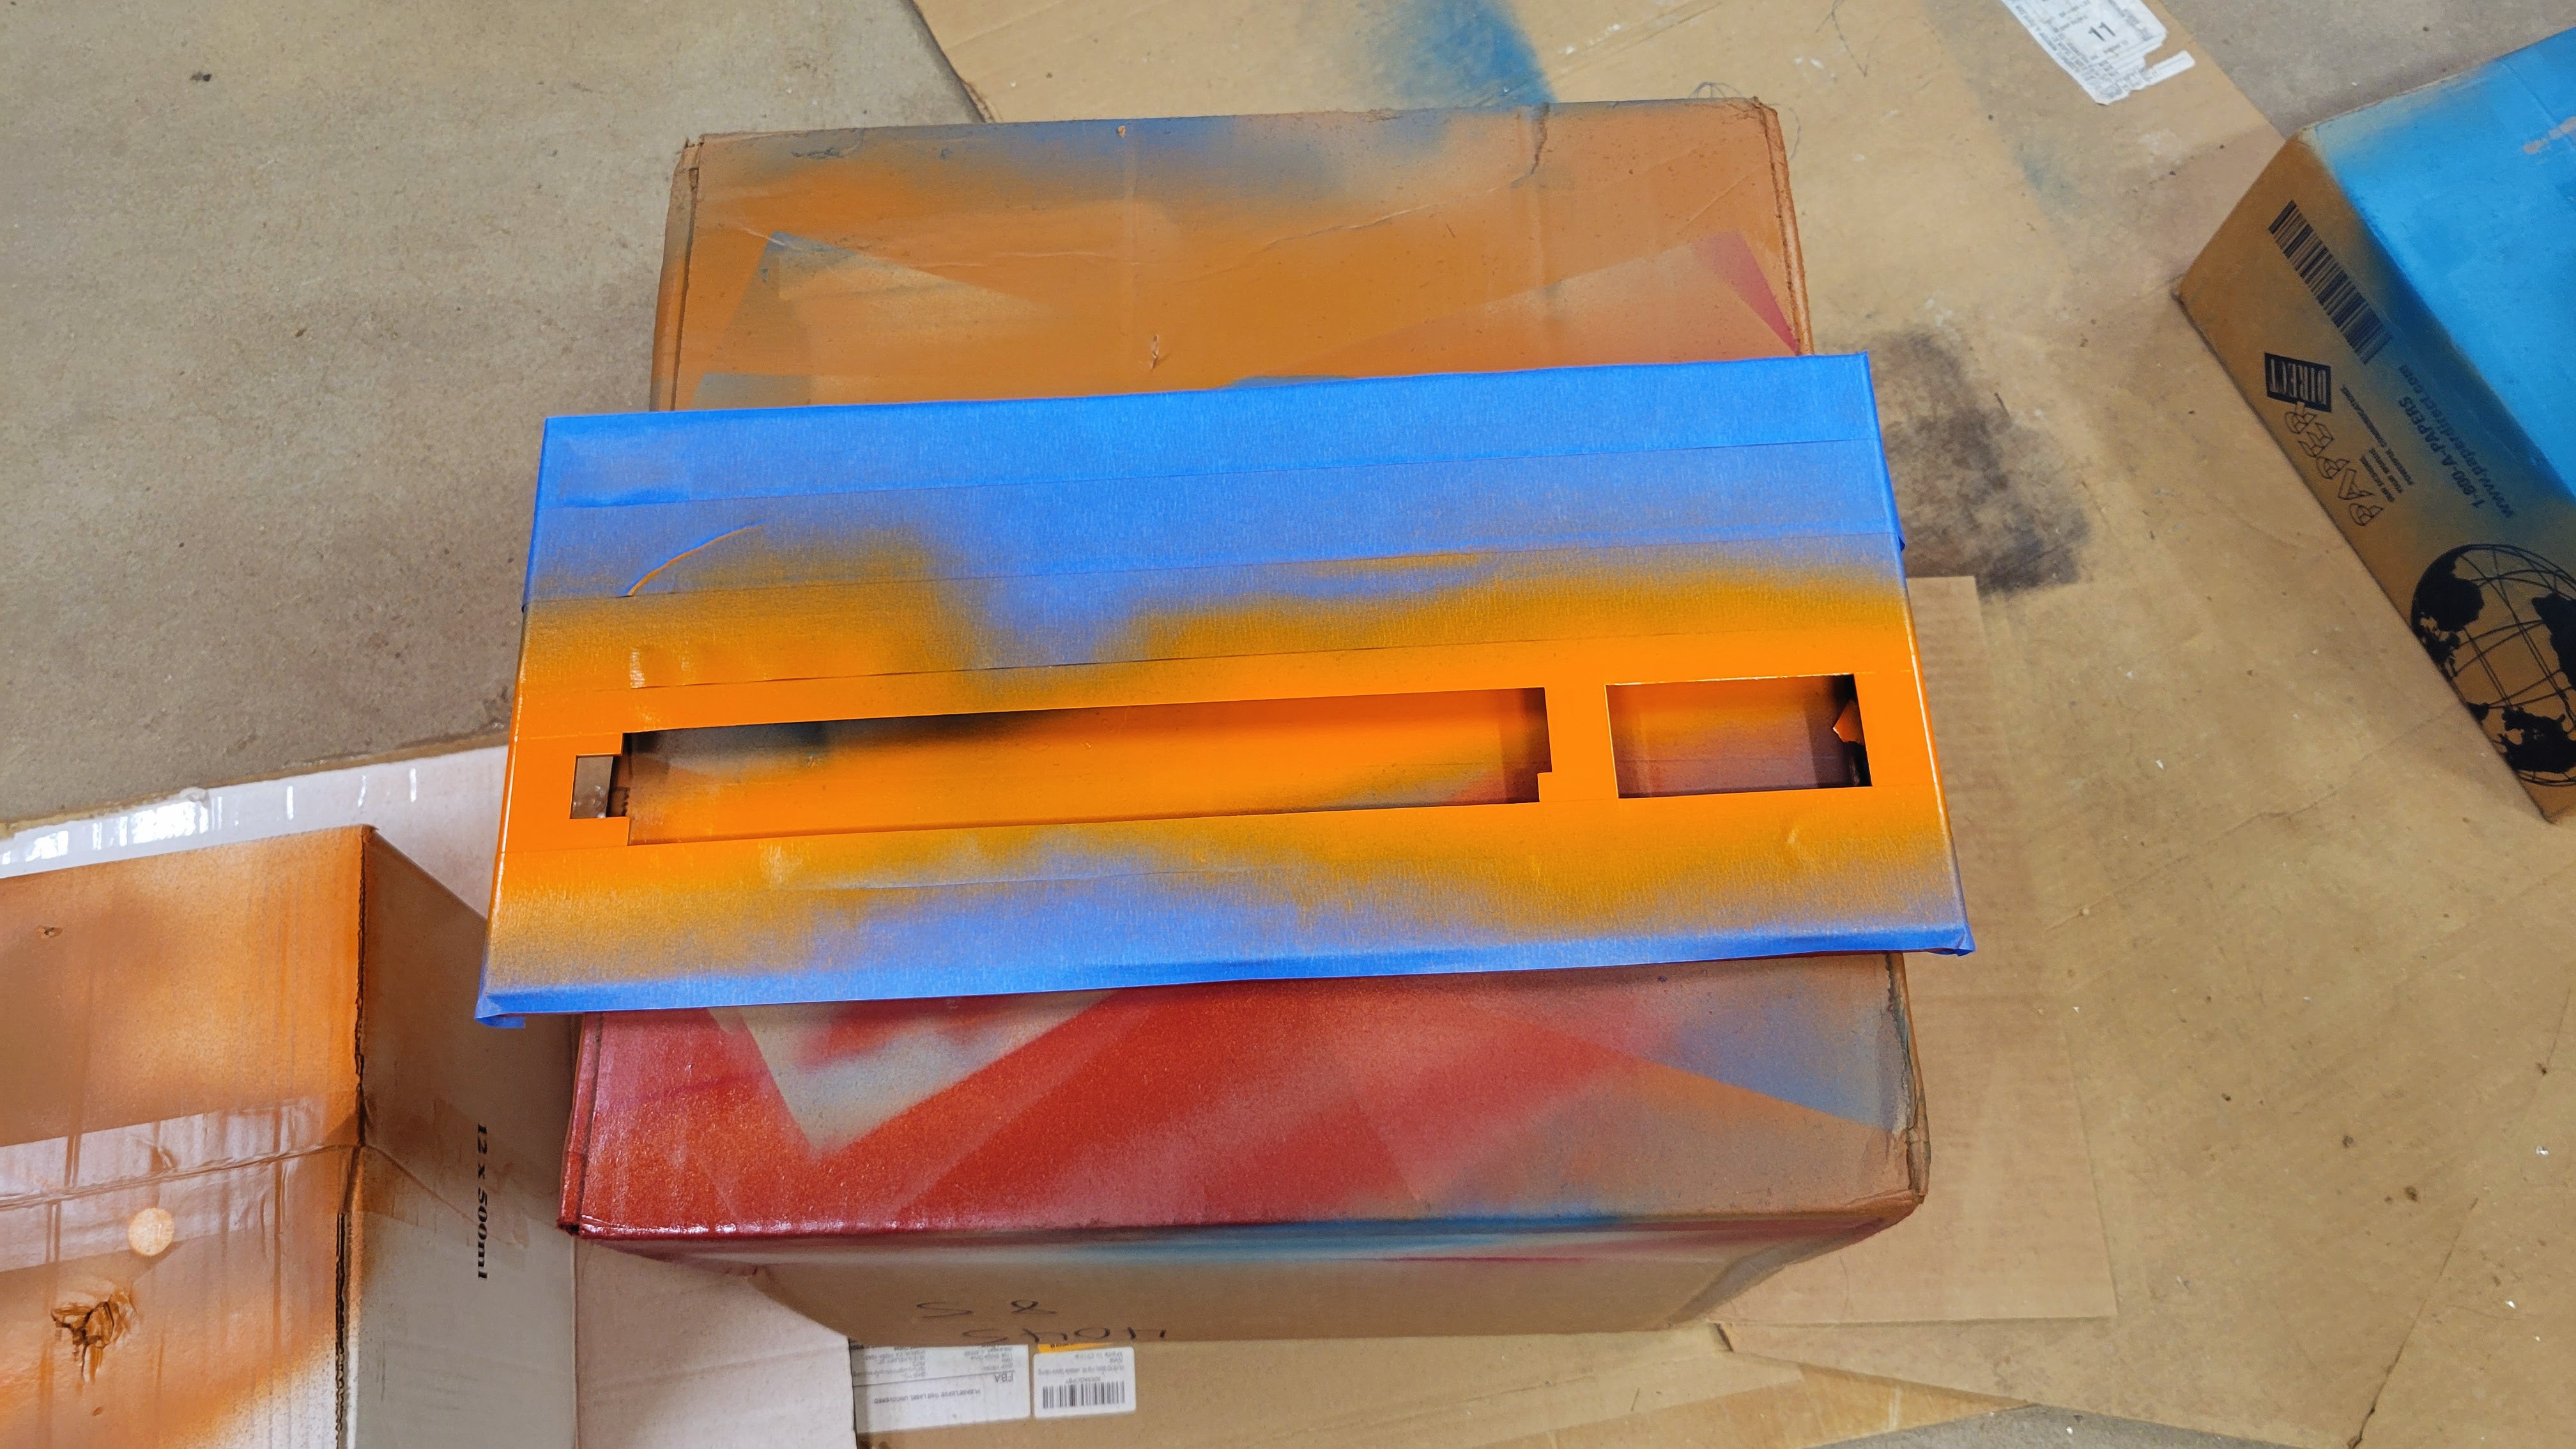
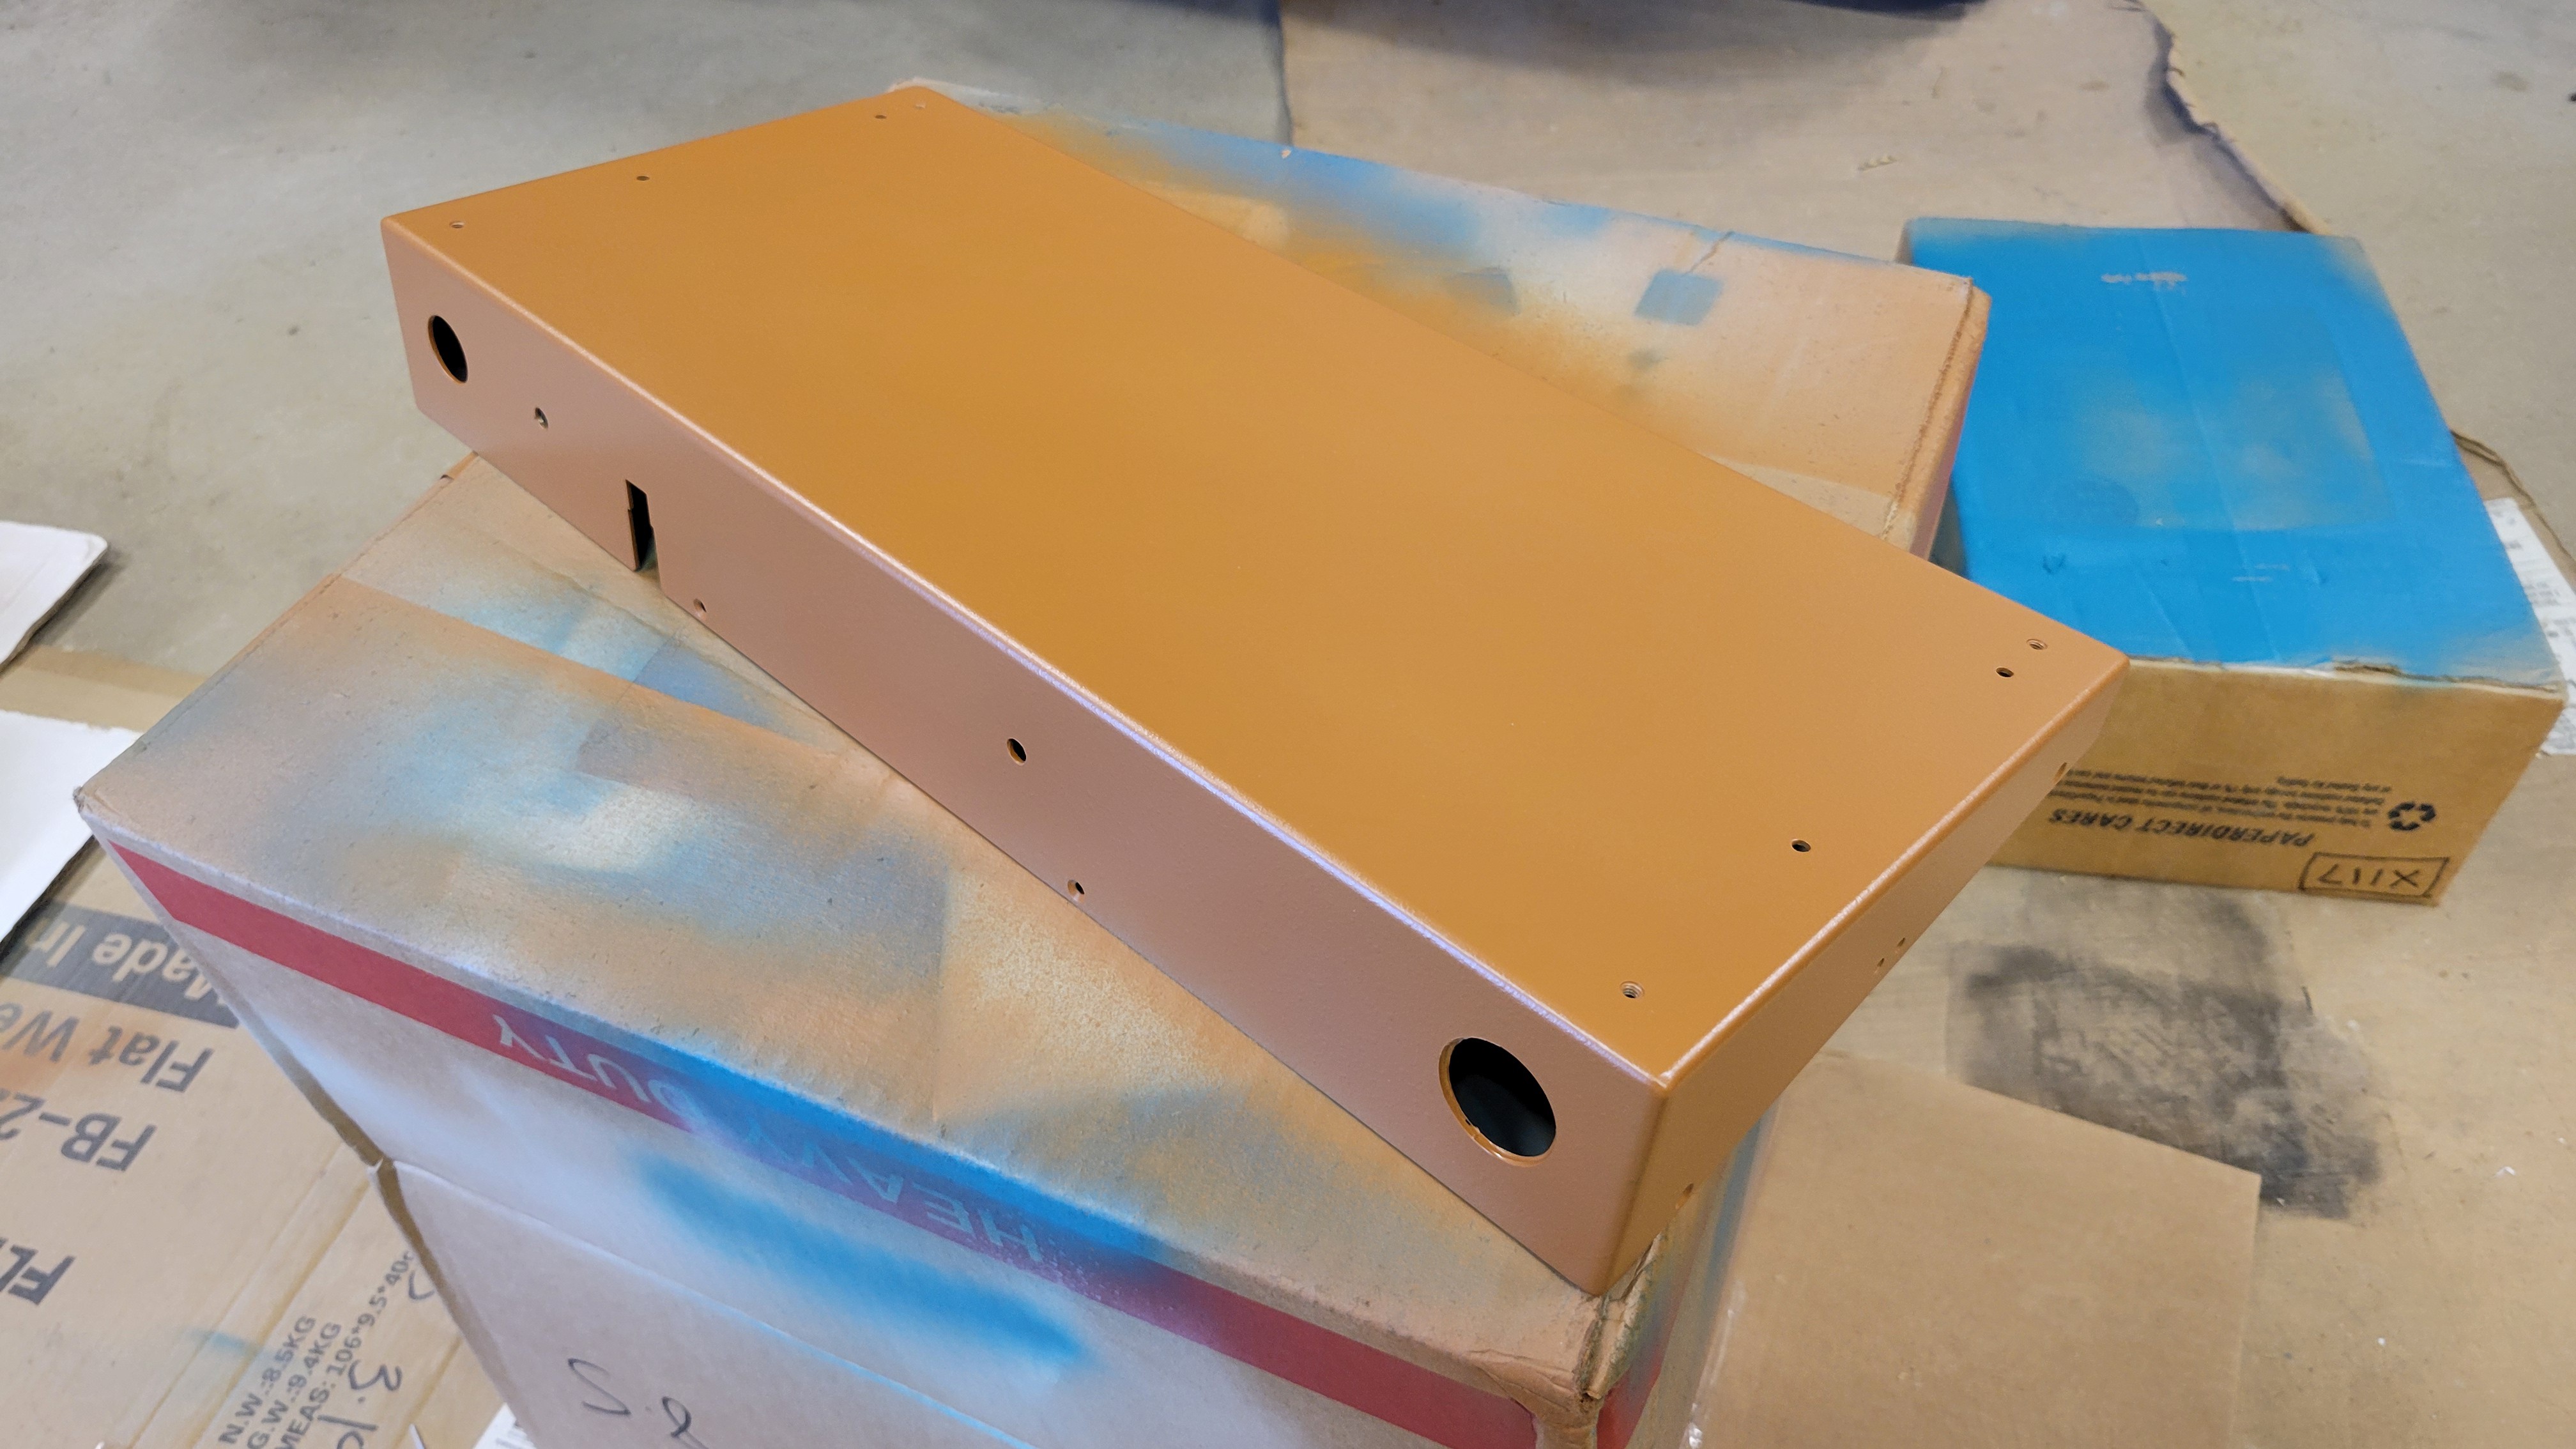
For the case, I selected a 70's classic brown base with red, orange, yellow, blue stripes that any 70's van owner would have been proud of.
Discussions
Become a Hackaday.io Member
Create an account to leave a comment. Already have an account? Log In.