-
1Step 1
Here is how you can use this little box to put your microcontroller on your WiFi in under 1 minute:
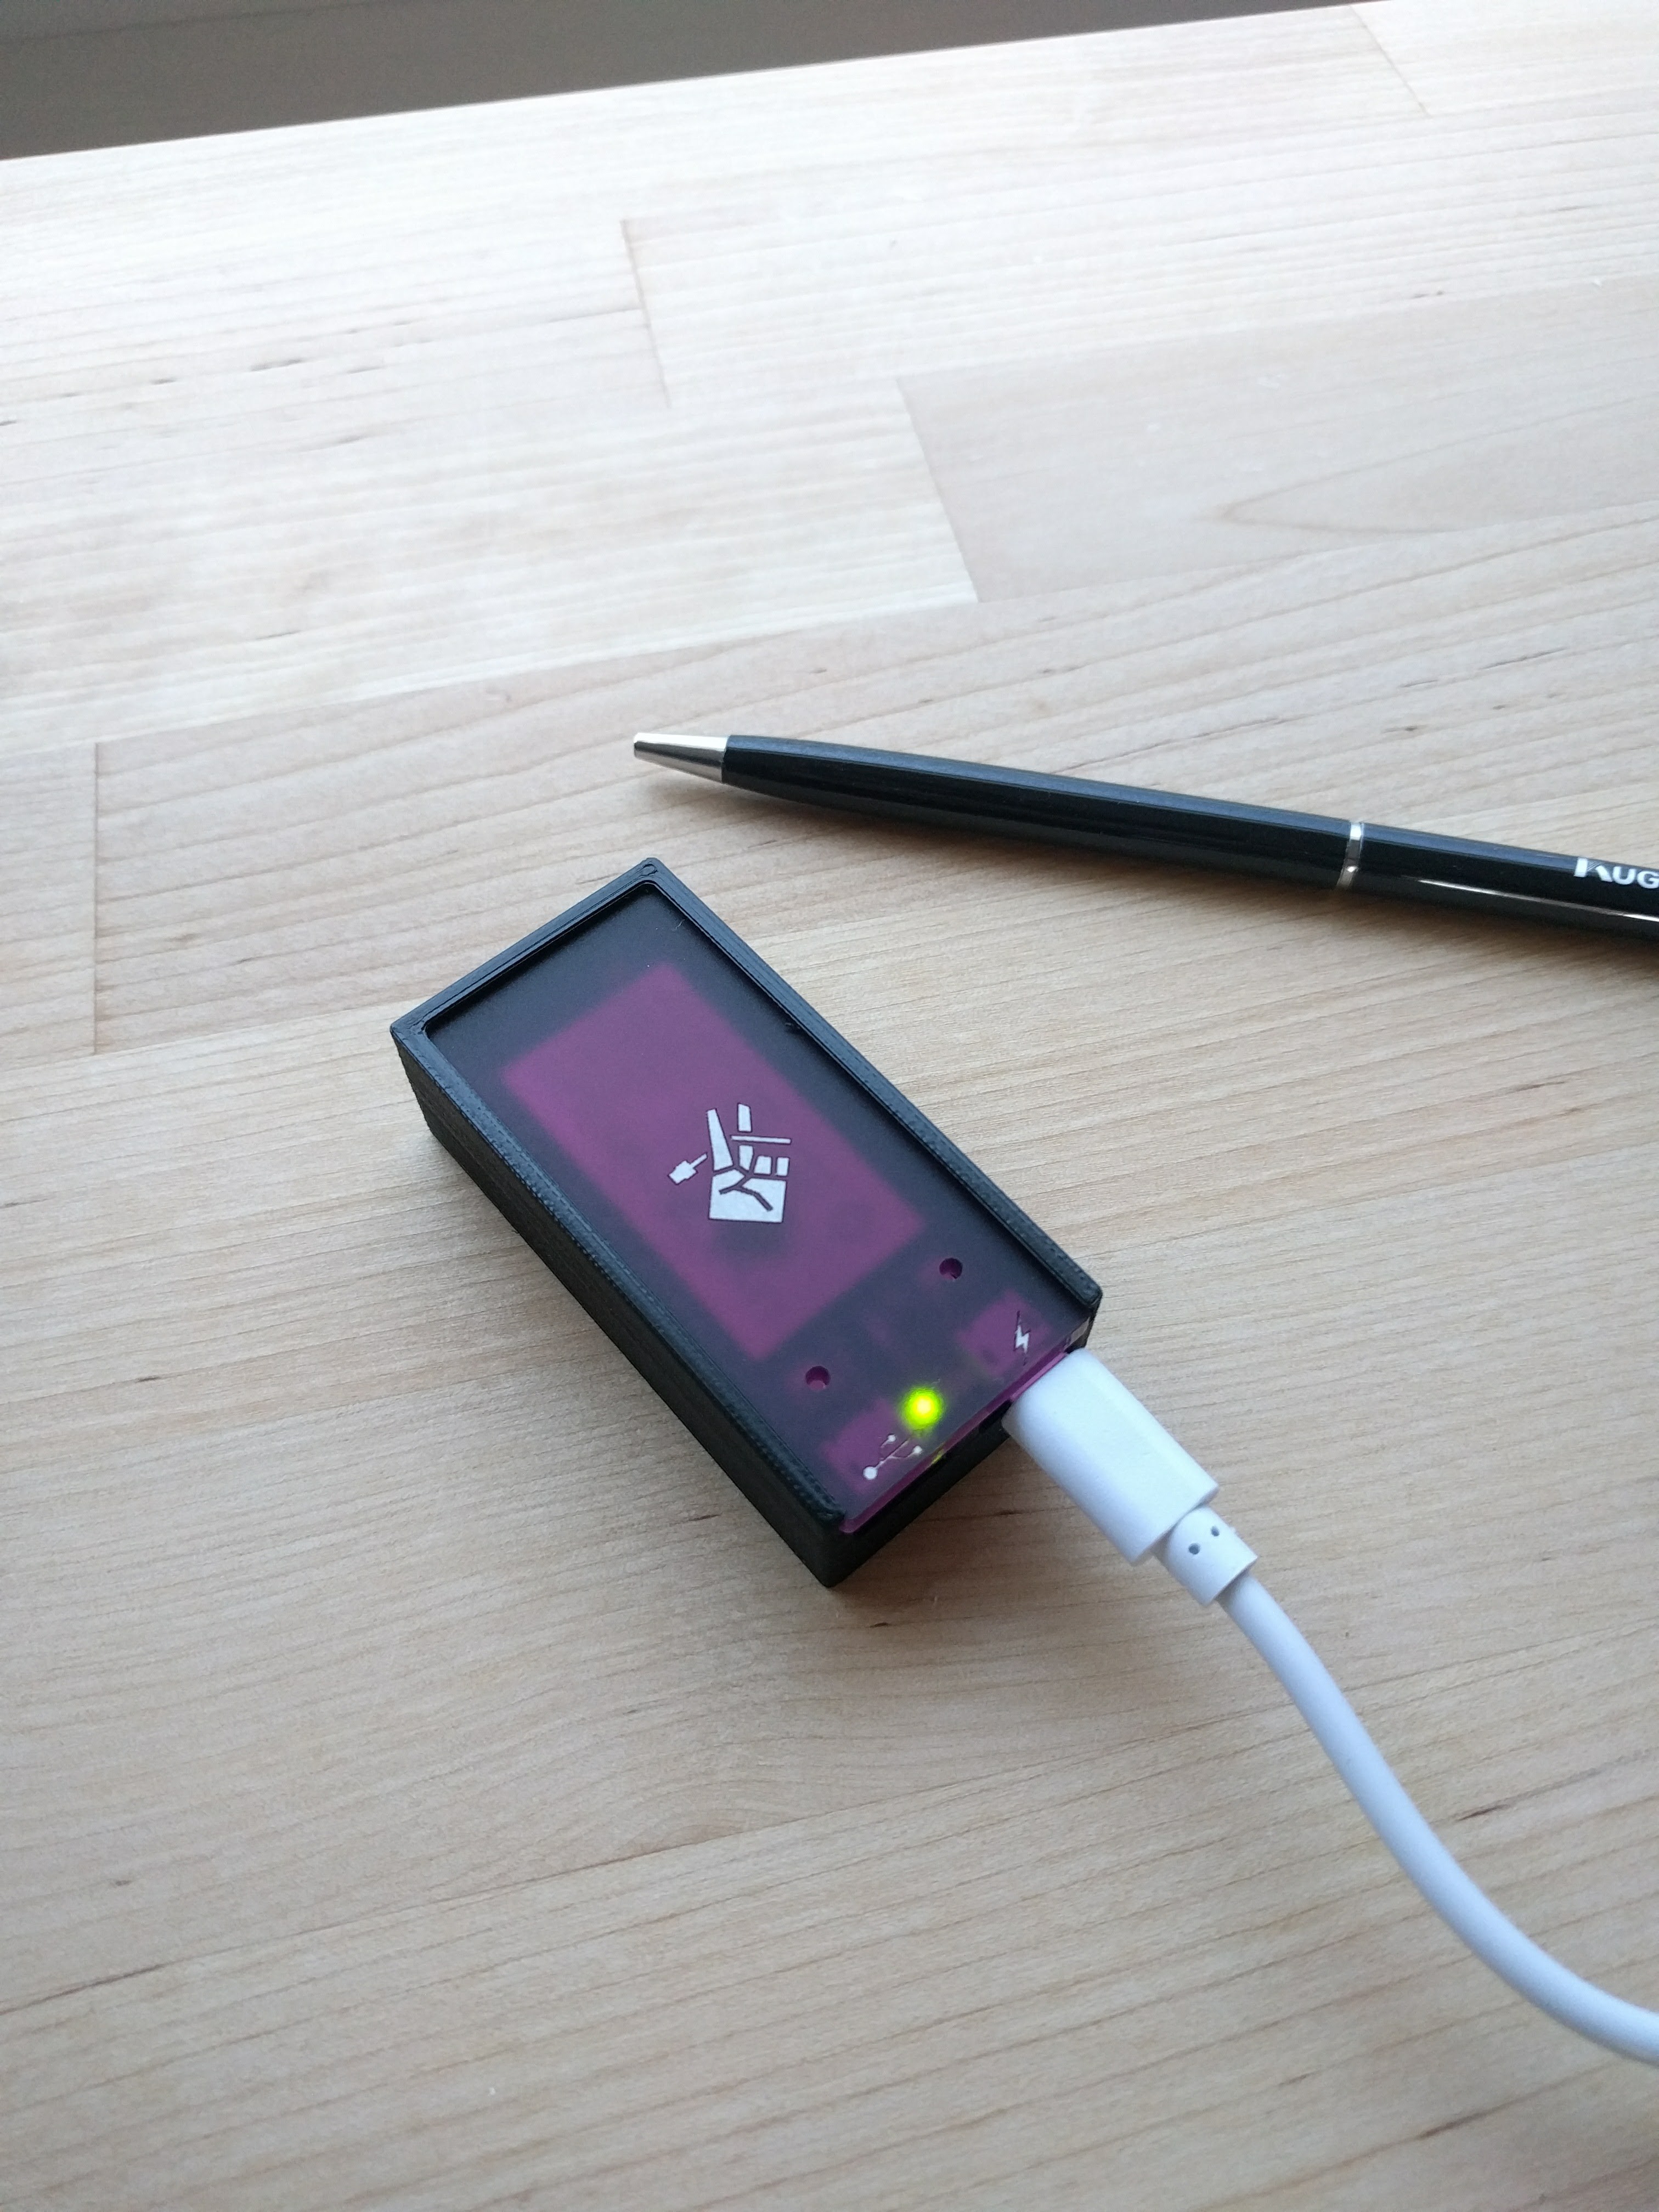
First, you place the box on a hard and visually pleasing surface:
![]()
-
2Step 2
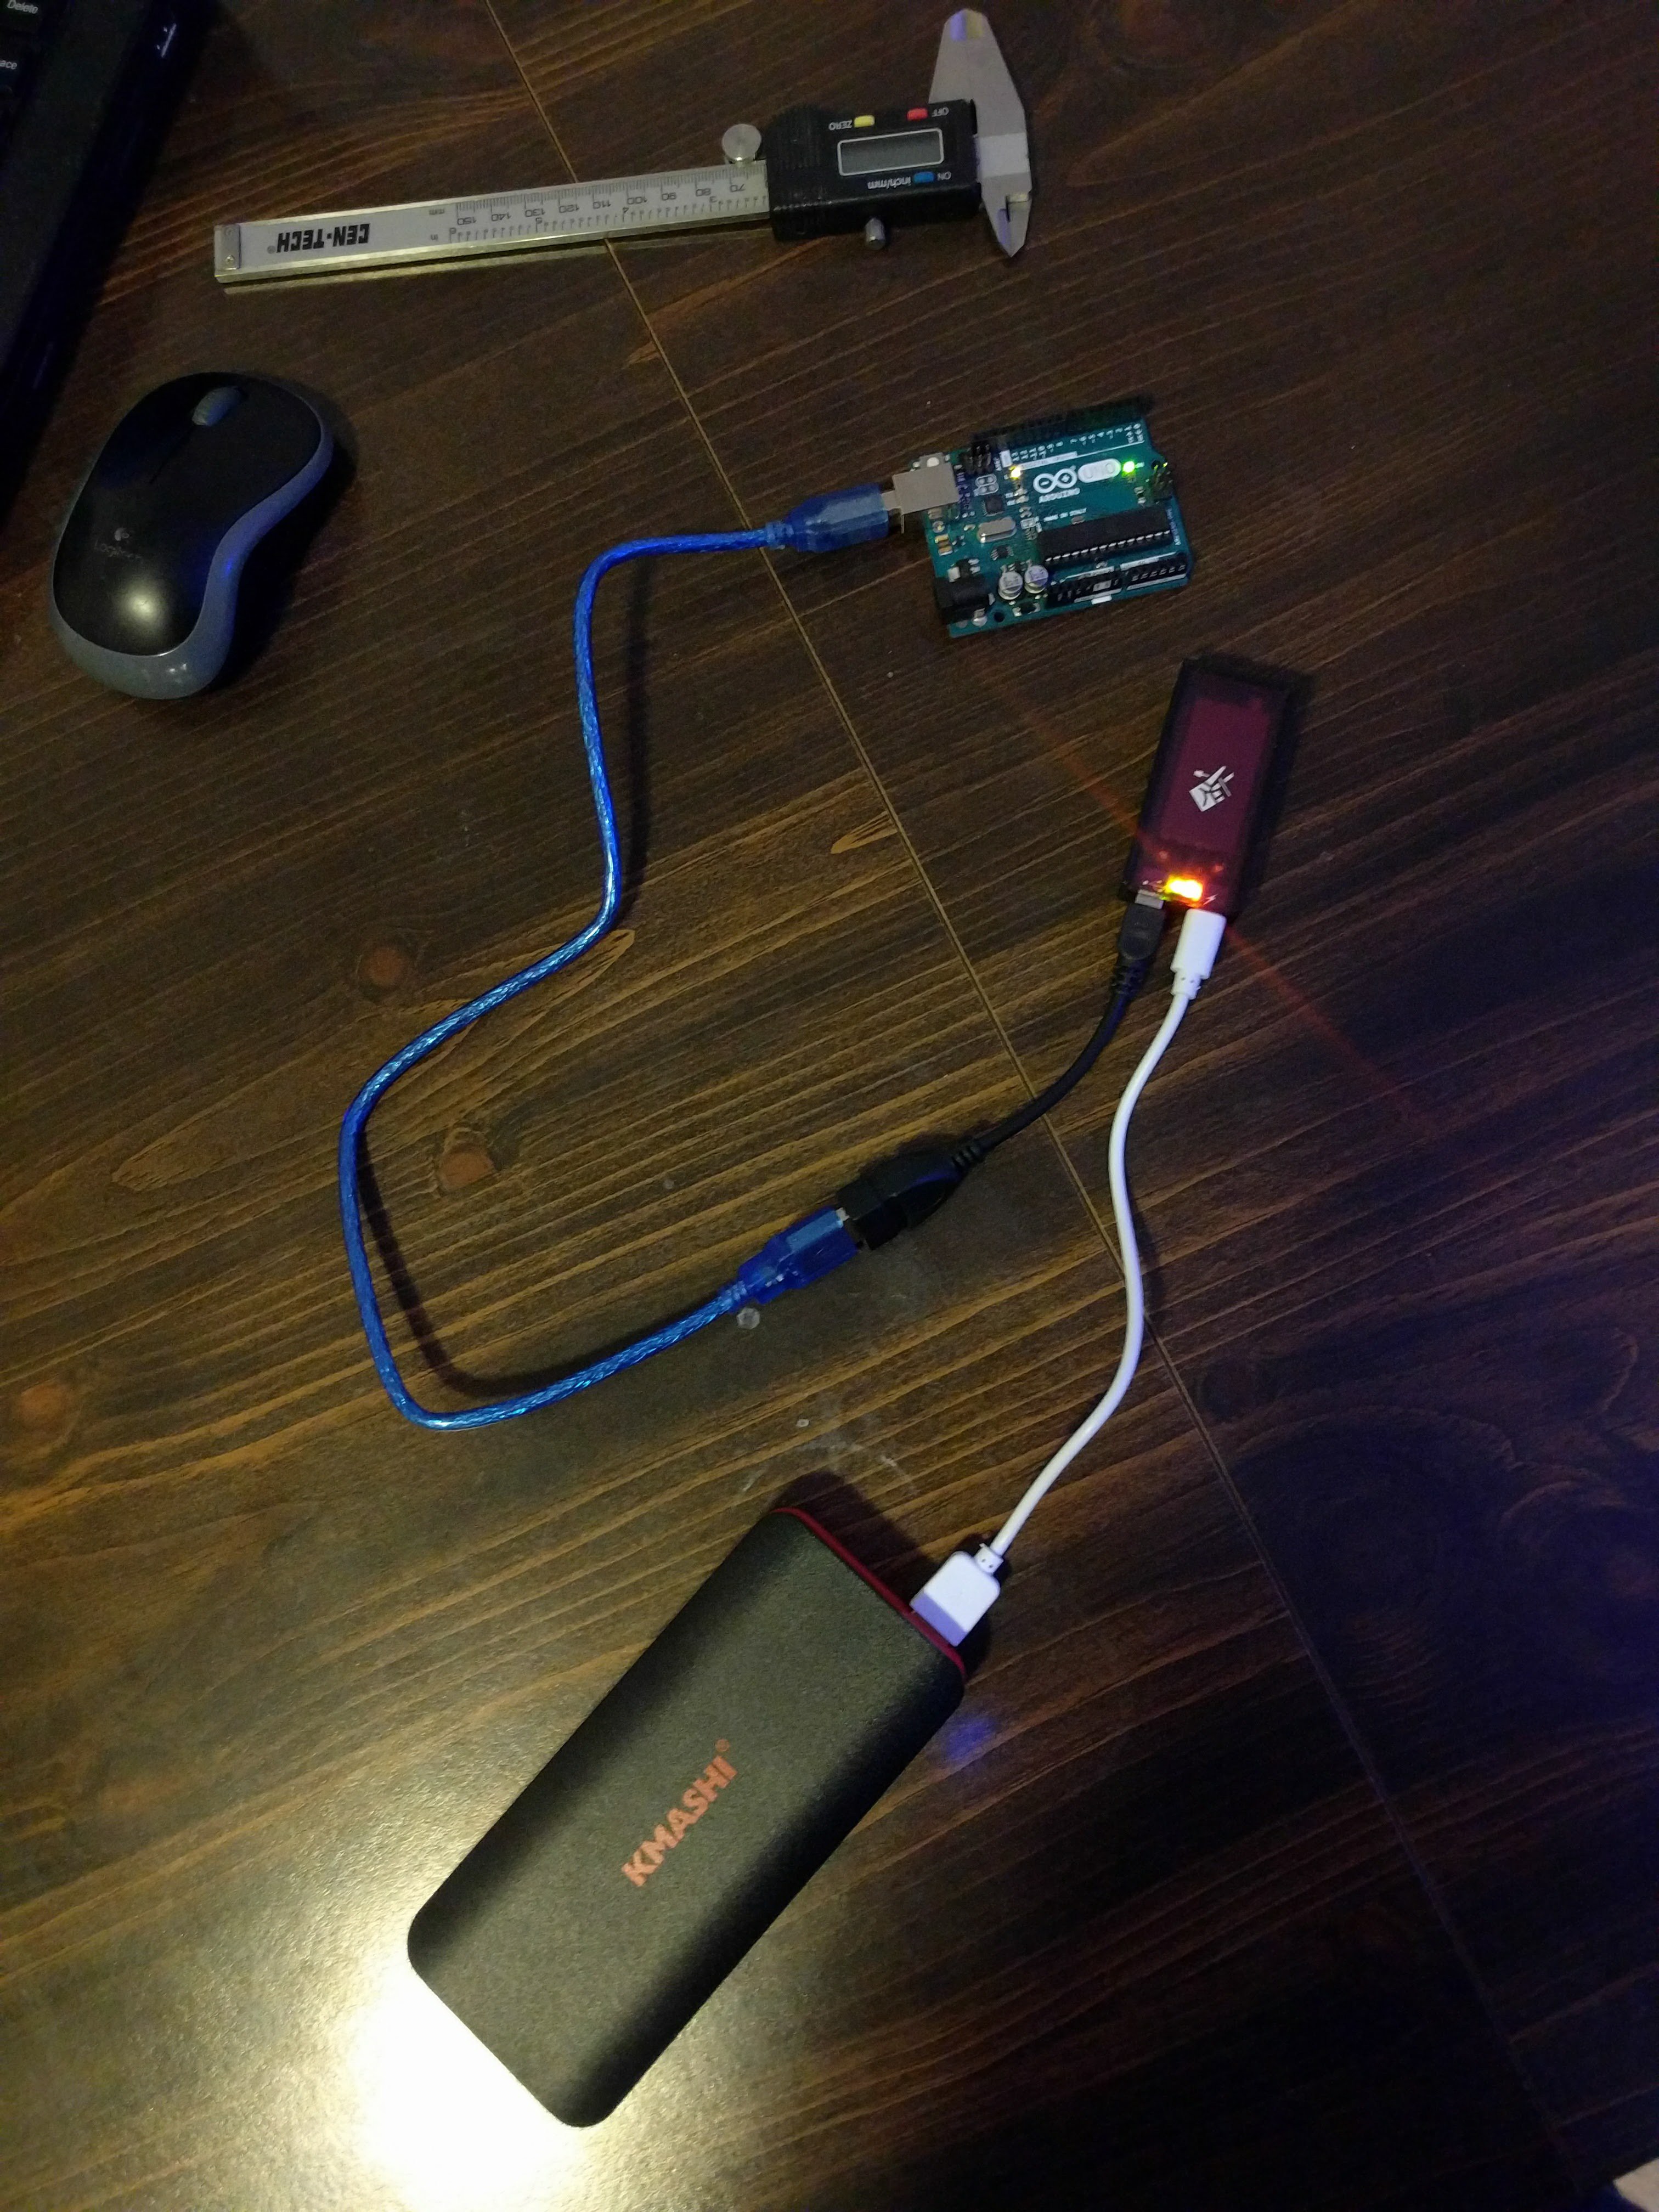
Then, you connect your microcontroller (an Arduino for this example) to the little box, and give the little box 5 Volts via a wall wart, a USB battery, or anything that outputs 5V.
![]()
-
3Step 3
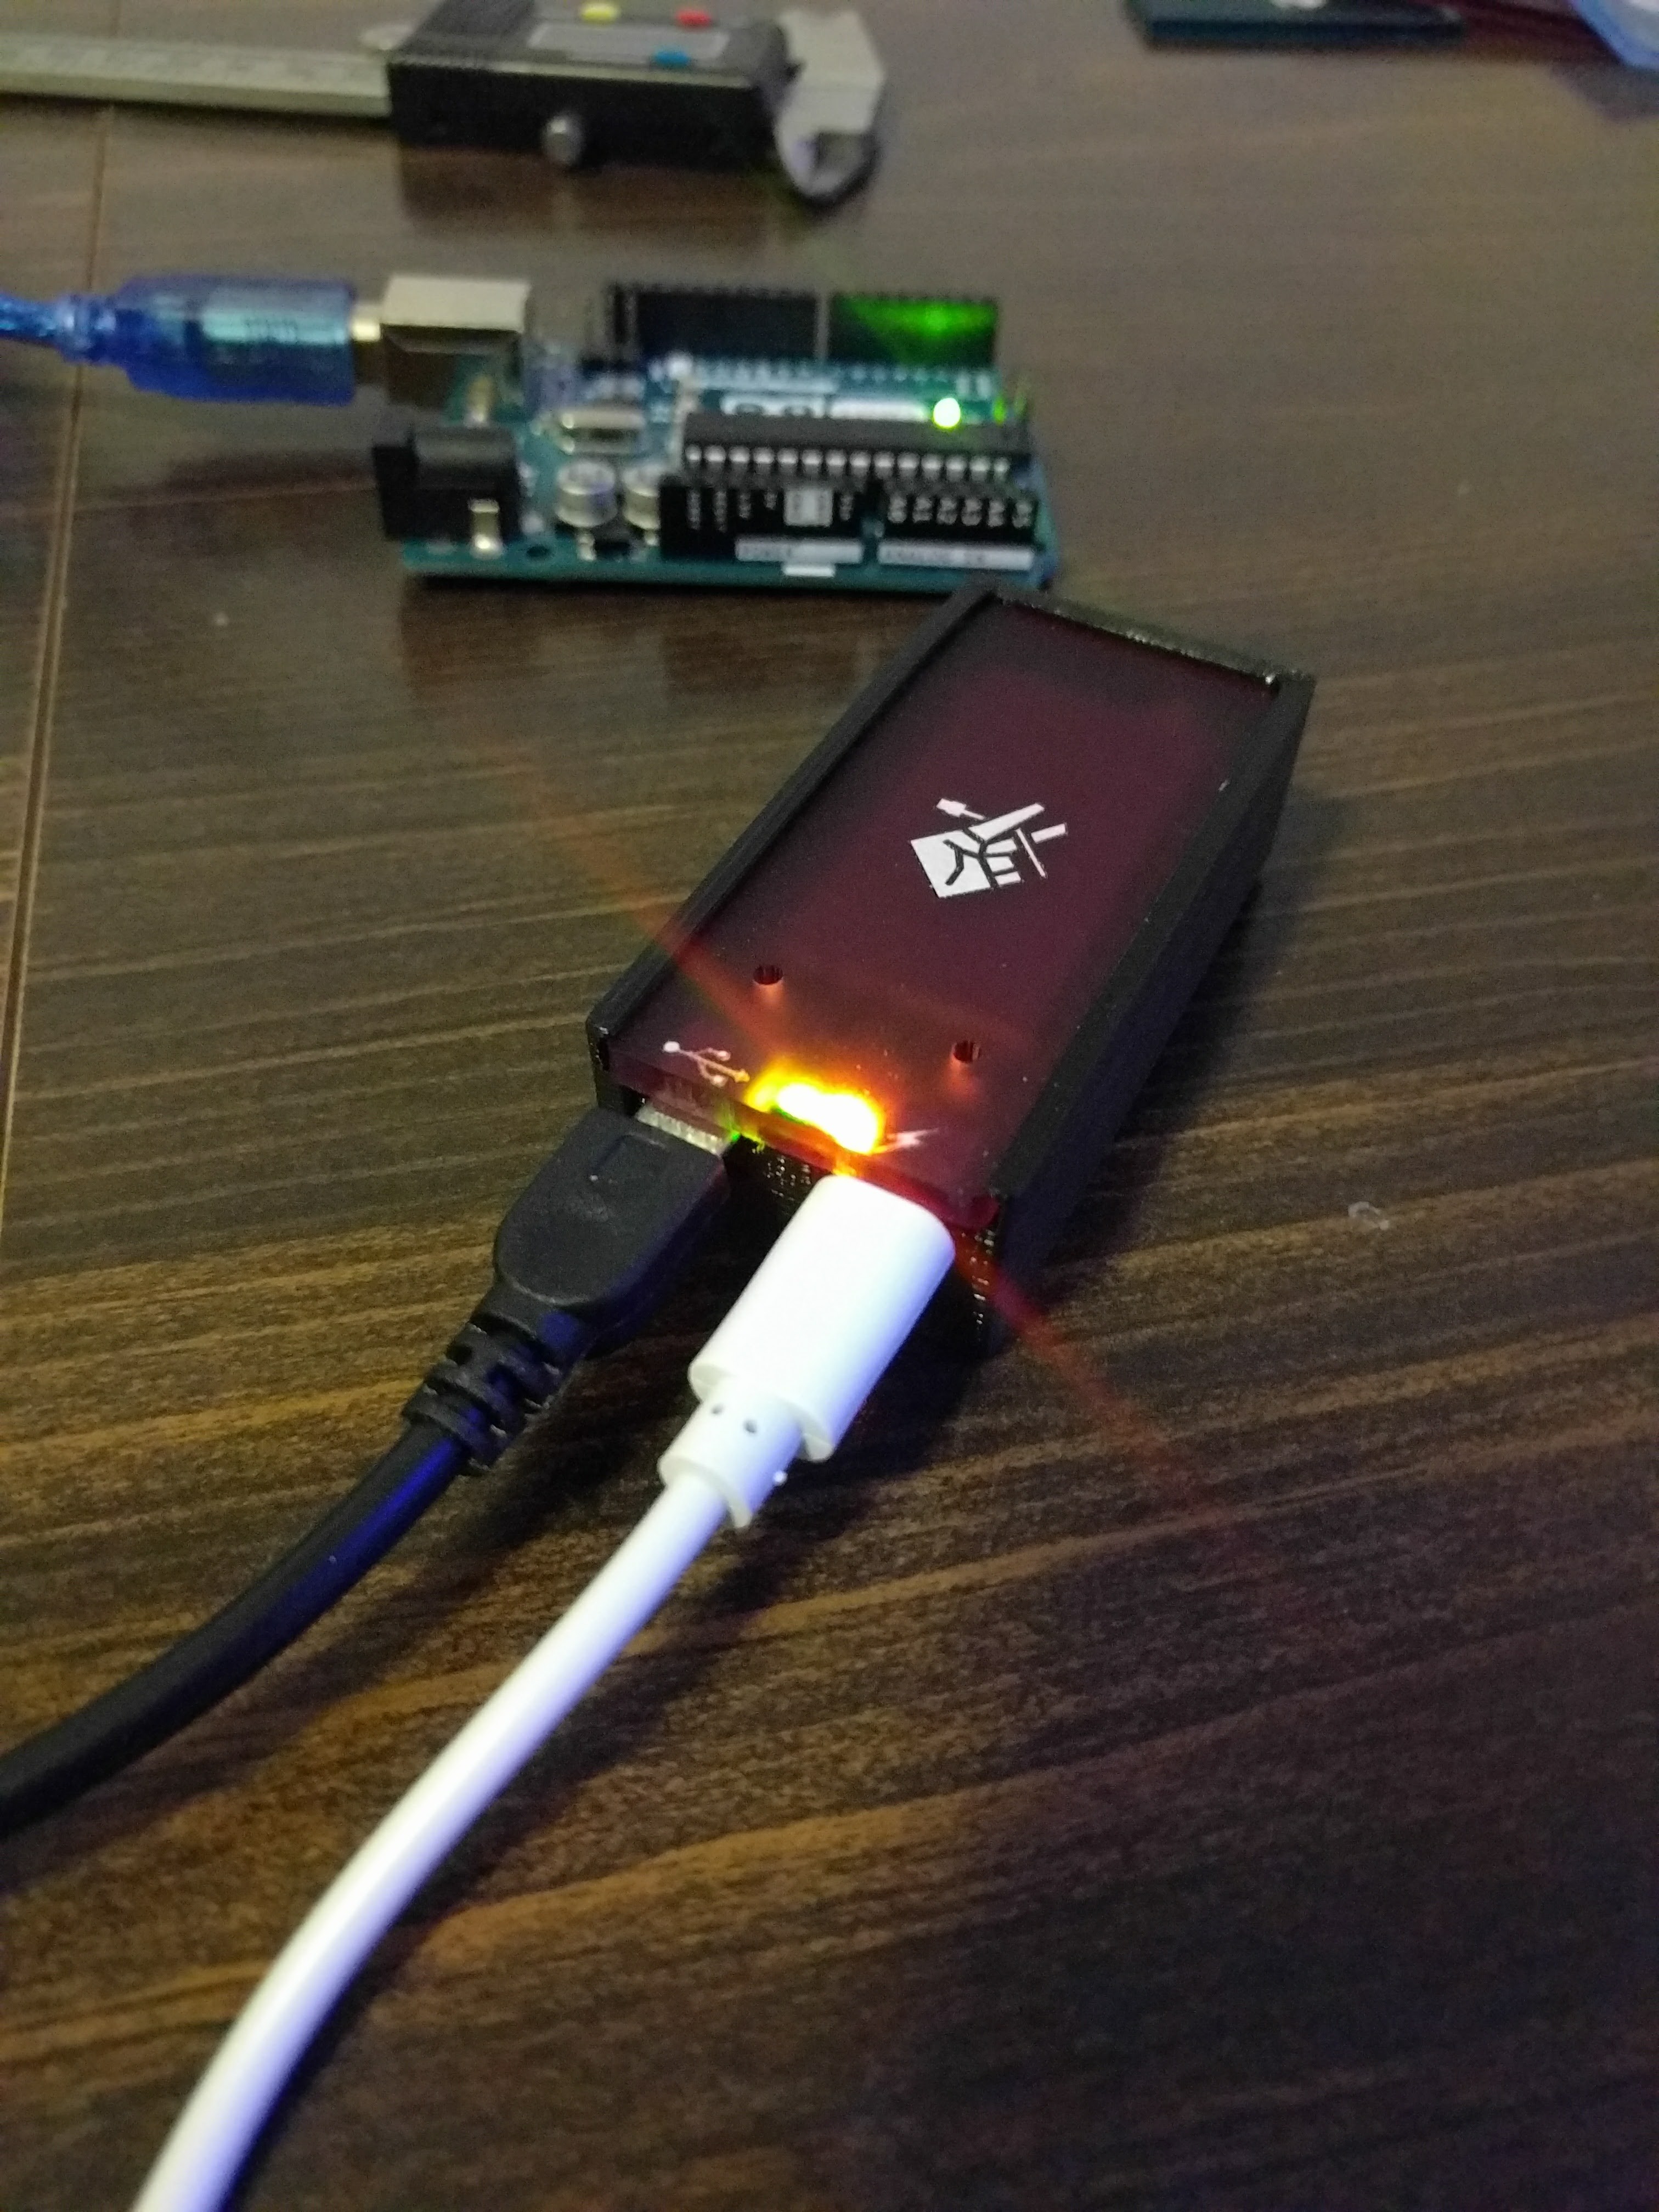
Next, make sure that the LEDs on the little box are on. If they aren't, check your 5V supply.
![]()
-
4Step 4
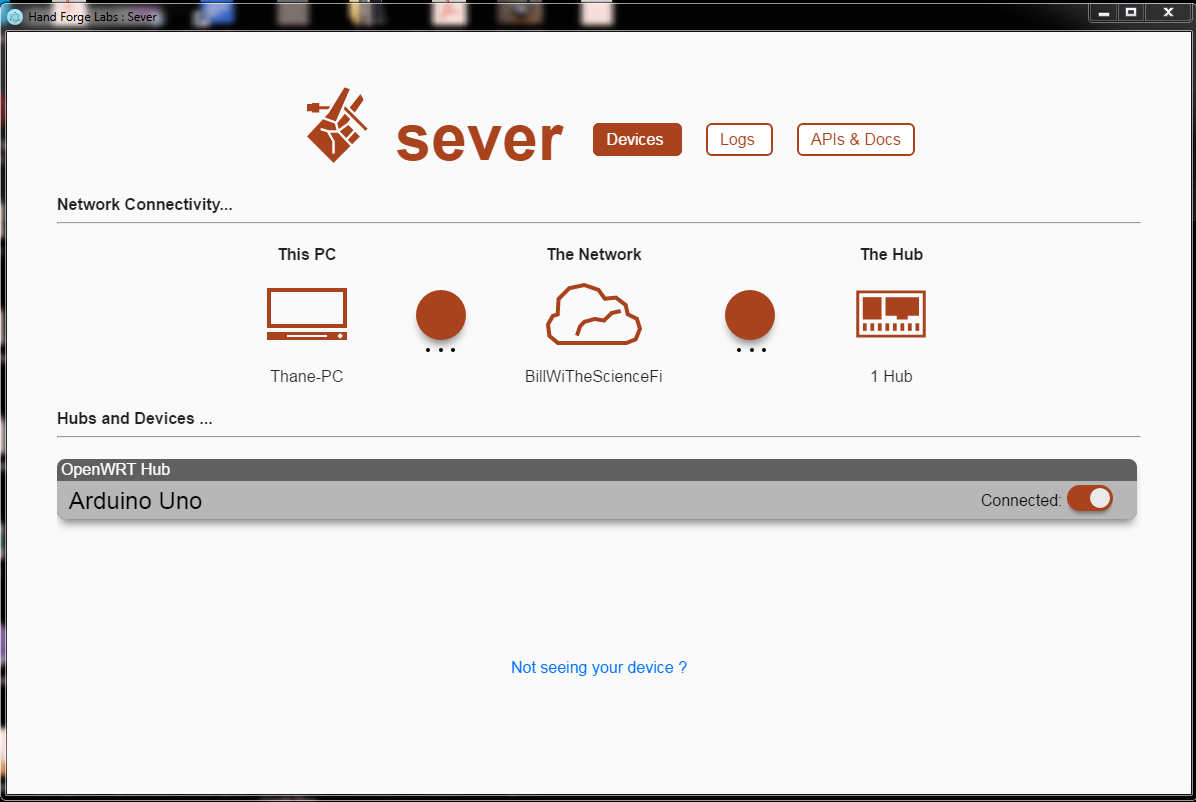
Now, open the software (to be released soon) and make sure that the little box shows up. You should see a list of attached USB devices. In our example, there is an Arduino detected, so we click the "Connect" slider to "plug" the Arduino into our PC.
-
5Step 5
Open the Arduino IDE, make sure that "Arduino Uno" is selected from the "Tools > Board" drop-down, and click "Upload". In our example, we used the "Blink" example program. If all goes well, the upload will go smoothly, just as if you were really plugged in.
-
6Step 6
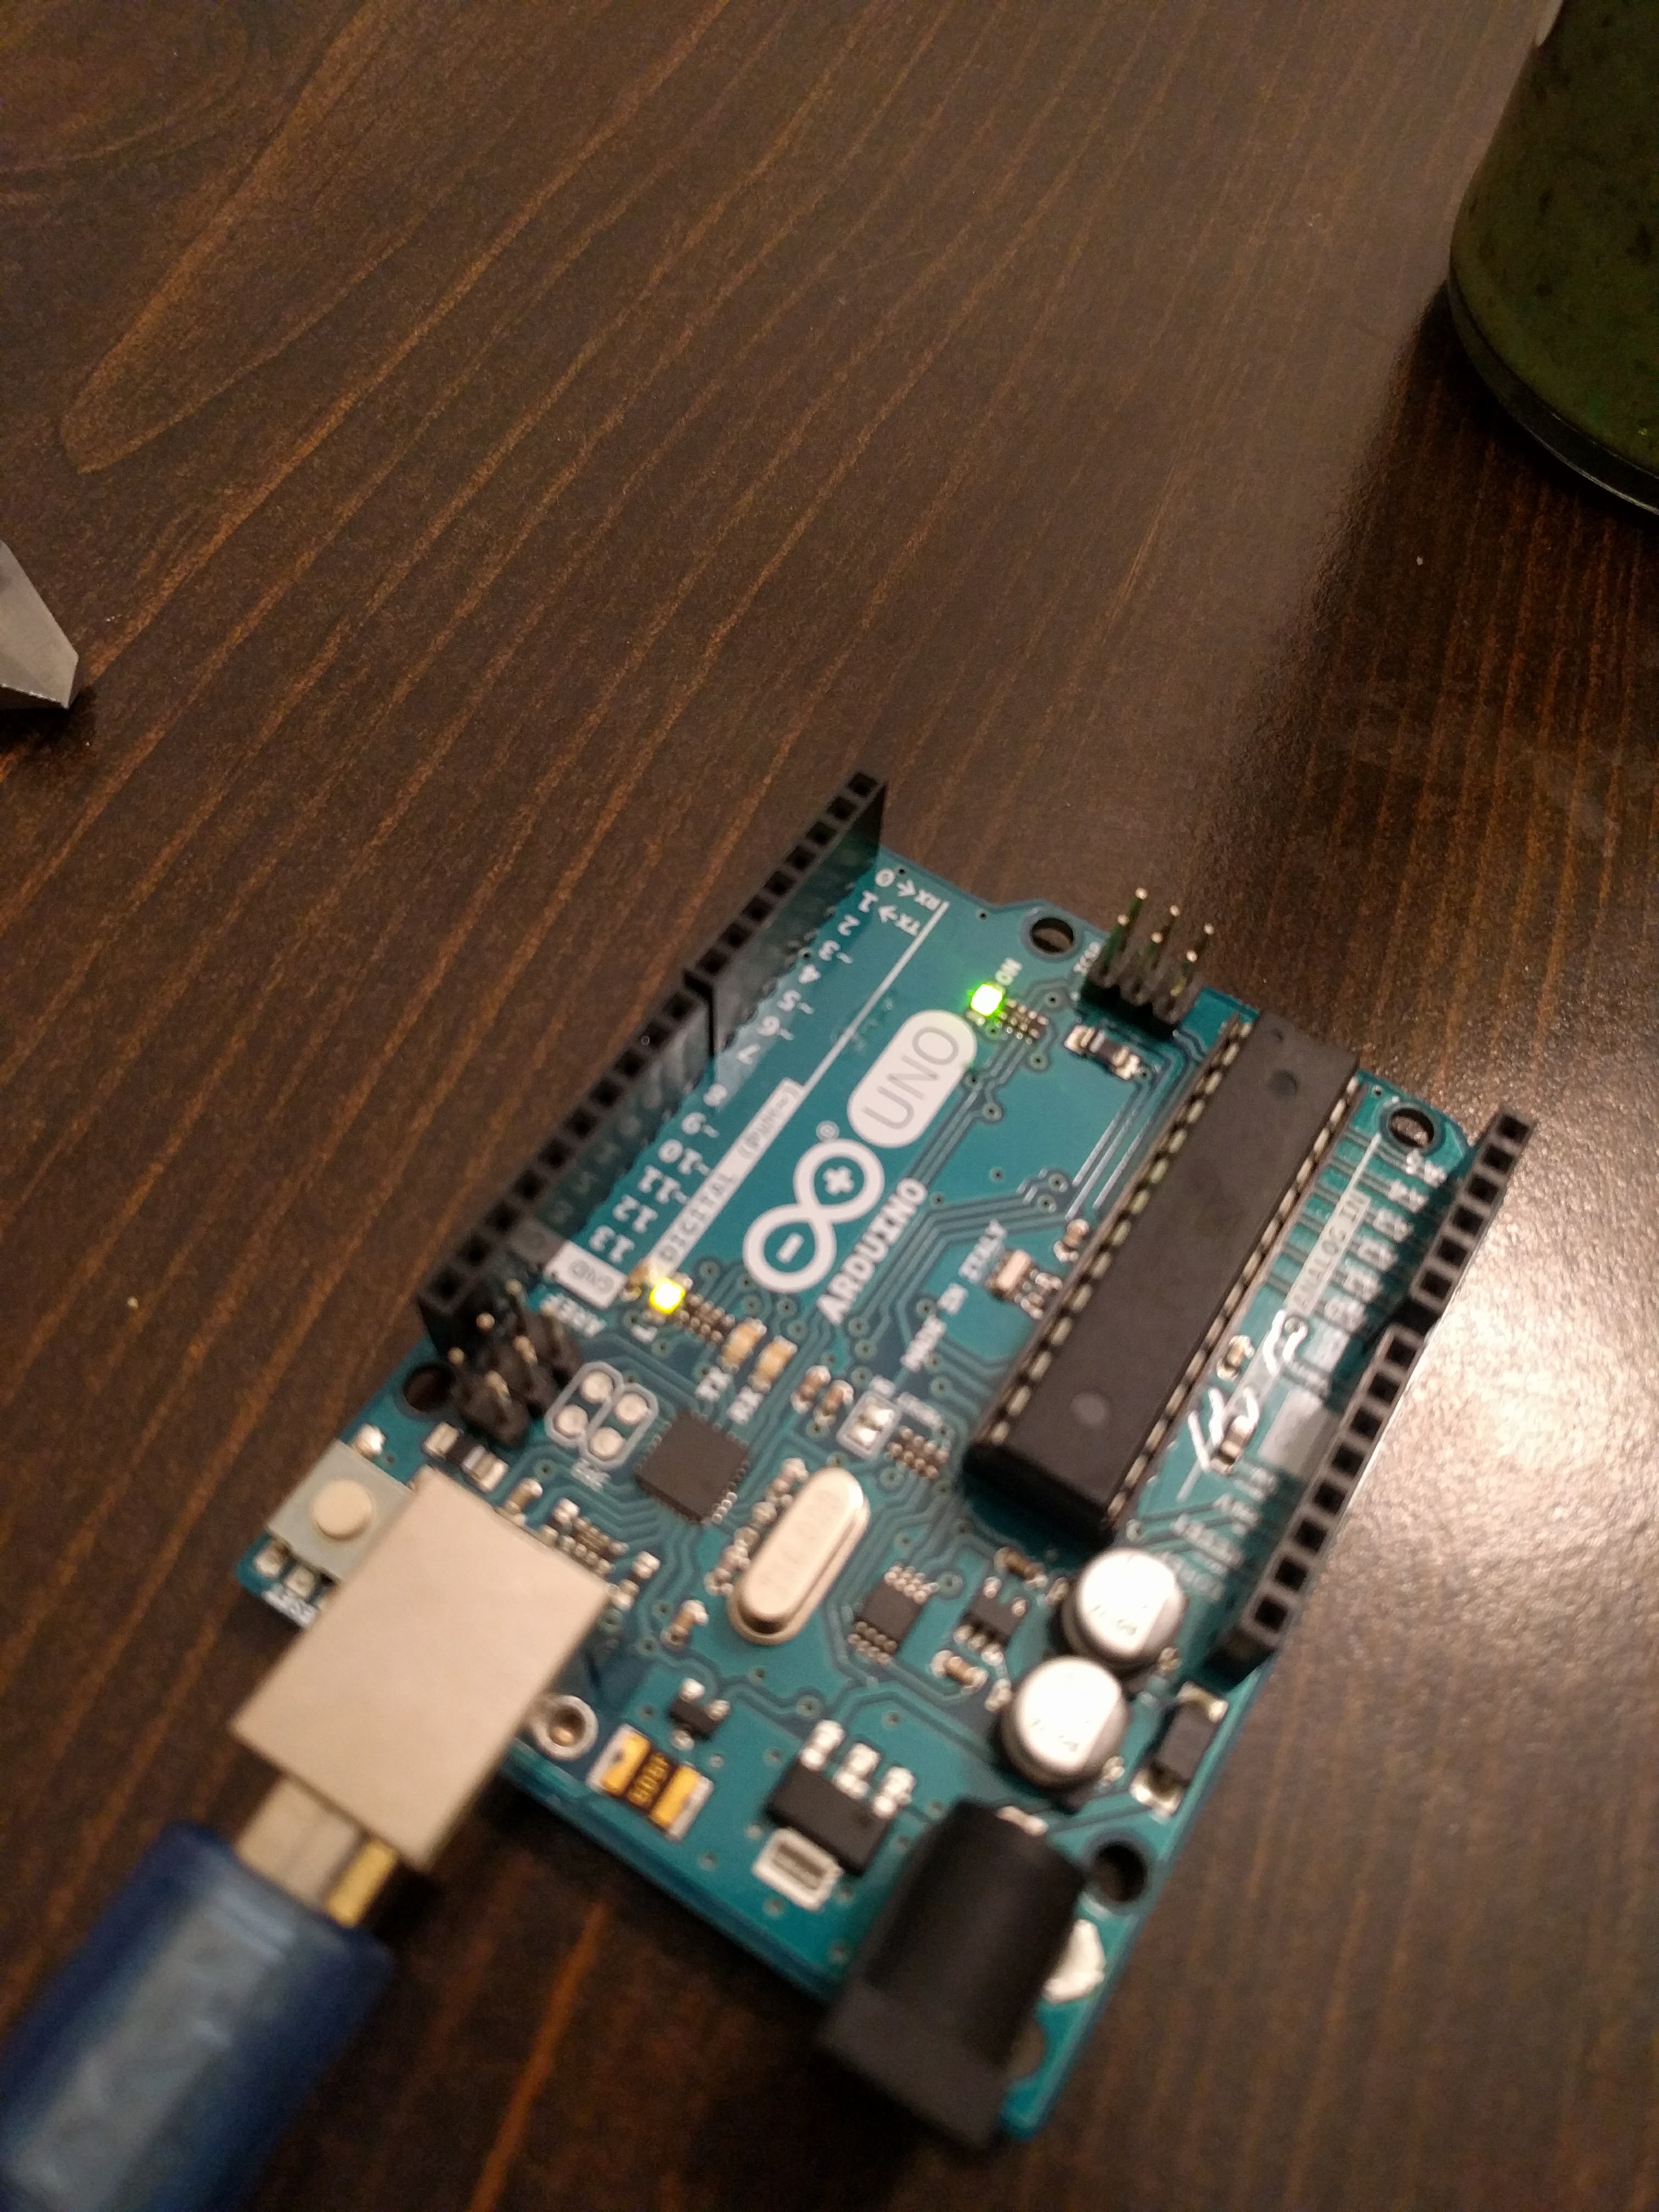
Finally, look happily at your blinking Arduino, (make sure that it IS blinking), and think of all the great things that could be done with the little box, Sever.
![]()
Wireless USB for Instant IoT
While you could use a WiFi shield, or one of the many, many, ESP8266-equipped 'duinos out there, why not just make your USB cable WIRELESS?
 Thane Hunt

Discussions
Become a Hackaday.io Member
Create an account to leave a comment. Already have an account? Log In.