Close
0%
0%

A chameleon that changes color with the weather

This is a beautiful artwork of a chameleon that uses an esp8266 and an addressable LED strip to change color based on the weather.

Similar projects worth following
This is a beautiful artwork of a chameleon that uses an esp8266 and an addressable LED strip to change color based on the weather.

Check out the video tutorial!

I've always been fascinated by chameleons and their incredible ability to change color. So I thought, why not bring that magic into my own home?

That’s why I created this dynamic chameleon artwork that actually changes color based on the real-time weather outside!

Hot days will bring warm, vibrant hues, while cold days will reveal cool, icy blue tones. On rainy days, the display transforms into a stunning bluish-purple hue. And when the weather is absolutely perfect, the chameleon proudly shows off its favorite green color!

The colors shift very gently, creating an engaging yet non-distracting visual effect. It's a delightful addition to your desk or bedside table.

Chameleon_art v5.stl

STL file of chameleon

Standard Tesselated Geometry - 138.27 kB - 12/30/2024 at 17:40

Download

fastled_breathe.ino

Test the LEDs

ino - 579.00 bytes - 12/30/2024 at 17:40

Download

weather_color.ino

Main code

ino - 7.65 kB - 12/30/2024 at 17:40

Download

  • 1 × esp8266
  • 1 × ws2812 LED strip

  • 1
    Design

    Step 1: Design

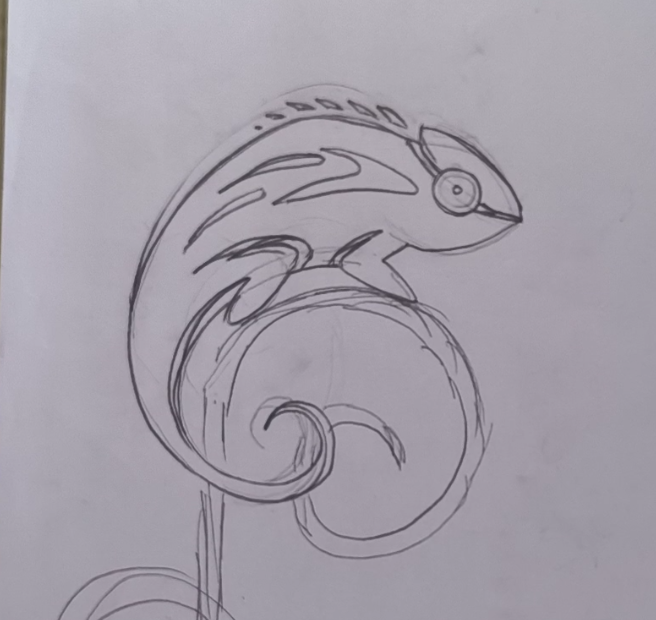
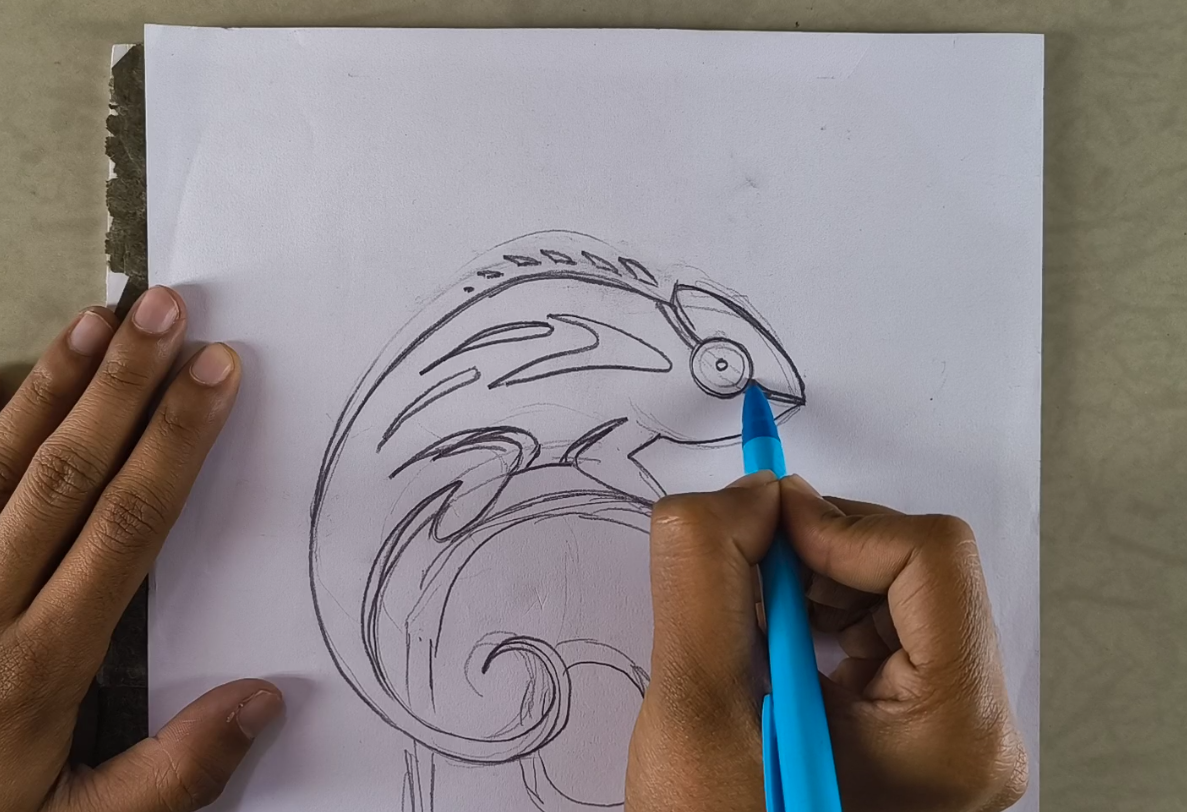
    I began by sketching out how the final Chameleon would look.

    To create the chameleon itself, you could easily 3D print it, saving nearly half of the project’s build time.

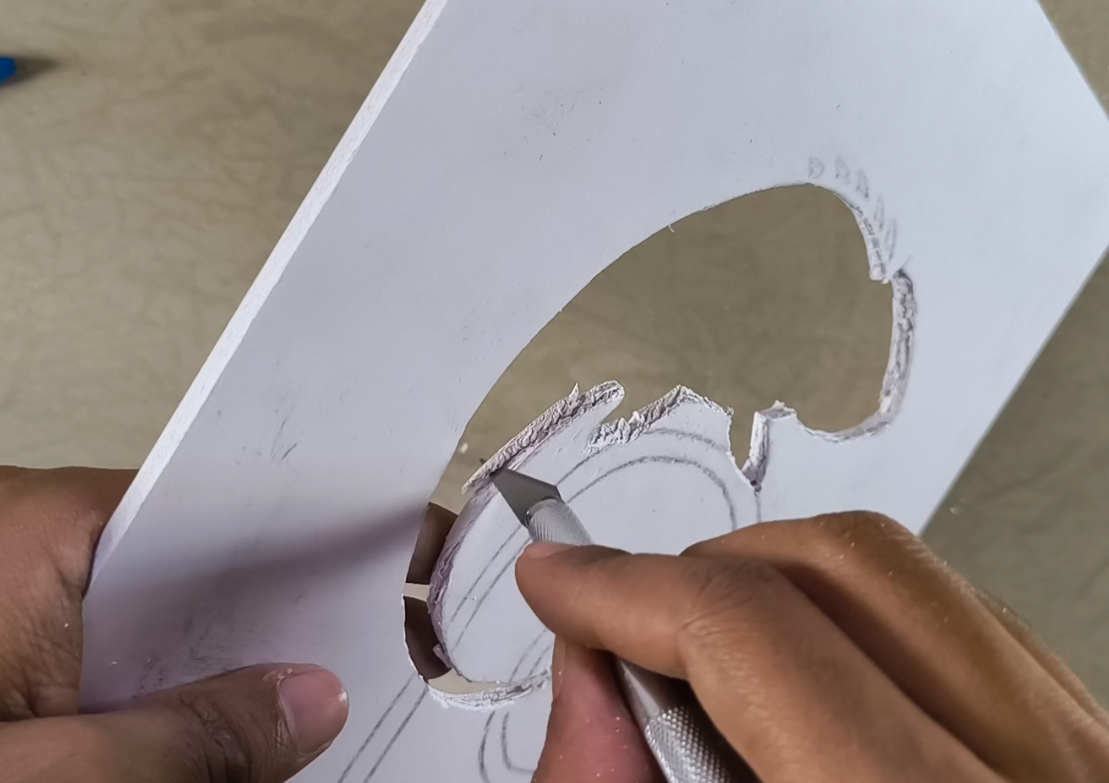
    However, since this is an art project, I wanted to craft it by hand. The best part? You don’t need any fancy tools or equipment—just a 5mm thick foam board, a craft knife, and a pair of hands will do the trick.

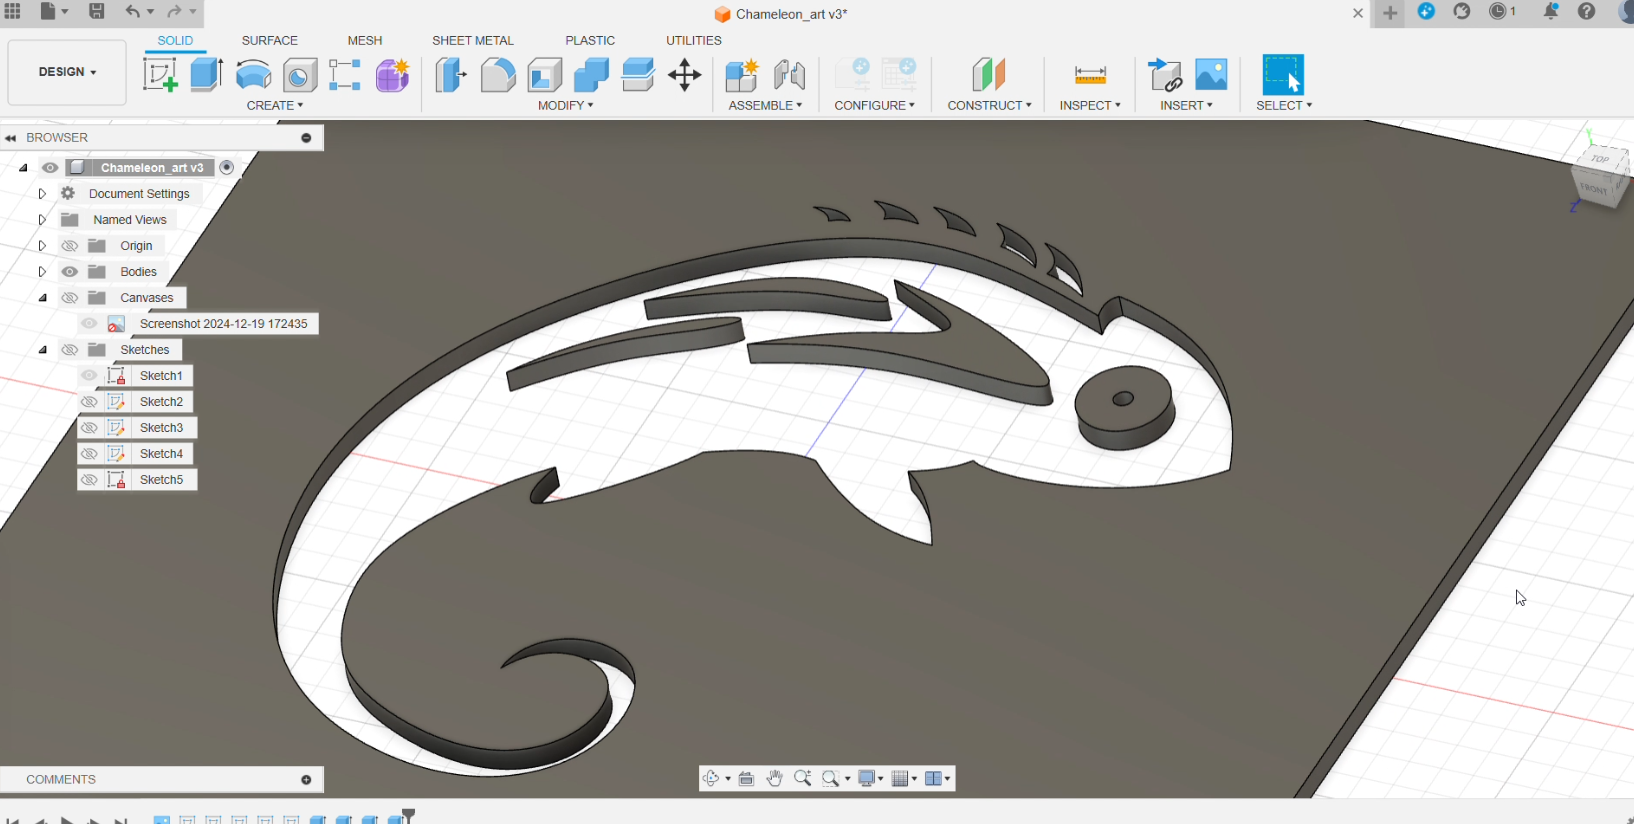
    However, if you’d like to 3d print it instead, you can find the STL files below.

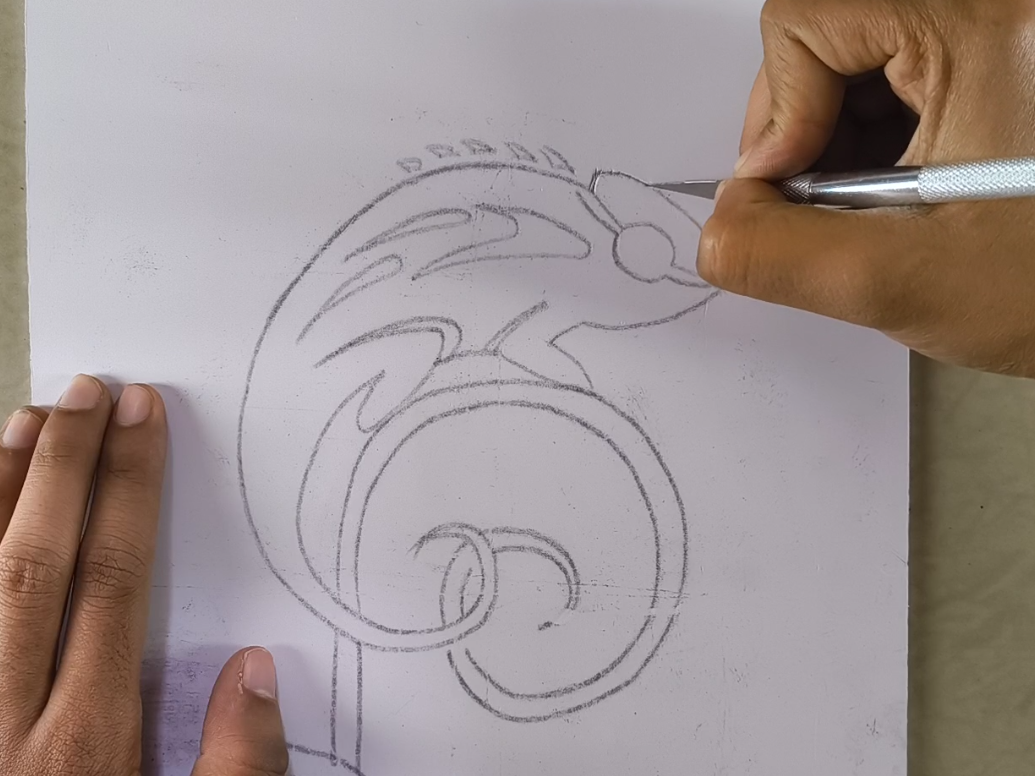
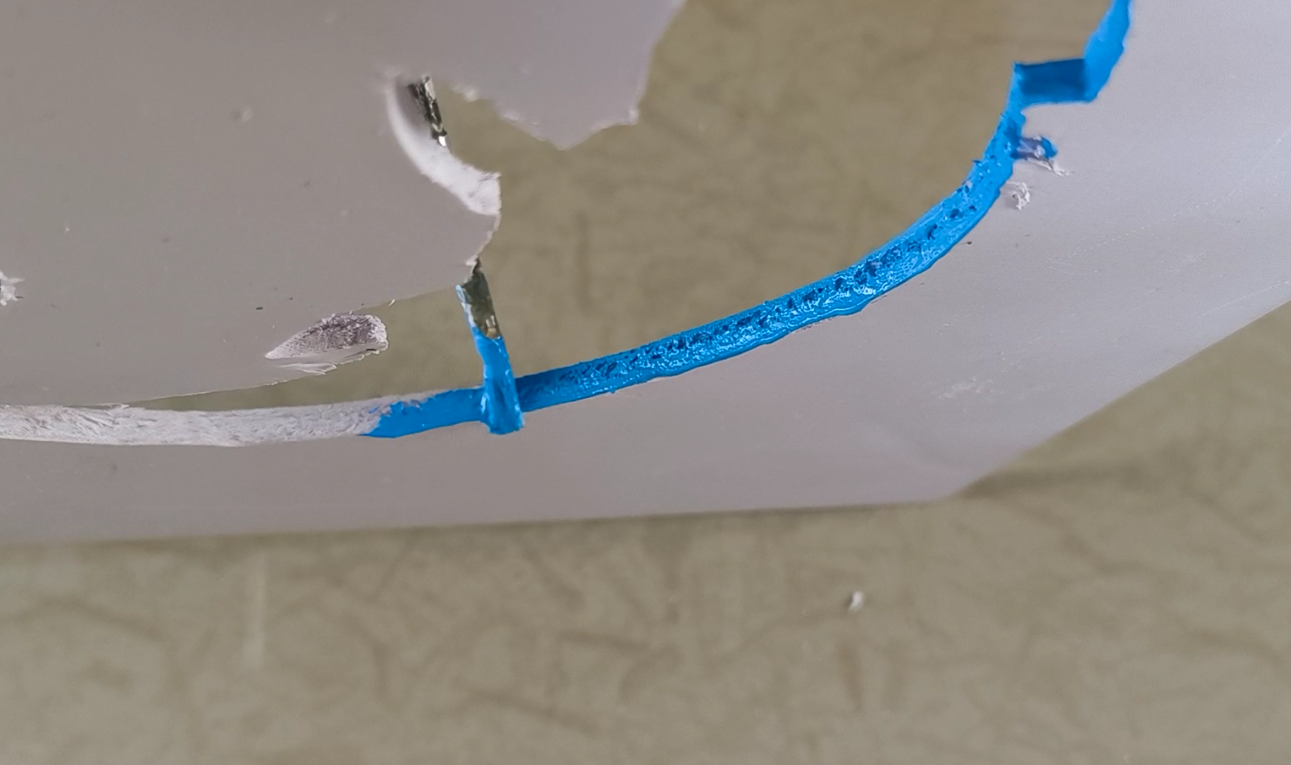
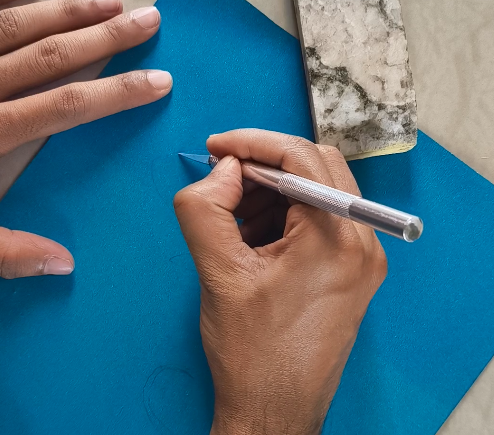
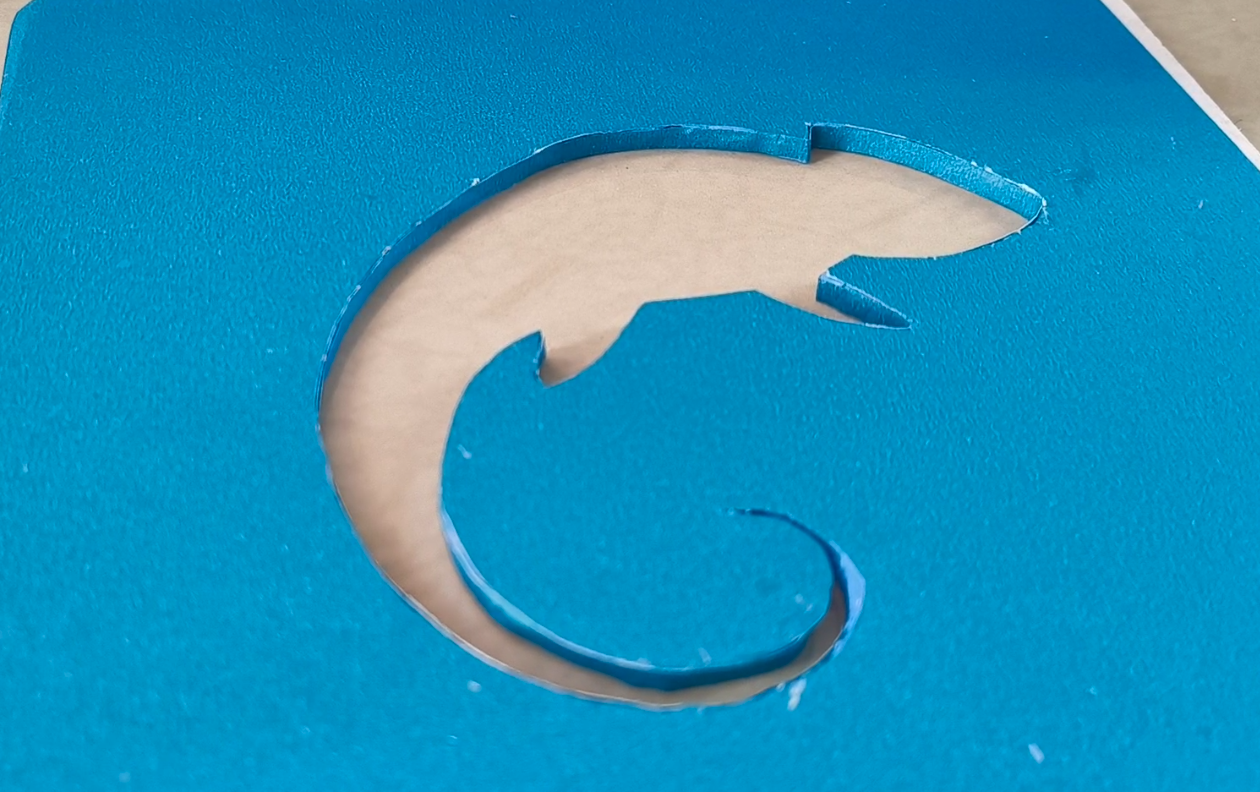
    In case you are going with the complete DIY method, here are the instructions. Transfer the design from an A4 sheet to a foam board using carbon paper, trace with a pencil, and cut out the shape with a craft knife. Clean edges with sanding, then cut additional parts for the chameleon’s body and eyes.

    Paint all pieces light blue to match the chart paper that will later cover them.

  • 2
    Cover with blue paper

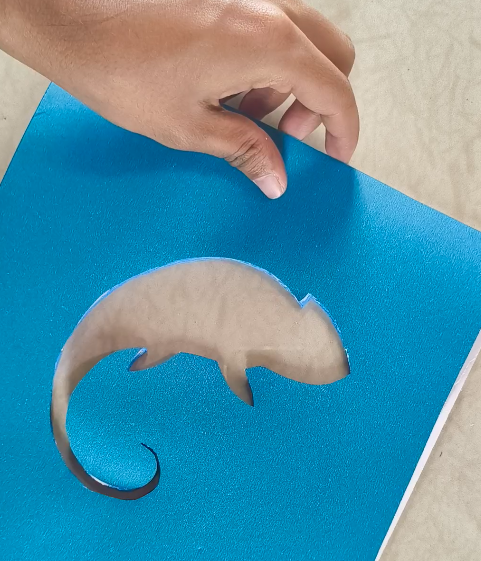
    Next, grab some nice light blue chart paper and trace the chameleon design onto it from the foam board. Carefully cut out the shape using a craft knife.

    Once you have the chameleon cut from the chart paper, apply a thin, even layer of white adhesive onto the foam board and stick the chart paper on it.


  • 3
    Stem and leaves

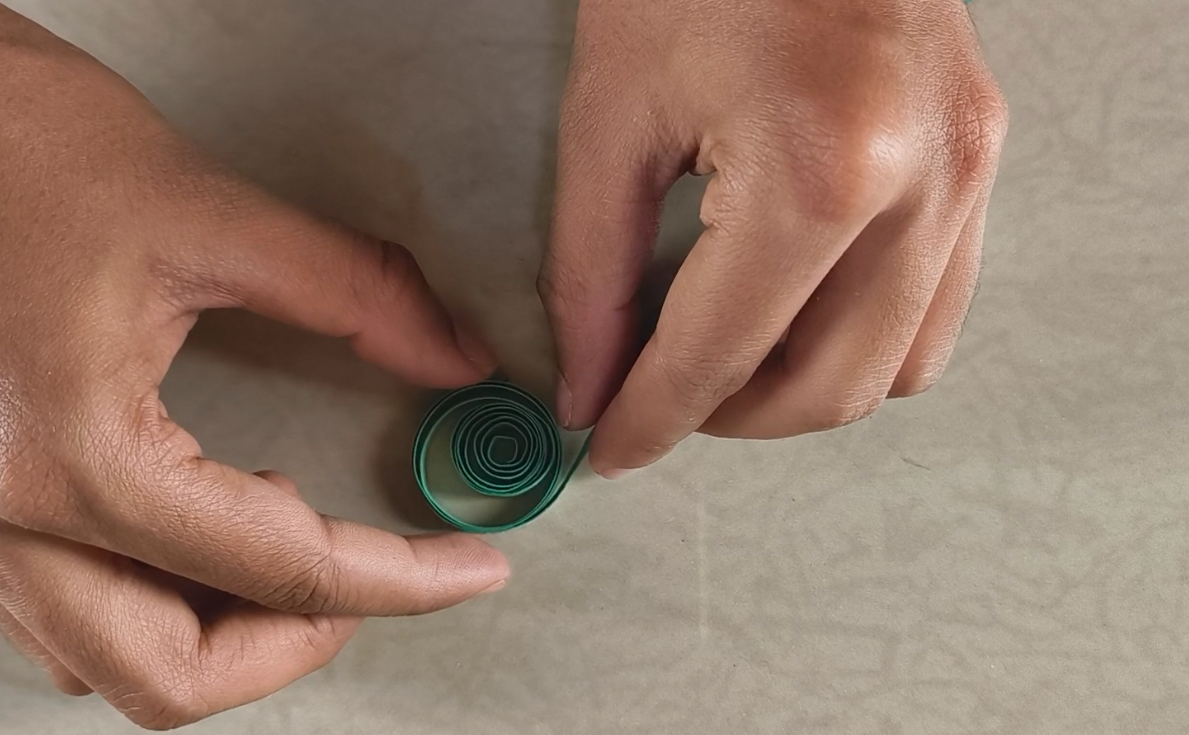
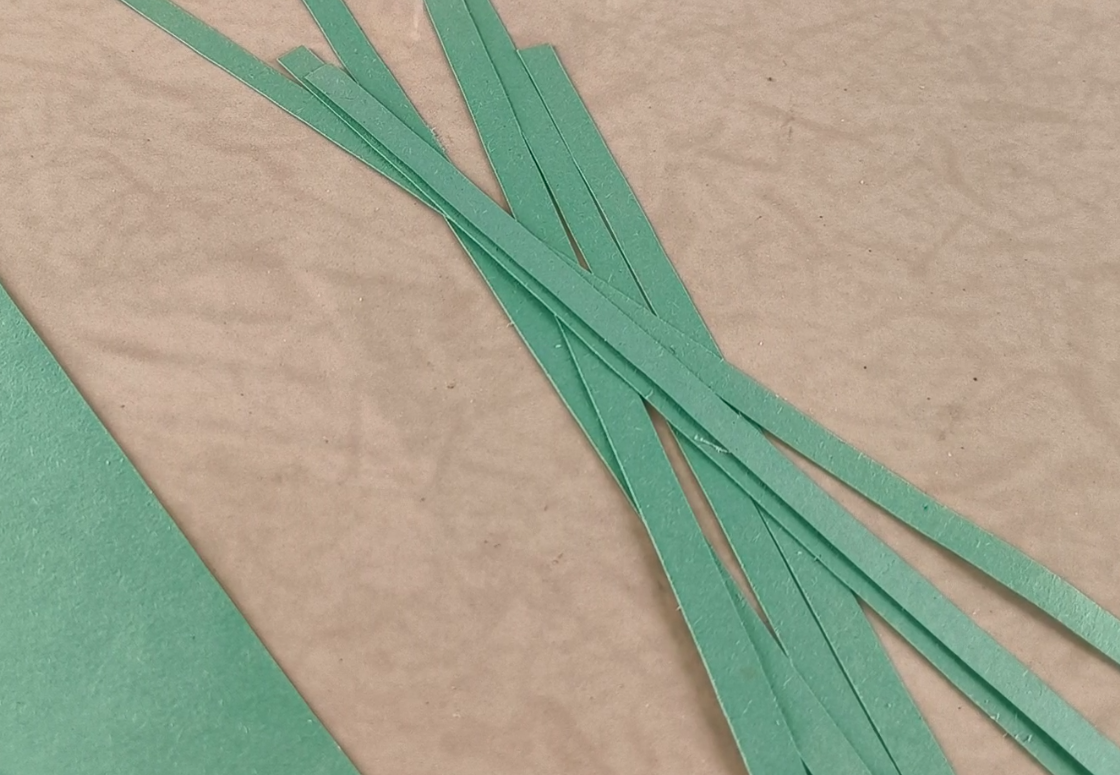
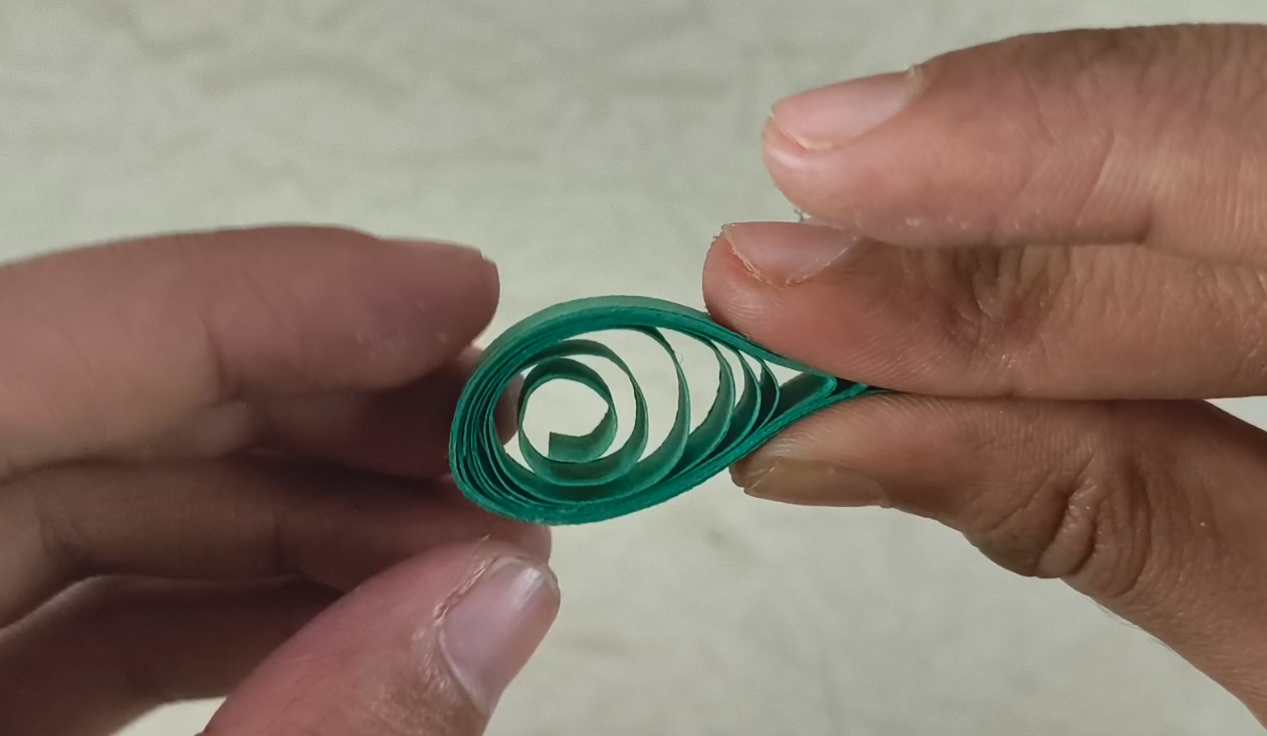
    To create the stem for the chameleon to sit on, I started by cutting 3mm thick strips from a piece of green chart paper. I then connected several strips end-to-end to form a long strip.

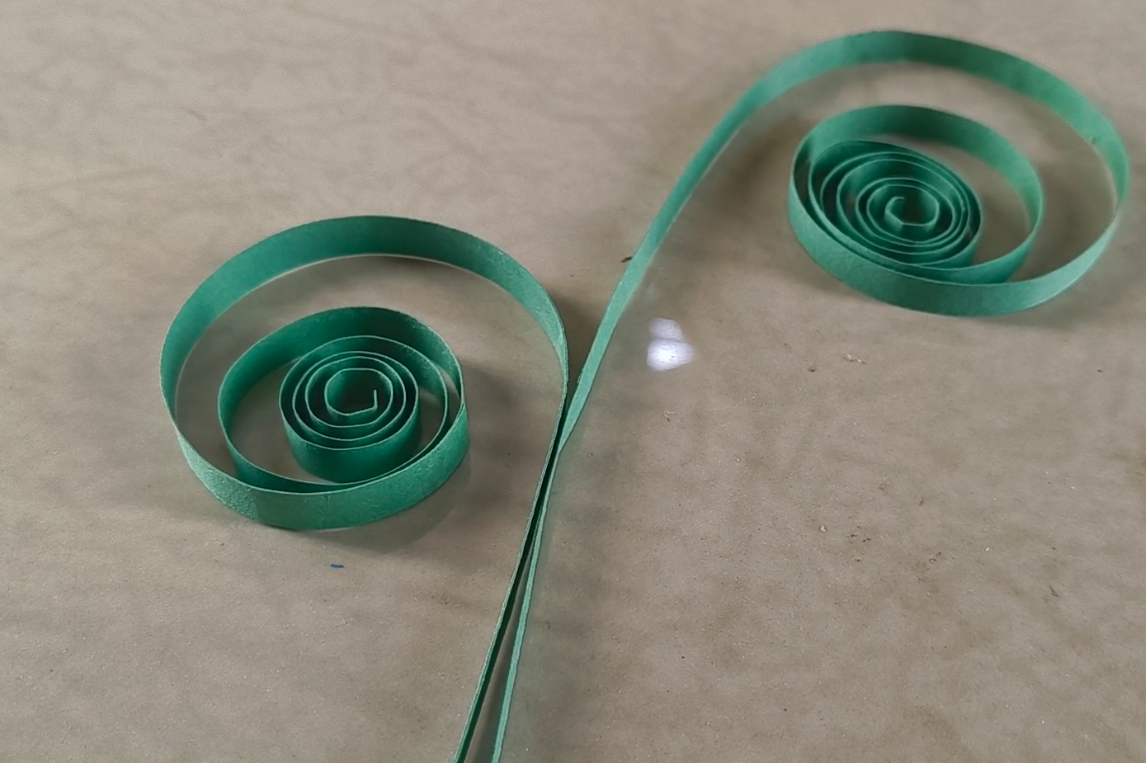
    After that, I rolled most of the strip with my fingers, leaving a small section straight for the stem. Ideally, a quilling tool would work better for this, but it still turned out fine. I made two of these rolled stems.

    While they’re not perfect, it was my first time trying quilling—so please don’t judge me!

    For the leaf, I took another strip, rolled it up completely, and then pinched both ends to form a leaf shape.

View all 10 instructions

Enjoy this project?

Share

Discussions

Similar Projects

Does this project spark your interest?

Become a member to follow this project and never miss any updates