Close
0%
0%

Timer system for Running, Sprint, BMX.

DIY wireless timer for BMX, sprinting, and cycling. Open-source, easy to build with ESP8266 and 3D-printed parts!

Similar projects worth following
Introducing ProTimer — a versatile, open-source training timer you can build yourself. Designed for athletes and enthusiasts, it offers high accuracy, wireless connectivity, and a range of customizable features. Whether you’re training for speed, endurance, or precision, ProTimer is the perfect solution.


Open Source and DIY-Friendly

ProTimer is an open-source project, meaning anyone with basic electronics knowledge can build it. All the necessary resources, including firmware, STL files for 3D printing, and assembly instructions, are available on GitHub:

👉 GitHub Repository: https://github.com/renat2985/protimer.club

👉 Youtube Video: https://www.youtube.com/watch?v=7RWEwh4FOdk&list=PL6NJTNxbvy-KKb5Vj-JgzeaAFMx-zqKtX

With an accuracy of up to 0.003 seconds, ProTimer ensures reliable performance for sports like BMX, sprinting, skiing, skating, and more.


 Built-in Features for Modern Training Needs

WiFi Access Point: Connect and manage the timer from any device.

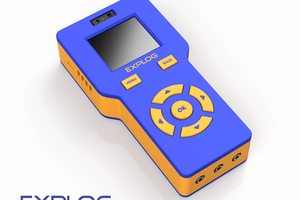
On-Device Display: View results instantly without needing a smartphone.

Cloud Integration: Export training data to ProTimer.club for analysis and storage.

BMX Random Gate Start: Train with randomized starts for better reaction time.

Result History: Keep a full archive of your sessions, accessible anytime.

Technical Specifications

Accuracy: ~0.003 seconds.

Range: Up to 250 meters in direct line of sight from the Master Point.

Sensor Distance:

     • IR Sensor: 1.5–2.5 meters.

     • Laser Sensor: 7–8 meters.

Power Source: Micro USB 5V (PowerBank or phone).

Expandability: Add modules for customized functionality.

Master Point and Modules

The Master Point is the core module of the system. It acts as a WiFi access point, collects data, and displays results on its built-in screen. Additional modules expand its capabilities:

Screenless Modules: Simple and ideal for basic tasks.

Modules with Screens: Equipped with a display and buttons to switch modes and monitor signal quality.

Both types integrate seamlessly with the Master Point, offering flexibility for different training needs.

  • 1 × E3Z-R61 (2-3m distance, IR sensor) or E3Z-LAS-R8, NPN NO (7-8m distance, Laser sensor)
  • 1 × Reflector TD-05 (Better) or Reflector TD-08 (Worse)
  • 1 × I2C SSD1315 128x64
  • 1 × Wemos MINI PRO 4MB (Suitable for STL case) or NodeMCU ESP8266
  • 1 × Push Button Switch and Resistor 10k (For button)

View all 6 components

  • 1
    Connection Diagram and Flash

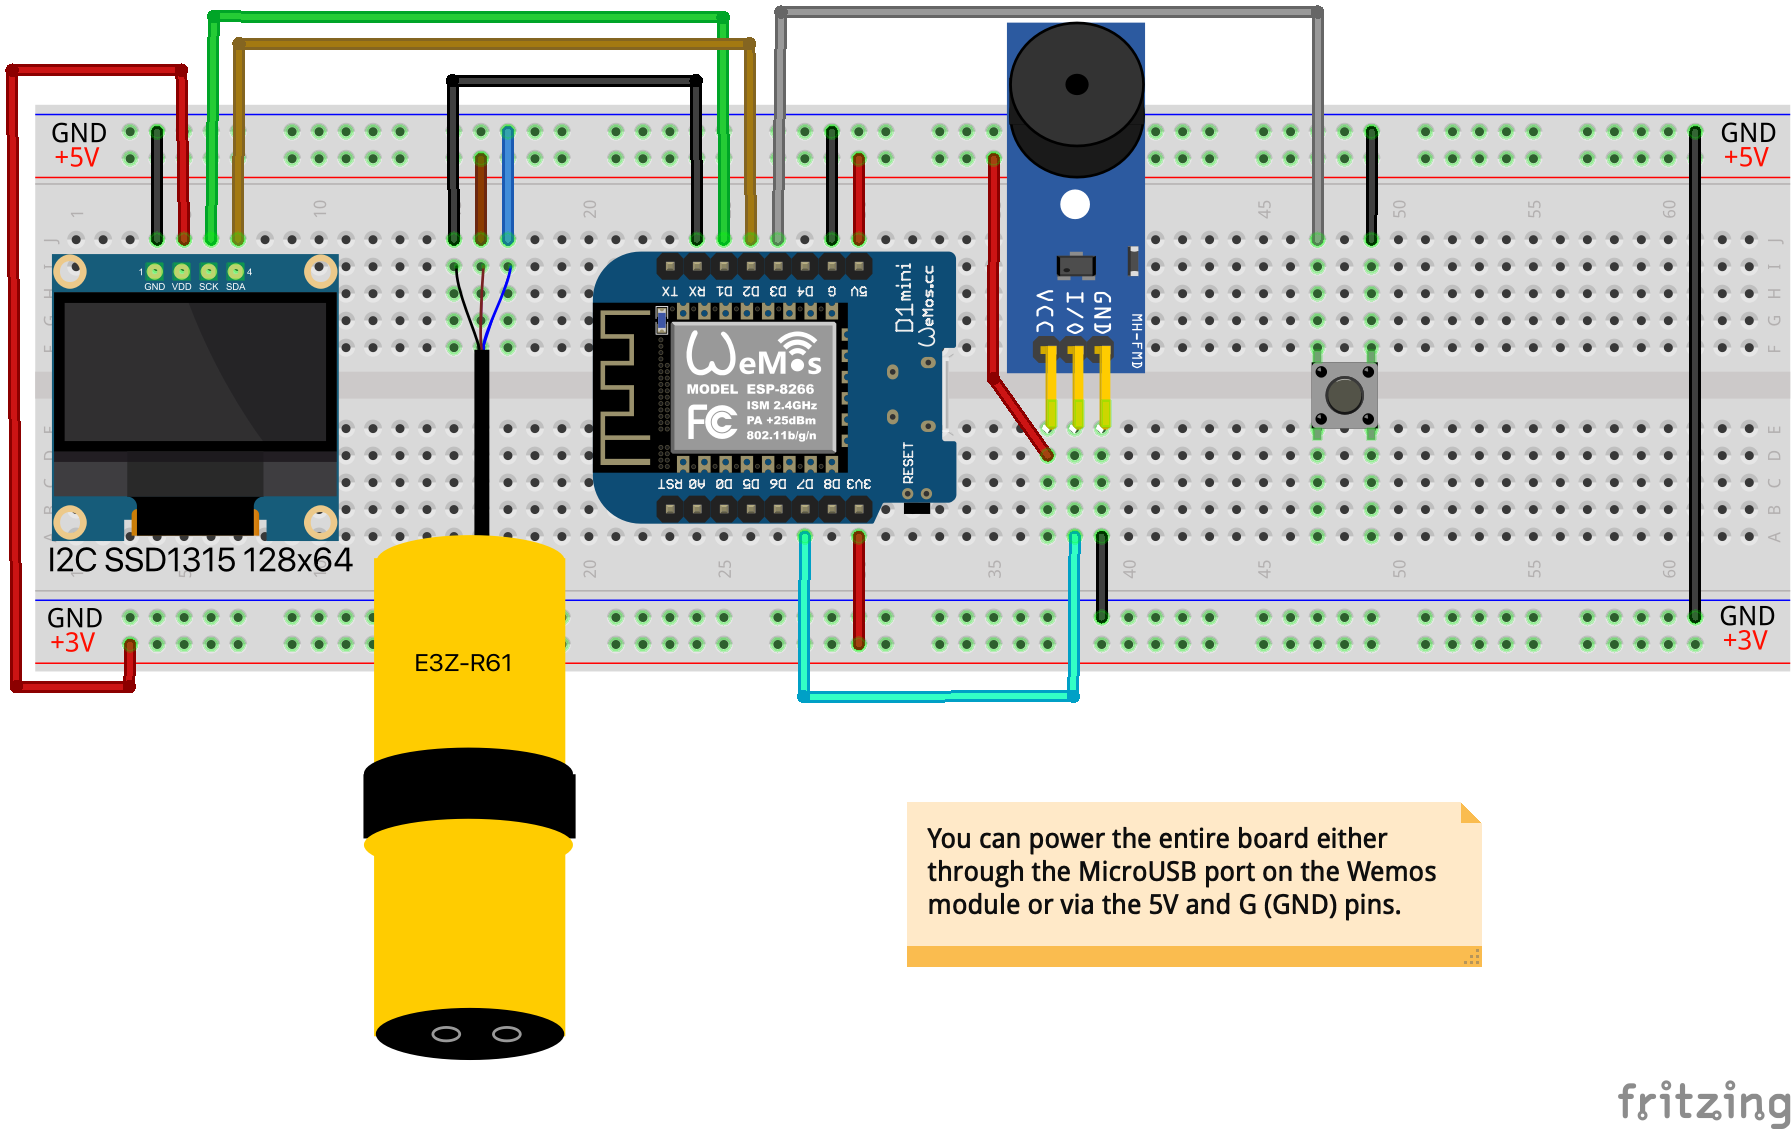
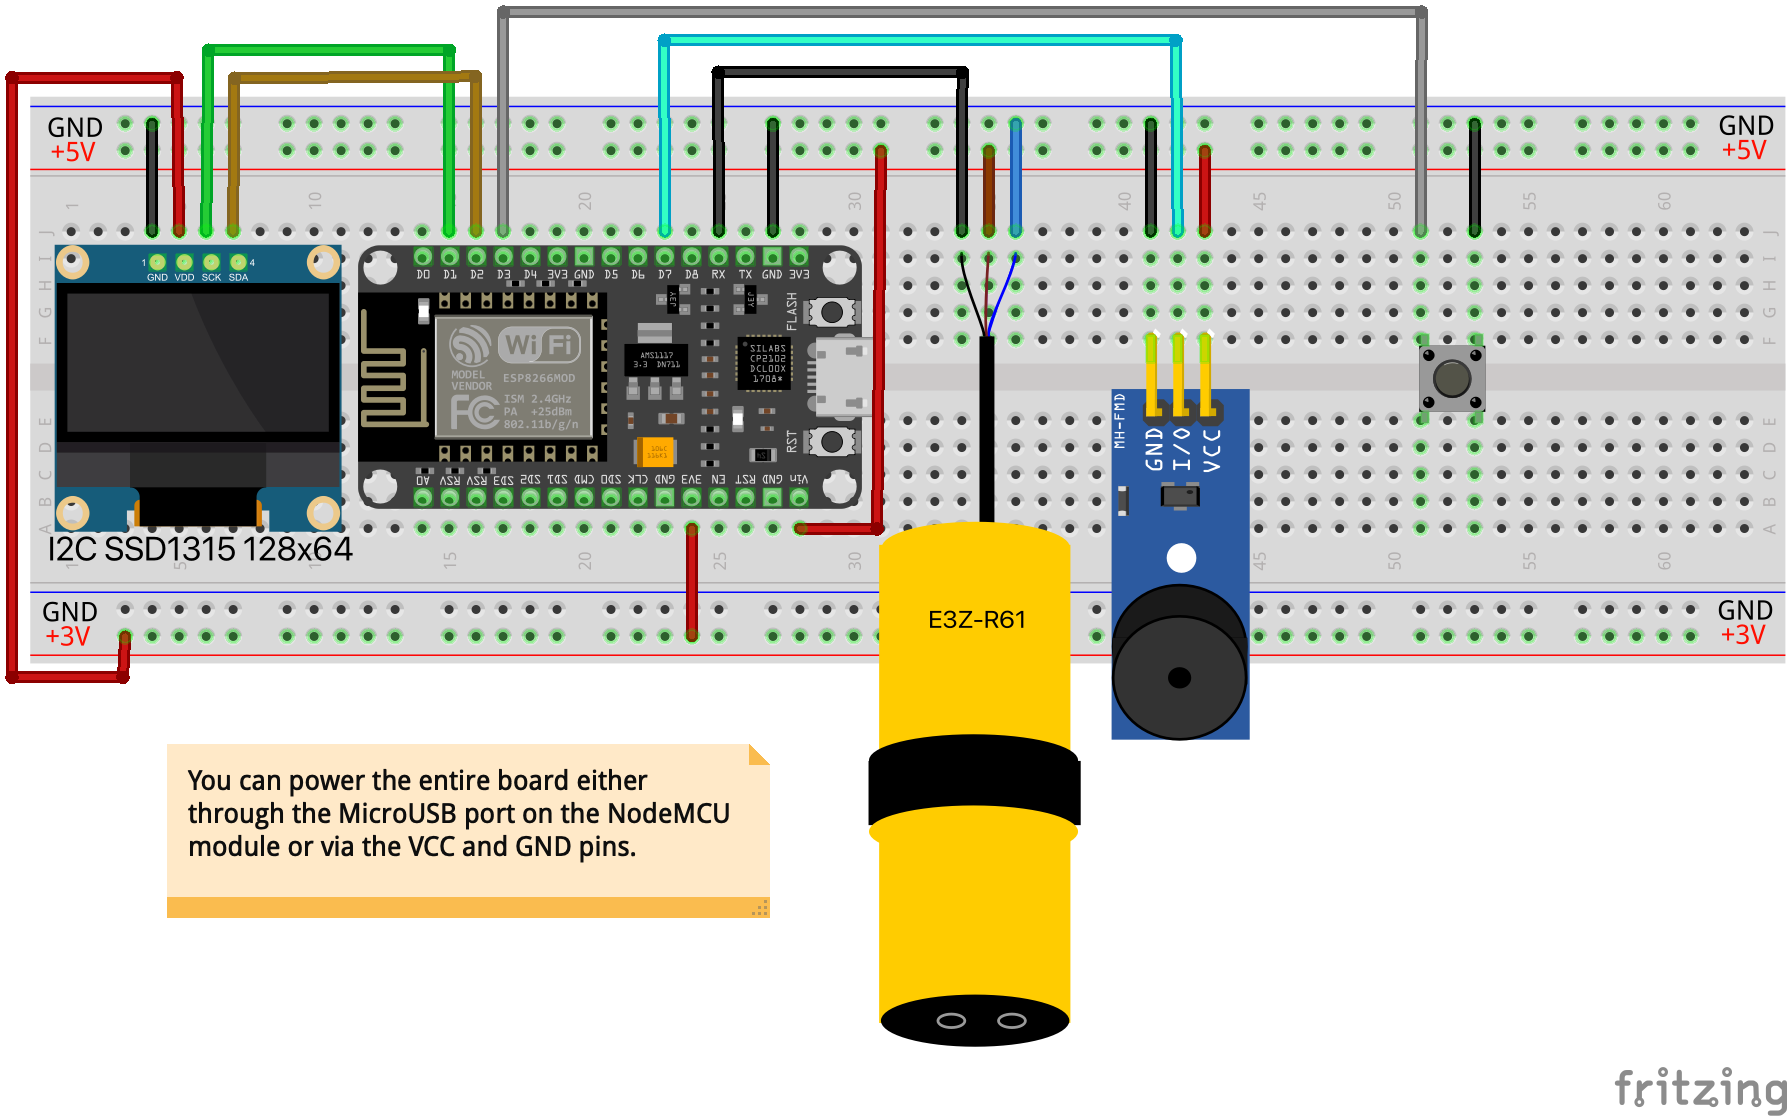
    You can build the device using NodeMCU ESP8266 or Wemos ESP8266. This diagram applies to both the Master and Point (PRO) devices. Choose the appropriate software link below for installation.

    Better use wemos it is smaller and you can insert it into the printed case.

    Upload the firmware to the ESP8266:

    1. Master: https://renat2985.github.io/protimer.club/
    2. Point (PRO): https://renat2985.github.io/protimer.club/point.html
  • 2
    3D Printing

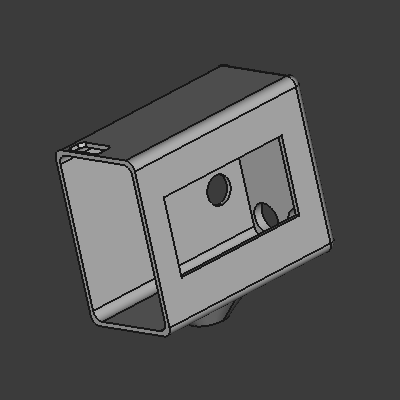
    Download the STL files for 3D printing.

    https://github.com/renat2985/protimer.club/tree/main/stl

  • 3
    Power on and Connect

    1. Power on the Master Point; it will automatically generate a Wi-Fi network named “ProTimer.club.”

    2. Connect to this network using any device, such as a smartphone, tablet, or laptop.

    3. Launch a web browser and navigate to http://192.168.4.1 to access the timer’s web interface.

    4. From the interface, you can manage settings, switch modes, control the timer, and export your training data.

View all 4 instructions

Enjoy this project?

Share

Discussions

Similar Projects

Does this project spark your interest?

Become a member to follow this project and never miss any updates