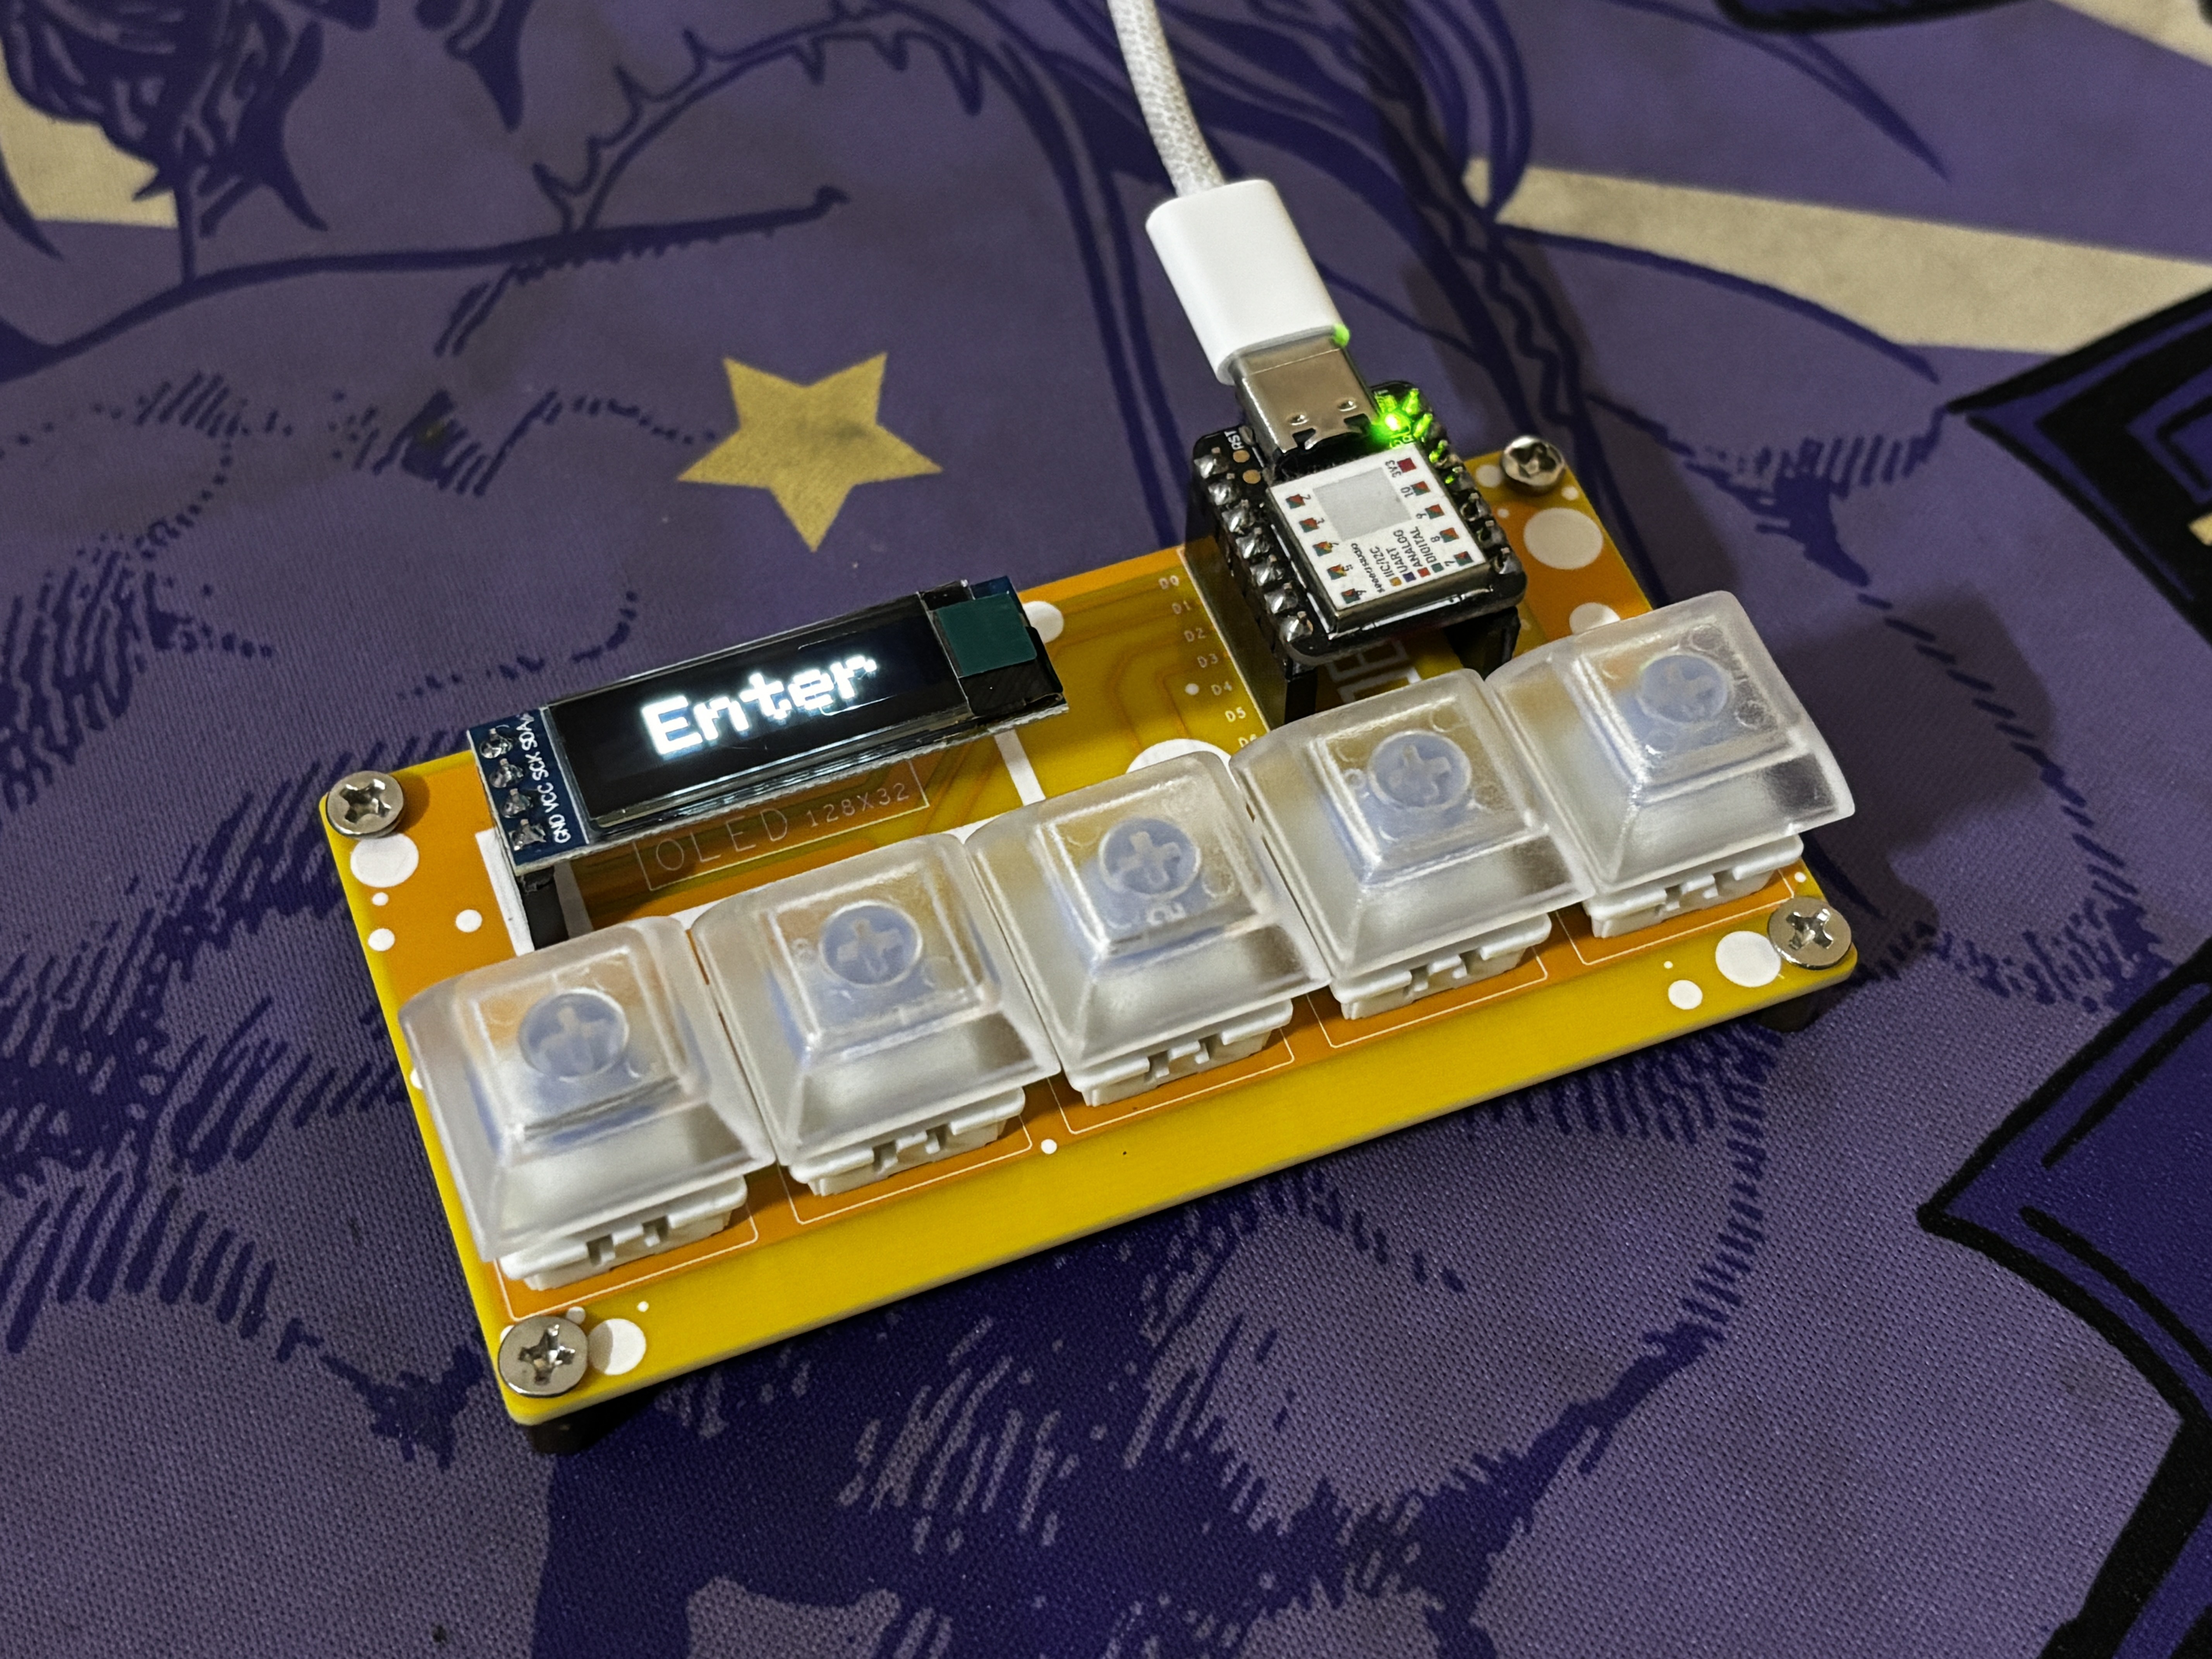
Right now, we use the five buttons to perform the following commands: enter, scroll up, scroll down, copy, and paste. However, it is simple to change this order and replace it with a new command in the main code.
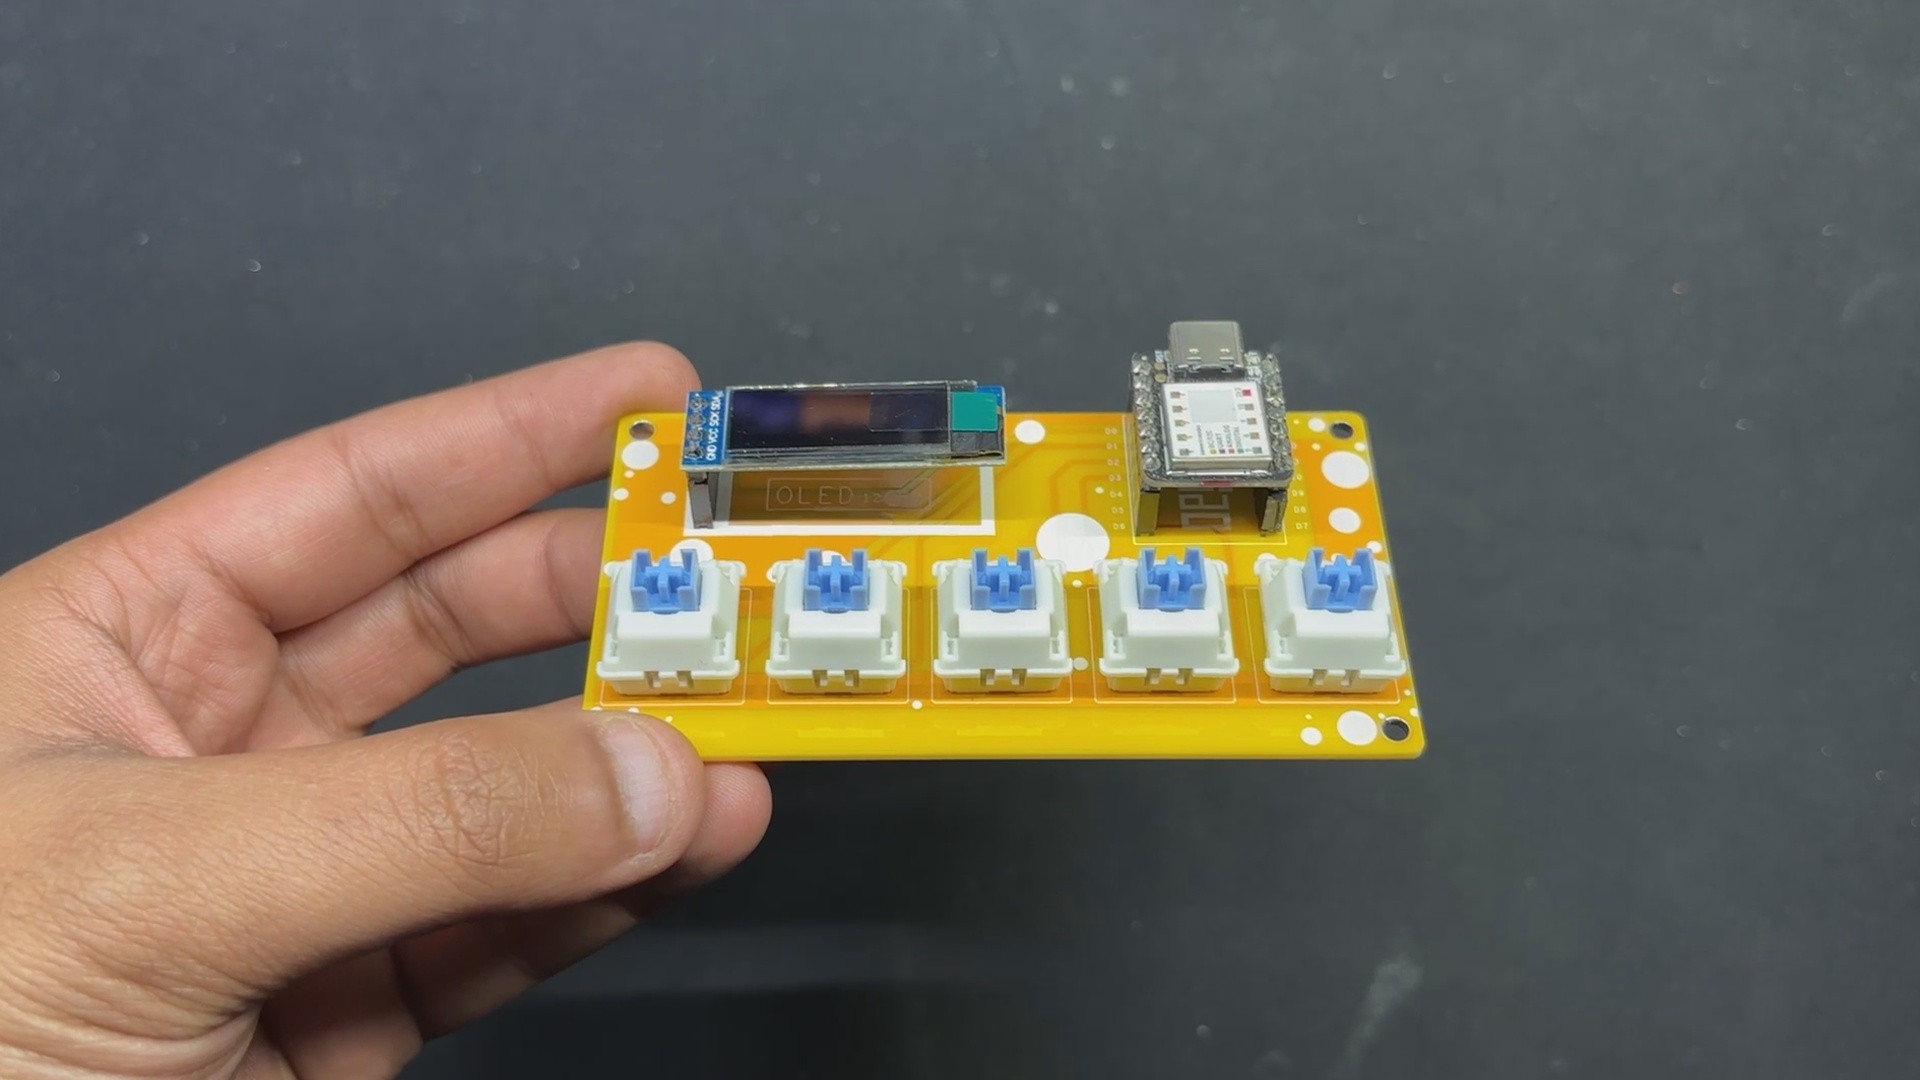
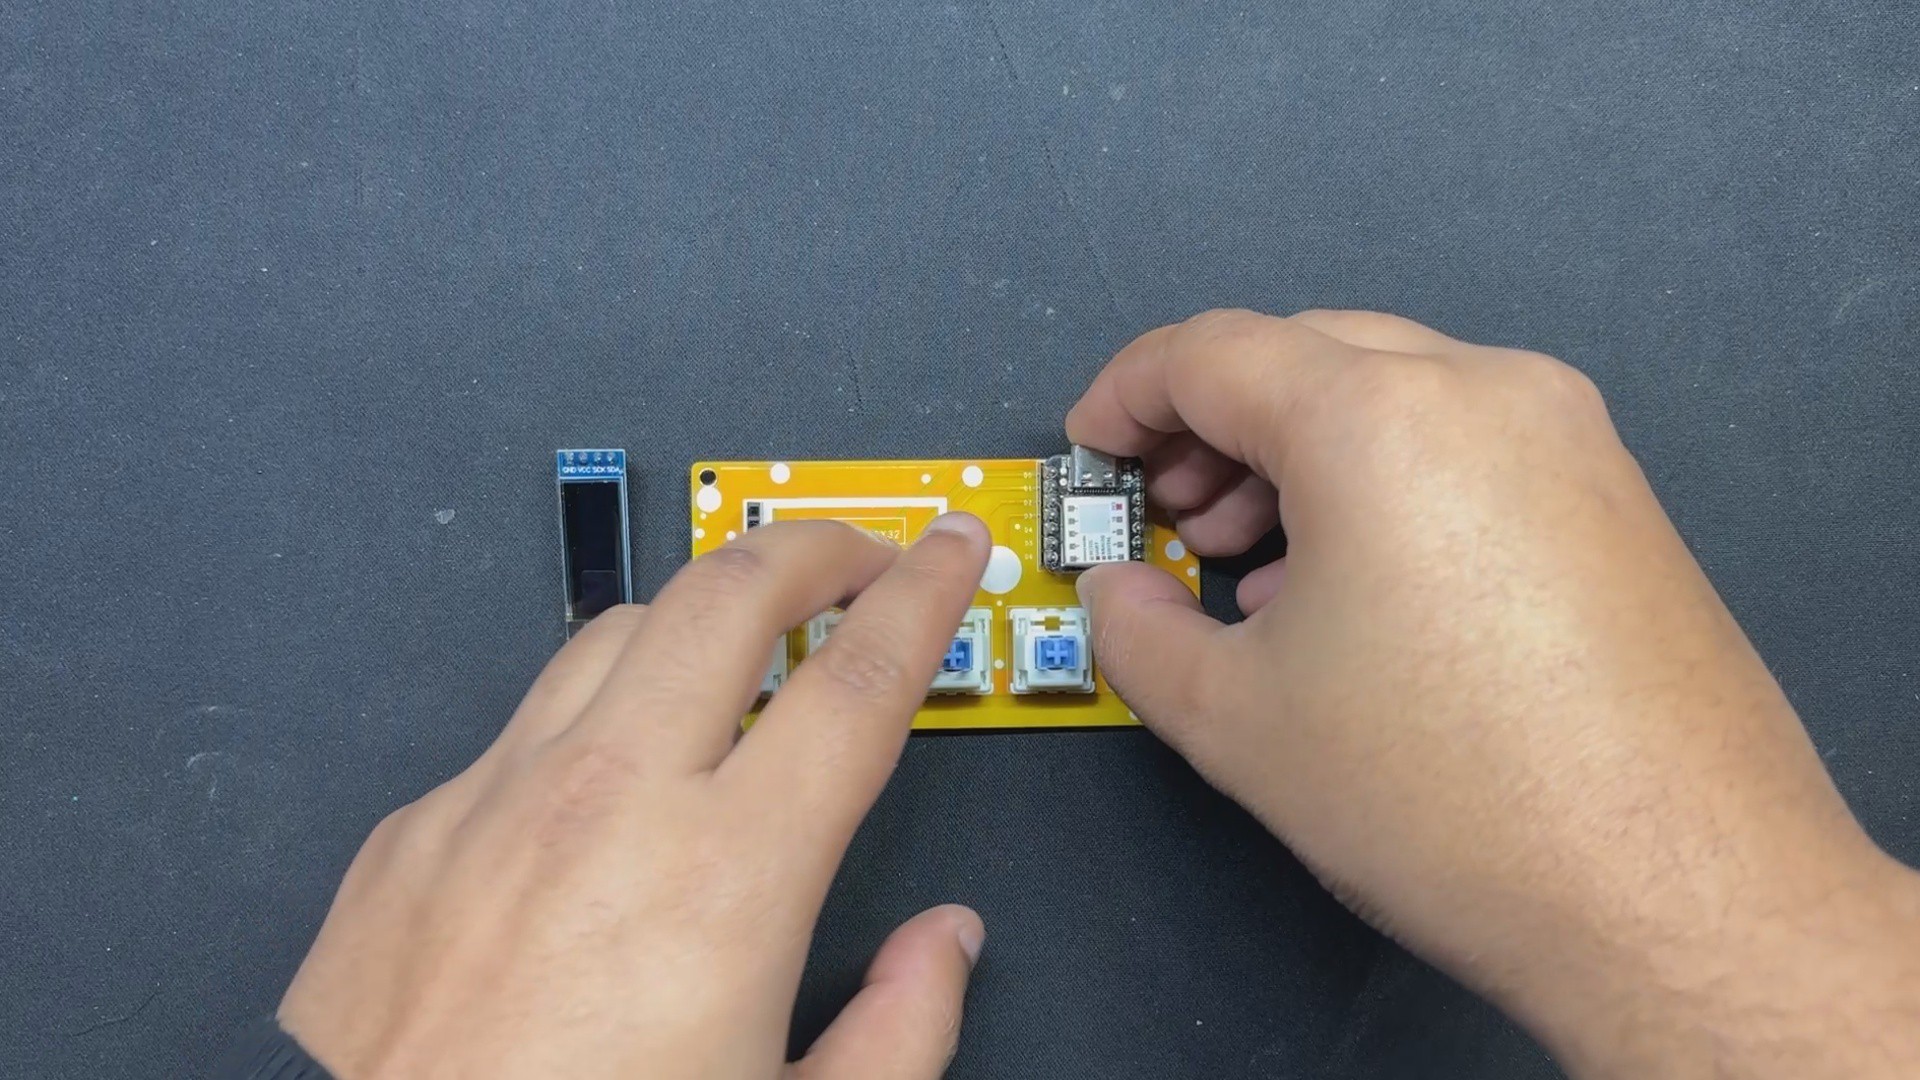
The heart of our device is the XIAO SAMD21 Microcontroller from Seeed Studio, a dev board based on the SAMD21G18 and including HID capabilities. This means that the controller registers as a human interface device and can be configured to resemble a keyboard, mouse, or, in our instance, a macropad.
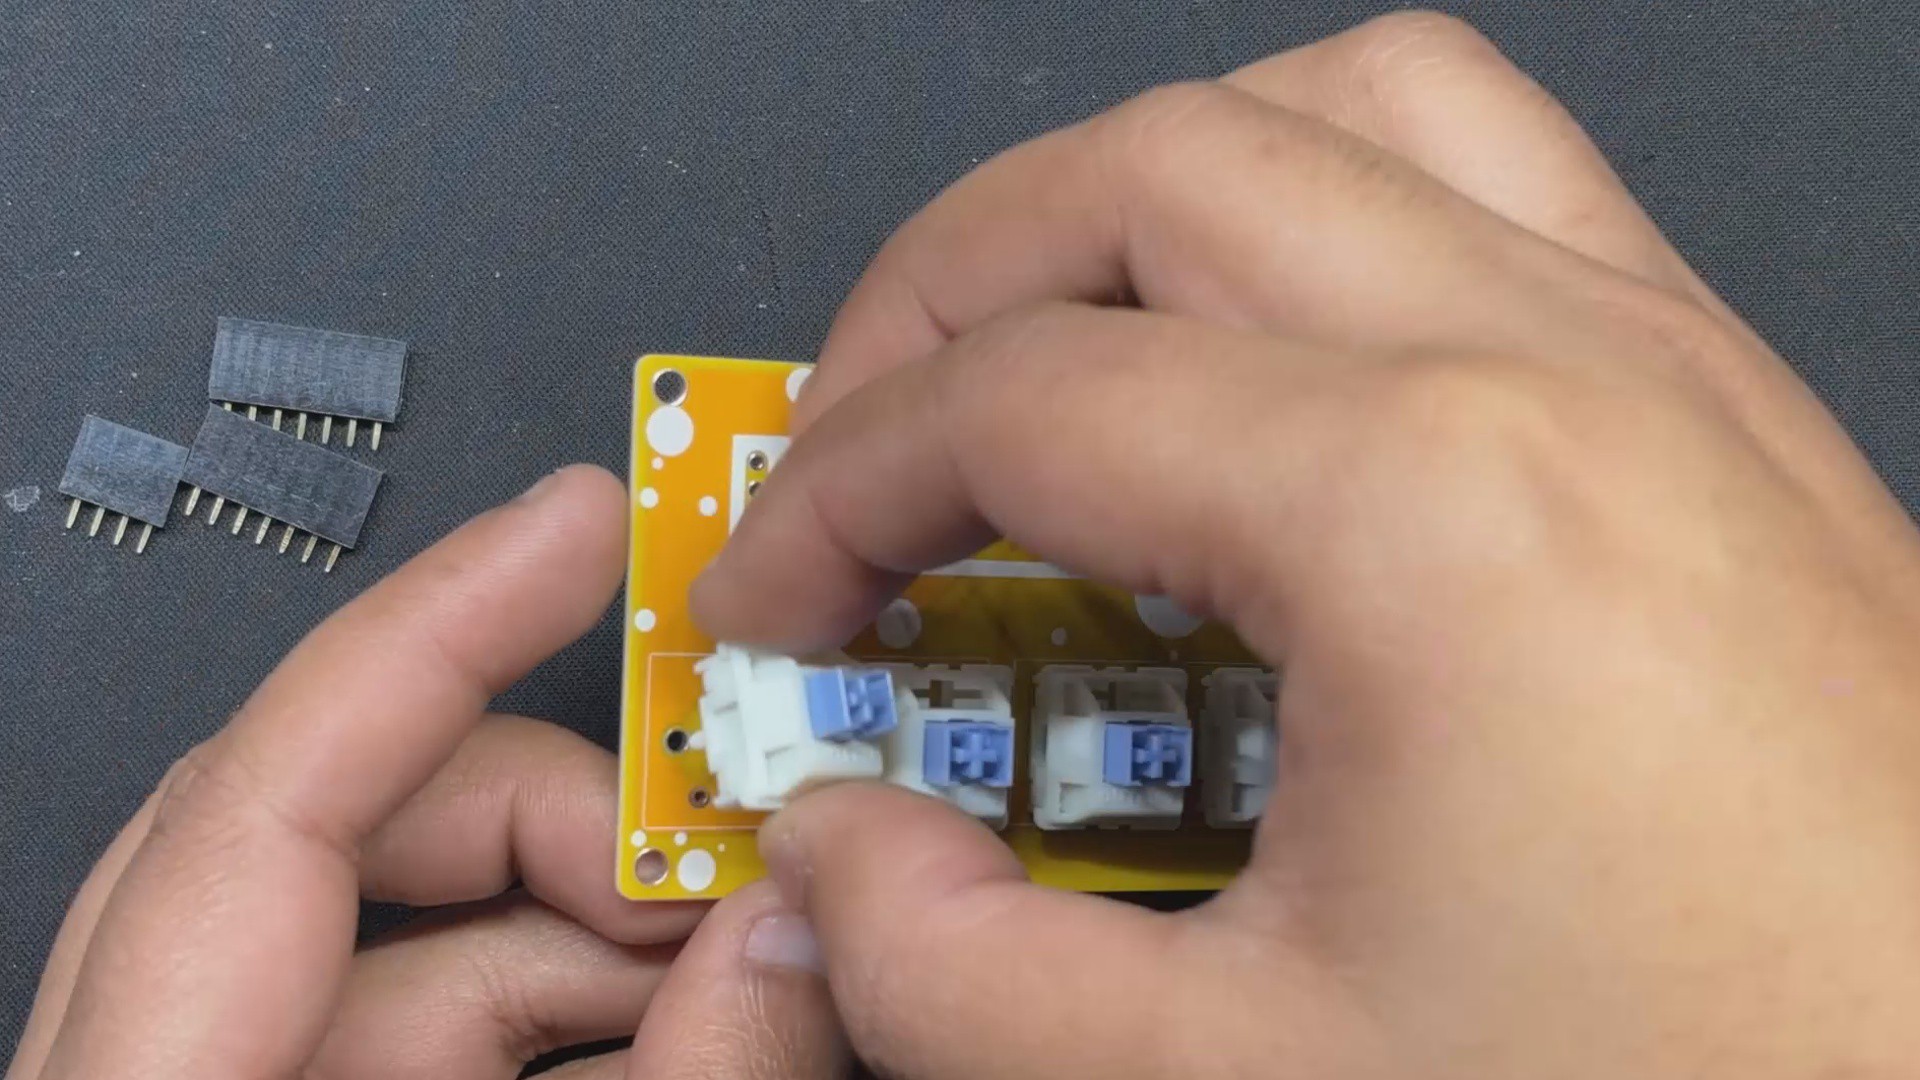
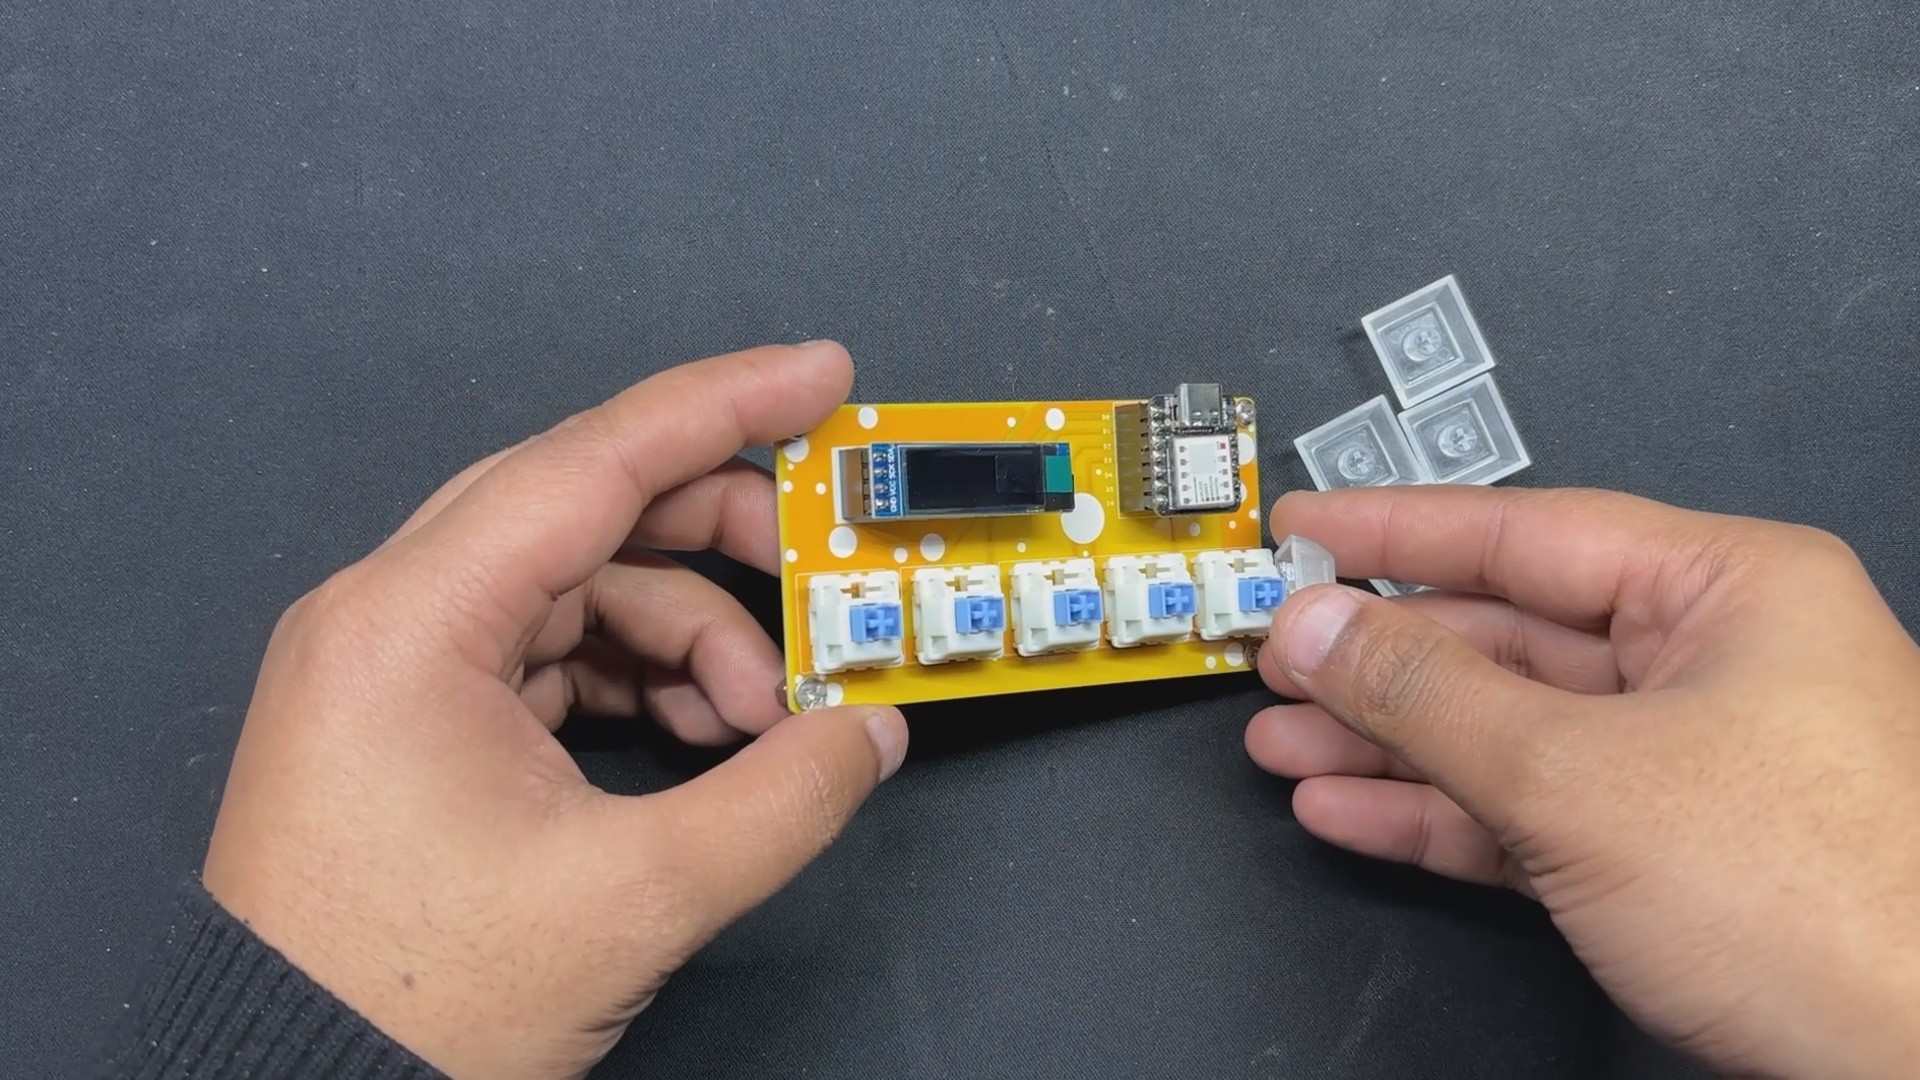
In Version 1 of this project, we have utilized SMD Tacktile buttons, which were good to work with but gave no touch resistance or sensation so in Version 2, we swapped them with Blue Mechanical keys, which create a fantastic touch feel and provide a clicky sound, which makes the setup more engaging.
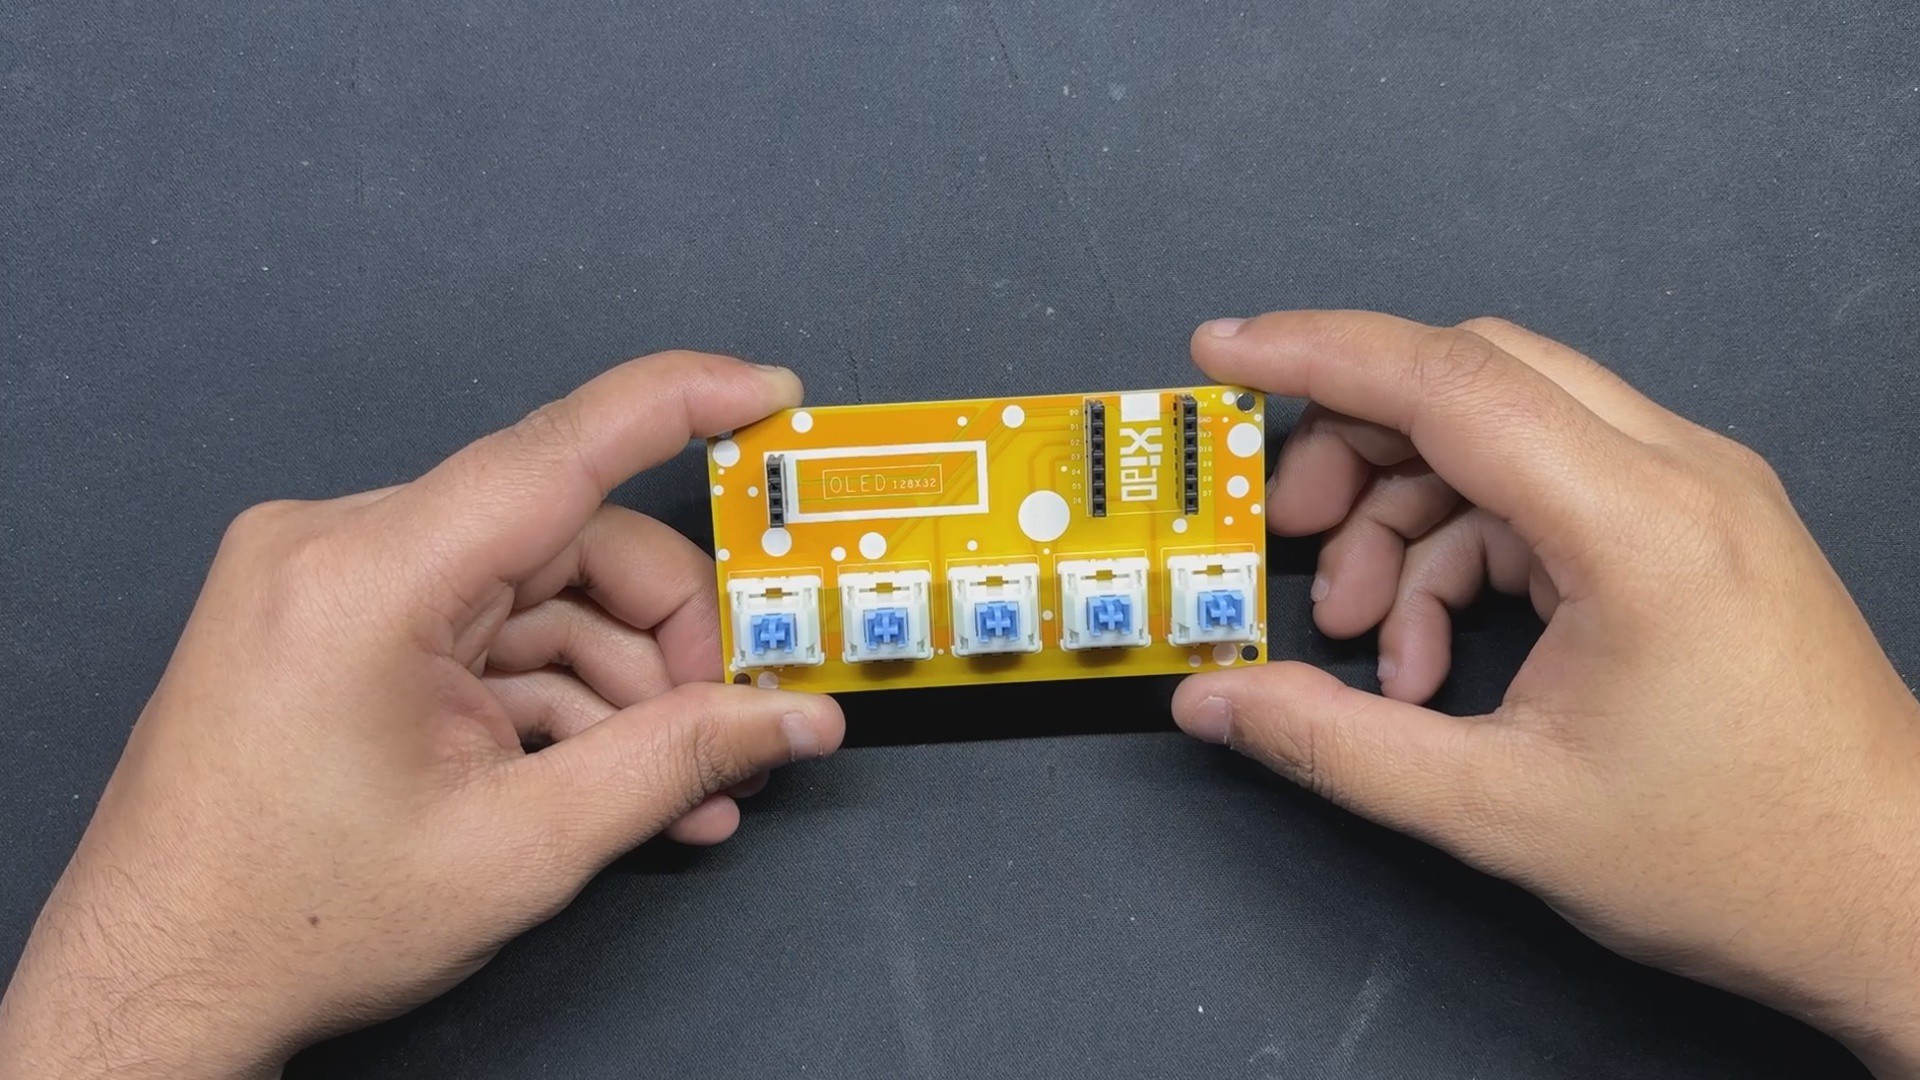
This macropad allows us to copy and paste anything, scroll up and down a webpage, and even utilize the enter command, with the selected command being shown on the OLED screen.
Design
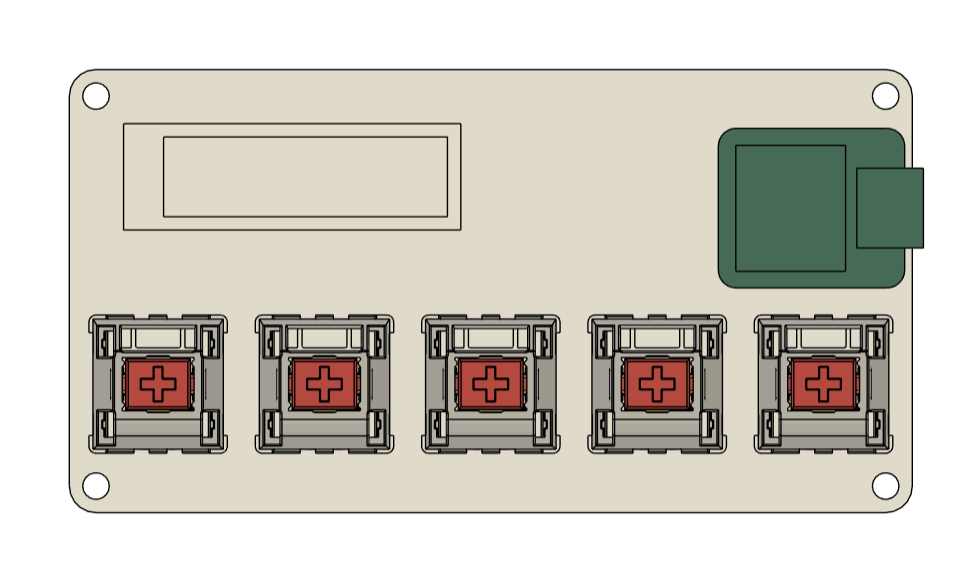
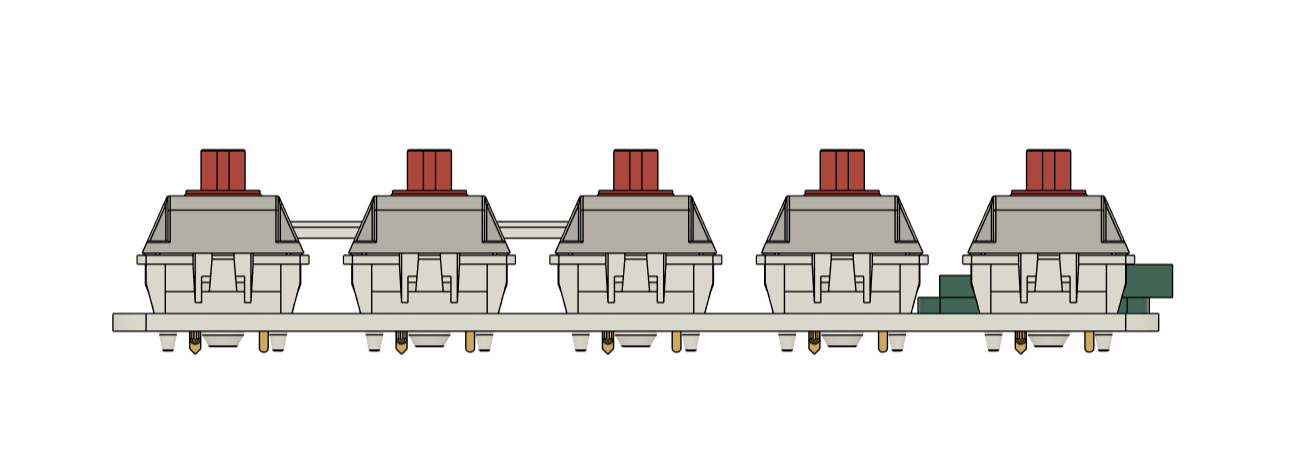
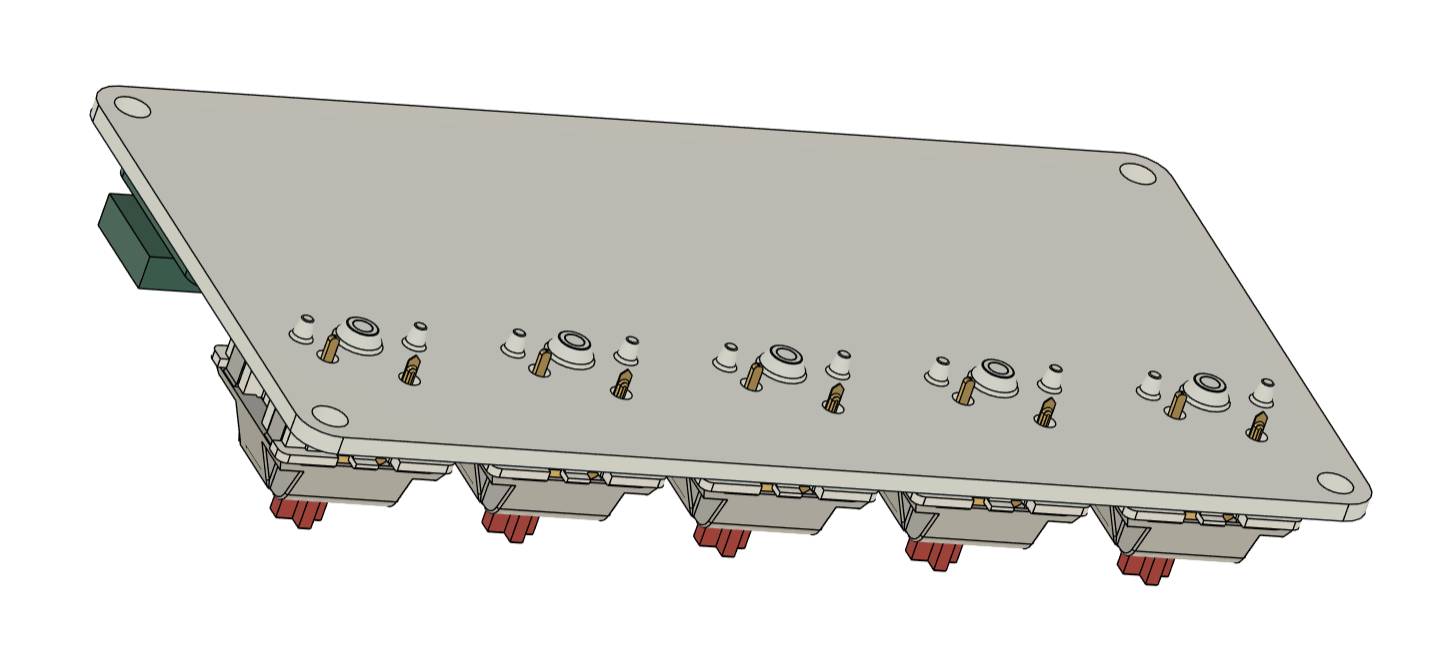
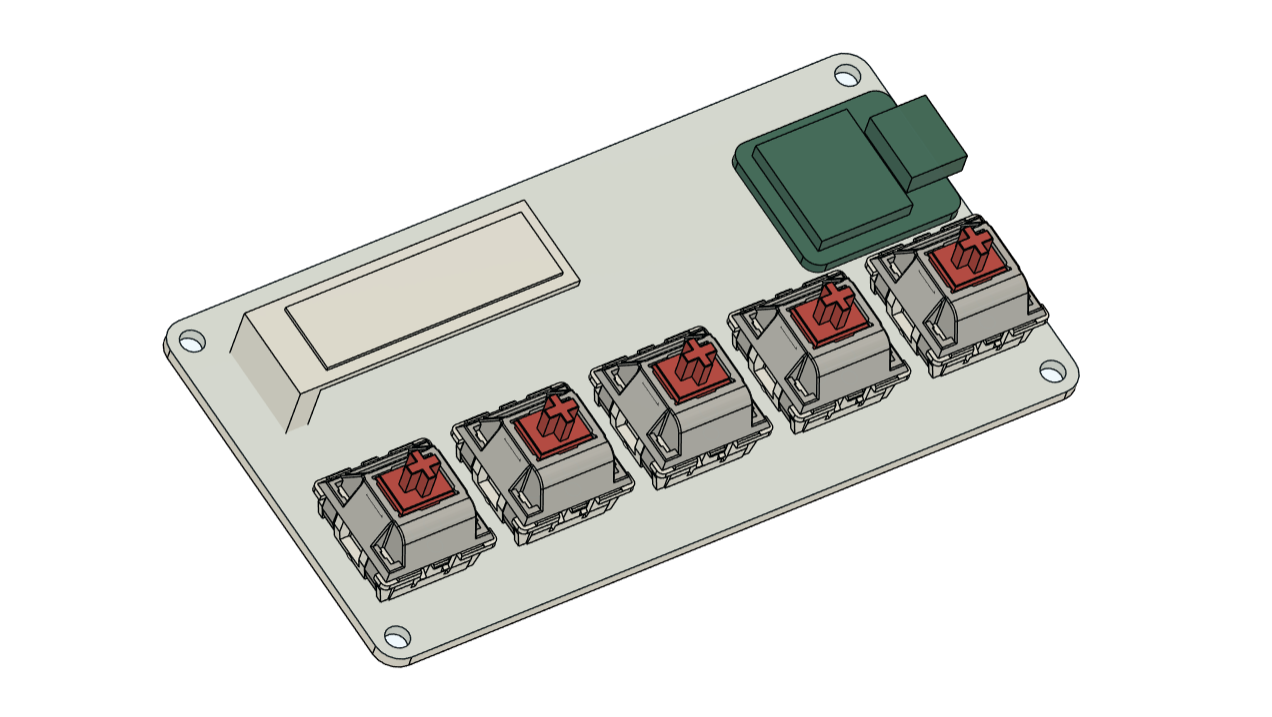
In order to begin the project, we first prepare the 3D model in Fusion360 by importing the models for the SSD1306 OLED screen, XIAO microcontroller, and mechanical switch into the design. Next, we create a base board by putting all the parts in the proper sequence.
The OLED screen is placed in the upper left corner, and XIAO is placed in the upper right corner. All mechanical keys are arranged in a line on the bottom side of the board.
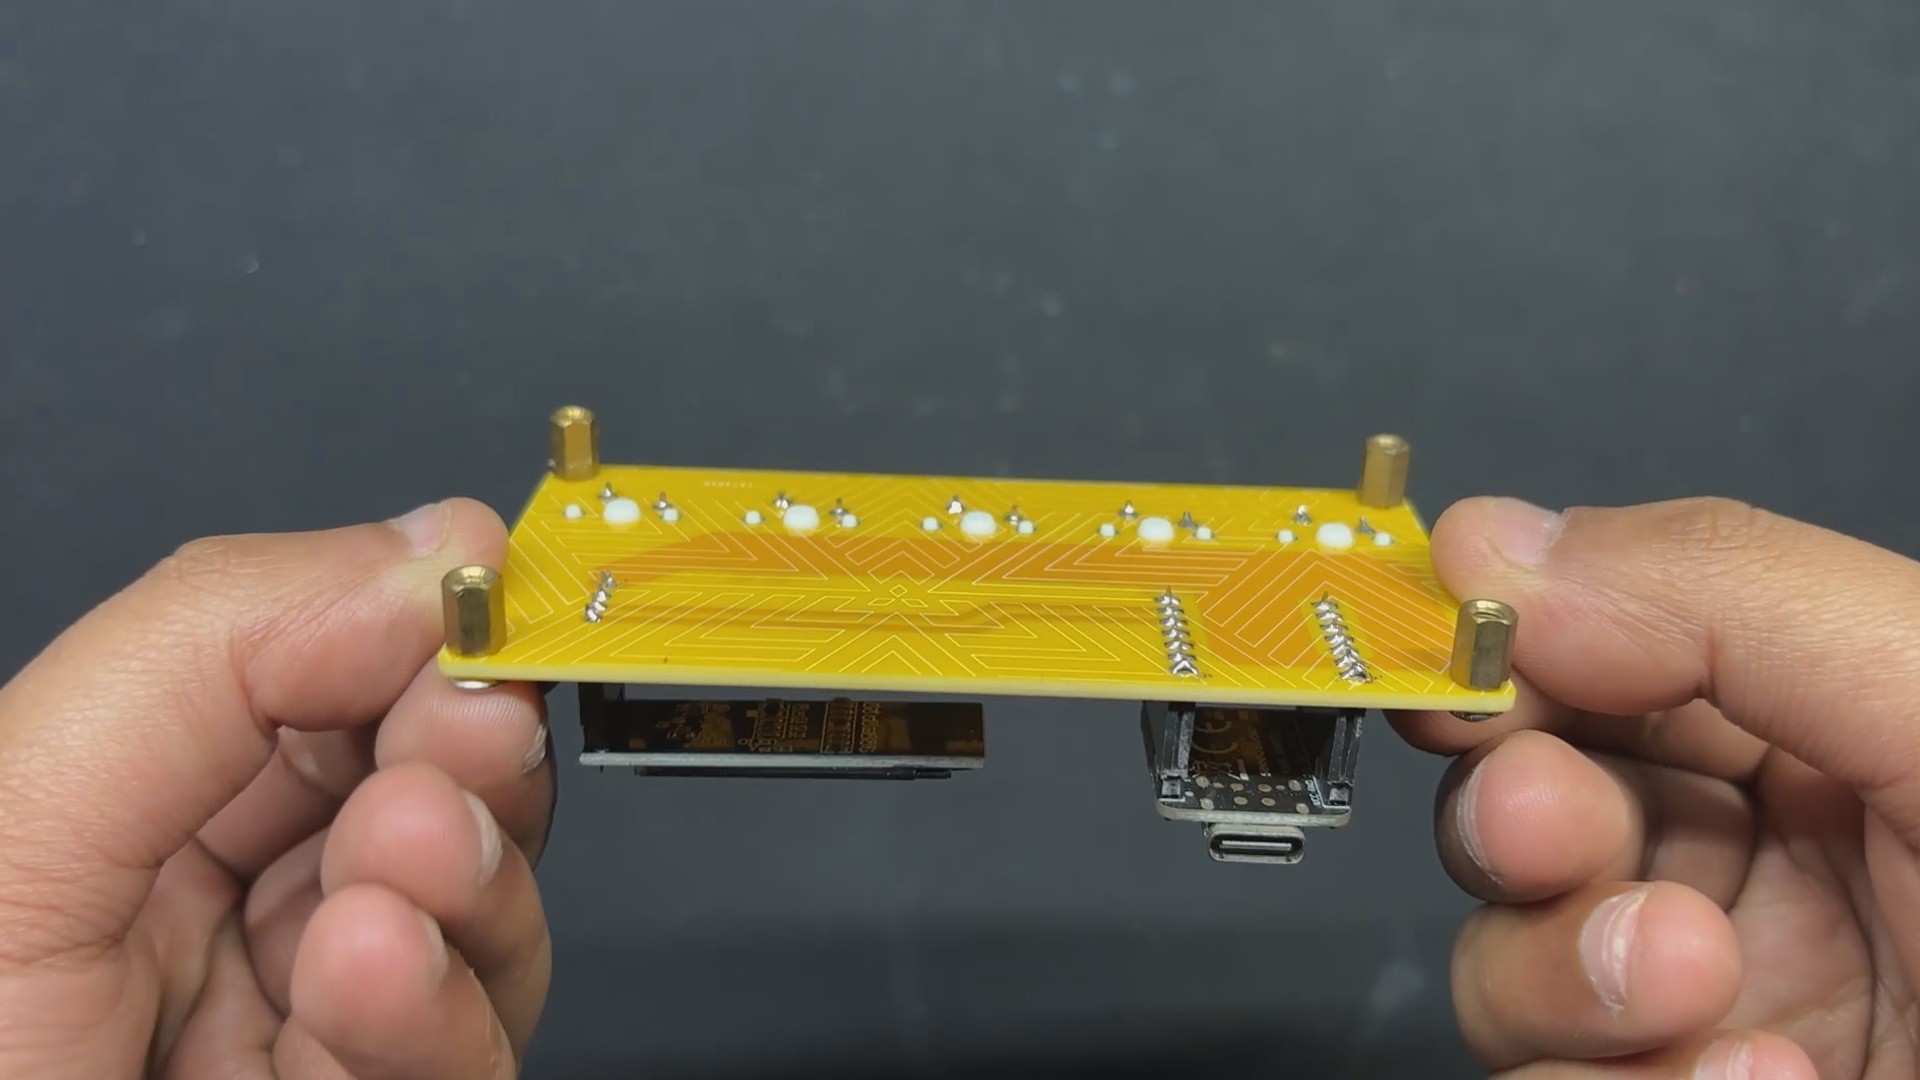
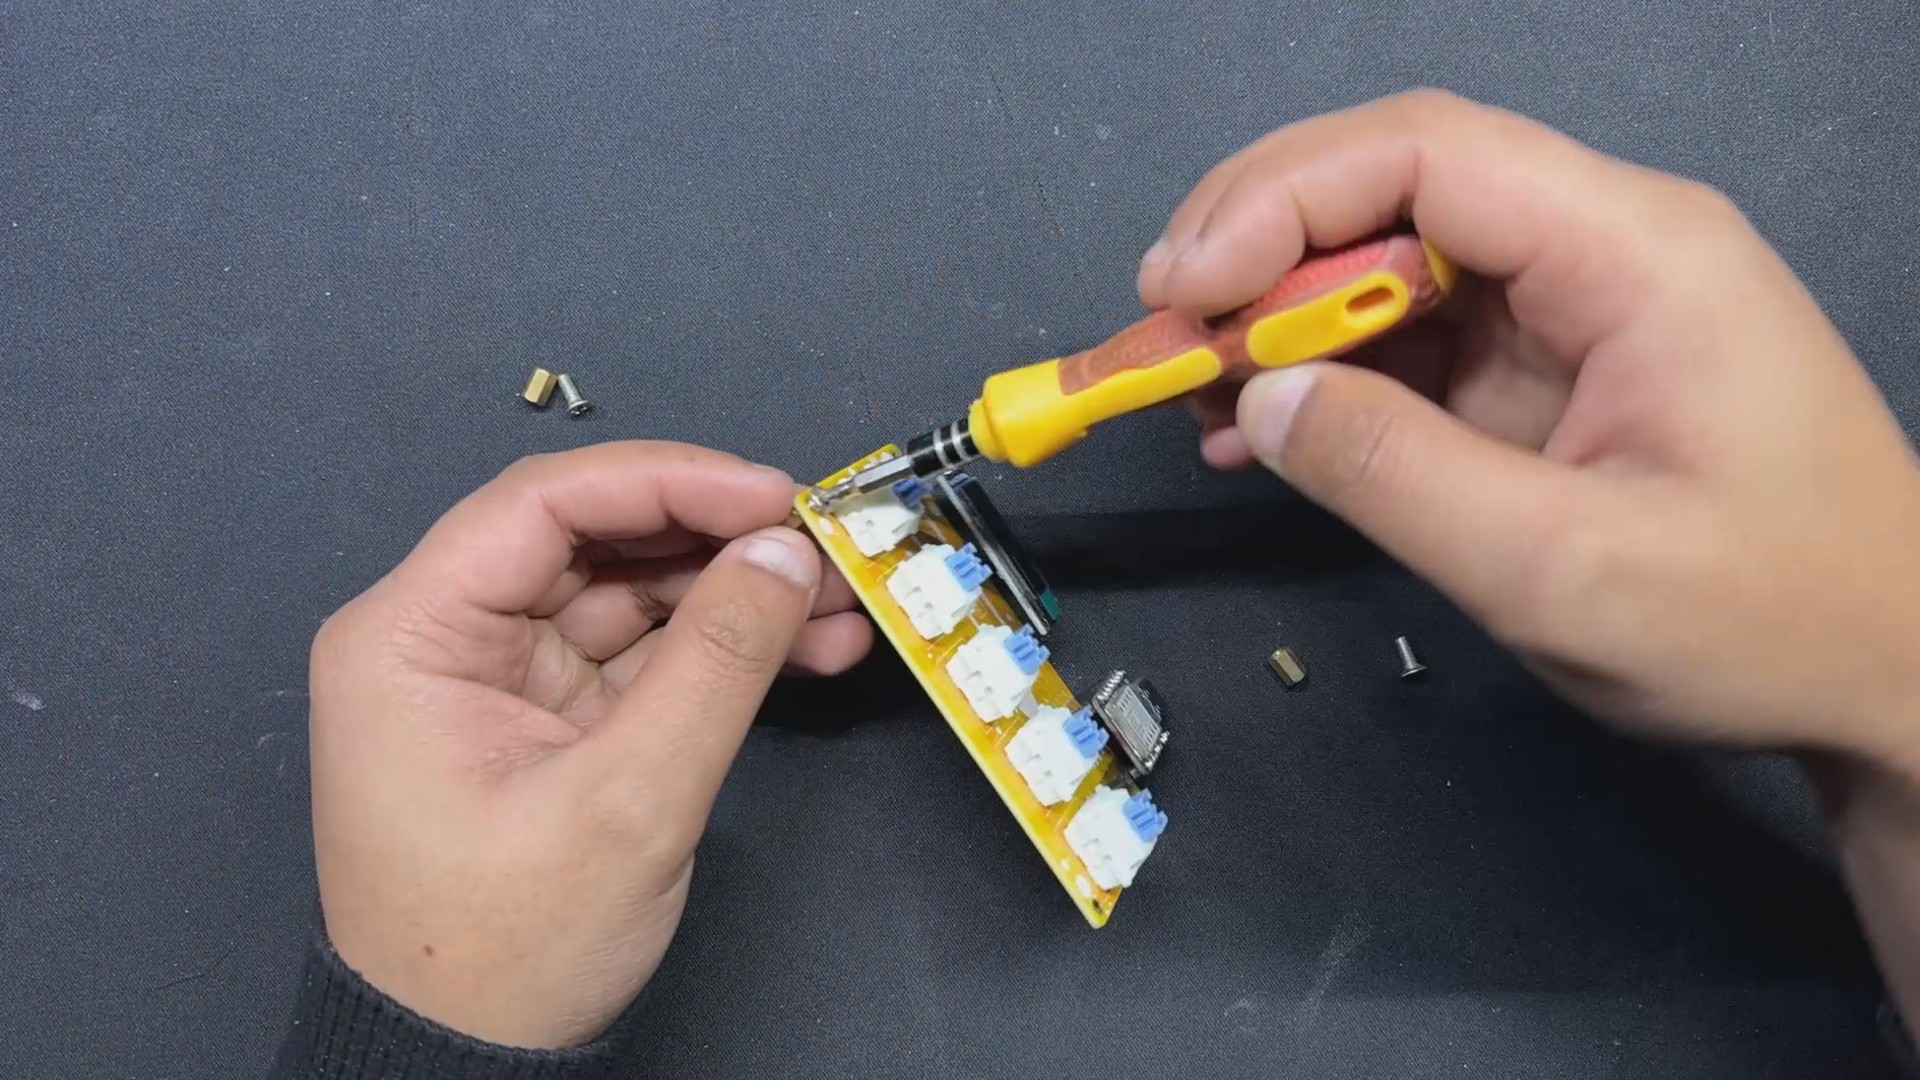
To provide this board with four legs to rest on, we also created four 3mm holes close to each corner so that PCB standoffs could be added later.
PCB Design
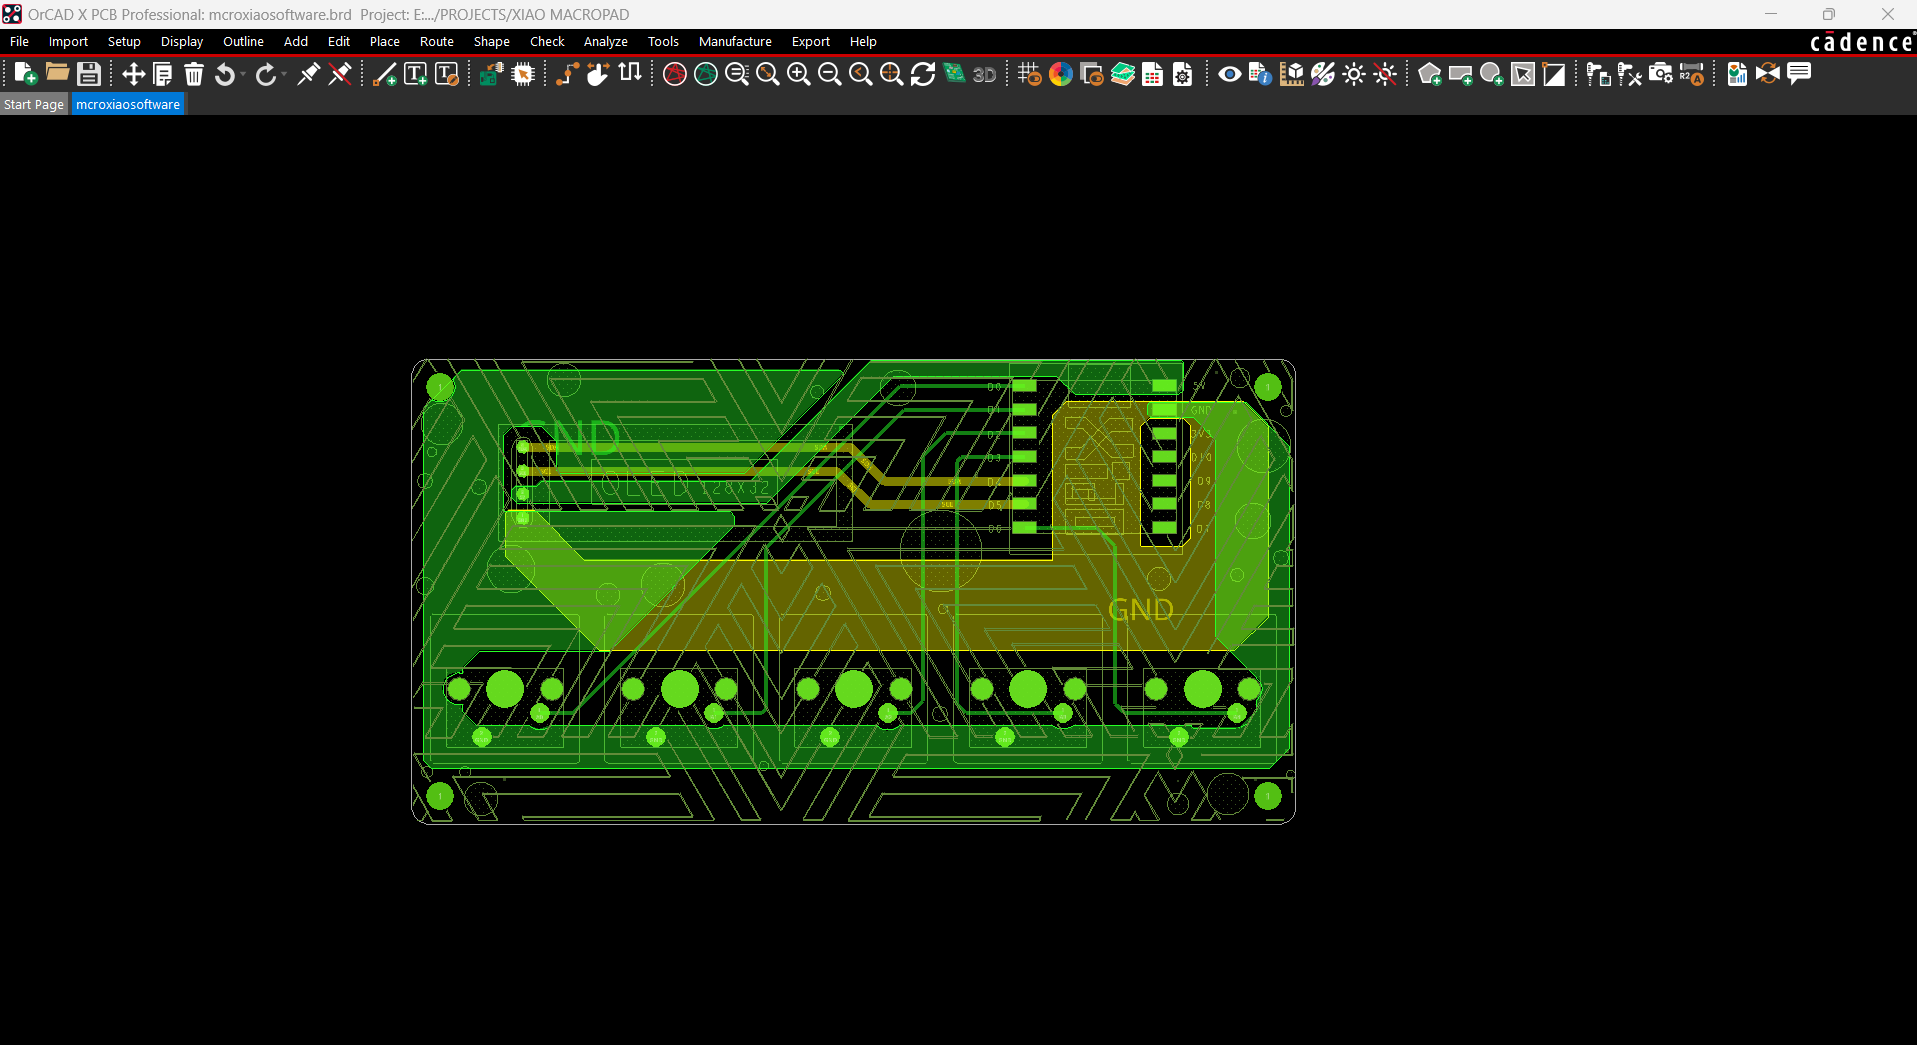
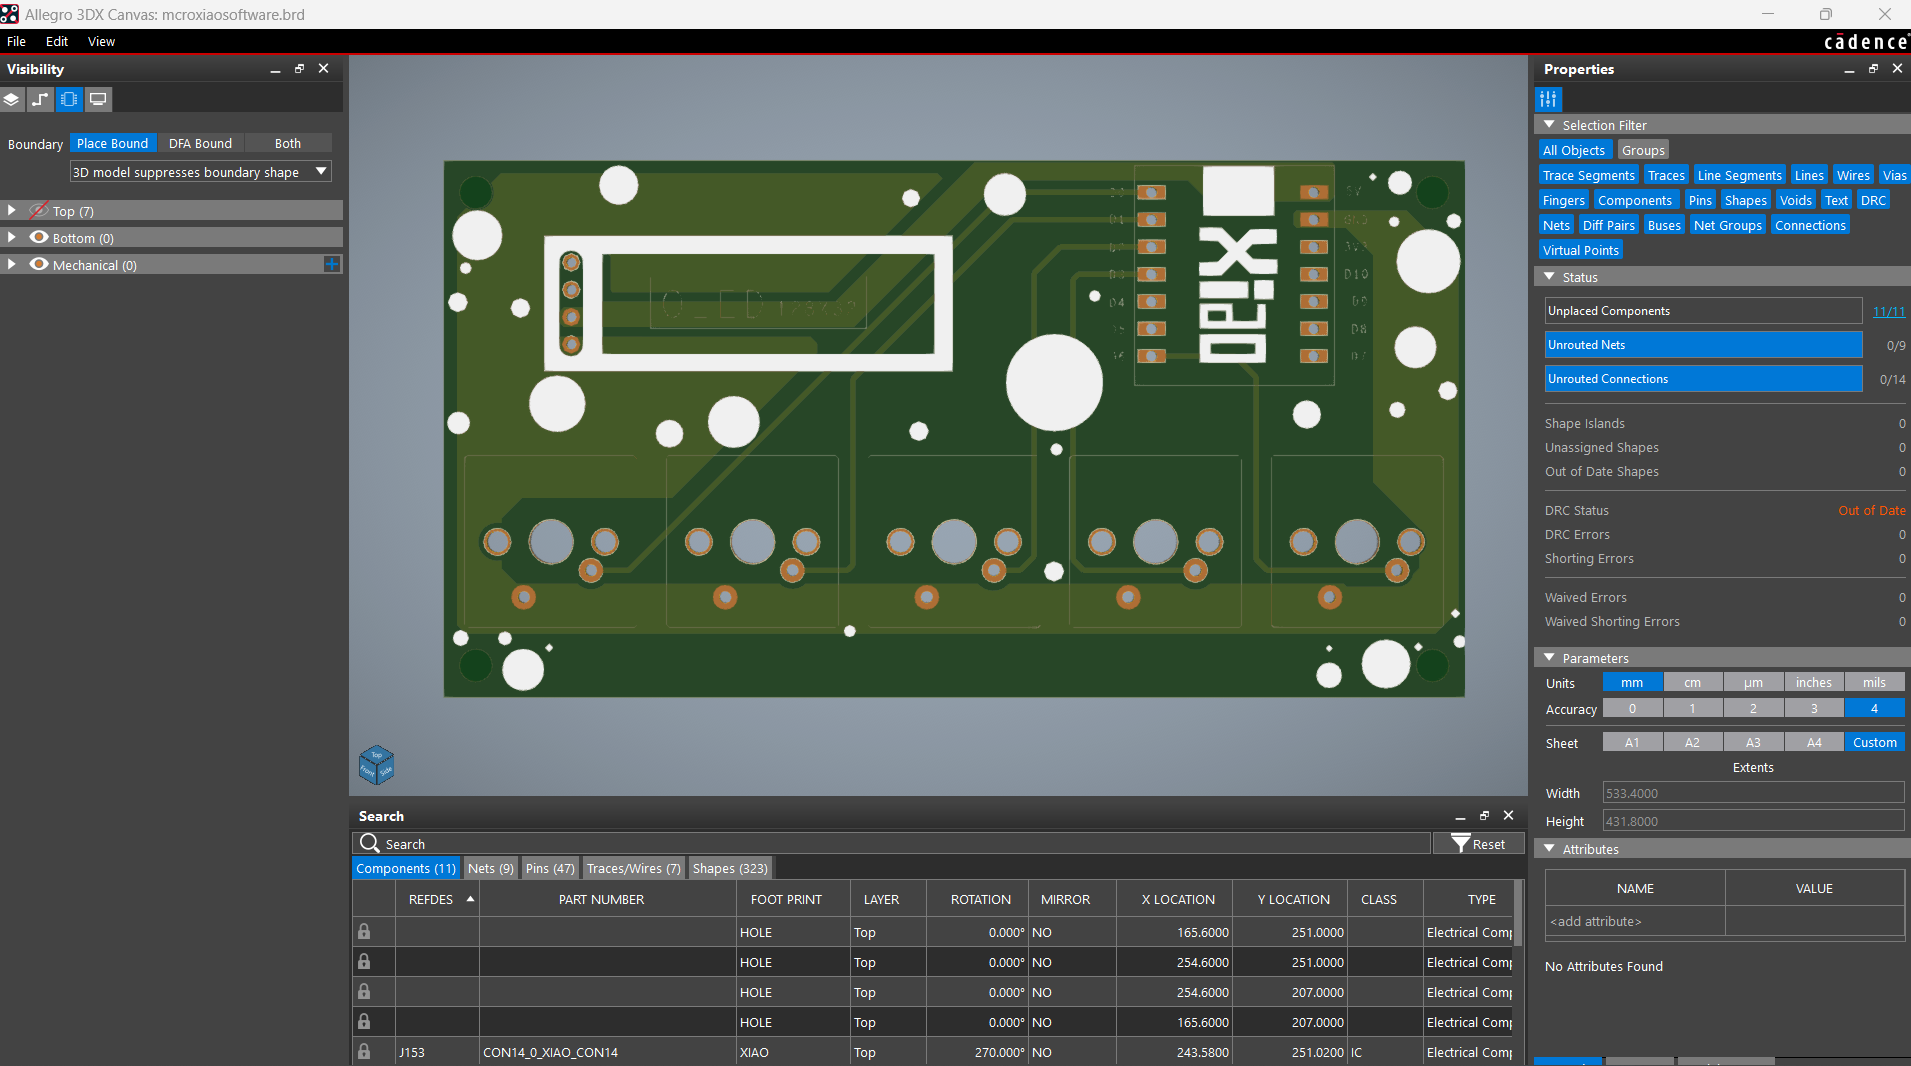
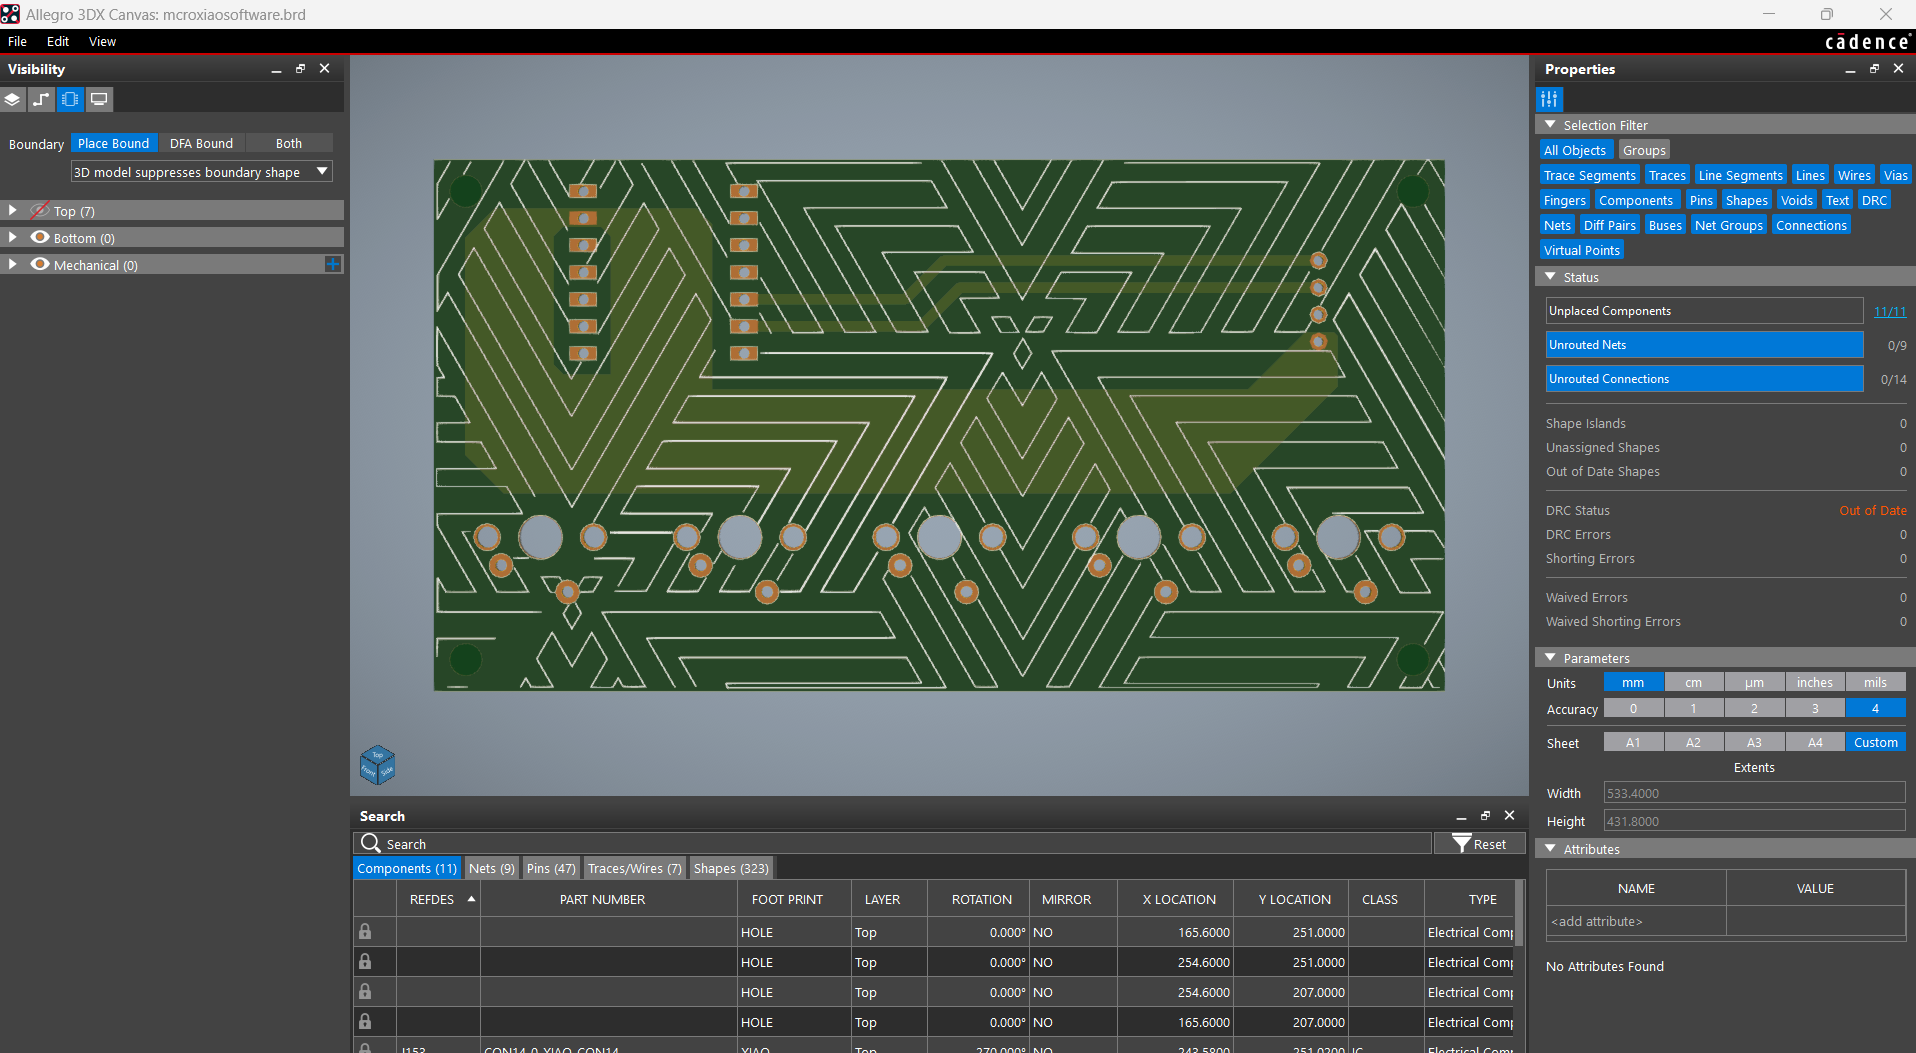
Following the conclusion of the 3D model, we began working on the schematic of this project, which consists of five mechanical switches connected to an XIAO and an OLED screen.
- All five mechanical switches's NO is connected to GND, and NC is connected to D0, D1, D2, D3, and D6.
- The SDA of the OLED is connected with XIAO's D4 pin and the SCL is connected to D5.
- OLED's VCC is connected to 5V of XIAO and GND is connected to GND.
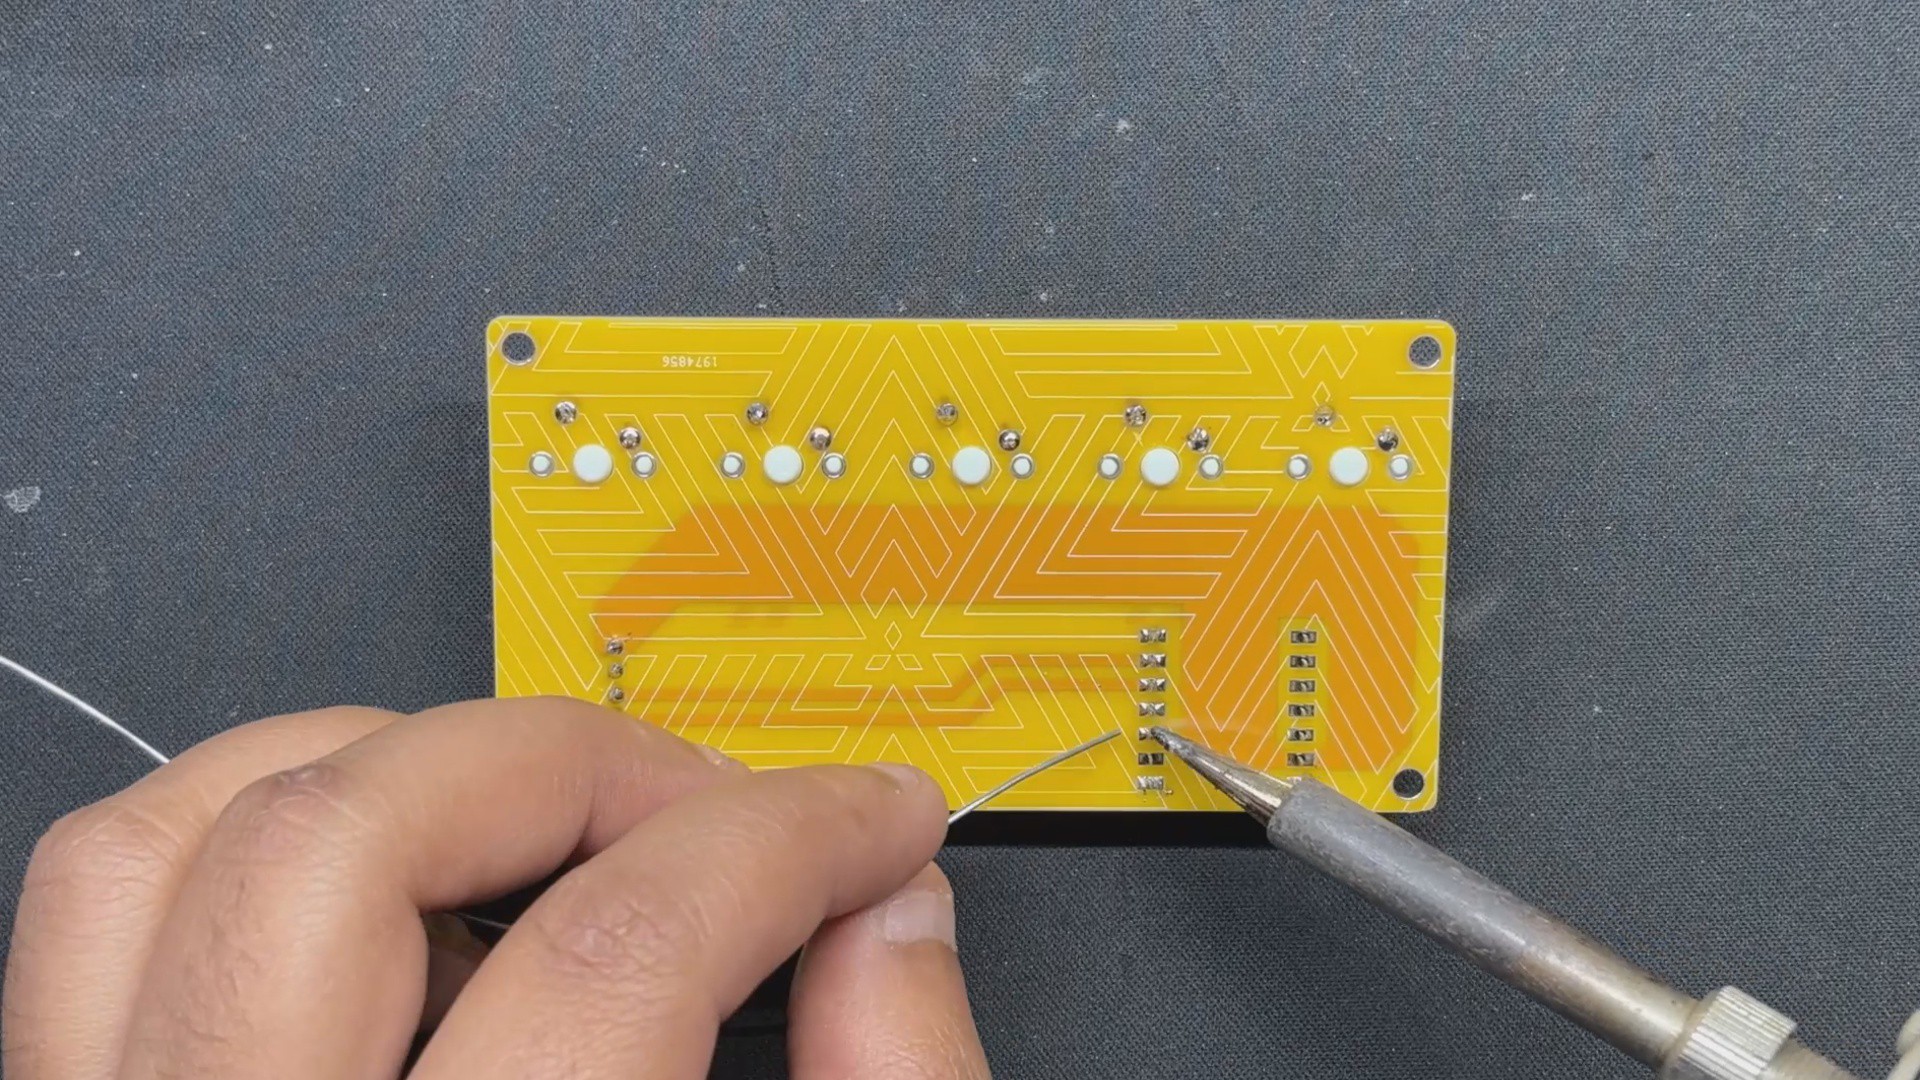
The outline, along with the location of each switch, the OLED screen, and the XIAO, were derived from the 3D model, and then each component was placed in its proper position. We even added four 3mm holes at each corner, which we would later utilize to add PCB standoffs.
Seeed Studio Fusion
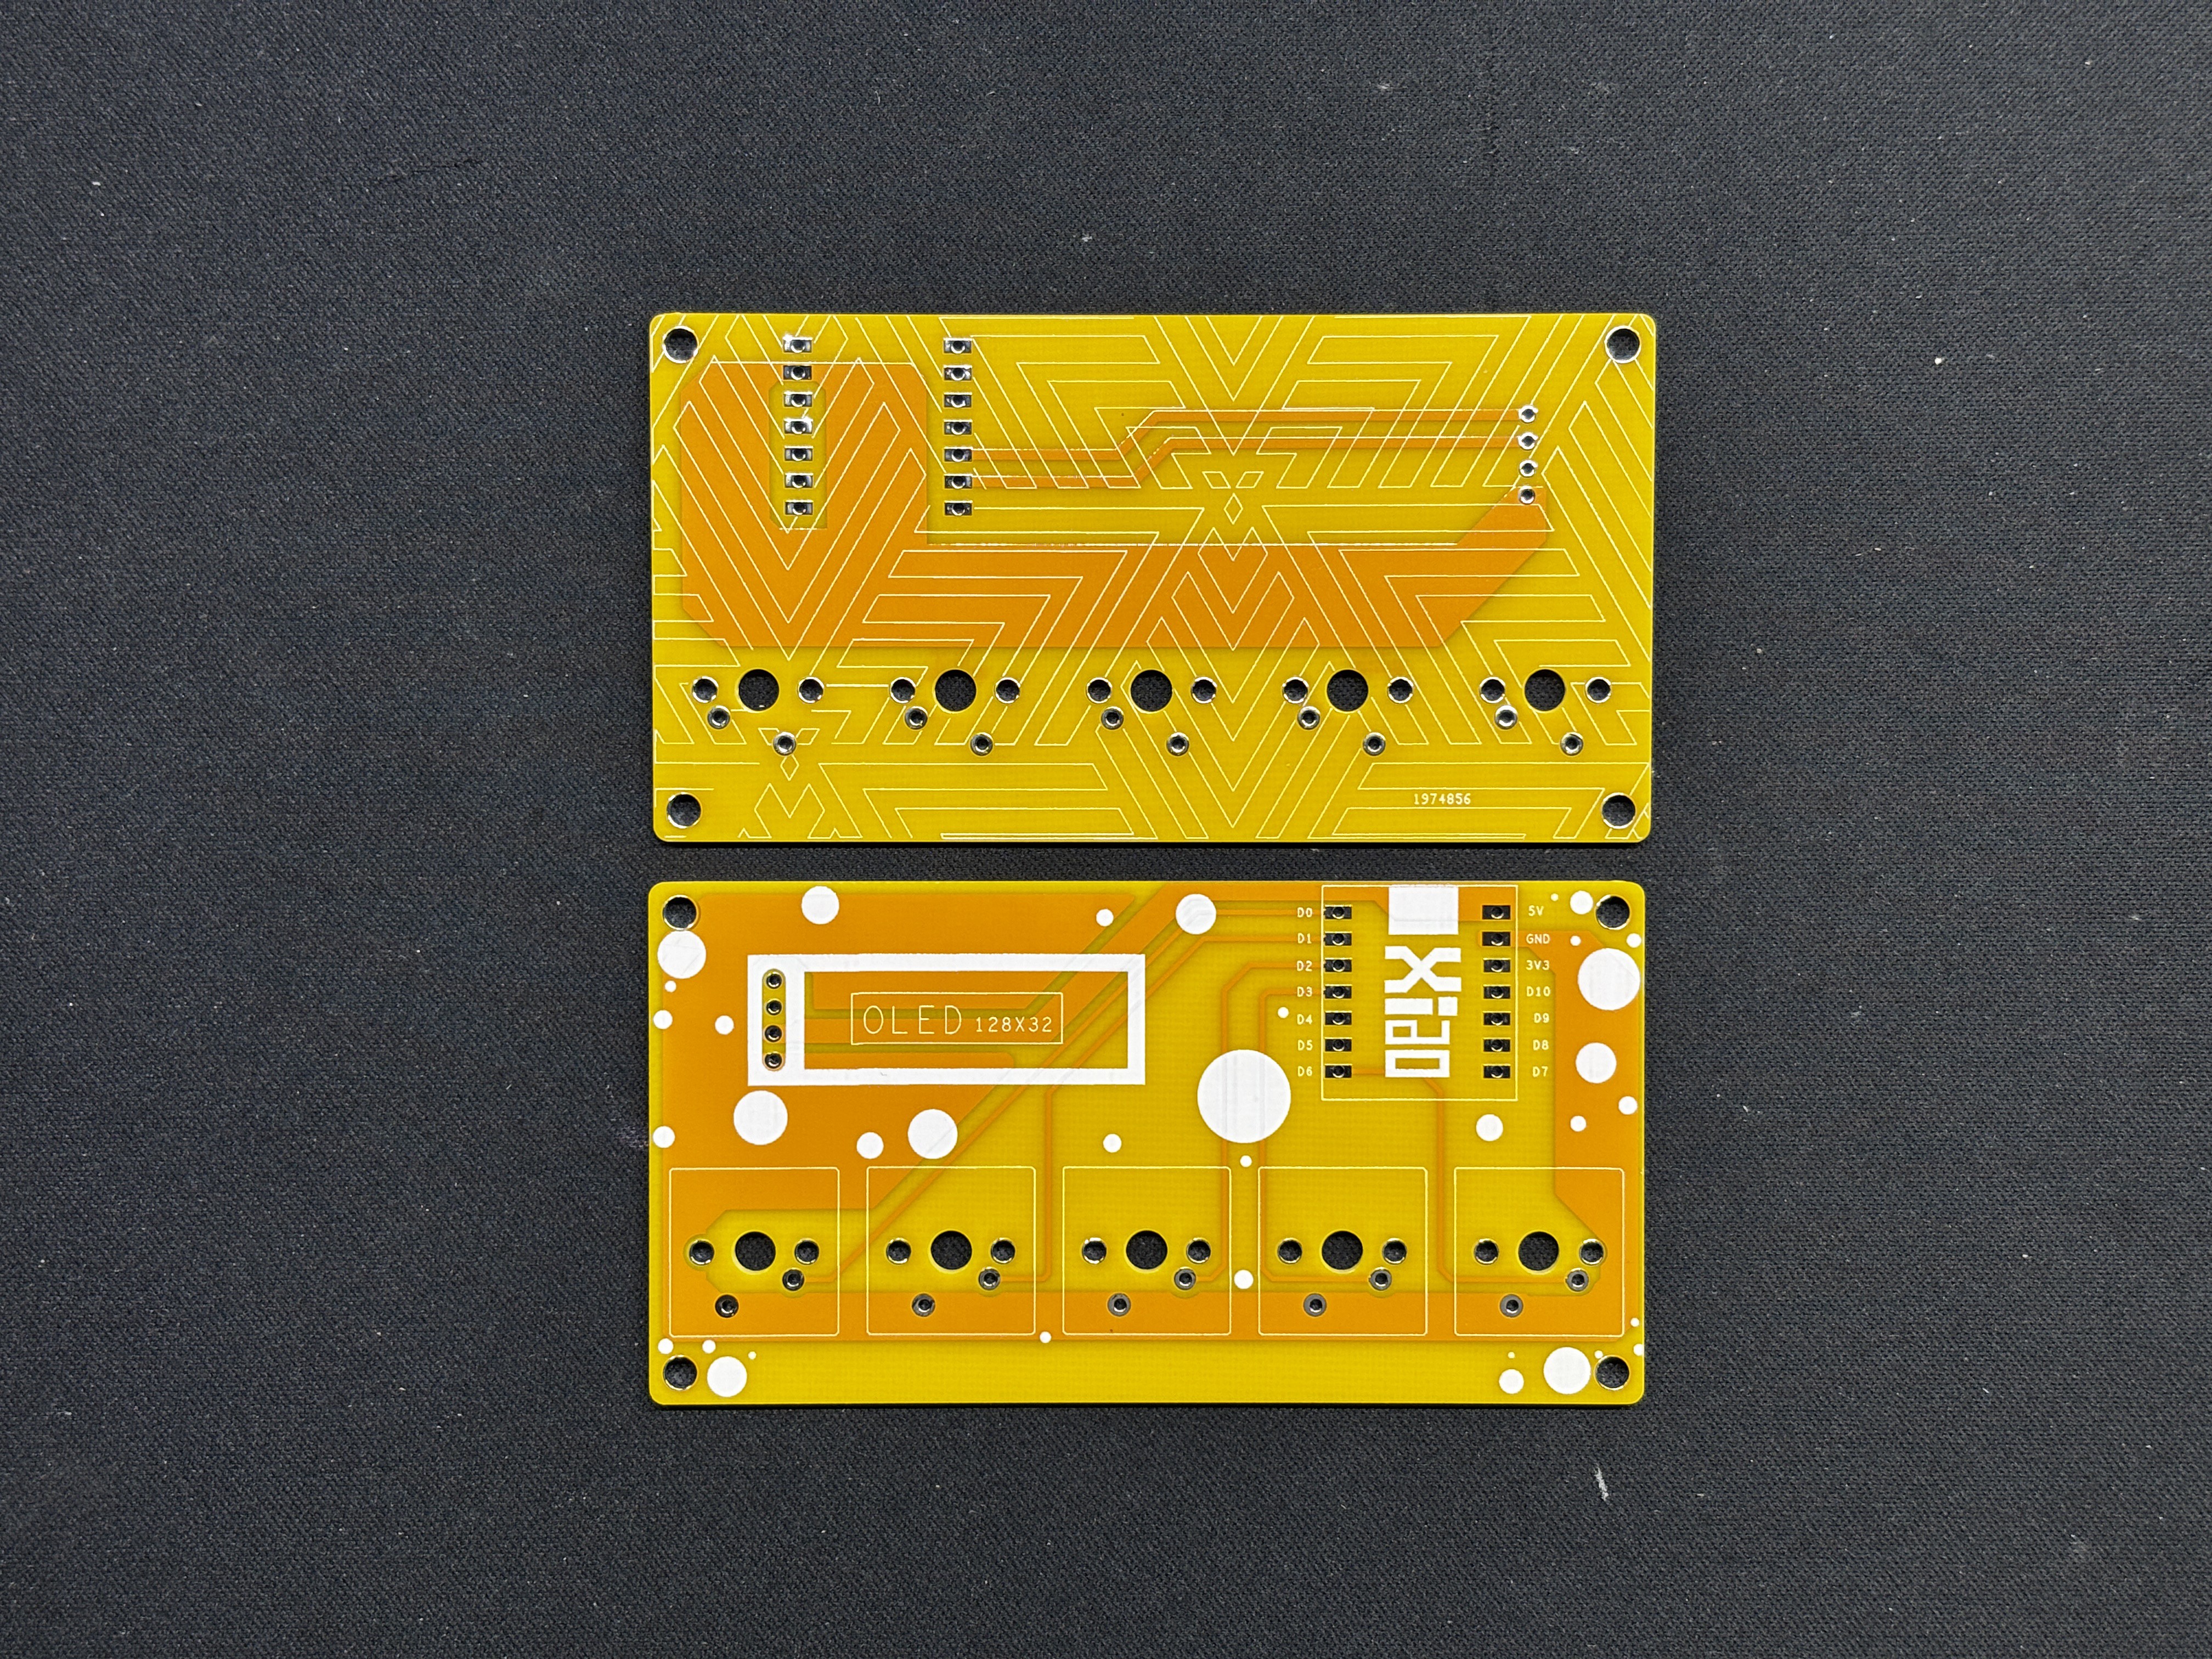
Following the completion of the Gerber data, we uploaded the file to Seeed Fusion's website and placed an order for a yellow Solder mask with white silkscreen.
PCBs were received in a week, and their quality was super good considering the rate, which was also pretty low.
Seeed Fusion PCB Service offers one-stop prototyping for PCB manufacture and PCB assembly, and as a result, they produce superior-quality PCBs and fast turnkey PCBAs within 7 working days.
Seeed Studio Fusion PCB Assembly Service takes care of the entire fabrication process, from Seeed Studio Fusion Agile manufacturing and hardware customization to parts sourcing, assembly, and testing services, so you can be sure that they are getting a quality product.
After gauging market interest and verifying a working prototype, Seeed Propagate Service can help you bring the product to market with professional guidance and a strong network of connections.
 Arnov Sharma
 Andy Geppert
 Miroslav Zuzelka